


TwinOaks
-
Posts
4,513 -
Joined
-
Last visited
Content Type
Profiles
Forums
Events
Blogs
Gallery
Posts posted by TwinOaks
-
-
I'm saying relieve the downward pressure on the walking foot. The indicator is the 'track' or indentions left by the foot.
The reason the thread doesn't pull up as tightly through the grain side is that the grain side is stronger and more dense than the flesh side. This is just a tension adjustment - make an 1/8th turn (at a time) tighter on the primary tensioner to pull the knot a little higher.
The right hand pic also shows 'too much pressure' on the walking foot....the leather is pushed out a little bit. That's where the pressure from the top pushed the leather down into the slot plate a little bit. Even though the marks are there you can roll or hammer them out- a light spray of water, and even pressure (rolling or modelling spoon) or light taps with a smooth faced hammer.
The reason that sewing (2) 2oz pieces looks bad is that it's too thin to be sewing with that machine....in it's current settings. Most leather workers that go to a powered machine end up with at least 2, often 3 machines. This is because it's more time efficient to have one machine for thinner leathers and one for the thick stuff than it is to make all the adjustments to have one machine sewing everything. [all you Adler owners can just hush] It's fairly easy to change needles and threads, and in many cases the thread tensions will stay relative, but you still need to adjust foot pressures, foot lift height, stitch length, etc. Not a LOT of adjustments, mind you, but some - think of it as 'fine tuning' the machine to the project. If you sew the majority of things in the same thickness range you can find a happy medium...but getting out of that range means adjustment. In the example above, your machine is barely pulling the stitches inside of piece of 8oz leather. You'd need to increase tension to lift the thread to ~1/8th" to be in the center of the two pieces...with 2oz leather, you're 'target zone' is 1/32nd...and in that size you're talking about a 'target zone' of 2 or 3 thread thicknesses. This is why most of the time, lighter leather is sewn with smaller thread. It also just looks better.
Make a mark on the thread tensioner nuts so that you have an index point....then start playing with scraps. You may be surprised to see how much difference a 1/4 or even 1/8th turn on the tension nut makes. Incidentally.....try sewing some 2 oz stuff with the way it's sitting - it might work well considering how low the knot is. Now, record the settings on a little note pad....ex. 8oz total thicknes... Tensioner 1 - 3 threads showing, index at 11:00, T2 3 threads showing index at 9:00. Do that with a couple of different ranges and you'll have your starting points. And if you can, always sew a test strip first, so you can make any fine adjustments to that specific thickness.
-
Be wary of Aluminum DUST as you're grinding/sanding/filing it.
-
Well, YES, there is something wrong there: The picture seems to be tilted a little to the right.

And...it looks like the center foot pressure is a little too high for that thickness. That's a simple adjustment of perhaps only 1/4 turn. Looks great, and I'm glad to see you got it sewing.
-
Brettun's Village has a wide selection, and 1 7/16ths IS listed on the round punches, for $60. They have a hot link for oblong/slot punches, but it goes to the round punches....probably best to call them and see what they have:
Brettuns Village Leather
557 Lincoln St
Lewiston, ME 04240
Phone: (207)782-7863 or toll free for orders only: 1-877-LEATHAH
Fax: (207)782-7448 FAXI've only ordered from them once (rivet splasher) and true to the advertising on the page, what you see is what you pay....including shipping. I ordered, and had the rivet splasher in two days.
-
OOPS....don't forget that I am knew to machines. I just realized the presser foot was raised and that releases the pressure on the disc. oober mistake on my part.

glad you got that sorted out. And it looks like I'm re-learning sewing machine diagnostics!
-
Thanks for taking time to post this.....but I'm going to recommend against the leather thicknesses listed. There are simply better choices of leather for this type of project than veg tanned leather. For the exterior panel, I could see using 2-3oz veg tan so that carving is possible, but not the interior. The interior needs to be super thin liner leather, like tooling pig skin, split kangaroo...even chrome tanned. If you look at the minimum thicknesses 4oz back, 2 oz interior, and (2) 2oz pockets, that's 10oz per side or 20oz when folded....at a minimum.
20 oz = 20/64ths..10/32nds...5/16ths of an inch. For a comparison I make double layer gun belts in the 16oz range. Remember, that's the minimum thickness. It's likely that if the leather runs on the thicker side of the size range, that this minimalist wallet will be 1/2" thick.....BEFORE adding cards.
A "minimalist" wallet needs to be very thin and compact, just something to keep an ID and one or two cards together, and maybe a few bills. That is the reason you see so many 'front pocket wallets' that consist of nothing more than a pair of pockets sewn together. Small, lightweight, thin, and does only what it needs to....that's what's going to appeal to the "fast moving" customers.
It IS a nice wallet pattern, though, and with some changes in material choices you'd have a excellent product.
-
I'm just suggesting that you have all the bases covered. If you have an arrangement that's working, then keep on doing what you're doing. Besides, if you're wholesaling to someone, you already have legal documentation in place.
-
Red Cent, since you have a similar machine, can you take a pic of yours from the same angle as above for comparison?
-
Thank you for the reply - extending past the barrel makes a ton of sense, I just wasn't thinking in that direction....
OUCH......learned something new.
-
Just a question here, but why were the front sights "ground down for a sight channel"? You need to have something on the top to make the channel, and grinding off the thing that indicates height and center line doesn't make sense to me.
-
Yes Ray, I was able to meet up with the ALG for the last meeting. They're a really nice group of folks. We also just got a new member from Guntersville here on the forums. Thank you for the lead on them.
-
I really wish there was a 'tagging' feature here.....
I just looked and in the Al Bane instructional video, it looks like the discs ARE split by the bracket, but the techsew 5100 video shows them together....
I'm gonna PM some folks to see if they'll chime in on this one. This is where experience outweighs knowledge... please standby.Bob Kovar threading that type machine:
-
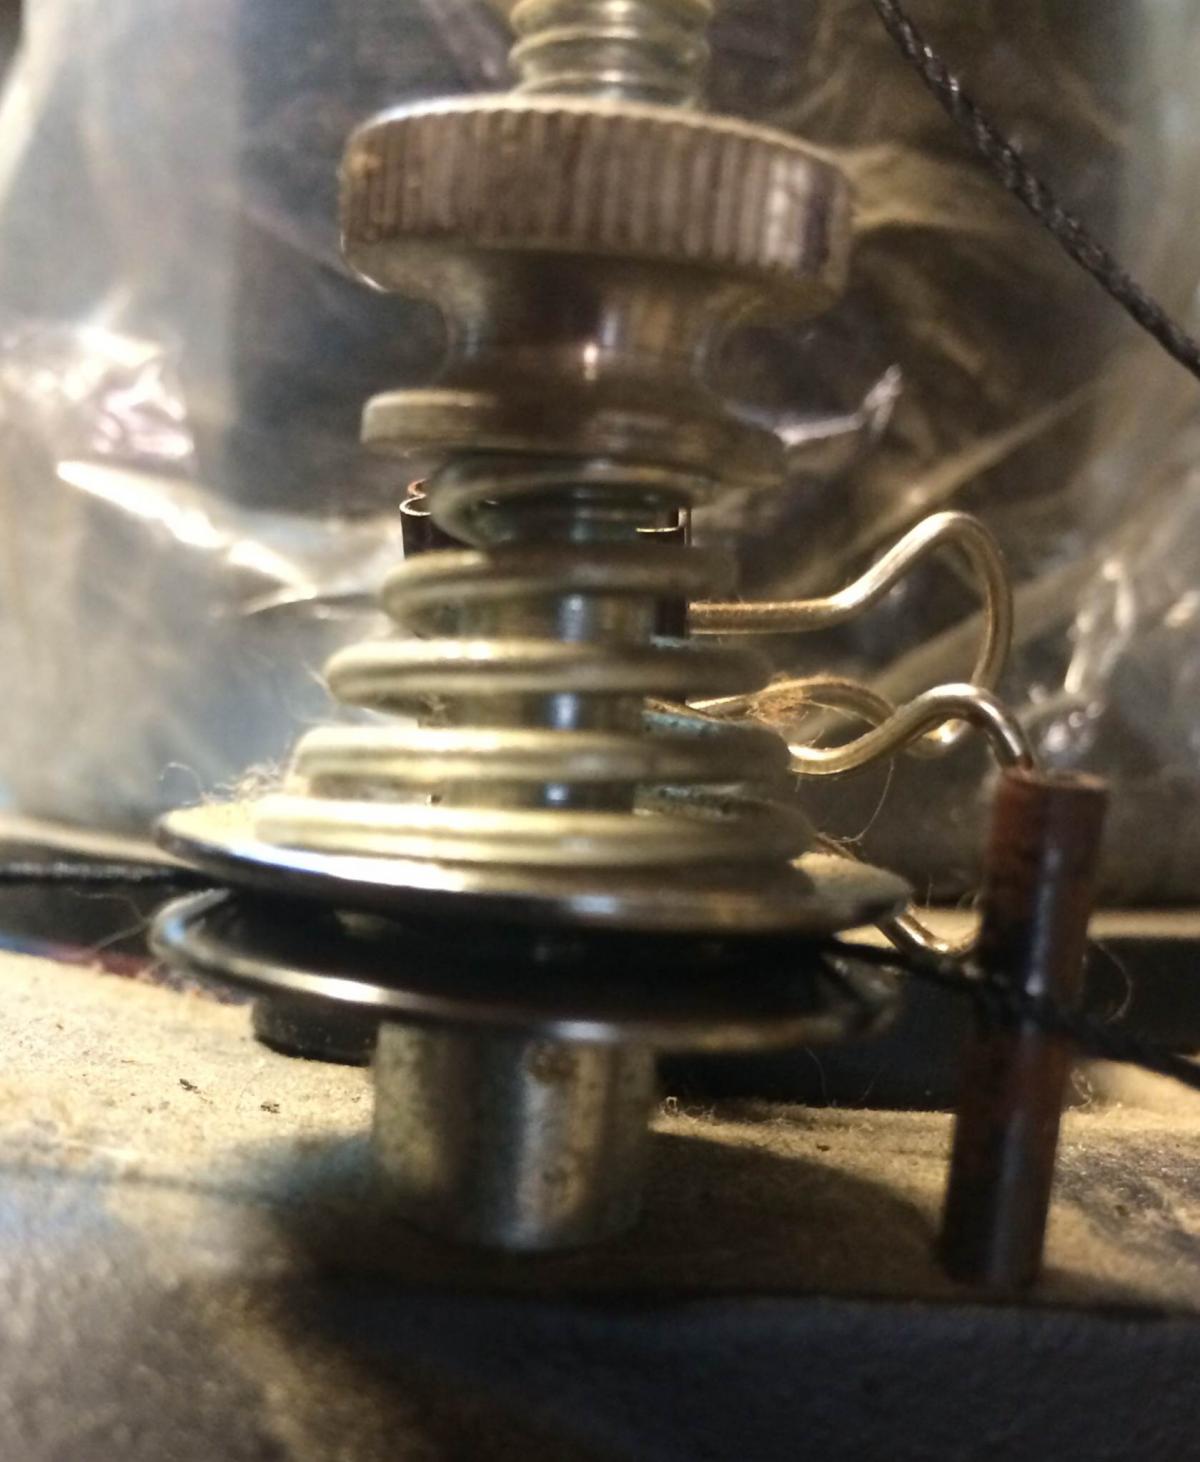
That tensioner is put together incorrectly. The two discs should be touching, as that's where the tension comes from. I'm not sure why they're separated like that, but they shouldn't be. You'll need to remove either the post that holds the tensioner discs, or that bracket that's separating them, to correct the problem. Based on the apparent height in the picture, I think that both should be under the bracket. Please TEST FIT things before tightening things back down.
I'll add a pic of how the discs should look in just a few minutes.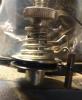
This is just how the discs should be. Refer to threading instructions from other users of the 441 type machines for whether you should just go between the discs (like it's shown), or use a full wrap around it. Youtube, and more than a few posts here on LW discuss that.
-
Ray, thank you for such an incredibly generous offer.
-
Interesting read: http://www.cnn.com/interactive/2014/04/opinion/sutter-change-the-list-pangolin-trafficking/
Curious little critters....and being Endangered takes them off of MY 'will use it' list.
-
You're most welcome; I'm glad to be able to help
-
Are you using "artist's acrylic paints" or the "craft" grade? The "artist's acrylics" typically have more pigment and a somewhat better form of acrylic medium in them. I've used the 'craft' grade on a few things....which resulted in me ordering the Angelus paints to re-color the pieces inside of 3 months. There just wasn't much adhesion from the low grade stuff.
-
very nice!
-
Alcohol to clean the leather and help strip the finish, white vinegar to kill the mold, then Lexol to recondition it, and finally some sort of topcoat to seal it.
-
Since it's just for punching holes, I think a dead blow hammer would do nicely.
-
an old 153 should do quite well....it doesn't have a reverse, but it sounds like you're used to the older machines that don't have one.
-
Or a few cheap flat head screwdrivers, a few minutes on a belt sander, and a little more time polishing them. If you go the screwdriver route, you should be able to find one that fits your hands pretty easily.
-
Welcome to Leatherworker.net!
I'm just up the road from you in Huntsville, and in case you weren't aware of it there is an Alabama Leather Guild, too. I only just joined but the meetings are in Trussville, just outside Birmingham. -
I made one out of cocobolo, sealed the wood, and carved a variable burnishing groove in the end. I burnish after dyeing because the burnish itself will effect how the leather absorbs the dye....but I've never had a problem with the wood picking any colors from the dye.
Do These Parts Do What I Assume?
in Leather Sewing Machines
Posted
Just stick (no pun intended) with it. It's normal to have some snags and be a little apprehensive when you first start out. If you stay with it, and keep using it, six months to a year from now, you'll plop down in front of the machine, run a test strip, adjust as needed and then sew up a few things without thinking about it. Remember when you first started driving a car? You checked every little thing; now you just get in and go. It'll be the same with your sewing machine.