austinious
-
Posts
49 -
Joined
-
Last visited
Content Type
Profiles
Forums
Events
Blogs
Gallery
Everything posted by austinious
-
The file size limit makes it difficult to post pictures let alone video.
-
https://www.facebook.com/marketplace/item/3513776978910329/?mibextid=dXMIcH Facebook is easier to put pictures and video on. The stitcher has been used for a total of about 20 hours. I have lots of accessories, and currently not offering shipping. It's too heavy and the cost would be very high. I live in Pittsburgh, PA and can offer limited delivery.
-
I'm starting to think I should machine my own foot to work with the inline presser foot, the presser has a very small footprint.
-
You know, someone else said that, and I had done that early on. I can see that I could actually make a U and leave enough thread to hand close it. My next try will be this... Thanks I did try this, works just fine. I should have mentioned that I use LR points to get a saddle stitch look, and doing this ends up with two straight stitches, which spoils the effect. Good to know I'm not grasping at straws.
-
My bad, I used the cowboy tag, should have listed it. I have the inline presser, when you make the turn after the short side stich, the presser foot will hit the ring and push everything forward so you get a super long stich. Front to back that foot is longer than the stock foot.
-

First Show, thoughts and questions...
austinious replied to austinious's topic in Marketing and Advertising
Those look ideal,thanks! -
I tried that early on, but only once. Great suggestion, I think I could do sides and one end, then finish by hand. I'll try a test tomorrow. Thanks
-
I posted under sewing machines...I am asking about sewing machine techniques. In a finished product, this was a practice piece, I will add rivets. Thanks for your opinion.
-
I add two rivets about 1/2 inch from the rings in the stitched rectangle. Very strong, one ring and strap will support 200lbs. hanging overnight. I have made many dog collars like this and not even my oldest(7+ years) shows any signs of failing.
-
First Show, thoughts and questions...
austinious replied to austinious's topic in Marketing and Advertising
I've been super busy at my day job and need to figure out why the site won't email me when folks reply. Lots of great advice! Thanks to all. Lots to digest as we are applying to summer shows right now. Thanks again! -
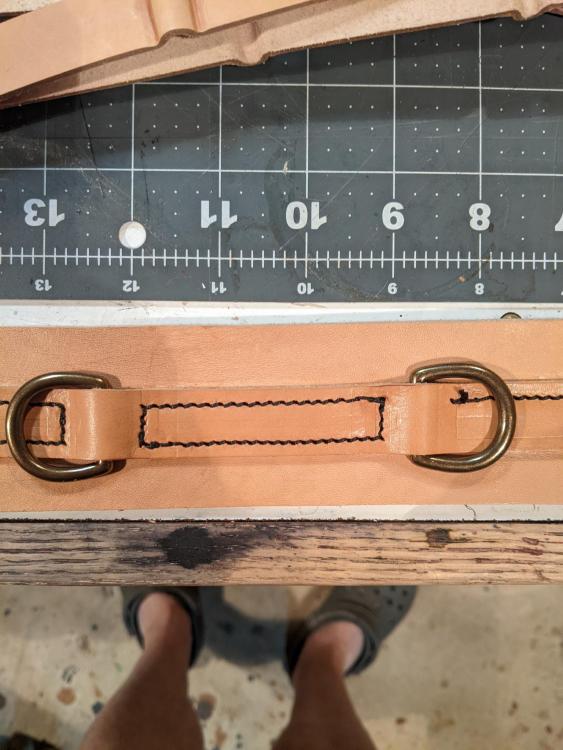
So I need to sew close to hardware as shown in the picture and the best I can come up with is to have my needle face the hardware do forward stitch two backward stitches flip it around and then go to the next piece of hardware turn it 90° go across back stitch twice cut the thread and repeat on the other side. In other words two L shapes. I'm hoping someone else has run into this and has a much more elegant solution, any help is much appreciated.
-
First Show, thoughts and questions...
austinious replied to austinious's topic in Marketing and Advertising
Thank, I am currently looking for something like that with wheels. You have an excellent point, wish I didn't suck at tooling... -
So I had my first craft show, did not go for the two days, just one, because I was afraid of selling out. Should've have done both days...live and learn. Made a few hundred, mildly profitable, so a plus in my book. The craft show was part of a "tour" through the region with different events and shows along the way. Reasonable foot traffic, a few hundred I would guess. BUT! The show was mostly crafty country stuff. Cheap and in many cases not very well done. One person was selling signs like "My morning Coffee needs a Coffee" in vinyl stickers that I'm sure they bought on amazon. The nice lady next to me sold blankets and knitted pot holders. You get the idea.... There I was selling dog collars and leashes, belts, and purses. I did get a few comments about the cost, not many, but memorable. I had my belts at $45, 9oz, 1.5" wide...I did get the comment that the man needed a work belt and these were too nice. I learned to pick my venues more carefully. Questions: I have come to a rule of thumb for pricing...my cost is $0.10 USD per Square Inch. This price includes leather, rivets, dye, wax/resolene. Any other hardware is added on top. Does this sound reasonable? It covers my costs+, which is good since not all of a hide is usable. Should I stitch and work while at the show? I did and didn't receive any comments positive or negative. And Last...Does anyone have any good advice for storing and transporting inventory? Thanks a bunch.
-
I just got my machine and haven't made anything other than scrap yet. I wet form a larger than needed piece first, and then trim to size and then sew. This will mean that some parts of holsters will have to be hand stitched, but I'm wondering if the process of stitching and then wet forming loosens some holes and not others.
-
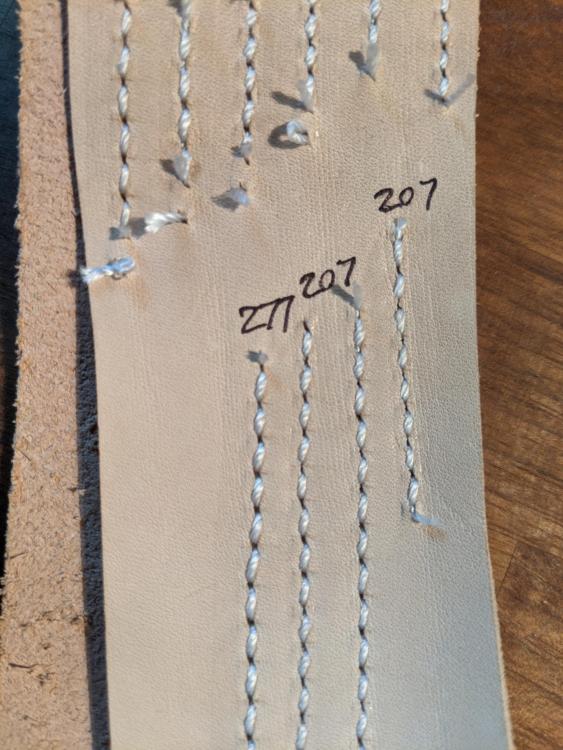
I did get the 207 to work. Had to tighten the bobbin by a qtr turn and mess with the upper tension. You might not be able to tell in the picture, but the 207 feels flatter against the calfskin. BTW 8oz with a calfskin piece, #23 LR Needle. Definitely food for thought....Thanks @CowboyBob
-
I remember now. Unloading and setup got me turned around. I'm trying a bunch of things today, one of them is 8 oz with calf skin lining, lighter thread on the bobbin might help. Thanks!
-
I felt like this was the way to go. I tried it and realized that I would have to really mess around with the tension over the entire machine rather than just the top thread. I like saddle stitching by hand, so I got LR points in 23, and 25 to start with. I also got a bunch of 138, 207, and 277. From the messing around I've done, 207 Seems to be my go to for most of the thicknesses I use. I have to go back and look over all the previous posts this week.
-
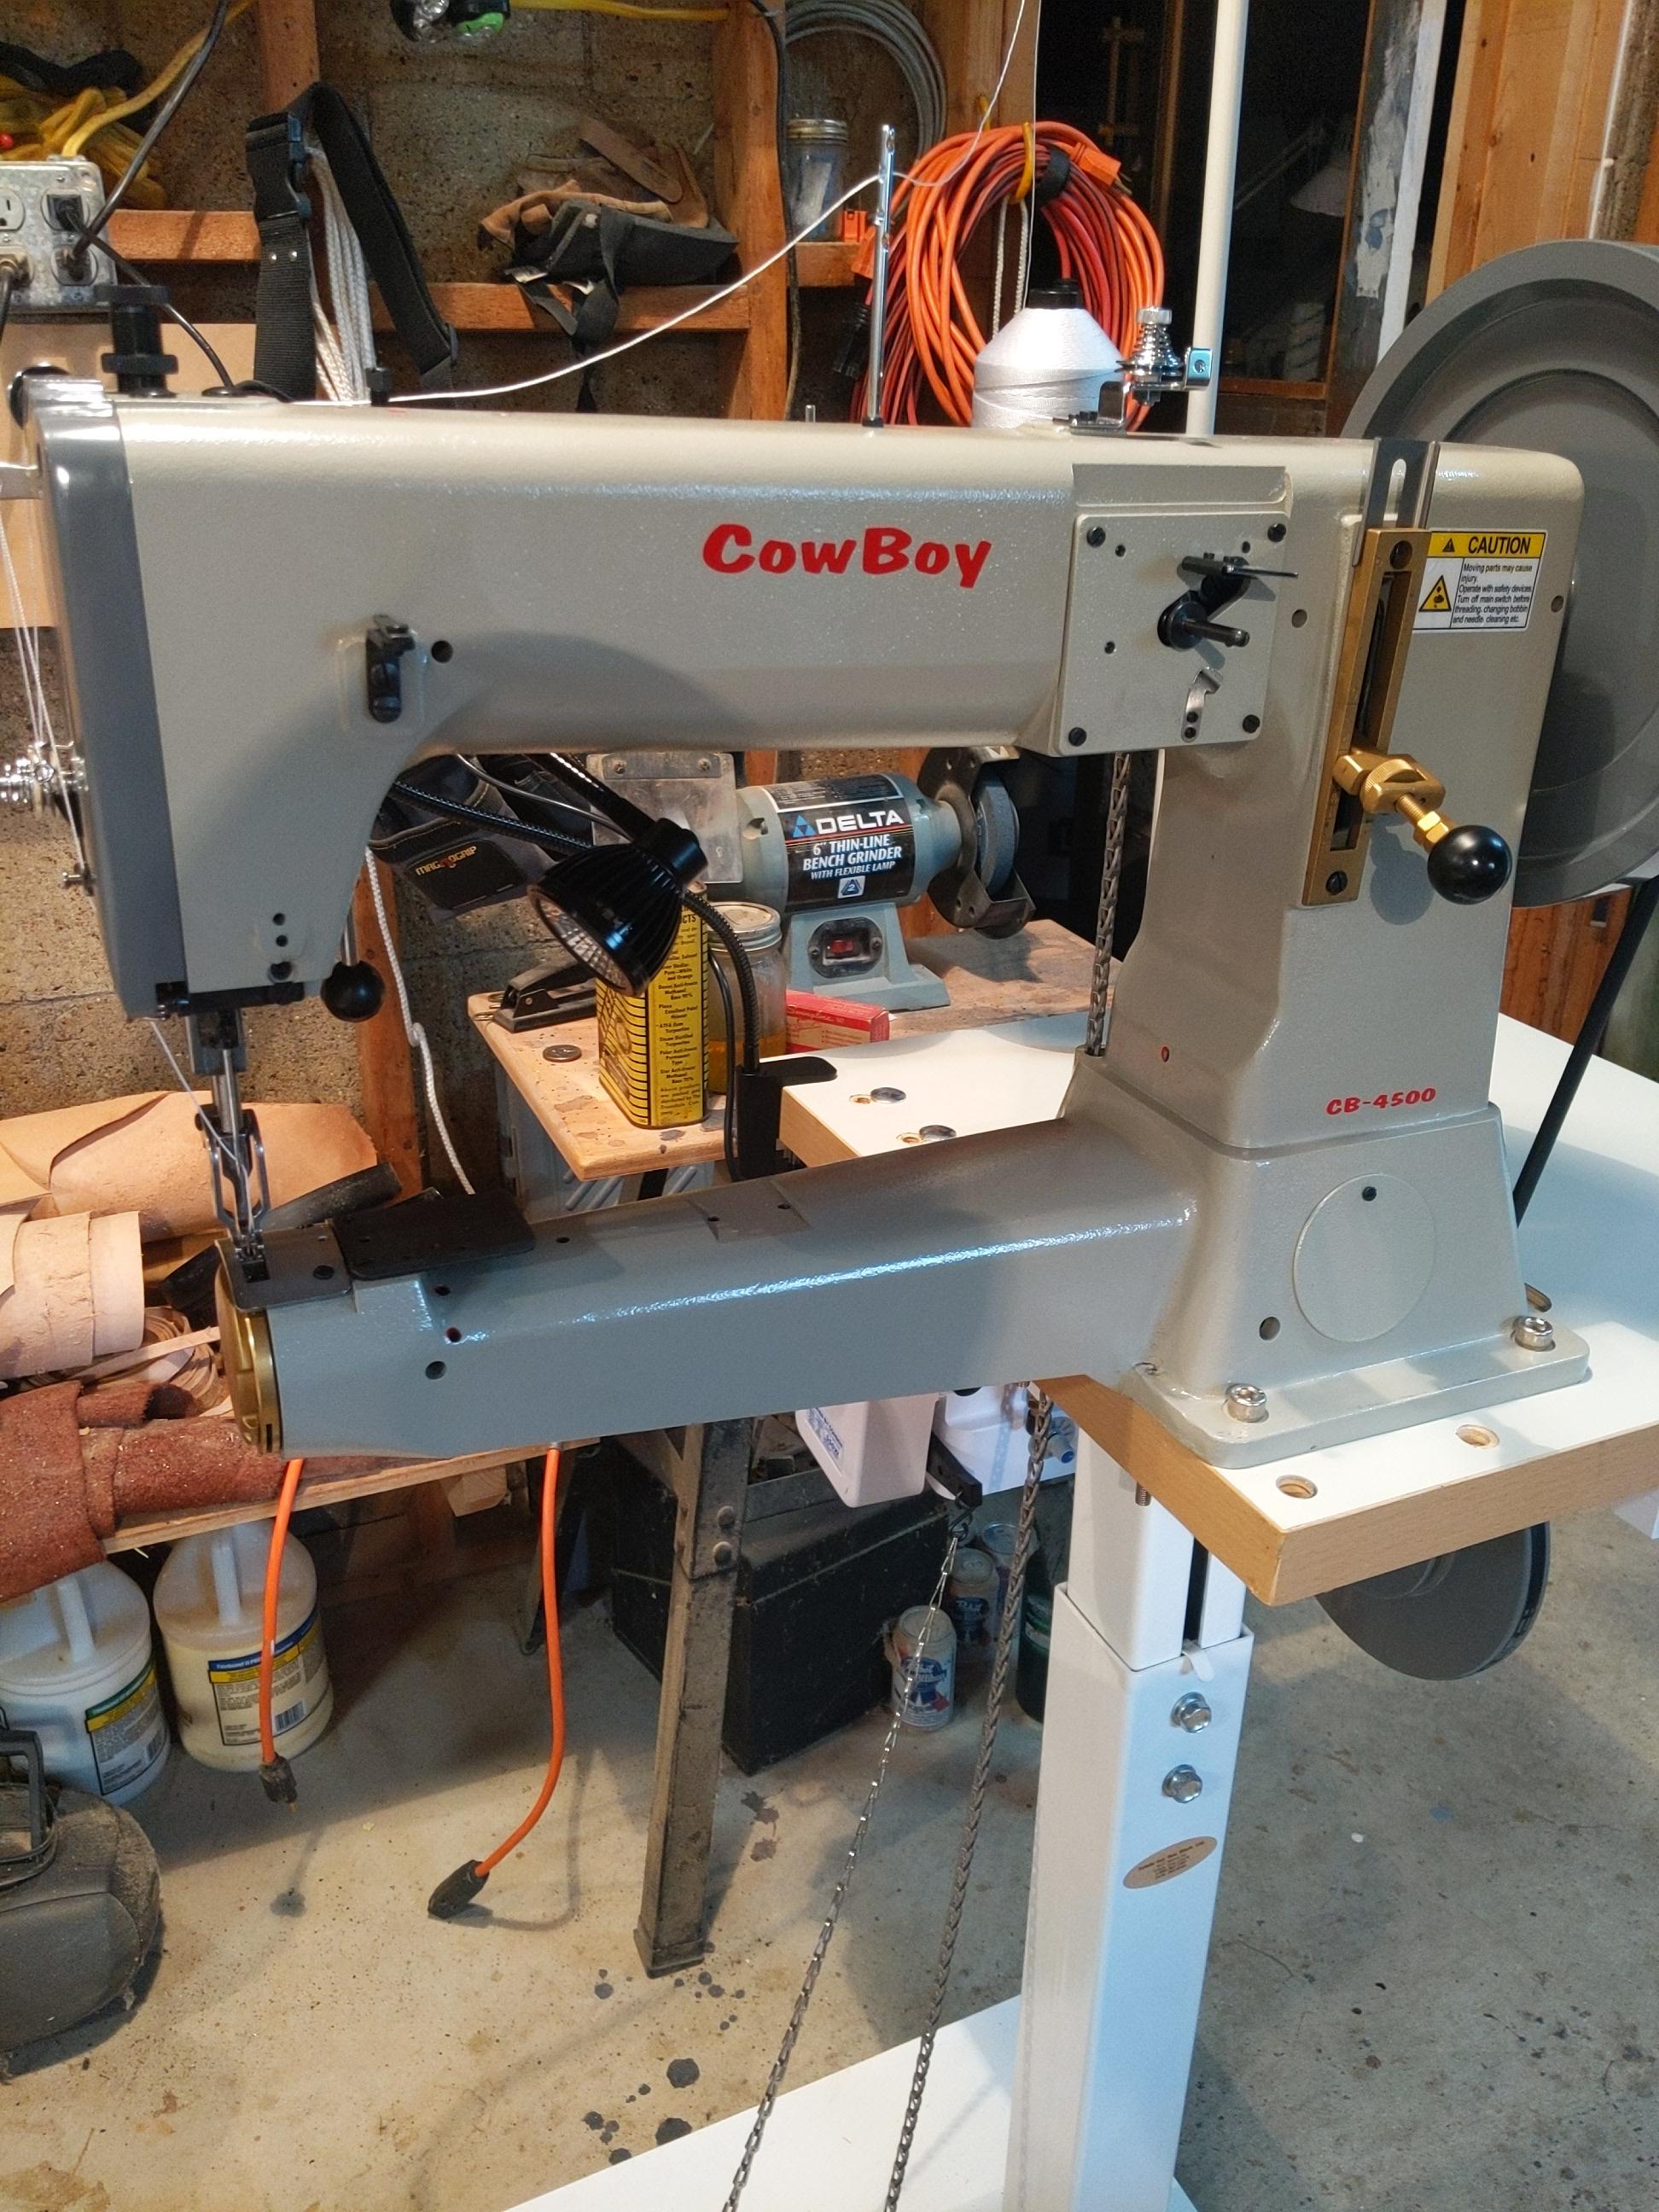
Just picked up my CB4500 from Toledo Industrial yesterday, Bob is great and super helpful. He mentioned something to me about heavier thread and thinner leather. Using 277 on top and 207 on the bobbin. Just curious if anyone does this with the cowboy and if yinze have any tips for a beginner as I start experimenting with my scrap bucket.
-
I have an old shopsmith, so changing wheels is easy. I shared because everytime I get a new punch, especially from CS Osbourne, it's dull. The last end punch I got took a couple hours with various stones to get into shape. With this and some 3M micro paper on dowels, maybe 30 min. Maybe you don't buy punches all the time, but when you do, time is money...and this system, or a felt wheel or micro papers are way cheaper and faster than stones, especially on odd shapes. I'd rather save my stones for chisels.
-
Thanks, I thought this might be the case. I have searched for CAD files of guns since I have a 3D printer.
-
Razor Sharp System I'm sure you can find it a little cheaper, but this is great for renewing a shaped edge and giving it a mirror hone. Took me 5 min to take a custom punch from raw shape to mirror bright and razor sharp.
-
The last comments I can find are from 2009, and a quick search gets me a few companies, Holster Smith.com, etc. Does anyone have a favorite budget gun blank to recommend? Has anyone used Cook's Gun Molds? How is the fit? Thanks
-
My First Western Rig
austinious replied to austinious's topic in Gun Holsters, Rifle Slings and Knife Sheathes
Thanks! -
A Part Time Gun Show / Renn Faire Business
austinious replied to austinious's topic in Marketing and Advertising
even easier.... Thanks! I'm putting together a list of questions when I talk to the Faire managers. -
Chapman's pack for Renn-Faires and markets
austinious replied to fredk's topic in Historical Reenactment
I was thinking of holsters for various trade folks, now I need to figure out a "pack" for them as well! These are all amazing!