


Stetson912
-
Posts
1,434 -
Joined
-
Last visited
2 Followers

Recent Profile Visitors
11,680 profile views


Stetson912's Achievements
Leatherworker.net Regular (4/4)
-

veg tan lined taco holster
Stetson912 replied to Genzale's topic in Gun Holsters, Rifle Slings and Knife Sheathes
Everyone has their own way. Revolvers can ve tricky because of the cylinder. On youtube there is video by jason ingle and Michael Dale. Called getting the perfect stitch lines. It is for a 1911 but the process will work for revolvers too. Once you have your stitch lines you can make a pattern. Parker leather goods has a few videos sowing his method. He uses acrylic templates to draw the pattern but you can free hand it. Those are easier than trying to explain it all. Dwight method will work for you too. No guesswork there haha -
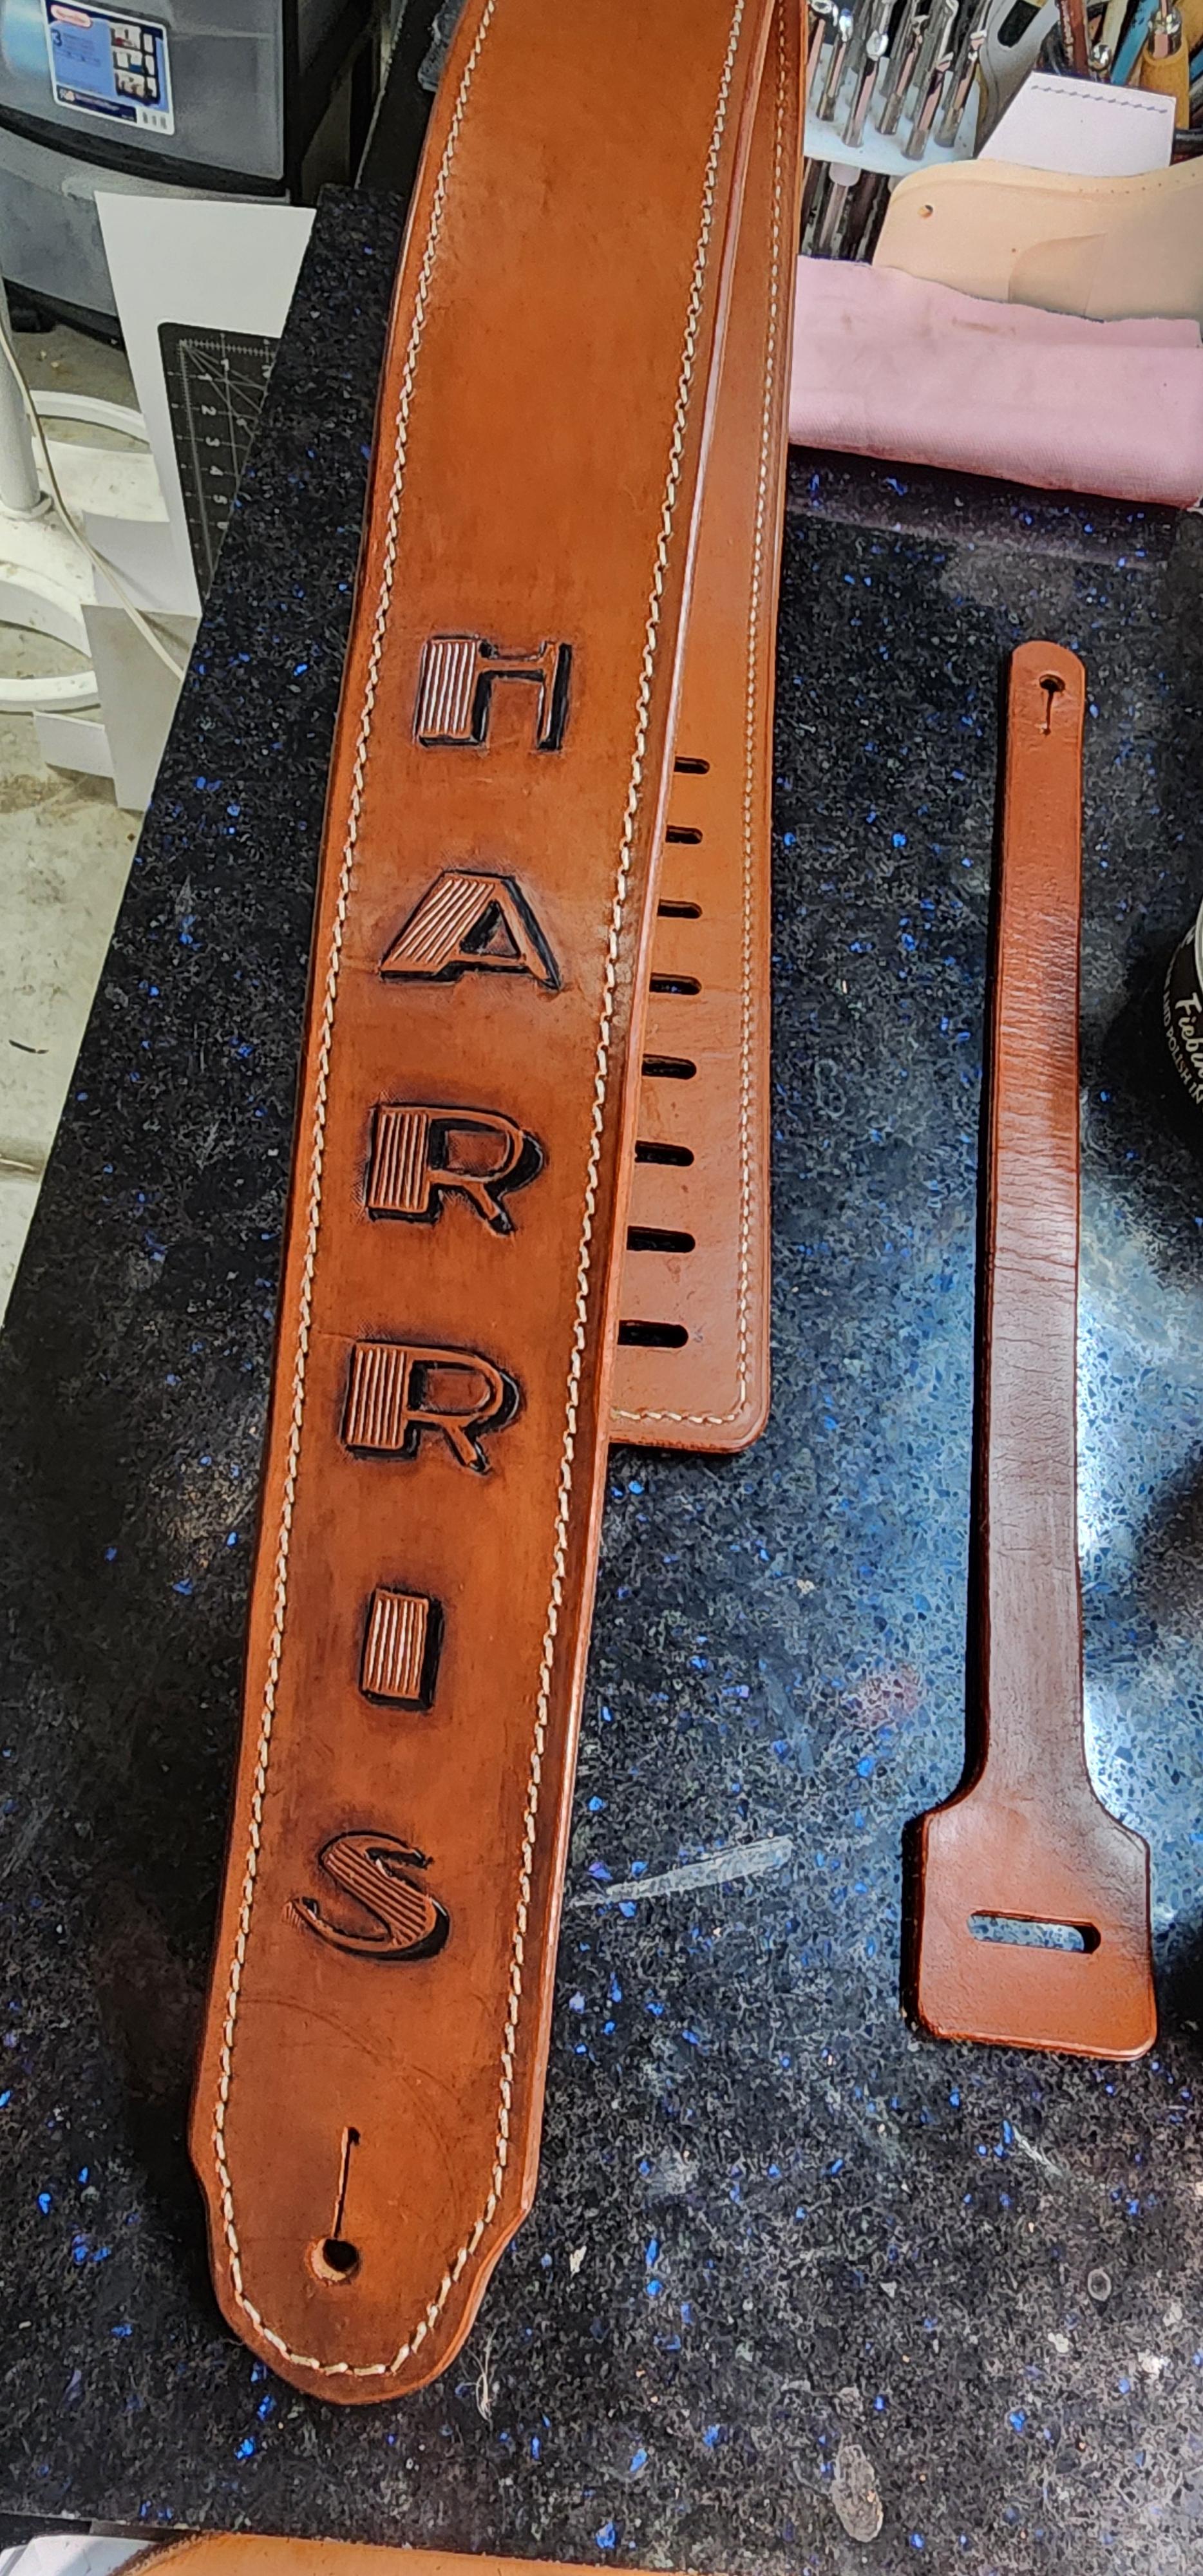
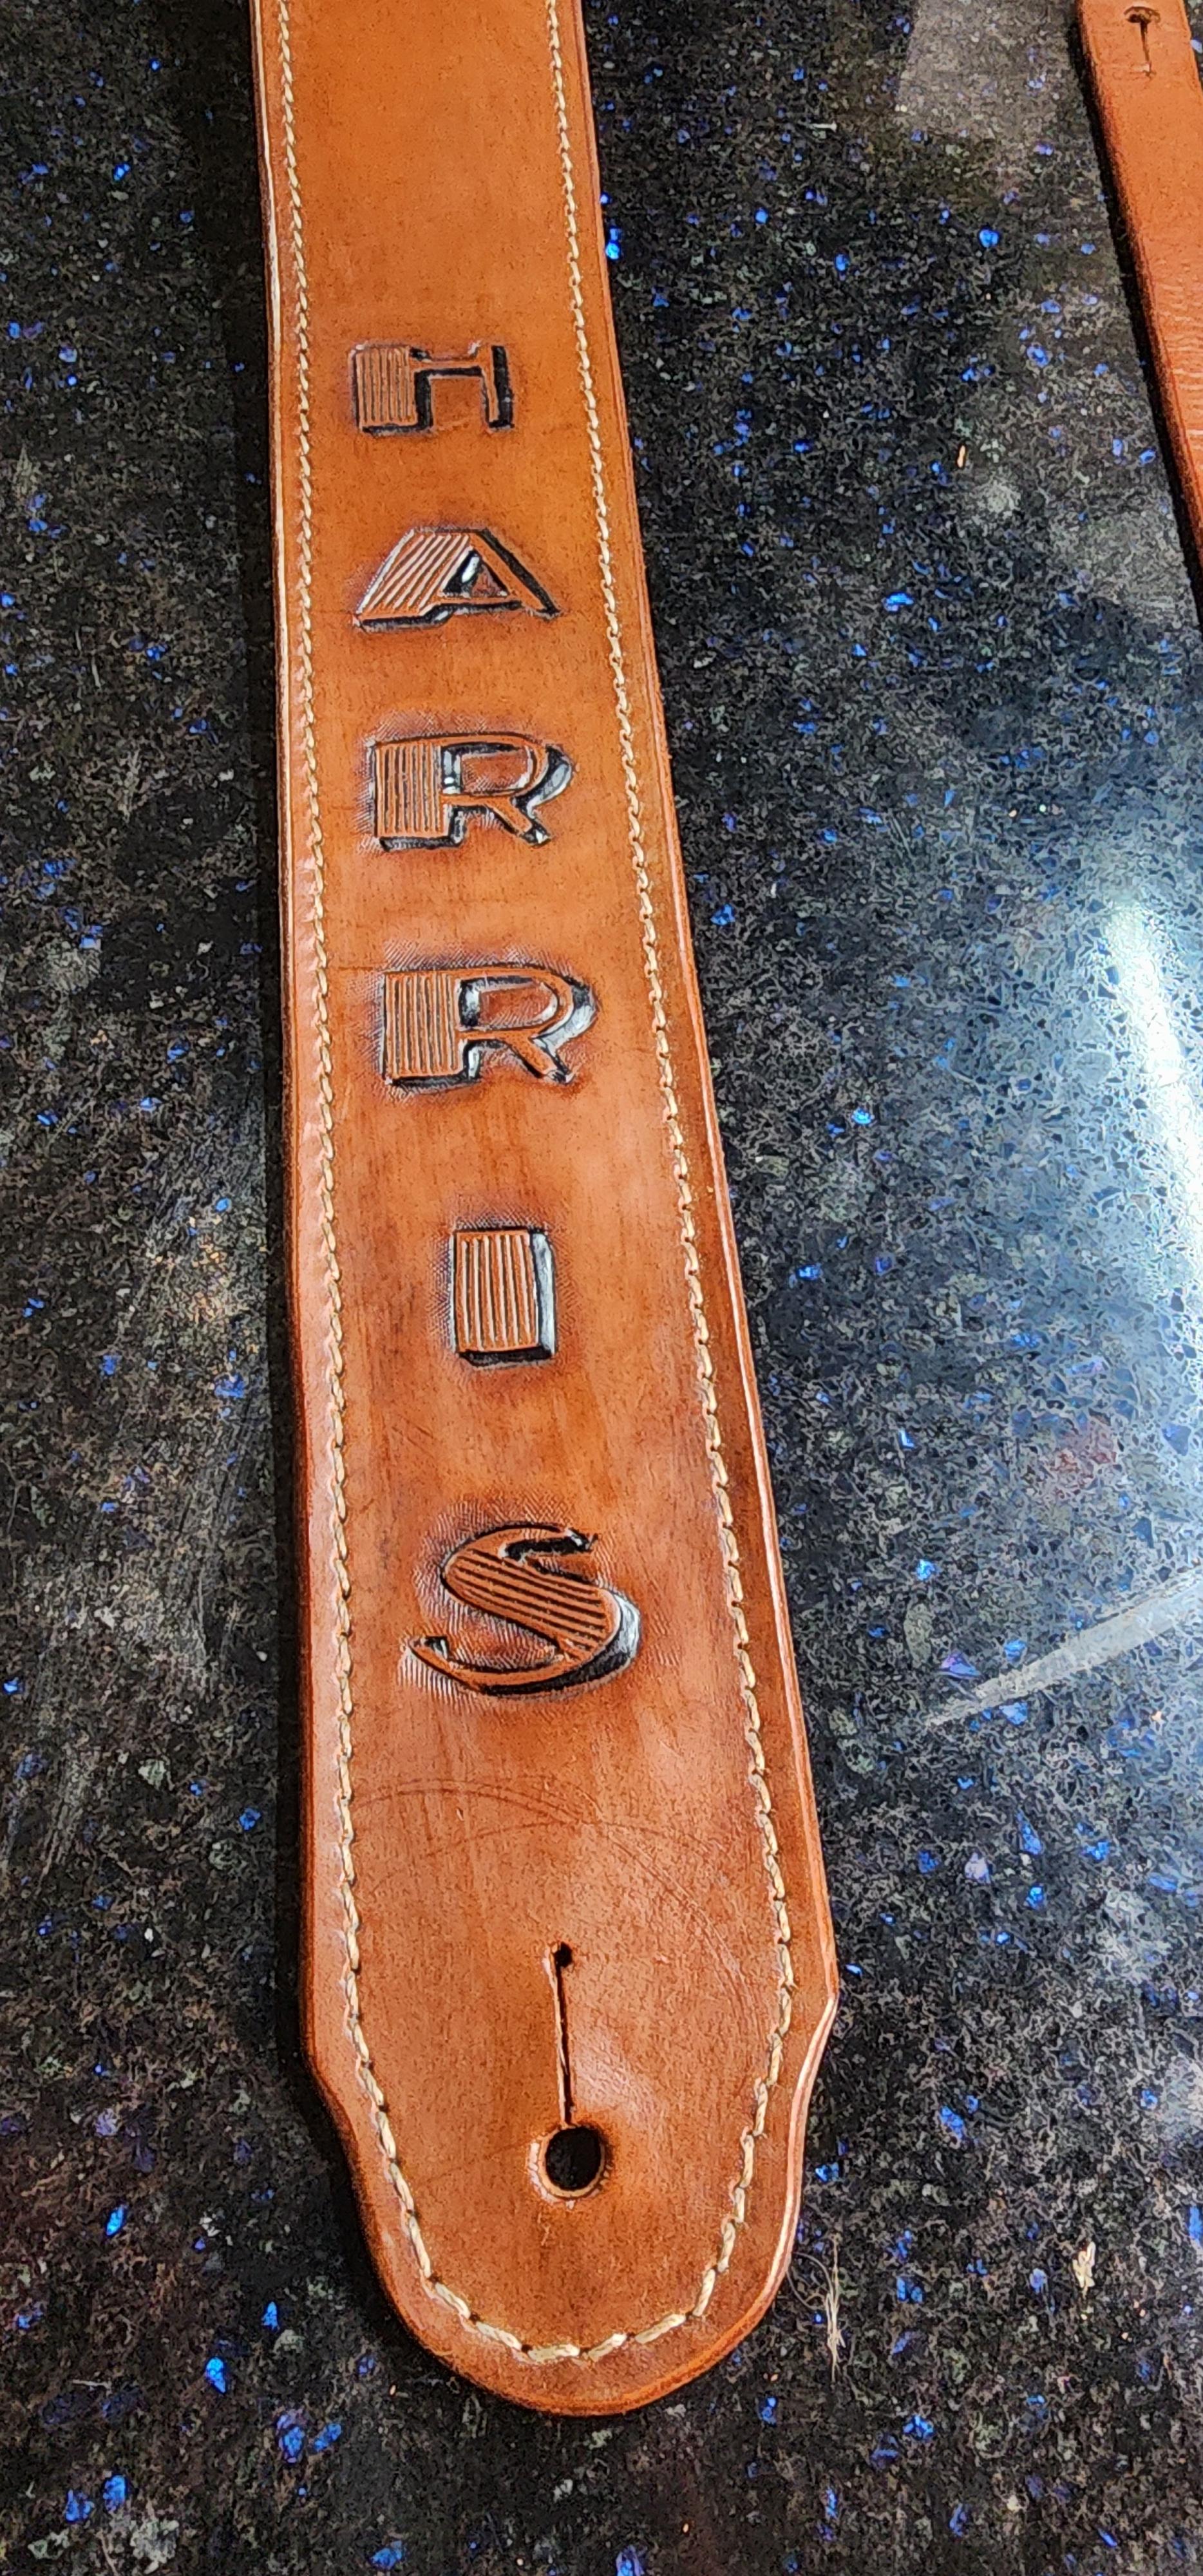
No, I was looking for retro and vintage Fonts and came across this one. It was more challenging to carve than it looks. I tried without the shadow but it didn't look right. And you have to tool it so it looks right, a lot of the long corner edges of the shadow aren't really beveled. Then I used renias black dye to color in the shadows and some antique for some grunge
-
I made this for an old friend. He was using an adjustable nylon strap and I thought he'd like a leather one. He liked this cool font so I tooled it up for him. Its a tight fit but secure, next one ill skive down the ends
-
It is my understanding that the fridge isnt doing anything for keeping moisture in. Its the bag. The fridge just delays molding. If youre doing a project that you'll have to come back too a bag should suffice fine. If it will be a few days then I'd stick it in the fridge. Peter main has a bigh sheet of tempered glass he uses. He would wet the leather and stick the glass on top and it would stay cased as long as he needed it too right on his bench. I believe this works because Moisture isnt lost much through the edges but the grain. Thats just my theory though
-
Thanks
-
Thanks it was fun and challenging. Its a cool effect too. when I saw jurgens in Florence a few years ago I was dumbfounded and didnt know how it was put together. Then I learned how its done and its simpler than it looks. Its on learn with illume if youre interested.
-
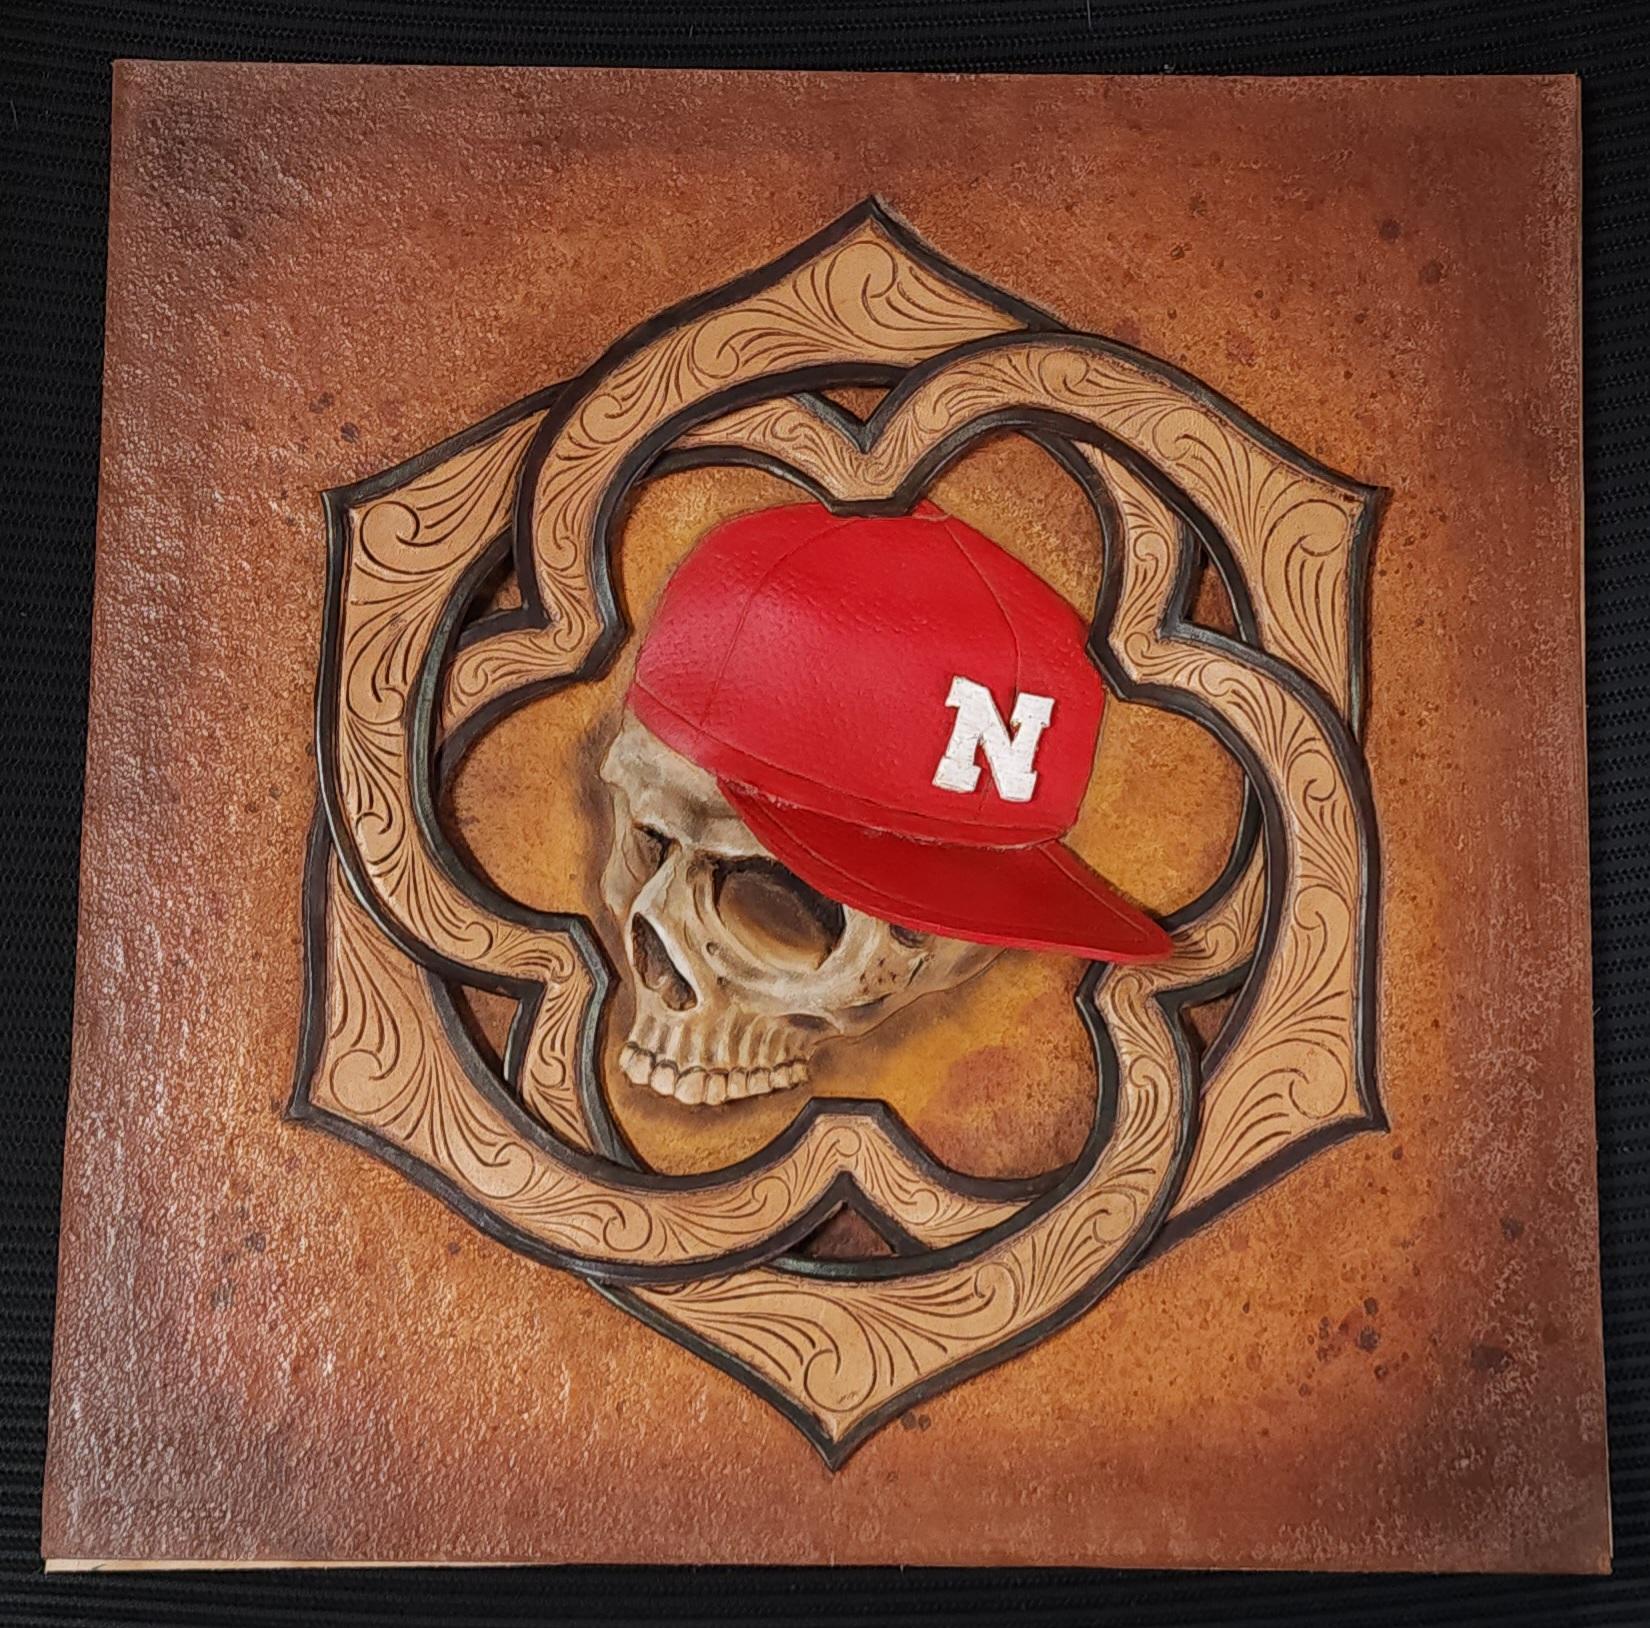
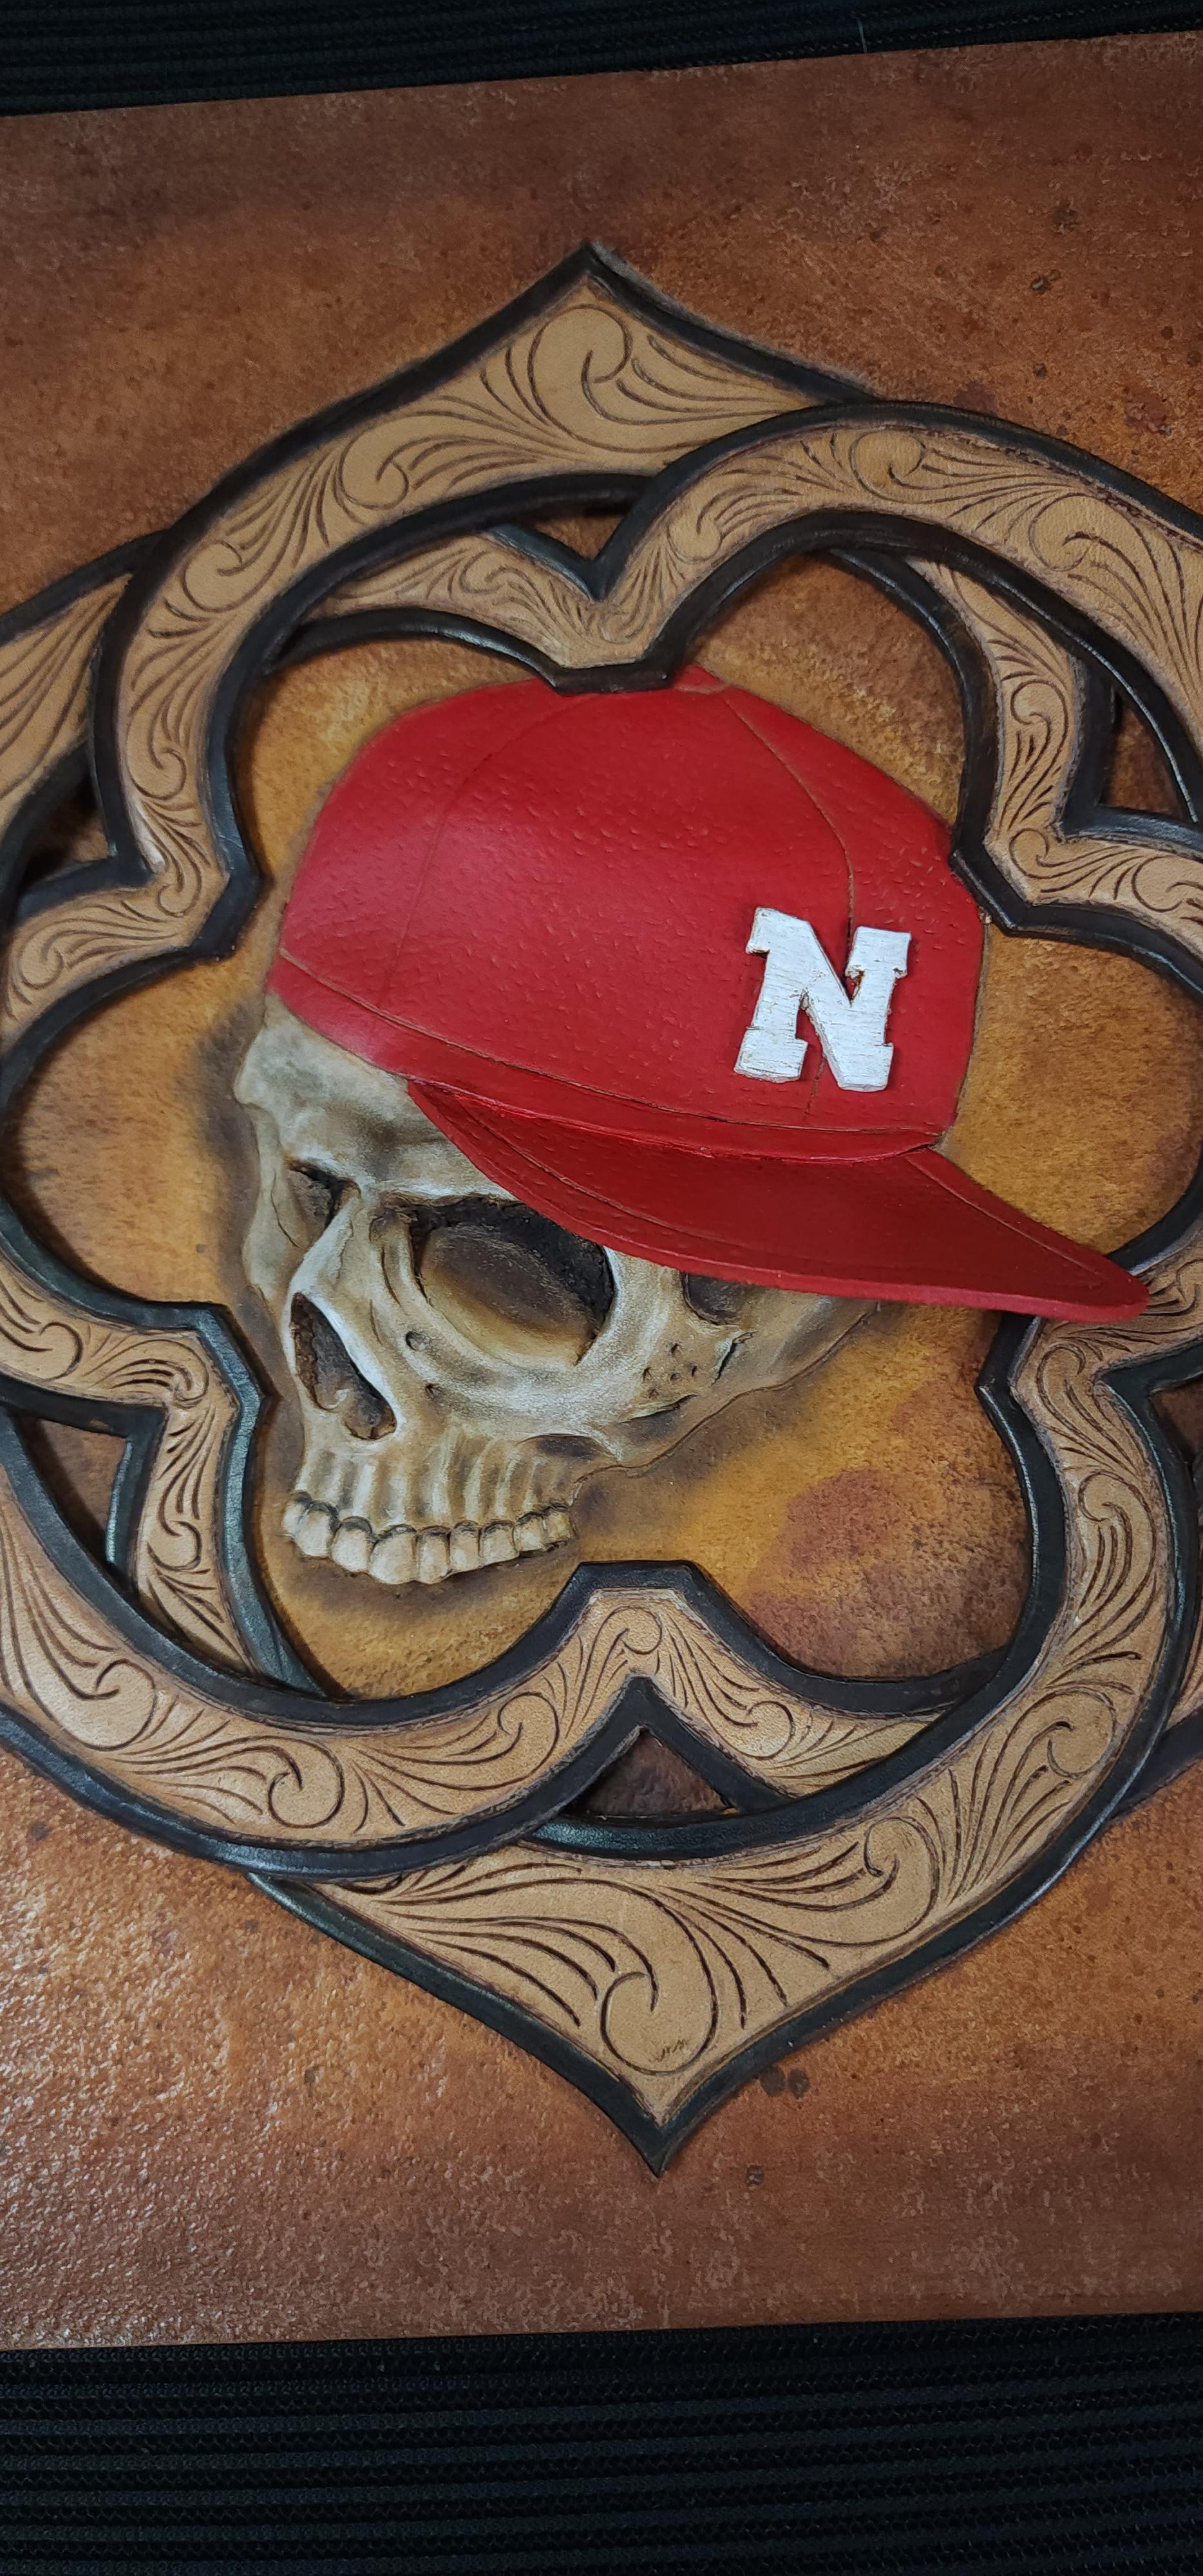
It took me a week to do but im happy with it, my dad is a nebraska fan so, I figured it would be a good Christmas gift. This challenged me on many levels but I like how it came out, and that rarely happens haha. Hope you like it, cheers!
-
Interesting Holster Project
Stetson912 replied to MarlinDave's topic in Gun Holsters, Rifle Slings and Knife Sheathes
Well along with the 2 layers of 6/7 oz (my personal favorite option) and the patch idea, id also suggest possibly making a loop style cowboy rig. You could attach the button to the loop and not have to line the holster if thats an issue. I know it alters the design but its another option. -
My version of Milt sparks 1-at
Stetson912 replied to Stetson912's topic in Gun Holsters, Rifle Slings and Knife Sheathes
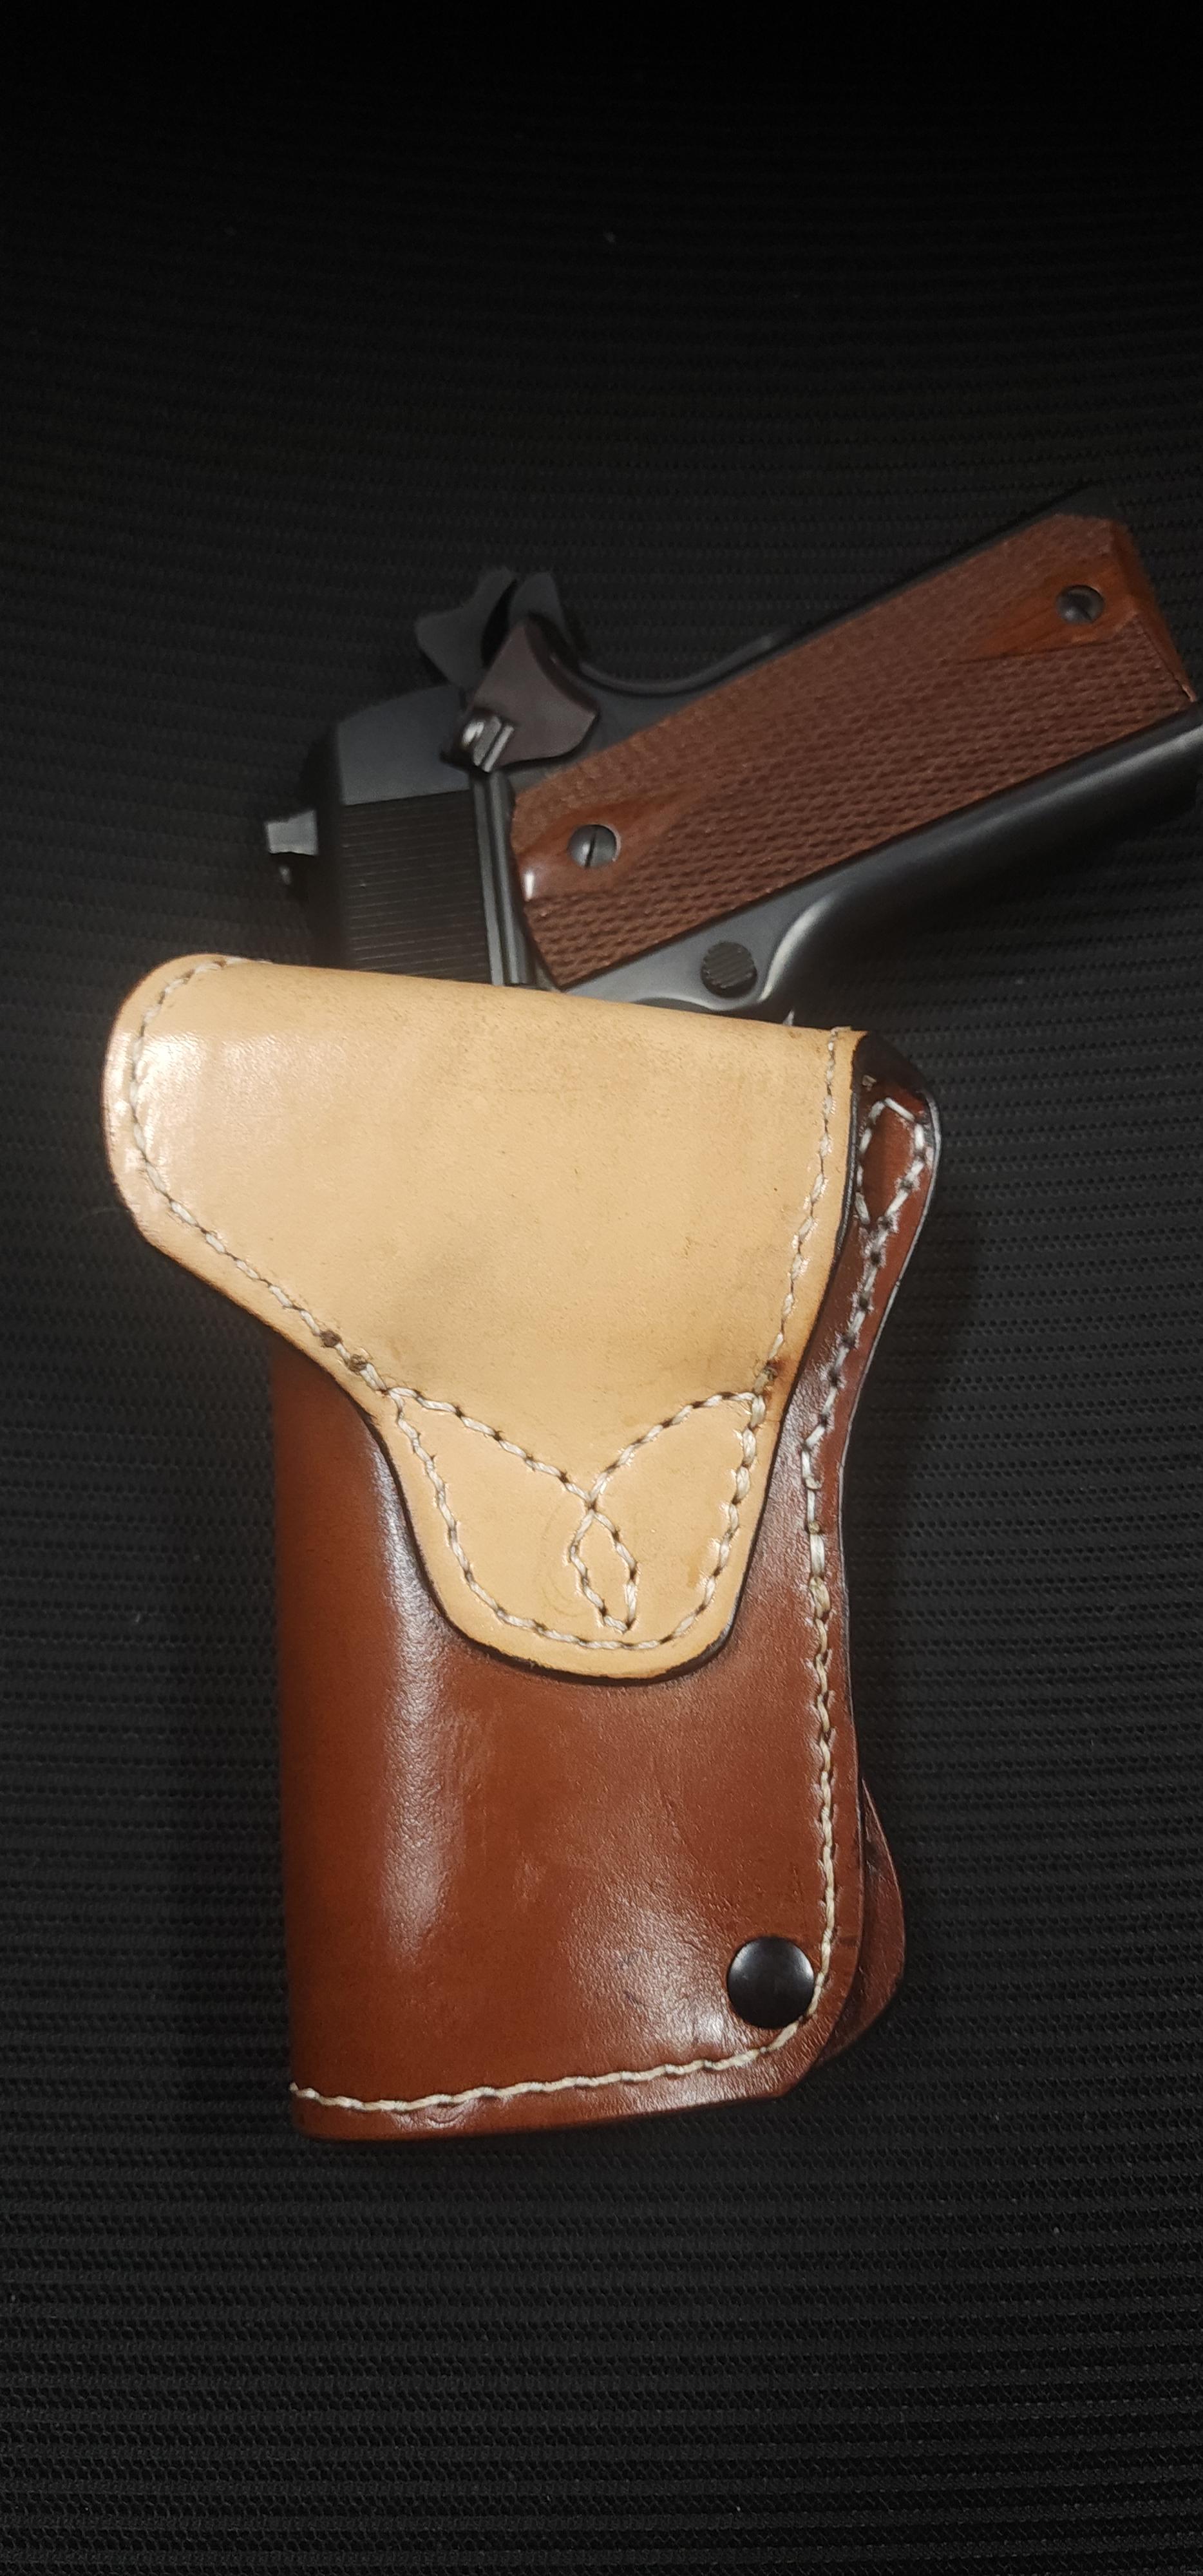
Thanks. The view of the welt was before finishing. I forgot to mention that. It was an interesting build for sure. -
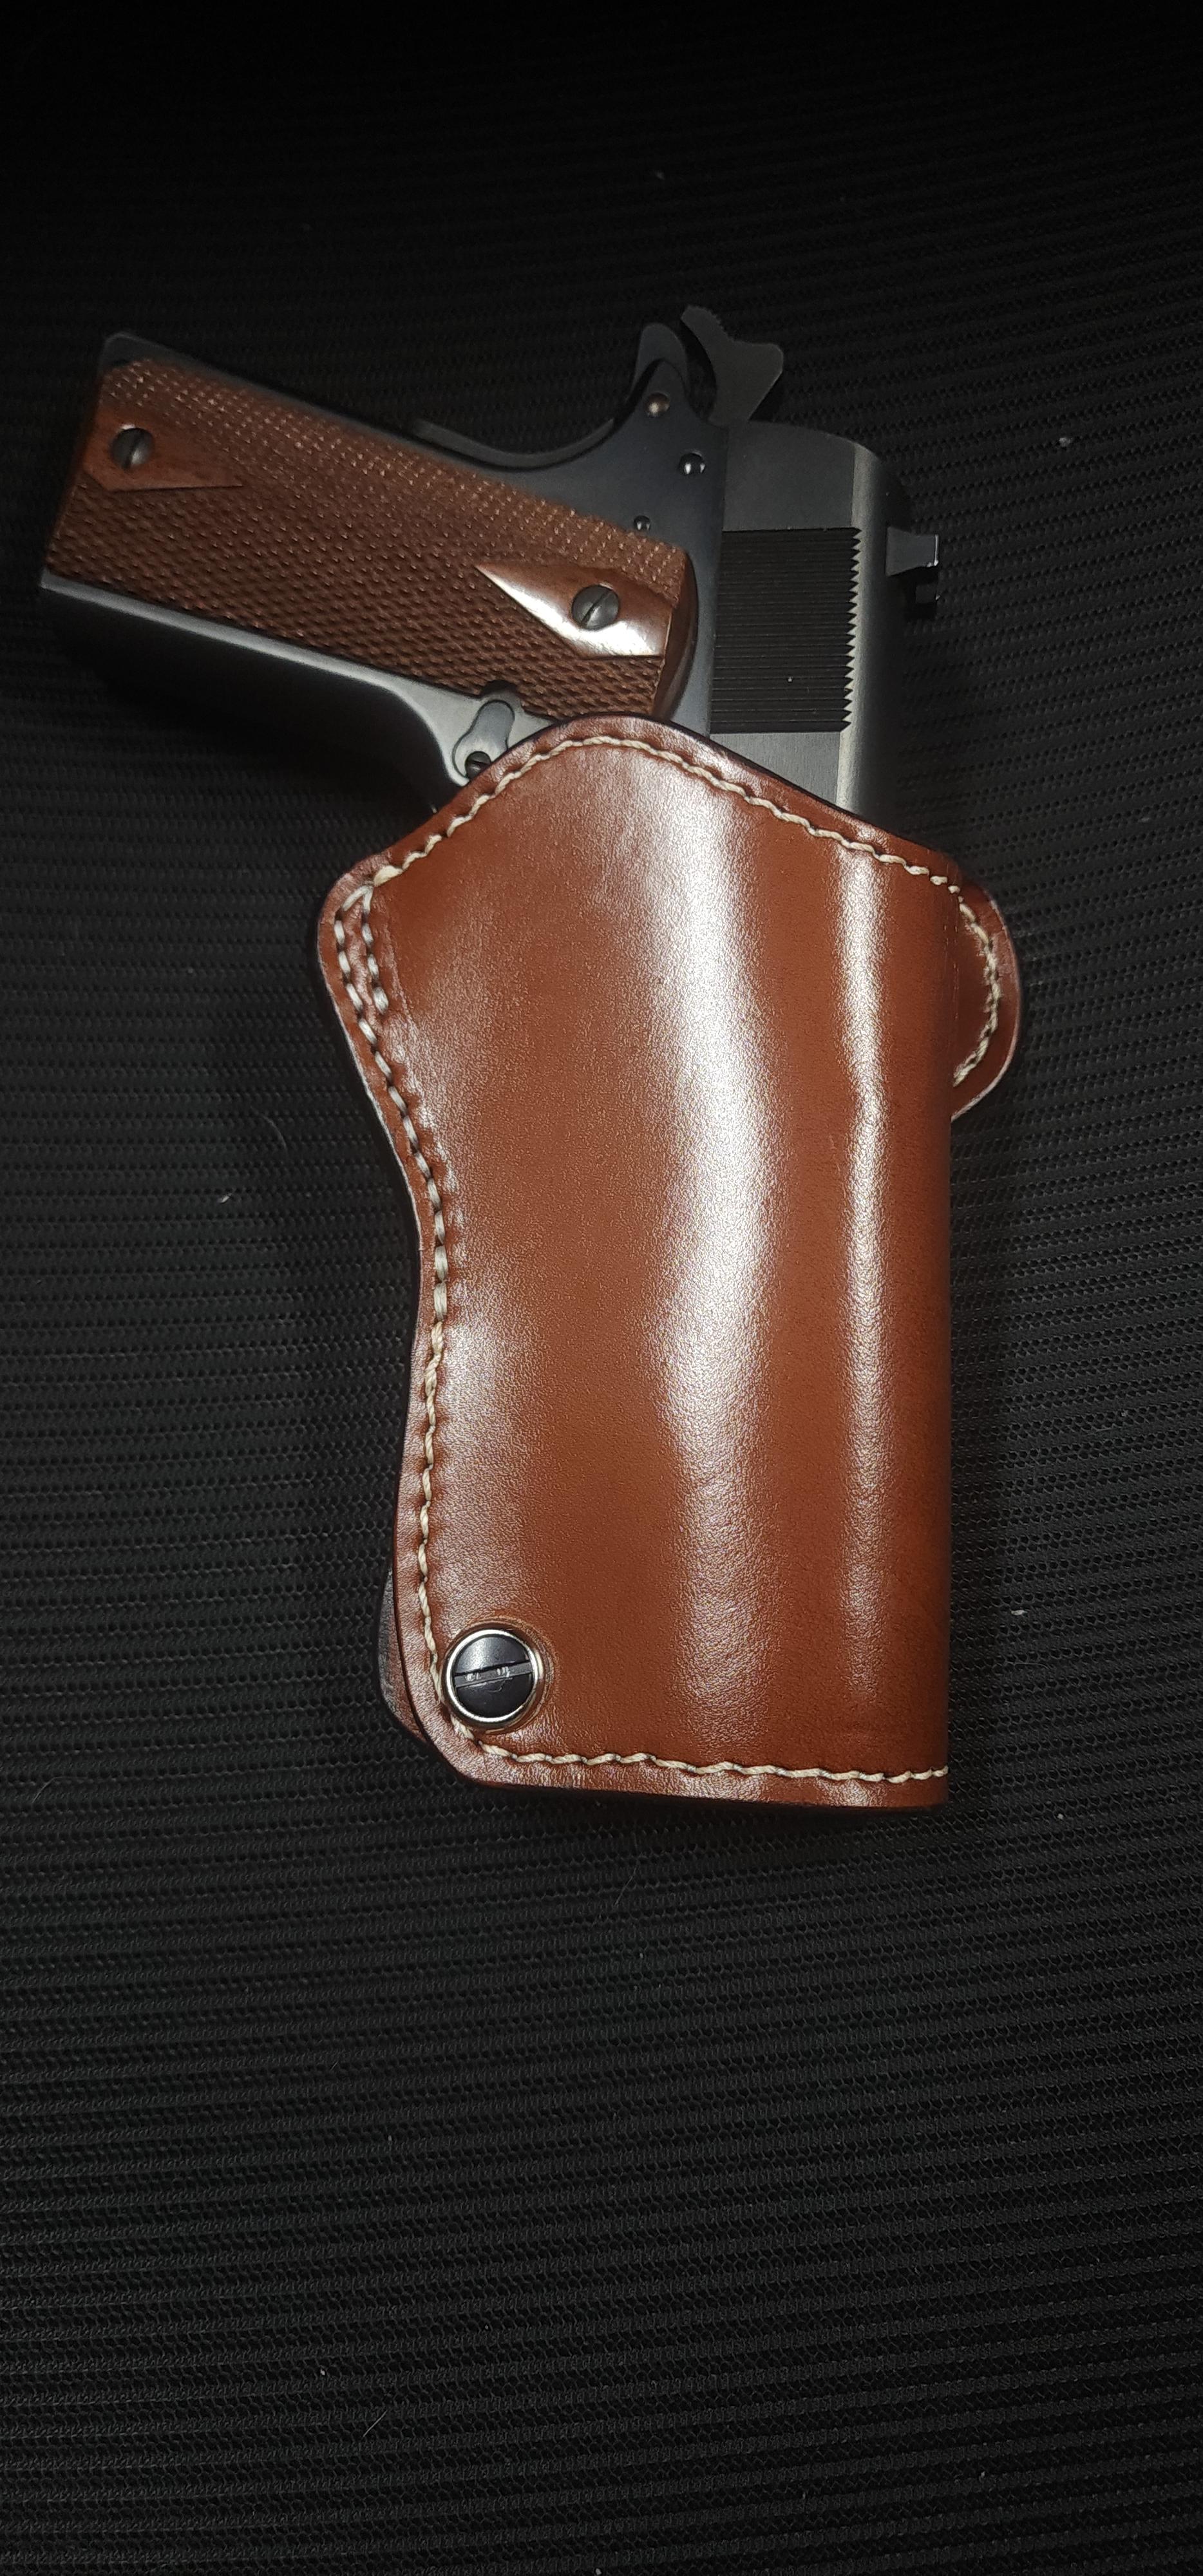
I went down this rabbit hole, it was fun. I need to order better hardware but you get the point. The 1at by milt sparks has an oddly shaped adjustable welt that adjusts tension. This is for a 5" 1911. It is a behemoth with the body being 2 layers of 6/7 oz and the welt is 4 layers for a total of 8 at the thickest part (about.75" thick). It also has sewn in sight rails that was interesting. I sewed them to the liner so you cant see them on the front. Im not a fan of hand stitching that welt either, but we do what is necessary haha.

-
As @KillDevilBill was saying , and how I understand it. The laminated leather has 2 layers of full grain which is the strongest part of the leather. And they would be in different directions adding strength similar to how a weave or braid does.maybe better would be something like plywood. The layers are laid in opposing directions allowing for a strong end material. And the contact cement itself is strong in its own right and probably adds a bit to the overall strength of the laminated leather.
-
@Dwight that is the advantage to your method, no wrinkles. Ill have to try this one out on the one im working on. Usually it isnt much of an issue with pancake style, but foldover or ones with folded belt loops it is.
-
Chris Andre does his with 2 layers of equal weight. I do this when I want a lined holster and I can say it is very stiff. My method is different than Dwight. I just glue 2 layers together and treat it as I would normally. I haven't read the article but I do know bianchi was a fan of using suede linings, in which case would be lighter in weight and adhered to the heavier holster body. I'd recommend 2 layers if 4/5 oz for owb and 3/4 for iwb.
-
New Knife Sheaths
Stetson912 replied to Dwight's topic in Gun Holsters, Rifle Slings and Knife Sheathes
Nice collection there -
Between belt and pants
Stetson912 replied to Stetson912's topic in Gun Holsters, Rifle Slings and Knife Sheathes
I don50/50 on pancakes. The only time I think the offset molding would benefit on a pancake is if the feller is very thin. Even then, i keep my slots relatively close to the gun. About 1" to center of the slot. This xdm is quite a brick. Im looking into better carry weapons at the moment. It doesnt fit my fat hands either. The digging wasn't too bad but I agree I can extend the sweat guard a bit more. I've seen some reverse avenger style bbp holsters without the wing. That I think would allow more versatility in placement, but I like the thought of the wing helping keep things in place even though its mostly the belt