-
Posts
18 -
Joined
-
Last visited
Recent Profile Visitors
cbossio's Achievements

Member (2/4)
-
Logo / Maker's Mark / Hot Press or Cold Press?
cbossio replied to SewMuchToLearn's topic in Getting Started
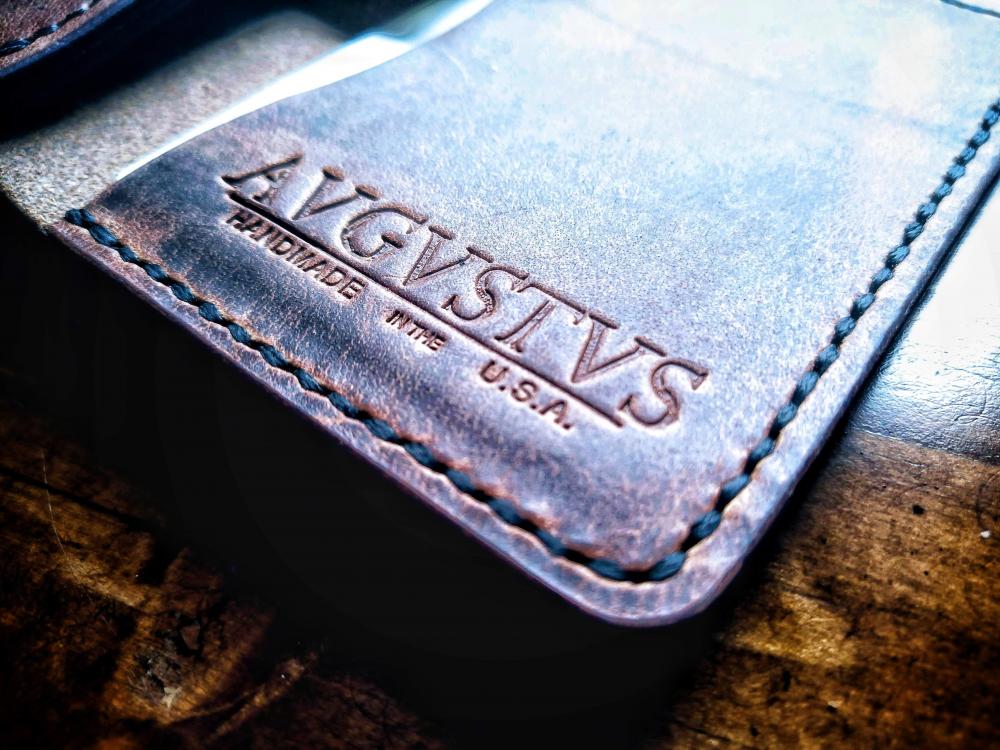
This is my stamp on horween derby (dublin and derby are essentially the same thing). You can get a decent impression but don't expect to achieve it with the usual casing with water and mallet. That won't do much to this leather. This was a brass stamp pressed in with a cheapo harbor freight 1-ton arbor press. If you want to be even cheaper and your forearms are up to the challenge, you can skip the arbor press and get a decent impression with a couple of clutch wood clamps (no trigger or spring clamps) and something solid and flat like a cutting board. -

My 1st western style holster
cbossio posted a topic in Gun Holsters, Rifle Slings and Knife Sheathes
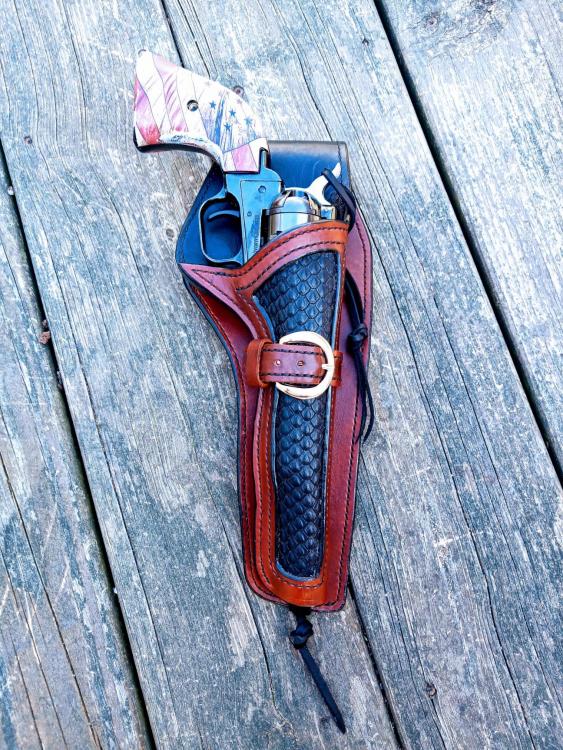
This is my first western style holster and my first attempt at doing an inlay. I learned from these two youtube videos: Drawing the pattern: Video Design: Video I know I just imitated other's work but it got my feet wet and I now feel more confident about future projects. -

Ruger P89 Holster
cbossio replied to cbossio's topic in Gun Holsters, Rifle Slings and Knife Sheathes
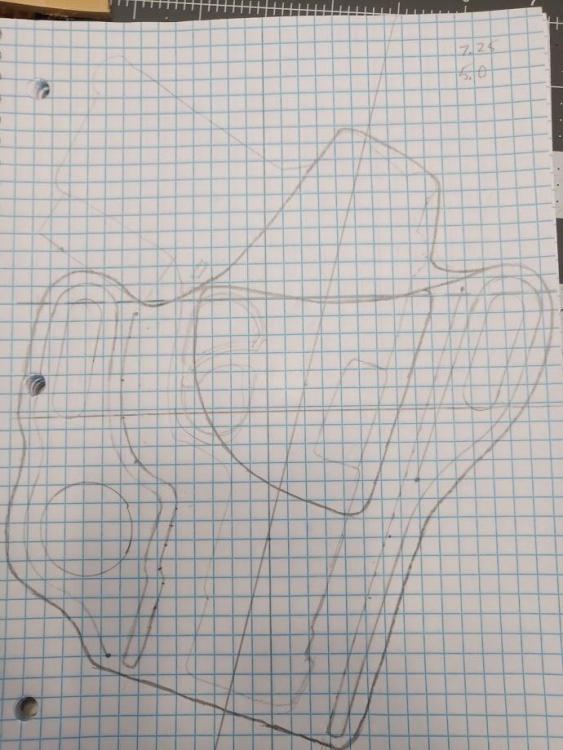
I'm not sure how helpful this is, but I could send you my chicken-scratch pattern if you're interested. -

Ruger P89 Holster
cbossio replied to cbossio's topic in Gun Holsters, Rifle Slings and Knife Sheathes
It's just a screw back concho. Nothing special done to it. The head of the screw was fairly flat and I used 9-10 oz leather. The small head wasn't a large enough object to make a dent in the back of the holster. In the past when the leather wasn't thick enough to hide the screw head, I rotated a punch like a hole saw to cut into the back of the leather (not cutting all the way through and only spinning the punch, not using a mallet) and then used a hobby knife to hollow out the cut. The screw head then sits in the hollowed out portion of the leather. -
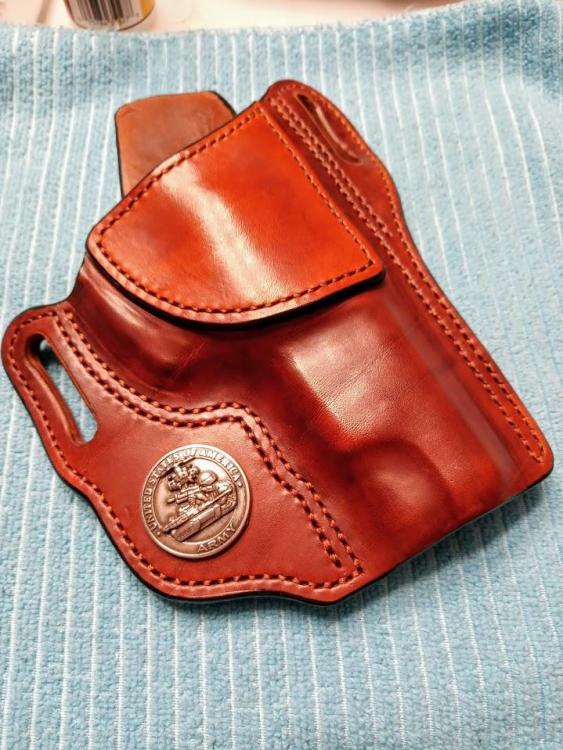
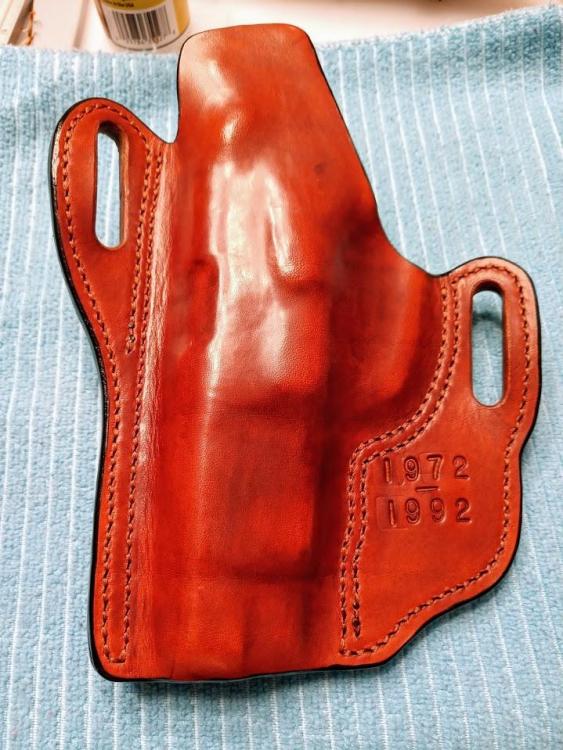
I made this for a guy at work. It was a father's day gift for his dad. I've made a few holsters before but this is the first one I've actually felt good about. It's not perfect but it's the fist time I've looked at a finished product and seen more beauty than flaw. Unfortunately, I neglected to take a picture with the gun actually holstered.
-
I'm not sure what there would be to critique. That's beautiful. I'd be proud to hang that and I think you just sold me on the idea for next years Christmas gift for my mom.
-

Long Wallet
cbossio replied to cbossio's topic in Purses, Wallets, Belts and Miscellaneous Pocket Items
I was actually worried that I used too much water, but I''ll try giving it some more. I haven't been using a sponge or anything to case it. I've just been running the grain side under a water faucet for 1-2 seconds. Initially I thought the stamping looked pretty good until I oiled it and began folding. Then it seemed like the stamps began to fade. My stamps were a very cheap starter set of 20 off amazon. There's a noticeable difference between the ones I have and the ones marked tandy that I've seen at hobby lobby. So, I blame 5% on the tool and 95% on the craftsman. How long do you usually let the leather sit to absorb the water? -
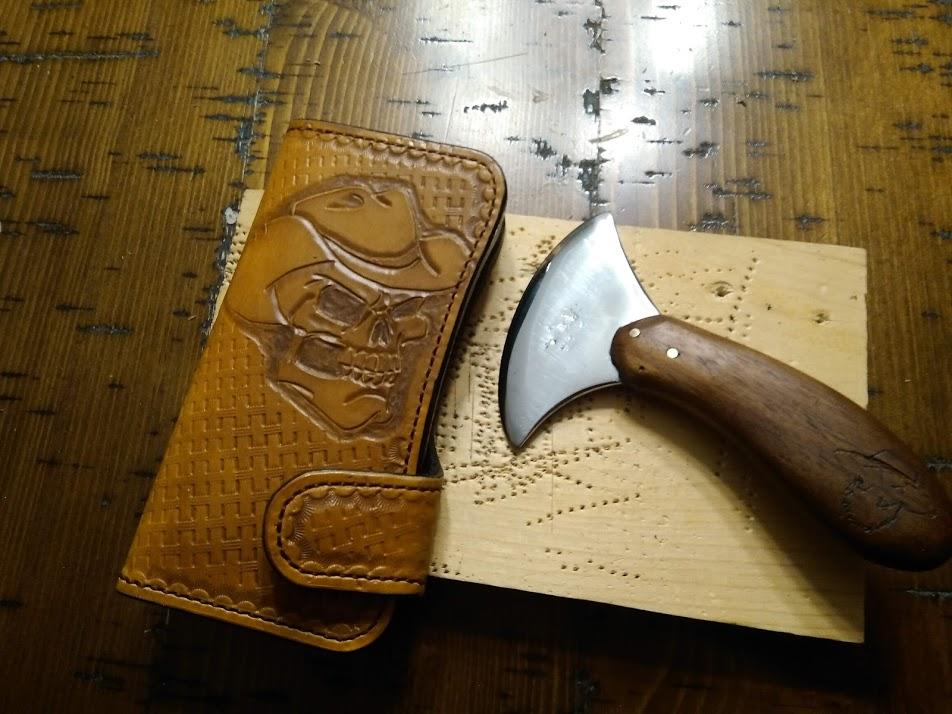
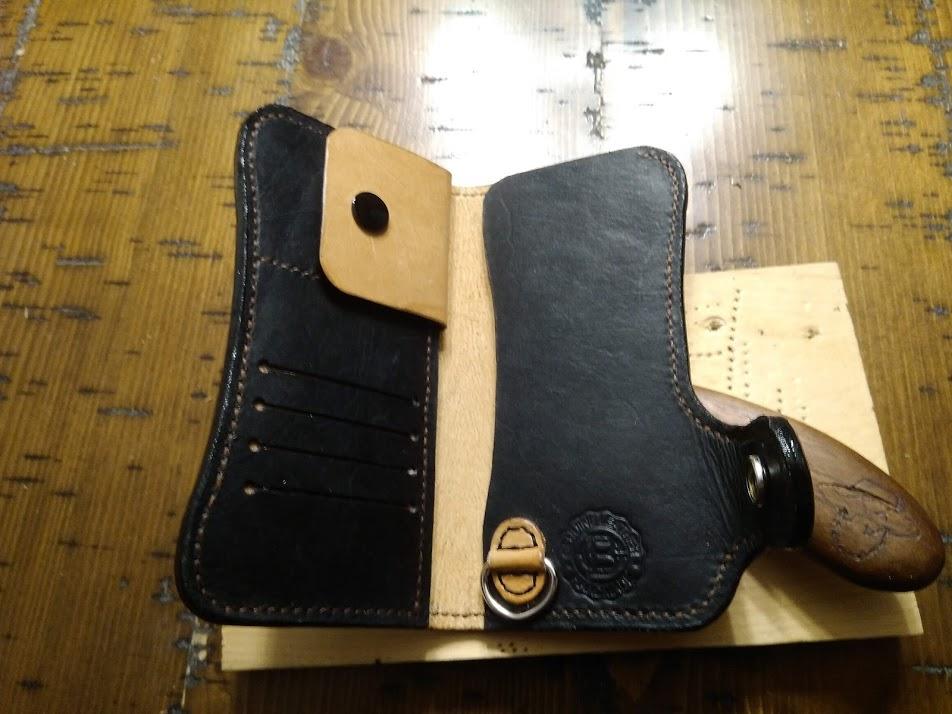
This was my first attempt at carving. I found a random picture on the net and gave it a shot. It was a lot harder than the youtube made it look. Hats off the to the folks that are able to properly tool because damn, you folks are artists. So, another learning experience. I learned that 9oz is way too thick to make a comfortable wallet. I learned that my crap stamps are indeed crap no matter how hard I hit them. I also learned that I should have researched what "genuine leather" means before I had a stamp made.
-

Notebook Covers
cbossio replied to cbossio's topic in Purses, Wallets, Belts and Miscellaneous Pocket Items
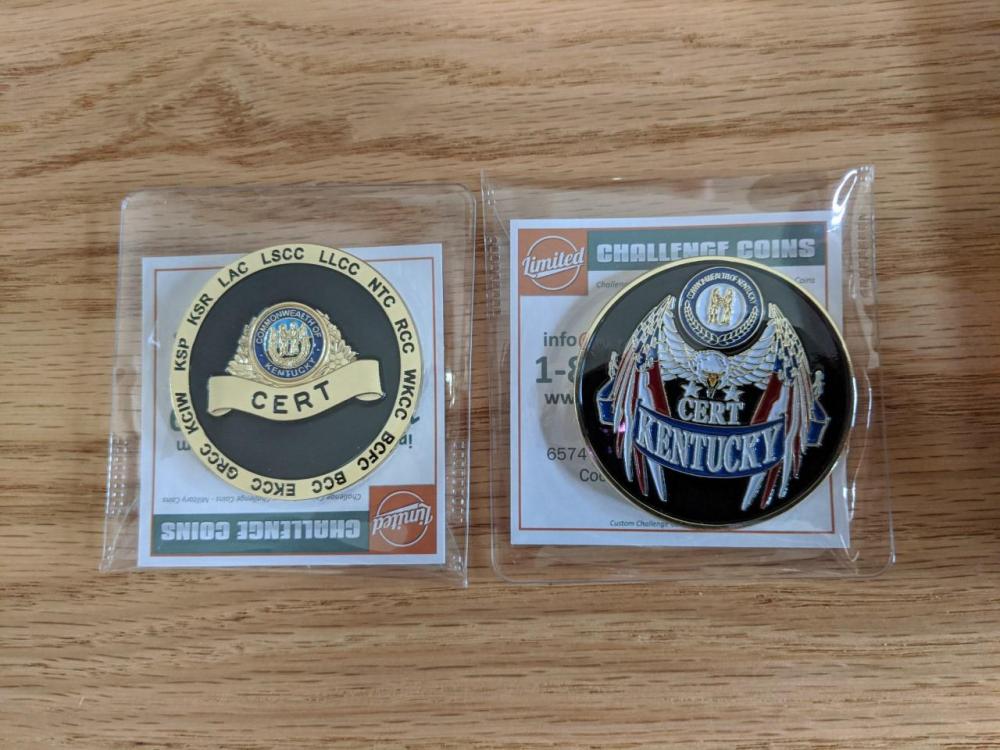
Challenge coins started in the US military. It's a coin with a unit insignia. There's a whole tradition involved in the "challenge" that varies from unit to unit but are mostly just used as collectibles. They've since branched out from the military and are pretty popular in law enforcement. Here's an example of one we just got for our department. -

Notebook Covers
cbossio replied to cbossio's topic in Purses, Wallets, Belts and Miscellaneous Pocket Items
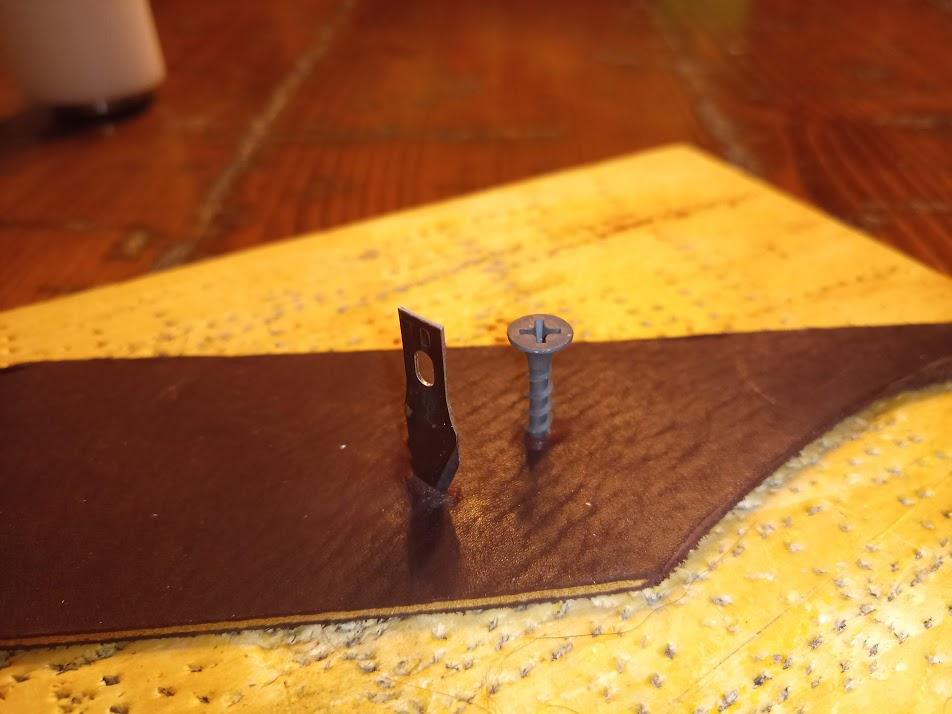
Cutting the circles was a beast. I tried (and failed) a bunch of different ways. Freehand, a compass with a blade attached where a pencil would go, spade bit... At one point I was scouring the hardware store for a hole saw out of desperation. They didn't have the size I needed so I don't know how that would have turned out. This is ultimately the setup I ended up with. I literally just screwed the leather to a scrap piece of wood, love tapped a spare hobby knife blade into the wood, and then spun the piece of leather around the screw. It was surprisingly effective. -
No safety to expose. Just a heavy trigger pull.
-
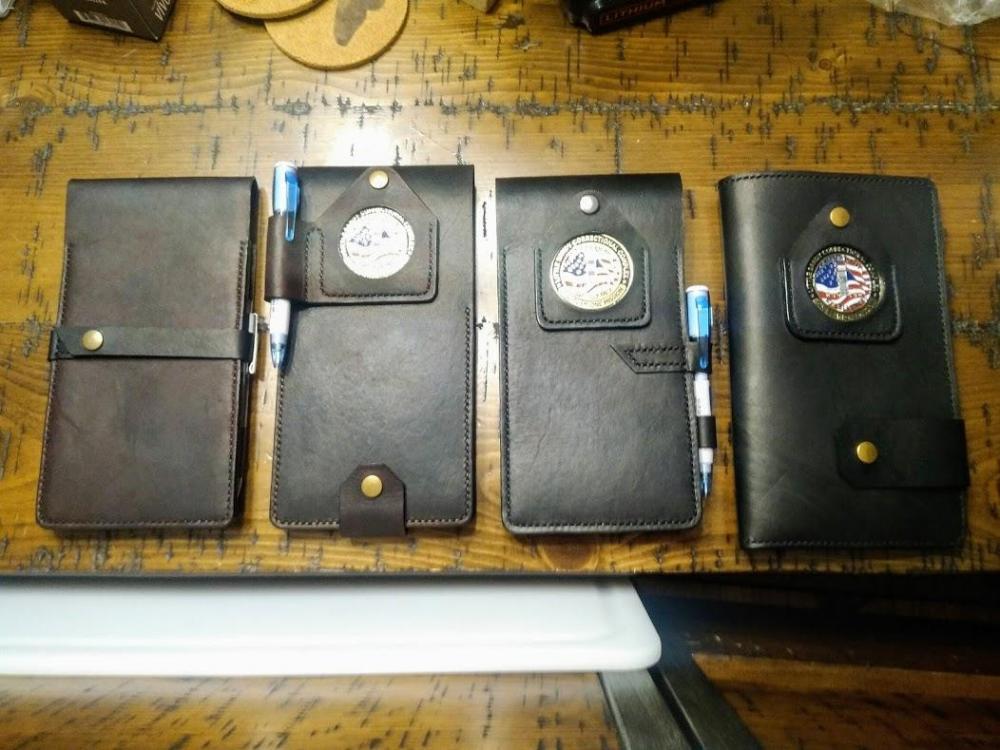
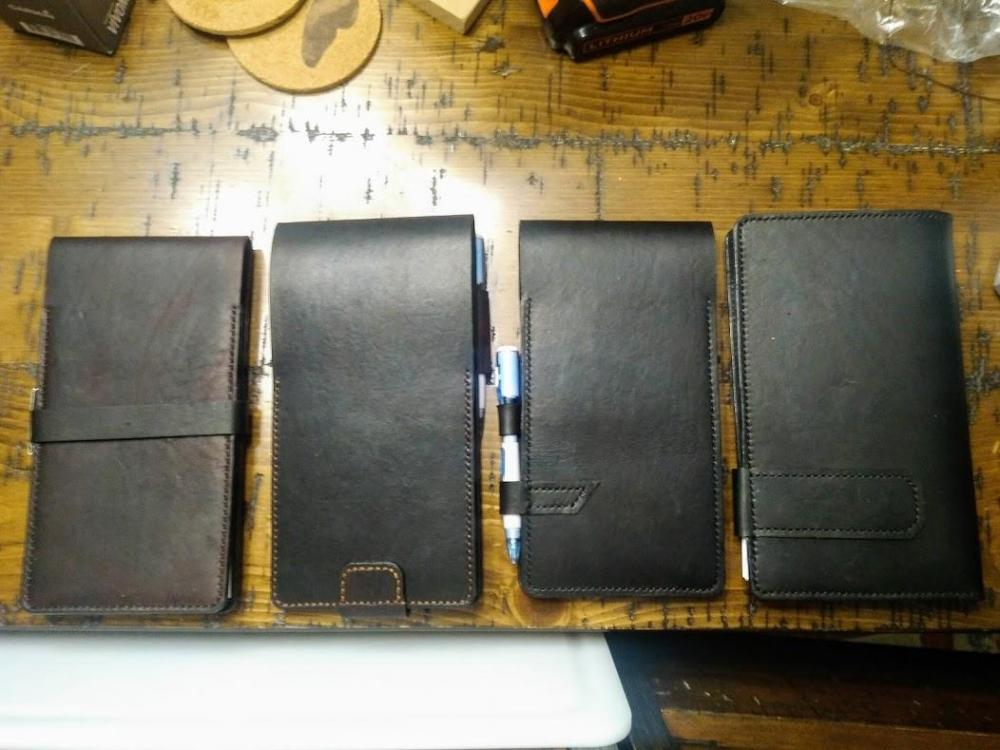
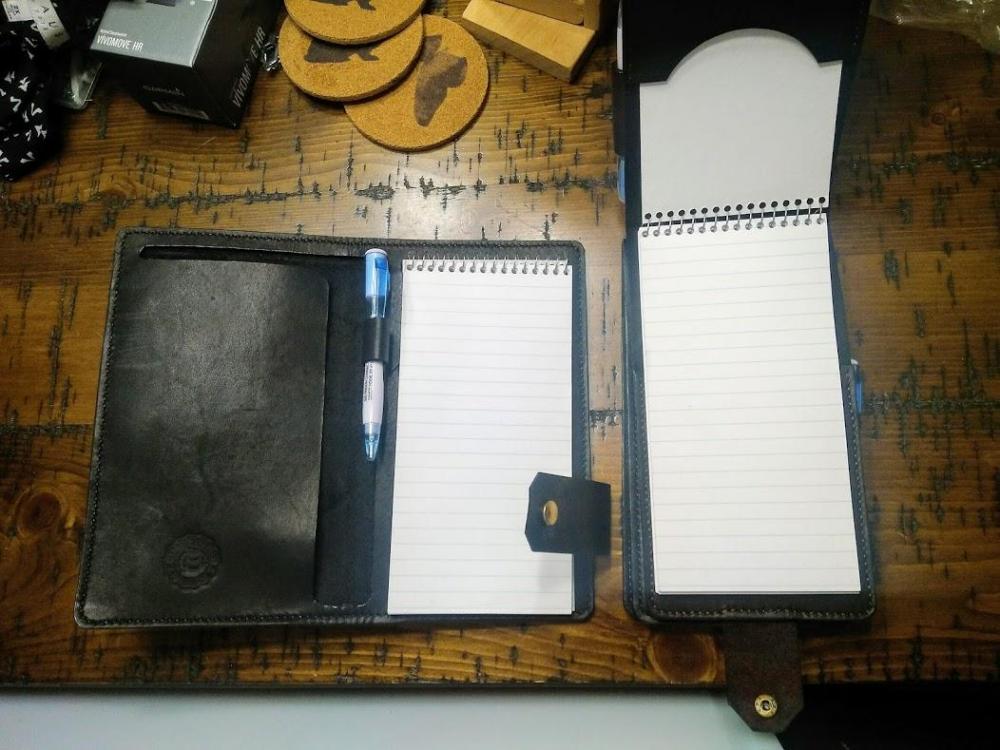
We had some VIPs come to my work and it's customary to give them gifts. This year I made the gifts. (my first paying leather work) The only conditions were that they had to hold a reporter size pad of paper, a challenge coin, and an over-sized personalized pen light. I tried to make each of these a little different and I got better as I went along. The pad on the left is for me so I didn't include a challenge coin pocket or the stupid pen. The biggest challenge was cutting large circles for the coins.
-
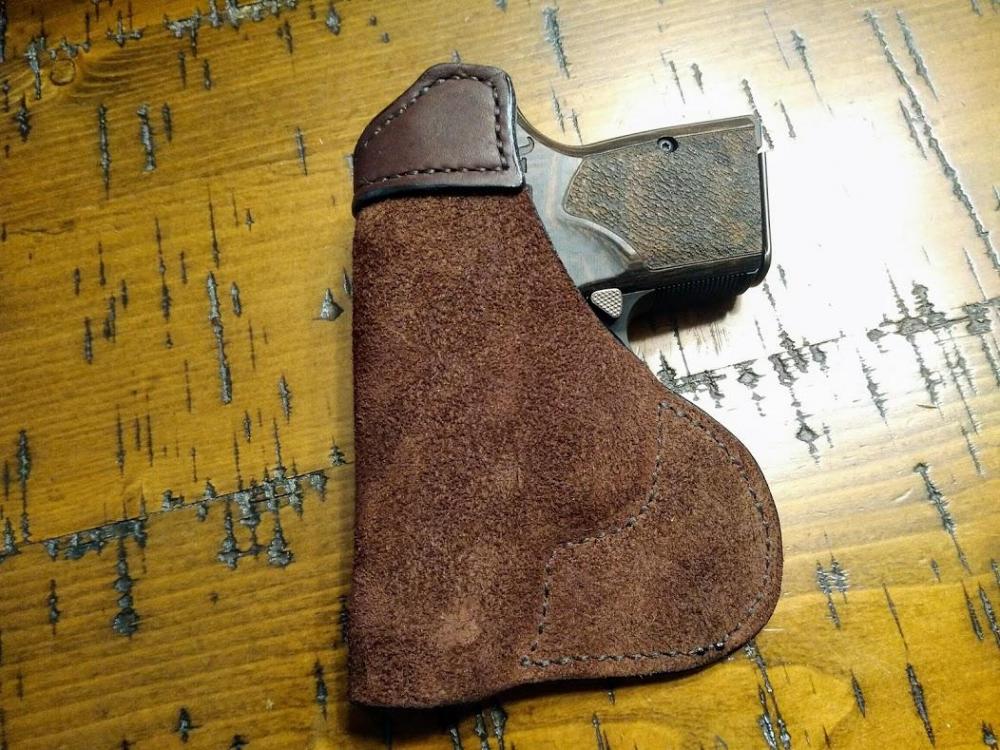
I made this for my dad. He wanted a simple in the pocket holster for his .380. I tried making it flesh side out to give it a little staying power.
-
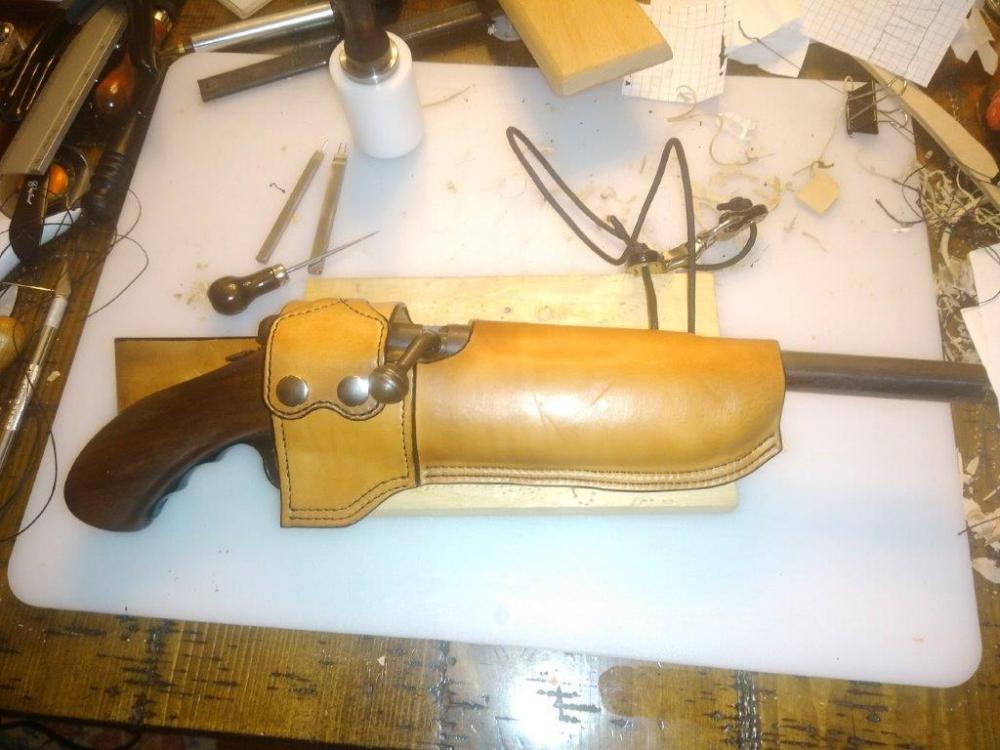
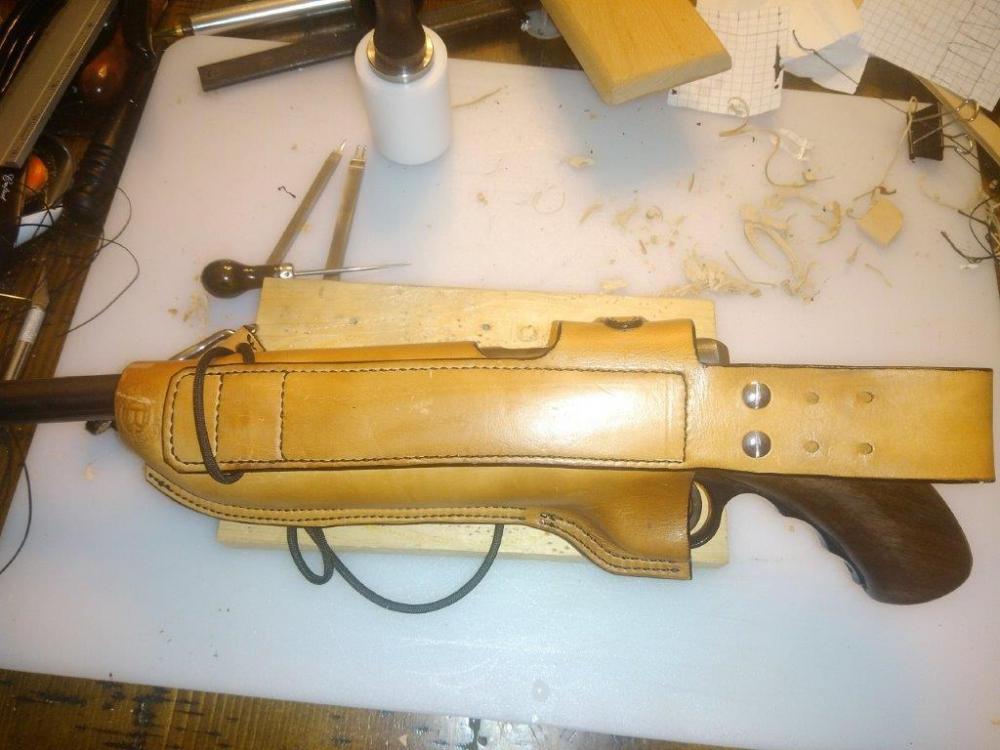
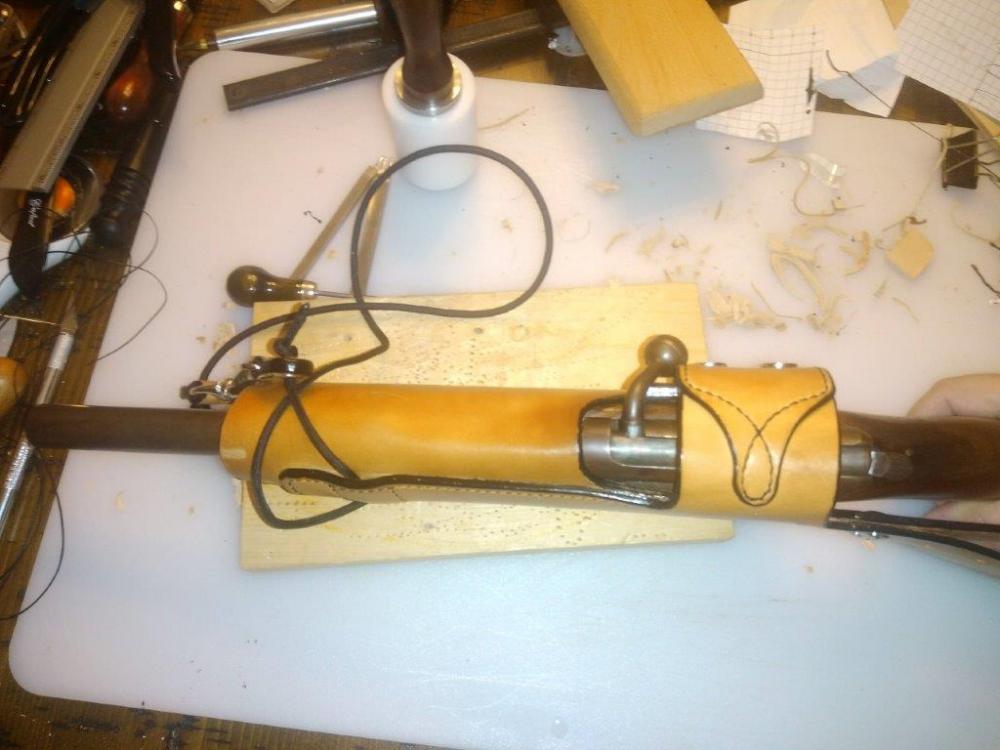
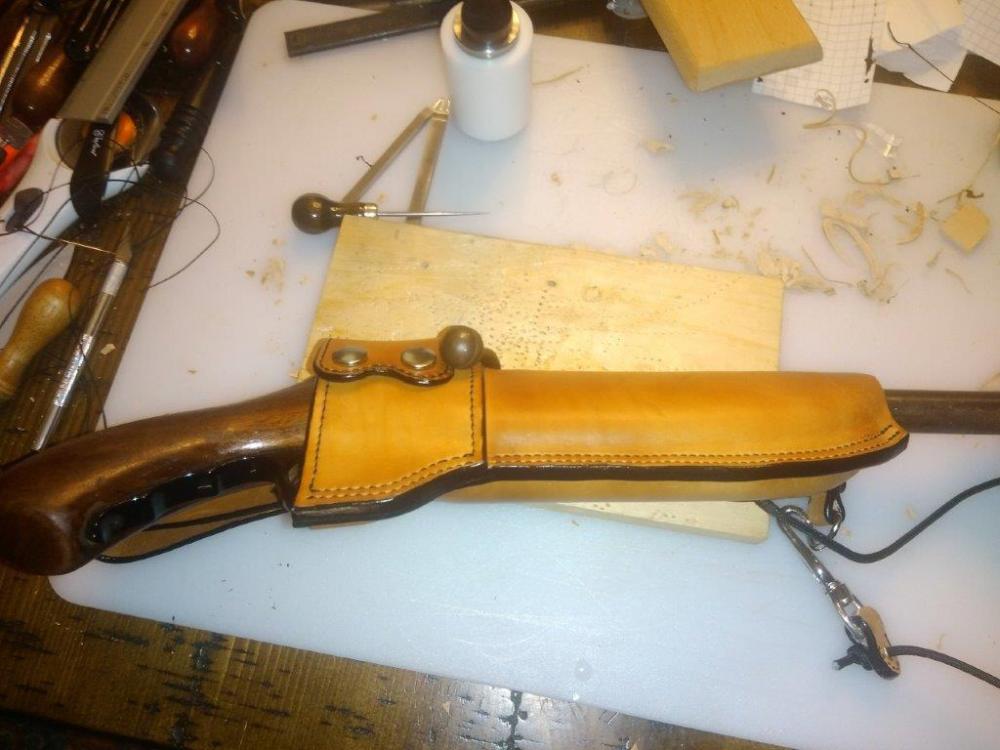
I made this for a guy at work. He wanted a holster for a sawed off bold action .410 "snake gun." I couldn't find a whole lot of reference images on the web for this monstrosity so I just had to wing it. I made some big mistakes (specifically not accounting for the thickness of the leather when designing a pattern) but it was a hell of a learning process. Overall, he's happy and it holds the gun securely, so I'm calling it a win.
-

Please critique wallets
cbossio replied to Abdo's topic in Purses, Wallets, Belts and Miscellaneous Pocket Items
What weight is that calf leather? I like the look of it and I've never worked with shell cordovan or any imitations. For that price, I'd like to give it a shot.


