.jpg.d60258221c476480a6e073a8805645bb.jpg)
All Activity
- Past hour
-
I have these folded bulls I bought years ago from Tandy I just came across them and there are no pattern with them must of got lost at some point does anyone know where I can get the pattern for these bulls?
- Today
-
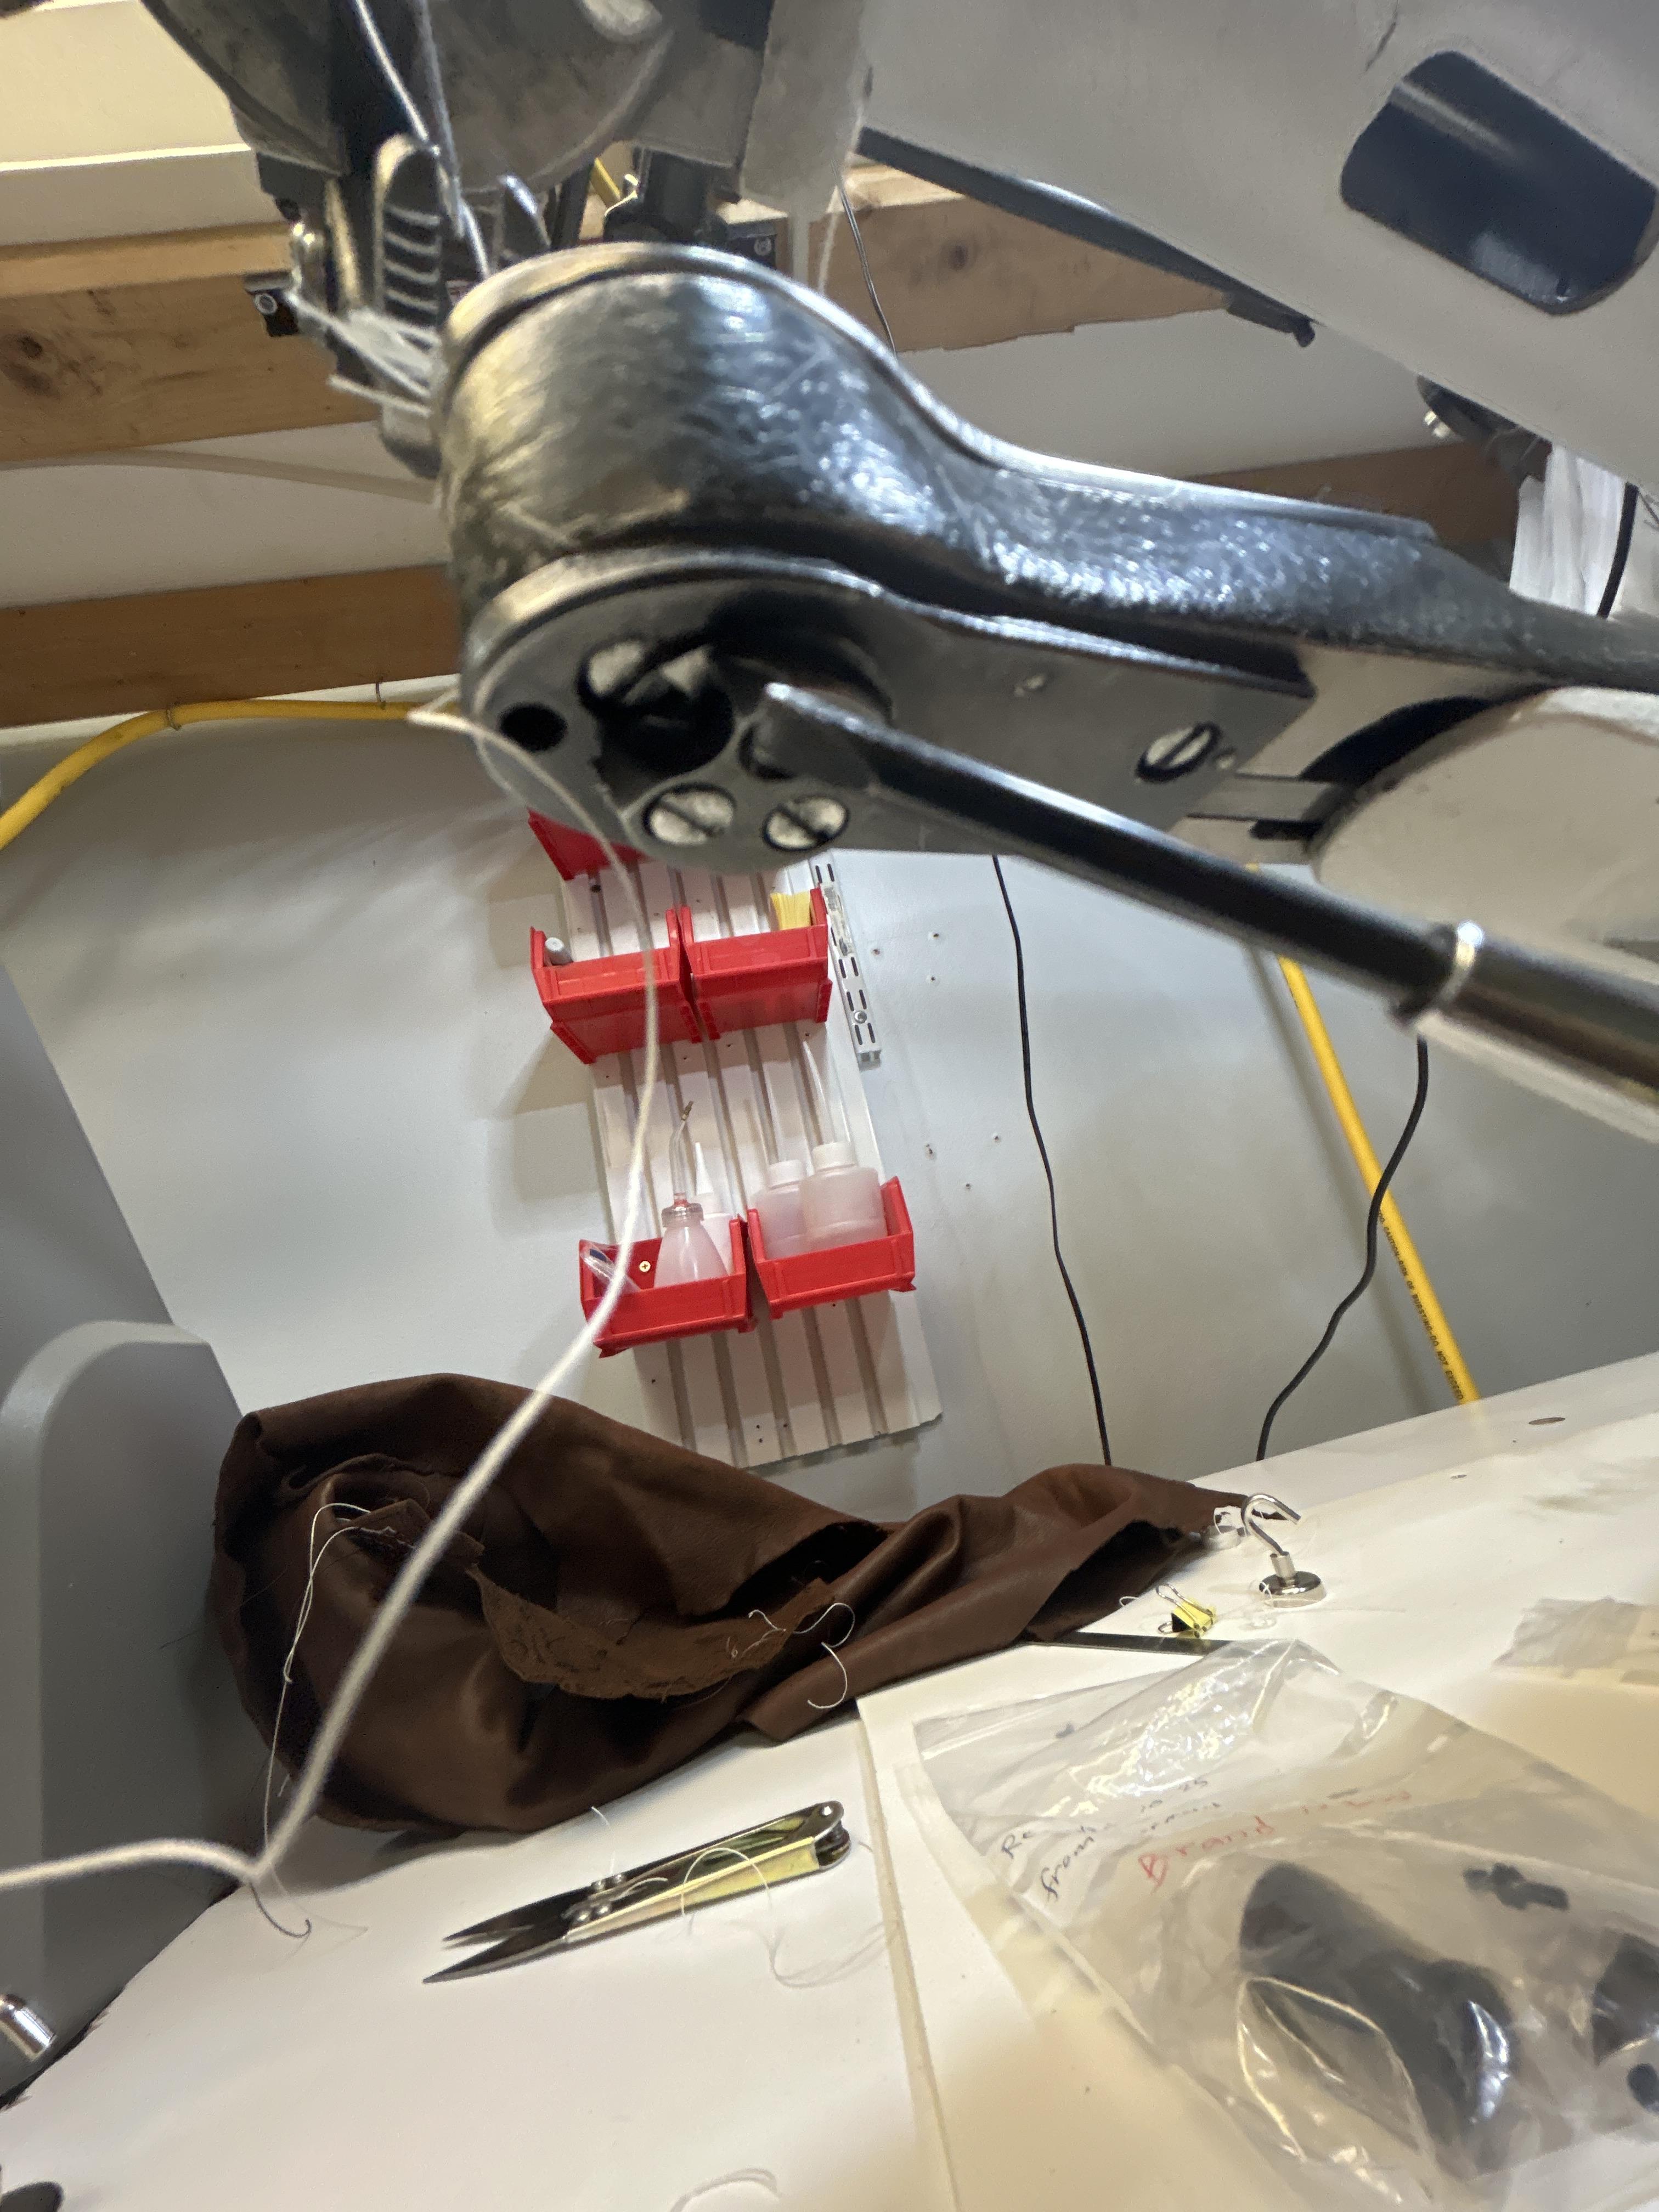
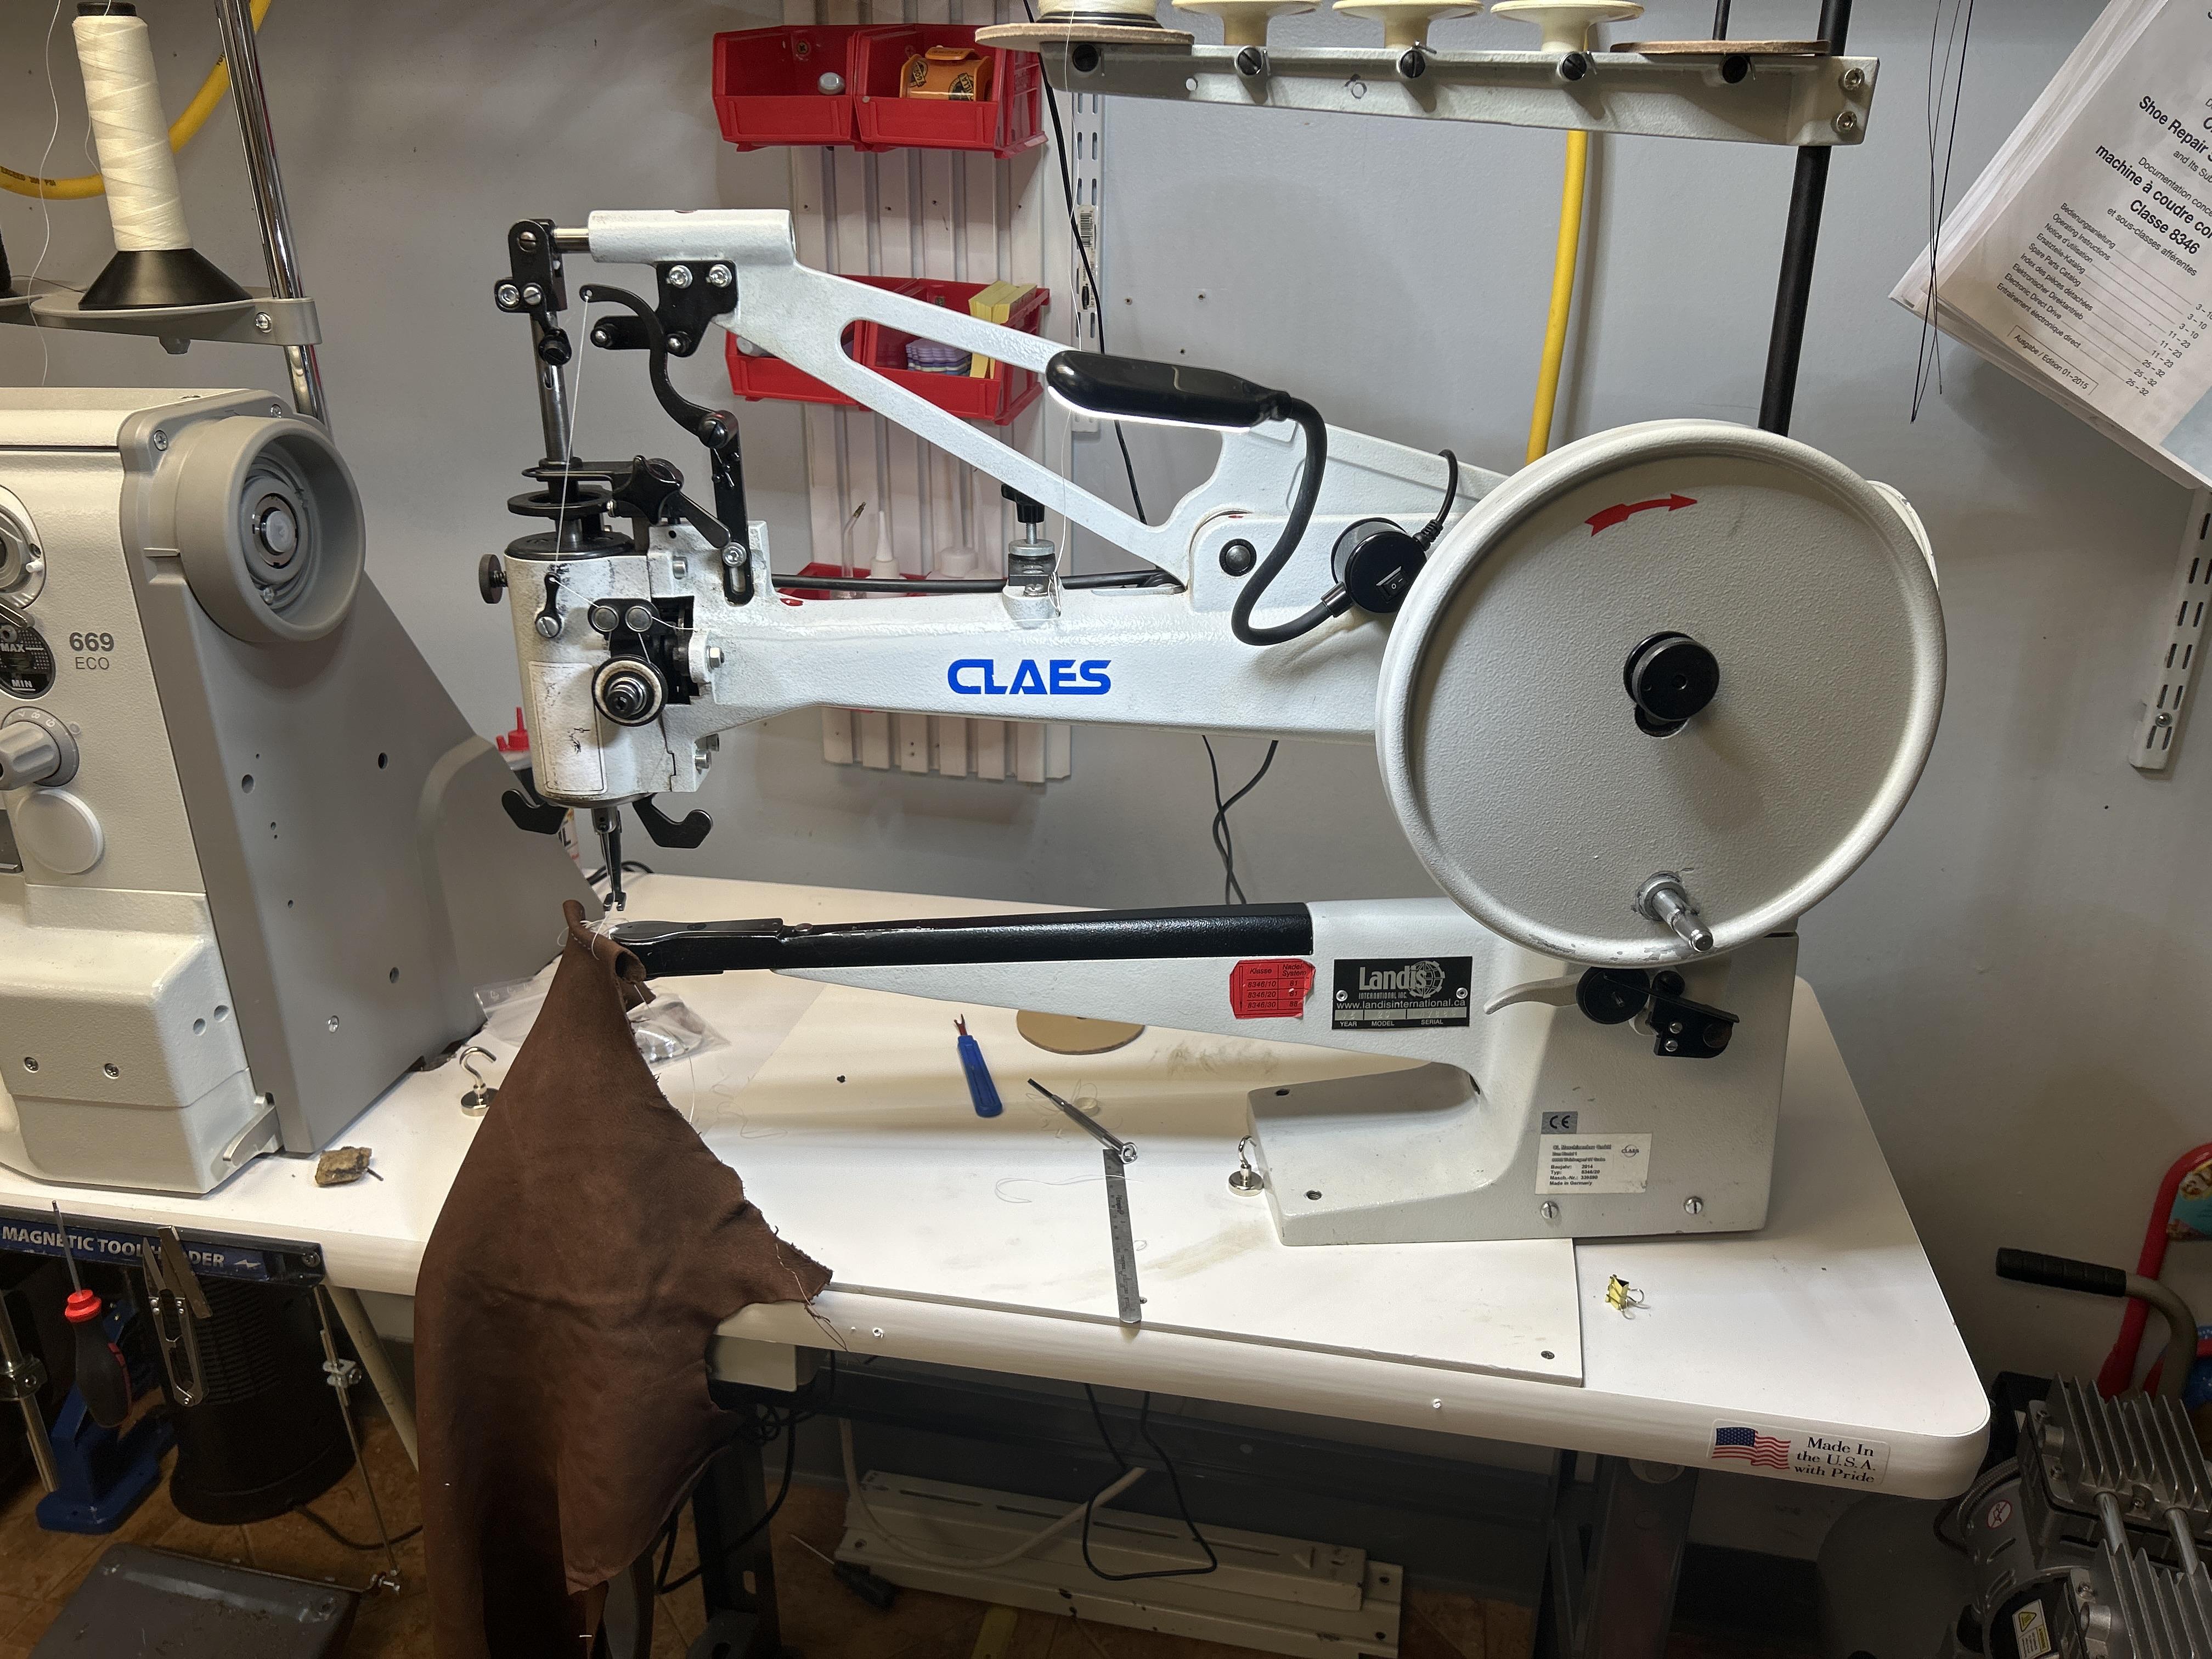
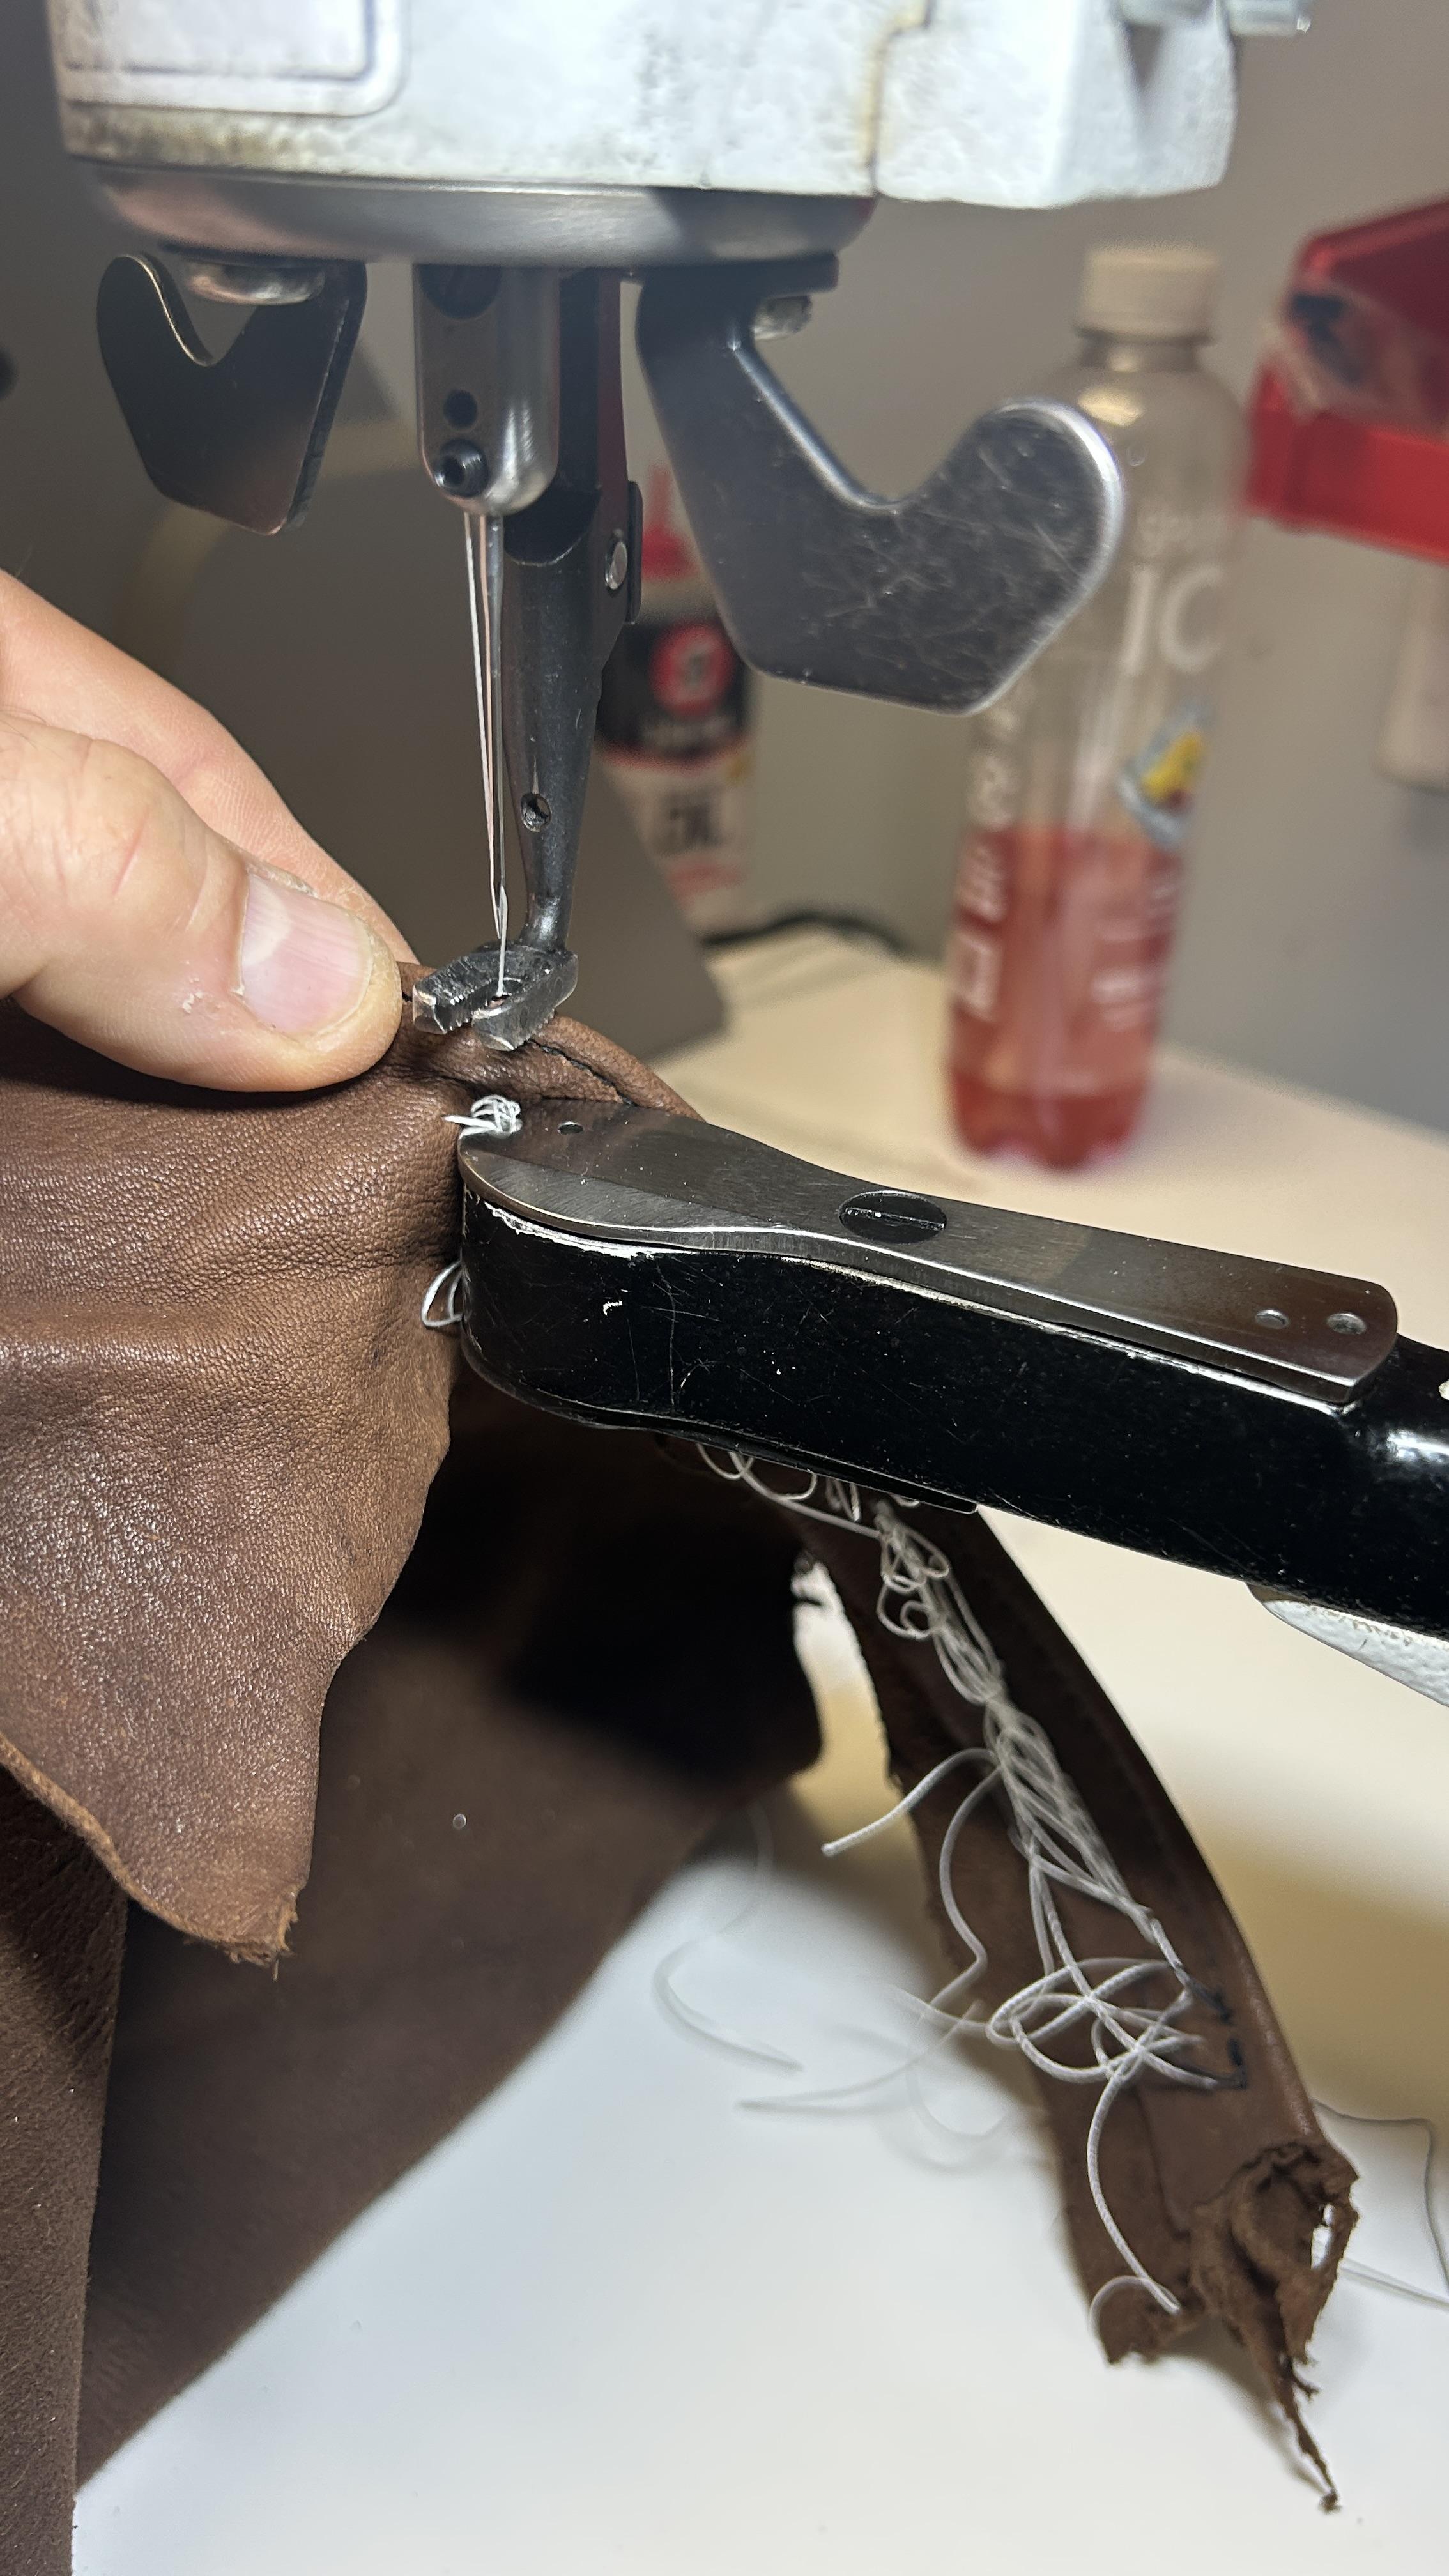
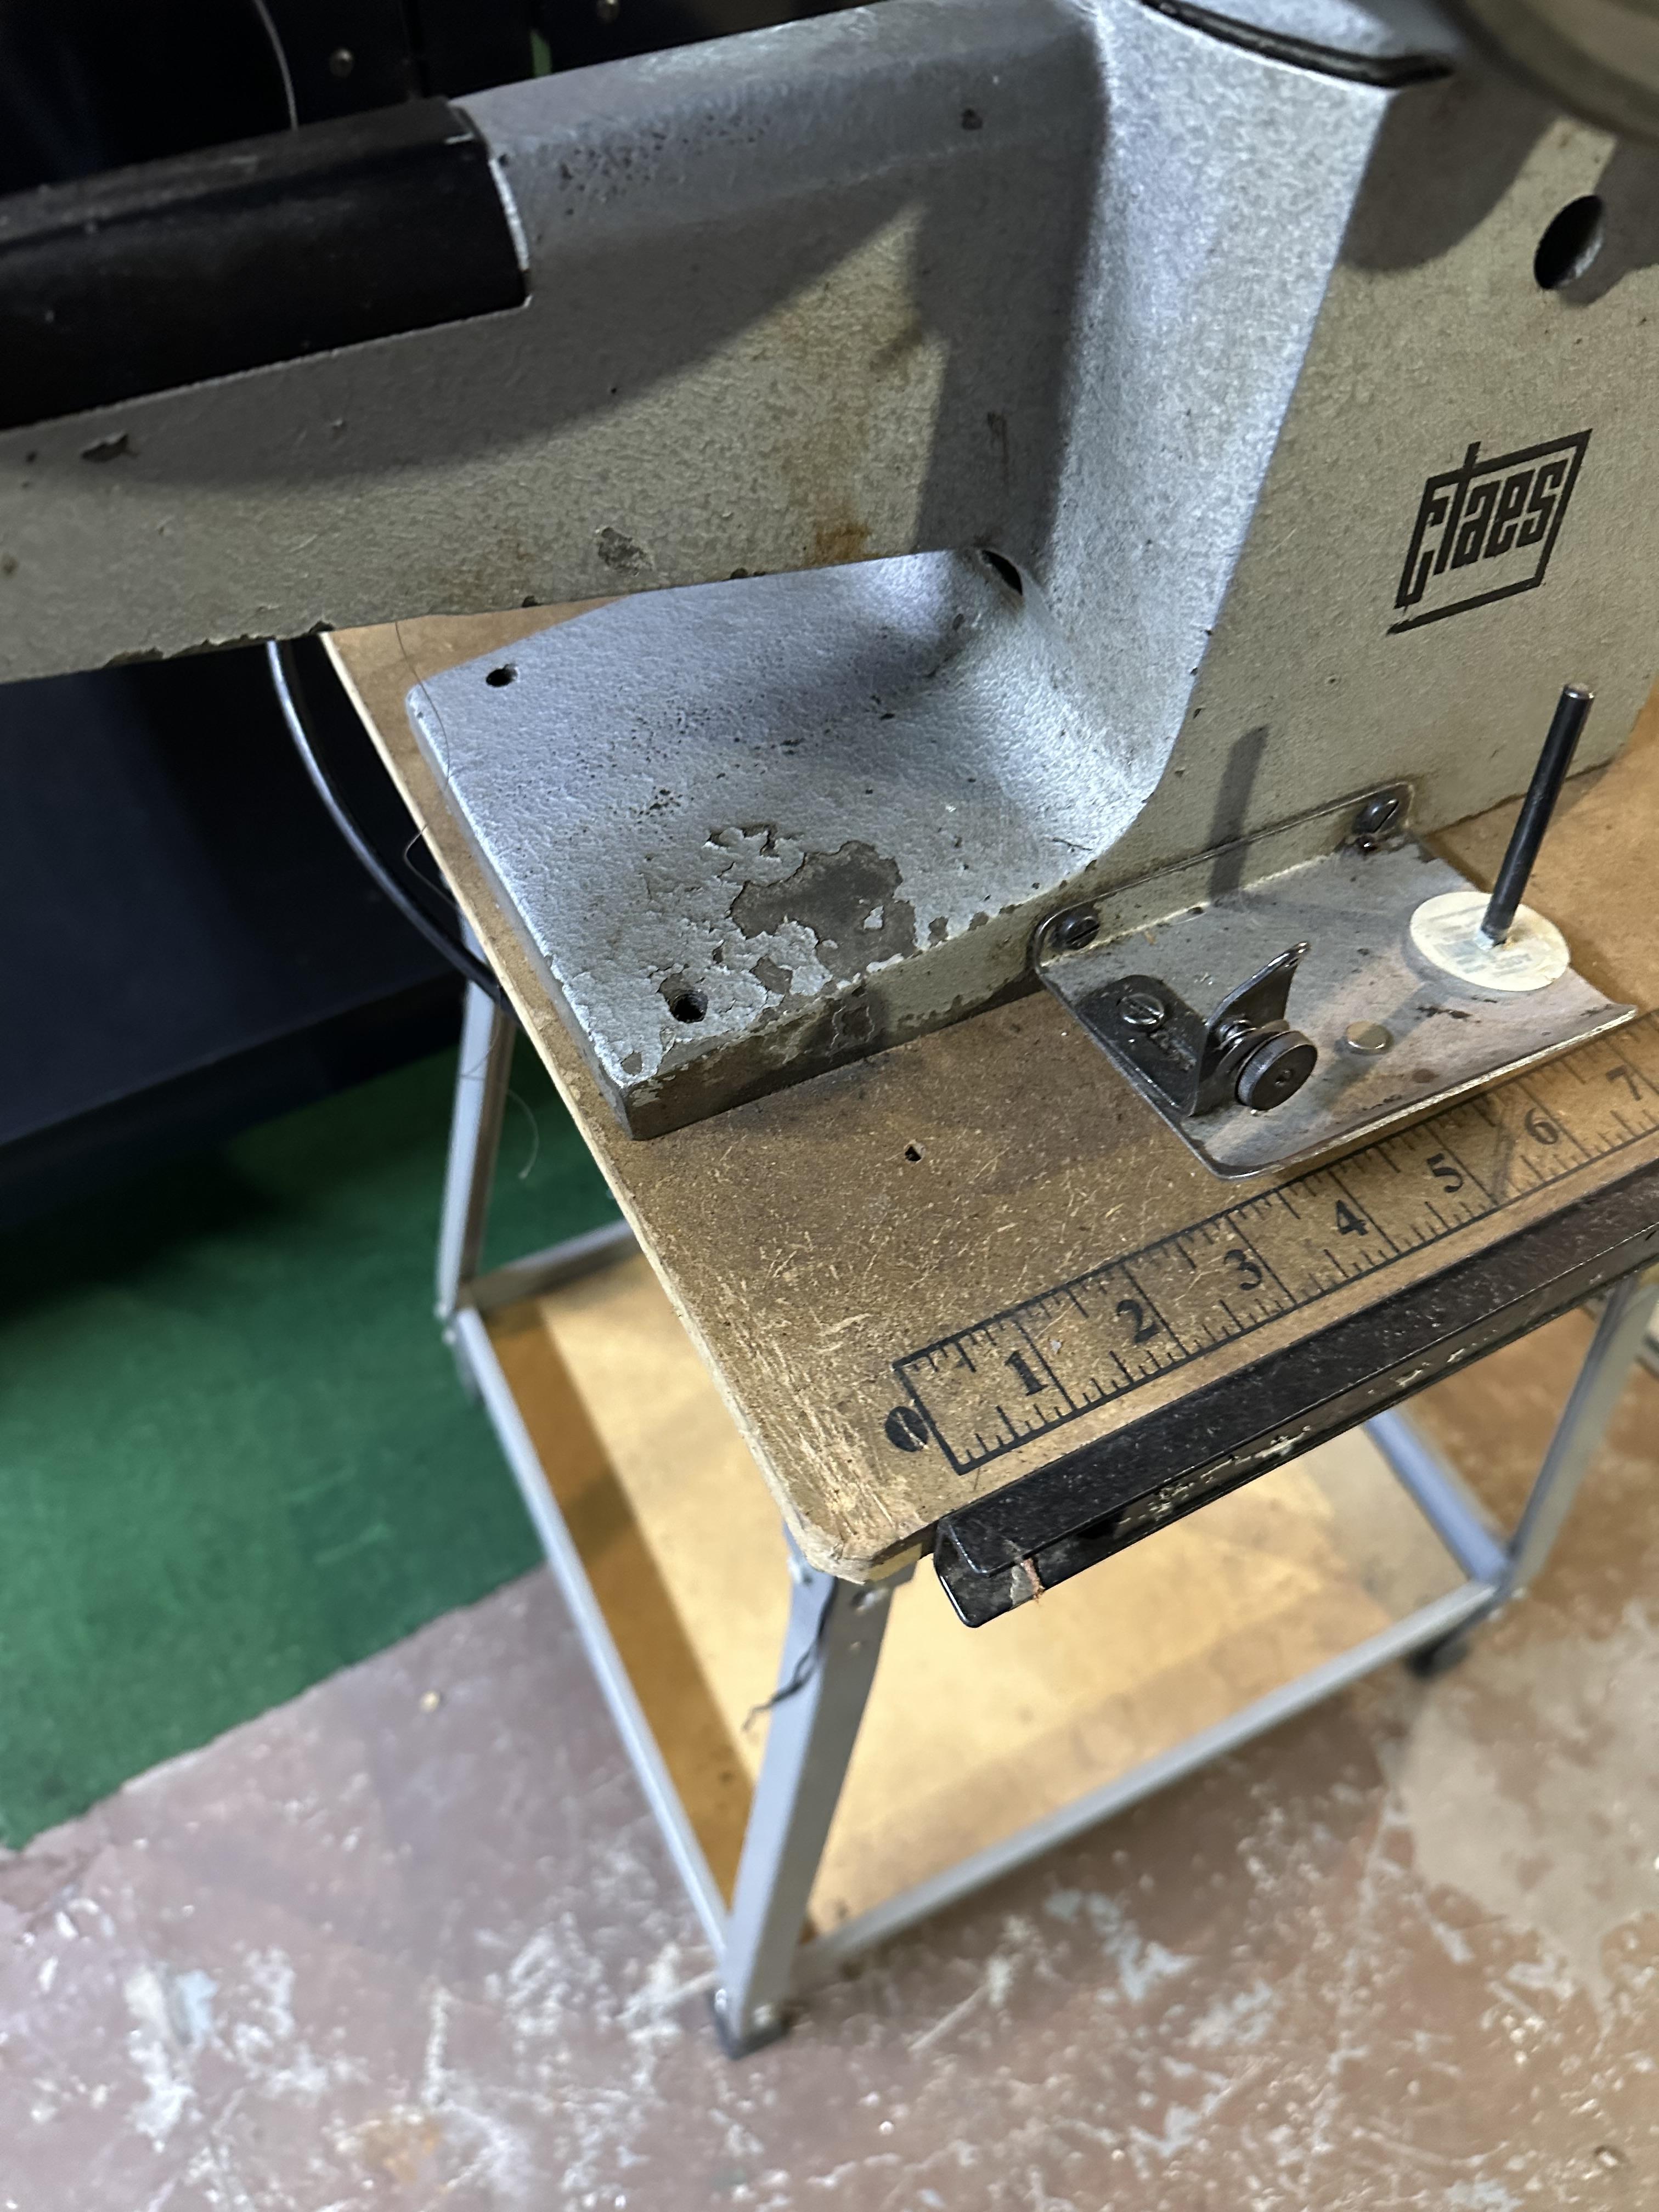
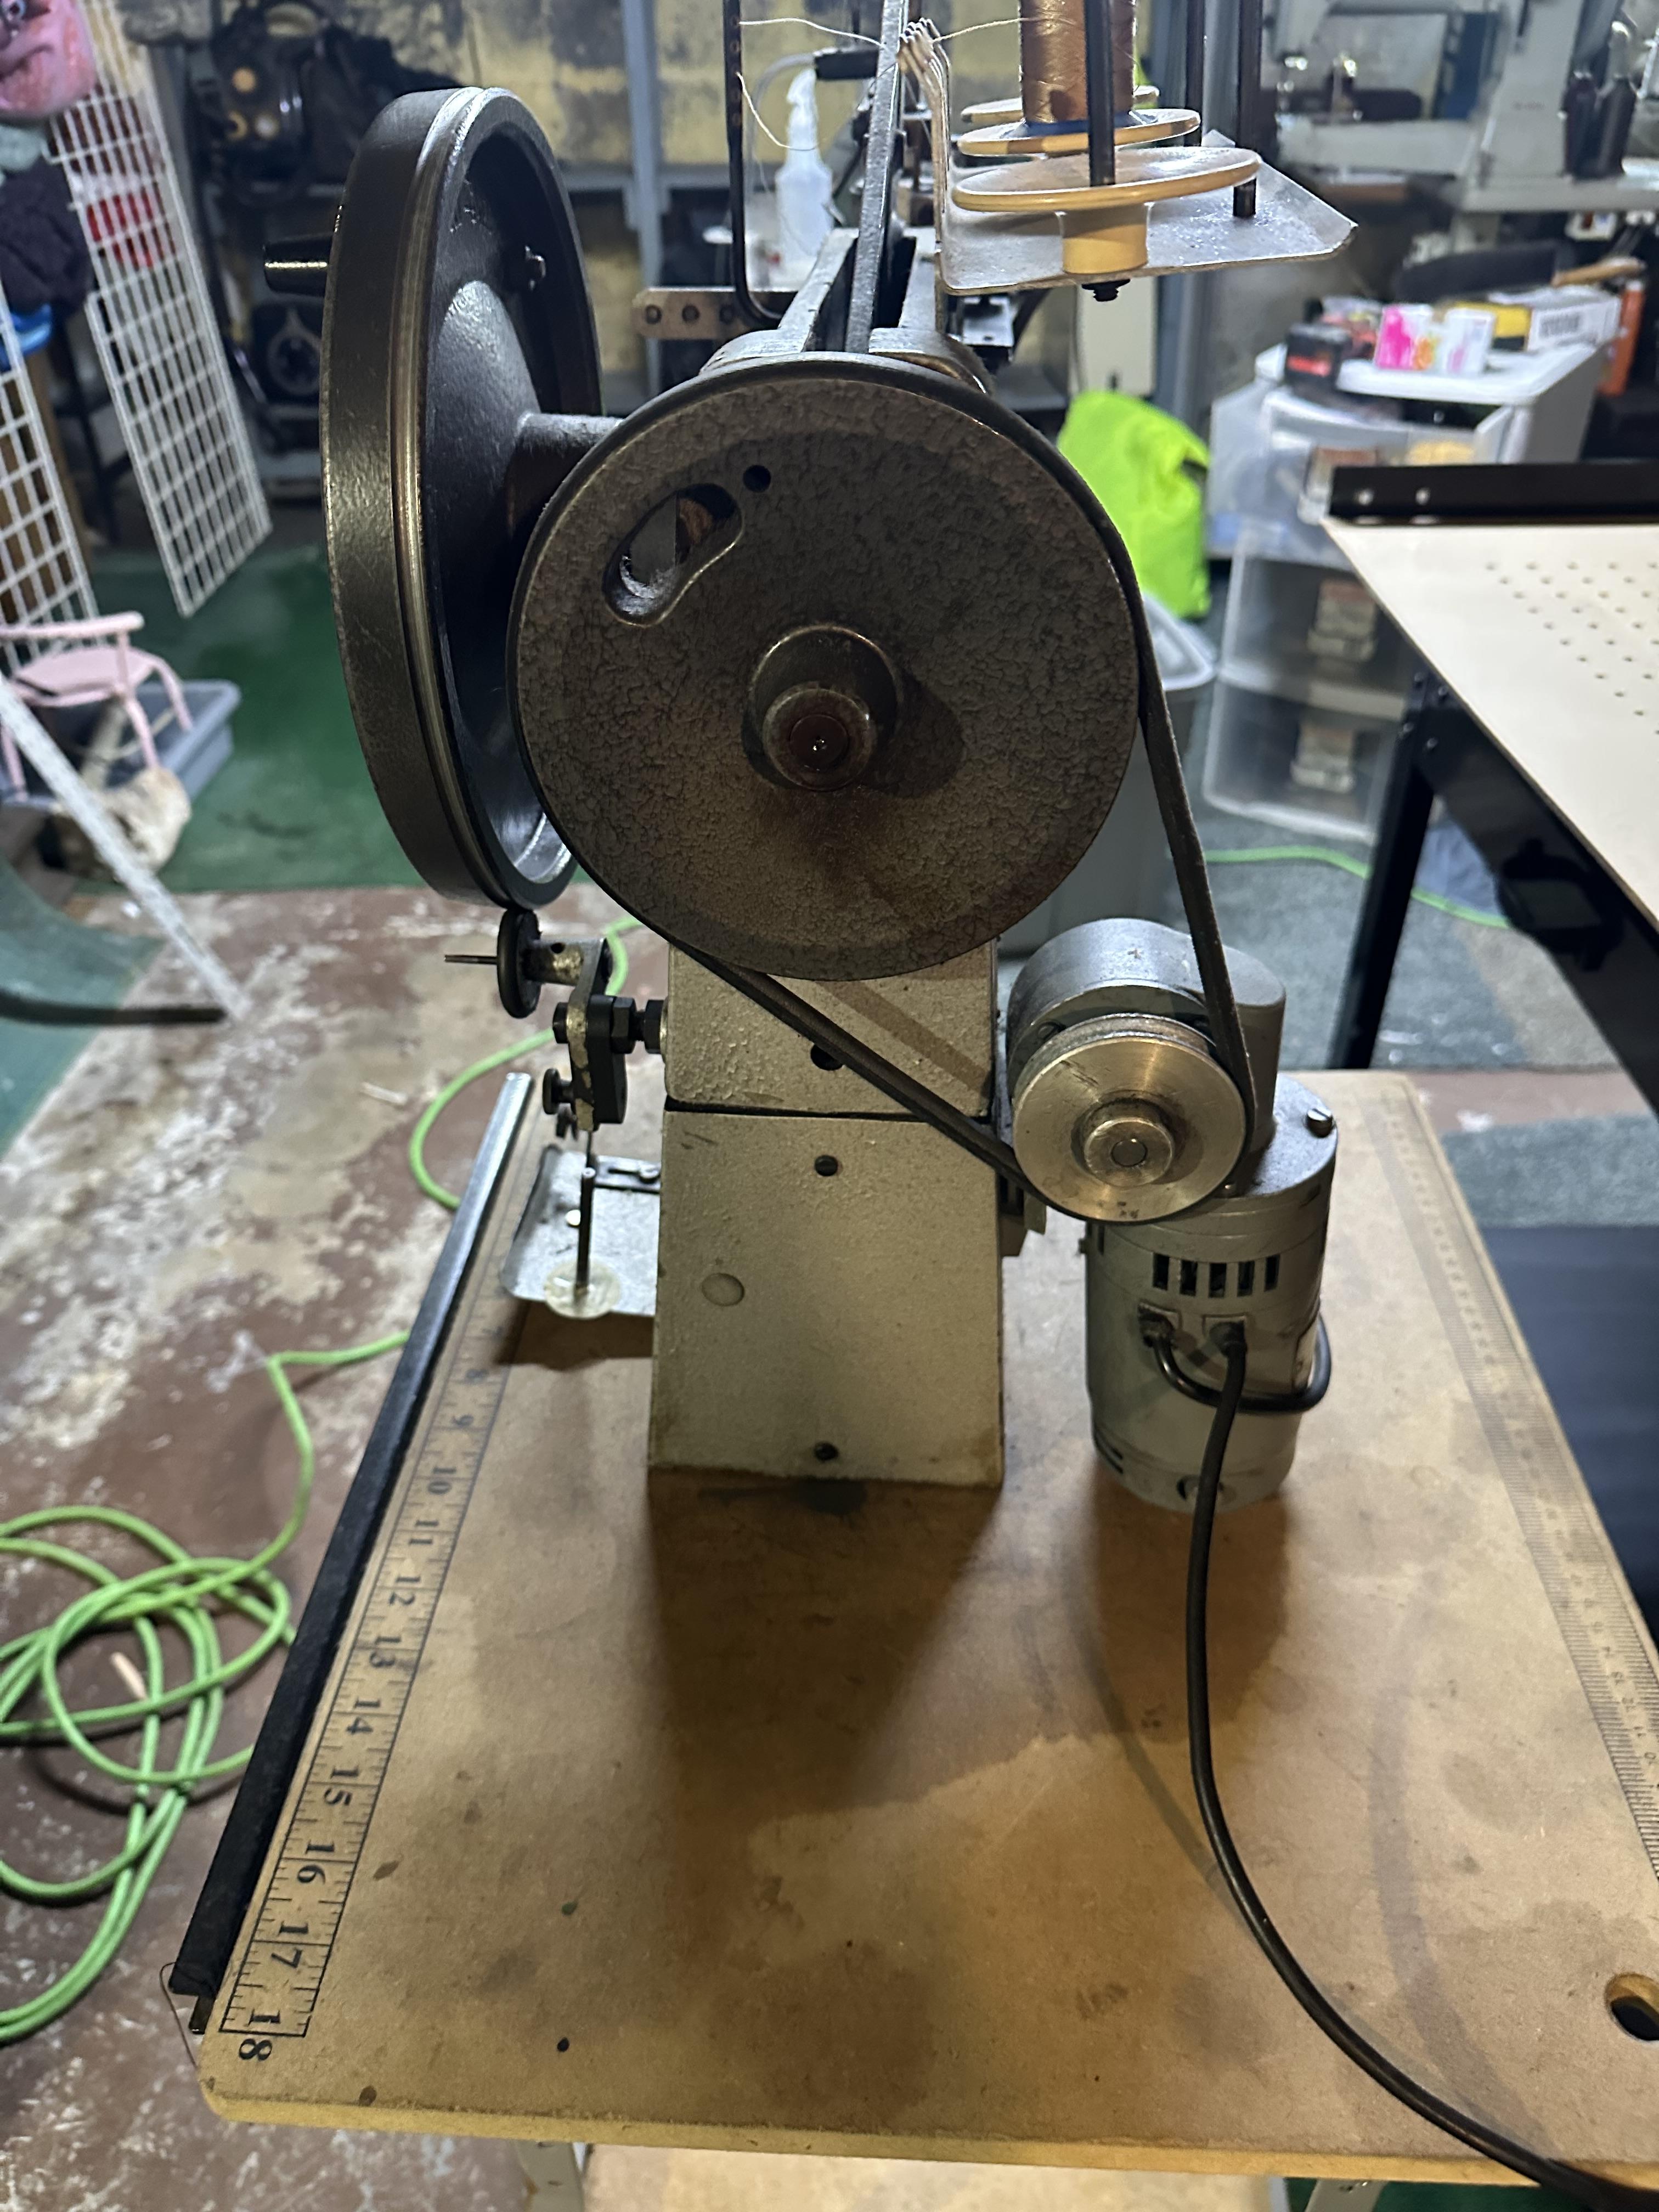
I really appreciate your help. So we won’t get confused the first machine we will call machine #1 It’s not working 95% correctly. The second machine we will call machine. # 2 , which I purchased 10 years ago. I’m having timing issues with it. Since all Claes machines are the same, I tried to adjust the timing of machine #2 to the same timing as #1 but no success. please note the second and third photos are the same but from different sides. I apologize if I’m confusing you with the descriptions I’m sending and also the photos and videos. I’m 60 years old and not computer savvy. The following is how I have threaded the machine. 78501902954__897B199B-5A3D-4478-933F-9F8AC642717F.MOV
-
This is the other end of that arm that I sent you the video tape off. 78501837289__24339A00-5D8B-4808-8111-8B94FB3A4AFC.MOV
-
One more thing I like to inform you of. There is quite a bit of play at the end of the trip of the arm. 78501818481__899B42F4-DEA4-405E-B3F3-DAE2255951F2.MOV
-
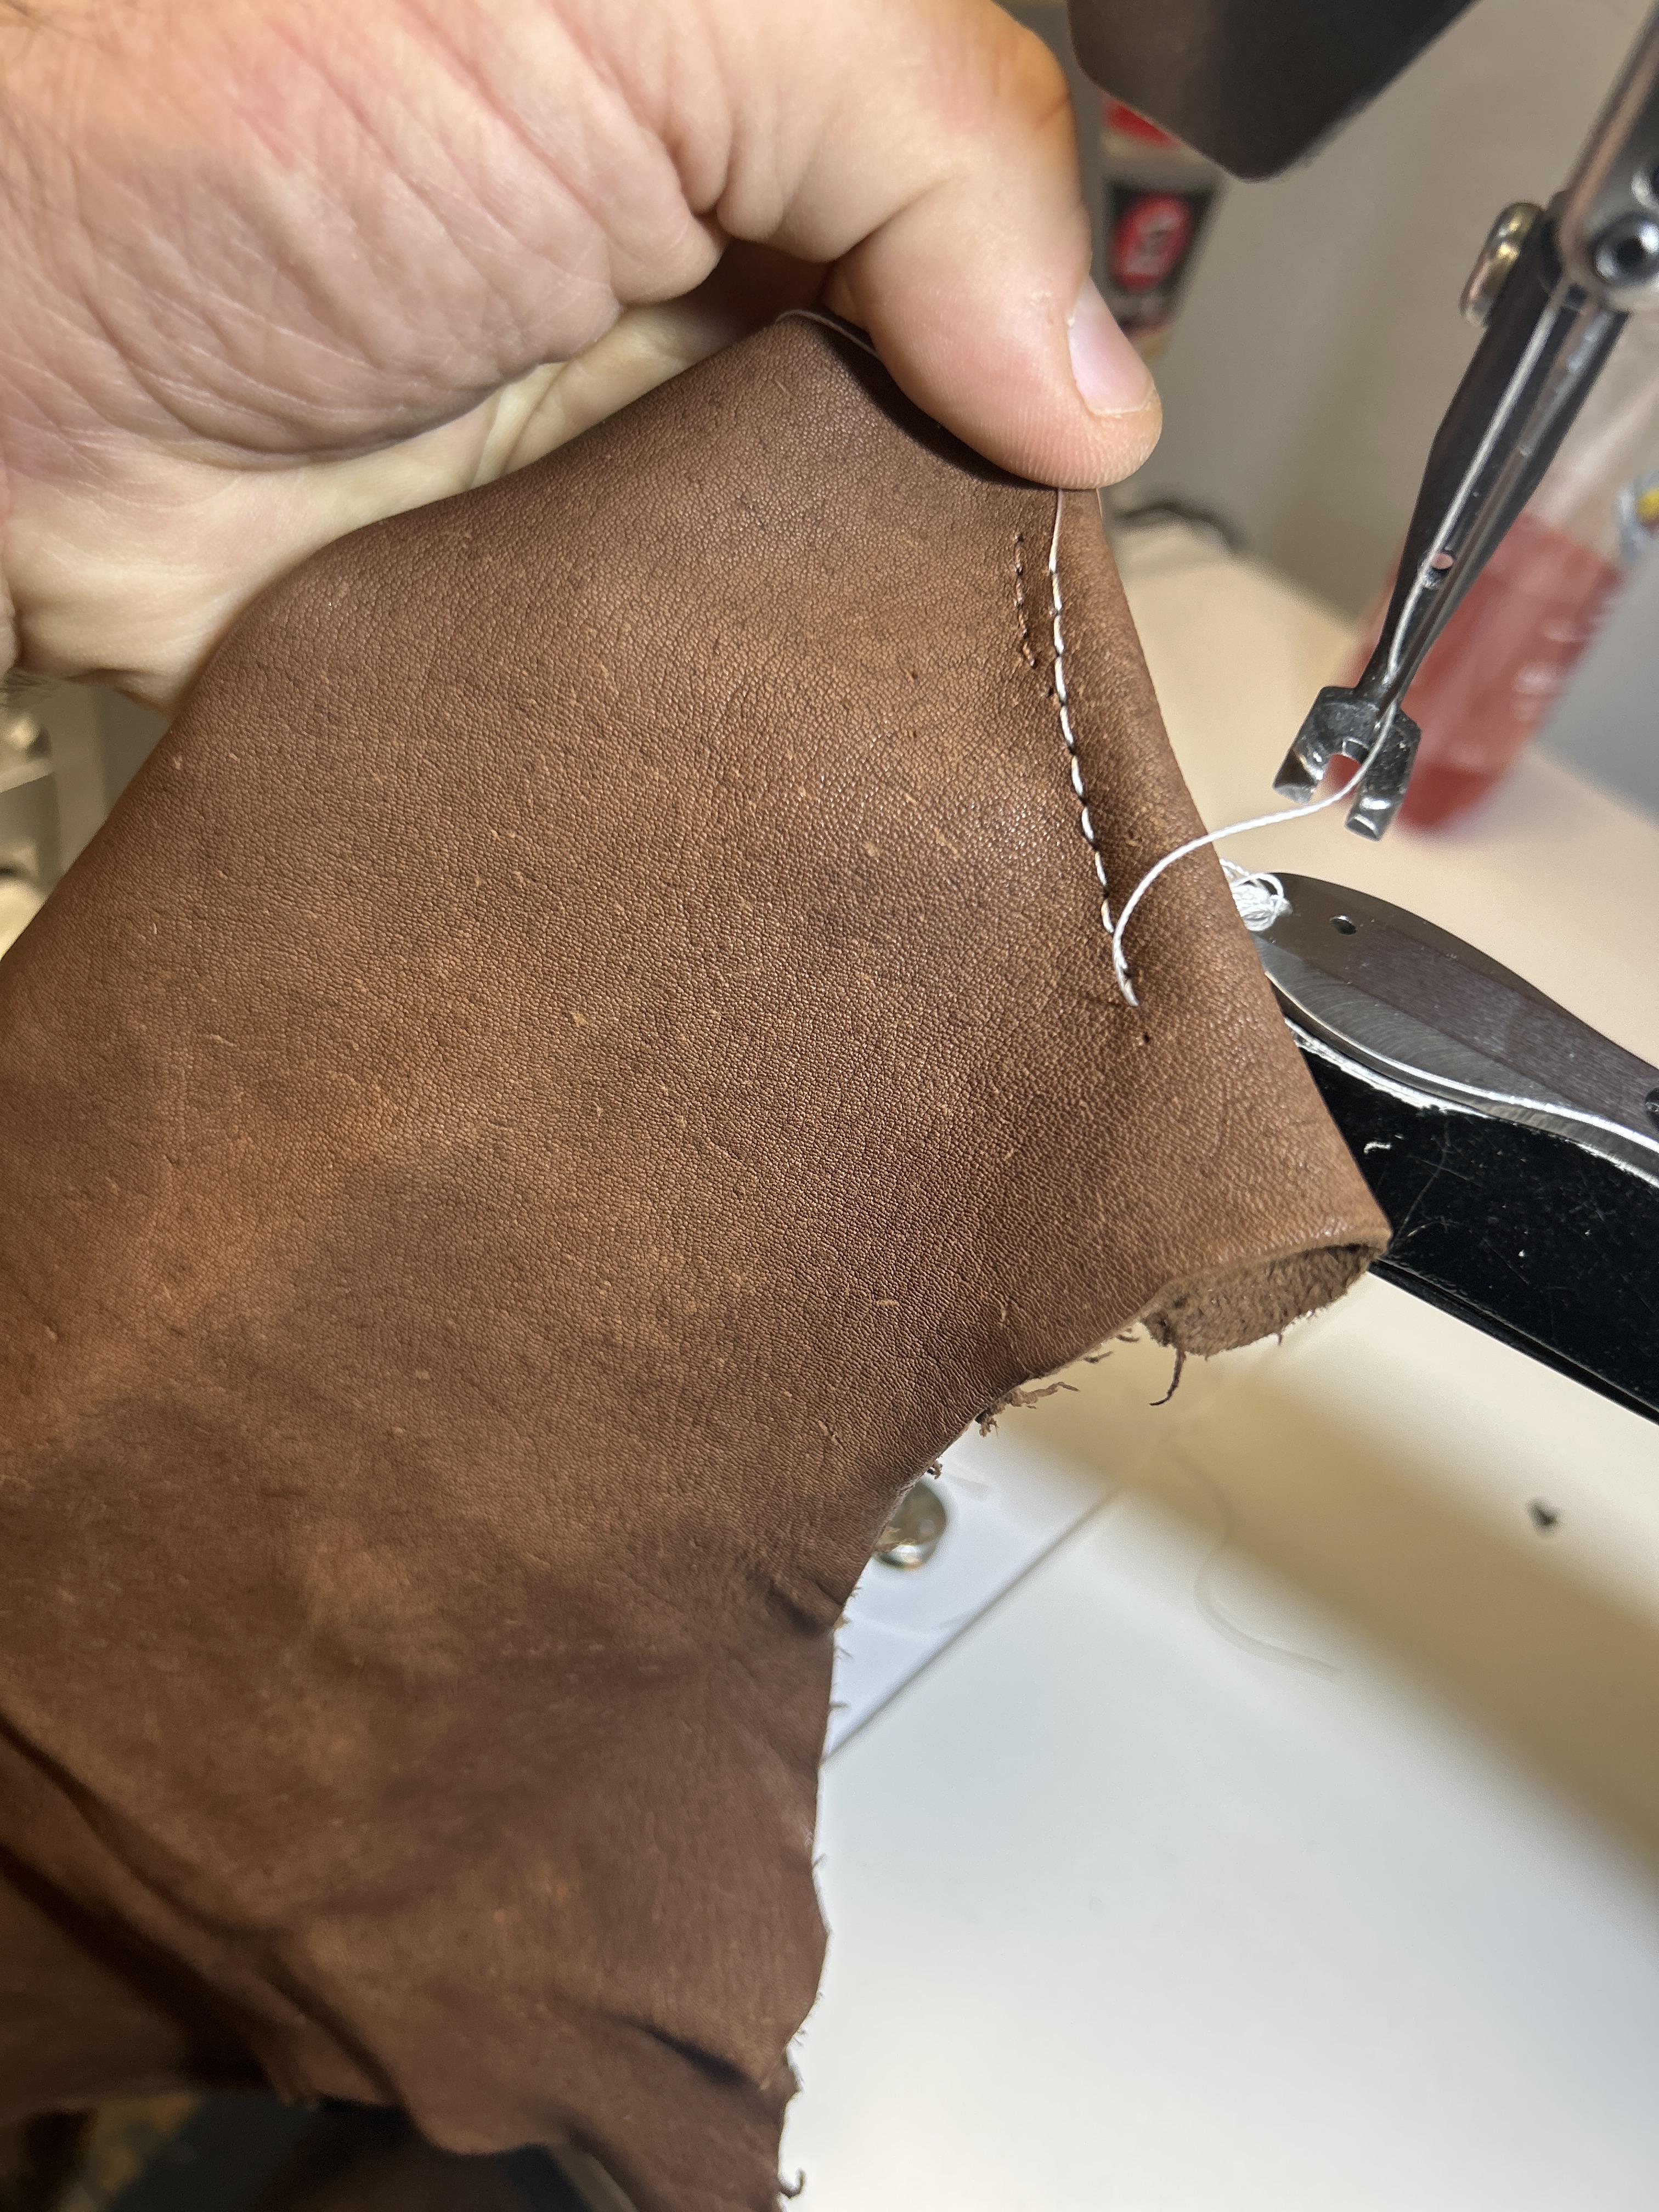
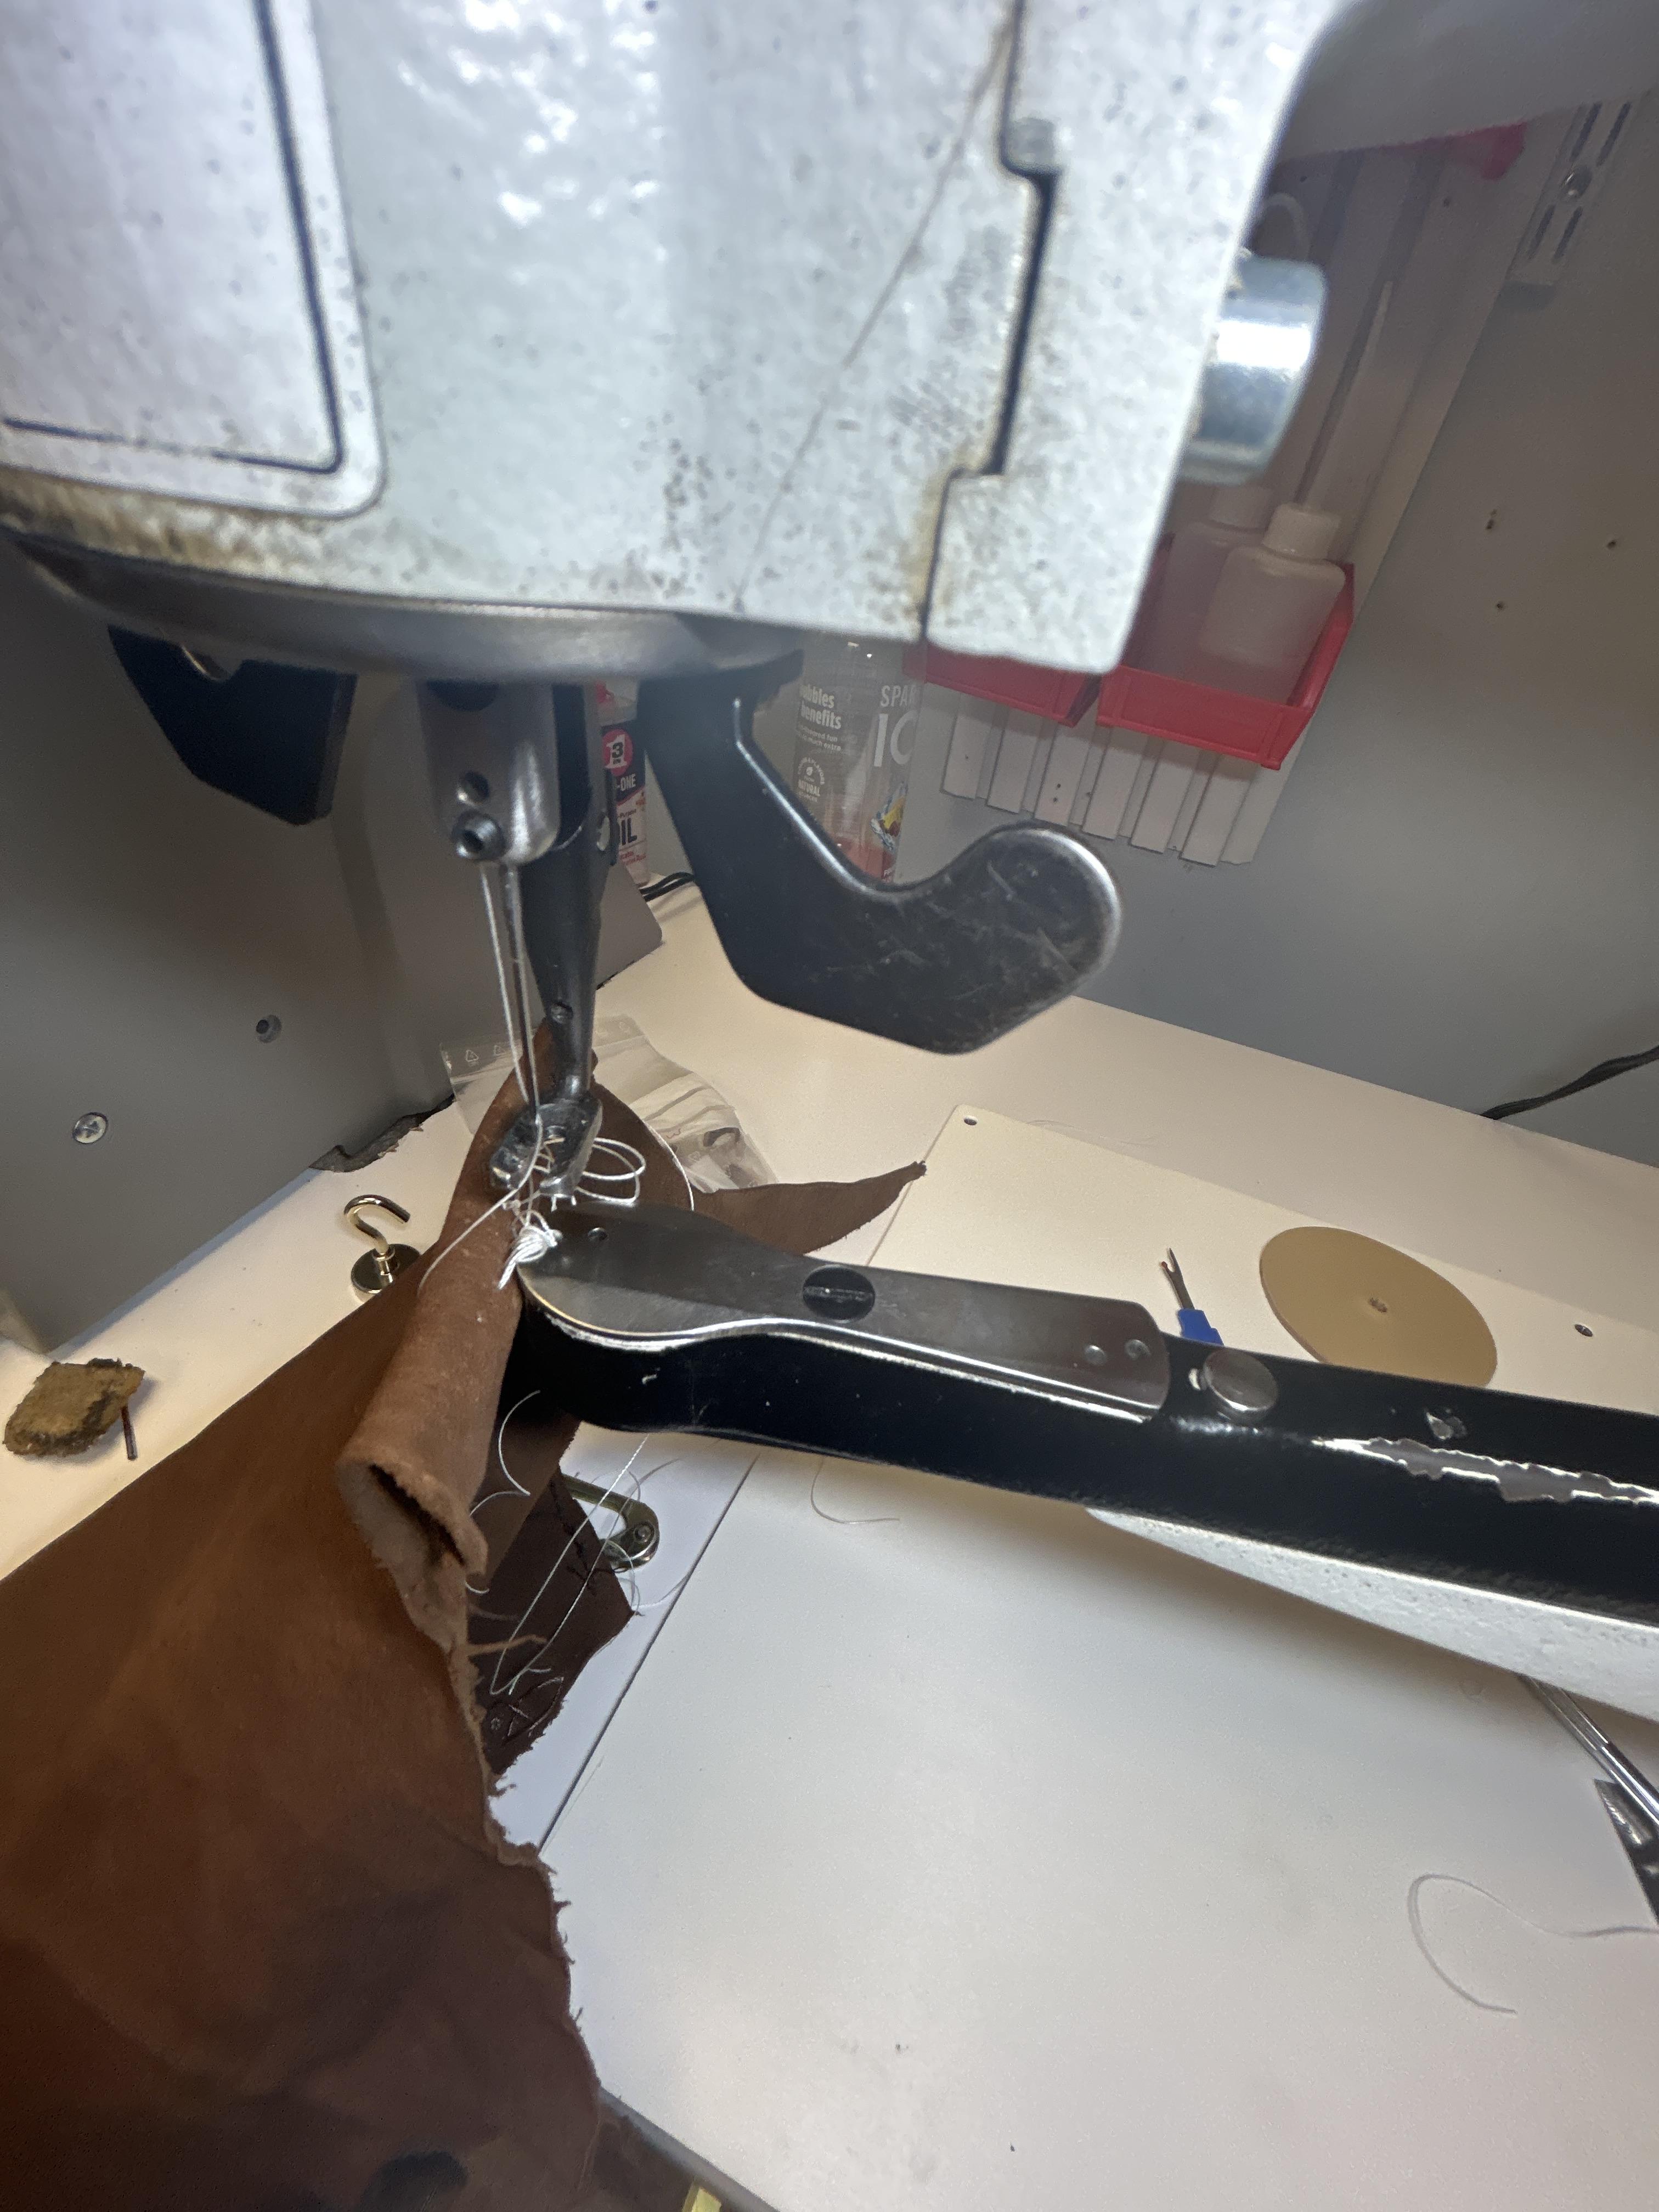
I really appreciate your help. So we won’t get confused the first machine we will call machine #1 It’s not working 95% correctly. The second machine we will call machine. # 2 , which I purchased 10 years ago. I’m having timing issues with it. Since all Claes machines are the same, I tried to adjust the timing of machine #2 to the same timing as #1 but no success. please note the second and third photos are the same but from different sides. this is where the top thread ends up and the machine just stops completely.

-
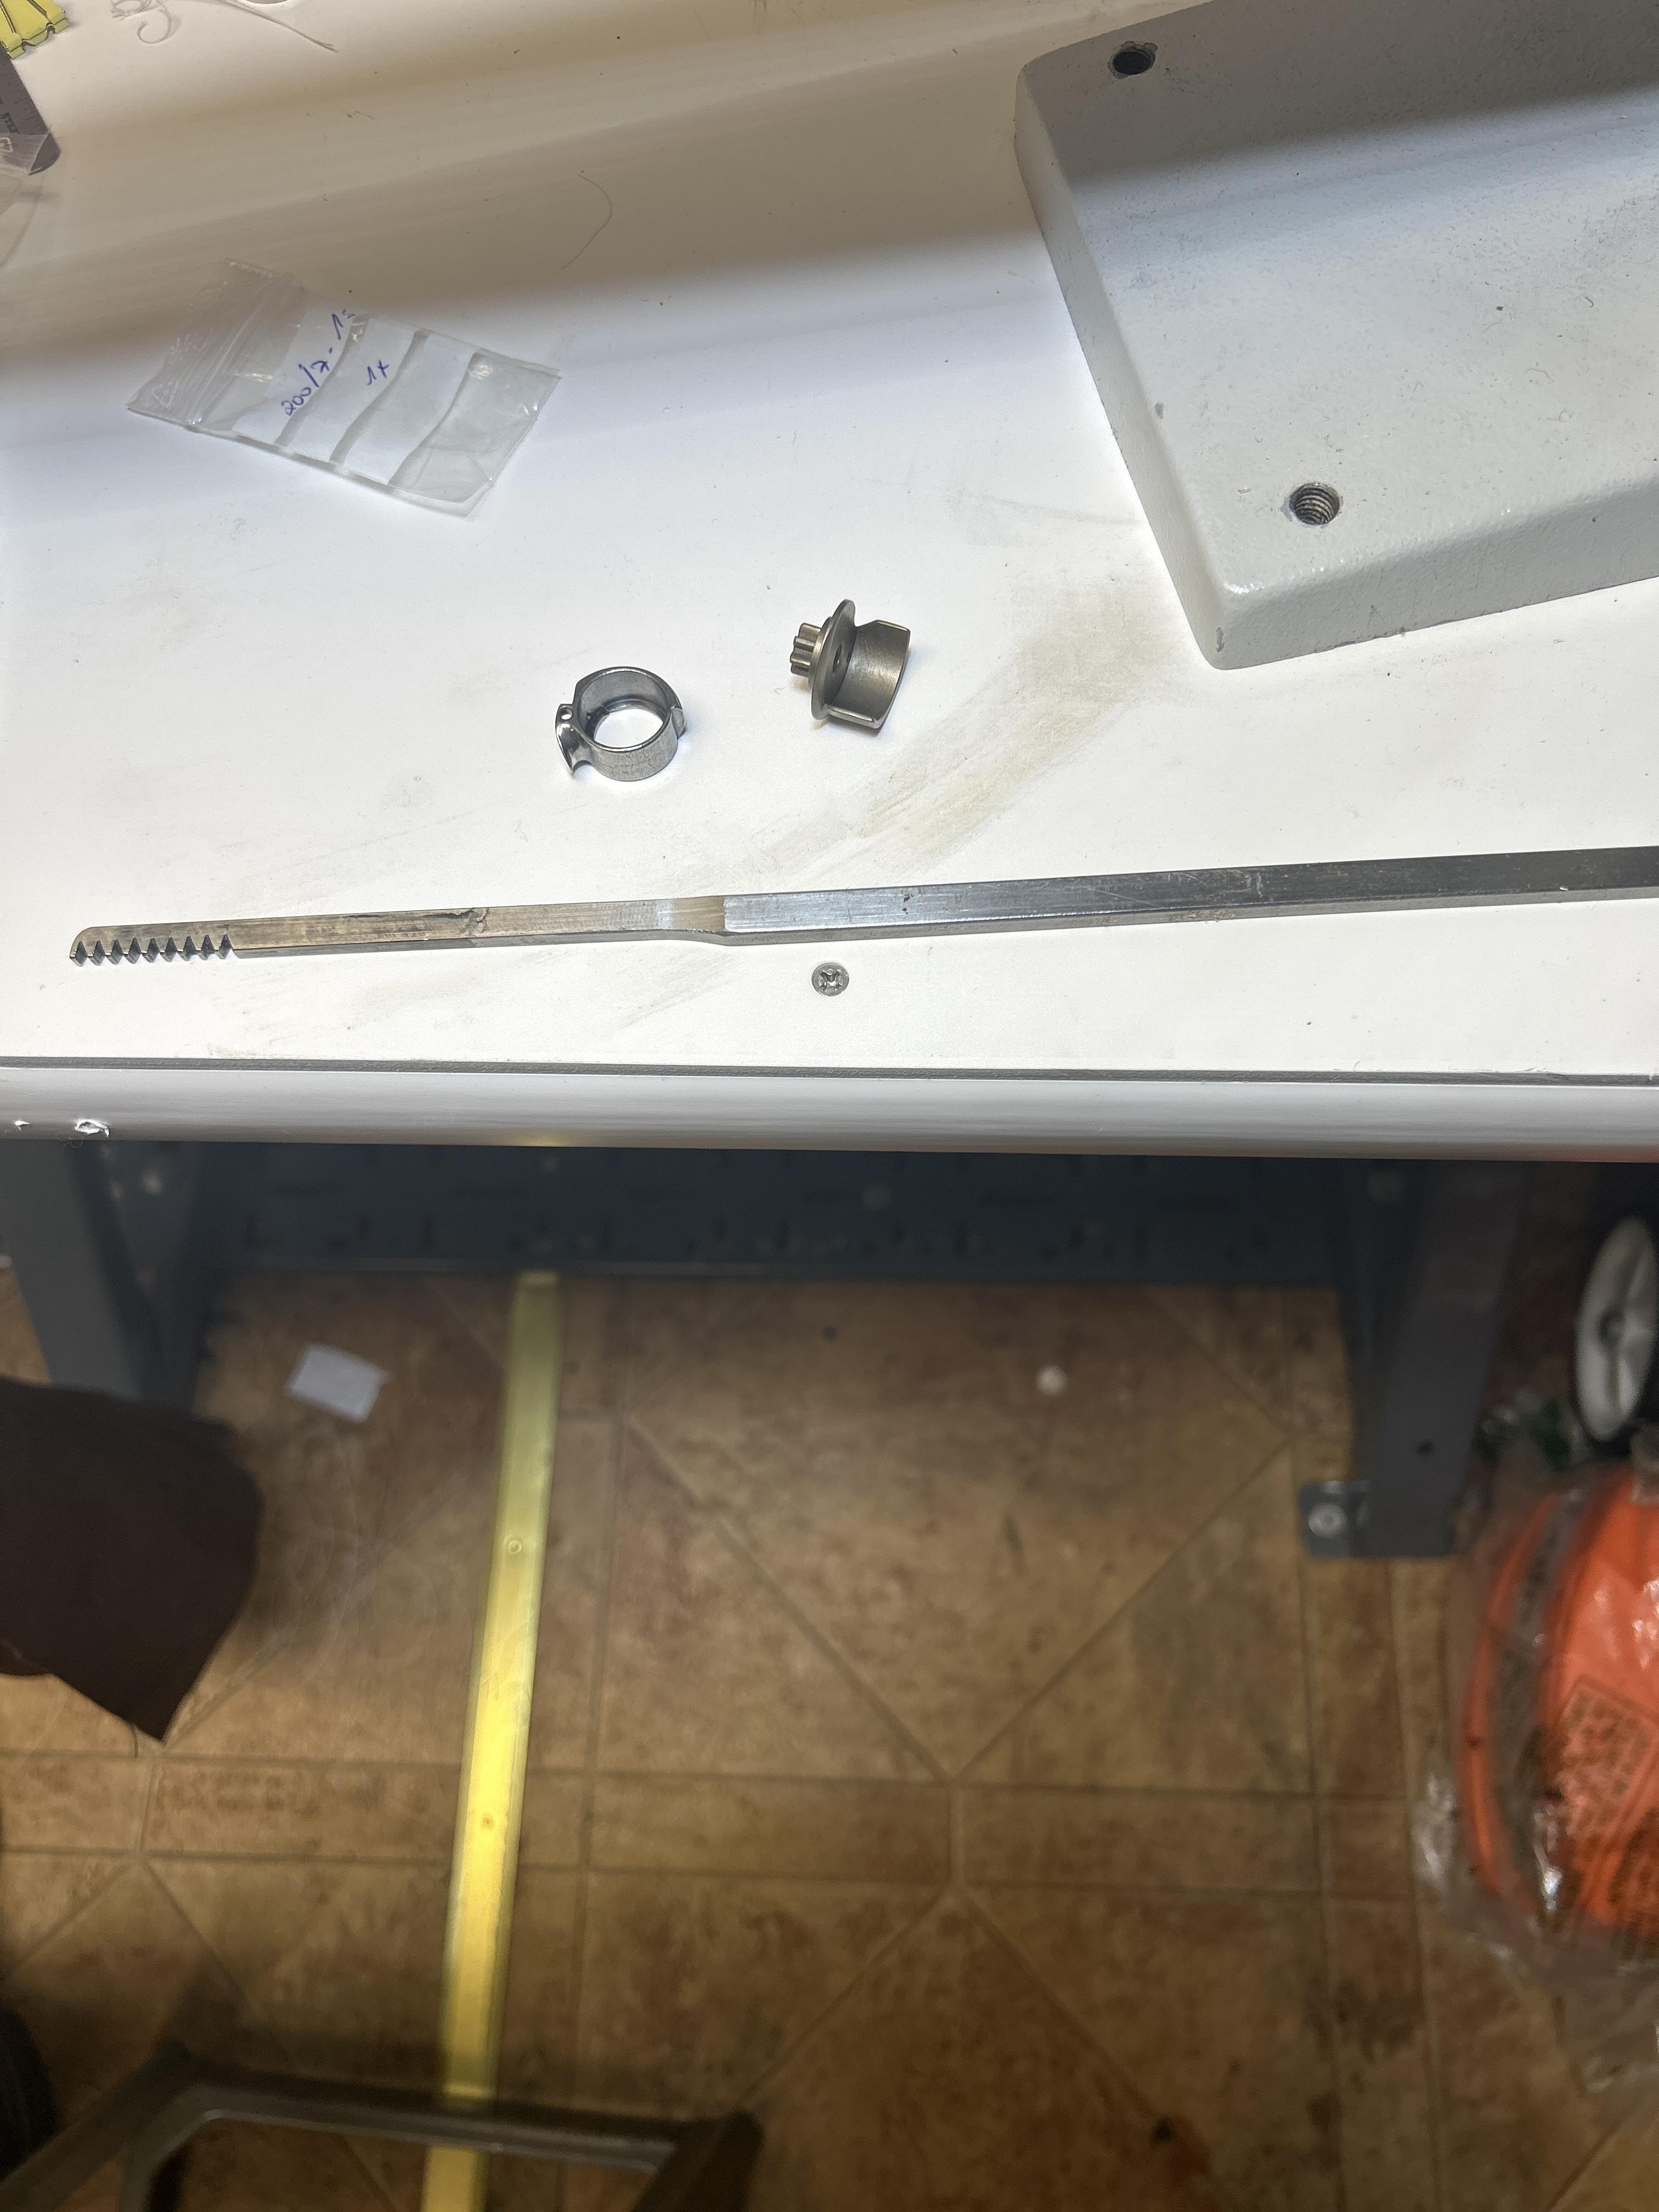
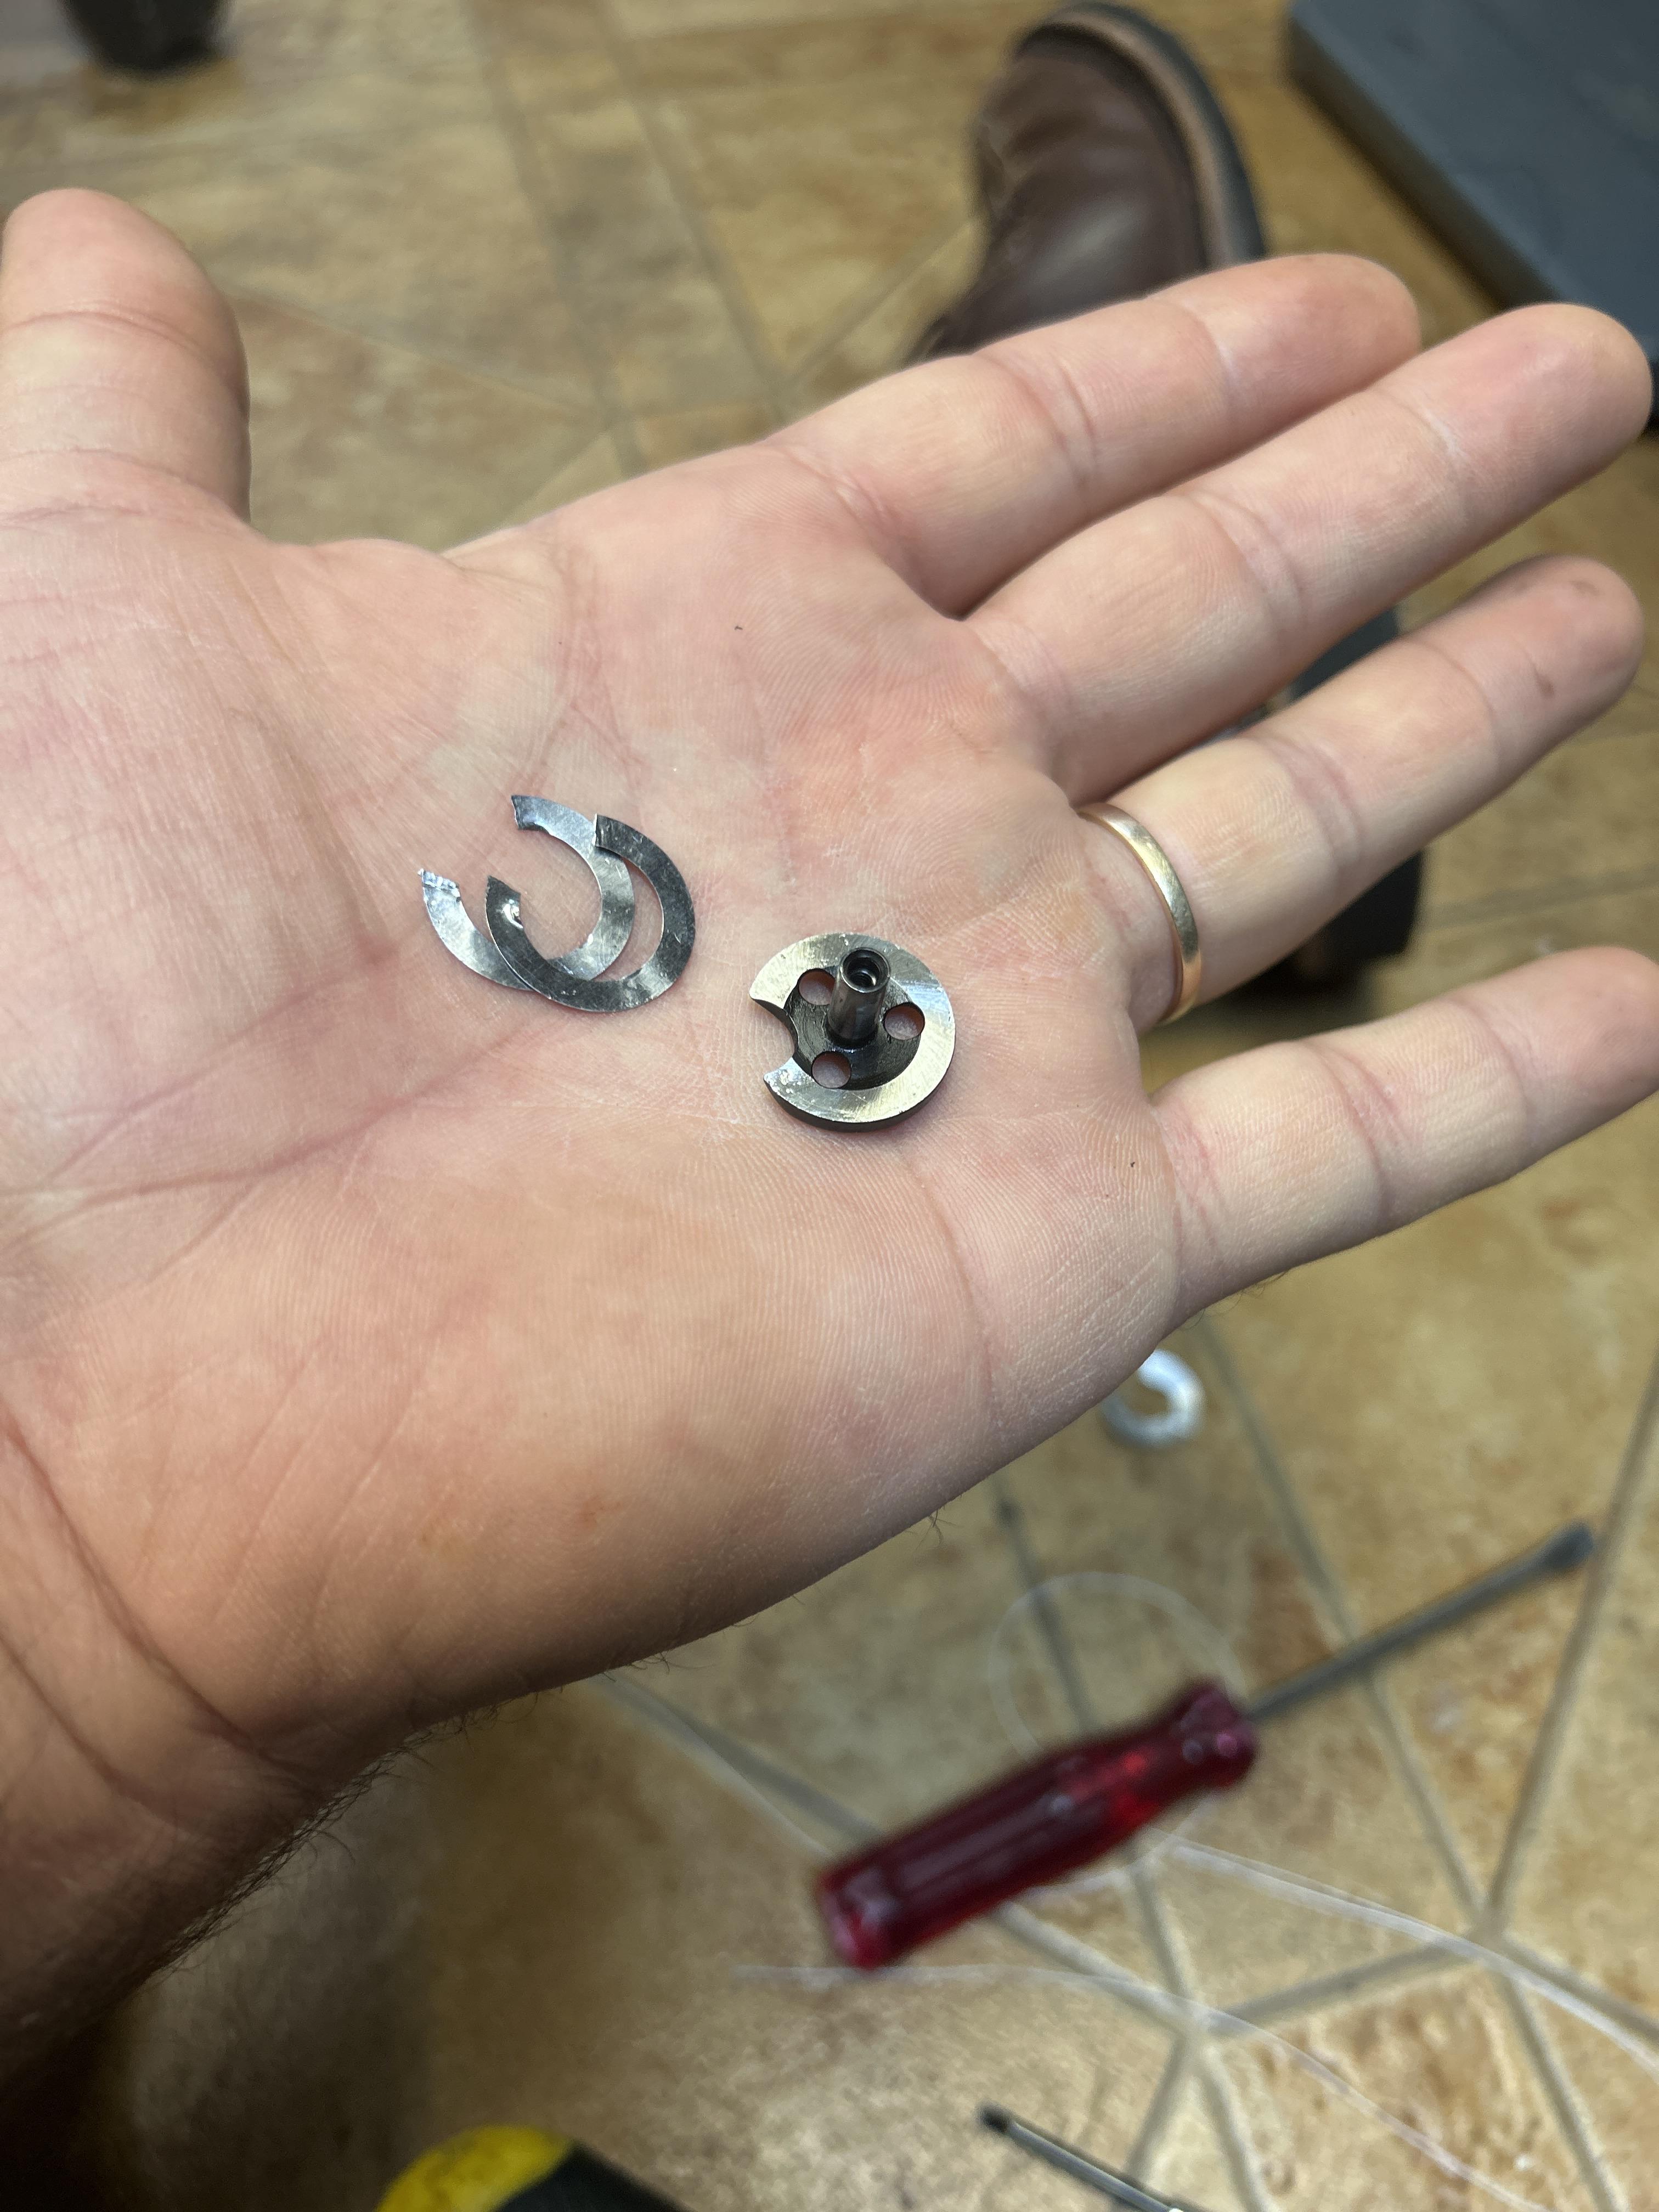
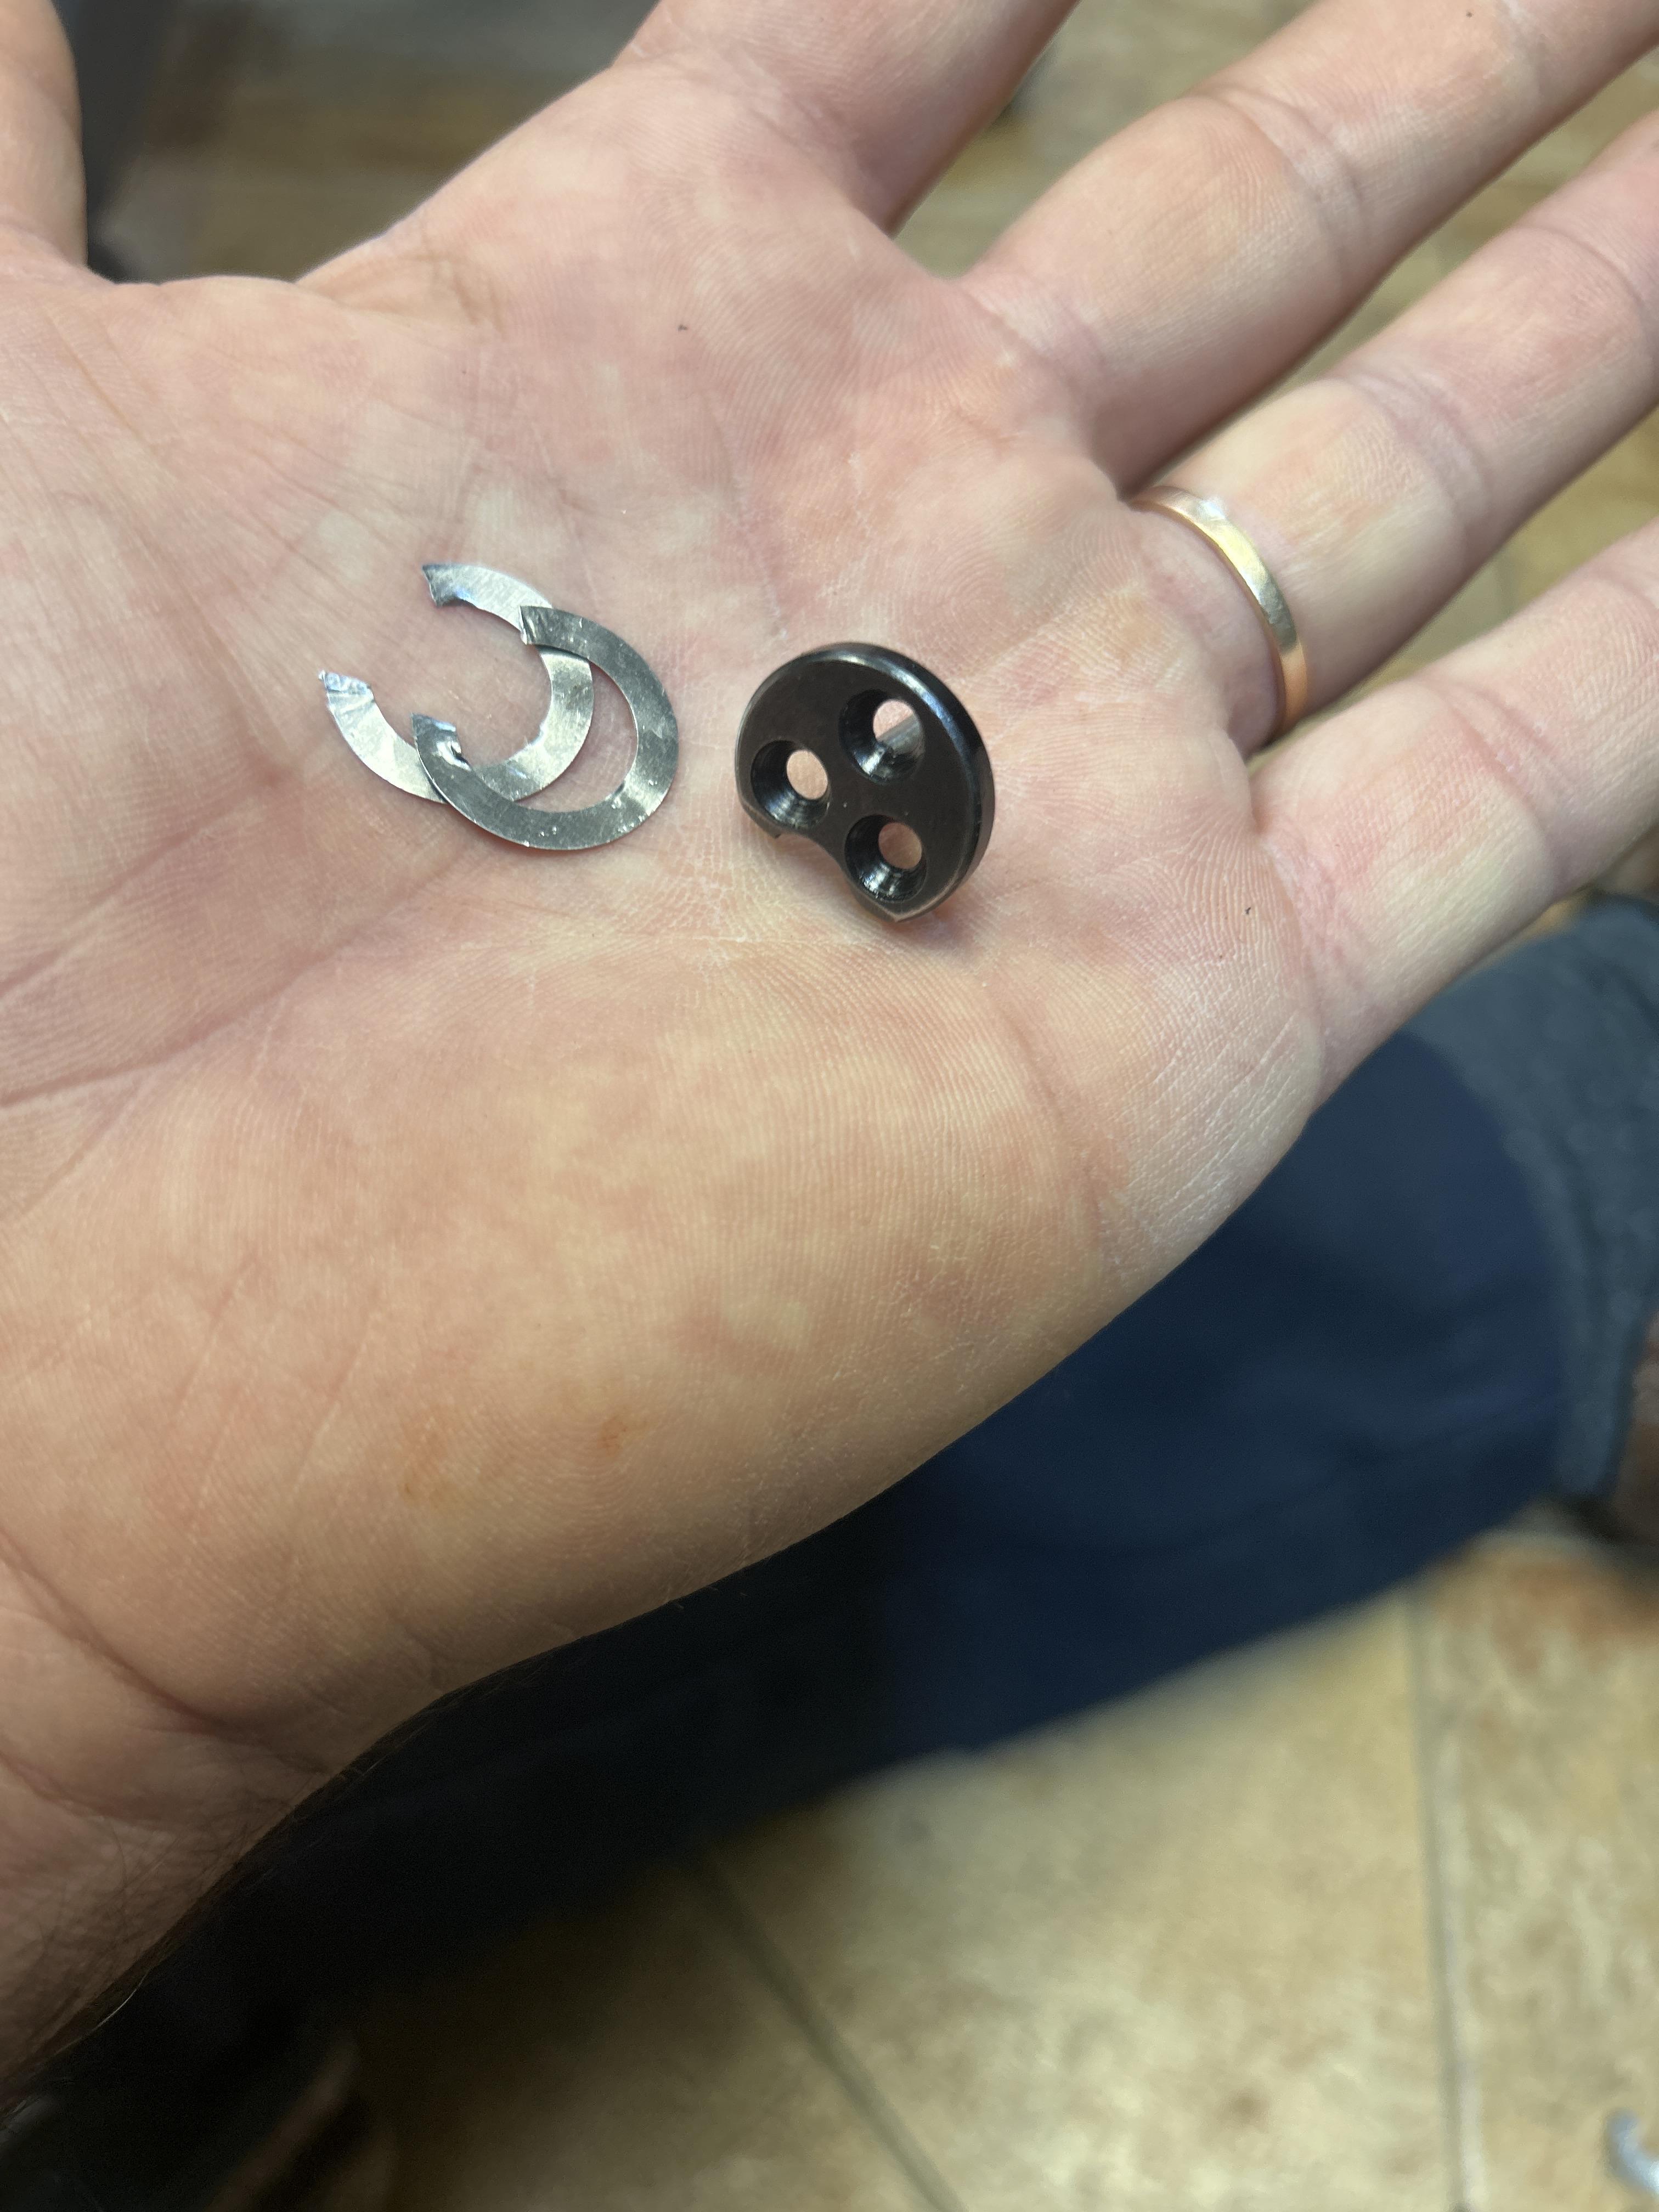
By the way, less than a year ago, I replaced the following parts. The machine was working flawlessly, but then the machine would stop completely. After looking around. A noticed the following wedges which I removed and ever since the machine were just not work well even though I put them back. I was told by Landis International these wedges are not part of the original machine. Even though I am the only owner of that machine. But then I remembered having someone work on this machine about five years ago, and the only explanation I can offer is that he must have put these wedges in there.that would be the tip of my screwdriver pointing at the end of the wedge. I’m going to take them out and show them to you.
-
-
My apologies to you, I was so in a hurry to show you and tell you what was going on. I forget to send that information.
-
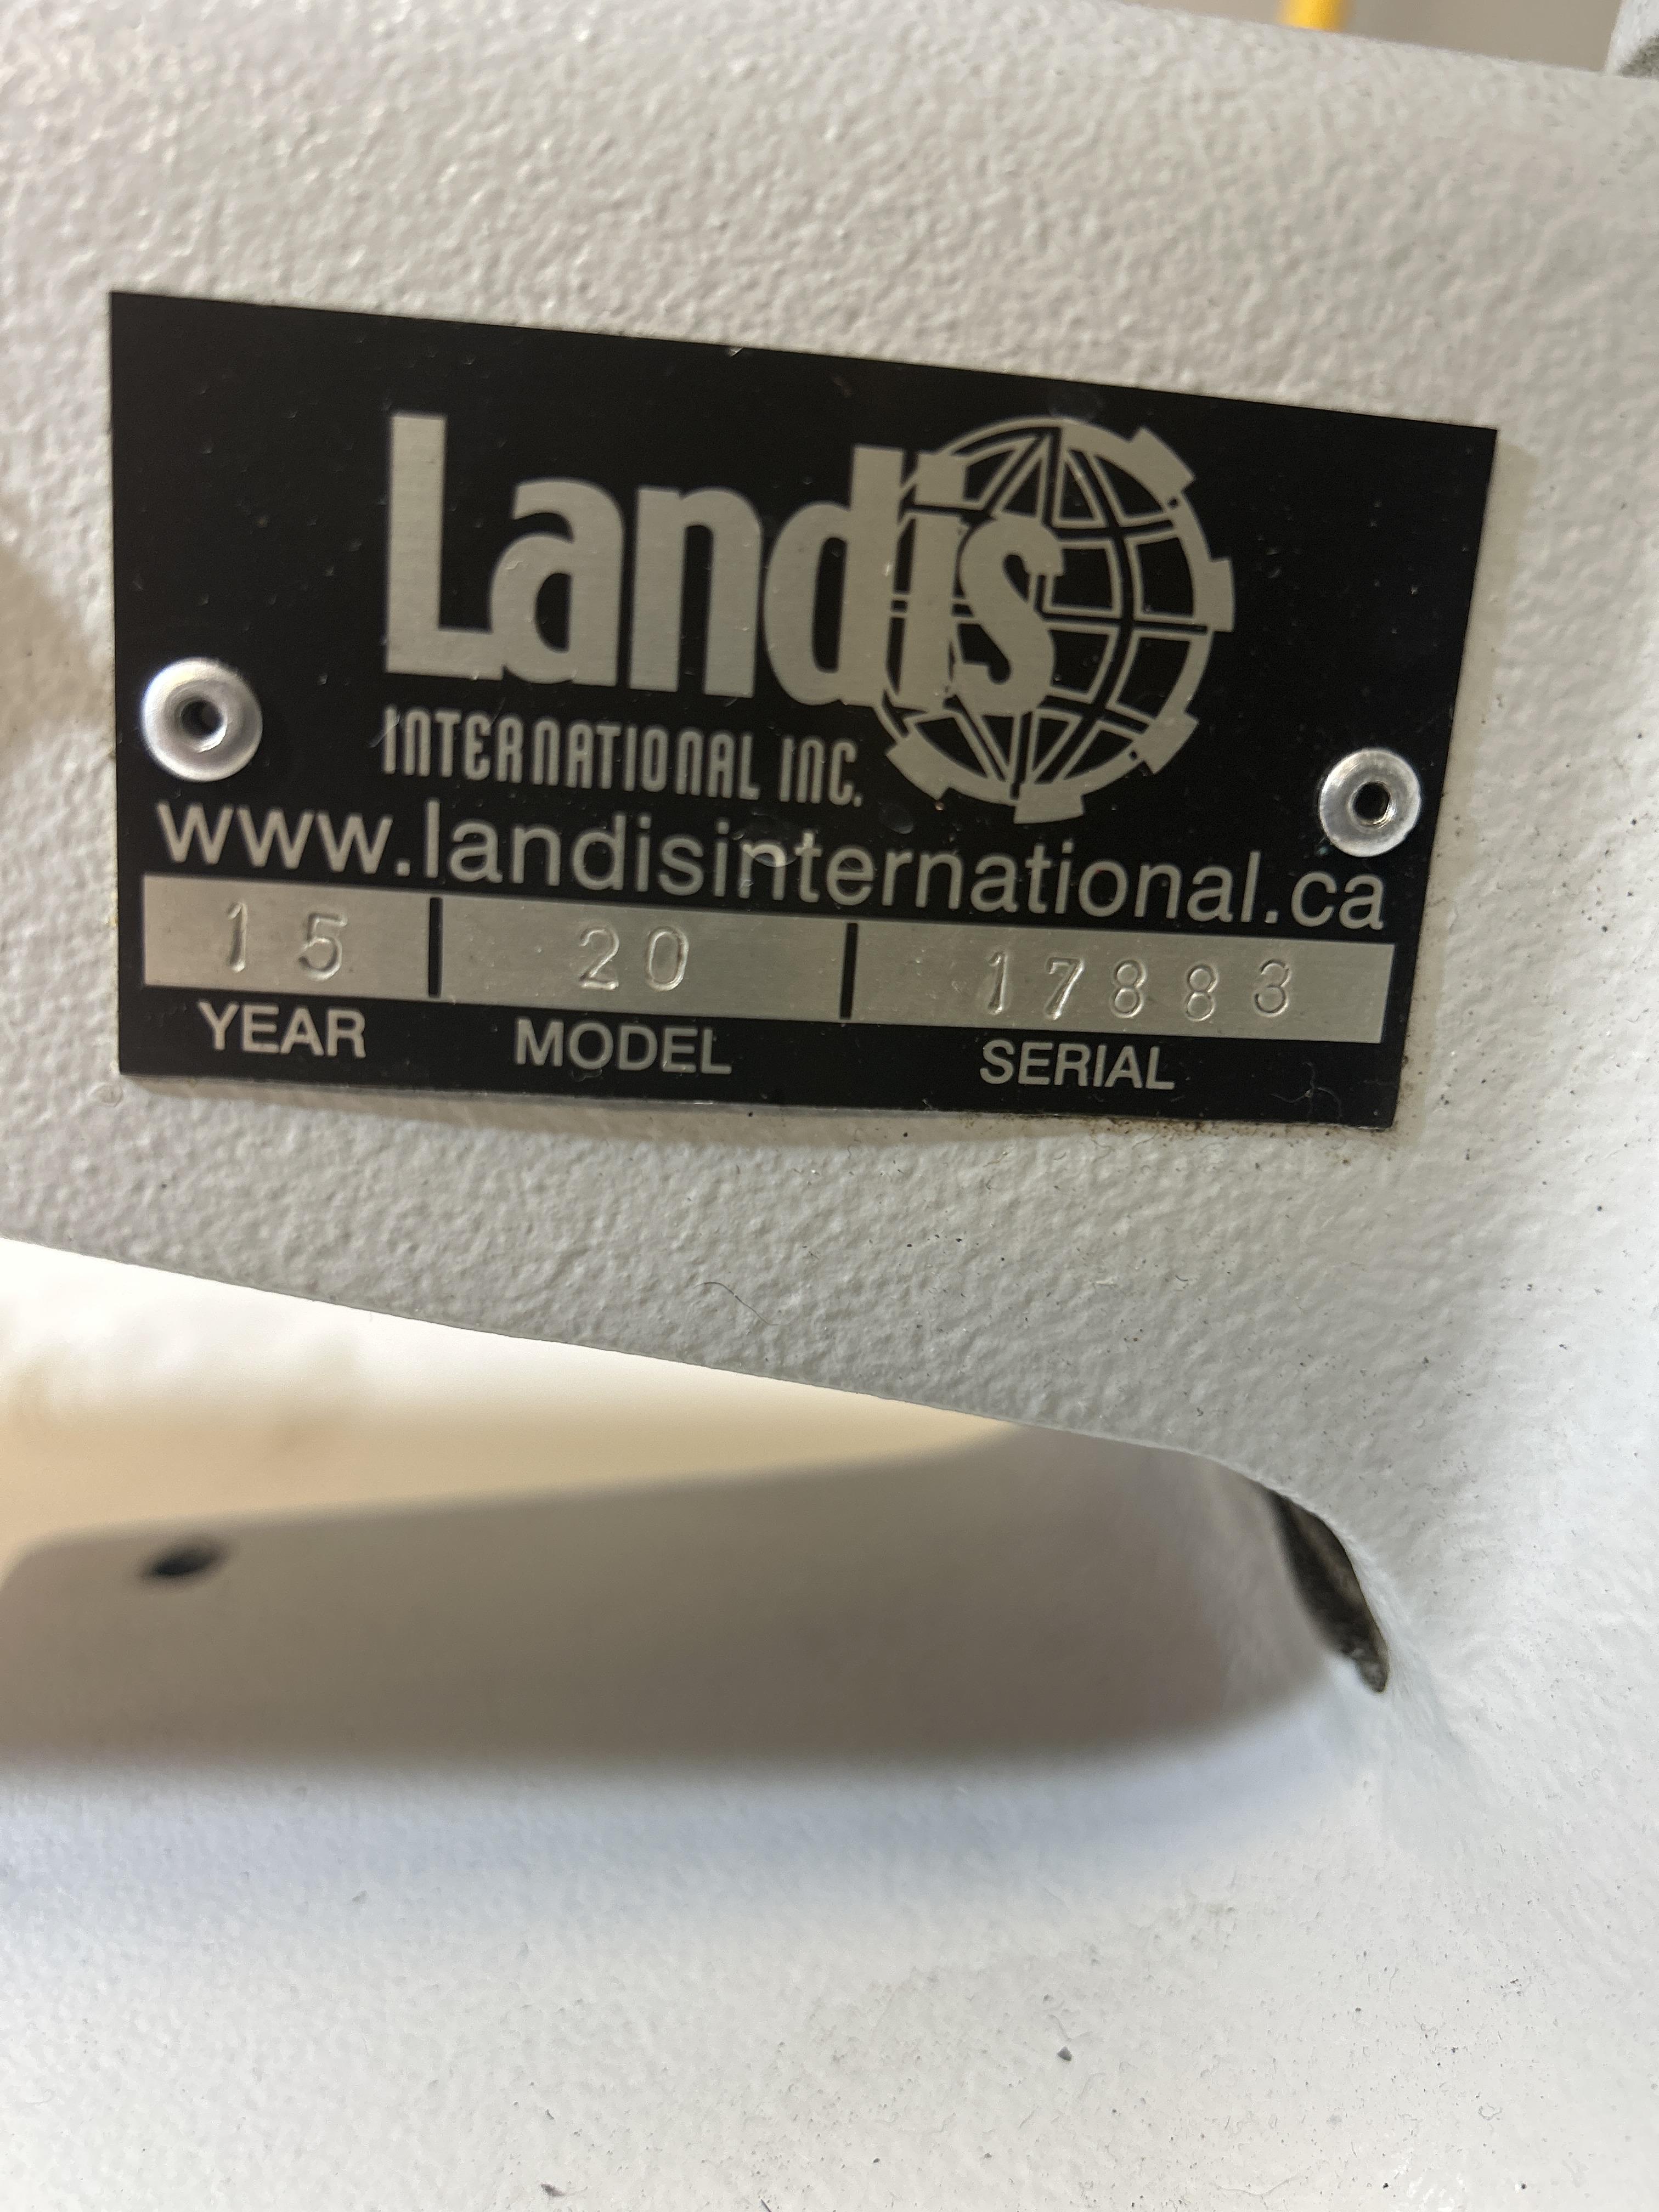
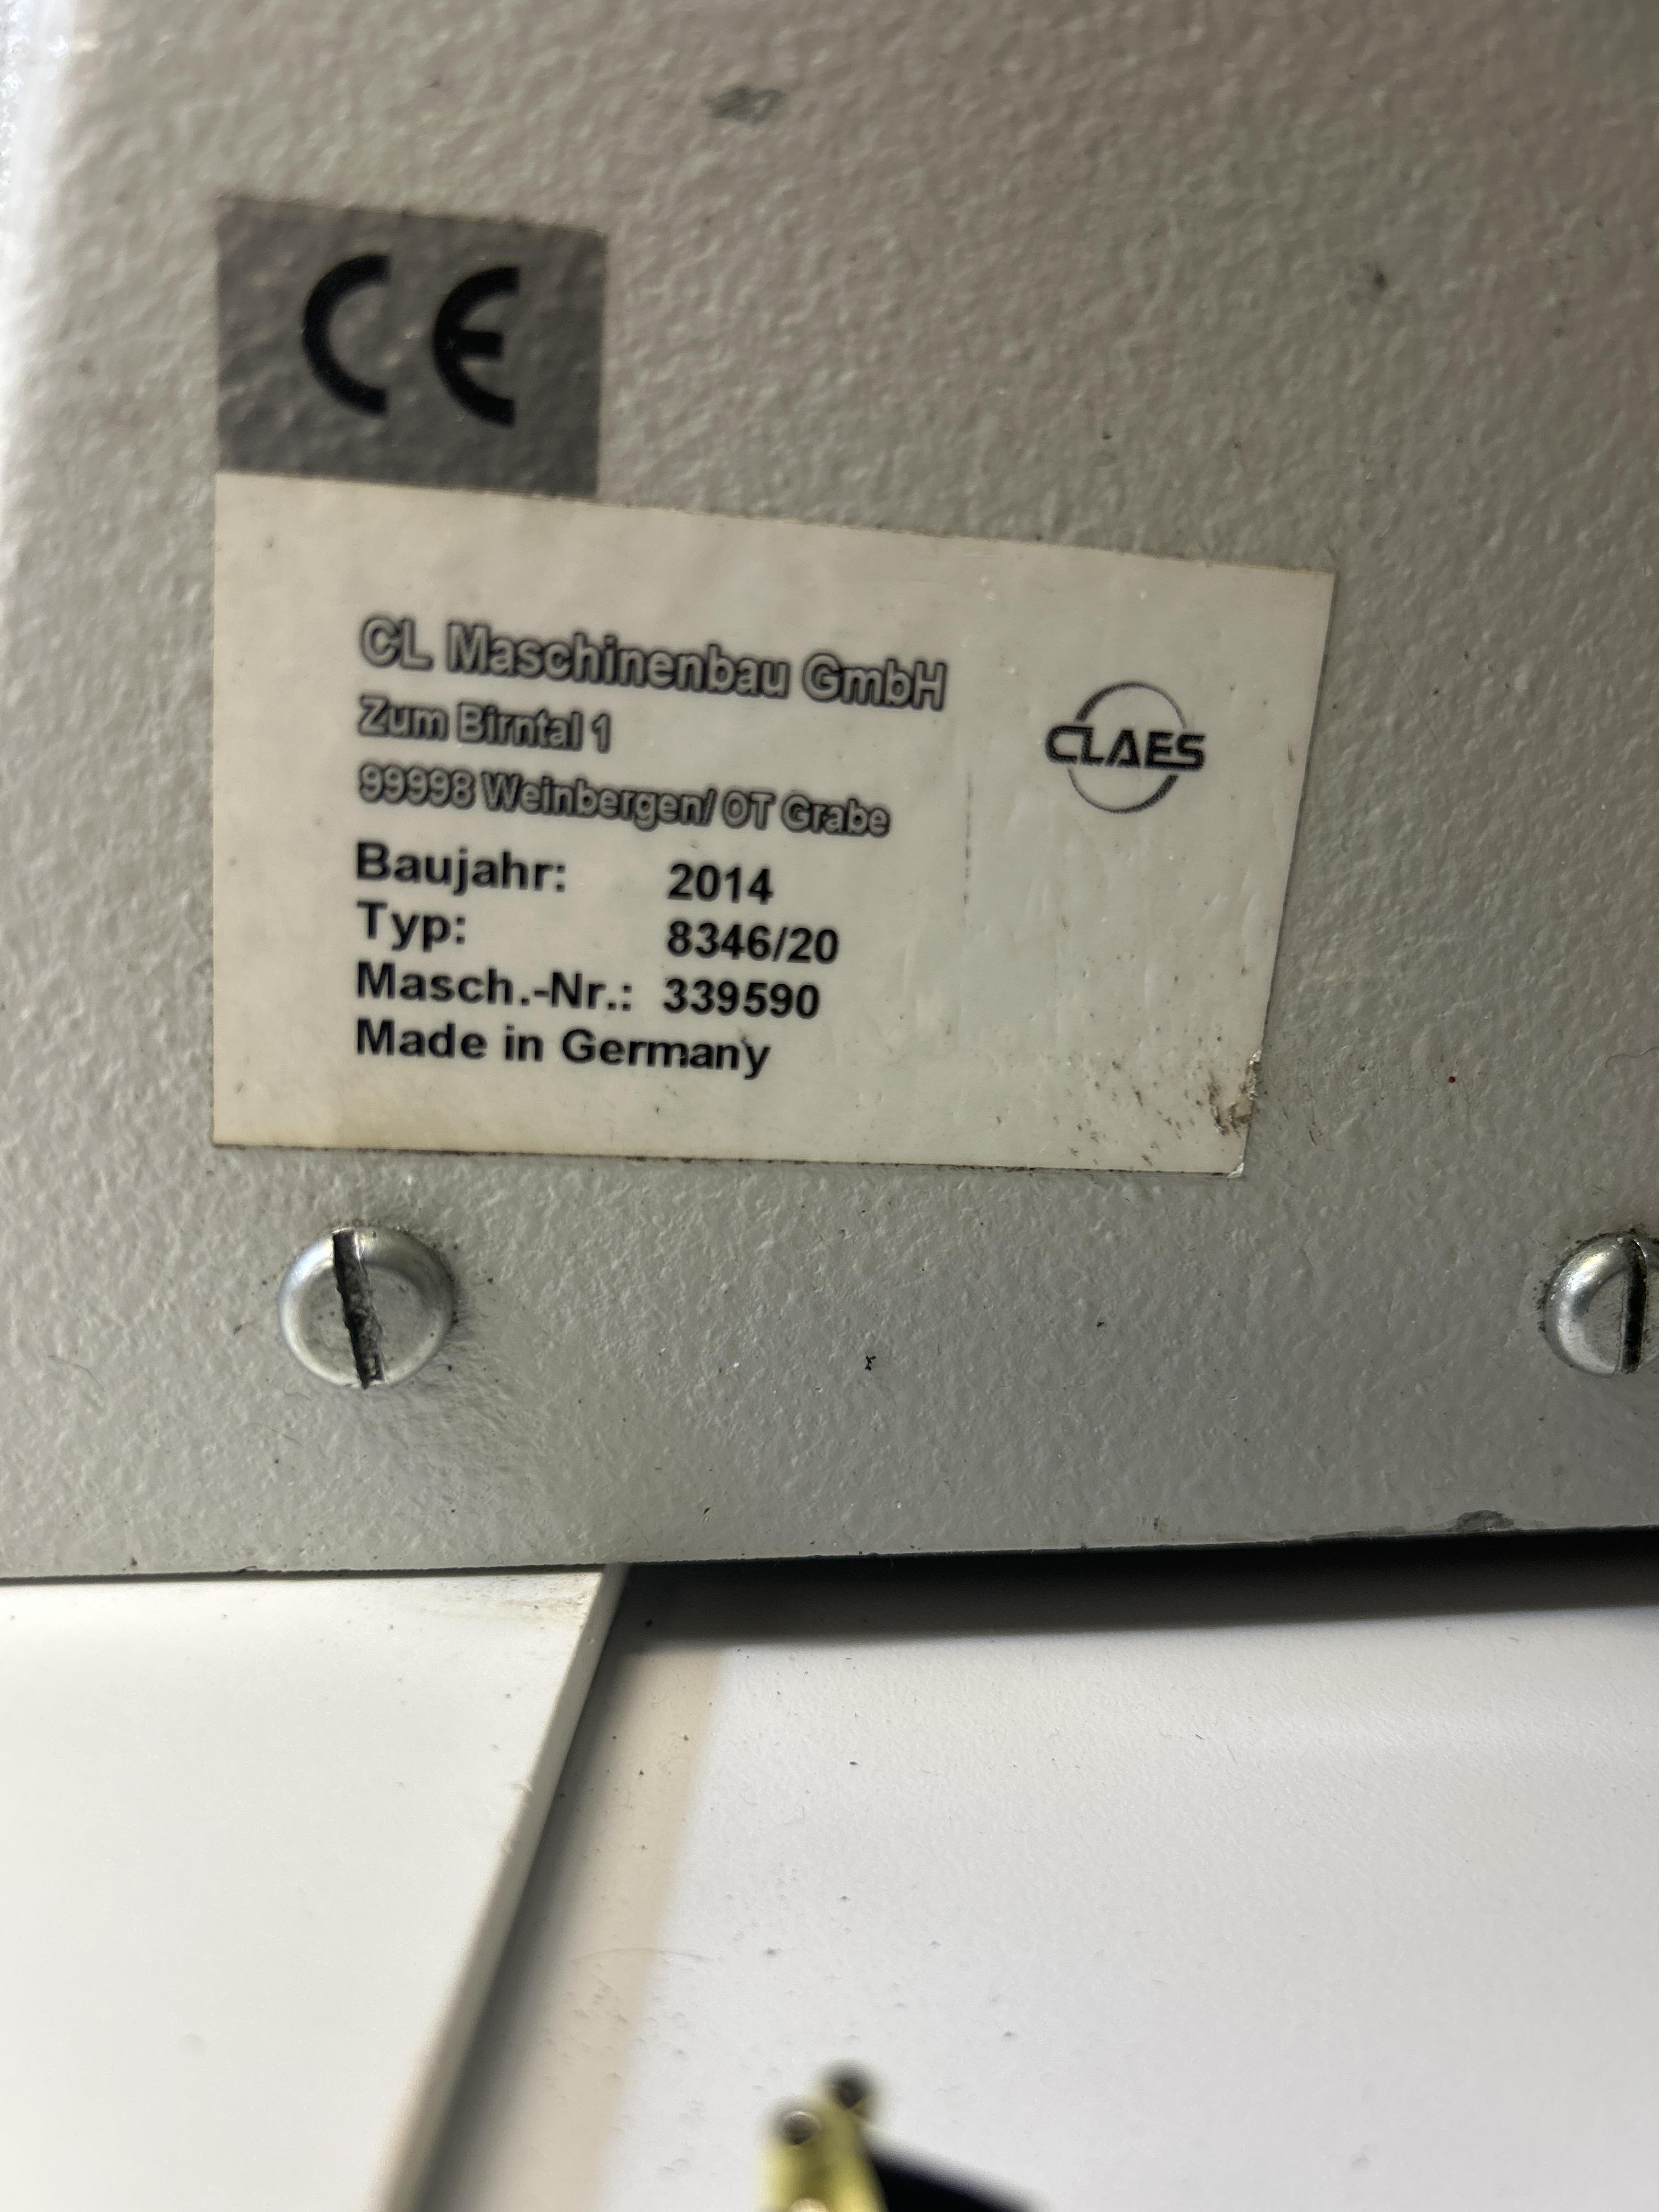
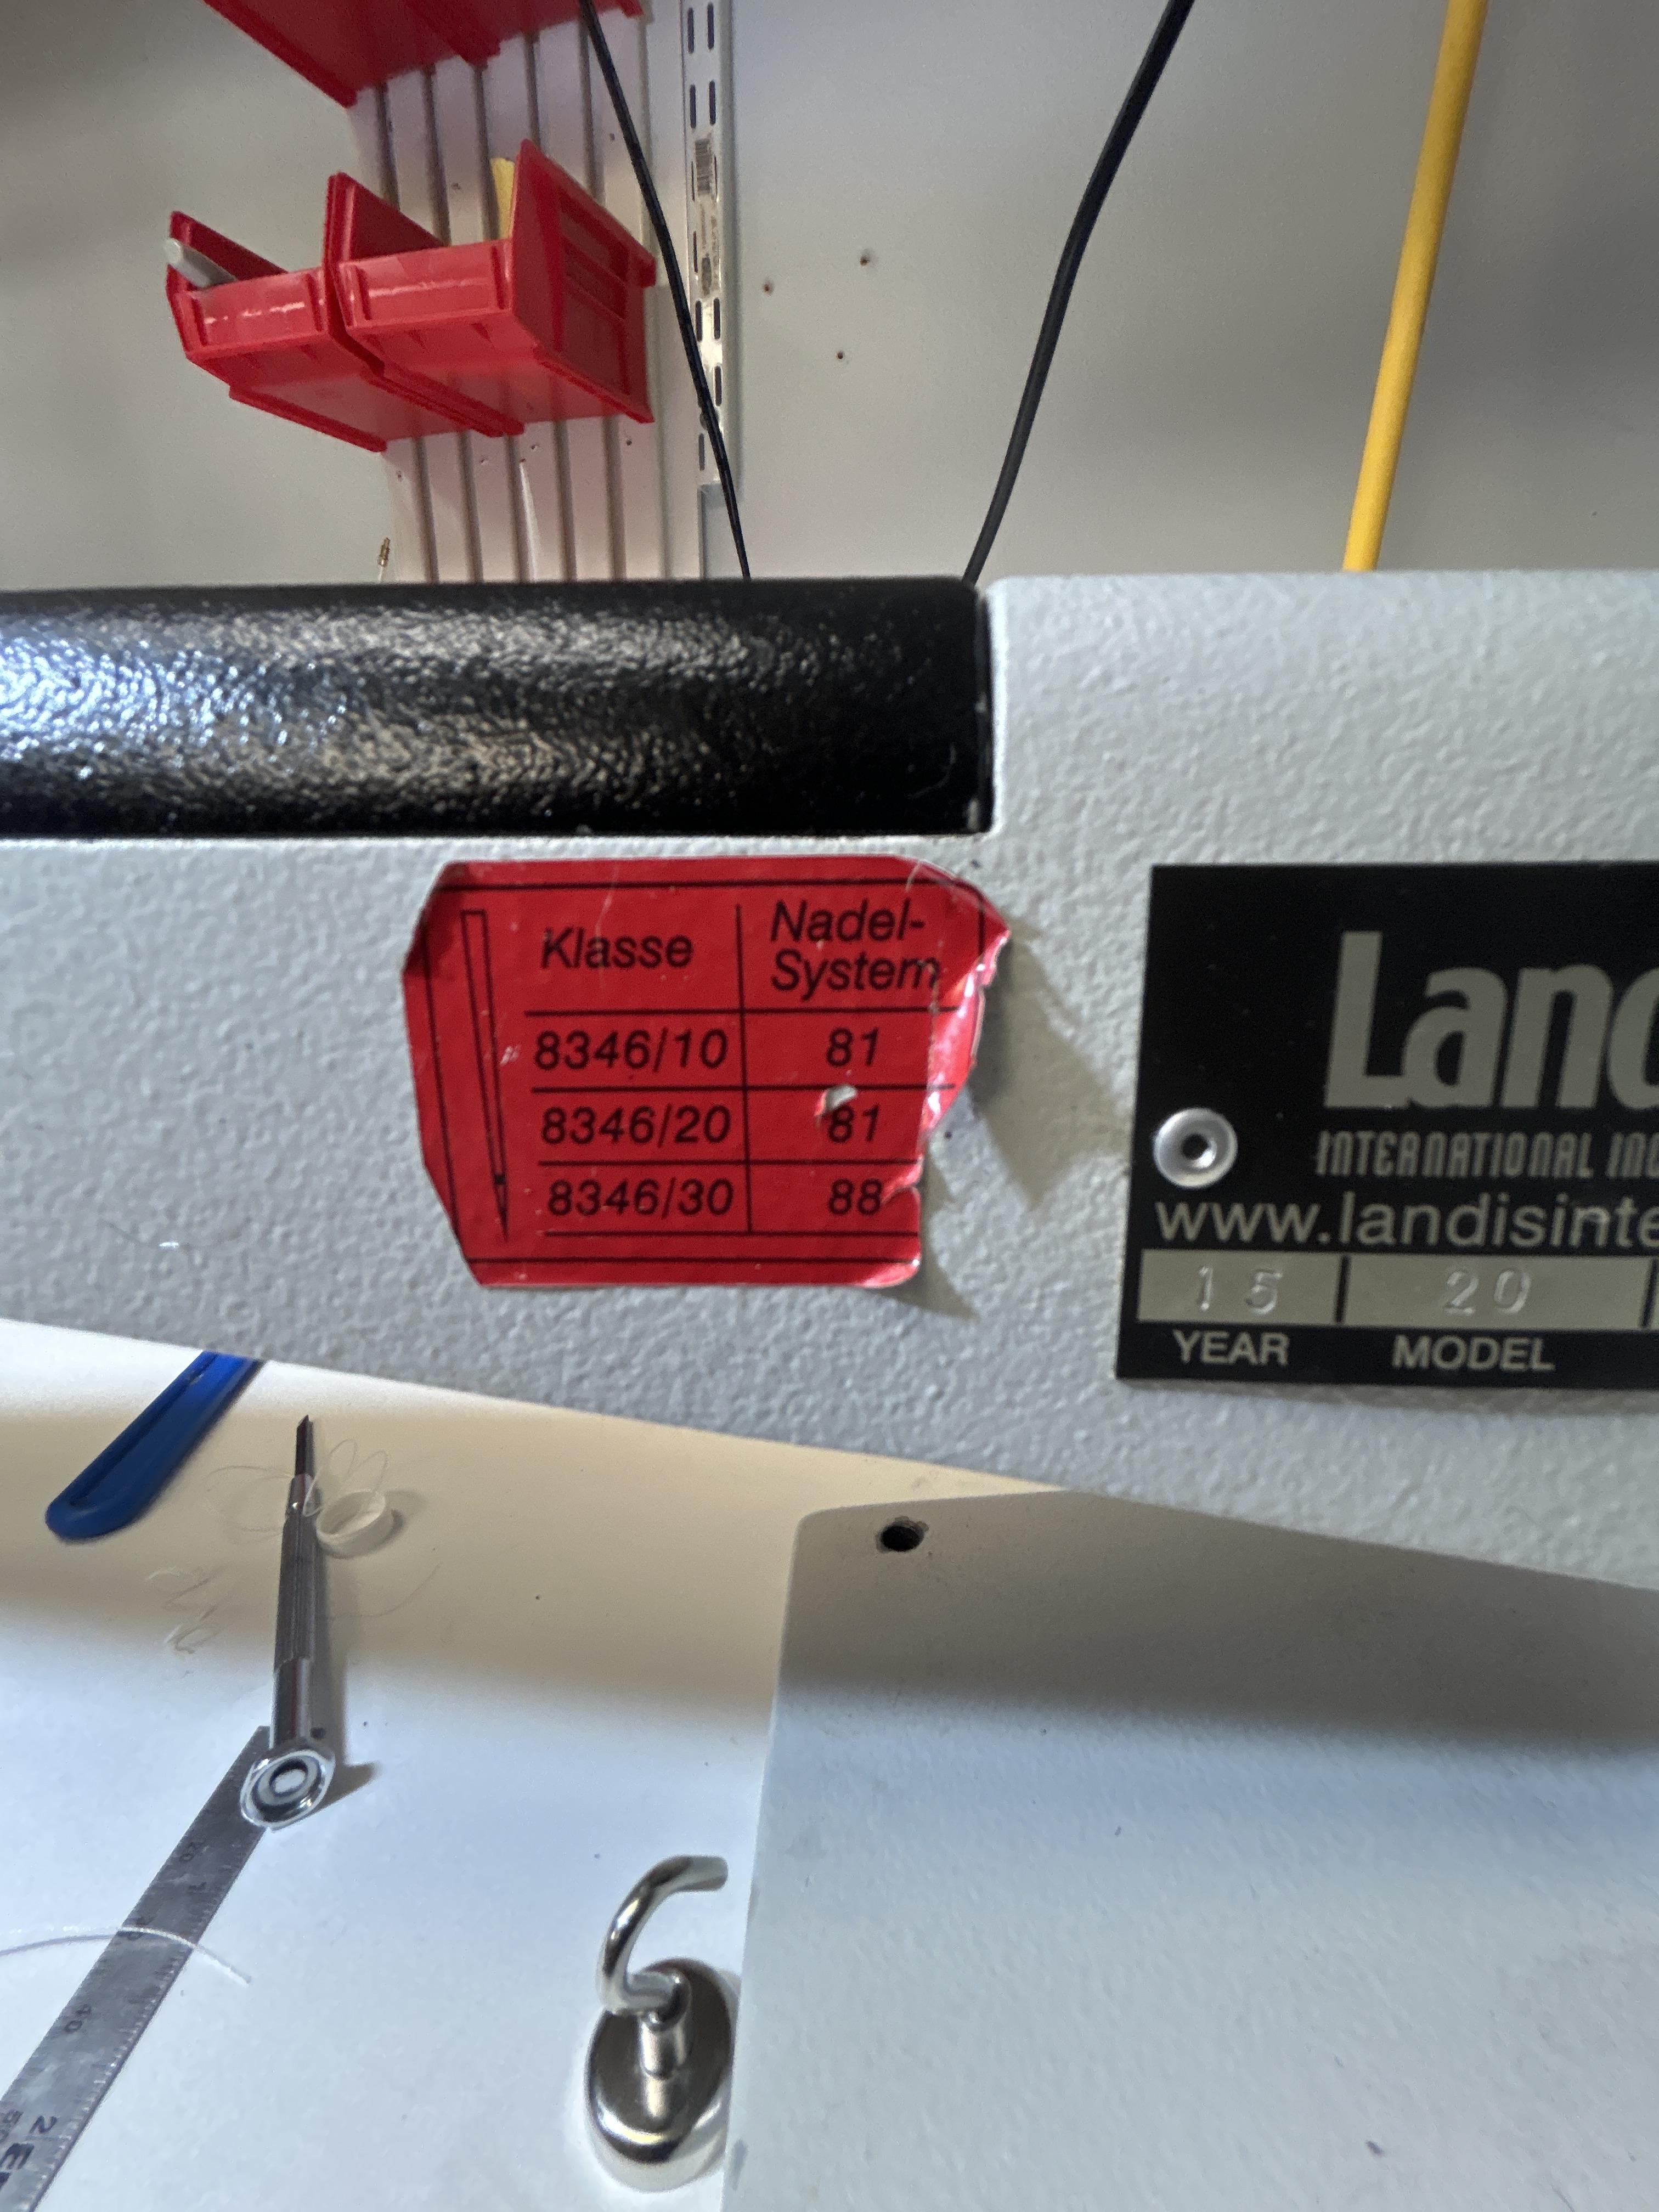
well they are not all the same, thats why I asked for the model - CLAES has a long history and made patcher machine for many decades. Beside the even older "COLIBRI" and "Patent Elastic" machines they had the Model 201, RPX, 200, 8345 and 8346 - I assume you have the latest 8346, right? Just from the picture I would say you have a tension problem but no timing problem. Can you post pictures of how you have threaded the machines? I assume a loss of top tension for what ever reason.
-
I really appreciate your help. So we won’t get confused the first machine we will call machine #1 It’s not working 95% correctly. The second machine we will call machine. # 2 , which I purchased 10 years ago. I’m having timing issues with it. Since all Claes machines are the same, I tried to adjust the timing of machine #2 to the same timing as #1 but no success. please note the second and third photos are the same but from different sides.
-
 More thoughts... Re: mineral content of water for wet forming. Distilled water has zero minerals. Tap water varies greatly from source to source. Las Vegas has fairly hard water, 291 ppm as reported by the Water District. Over 300ppm is classified as "very hard". It's well known that we have high Calcium. I think it would be important to know the mineral profile or at least the Hardness of the water used if planning to do comparison tests. Re: leather weight & detail molding. As Thadrick mentioned, a thicker outside layer makes total sense, if carving is planned, If no carving is planned then detail molding would set the priority. Here, I think two layers of equal thickness are called for because the the thicker the leather the more resistant to details. The simple fact that two layers are being used and being fixed with contact cement, contributes greatly to stiffness. As Dwight mentioned - a hot box. I totally agree. Force drying a wet mold with heat and fan, really firms up a build. In the end, every step in our process adds to firming things up: wet molding & force drying, contact cement, dying, sewing, edge treatment and top coat, all help toward this objective. Don't use NFO or any leather conditioner, oil, cream, etc. I tend to believe that waiting overnight between each of these steps, also helps, but I may be completely wrong. Nick
 -
The case you have shown is very similar or the same as the ones made by Libertaz Leathers ( libertazleathers.com ) and here is a video of how they are made. kgg
-
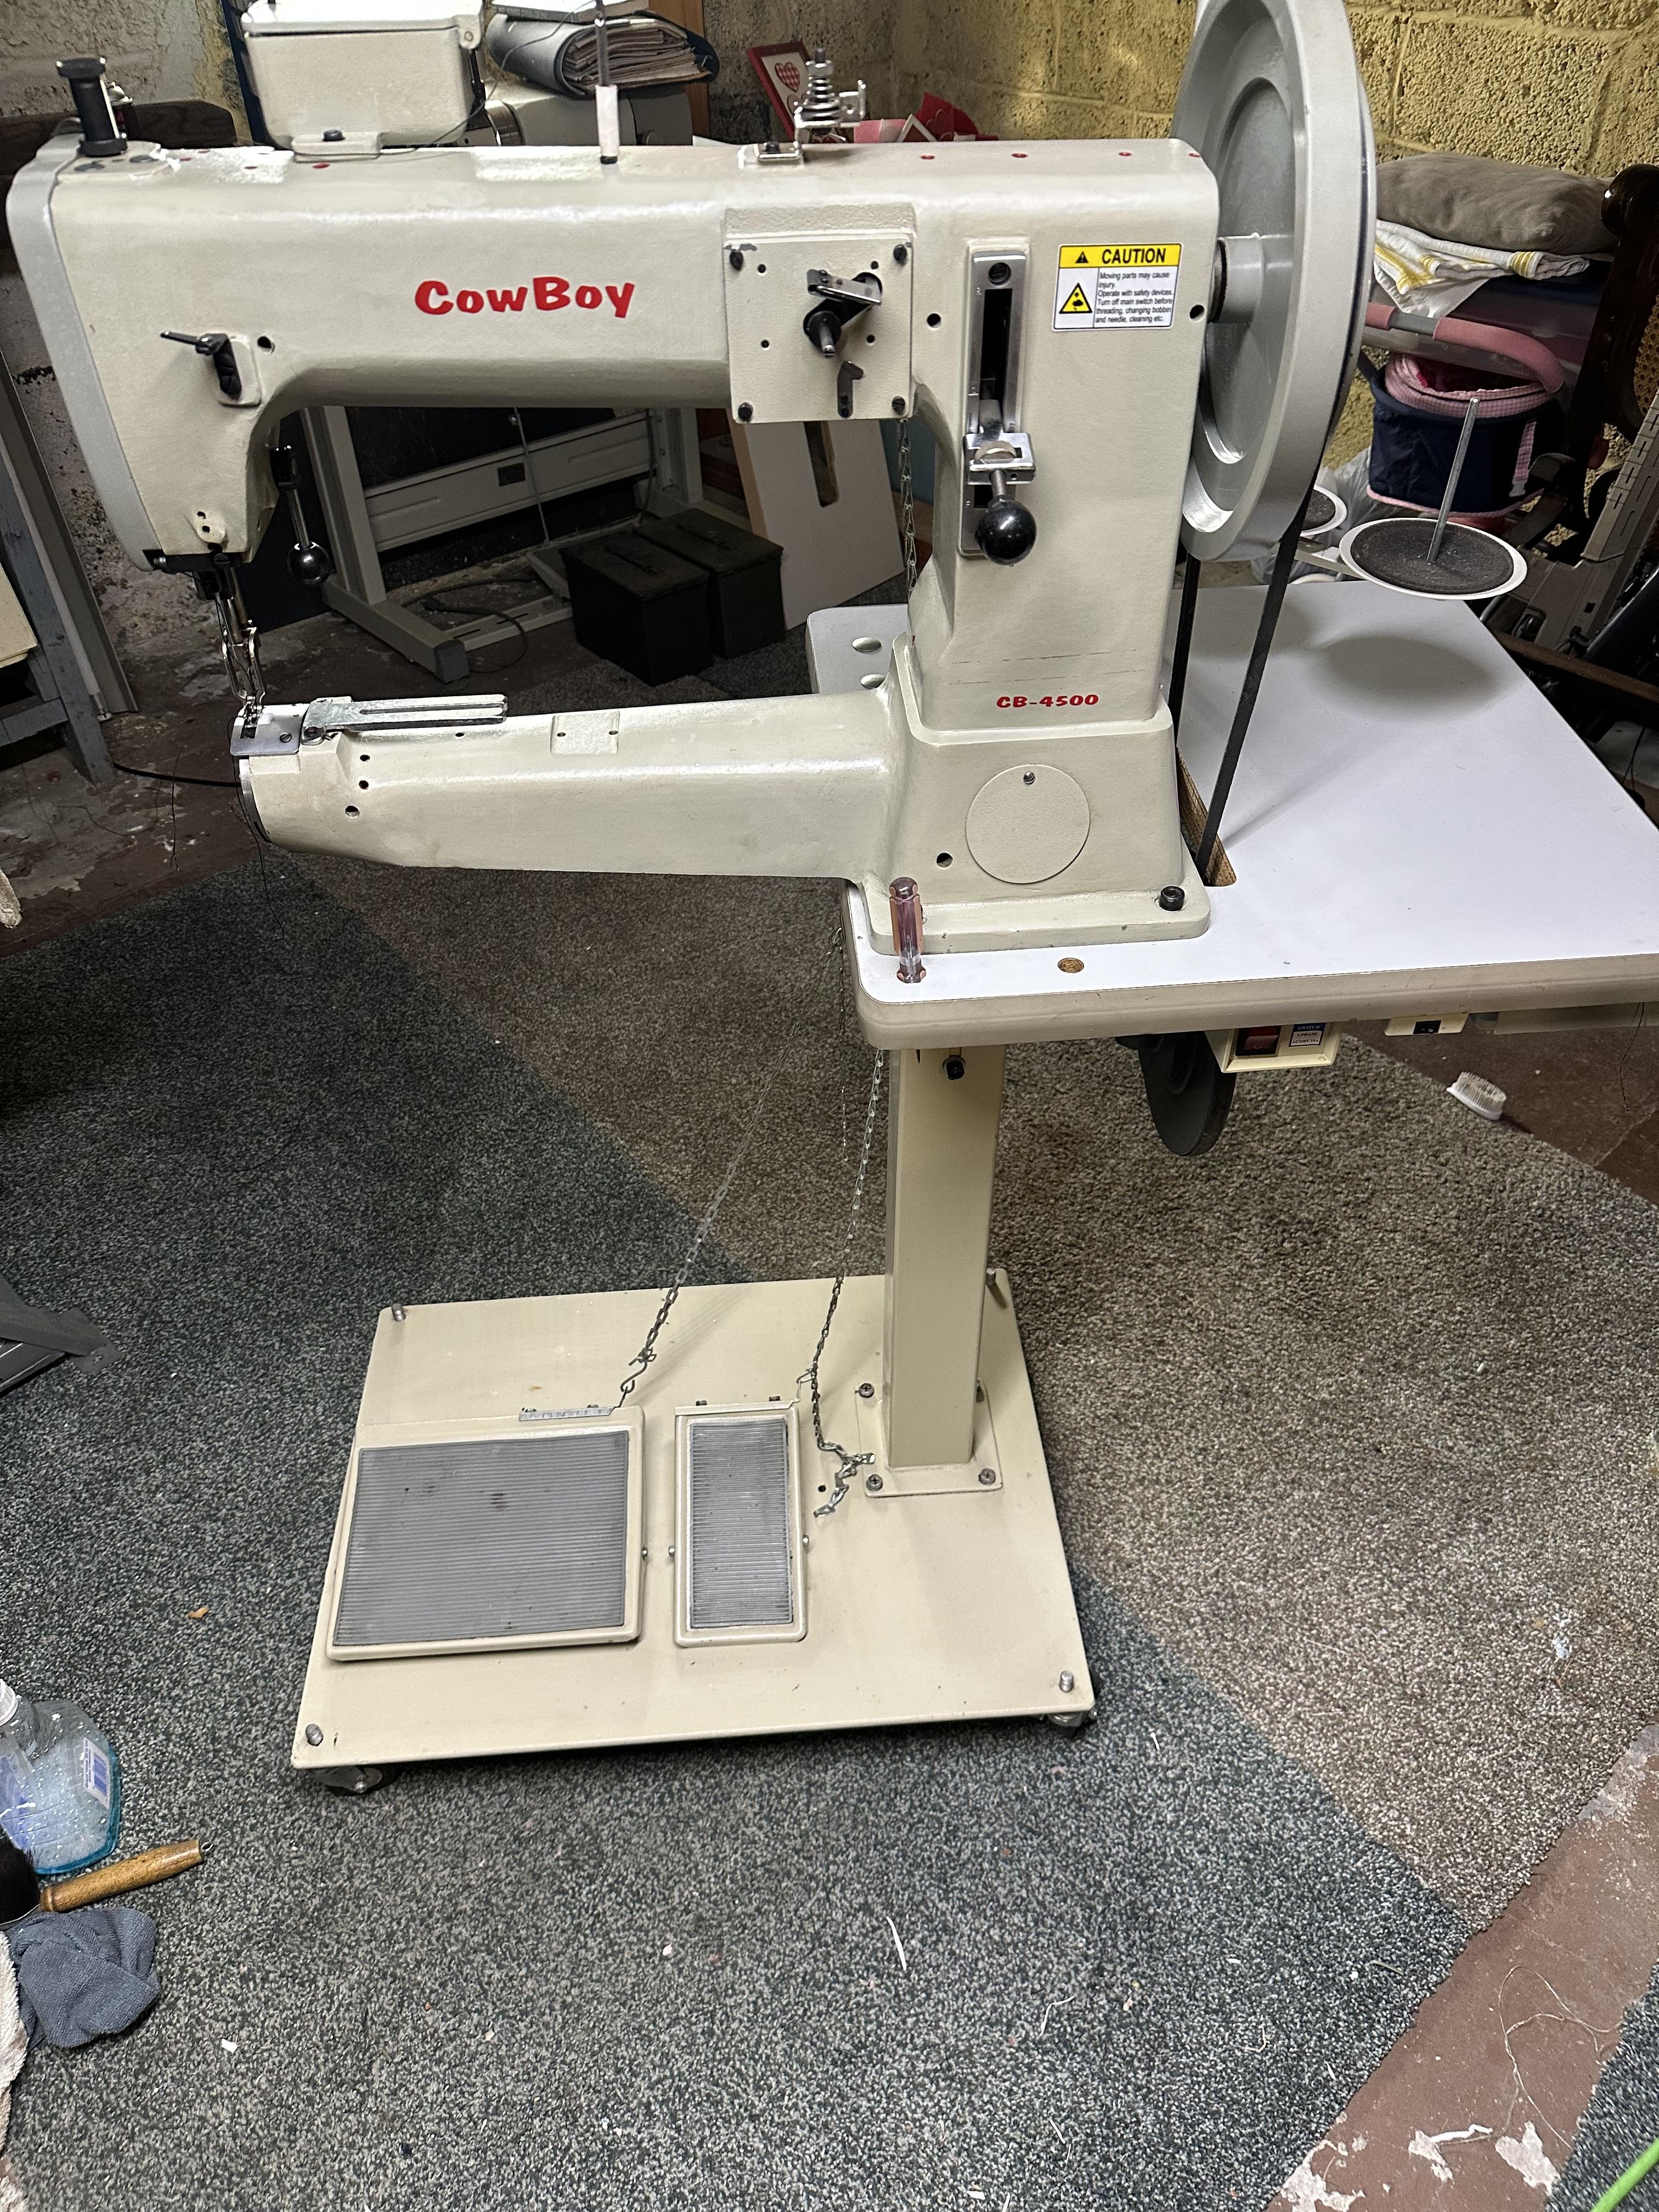
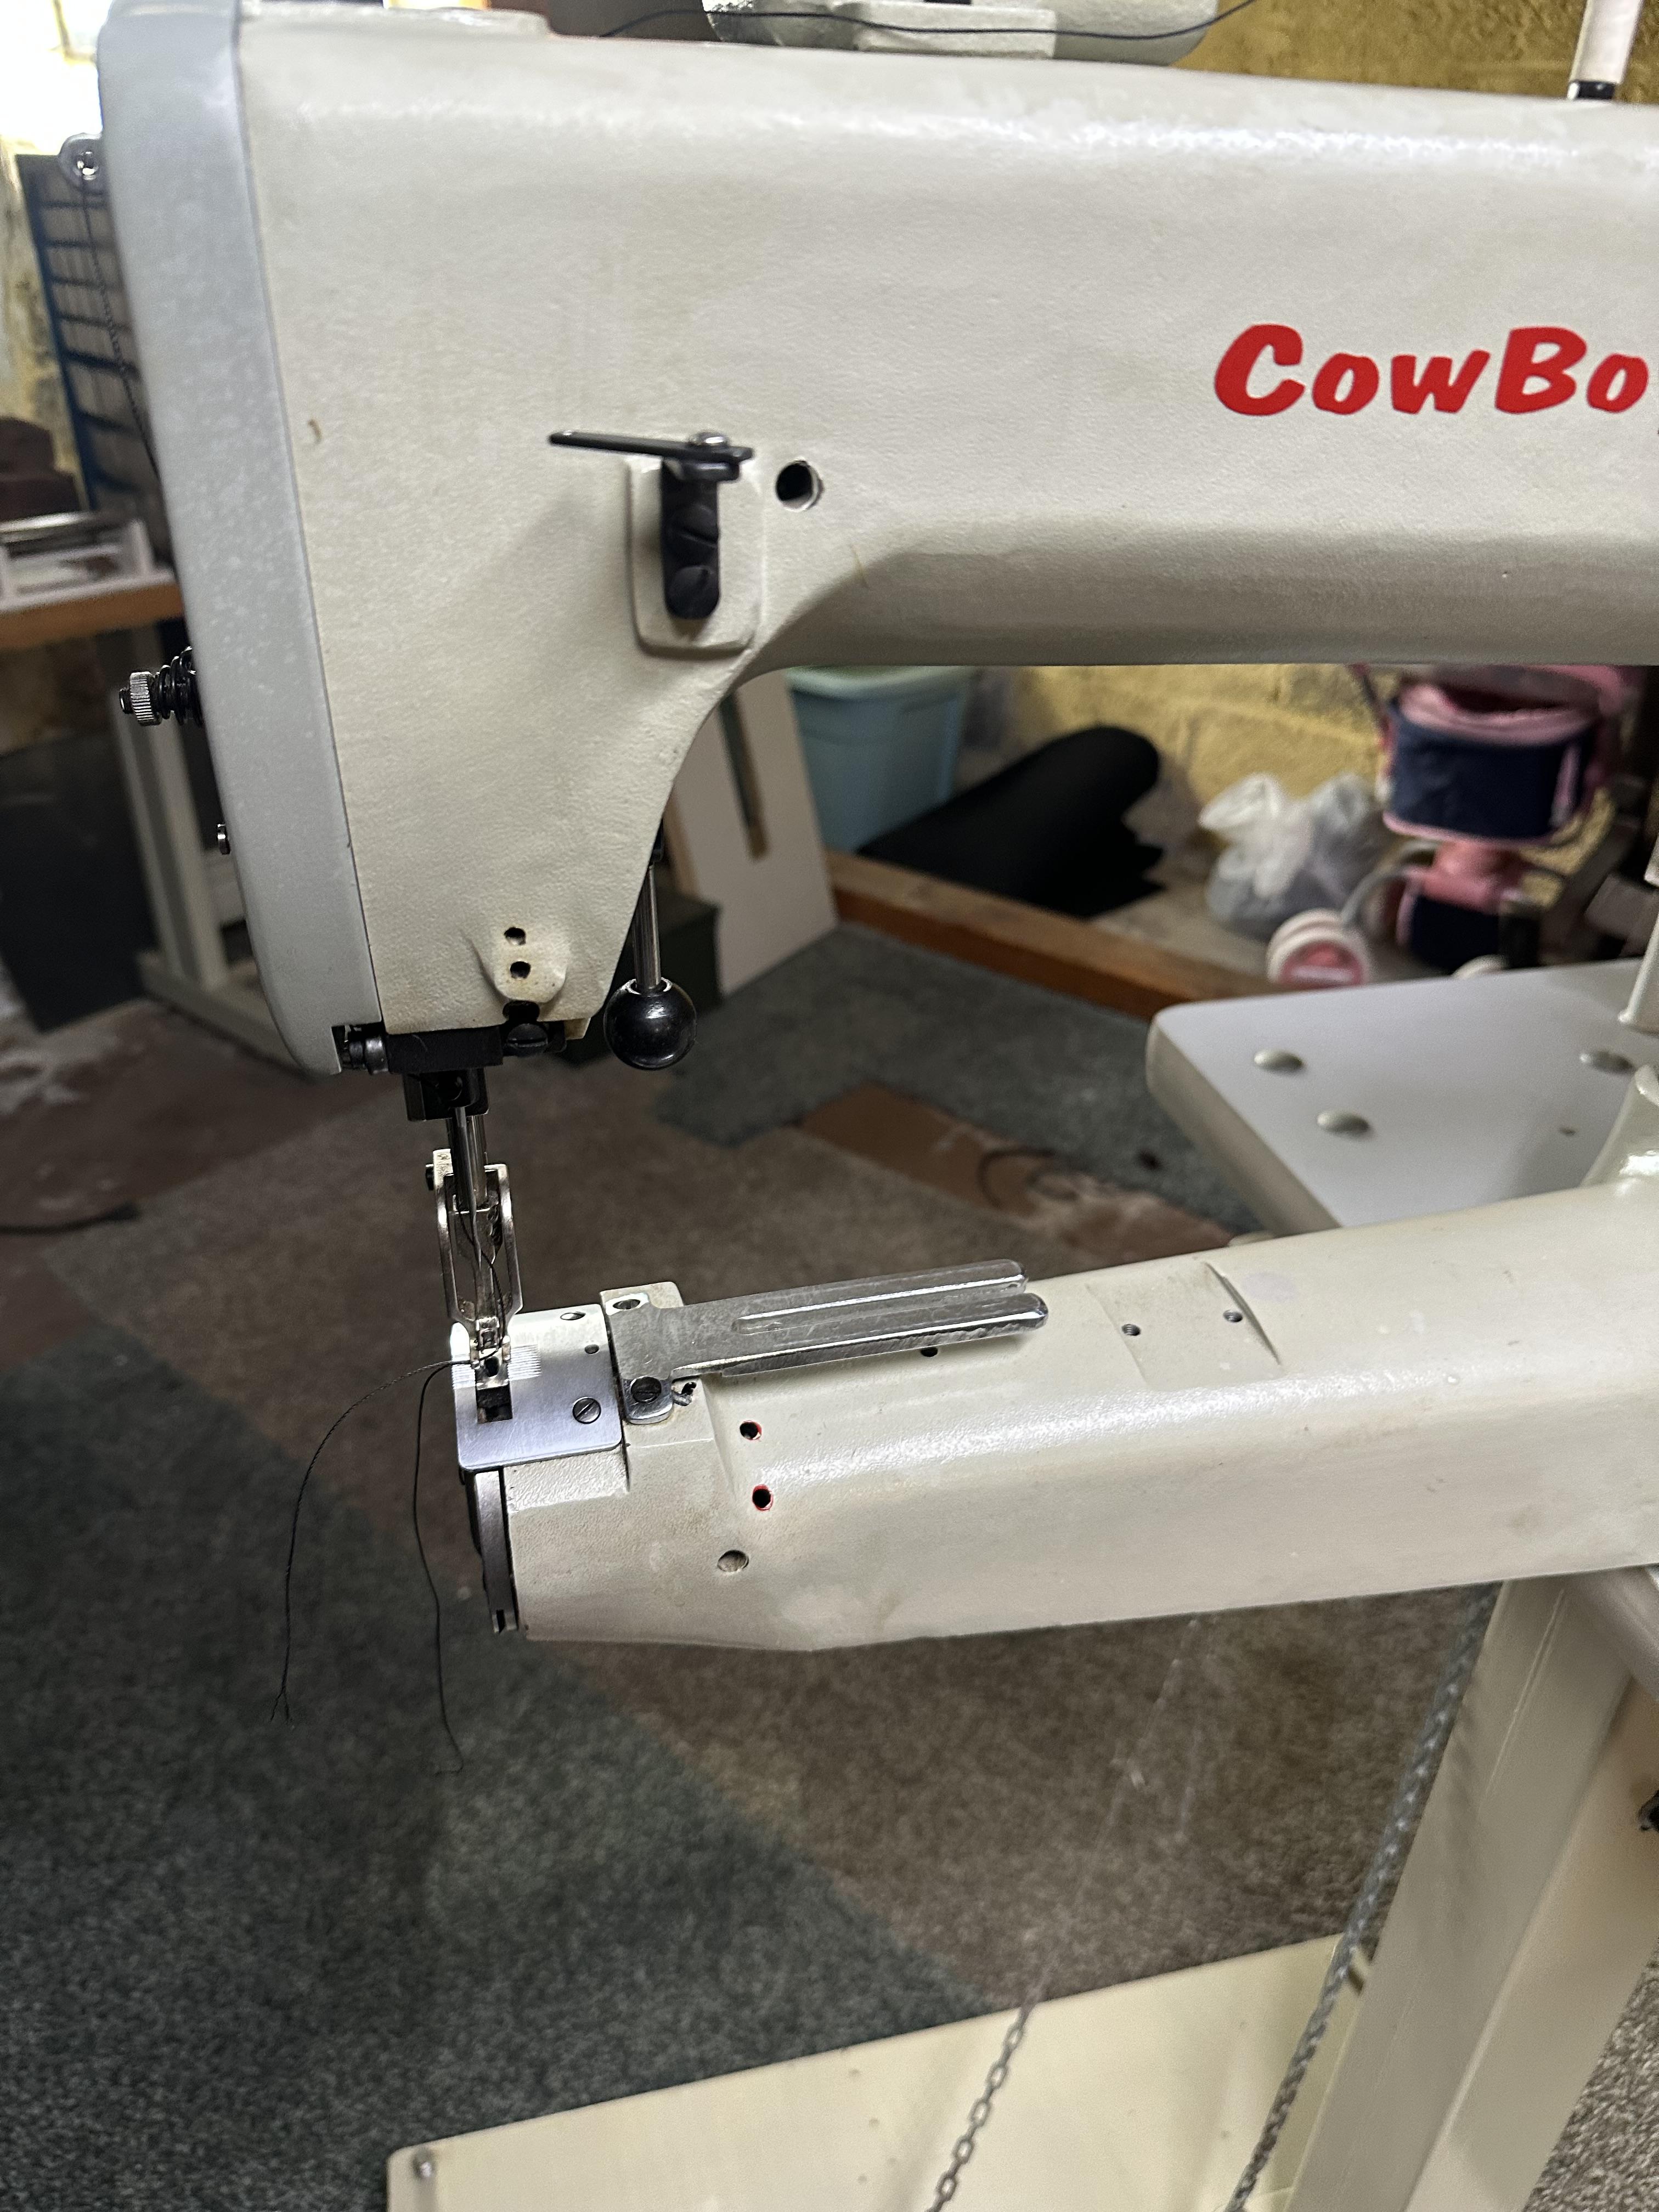
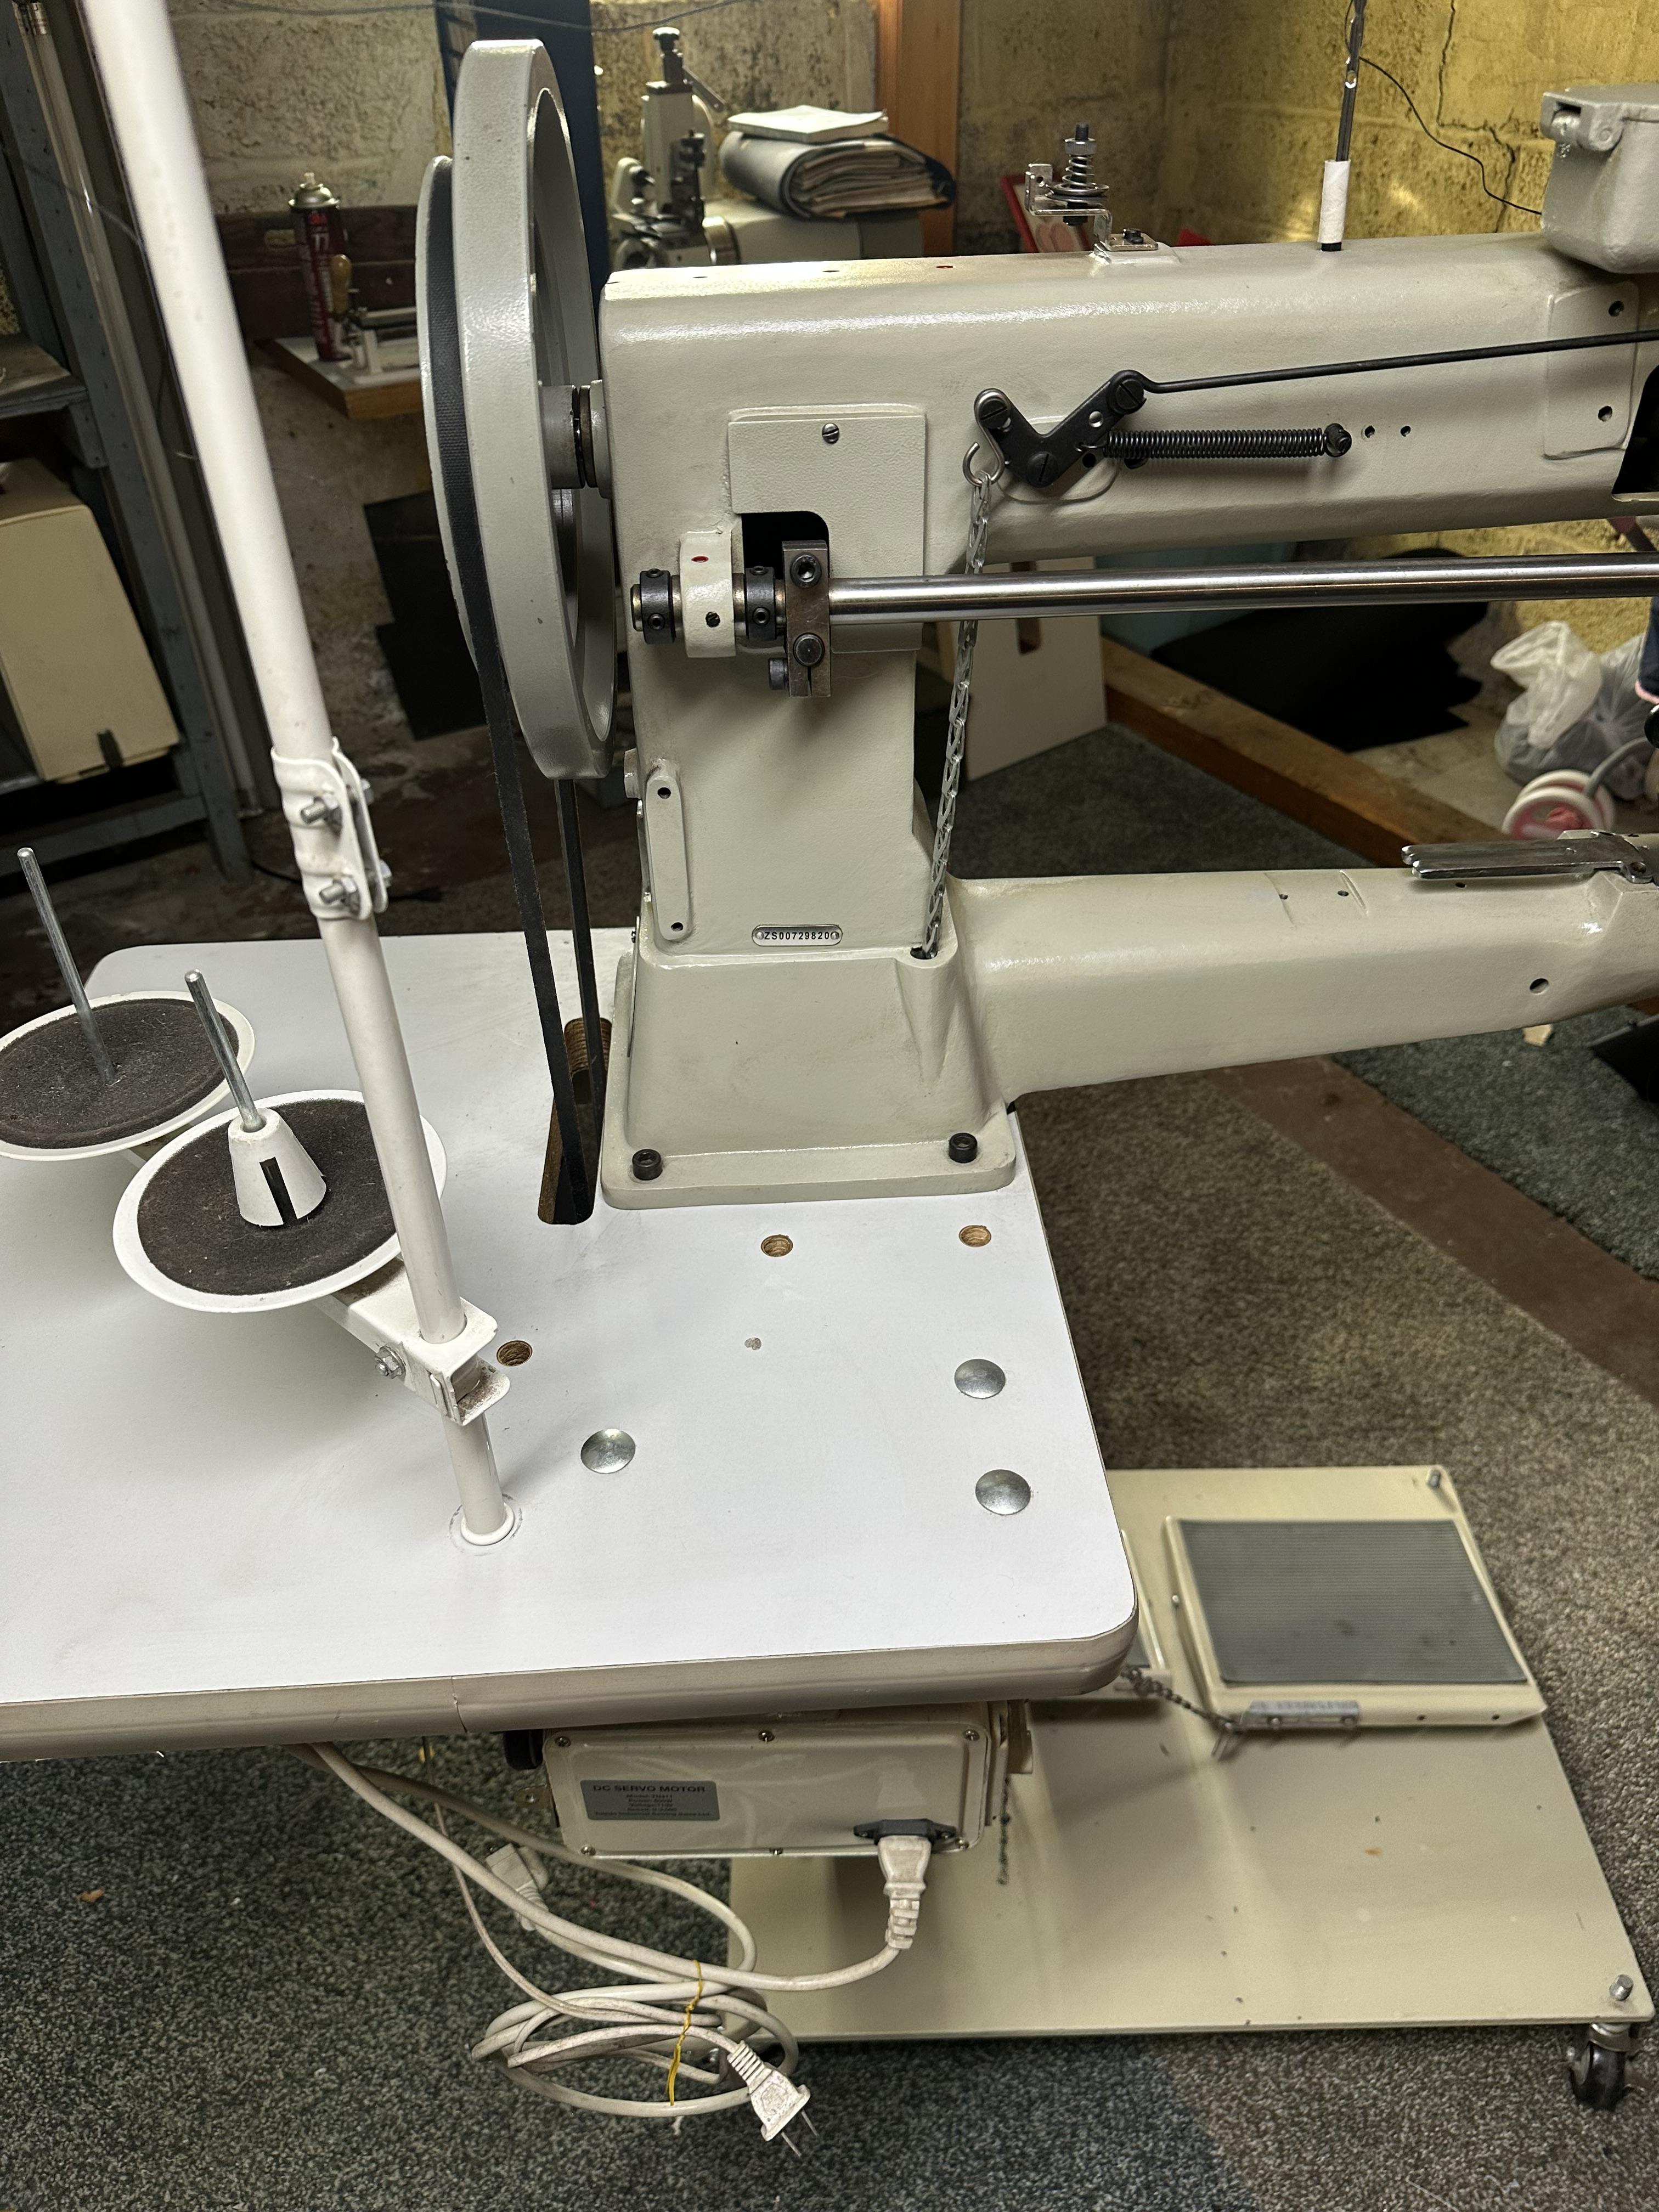
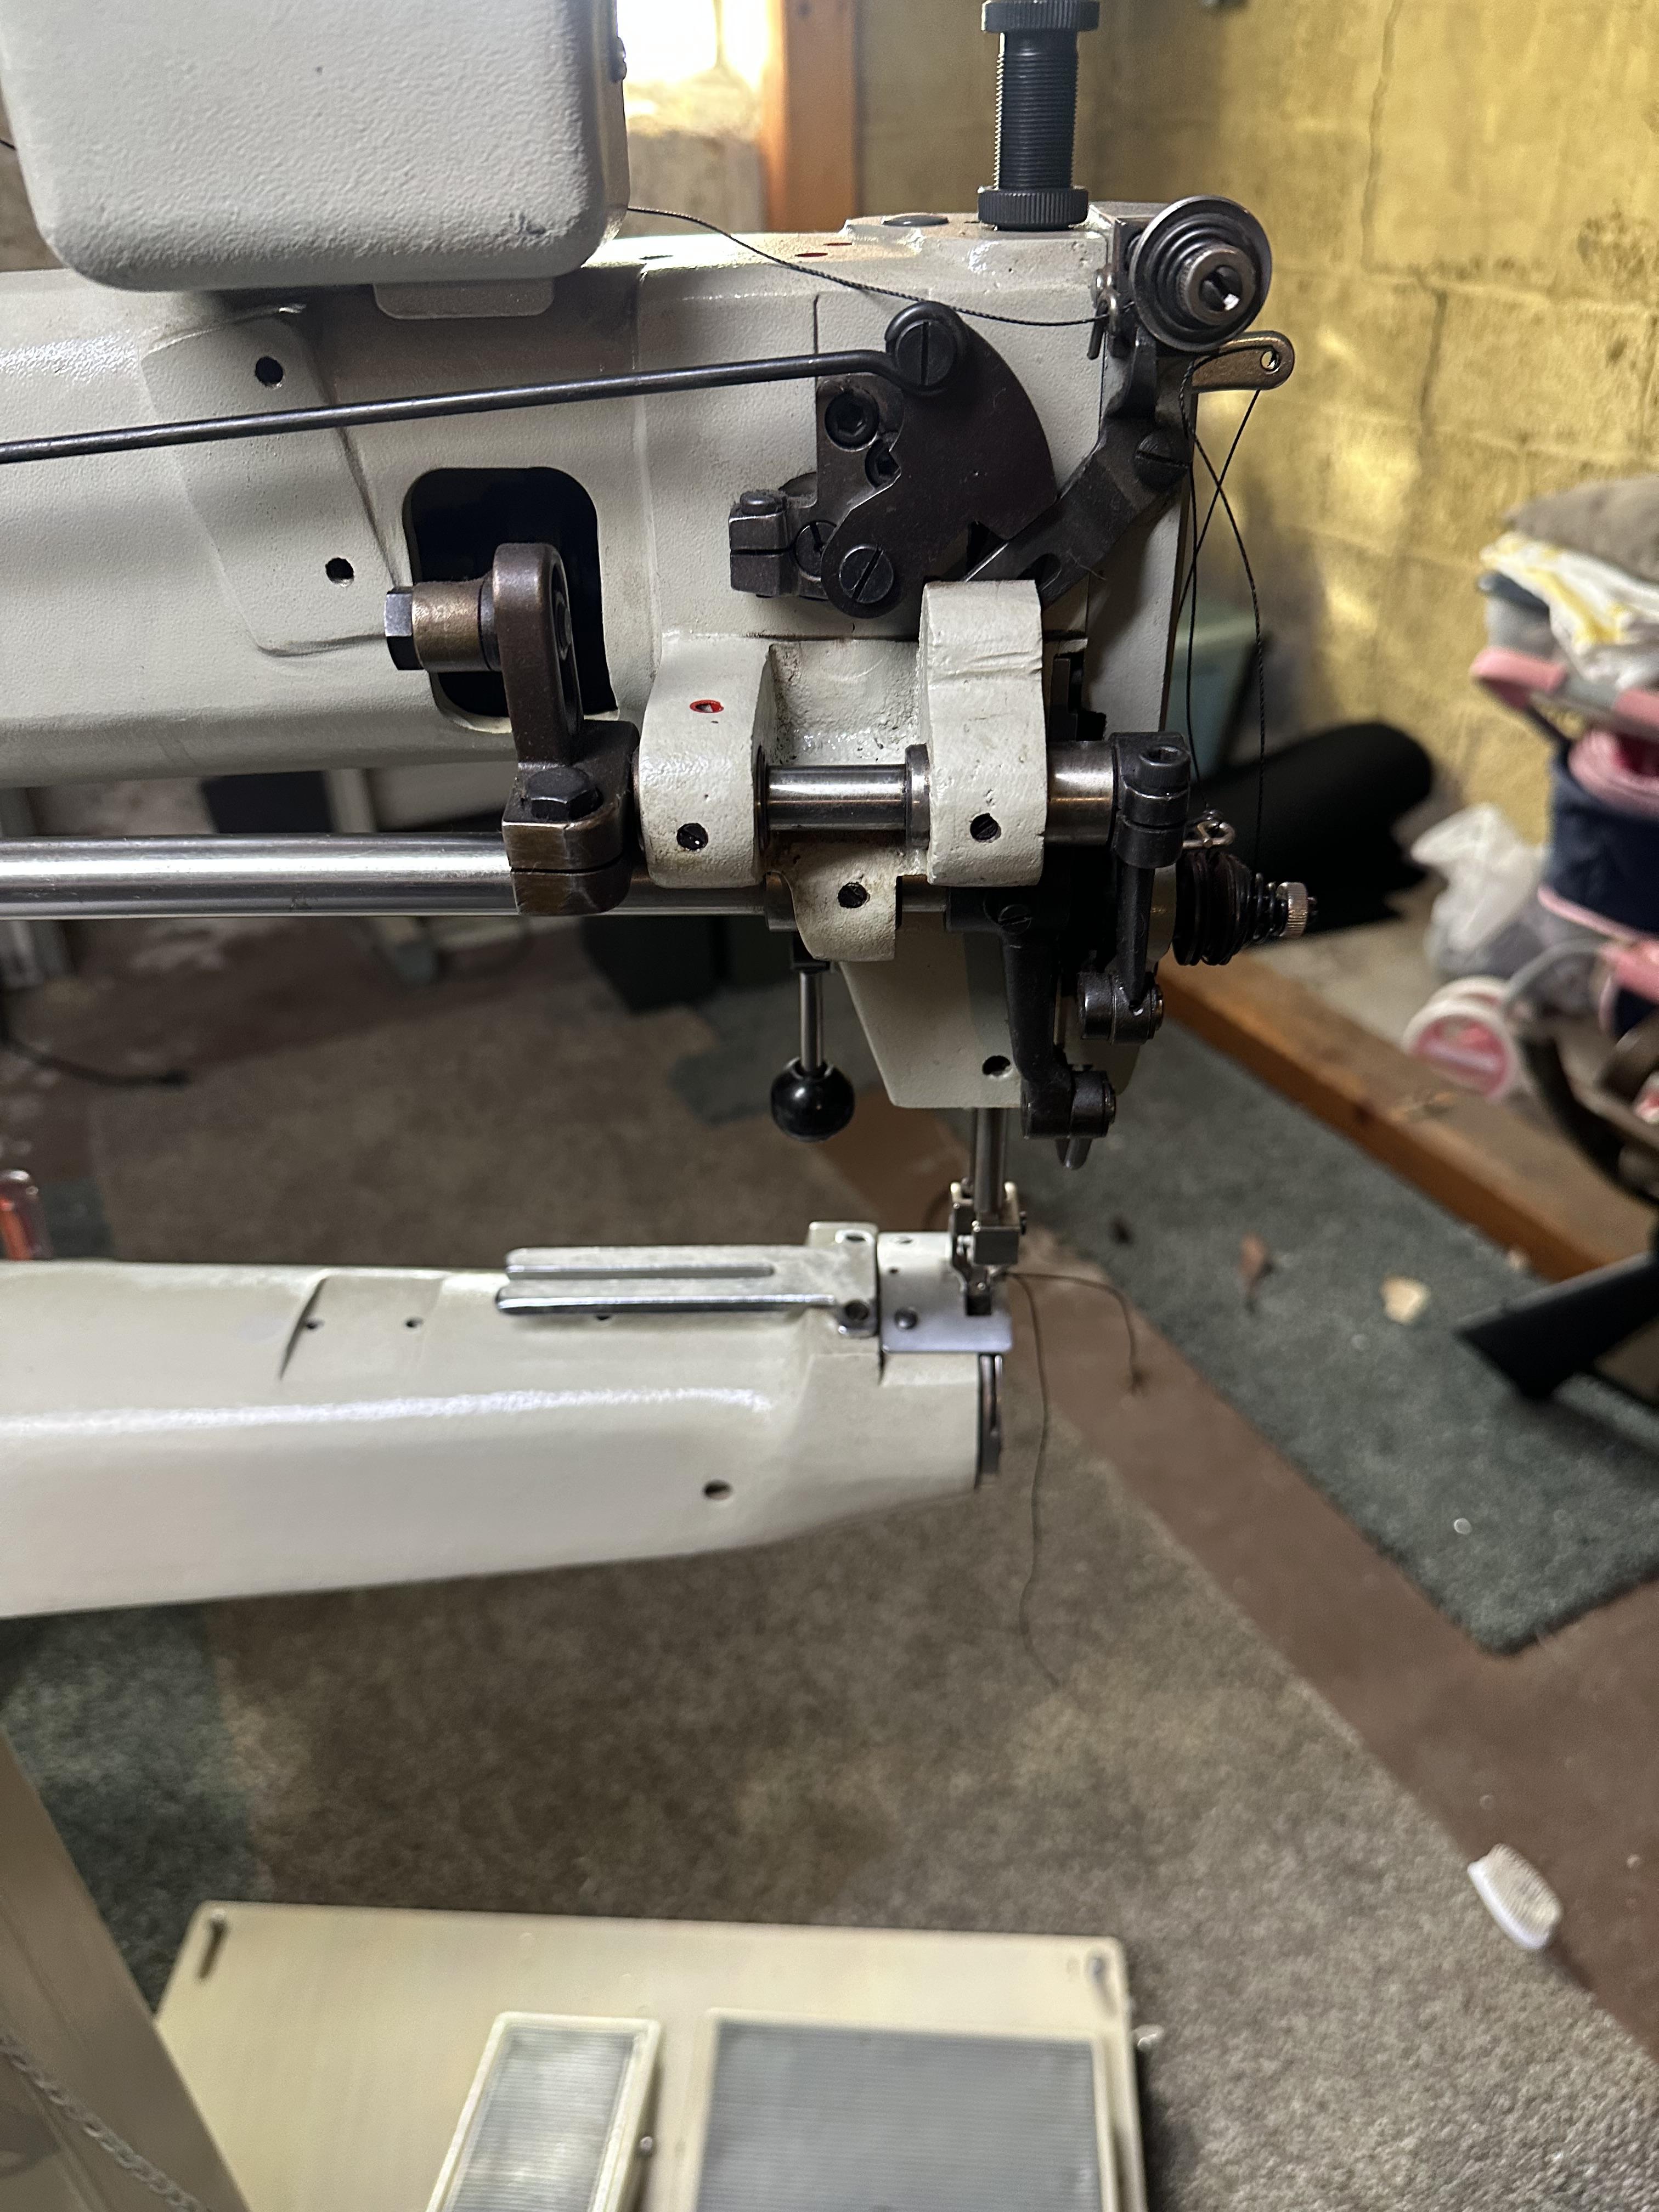
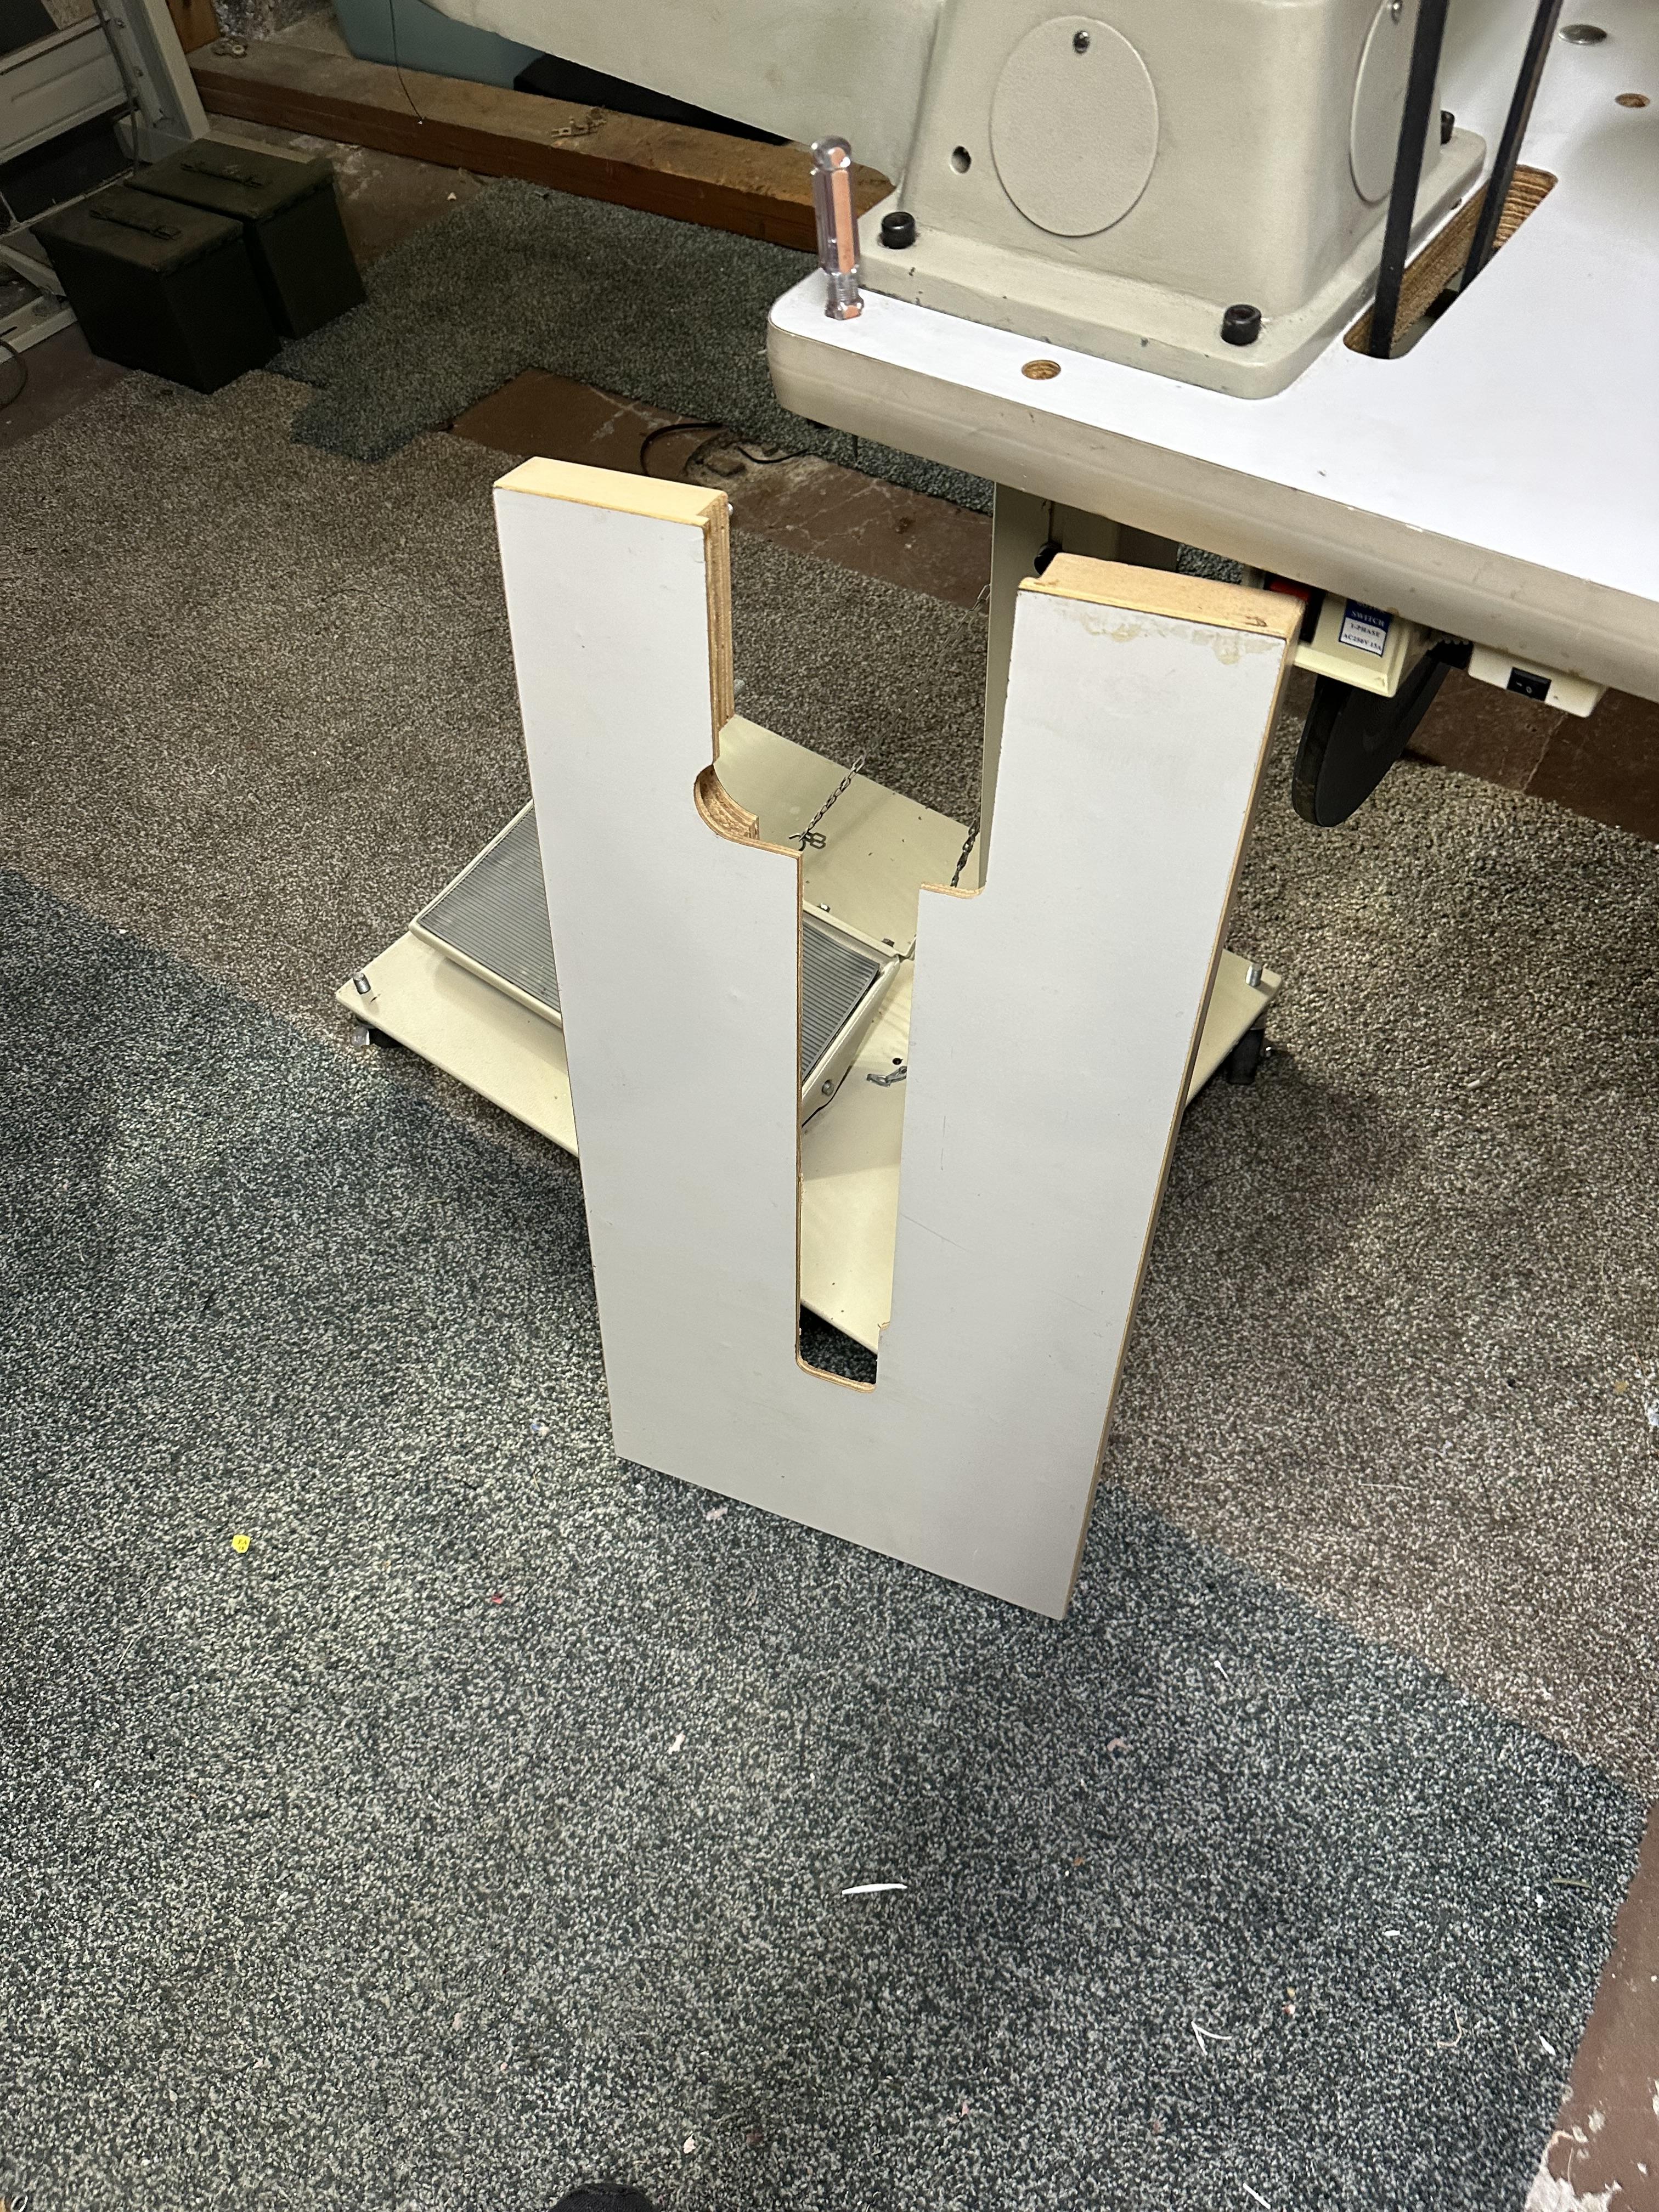
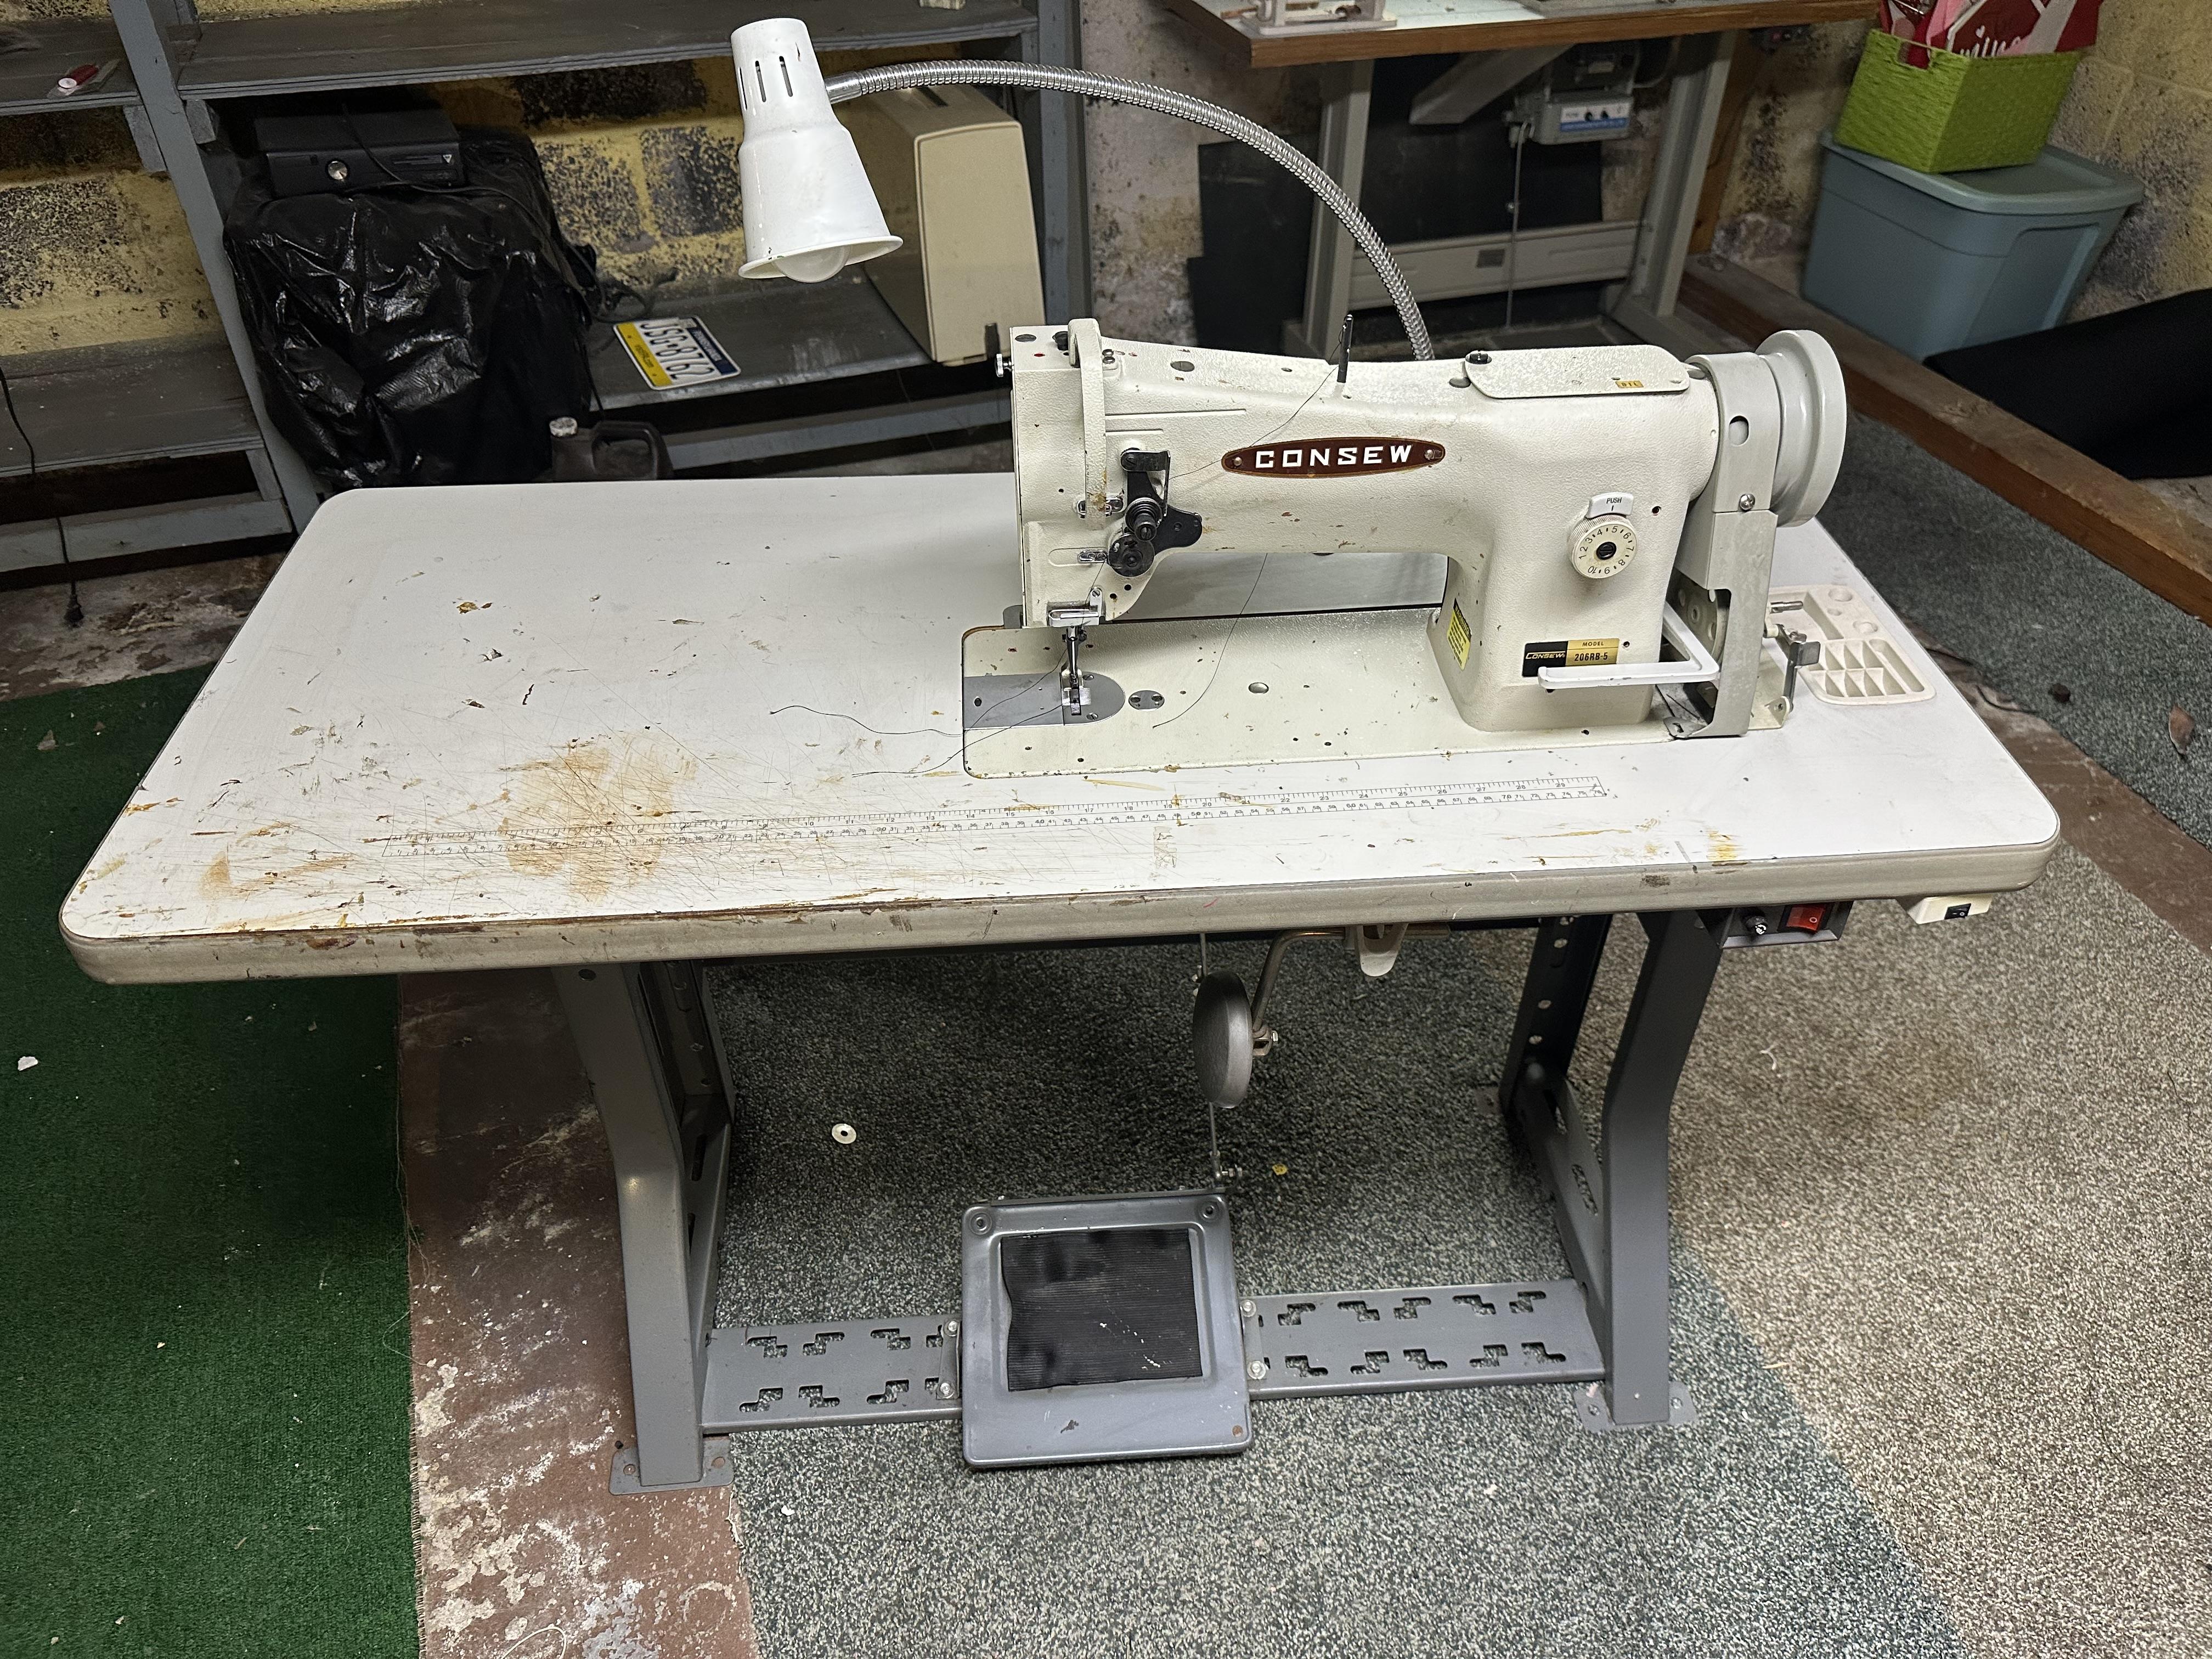
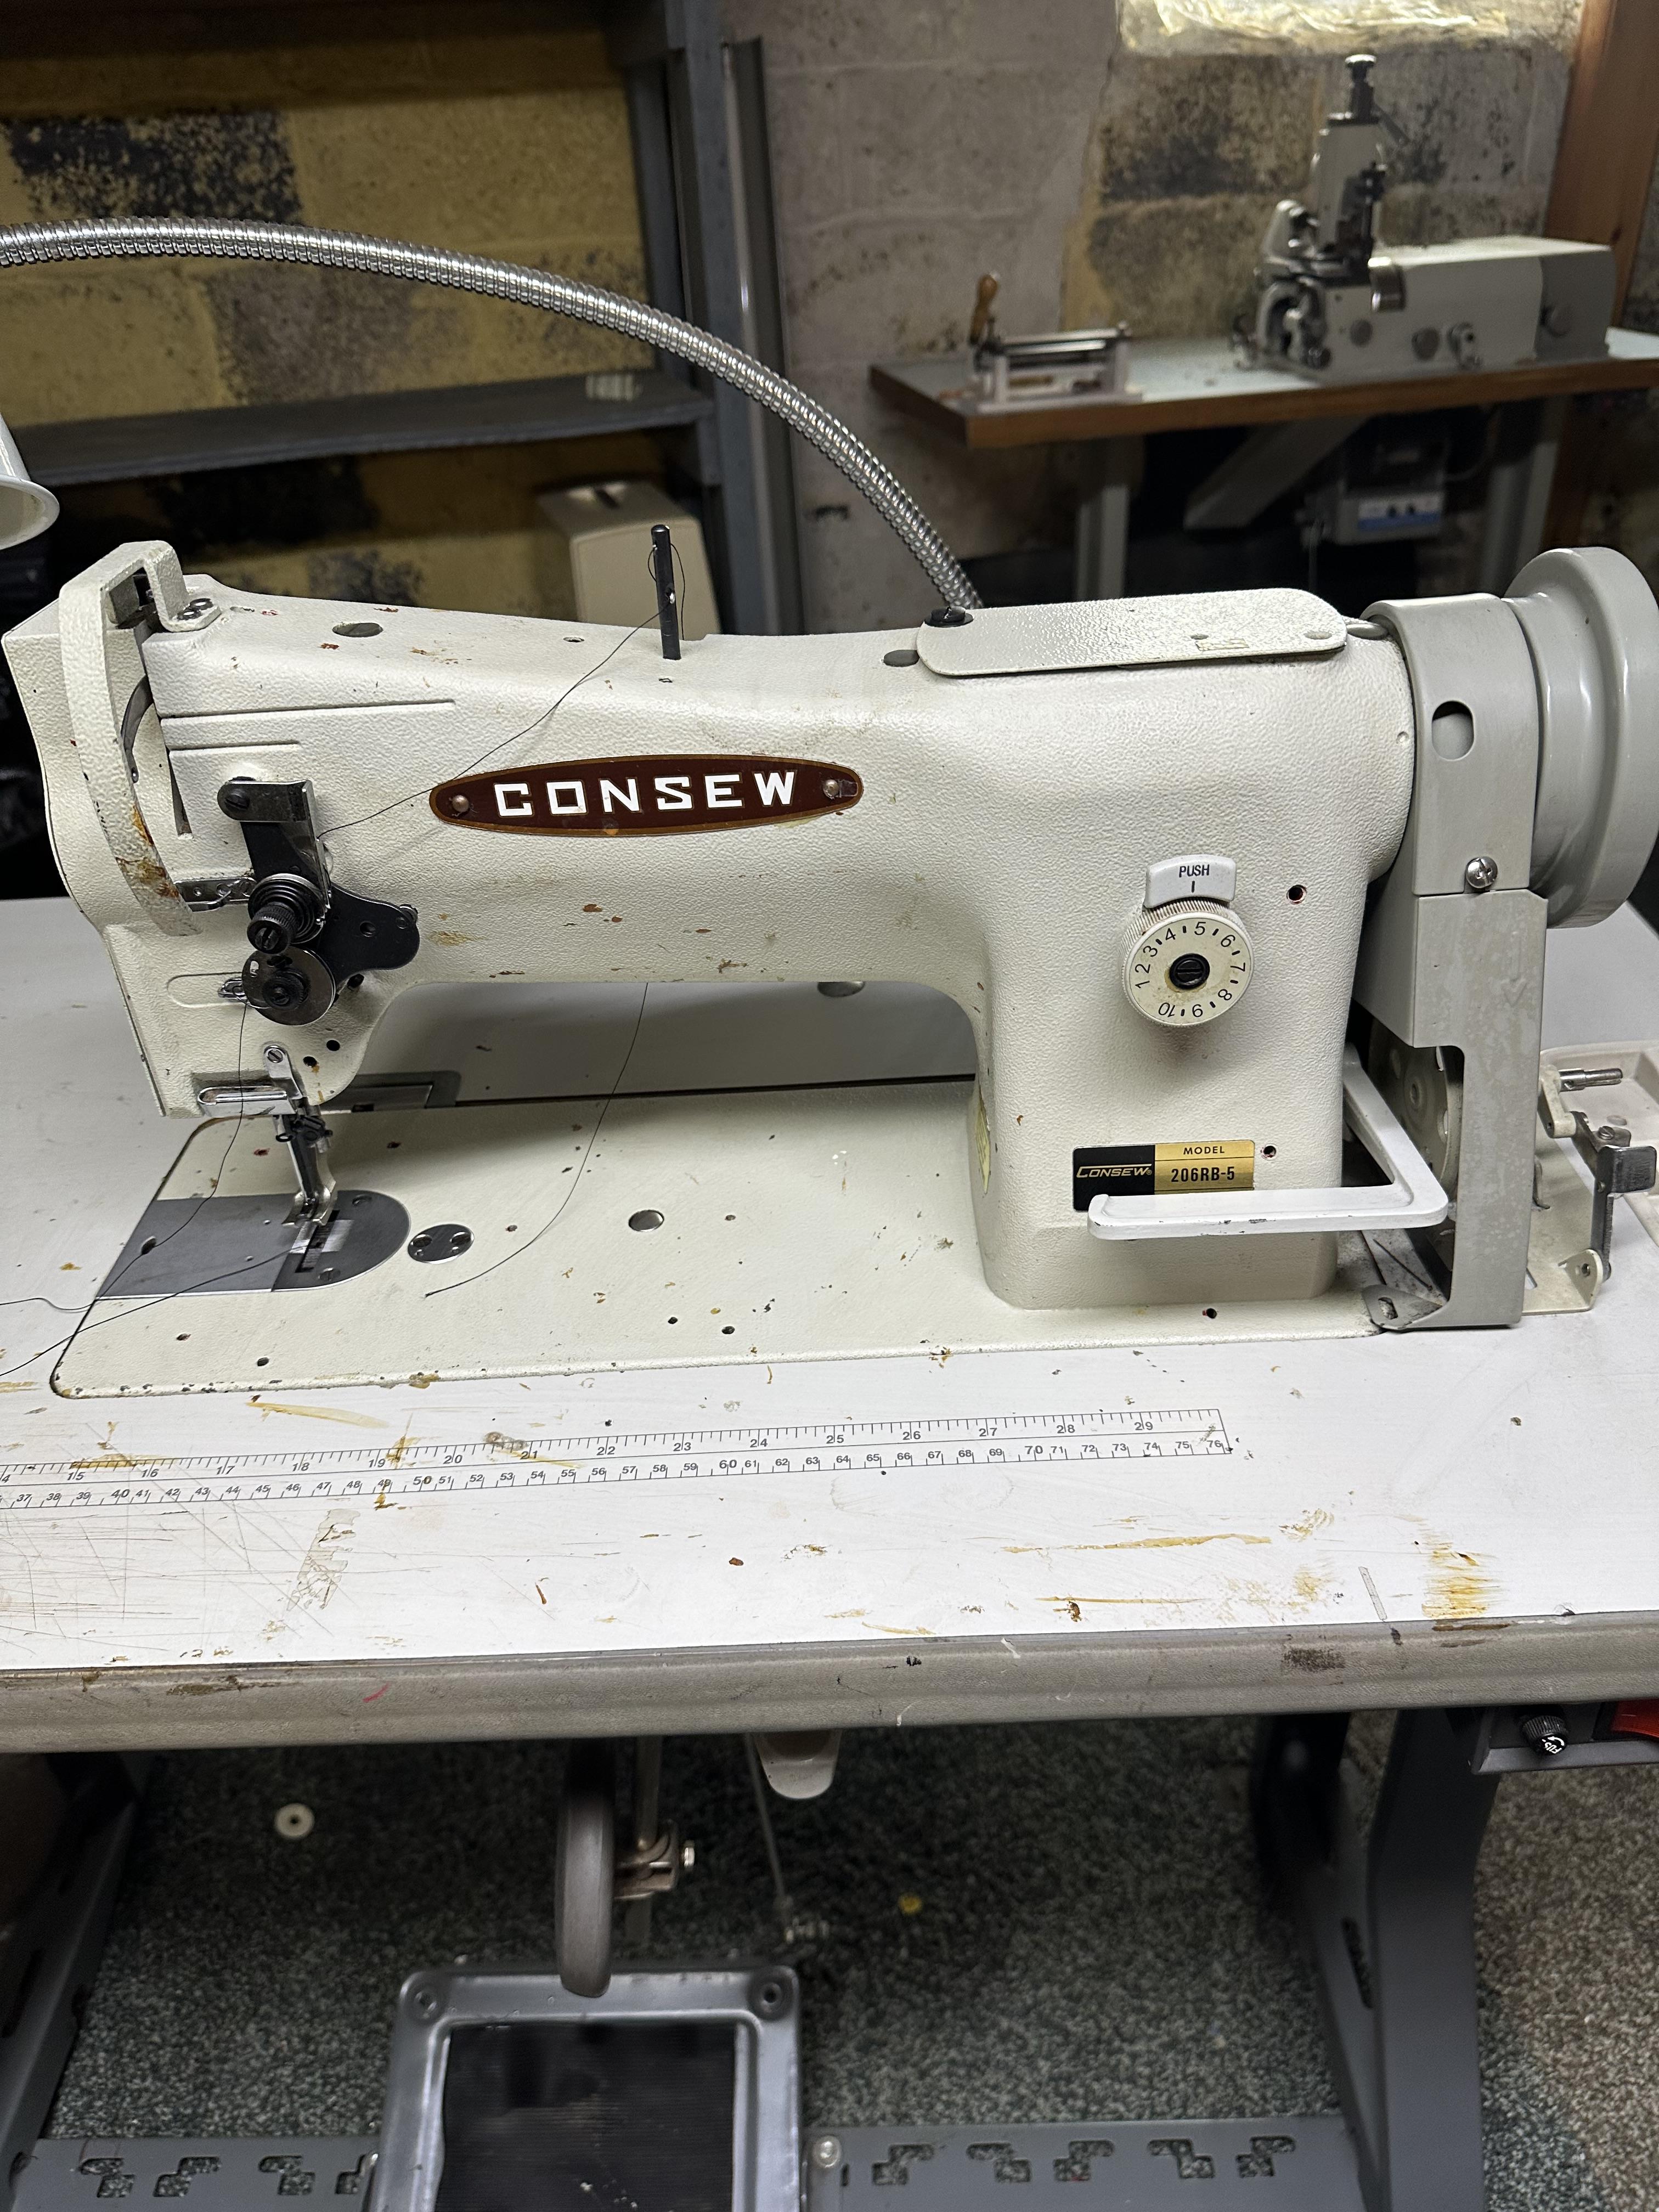
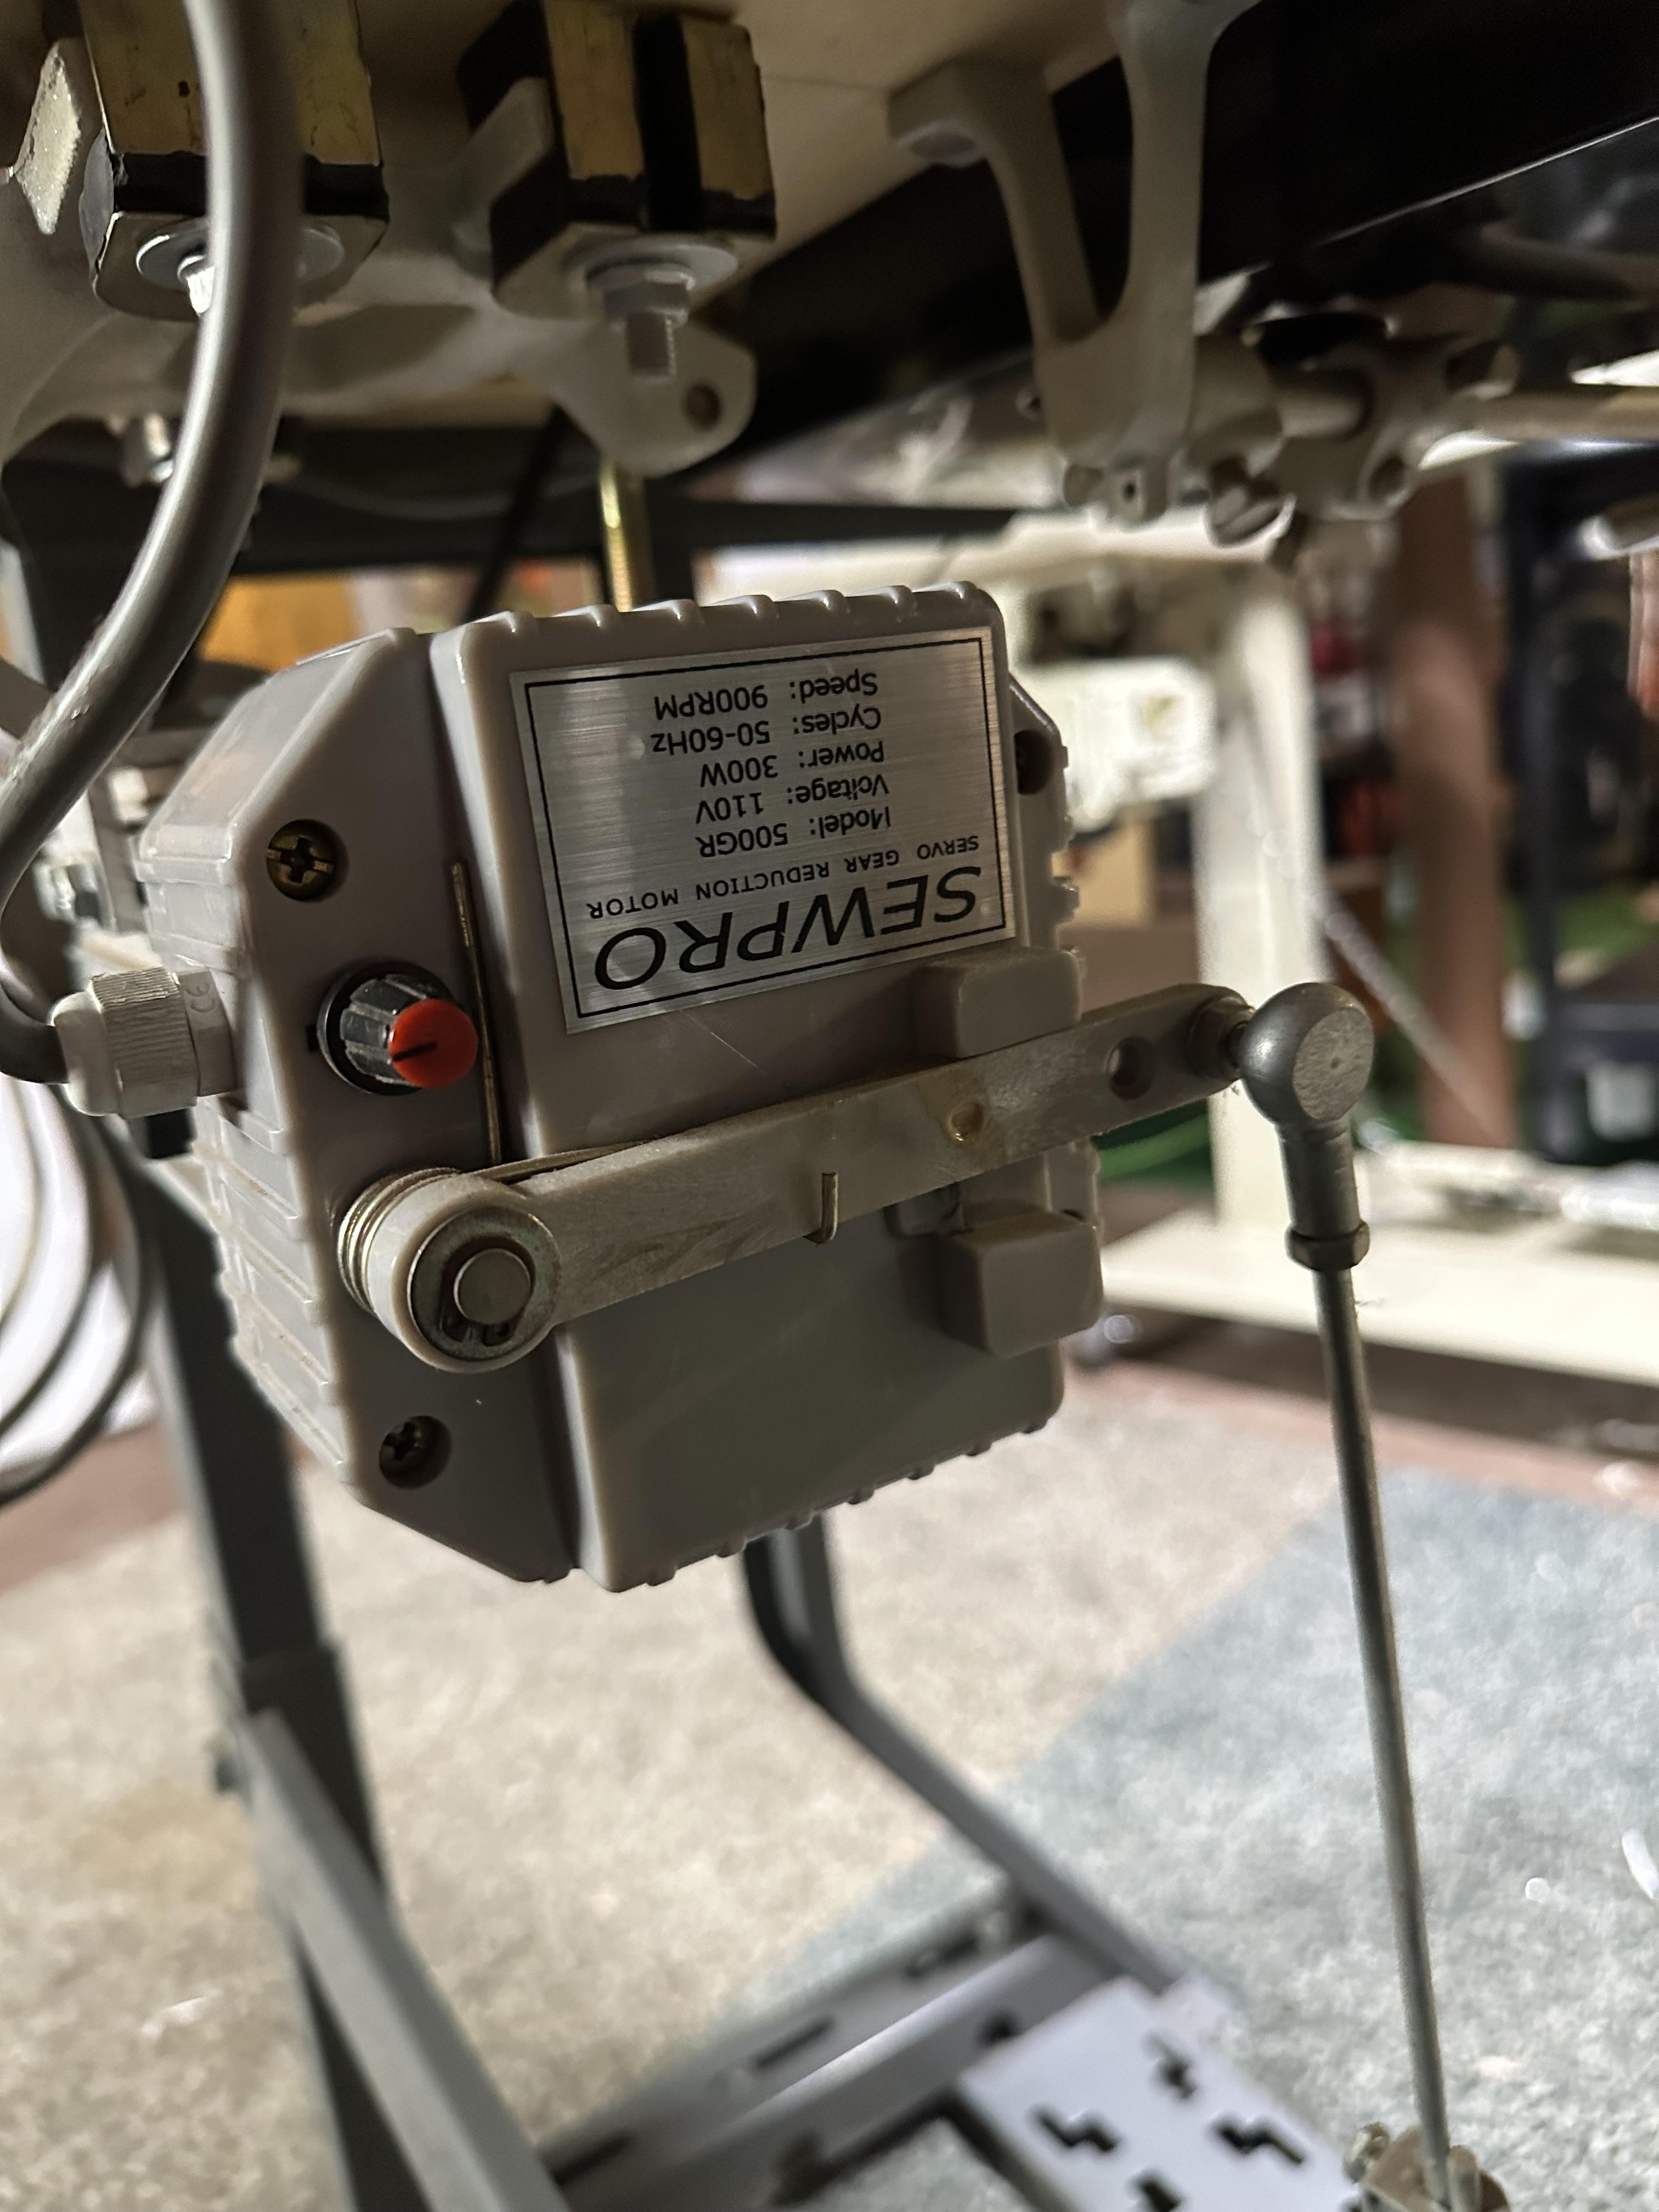
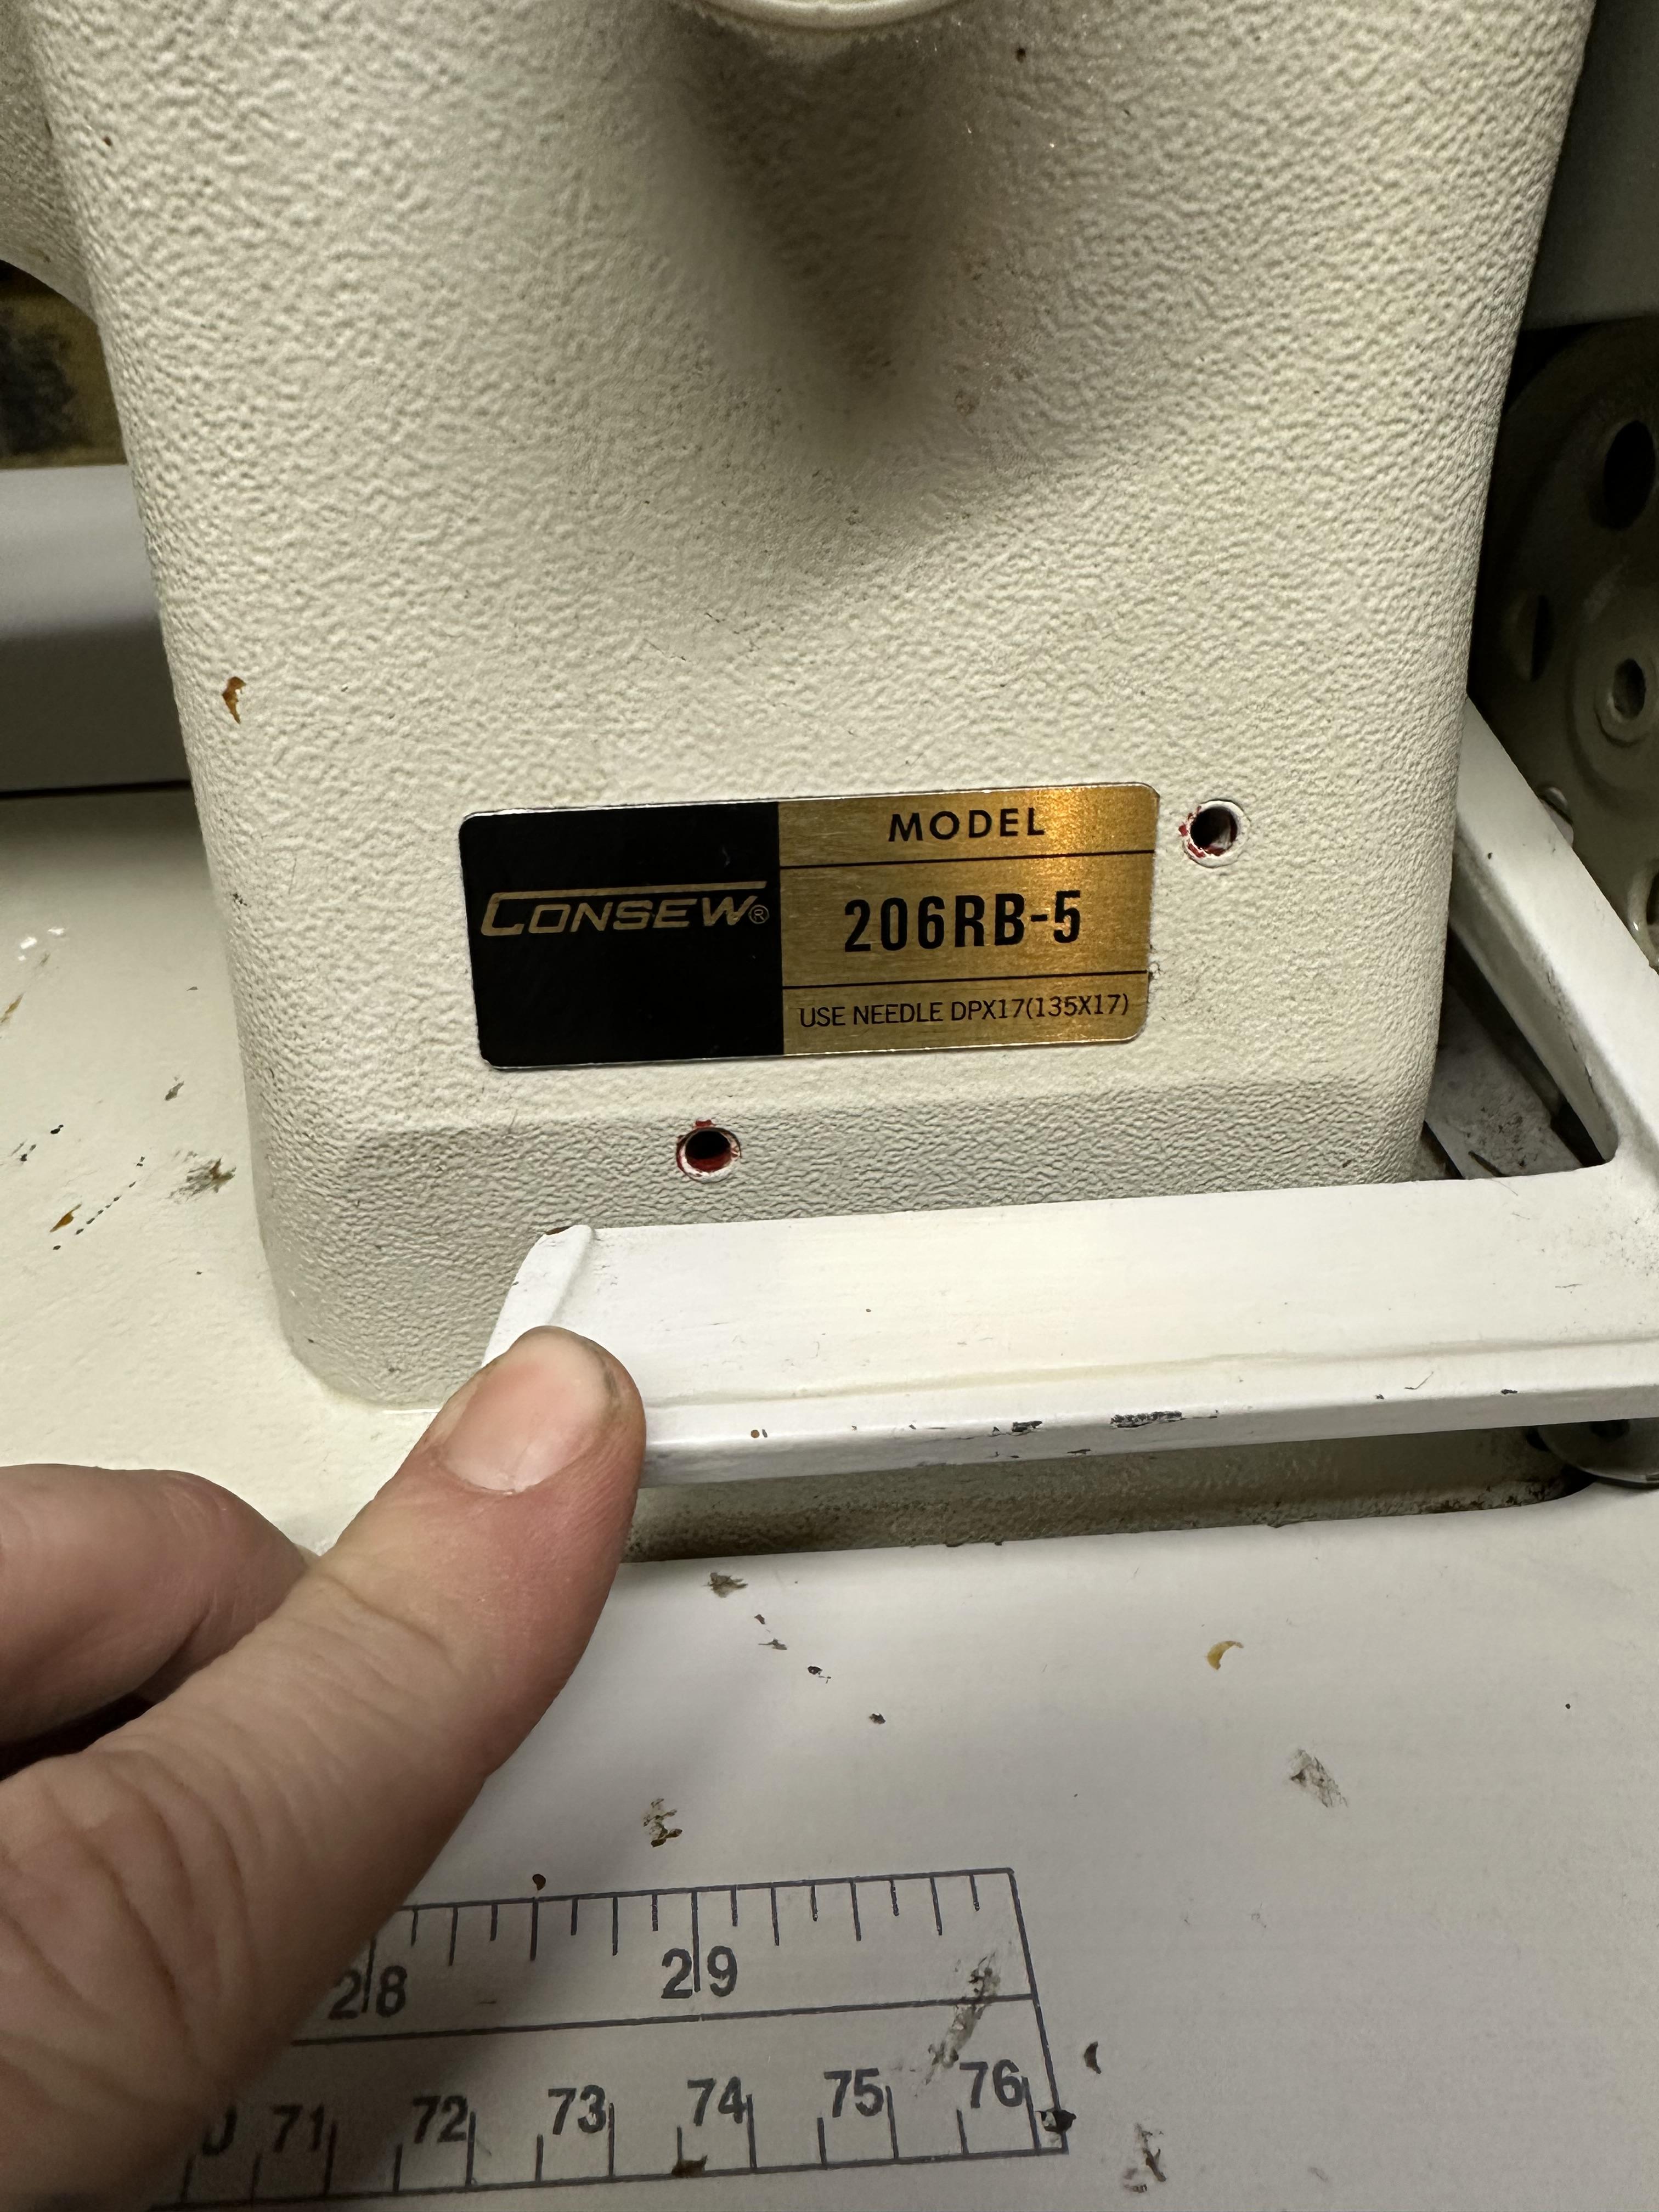
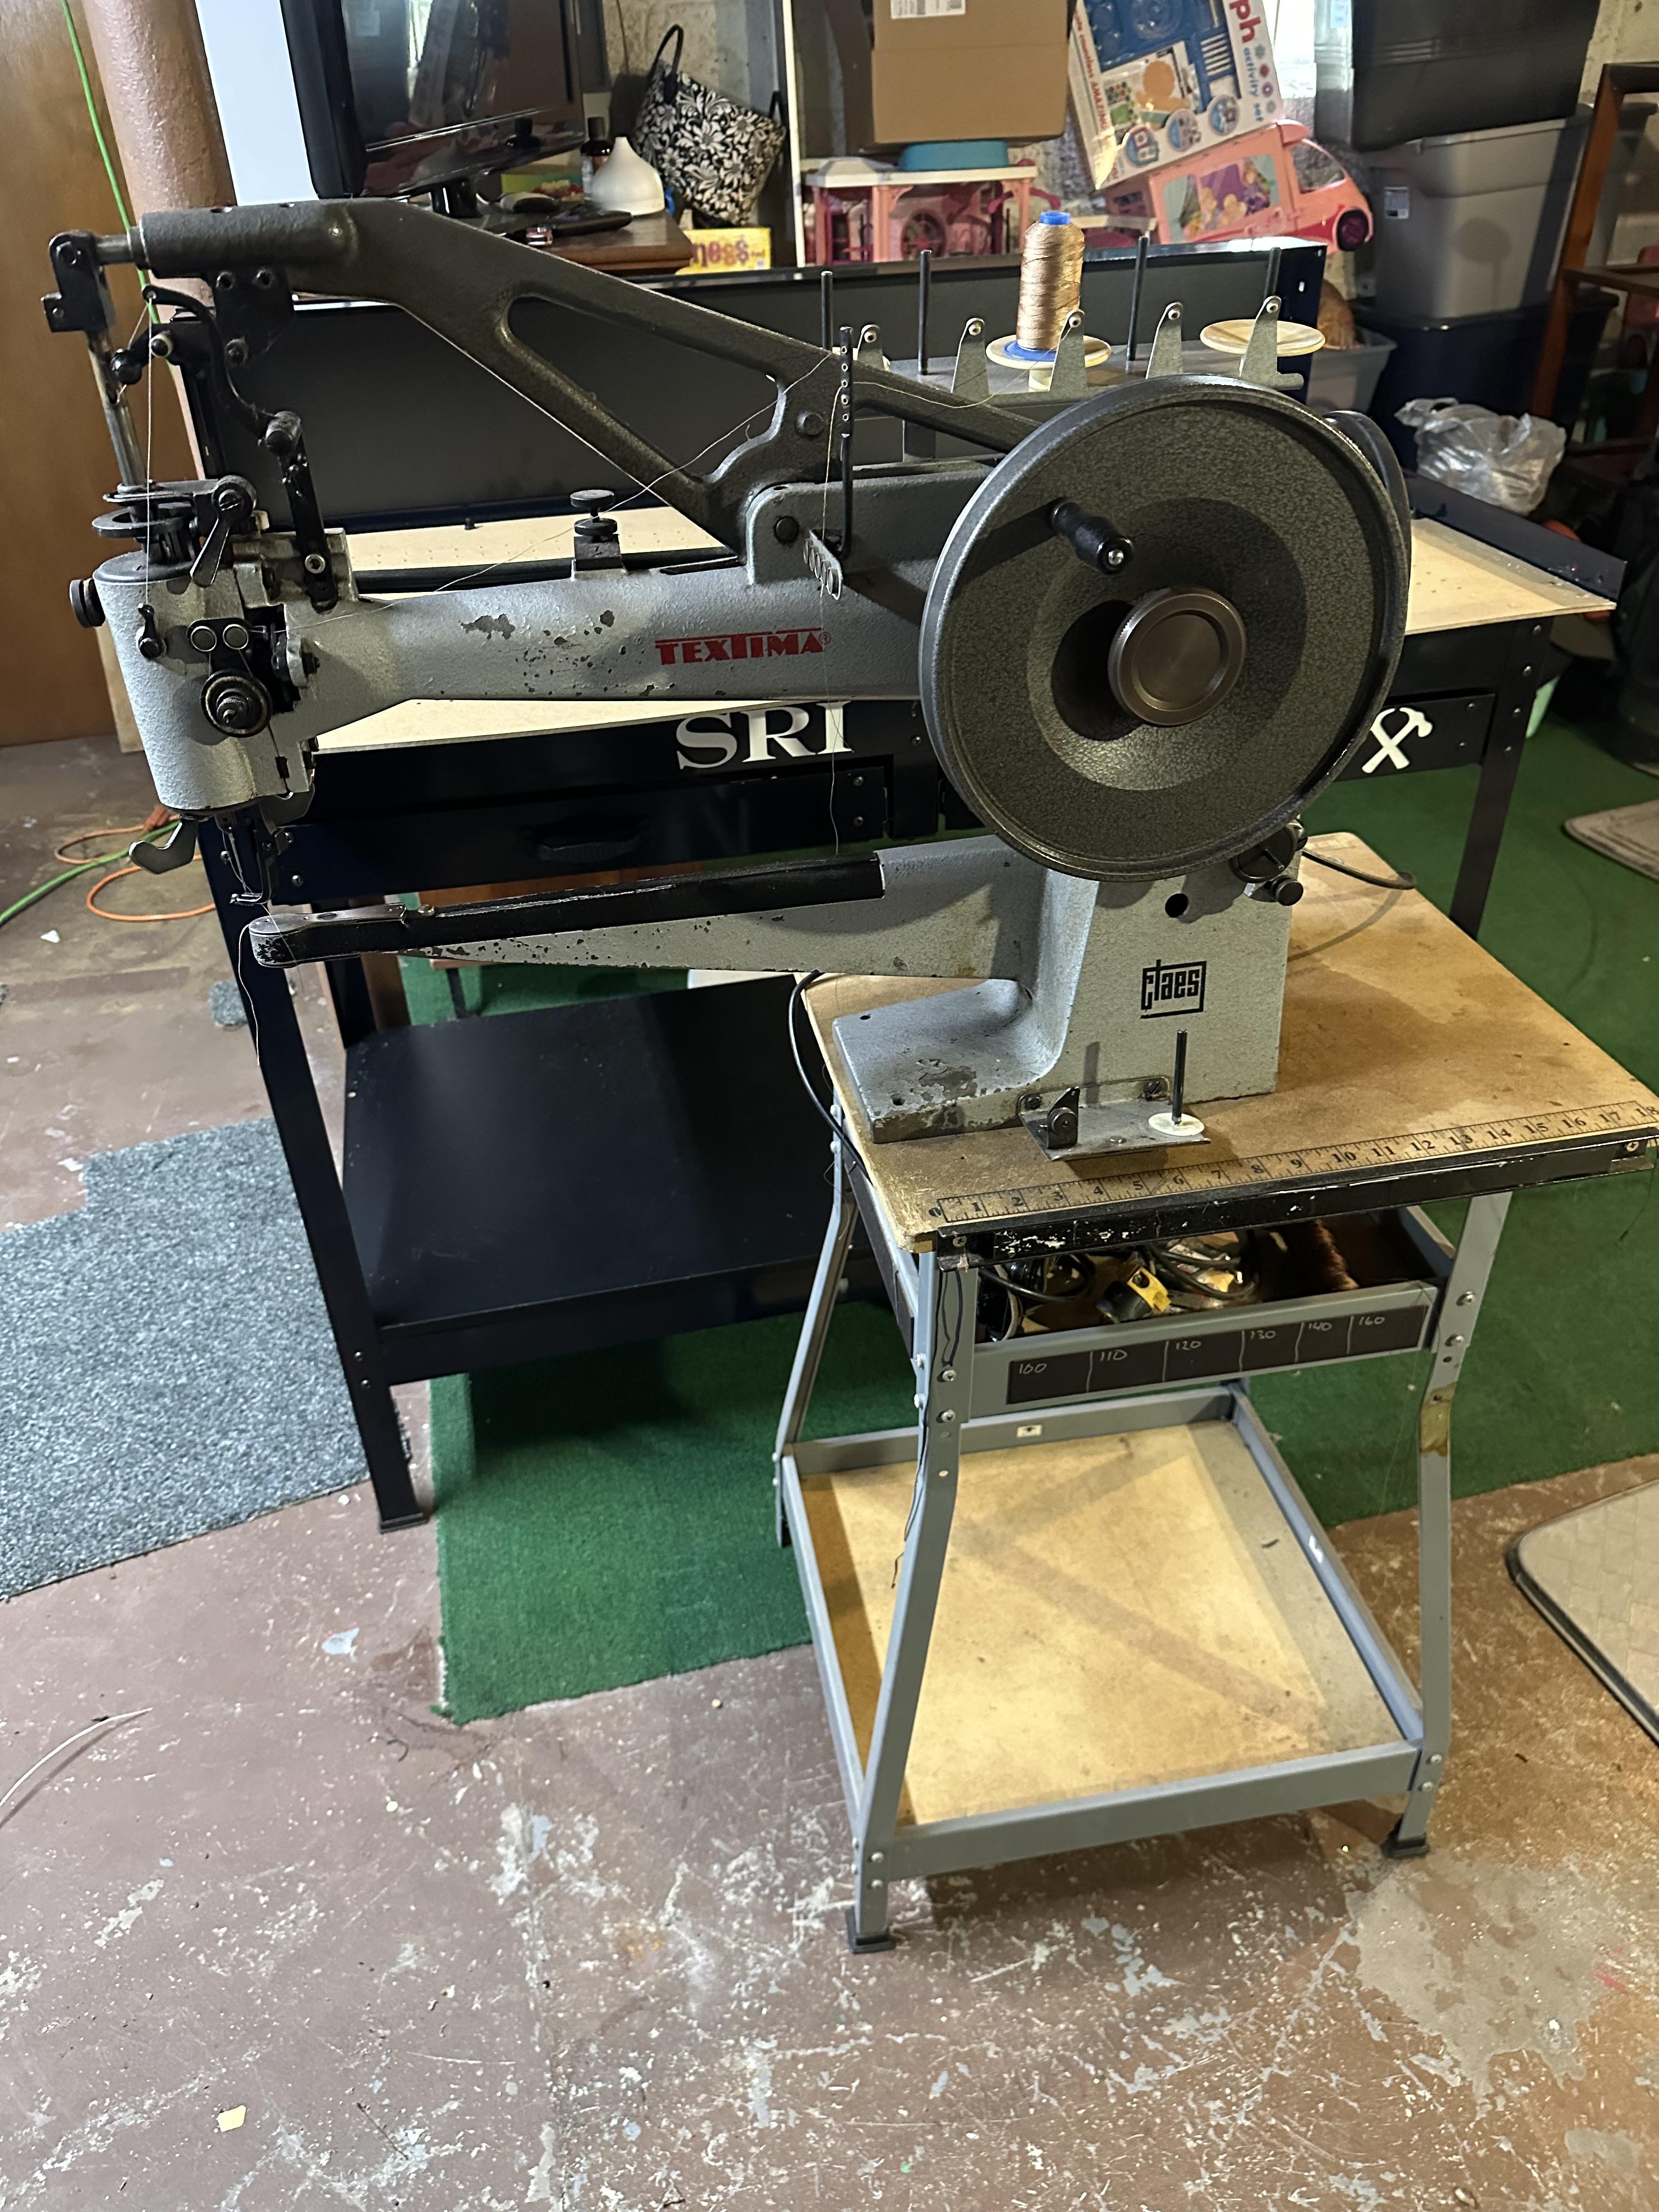
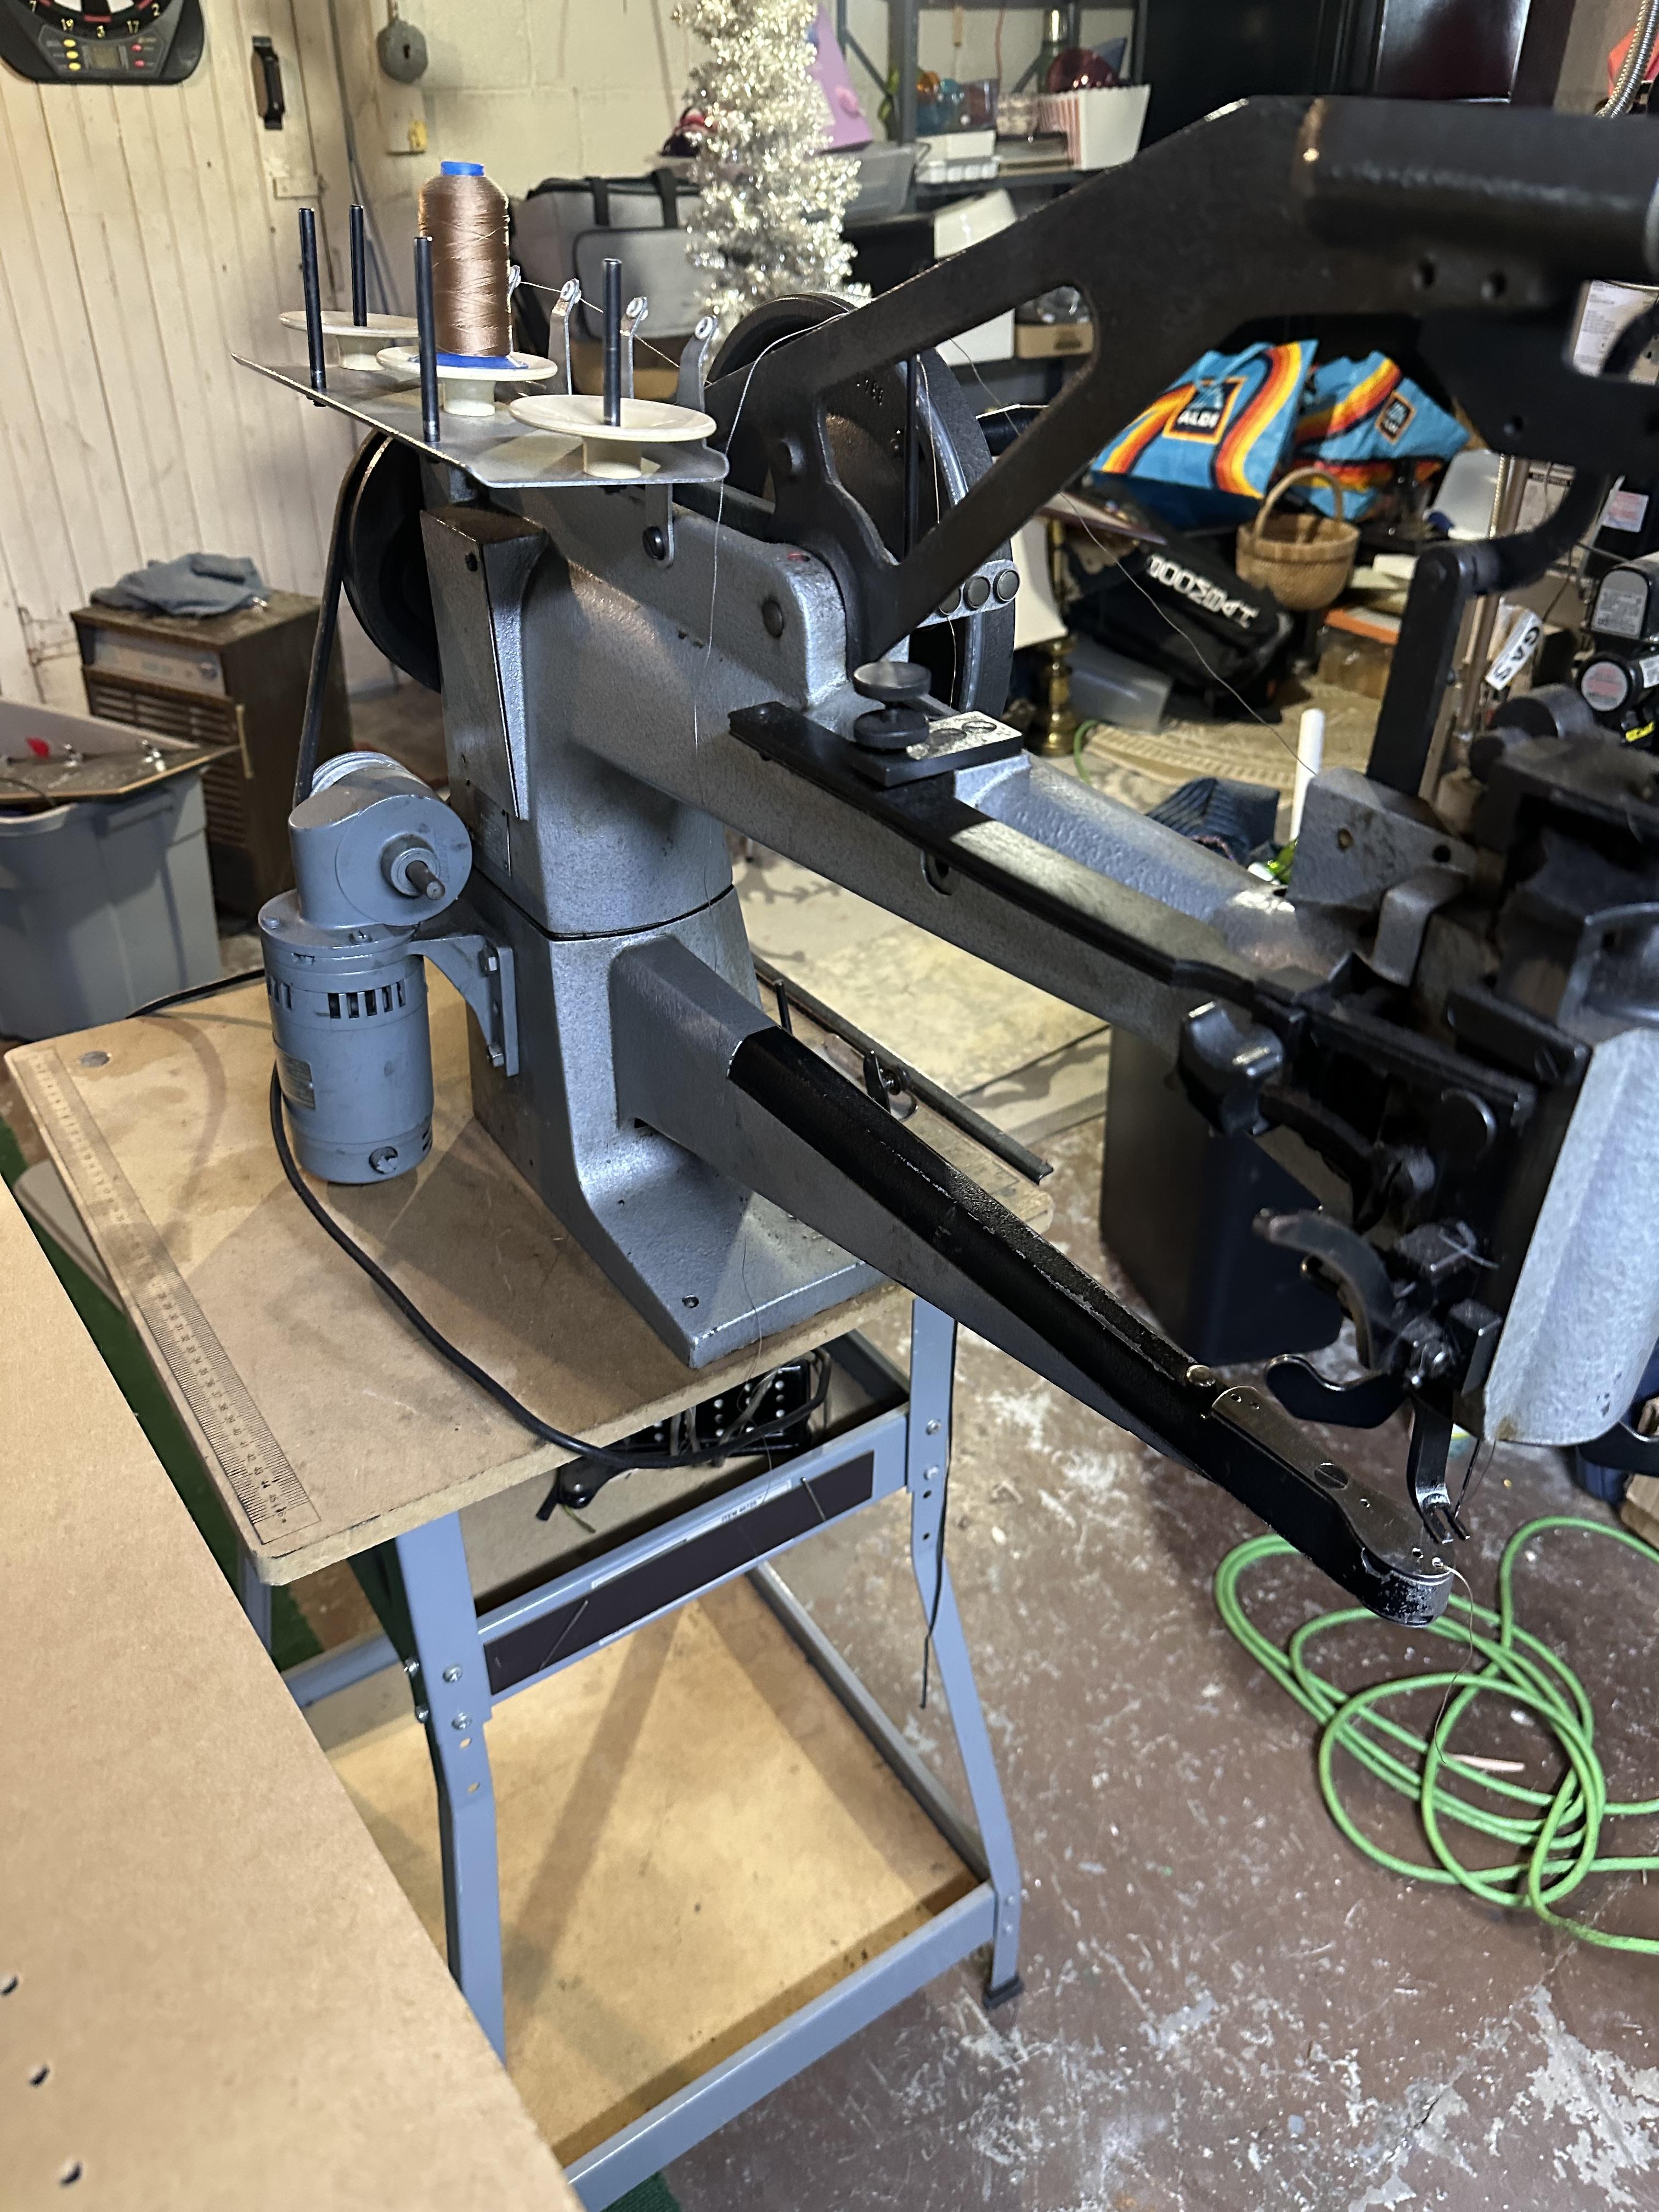
Hello, I have a few machines I’m ready to part with. Cowboy 4500, comes with the whole accessory package with the table and a bunch of feet, lots of extra bobbins and I have thread that’ll go with it in white, black, brown, red etc. also plenty of needles. Has the gear reduction and DC servo motor. Hasn’t been used all that much. New price is about 3400 w/acc package. $1900.00 Consew 206-RB-5. With Servo motor, several feet sets, bobbin, some thread. Thread stand(not pictured). Also not really a ton of usage, table is stained a bit from dye and cement, would probably clean up with some thinner. New price is 1795.00. $950 Last one I’m still debating on letting it go. It’s a Textima patcher which is a rebranded Claes 20. It’s got the good gear reduction motor, I also have 5 extra shuttles which are crazy expensive. Currently mounted to a rather cheap stand but I also have a treadle base for it. New ones are close to 7k. $2300 I also have a Skiver machine I’m going to post in the other section. It’s a dual feed bell sliver w/servo from Toledo Machine, not sure what the new price is on that but I’ll take $600.00 Located in Altoona Pa.
-
 So solvents in general it sounds like. Well, I have acetone on hand, so I’ll give that a shot and see what happens. Worst case, I lose a couple dollars worth of cement. Thanks guys! — AZR
 -
Yeah, I saw it after I hit the submit button ... 😱
-
I'm not going to make a joke .... I'm not going to make a joke ... I'm not going to make a joke ...
-
 Coffee grinder jumped to mind when I read this. I remember some posts from the early days here. As I recall - "old coffee grinder" or "cheap coffee grinder" were the key recommendations.
 -
 I forgot to add, when making a flat back holster and gluing up the inside and outside. I apply all my glue to both pieces and when I mate the pieces and use wax paper to keep them separated so I am only mating specific areas at a time. I think that would work well when adding a lining. Apply all the glue where needed, add wax paper to the body on each side, press the sight tunnel (bend), and when ready to move, start slipping the wax paper out as you press the leather together. Does that make sense? DAve
 -
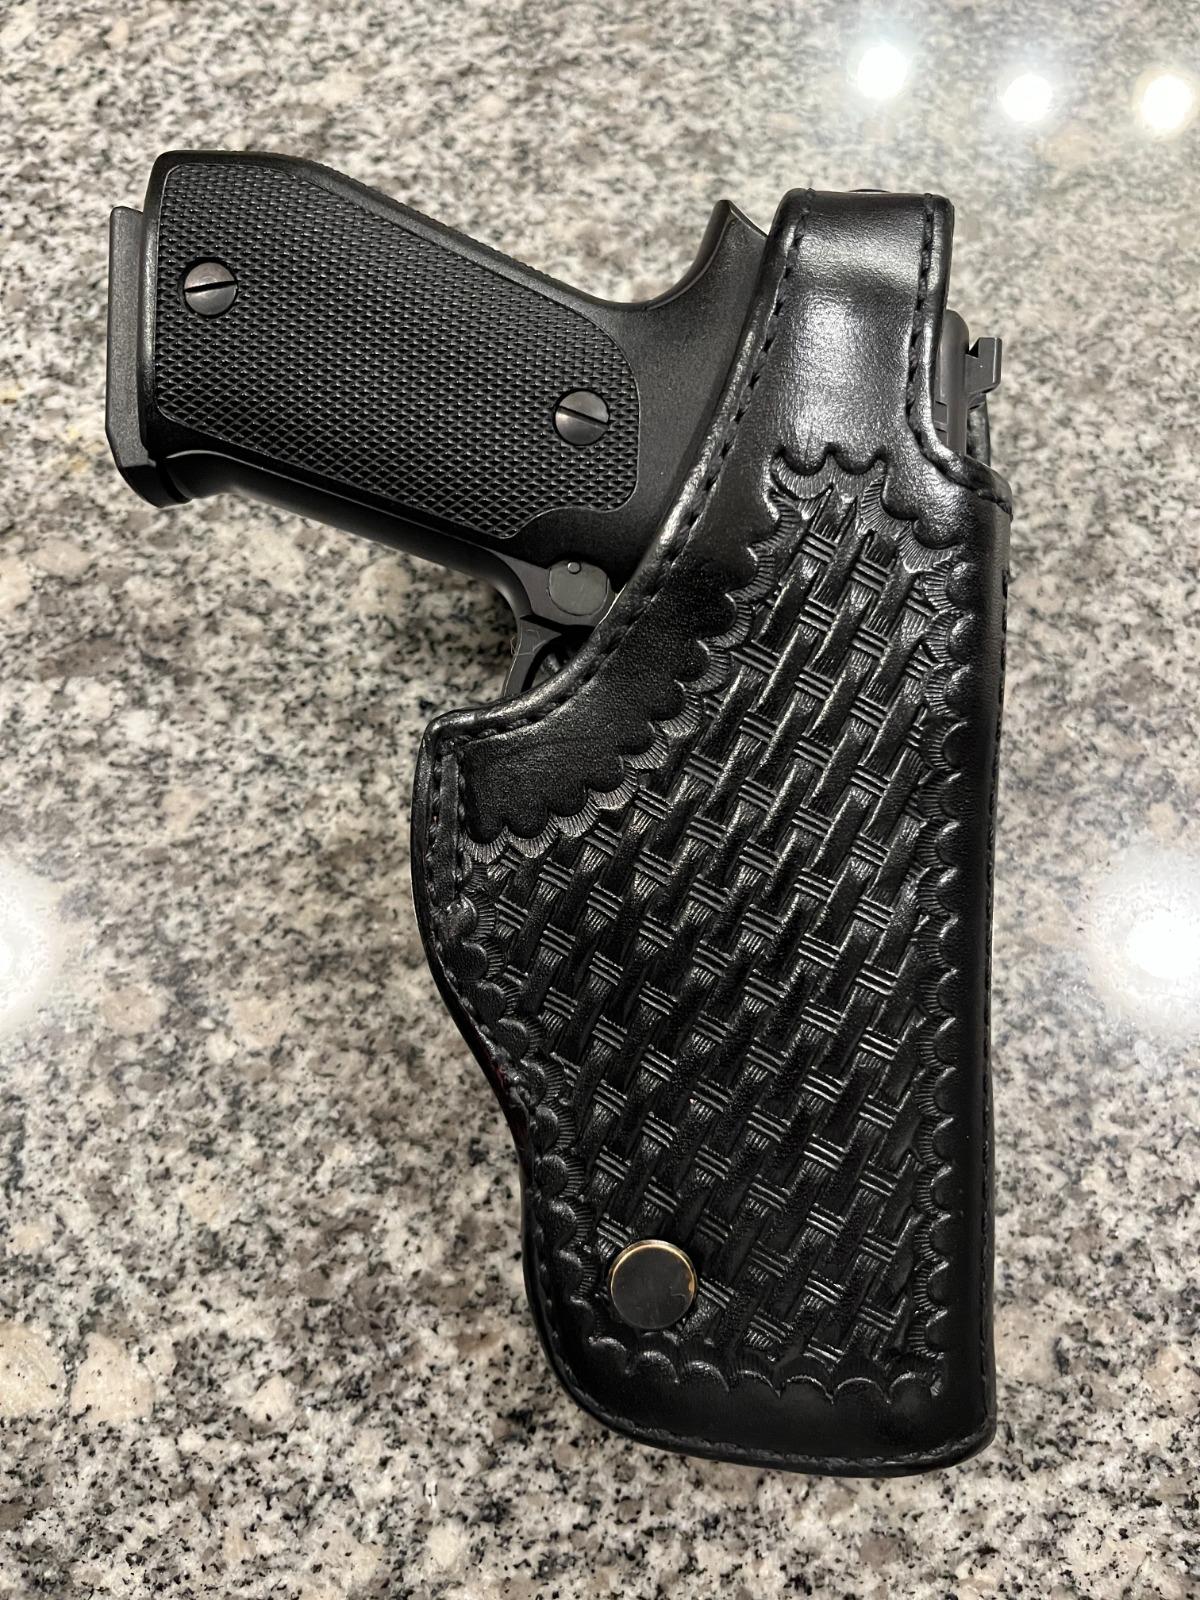
Though I make my own holsters, I recently grabbed a nice Ted Blocker duty holster off eBay - these sell for about $260 new; I got this one for $24! After I re-did the edge painting and used some Fiebing's Atom balm/wax on it, the holster could pass for new. Unfortunately, it was definitely used by a policeman, and it has a musty smell that I'm guessing is patrol car. Almost like a musty gym locker, or a musty old book. The smell actually clings to the gun too. I tried "bathing" the holster overnight in cedar shavings and that helped some. But the cedar smells wears off fairly quickly, leaving the musty smell. Does anyone have any tips for actually exorcising the holster of this squad car funk? I'm especially sensitive to off smells, so it's a bit of a buzz kill. Thanks, DeWayne
-
I completely agree about pre-bending the leather when lining, though I have never done it myself. I say that because I have now torn down two original holsters to duplicate them and I am preparing to do a third, and forth, and so on. I discovered that you cannot break down an original holster, flatten it, and trace a pattern. The pattern will be too small. It took me three tries to learn this lesson. On close examination I found that when flattening the original leather you will see wrinkles forming on the outside of the bend. What you end up with is a traced pattern that fits the "inside" of the holster, not the outside. I built three copies of my first remake of Federal Man before I caught on to what was happening. The thicker the leather the greater the difference. I now break down the holster, flatten it to get a tracing, and then add 2X the thickness of the leather to the outside dimension, as a starting point. Were I to line a holster, I would follow Dwight's advice. I also notice that many commercial lined holsters use a very soft suede leather for the lining which would add almost nothing to the strength as suede is a split, and without the hair side, is relatively weak. DAve
-

Bringing a neglected machine back to life (Juki LU-563)
AlZilla replied to MikeG's topic in Leather Sewing Machines
A site search for LU-563 turns up 18 pages of reading material. https://leatherworker.net/forum/search/?&q=111w156&page=2&quick=1&item=132320&search_and_or=or&sortby=relevancy -
 I've seen leather dust mixed with cement to make a filler or packing for the back of 3D carvings.
 -
Bringing a neglected machine back to life (Juki LU-563)
AlZilla replied to MikeG's topic in Leather Sewing Machines
That looks like a win to me. It's a pretty close clone of the Singer 111w156, if not identical. Parts and information are going to be abundant and easily found. Look for the user instructions. If the 156 isn't easily found, the 111w155 will be close enough for the oiling points. You know that journey of a thousand miles that begins with a single step? You just took that step. Welcome to the rabbit hole. EDIT: Here's the 156 manual. It'll get you started. 111w156.pdf -

Singer 112W 115 Knee lifter installation
Constabulary replied to DMH's topic in Leather Sewing Machines
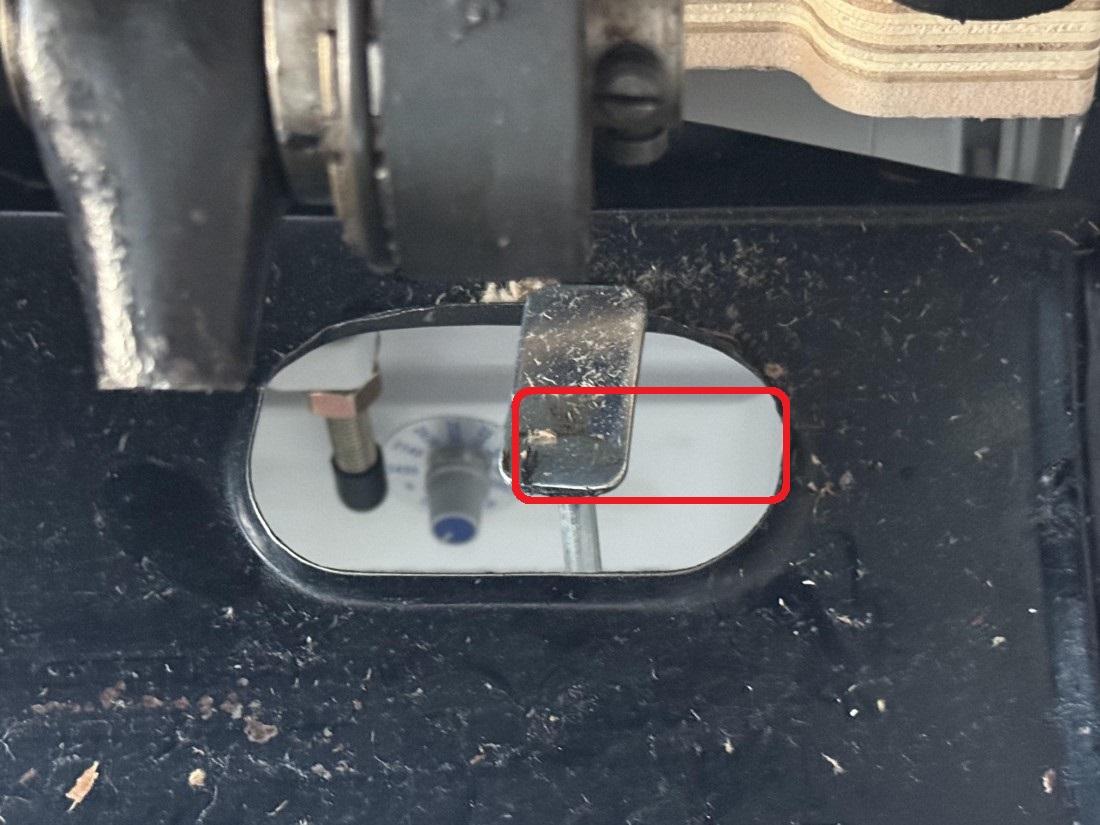
I cannot see how you mounted the lifter but what I can see is that the roller (224413) on the lifting rod (240550) is missing (isn´t it?) and the orientation of the "tab" is wrong. It has to be like the red frame IMO the longer end has to face right. Thats what I can tell the rest is trial and error where you put the foot lifter assy.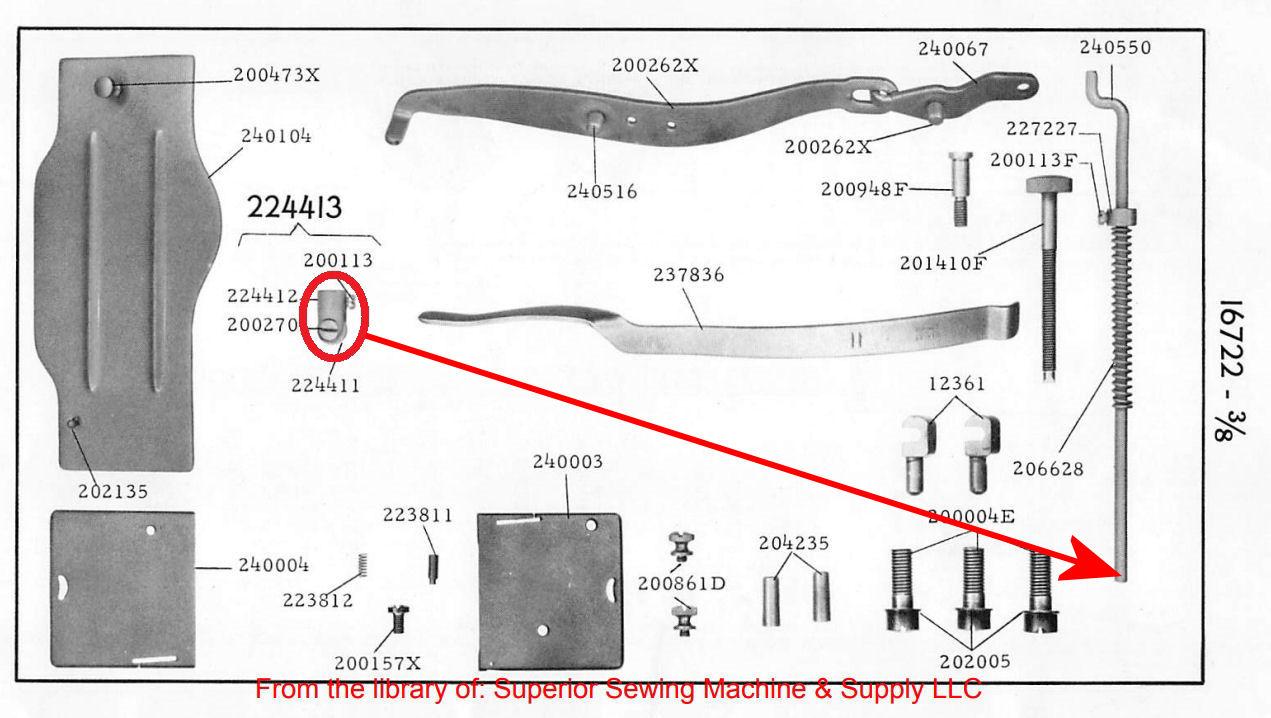
-
 GW_USMC joined the community
 -
 I am intrigued 🤔. This is something I have never heard of. So,the pieces are too small to make into other small saleable items ? Like using wood dust or wood particles i guess .So you use a binder like in particle board or chip board? HS