

All Activity
- Past hour
-
Ah we need some pictures?
-
Hi, If you give me your e-mail address via personal message, I will send you a pdf of the original user manual for the Adler 4 and 5 machines. It is in German language - so you should be able to understand the text without an AI translator. Another thing : are you sure that you have the needle positioned the right way ? Industrial needles as used in the Adler 4 and 5 units have to be in such a position, that the thread enters from the left side of the needle when facing your machine and exits to the right side - not like home sewing machines where you are facing the thread hole of the needle when sitting in front of the machine. Latter is just to make sure that your needle is in the correct position - else your thread will break as soon as it tries to tie a knot with the hook. Are you also sure that the needle size used is the correct one analog to the thread used ? - A heavy thread will require a thicker needle in order to ensure proper pass through the fabric/leather. Last but not least - what type of needle are you using - the Adler type 4 and 5 use needle type 328 - get the ones made by Schmetz and avoid copies made in Chinesistan or India - they are mostly junk with inferior dimensions and quality. Also : try to pull on the thread before it is engaged to the eye of the needle - if you can not pull it a centimeter before it breaks, your top thread tension settings are way to stiff/strong. Greetings Hans
-
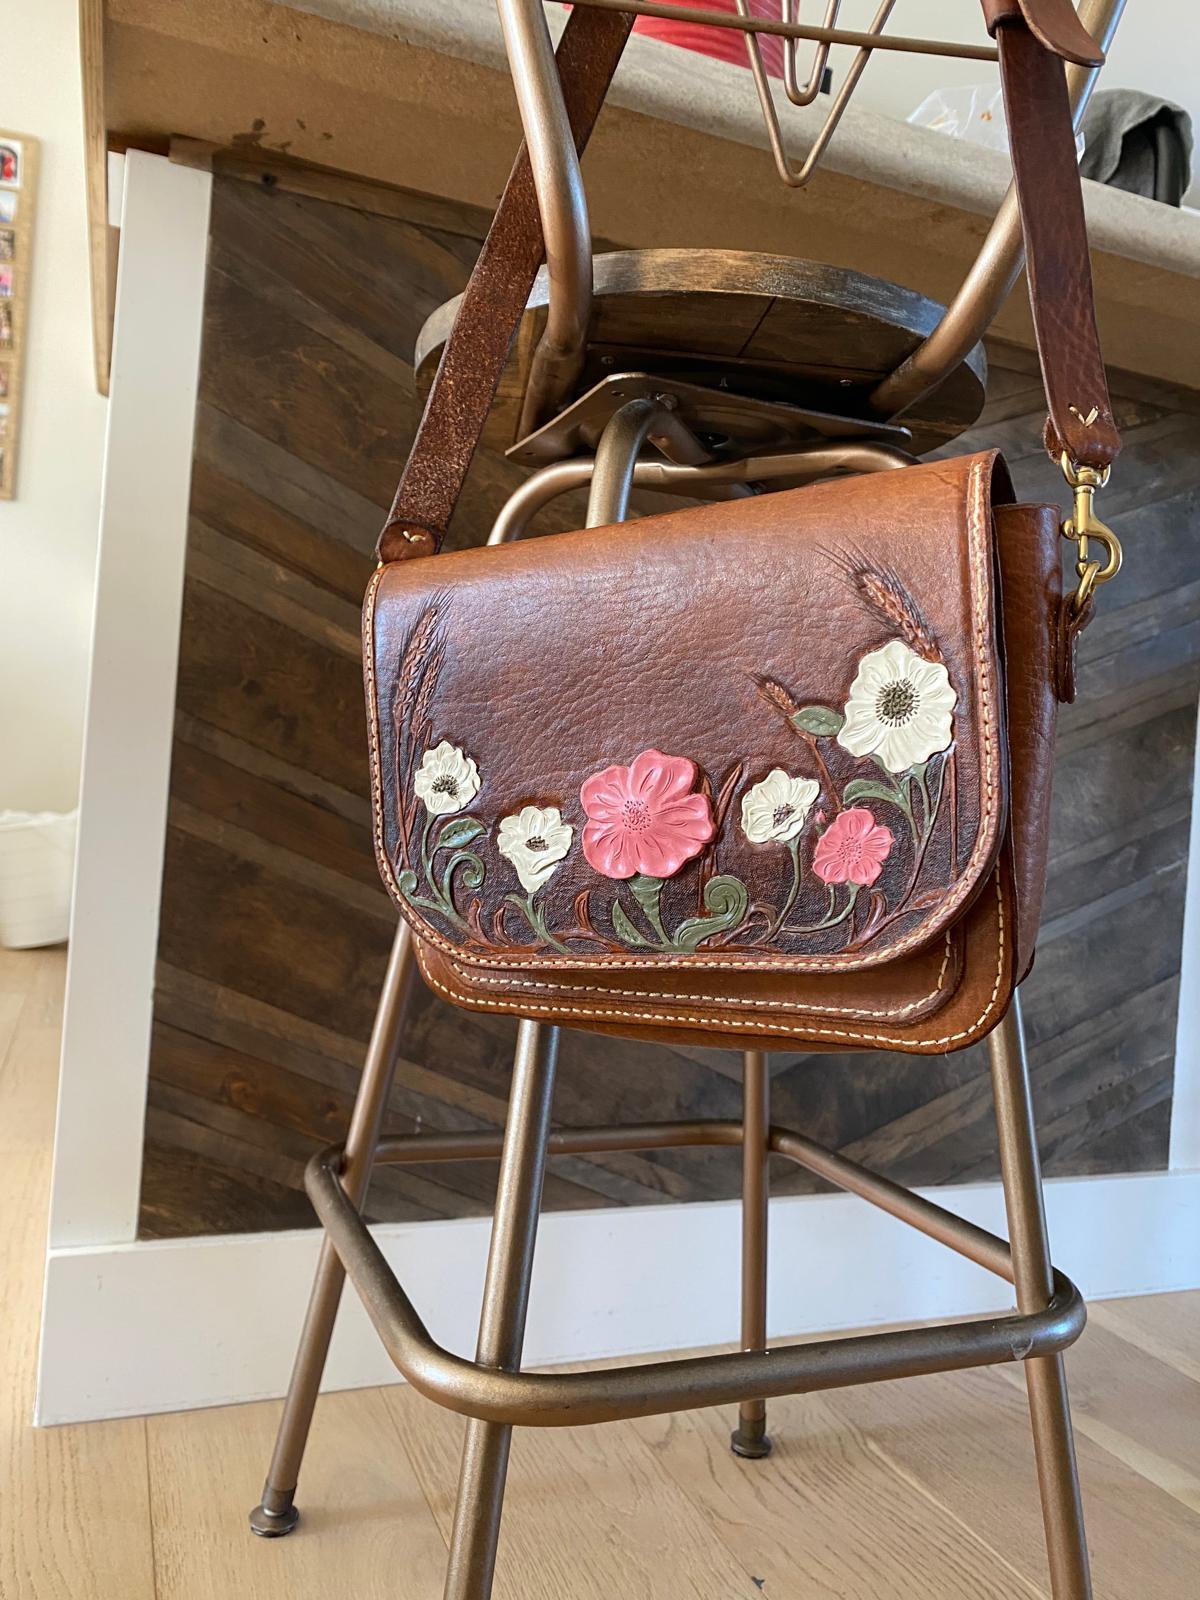
This is my first tooled bag and one of the first tooling designs that I have made by myself. The wheat and wild roses were included to reflect the Albertan prairies where the client lives. Solid brass hardware; the bag is finished with mink oil; and the tooled piece also finished with resolene to try to preserve the painted parts. The leather is bought from an old style Mennonite community in Belize, where I suspect is was made. The pattern was modified from Retro Leather Goods' leather saddle bag pattern. This project has taught me to use antiquing gel! Tooling takes too long to not use the proper product. Any thoughts, recommendations, or critiques? I would like to know how I can improve. Thank you.
-

spring flowers and good food
Darren8306 replied to chuck123wapati's topic in All About Us and Off Topic
I have a bunch of hair-on sealhide, and a ready source of caribou (all I can tan, pretty much) but haven't found a way, that I like, to include it in leatherwork. Be cool to see how you do with it. - Today
-

-

Leather Weight for Lined Holsters.
dikman replied to Latigo Smith's topic in Gun Holsters, Rifle Slings and Knife Sheathes
I've only made a few Western-style holsters so I have limited experience but I would have to question that article, it seems to me he is making a blanket statement that he considers fact when in reality there are lots of variables when dealing with leather. My first couple of holsters were made using fairly light leather (I can't remember the weight) with two layers glued back-to-back. By the time I'd finished they were rigid, and still are. I progressed to using the same weight for the liner but a slightly heavier weight for the outside, only because I thought it looked better. I noticed he mentioned using a suede liner, that is going to be softer than a "normal" hide so won't add much to the overall stiffness. Also, leather that is wet-formed tends to gain stiffness. The best thing you can do is try different combinations to work out what style you like and whether lined or unlined works best for you, but at the end of the day the customer will determine which style you make. -
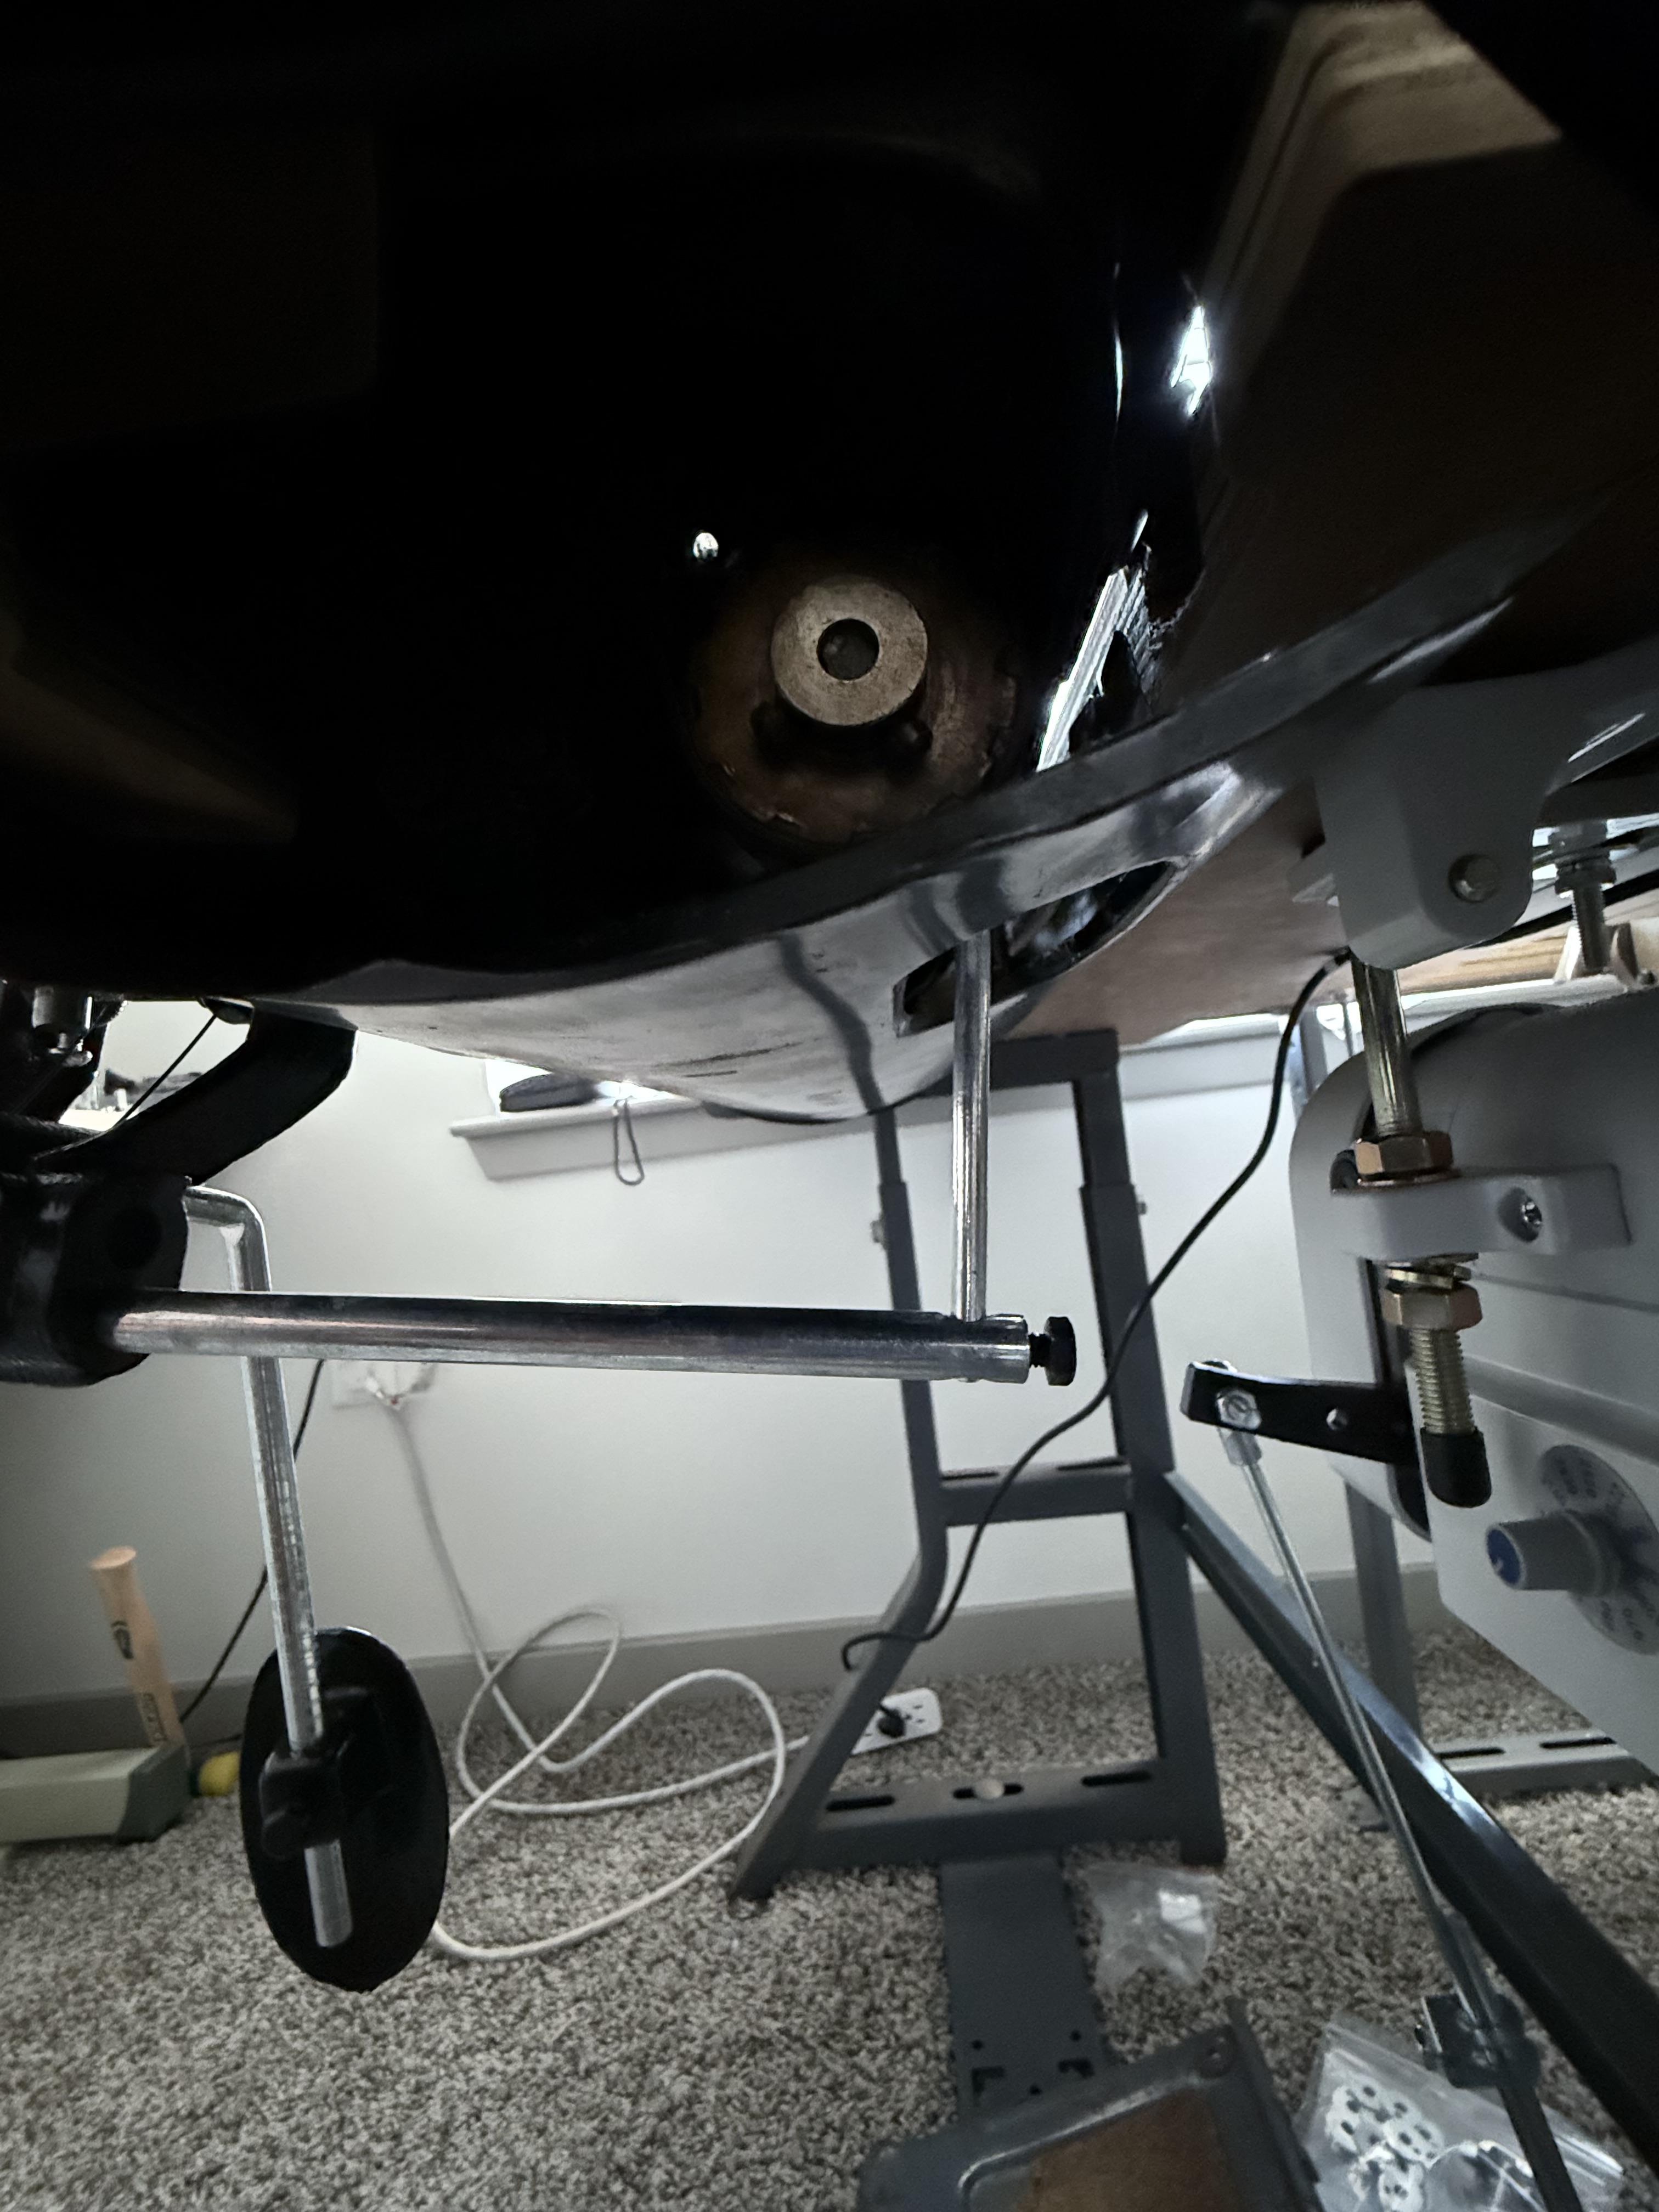
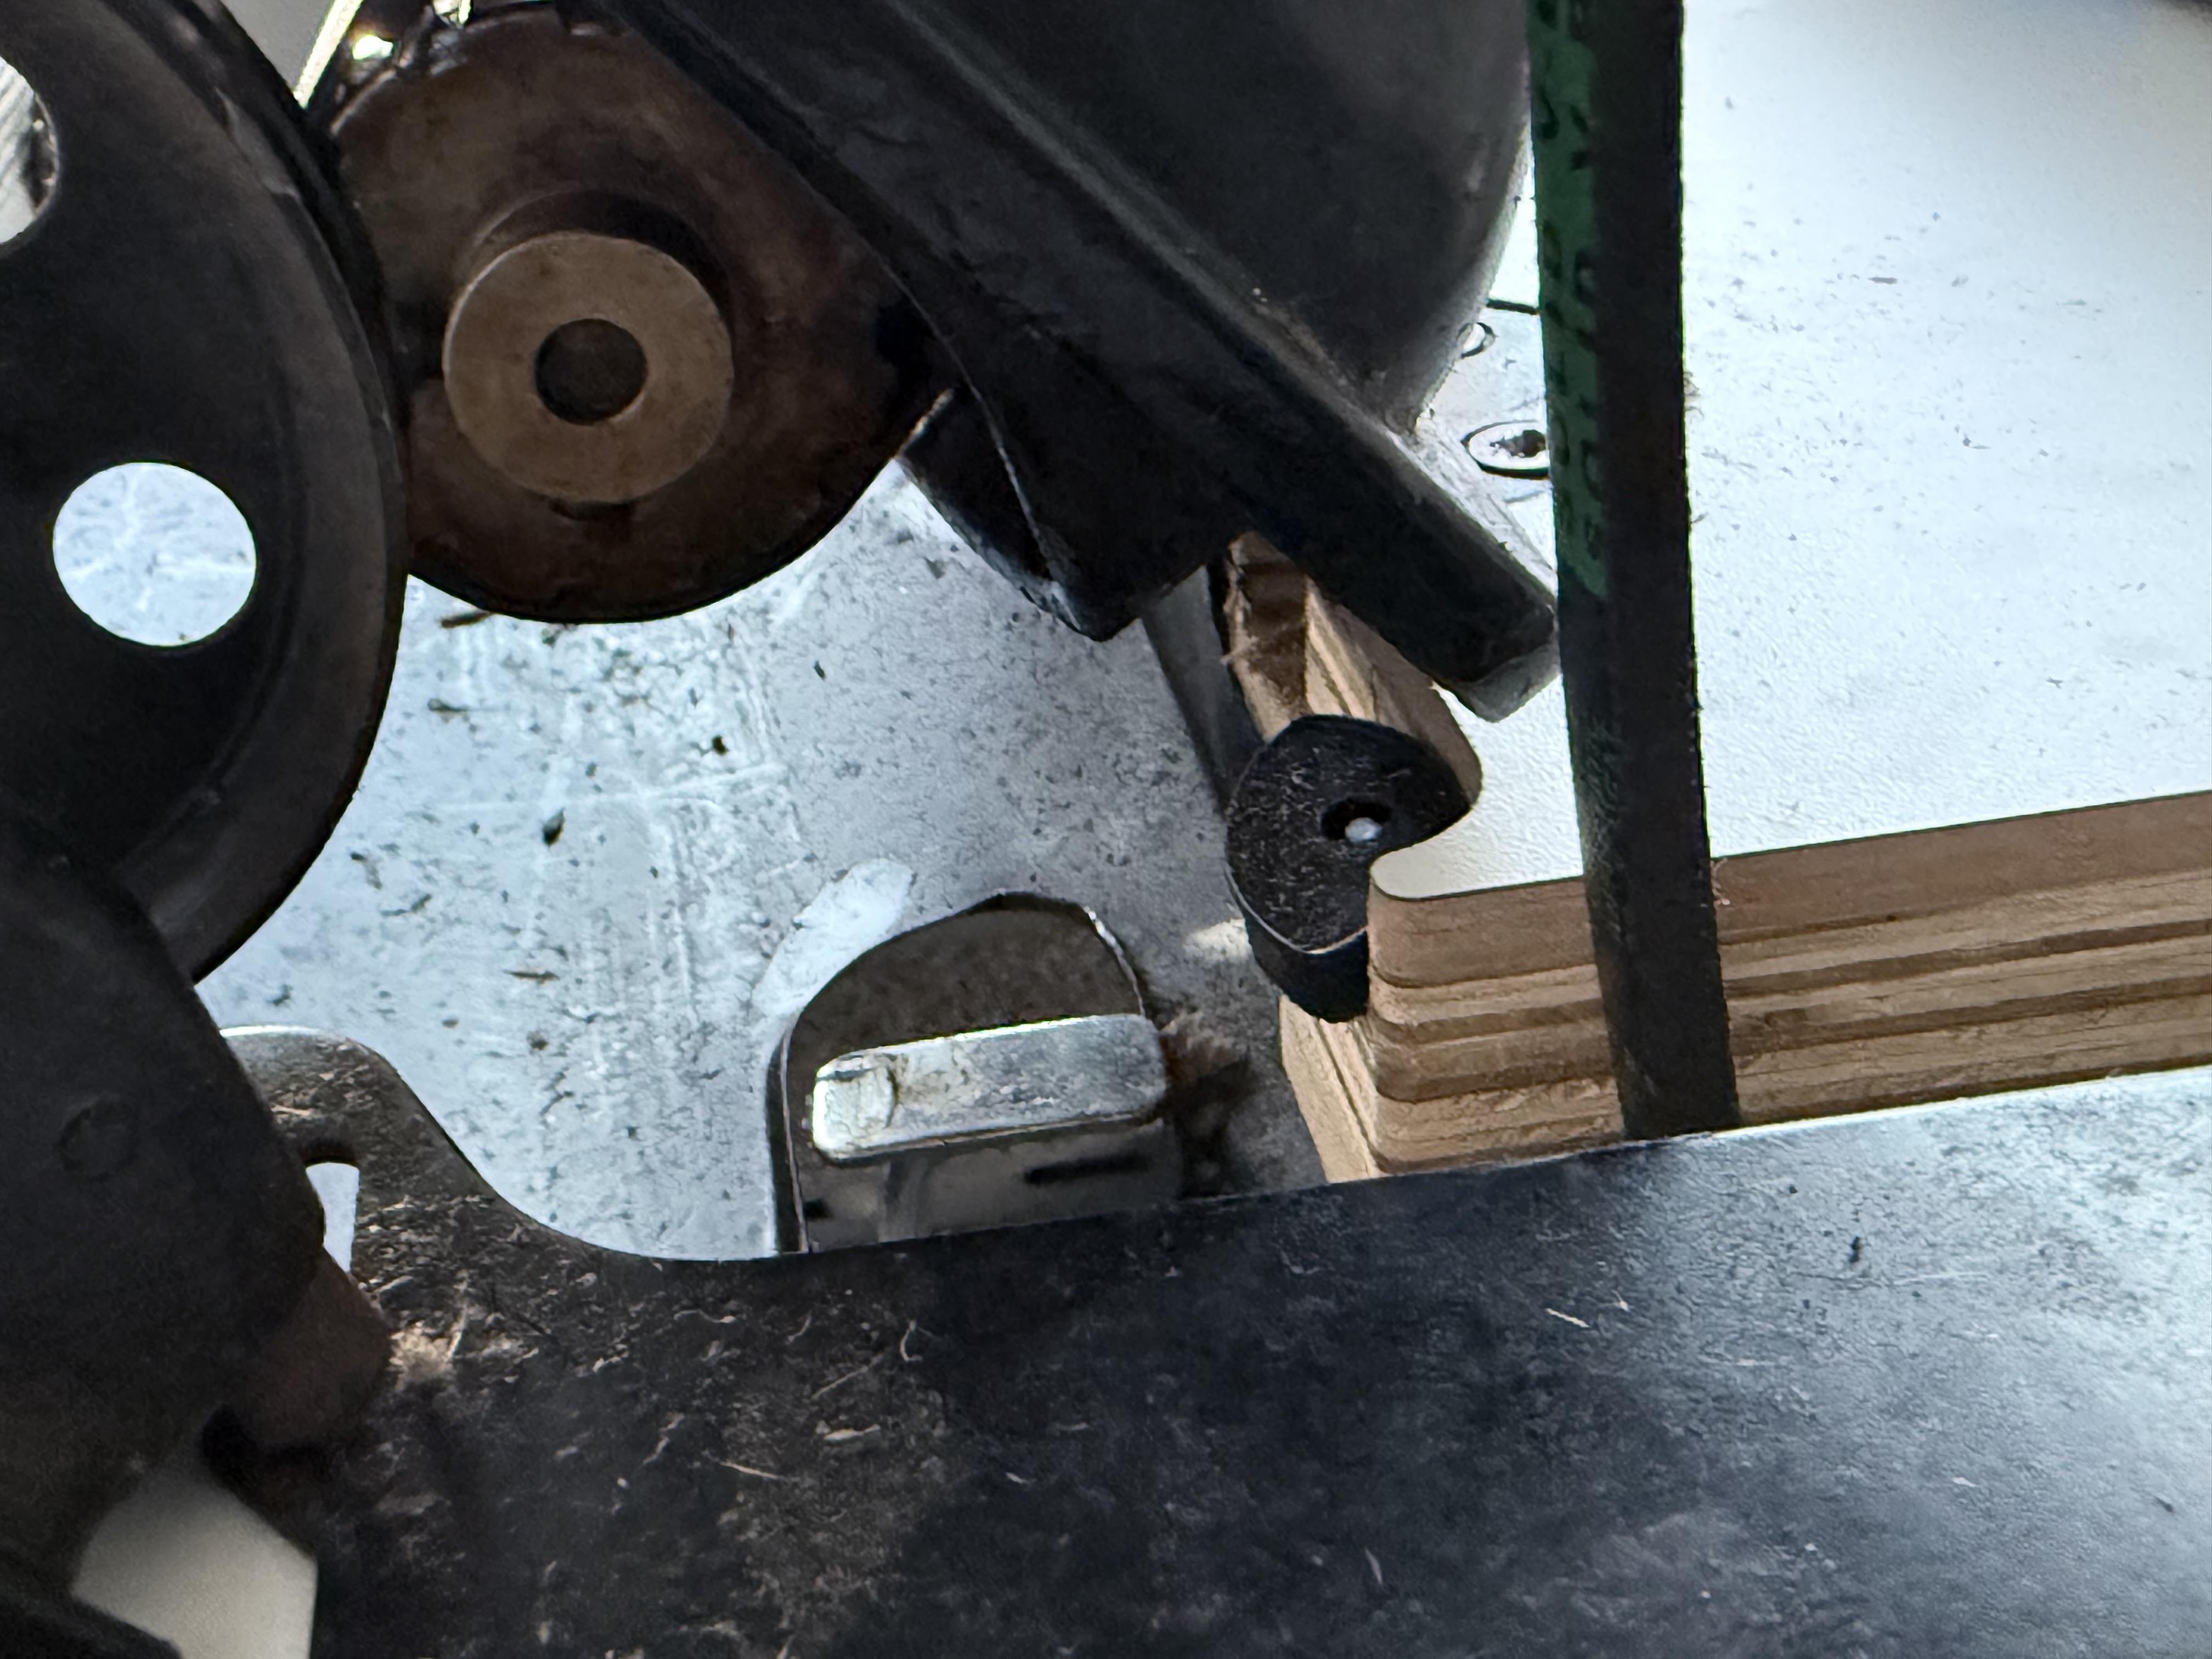
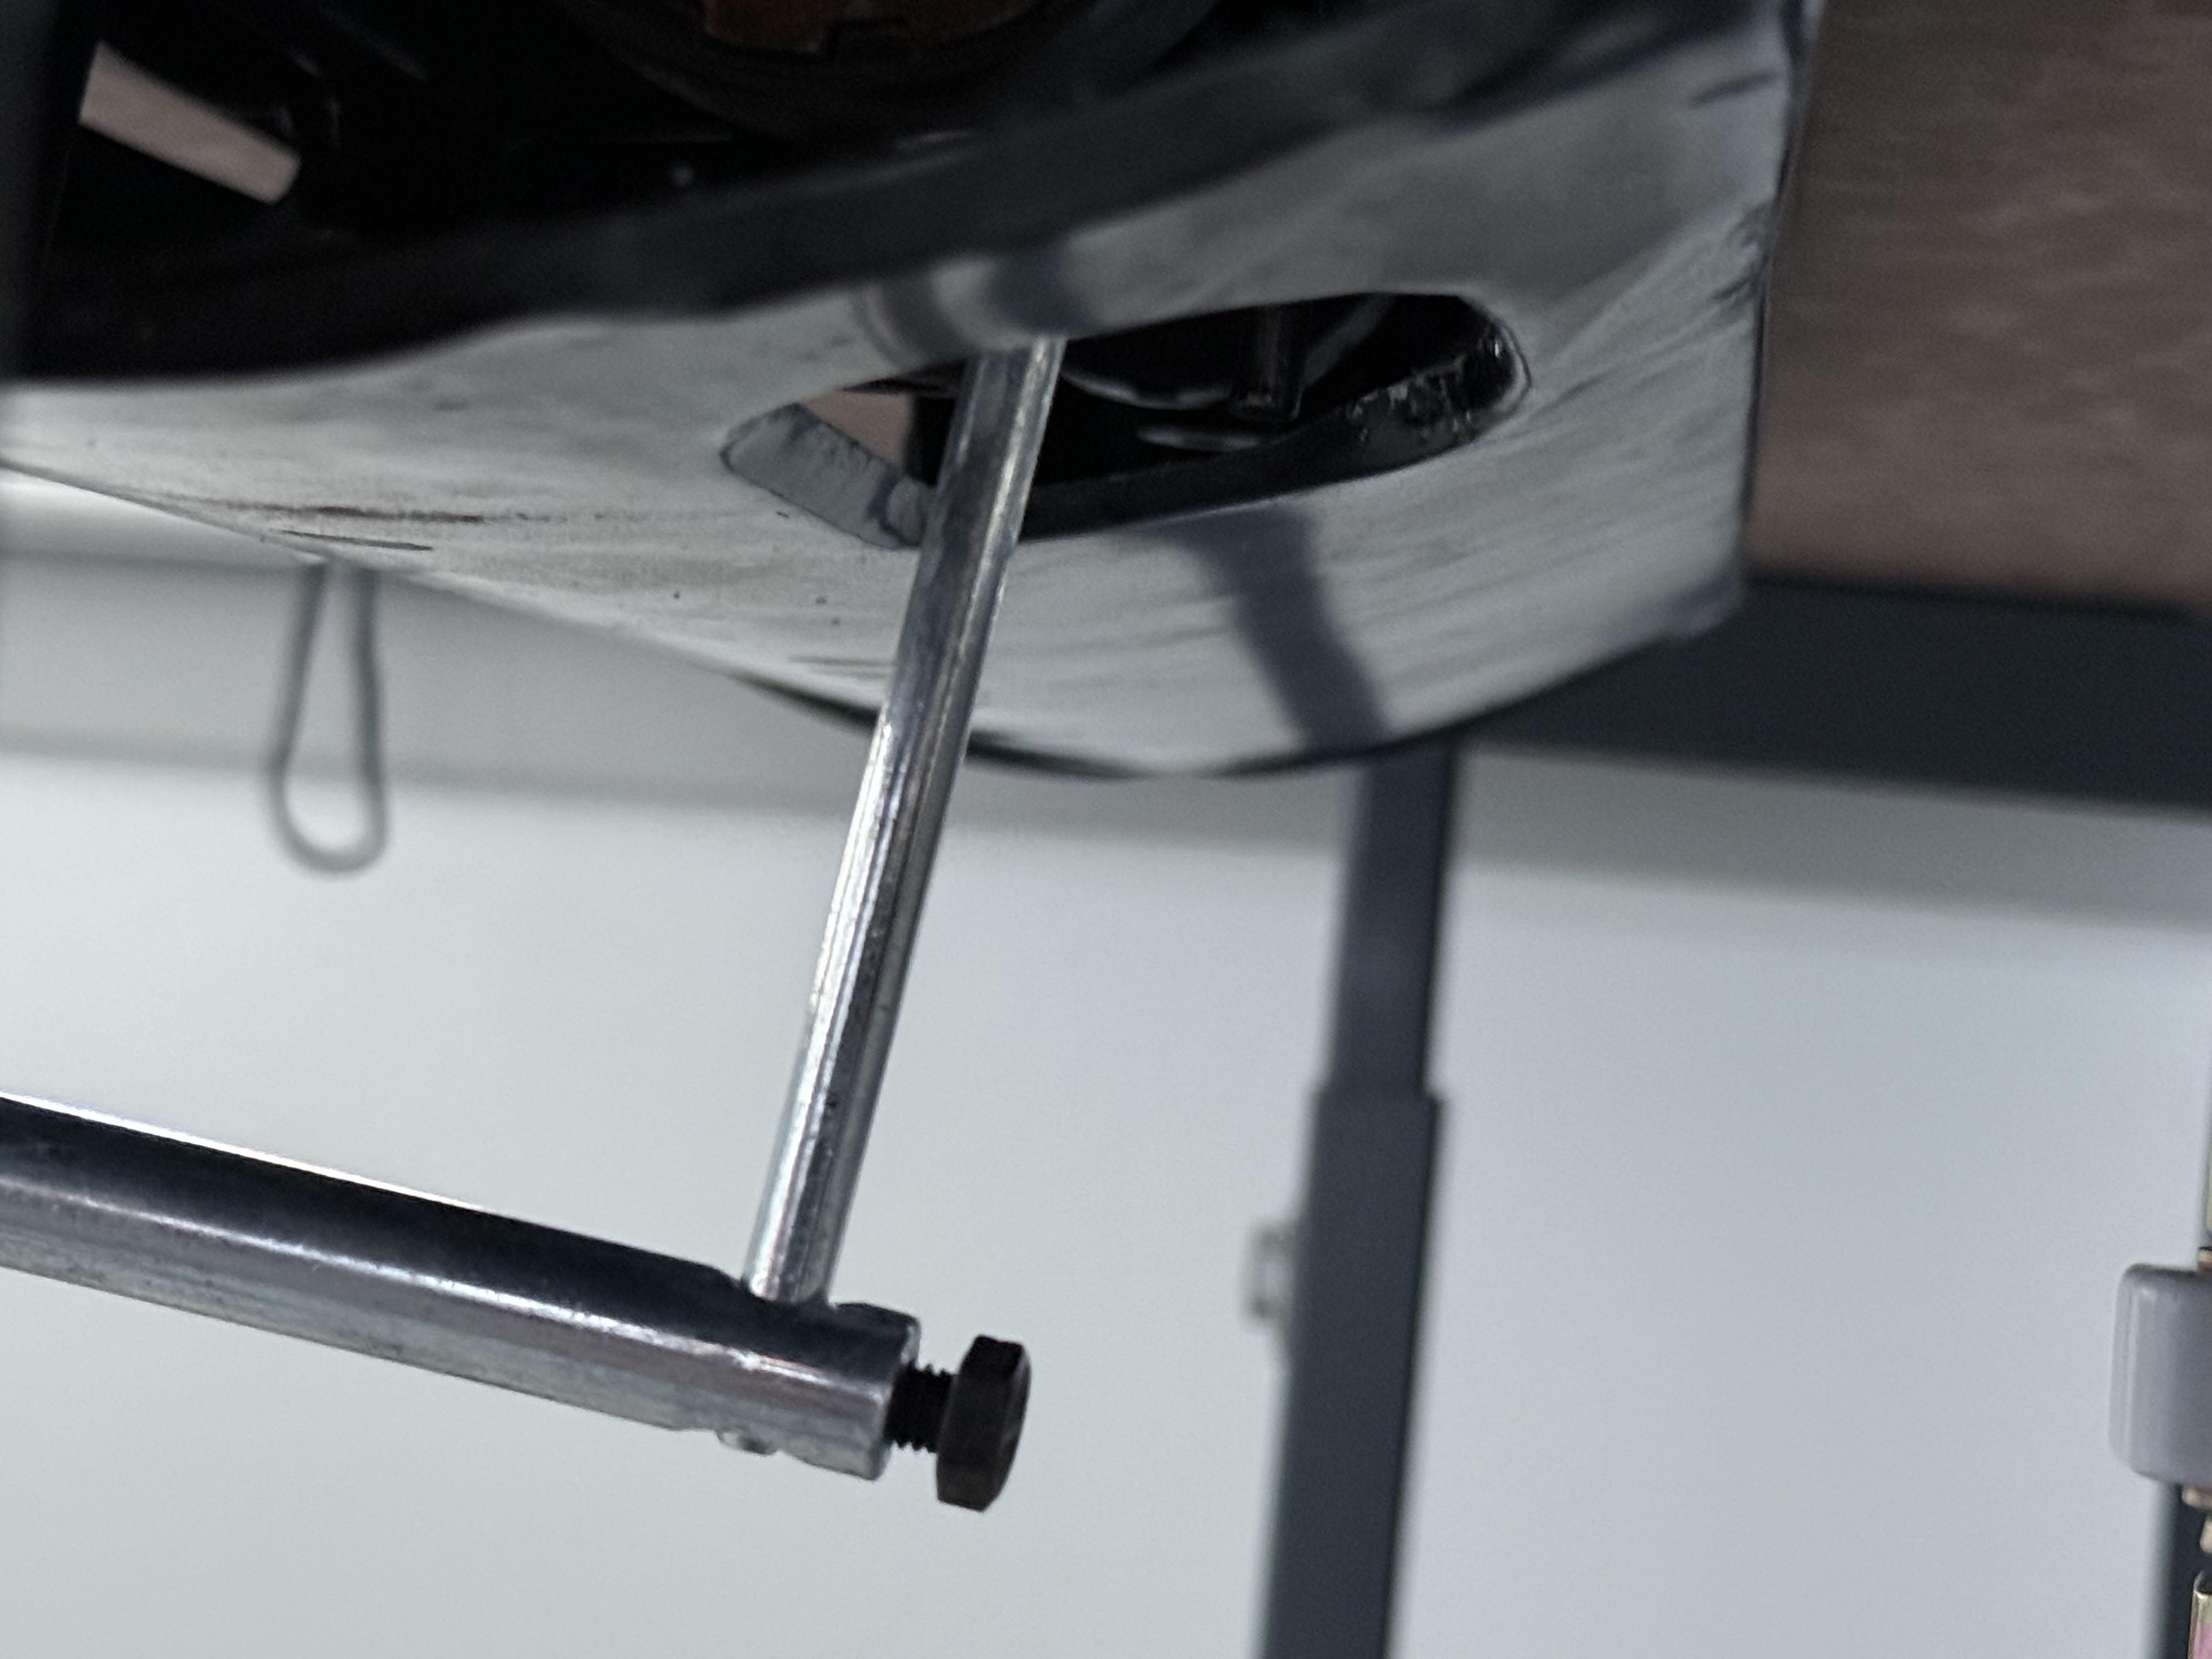
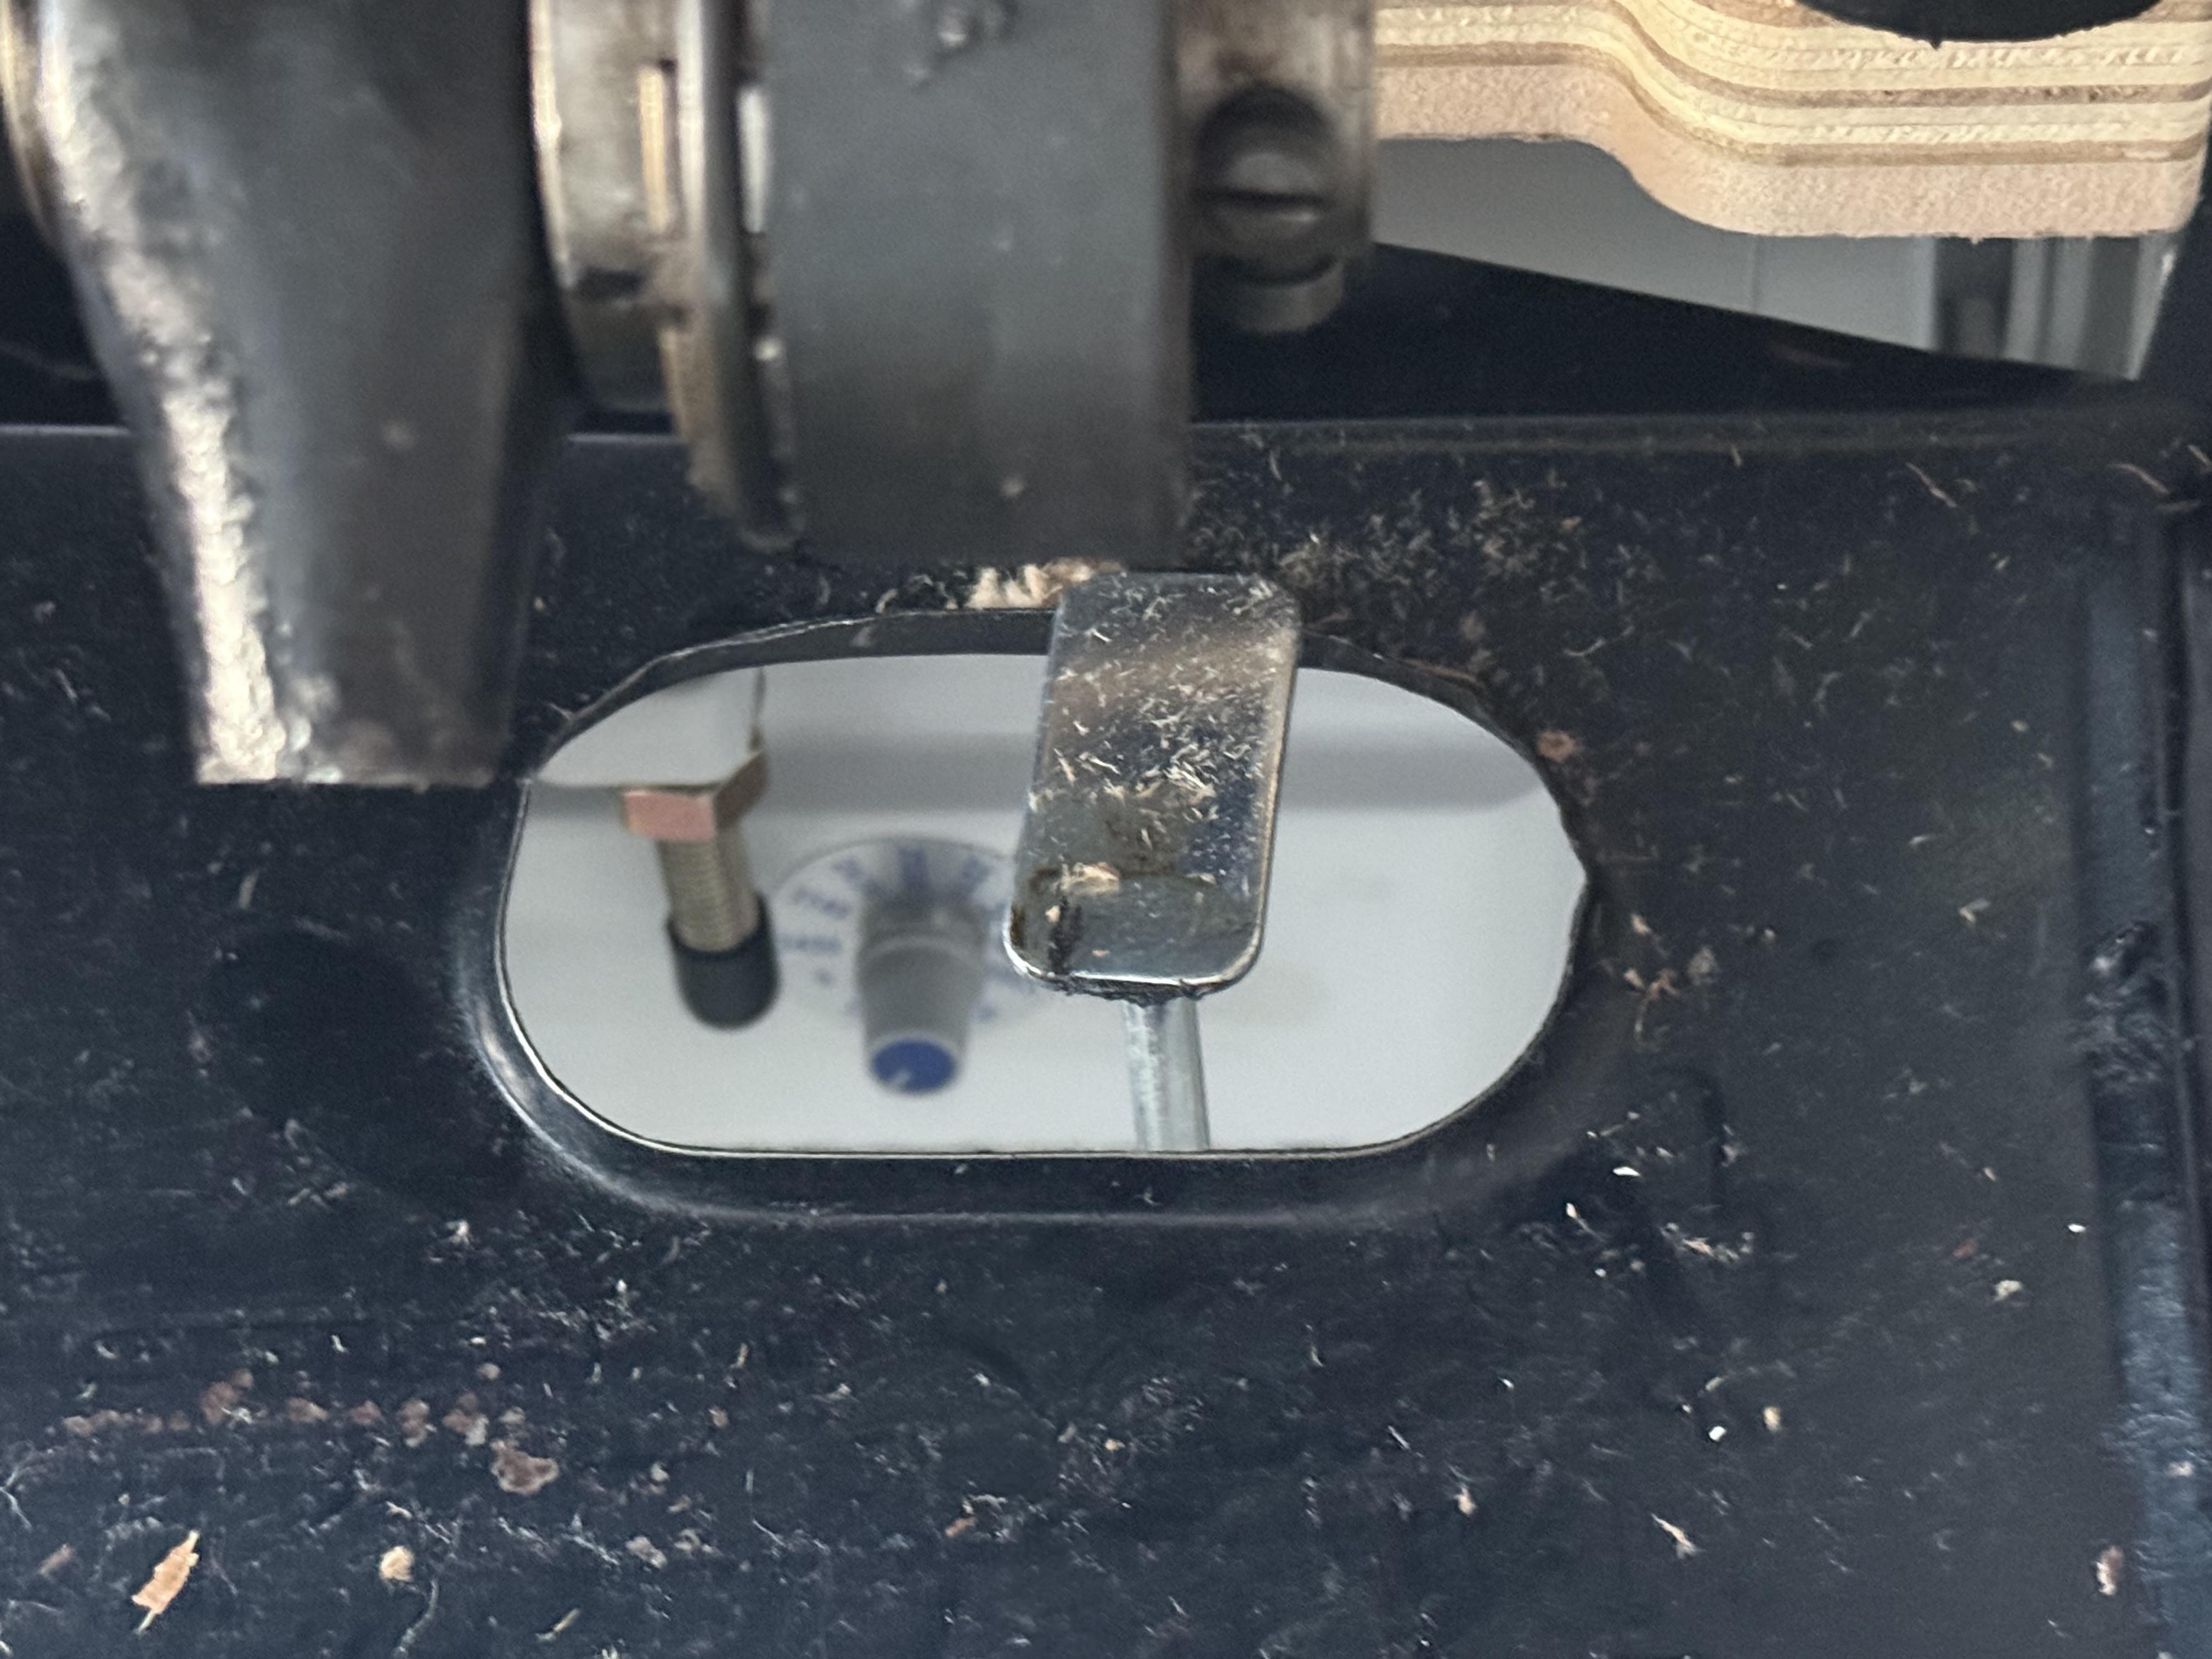
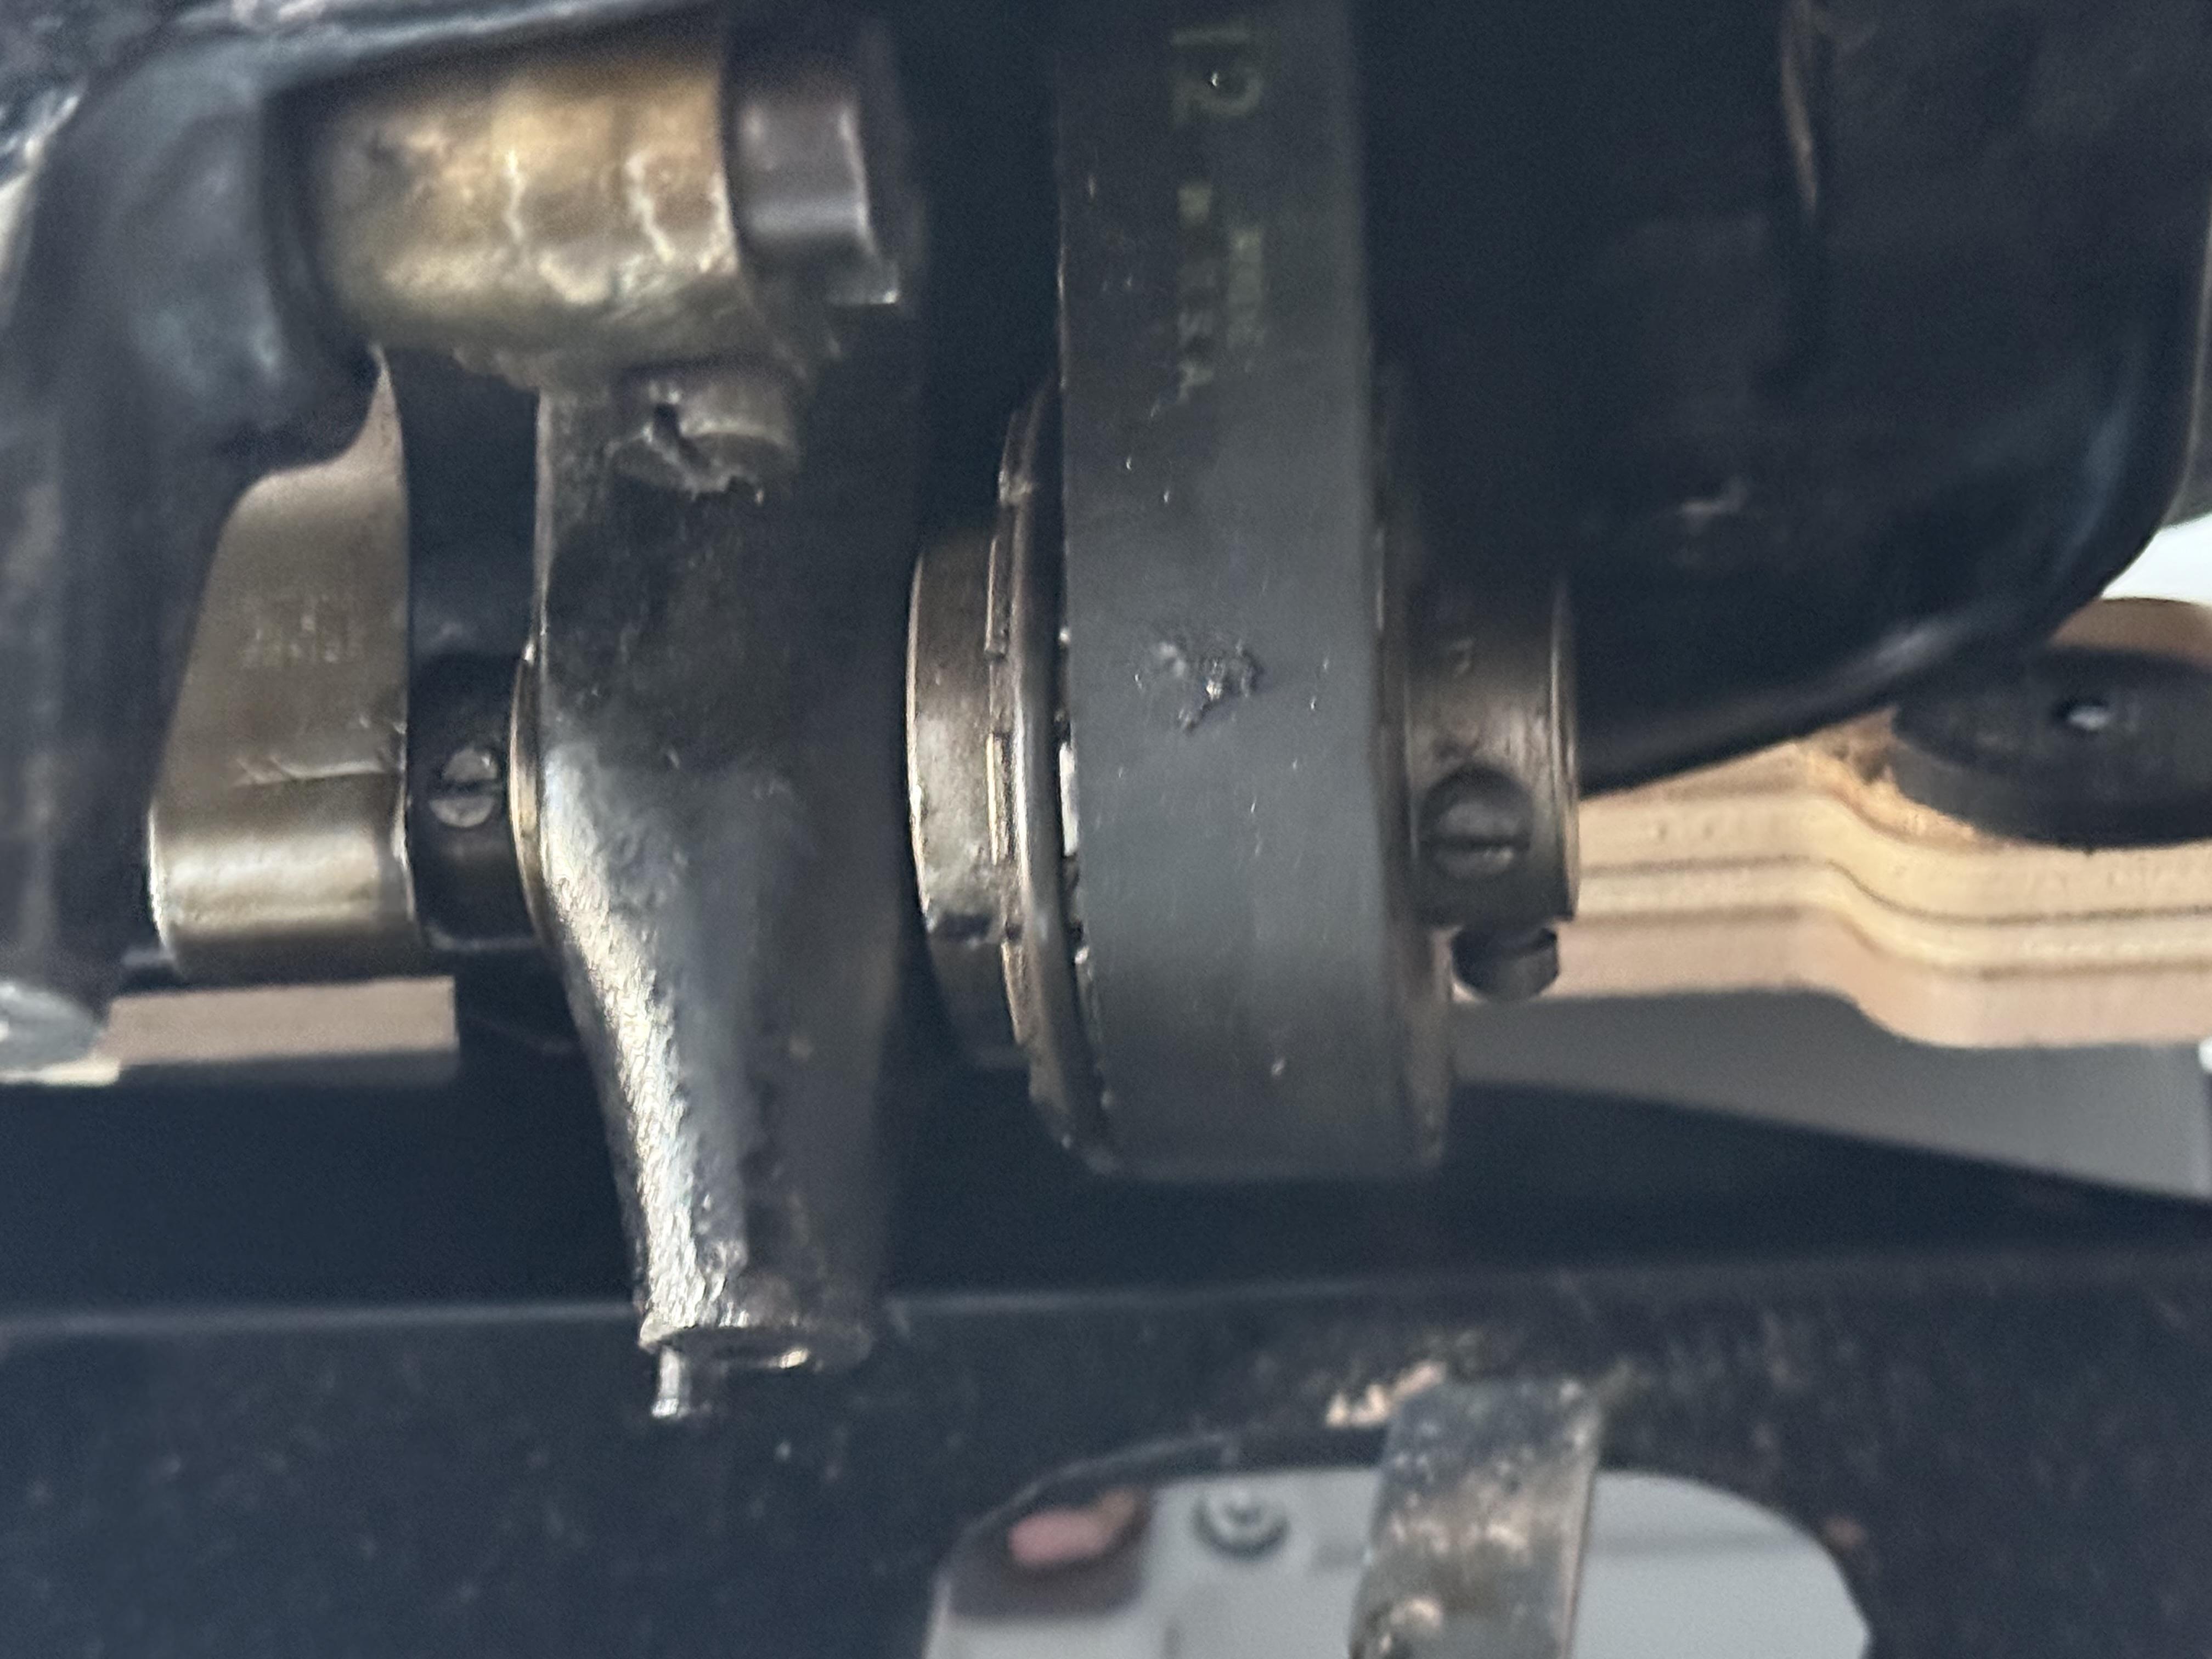
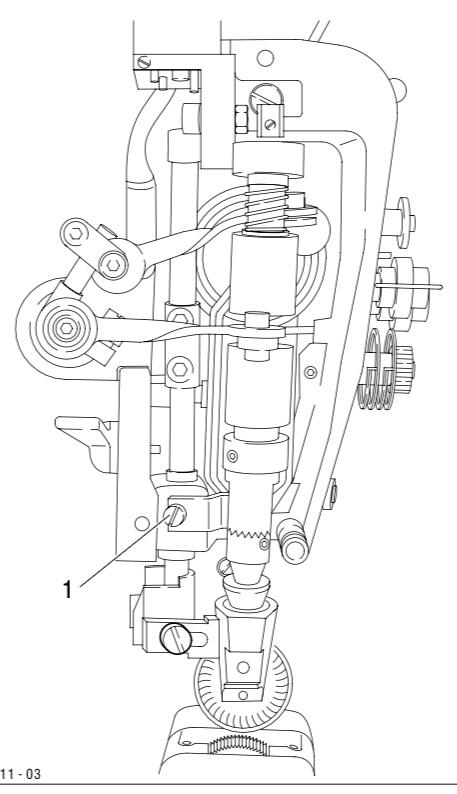
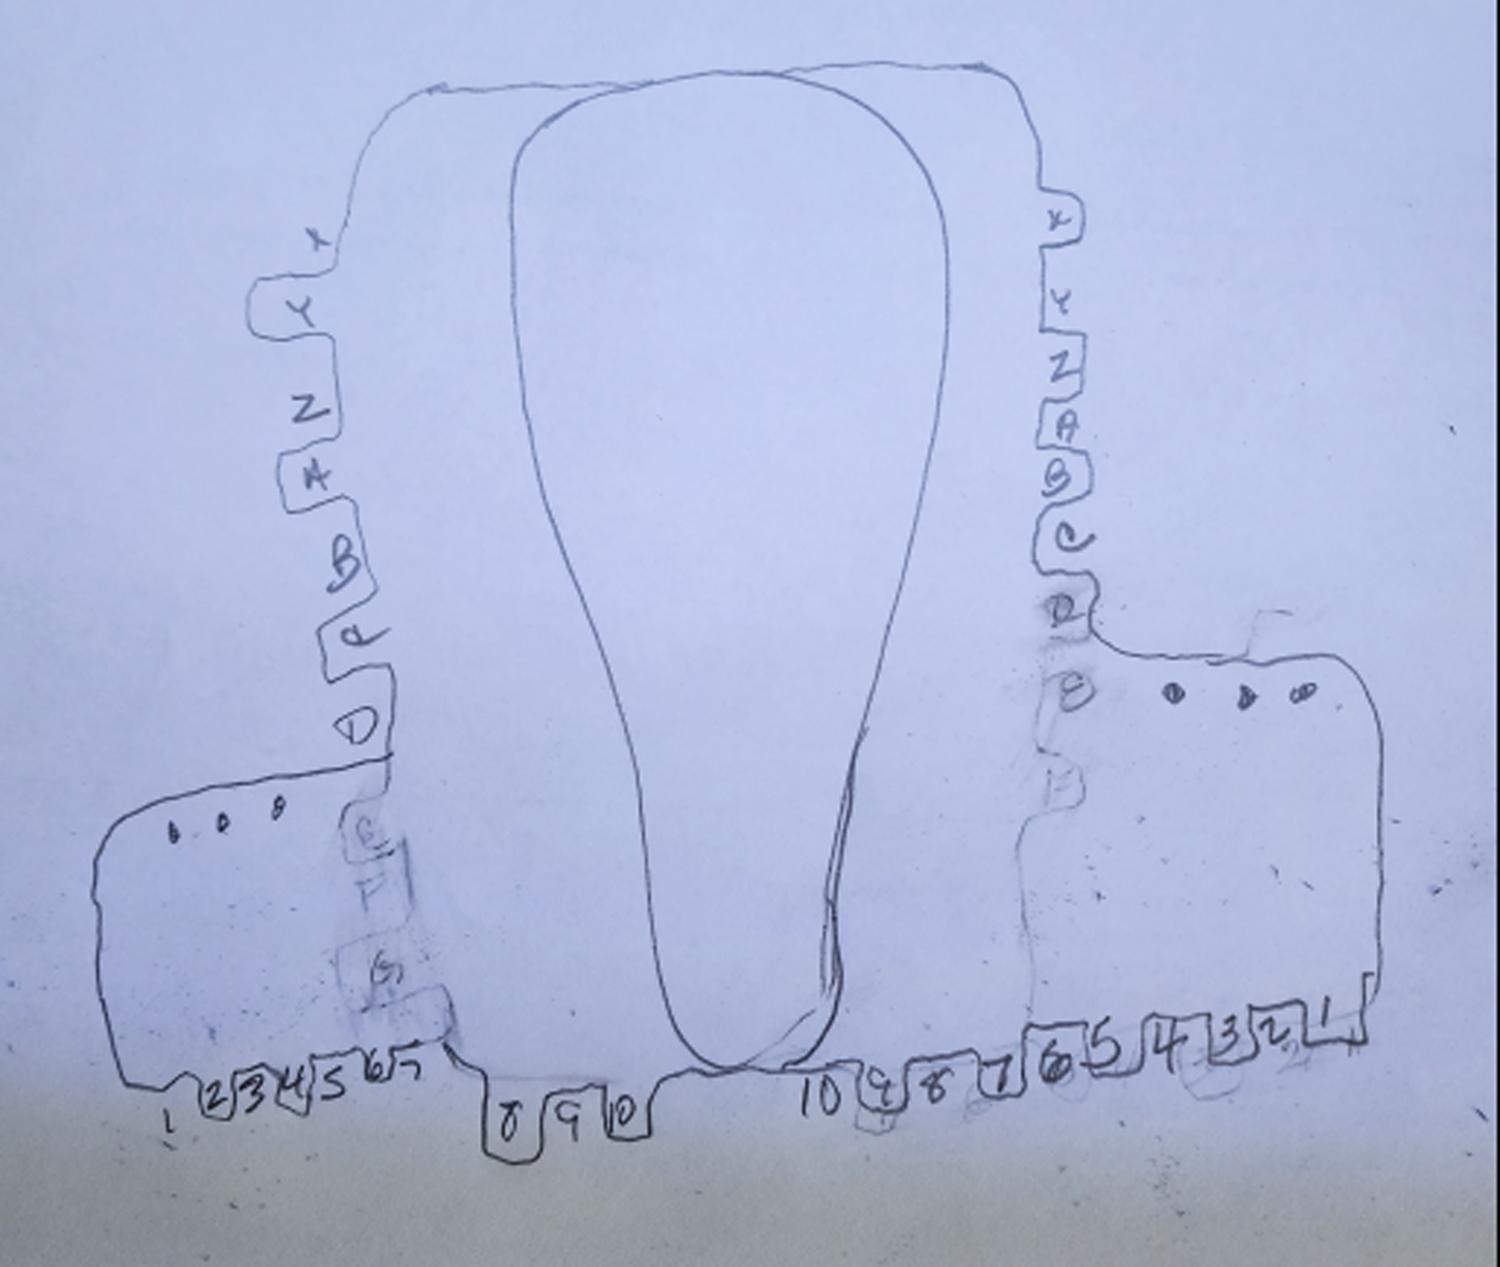
Meanwhile i did some searching and reading and found this drawing. That gives me a kind of answer. That the teeth from the upper and lower part should lock in to each other.
-
Yes . That are the parts. Thank you.
-
I use Xylene, a bit like Toluene. Nasty stuff but it works (the fumes are......exhilarating).
-
This is my first tooled bag and one of the first tooling designs that I have made by myself. The wheat and wild roses were included to reflect the Albertan prairies where the client lives. Solid brass hardware; the bag is finished with mink oil; and the tooled piece also finished with resolene to try to preserve the painted parts. The leather is bought from an old style Mennonite community in Belize, where I suspect is was made. The pattern was modified from Retro Leather Goods' leather saddle bag pattern. This project has taught me to use antiquing gel! Tooling takes too long to not use the proper product. Any thoughts, recommendations, or critiques? I would like to know how I can improve. Thank you.
.jpeg.dd6f97eac322b0737e3659b34749c600.jpeg)
.jpeg.6ce8d3708faae3893053e290d6fd4d0f.jpeg)
-
Soak your little pieces in water (hot water?) to soften them - might need a few days - then try a blender. Hopefully it will turn them into mush and then dry it out? No idea if it will work.
-
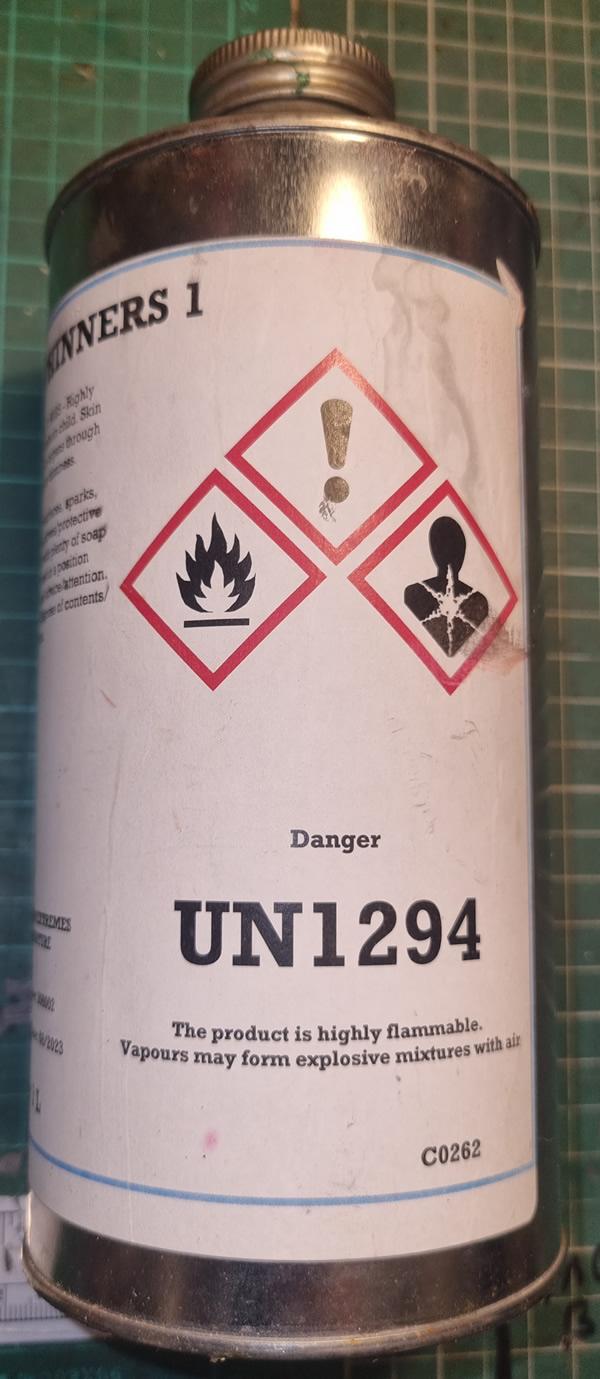
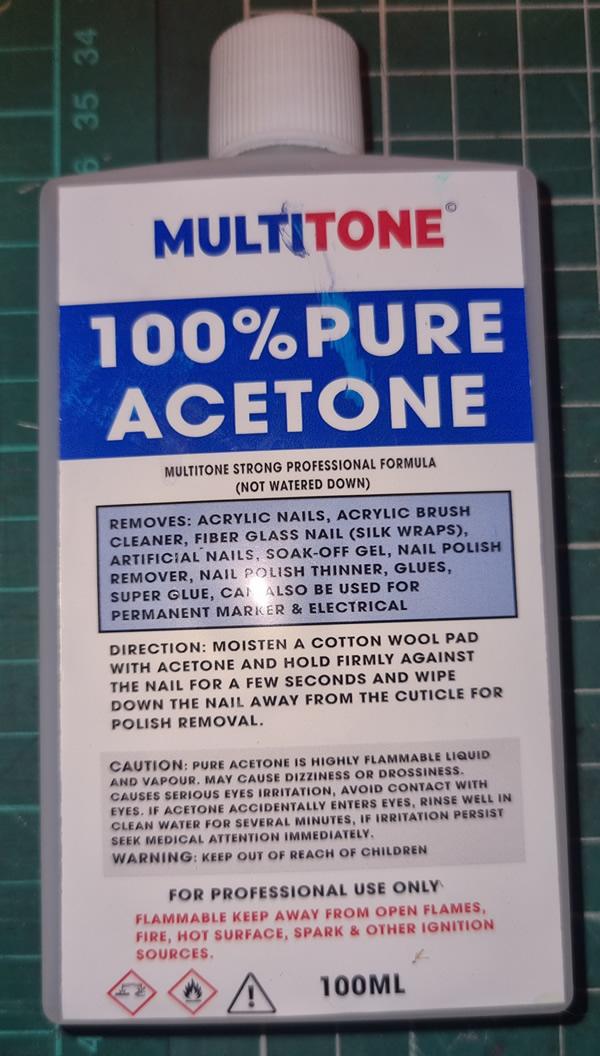
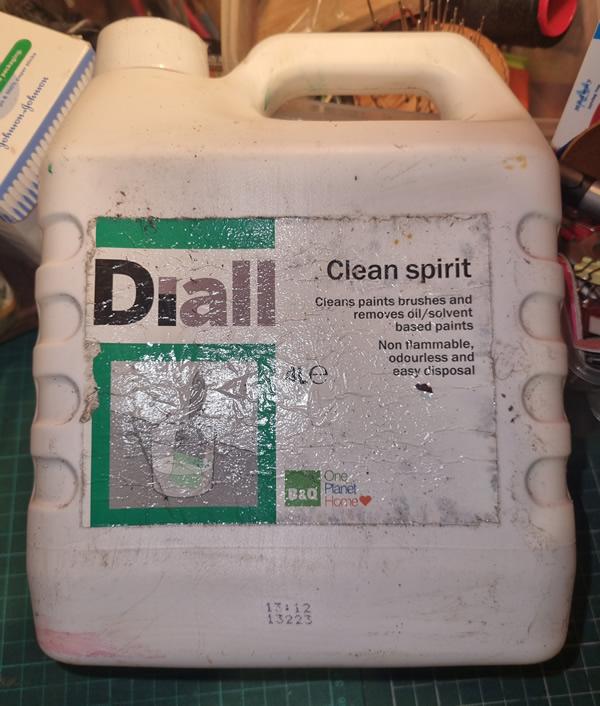
 I'm never sure which one does what! I'll try one after the other until it gets the job done. I'll always try the thinners first, the toluene usually does it. This is the one I use to thin the contact stuff. I don't use it often so I'll usually pour a little if this on top of the glue before I put it away. It is an animal though, The other day I found a small plastic glass that I had left a glue brush in with some thinners was just a puddle. The white spirit is best for removing the white leather marker lines. Acetone is last.
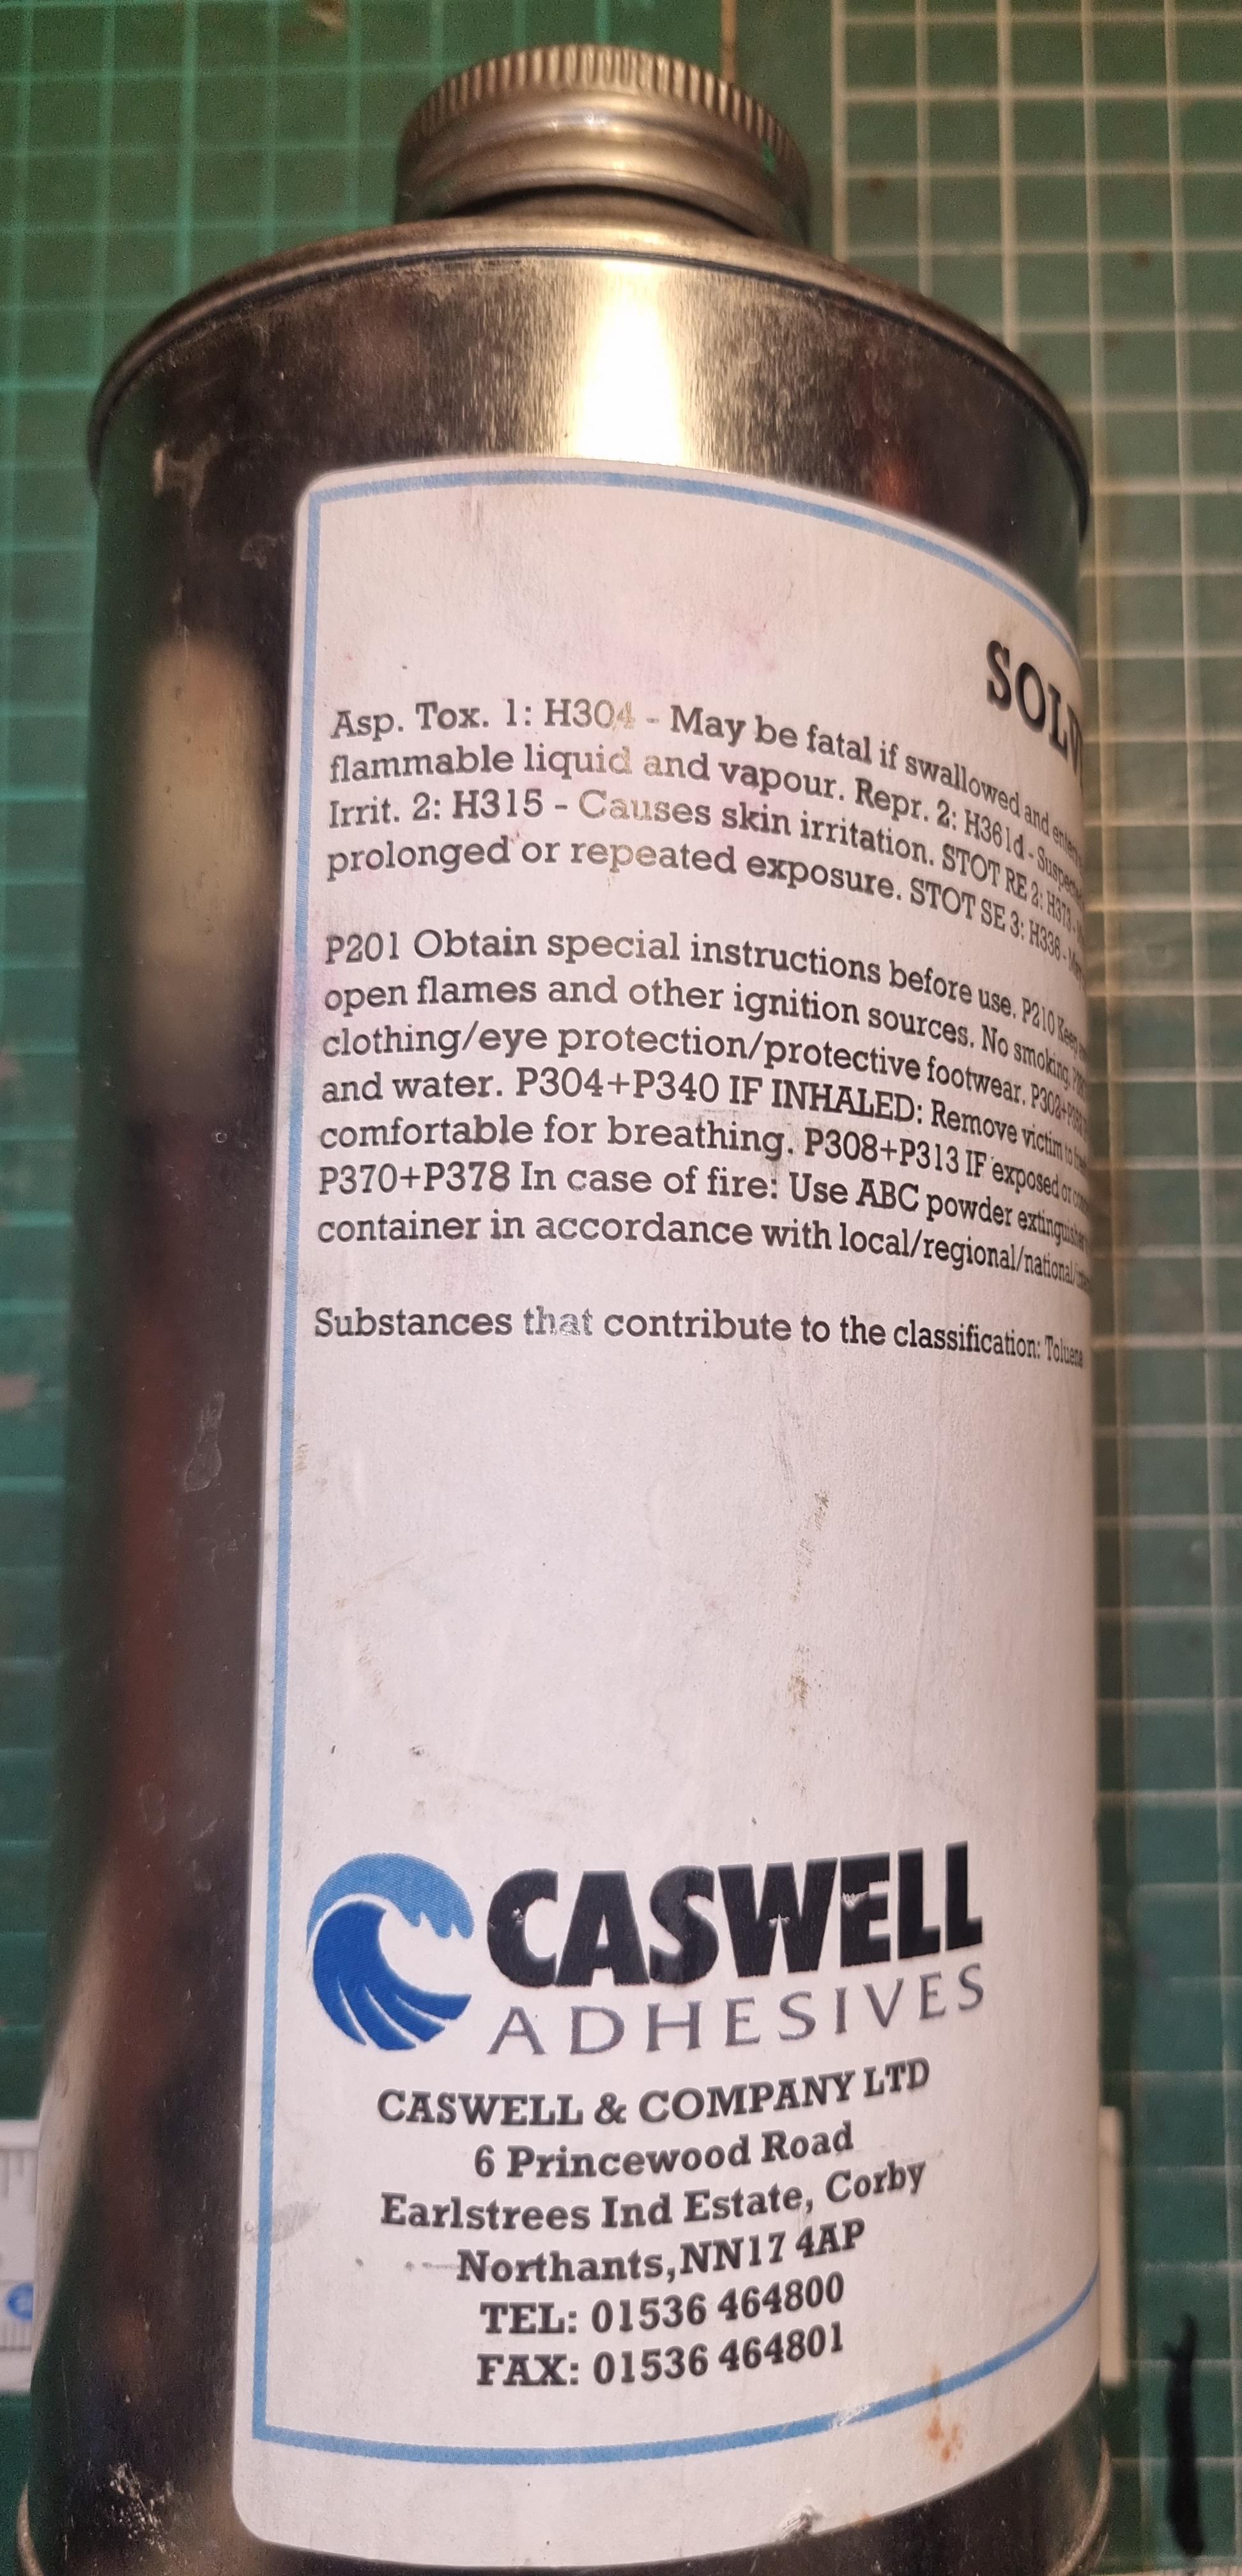
-
I can totally see how this would give a rustic look, especially for the re-enactment types.
-
 a belt sander would be my choice 80 grit or so.
 -
 I have a lot of leather scraps from using leather dies to cut out leather shapes. I want to know the best way to turn those scraps into leather dust for embossing projects. I use a sharp chisel to cut the leather into small pieces about 1/8 inch in size. I used a vita mix mixer and it broke the mixer, then I used a food processor and all that did was make the leather pieces fuzzy. I want to try an electric grain mill next but that can be pricey. Is there a better way to accomplish this task?
 -

Leather Weight for Lined Holsters.
Dwight replied to Latigo Smith's topic in Gun Holsters, Rifle Slings and Knife Sheathes
I am going to give this man or the scribe who wrote this . . . a get out of jail card. The last sentence is totally . . . completely . . . dumber than a cracked rock . . . WRONG !! The get out of jail card says they simply made an editing mistake . . . or were talking without thinking . . . the statement is totally wrong. A holster made for example out of one single piece of 12 oz veg tanned leather will be a stiff holster. . . . no doubt. But if you take two pieces of 6 oz . . . (piece # 1) one with the exact design and dimensions of the original 12 oz . . . and a (piece # 2) second piece that is about 3/8 inch longer and wider than the first one . . . and you make a holster out of this . . . it will be MUCH stronger . . . MUCH more durable . . . and will retain it's strength for years . . . after the first is a flat plie of trash leather . . . looking for a scrap heap to jump into. You make the first piece so that it is cut from the original pattern . . . but cut with the flesh side facing up and the pattern laying on it. The second is cut with the hair side facing up and the added 3/8 inch added to the original pattern. Take this first piece . . . dampen it substantially . . . and roll it into the general shape the holster body would need . . . let it dry. Add contact cement to the flesh sides of each piece . . . let it get dry enough that there is only a very slight tacky feeling to the touch. lay the second piece on the table . . . hair side down . . . and using the edge of the barrel that houses the sight track . . . gently put the sight track of the first piece down onto the second piece . . . get a good contact . . . and roll it a bit from side to side. Keep working until you have the stitch edge in your left hand . . . the holster basically squeezed together. This is the process that makes the strongest and most durable holster out there . . . made entirely of leather. Some folks add a metal lining between the two pieces of leather or a piece of kydex. I've never found a need for it. And again . . . that is in full defiance of the last sentence I highlighted for your understanding. As printed, that statement is not worth a pothole in the middle of an airport runway. May God bless, Dwight -
spring flowers and good food
chuck123wapati replied to chuck123wapati's topic in All About Us and Off Topic
yup thats the idea, probably not a complete holster but inlayed into the design somehow, also the ball pouch, powder horn pouch, and possibly the belt may have some. I haven't thought it all out yet lol I surprised myself on how well they turned out. -
What he ^^^^ said May God bless, Dwight
-
Hopefully this will turn out like a deck shoe.
-
Making some new slippers (hopefully.
chuck123wapati replied to toxo's topic in Leatherwork Conversation
Heck, I dunno, go for it, I fell flat trying to make a pair of mocs lol. -
First off . . . I only did this once . . . came out really good. It is a throw-off of the Roman soldiers in Jesus' day . . . how they made their "Caligae" footware. They laid down a substantial thickness of a basic hunk of leather . . . thru which they protruded the little nail like devices that gave them traction in slippery ground . . . something like a baseball players spiked of years ago. Next . . . on top of that they would lay down a piece of leather that would become the shoe part . . . it envelopes your foot . . . has the laces / buckles . . . and holds the shoe onto your foot. It is simply a flat piece of leather that would not be cut out unless the maker knew already the exact measurements. A third layer would then be added. All these layers would follow the general shape as OP's original page. These three layers would then be sewn together using 3 distinct stitch rows. One on the very outside perhaps 1/4 inch from the edge. Second inside the first about 1/4 inch and the third about 1/4 inside the second one. The foot was placed in the proper orientation . . . the leather pulled up . . . and cut off to match the wearer's foot. Sandals were also made this way . . . as were dress sandals . . . but it was designed originally for the Legionaires and for the battlefield. The drawing is not to any kind of scale . . . just showing how you would do it . . . with a bit of a modern twist. Pull the tabs over to the area with the same label . . . run a lace thru theree . . . starting at the toe and going upward. Tie off at the top. Drawing is rough . . . but a picture is worth a thousand words . . . so here is the 1000 word response The real beauty is that this can be made on any flat sewing machine . . . no super equipment required. All the sewing is done with it in the flat layout May God bless, Dwight
-
acetone
-
 Hey all, Ok, at least it’s not a completely noob question this time… I’m using weldwood as my contact cement, and as I reach the bottom of the can, it seems like it is much more viscous and more difficult to use for small/delicate/detail places. I’m sure that this is from not having stirred the can enough when it was full, but it is the first canned cement I have used (previously used the squeeze tubes of Barge). Learning curve and all… Anyway, is there a way to thin the cement to a more desirable/usable viscosity? TIA for the advice, and may you never burn your bacon! 😉 — AZR
 -
Very nice work!
-
spring flowers and good food
Darren8306 replied to chuck123wapati's topic in All About Us and Off Topic
will this holster be hair-on? Be interesting to see that.


