JH837
Members-
Posts
57 -
Joined
-
Last visited
Content Type
Profiles
Forums
Events
Blogs
Gallery
Store
Everything posted by JH837
-
Finished up the Sheridan style wallet
JH837 replied to YinTx's topic in Purses, Wallets, Belts and Miscellaneous Pocket Items
@YinTx I know this thread is old but I was doing a google search of the site looking for tooling thin wallet backs and came across your post and just want to say I really love the way this turned out. I can only imagine how great your tooling looks now 8 yrs later when it looked that great in 2017! If you don’t mind me asking what bevelers you used for this wallet? I have the cheap Tandy craftool bevelers in standard angle and then I have the checkered xtra steep Barry king in size 0 size 2 and smooth in size 1 and xtra steep lifter in size 1 and I really want to get his 30 degree set for doing thinner wallet work so I don’t worry about beveling through the 3/4 with the xtra steep, anyways great wallet build and I appreciate your input on this site I always appreciate your willingness to help others. Have a great night- 21 replies
-
- sheridan carving
- wallet
-
(and 1 more)
Tagged with:
-
Yeah I love the ones I have so far, I have a set of xtra steep checkered bevelers and one xtra steep smooth beveler and then a vertical line thumbprint in size one and I am going to get a size 2 as well as a cooole different mules feet and couple veiners and also some 30 degree checkered bevelers and after I have all those I’ll start adding to that. Eventually I would love to have about 30 of his stamps but that’s over a grand in stamps but I want to get to where I can sell my work
-
I’m also needing to get better tools soon, the newer Tandy stamps just don’t have good impressions. I’m going to slowly add more Barry king stamps to my collection as I can afford it
-
so far I haven’t got too far, she decided she’d rather have just a makeup bag so I’m making that and it will have a flap with a magnet enclosure. I have some geometric work I’ll be doing on the other panel and possibly a little more floral. Also need to either antique the floral here or dye background areas and antique. It’s coming along Slowly but surely. Bruce Johnson had a good bit of advice and told me to keep tooling this pattern over and over to get the muscle memory down and get better at running the tools to get my work where I want it to be. I messed up shading a few spots and had my mules foot facing the wrong direction but my wife doesn’t even know what direction they are supposed to be going so that won’t be a problem. She loves what I’ve done so far. It is nowhere near as good as the work you’re producing but it gives me motivation to get better with every carving and I think I have done that so far in my leather craft journey.
-
Another holster project with a moose this time
JH837 replied to DoubleKCustomLeathercraft's topic in Show Off!!
Those are all Awesome they look great and I’m sure the customer is going to love them !! Nice work -
Okay thank you for the info I appreciate it!!
-
I’m still pretty inexperienced and have a ton to learn so I like to ask questions and learn from everyone possible I hope you don’t mind. Happy New Years I’m sure your friend loved his rest! I know I would it is well thought out and put together. I’m using magnets on the makeup bag closure and I was wondering how I wanted to go about it and i honestly really like the way you did it but don’t know if it will go well on a bag or if I should try to inlay it on flesh side of the flap and flesh side of the inside of the bag to hide it best. I’ll have to look into ways of doing so.
-
Did you apply your dyes full strength or diluted down to get a nice even coverage. Also what do you use to apply the dye? I did a makeup bag front panel last night and thinned pro dye walnut and applied with a larger flat brush around tooling and it looks even but god it took me forever to get a nice even coverage doin it that way. I really love the color combo you chose. Nice work
-
You did an outstanding job tooling Tonys pattern. Was it done with modeling spoons? Lots of detail I’m impressed and you do amazing work. I hope to be there someday! Also you really do a good job at use of depth on the card wallets with varying your cut depth where scrolls and vine work intersect. I really like your work!!!
-
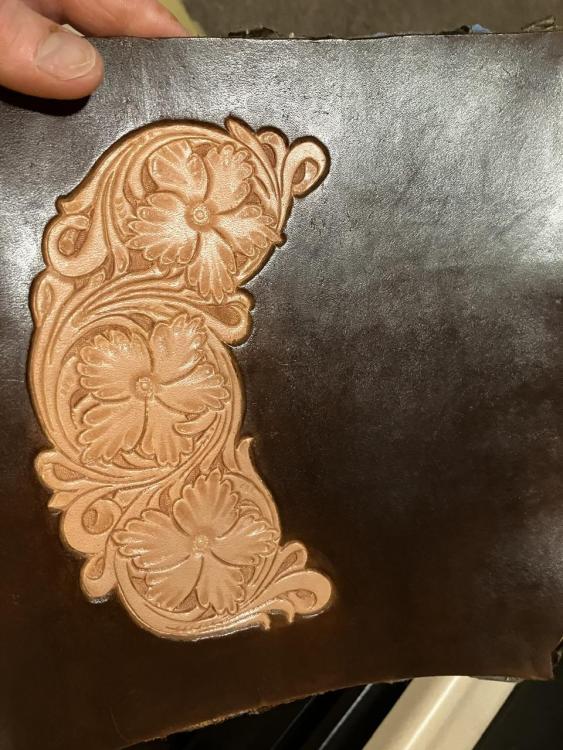
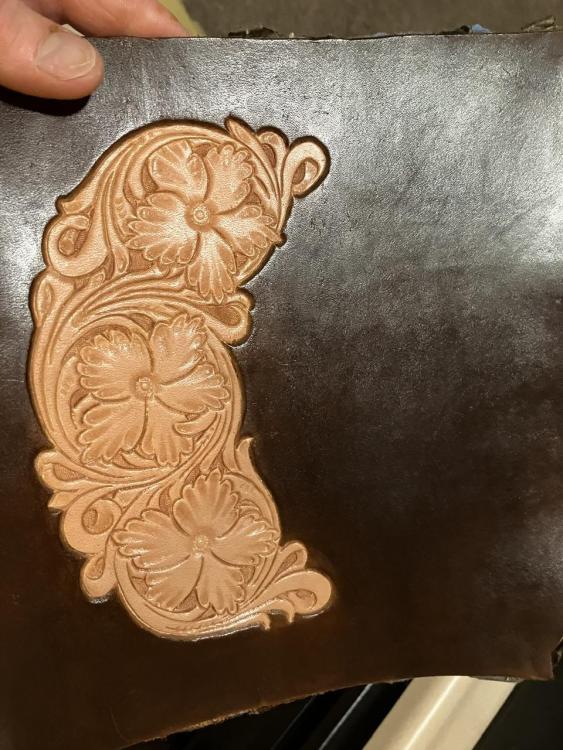
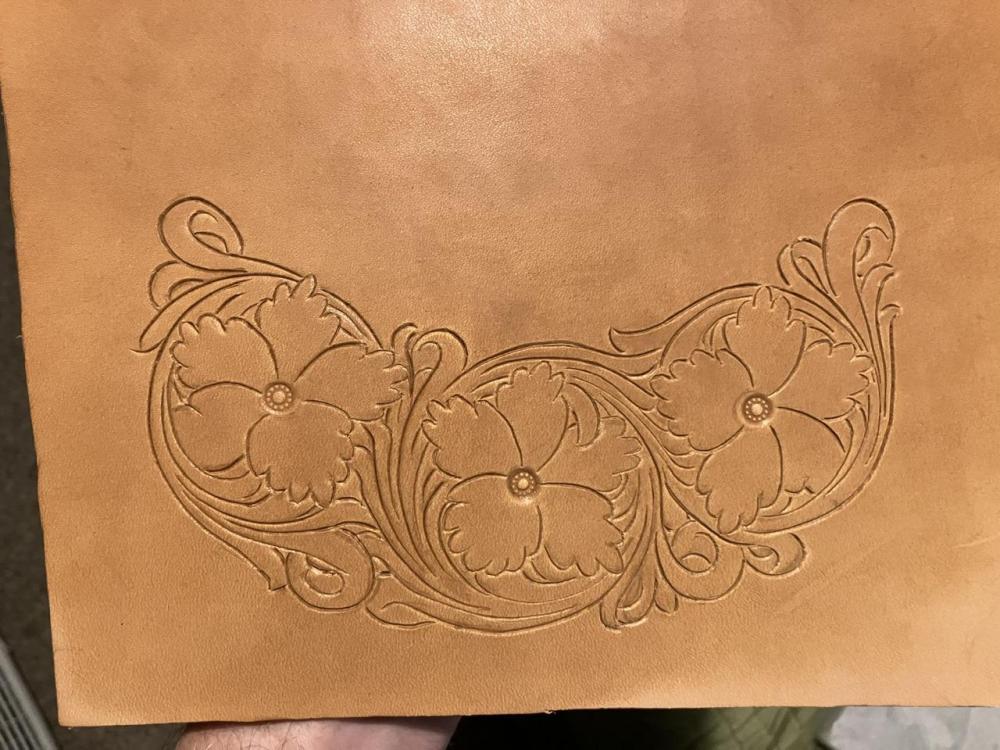
@Cattleman here’s the part of the pattern I’m working on now for the wife’s gift. Just got the lines cut and flower centers in and I’m done for the night. Keeping it cased in the fridge till morning. I really enjoy Don Gonzales Patterns they are fun to carve even for a newb like me.
-
@Cattleman First of all you did an AMAZING JOB Tooling and making this Purse!!!! I just bought this pattern pack from DG and I’m about to start making it for my wife for our anniversary as a gift but I will be hand sewing it as I don’t have a sewing machine. Tandy manager told me I can always bring a project in and she will be happy to let me use the demo machine but I just feel like bettering my hand stitching as I enjoy it and will not be able to afford a machine for a long time anyways so I may as well keep focusing on bettering my saddle stitch technique so I’m consistent with the results. What weight did you use for the main body panels 9/10oz? I have some 9/10 and also some 6/7 and plan on using 10 for the rear panel with flap and front panel and then I was going to use the 6/7 on pocket sections and I have some nice 5/6 pebbled grain chrome tan dark brown with a lighter brown pull up that’s somewhat waxy I was thinking I’d use for the gusset. It looks like you used veg tan for gusset as well am I correct? Your build turned out so so nice and it will definitely last many many decades when cared for and I’m sure the customers wife will absolutely treasure that purse !! I really hope i can accomplish results even half as nice as you did. My main concern is having the proper moisture content when I start cutting my lines in. I wet the leather grain and flesh side until water doesn’t absorb very fast on grain side then I let it sit until color starts to get back to somewhat original color then put in a sealed bag in the fridge overnight and then take it out and let it sit until it’s fully back to its normal color and put it up to my cheek and when it is dry to the touch but cold from the moisture inside I start working on it but still my cuts at first look like it’s too wet so I’m kind of nervous about the casing but the tooling not so much just going to do the best I can and be happy with the results yet strive to keep getting better each time I carve.
-
Great job so far! Tooling looks great and it’s going to turn out amazing just like the knife display case. Have a great night and thank you for your service!!!
-
Good job repairing your dividers! Looks better than new
-
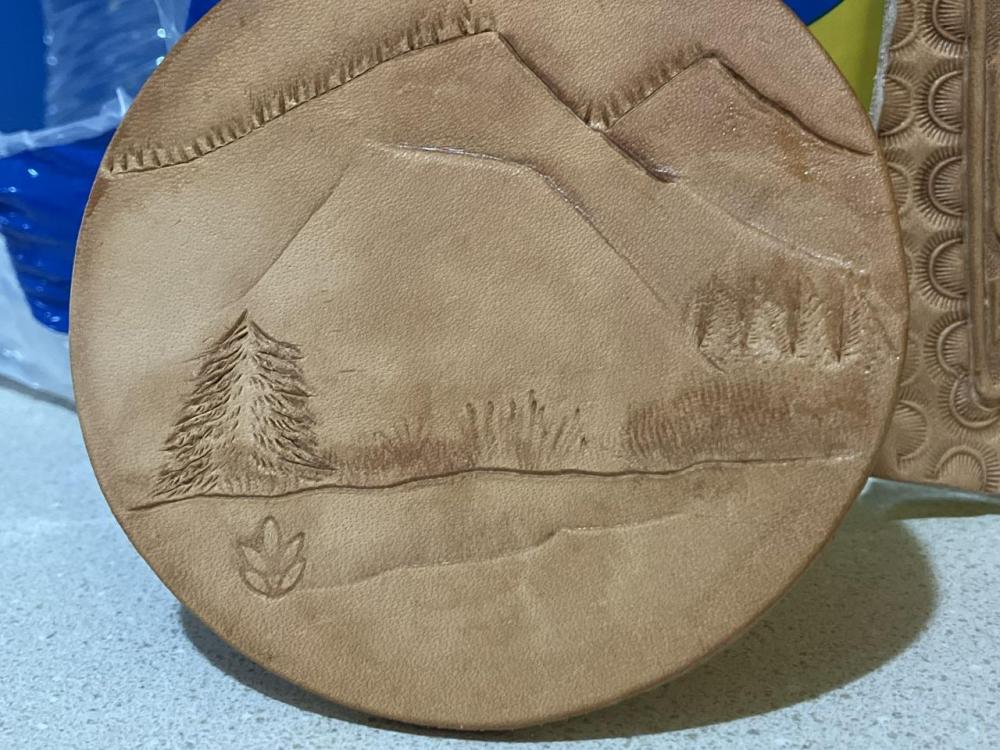
Tried a basic pictorial carving but don’t have any figure carving tools yet.
JH837 replied to JH837's topic in Figure Carving
Yeah the cheap plant stamp does look out of place so I used my f120 I think it was and added some tall grass around it and it blends better and I also added a carved pine tree in the foreground to add more depth to the scene and now I plan on using the new figure carving stamps to add more background pine trees so they fill the valley floor in the back right side. -
Thank you I apologize and appreciate the help!!!
-
Did you ever get this pic tooled? If so I would love to see your rendition of it.
-
Tried a basic pictorial carving but don’t have any figure carving tools yet.
JH837 replied to JH837's topic in Figure Carving
Yea it’s a coaster 3 3/4” round. I am going to stop by Tandy and get some cheap basic figure carving bevelers I think so I can use the time making stamps to make the pine tree stamps and a couple different variations of foliage stamps and then a checkered pine tree triangle stamp to make the background shaded in the trees and keep practicing and when I have the extra money I plan on taking some online classes of Britt Nance’s and Bob Beards to get a grasp on technique and see how that helps me in my tooling journey. Thank you I appreciate the kind words they motivate me to keep trying to better my skills !!! -
I find figure and pictorial carving really amazing and wanted to tinker around and try to learn a bit about it. My work is far far from good but I will keep practicing and I’m gong to work on making some pine tree stamps like 912-913 sets out of stainless bolts and foliage like the 934 and also a triangle beveler and lined triangle I believe it was 902 I can’t remember and see if I can’t actually get good at carving with enough time and practice. Been working on. Just beveling some areas and cutting others and beveling and playing around with the effects and also trying to get better at using the cheap Tandy modeling spoon and then I’ll probably make some spoons as well once I figure out making stamps a bit better.
-
Stunning work you did I thoroughly enjoyed reading this post seeing it all come together so wonderfully! Great job this is an Amazing case! I love your knives as well!!!!!
-
Decided to try my hand and making some leather stamps from Stainless bolts
JH837 replied to JH837's topic in Leather Tools
Now I am going to try a size 2 or 3 thumbprint and if I like it then I’ll wait to get a 70 line per inch checkering file and make a vertical lined thumbprint then horizontal and a center shader would be nice instead of using a thumbprint for in its place. I really want to try my hand at making some figure carving/ pictorial carving stamps for the fun of it. I really like the pine tree stamps and grass/bush stamp that Barry kind produces but those stamps would require a ton of time to make each one as the filing is extensive and they are pretty detailed to take a shot at making one of them. I’ll keep posting stamps when I finish some more. -
So I awhile back about 6 -7 months ago maybe more, I was itching to make some stamps and went and picked up el cheapo harbor freight 1x30/5” belt disc sander combo to give it a shot. Never got around to it as I was working 60 hours a week year round. Well finally got the time to try it out and decided to try to free hand a extra steep lifter to match my Barry king extra steep lifter but wanted a size down from the #2 I have now to fit in the leaves and small flower petals a bit better. I grabbed a bolt and started sanding on the belt with the 80 grit belt and kept dipping the bolt in cold water to keep from over heating the metal and work hardening it. I stupidly didn’t use a sharpie to mark the angle of the grind I wanted to have and size of the lifter so it was all free hand and going slow. Surprisingly I got pretty close to matching the BK lifter without even looking at it to compare until I had already done all the grinding and shaping on it. I have around a 40-45 degree angle on the lifter and now I just have to sand or file down the toe of the lifter to thin it out just a touch and then match the back profile to the BK version so it lifts the same as I really like how Barry Kings lifters work, then get to polishing the entire thing so it looks the part like the king tools also. I’m far from done but just thought I’d show that it’s not hard at all and if you’re on the fence or think you can’t do it, you can. If I can do it ANYONE CAN LOL !!!
-
I know this is an old topic but don Gonzales suggest always using a #40 or #45 I believe as he says they are much easier to run and if you run the smaller ones they are much harder to make things look good and take much more precise work to put out a good looking background. Just thought this may help anyone if they come across this thread with the same question and are looking for some help.
-
If you don’t mind me asking what knives do you enjoy using the most? I run a craftool pro 1/2 barrel with a Barry king 1/4” thin blade and I really enjoy that set up. I haven’t used a 3/8 barrel knife yet the cheap swivel knife I got with leather work kit was also 1/2 barrel so I’m wondering if it’s a big difference in feel for cutting tighter corners or if it makes much difference at all. Keep up the good work!!!!!
-
Amazing Work? Your swivel knife work is crisp and clean and concise. Your friend got a very nice looking wallet and I bet he was very pleased with it! You really did a great job tooling the bass and the lettering turned out great as well and the added touch of the center geometric stamping tied it all together. I hope to keep practicing and Getting better with my S.K.. just shipped the wallet I finished for my father in law and I’m excited to see what he thinks about it when he receives it in a few days. He’s always making awesome knives and gifting them to me so it made me happy to do something in return handmade for him. I enjoy leather working for many reasons but really enjoy it for the simple fact that each piece is different and a lot of thought and care goes into finishing something and making sure it looks as good as it can when it’s all said and done. Again , Great work you did a very nice job !!!


