


Grey Drakkon
-
Posts
589 -
Joined
-
Last visited
Content Type
Profiles
Forums
Events
Blogs
Gallery
Posts posted by Grey Drakkon
-
-
"As I could understand of the owner of the stallion station, the halter sits more like a neck strap and less like a halter (if that makes any sense?). So it should sit further from the ears than a regular halter as far as I have understood, but I can see your concern. The noseband seems very large to me, I can't remember the circumference, but I think it was around 32"
Actually that makes sense, some places actually use a neck strap rather than a halter, and having the nose band higher up ensures that the nasal bone doesn't snap if things get dicey (on horses that bone is very long and thin, and I"ve heard of more than one case of them getting broken).
-
First off I can say I would never be worried about that halter giving way! The only quibble I can find with it is the poll strap (area that's behind the ears, where the neck joins the head) has a buckle that seems awfully high up, and might run the left ear. Who knows though, maybe that's how the original halter was?
Like I said, very sturdy looking work!
-
Thanks everyone! It was definitely a learning experience and I hope the next is even better!
-
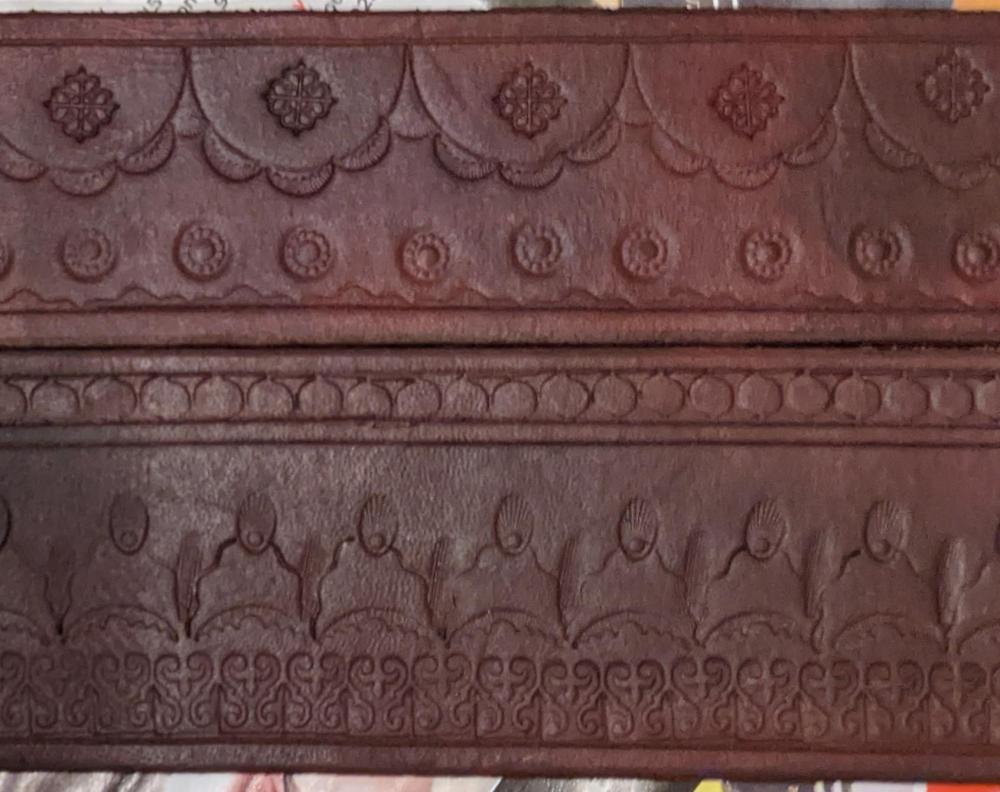
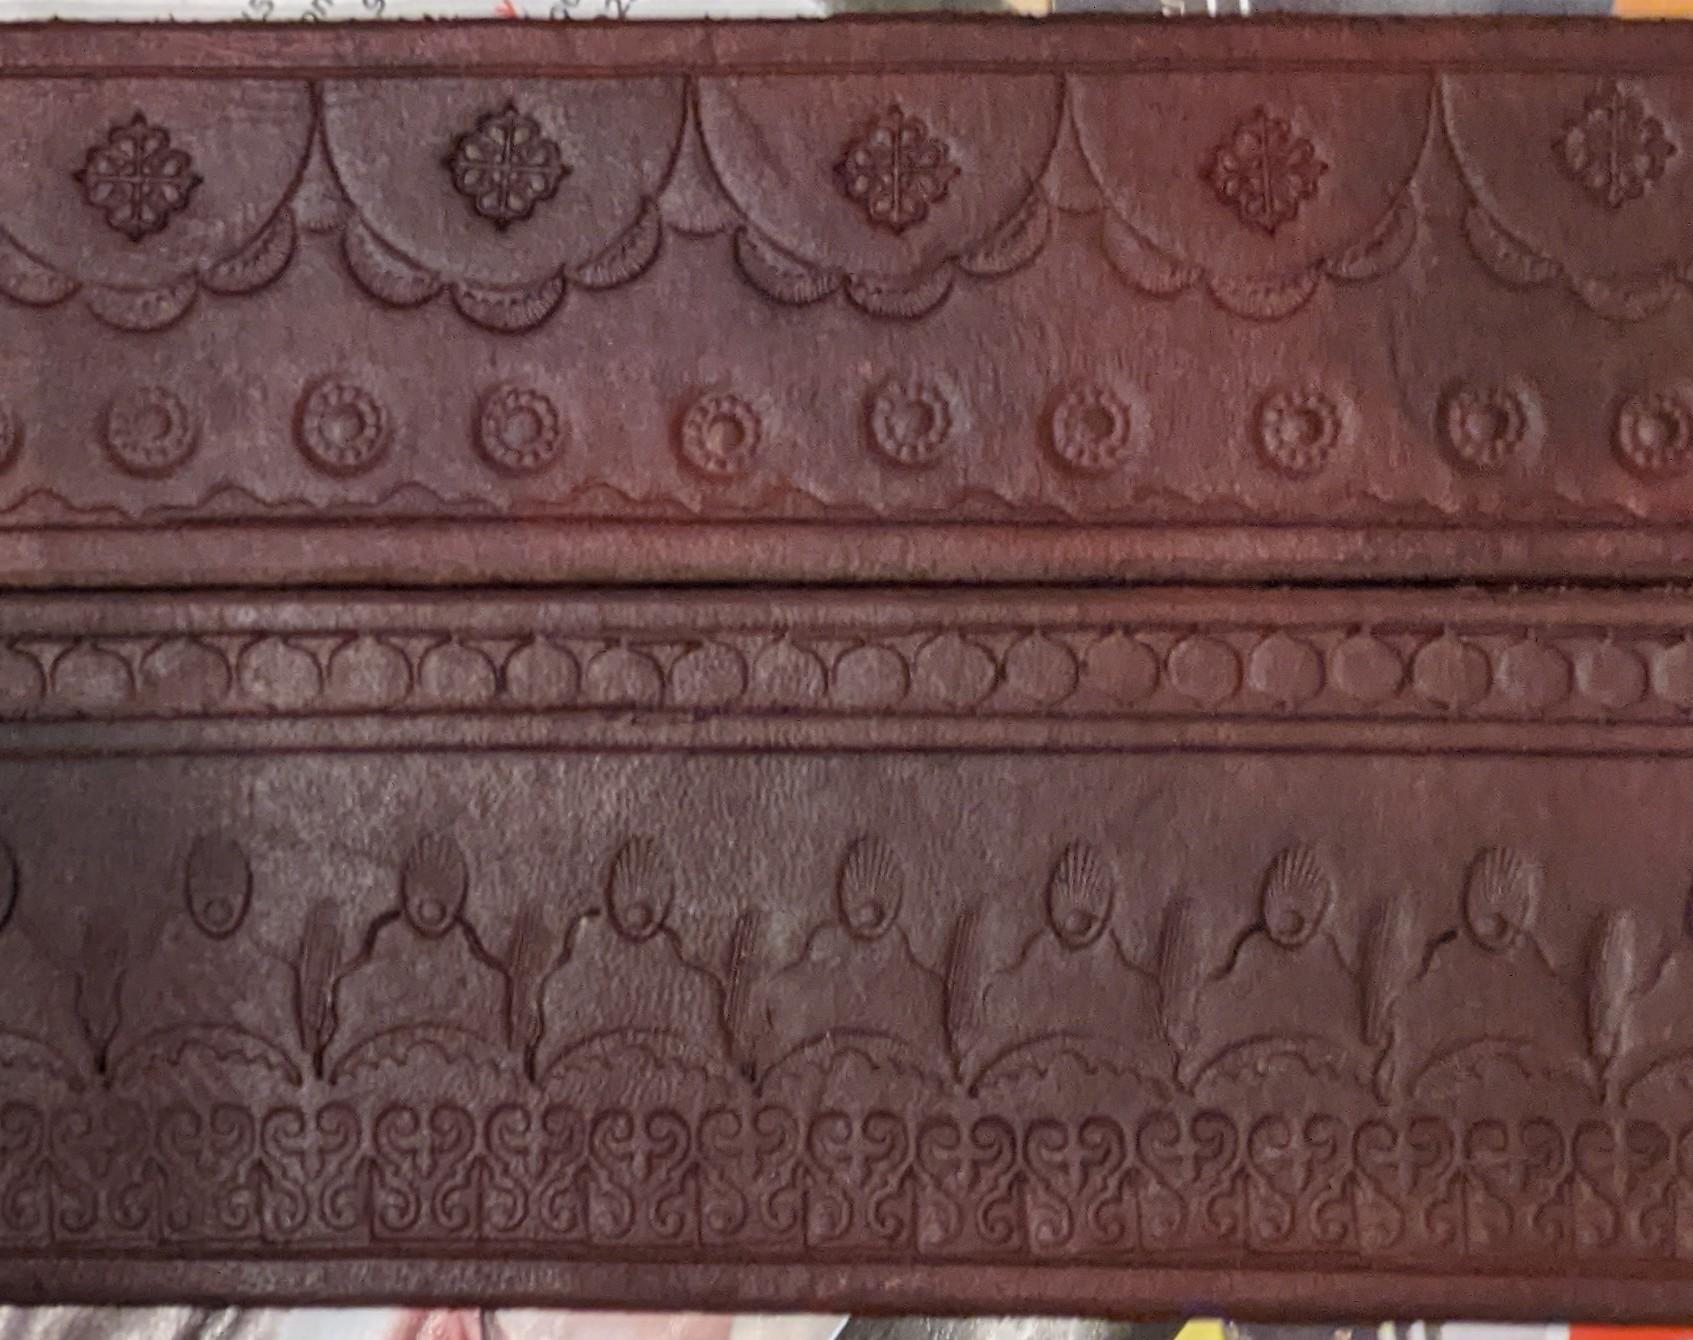
So I made my first full box (I've made small ones with wooden lids before). I was originally hoping to have it so the top and bottom hinged together, but I would have needed to use thicker leather for it to work well (or glue another layer inside), and more importantly, take into account that all that surface tooling on the lid would significantly expand it. Turns out it made it the perfect size to slide over the bottom, so it's not a complete loss.
Next time I'm doing all the lid decorations, *then* cutting the sides and bottom. Also made the sides out of one long strap, and it would have been easier on me if I had just cut each side separately and done a tiny bit more stitching.
If I had more time, I would have lined the interior, but as it was I ended up waxing it the day it was given out. I included a pic of the sides before I stitched them, I'm sure you'll recognize some standard stamps. ;)

-
That is freaking amazing!
-
That's two scraps that turned into something neat! I wonder how it would look reversed, with the leather on the inside? What kind of glue did you use?
-
Bonjour Mitch! That's all the French I will butcher in front of you from now on.
") (As a child I learned baby French from my Canadian mother). Your leatherwork looks great!
(As a child I learned baby French from my Canadian mother). Your leatherwork looks great!
-
Very nice! Funny enough I was about to post the half chaps/gaiters I made! Now I look like I'm copying you.
-
Sounds good! I'll message you.
-
Figures, offer was made right when I took a look and was thinking about it! lol
-
About how wide are most of the scraps and what thickness? I actually have an experiment I want to run involving arrows and hardened leather so scraps would be great, but they need to be armor weight so the thicker the better.
-
Very polished looking! Normally I'm not the biggest fan of the two-tone items except when it really works, and in this case it really works!
-
Very neat! My only quibble would be the rings clinking against the axe, but I imagine some people would actually enjoy that (like spurs jangling). Clever use of the vacuum sealer, and good on you on anticipating the texture being an issue. That does however give ideas for placing items in when forming it to see if you can get some neat effects, like using tulle for a delicate scaley texture.
I really dig that little kidney bean sheath, looks useful!
There's issues either way when it comes to tooling, shaping it after tooling can mar the pattern, but tooling after shaping will warp the shape. From what I've seen different people have different preferences, and it may depend on just how much tooling is being done as well. That was helpful, wasn't it?
-
Pink is absolutely not my thing but you did a great job! I'm sure the customer is thrilled!
-
That's what spending several grand in art school gets ya, the ability to critique.
-
Nice! Good job on making the initials stand out from the busy background without completely overwhelming it!
-
Spectacular work! Thanks for posting pics of the team, too!
-
Oh and I should have mentioned, most printing places have the ability to print from the file you send them to the actual size. Some you can email it in, others have it on their website.
-
I use the "print poster" setting where it spots them all out and you puzzle them back together.
-
Ooh, that DOES look handy! Being impatient, I already put a crystal rivet in the spare hole. Figure someone would like it.
-
Hey can someone help me out? I'm trucking along with this pattern and have everything cut out/holes made and I'm about to stitch down the closure strap when I see that the placement of the Sam Brown button makes no sense on the pattern. When I look at the finished bag, it looks WAY lower but in the pattern it's literally one inch from the top. Am I reading it wrong/is it accurate and it will look fine in the end/is the pattern not right? Wish I hadn't made that hole now if it's the last case.
 Maybe I'll put a decorative rivet there if it is a misplaced hole.
-
10 minutes ago, JazzBass said:
I like it!
Lazy? or creative?
It looks good, is more than practical, and cuts the build time. What's not to like?")
Hah well thanks!
-
I was going through some of Tboyce's great patterns and finally got up and made something from one. Hope you're doing alright, Tboyce!
I was lazy so I just riveted it instead of sewing.

-
Excellent! Are you in the SCA by any chance? Or is the reenactment a different type?


Stallion Halter
in Saddle and Tack Accessory Items
Posted
@Mulesaw oooooh ok, yeah that's an interesting build! Definitely sturdy!