.jpg.d60258221c476480a6e073a8805645bb.jpg)

Josh Ashman
-
Posts
1,183 -
Joined
-
Last visited
Content Type
Profiles
Forums
Events
Blogs
Gallery
Store
Everything posted by Josh Ashman
-
 I haven't made a scabbard for a scoped rifle but the way I do them for carbines is similar to how you'd make a holster, it just takes a bigger piece of paper. Start with a length of butcher paper as long as the rifle, fold it in half, place the rifle on center and roll it to the side, trace around it, I add an 1-1/4" to 1-1/2" to the outside of the pattern for a rifle (I ususally use 3/4" for a pistol), from there it's pretty straight forward. My guess is that a scoped rifle would be similar, you'd cut a sloping curve from the front of the scope along the top of the barrel and a flap to come across the pistol grip area. Anyway, I'll bet somebody else has built them and can give more input. Good luck! Josh
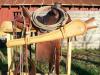
-
Holster Process
Josh Ashman replied to mrfixit's topic in Gun Holsters, Rifle Slings and Knife Sheathes
Thanks Mike, that makes a lot of sense. As soon as time permits I'll give it a try. I worked for a survey company based out of Prescott Valley, AZ for years. I spent one summer going back and forth between projects in Bullhead City, AZ and Earp CA. I can understand why you don't need a special box to dry things out most of the year. Thanks again for the info, best regards. Josh -
Wild Bunch/ Bbq Rigs
Josh Ashman replied to Treed's topic in Gun Holsters, Rifle Slings and Knife Sheathes
Bobby, Those are both great looking rigs. Your work is so nice I'm hesitant to offer much critical feedback but since there is always room for improvement and you asked, here goes... On the first rig, I think the mag pouch would look better if it had the same double cut border as the belt and holster. On the second, I like your floral pattern quite a bit but the backgrounder impressions are pretty distinct, I don't know if you could walk that tool a little more to blend them better or not. All in all they both look very well done, great job! Hopefully with winter coming on you'll have more time to post pictures, I'd like to see more of your work. Best regards, Josh -
Holster Process
Josh Ashman replied to mrfixit's topic in Gun Holsters, Rifle Slings and Knife Sheathes
Mike, I usually make western style gun rigs however I do get the occasional concealed carry type order and I'm not familiar with heating to set the molding. I have heard it mentioned on here a few times and I'd like to give it a try but I'd rather not experiment too much. Would you be willing to go into a little more detail on this? Or, can you point me to a thread that goes over it in more depth? Thank you, Josh -
Want To Make My Own Holster And Belt
Josh Ashman replied to Kcinnick's topic in Gun Holsters, Rifle Slings and Knife Sheathes
Kcinnick, I hope you enjoy building your own leather projects, I know I do. By all means buy whatever you want but some of the time estimates for hand stiching may be a little overstated. Don't be afraid to hand stich a belt, with a little practice you'll be looking at a few hours, not days. I basically follow the method shown in the Stohlman book, although I do push all my holes before starting the actual stiching. I put one of those rubber pads over my cutting board, lay my work over that with the stich groove already gouged and the stich spacing already made with an over stich wheel. Then, I push the holes through with an awl one at a time pushing straight down. After that I sew using a saddle stich with two needles working from one end to the other. Most of the belts I make are single ply skirting so I don't have much of an estimated time on them but I do know that using this method I can sew the sheepskin on an average sized saddle skirt in an hour and a half of actual sewing time, not counting pushing the holes. Everybody's different and different types of work are suited for differnt methods but for the time I spend making a pattern, cutting, stamping, molding, edging and finishing a project the difference between a few hours and a half hour doesn't add up to the cost of a machine. Just my two cents, good luck and have fun. Josh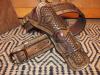
-
Dwight, that's a very fine "Duke" rig. I agree with you that everyone should have one and hope to make one for myself soon. Best regards, Josh
-
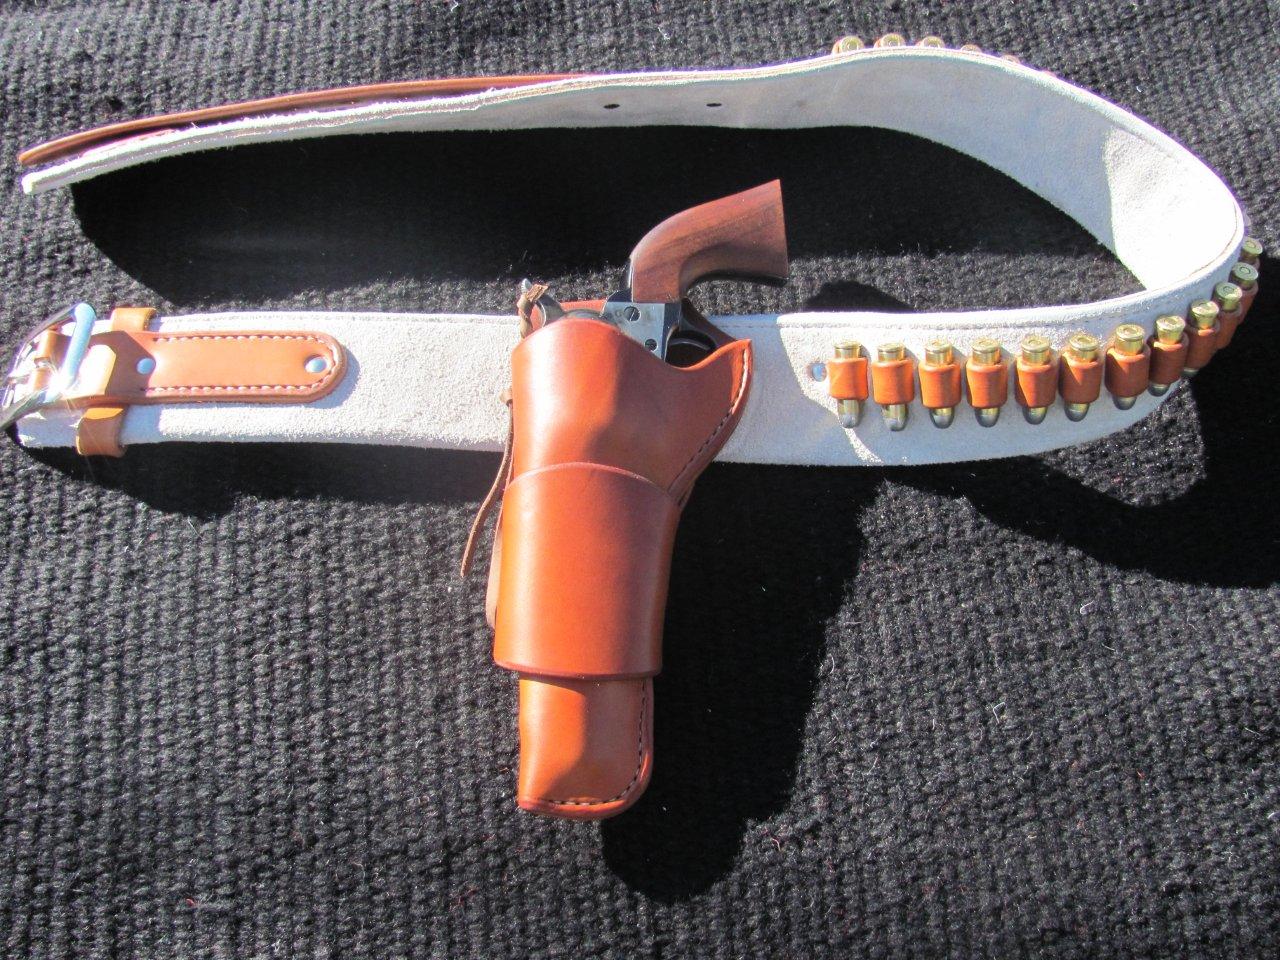
Thanks Matt. The belt is a 7-8 oz apron split I use for "mule hide" horn wraps and it's folded around a piece of 5 oz belly leather. The finished belt is 3/8 thick yet very flexible and feels like it'd be comfortable to wear. The laced bullet loops go through the 5 oz belly.
-
Frank, That's a heck of a rig yourself, "great job" back at ya. I'll bet the close up's helped a lot, I knew I had the top cut too high but I hadn't realized they were mostly open toe. I guess the stitch line I was seeing was the lining, learn something new everyday. Best regards, Josh
-
Mike, It sounds like your hammer thongs work very well. Nice job on your holster for the S&W, the arrowhead inlay, native symbols and finish all combine very well for a cool look. Best regards, Josh
-
katsass, I like an open toe holster as well but as near as I can tell the ones John Wayne had made were closed toe so I went that way. Closed toe are fine too, if the holster flows and fits right it's hard to go wrong. For my hammer thongs I run a 1/4" lace with beveled edges through the holster body and tie an overhand knot with one side over the other side. Pull the knot up tight to the holster, twist the loop side several turns until the length is about right and put the end over the hammer. It's not fancy or tricky but it works well enough. Reaper, Thanks for the compliment, I hope you're right about my customer. Good luck and have fun playing with "cowboy" rigs. I sure think they're fun to make. Best regards to you both, Josh
-
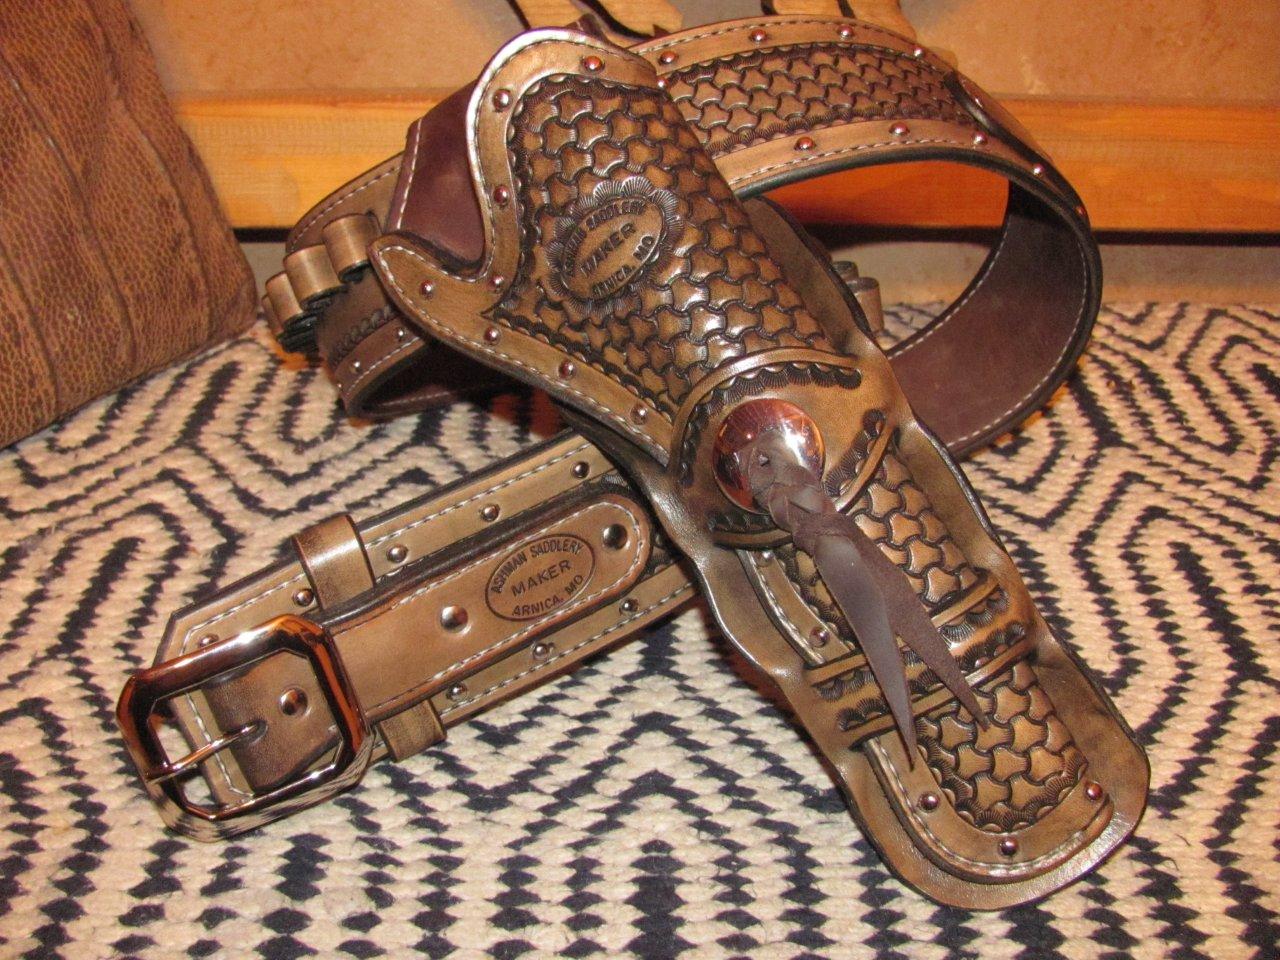
Here's my take on a classic. My customer ordered it in left hand for his new model Ruger vaquaro. The "copy" Colt in the pictures is mine. Anyway, I hope he likes it, I was very pleased with how it turned out, what do you all think? Thanks, Josh
-
Thankyou, I appreciate the positive feedback. Having spent hours working on it Itend to focus on the things I wish I'd done better but it is better than thefirst one. If I can manage to keep improving with each one I might get itfigured out some day. Tim, we're 7 miles north of Stockton. probably about an hour and a halfnortheast of Neosho. Thanks again, Josh
-
Gramp's Hamley
Josh Ashman replied to Josh Ashman's topic in Saddle Identification, Restoration & Repair
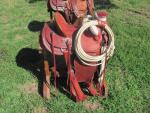
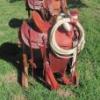
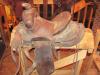
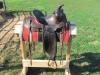
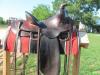
Thanks Bruce, when I get some spare time I'll have to look it up. Sandy, Denise, if I find anything else out about the saddle I'll let you all know. I guess the day they gave it to him turned into a big story day and Gramps had a fine time reliving his younger days. I do know he got the saddle in a three way trade, a Winchester 30-30 from Gramps to his younger brother for what they called a fancy Mexican saddle which was then traded for the Hamley to an outfitter who was working on Cedar Mountian near Cedar City Ut. -
"Gramp's" is a friends dad who's in his mid eighties. He traded for this Hamley saddle back in the fifties and used it until he quit riding about 20 years ago. It suffered from bad neglect until his kids asked me to clean it up for his birthday. It's too beat up to be used without major repairs and it's quite small so i got it looking good and now it sits in his front room.


-
-
-

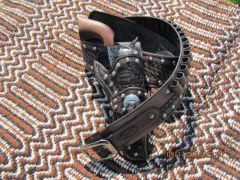
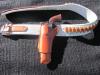
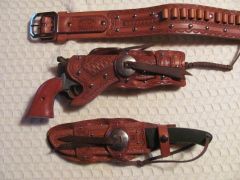
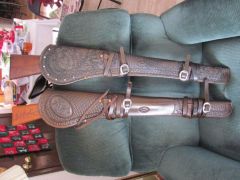
From the album: Misc Gun Leather
-
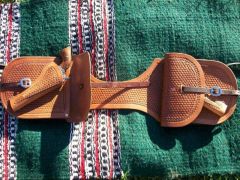
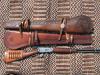
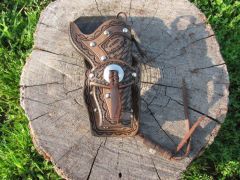
From the album: Misc Gun Leather
-
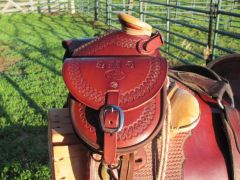
From the album: Misc Gun Leather
-

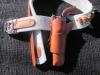
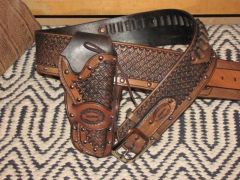
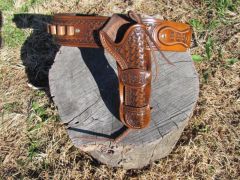
From the album: Misc Gun Leather
-
From the album: Misc Gun Leather
-

From the album: Misc Gun Leather
-
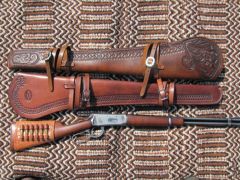
From the album: Misc Gun Leather
-
From the album: Misc Gun Leather
-
From the album: Misc Gun Leather
-
From the album: Misc Gun Leather