Josh Ashman
-
Posts
1,183 -
Joined
-
Last visited
Content Type
Profiles
Forums
Events
Blogs
Gallery
Store
Everything posted by Josh Ashman
-
Knife Sheath
Josh Ashman replied to katsass's topic in Gun Holsters, Rifle Slings and Knife Sheathes
Sure looks good Mike, nice job! Best regards, Josh -
Tall Horse,,,not So Tall Rider
Josh Ashman replied to THein's topic in Saddle and Tack Accessory Items
I've never looked at any of the "stirrup extenders" that you see from time to time in mail order catalogs but they seem gimmicky and I've never been anywhere that there wasn't a low spot to put the horse or a high spot to put the rider when mounting. Just my two cents... Josh -
One For Me.
Josh Ashman replied to Eaglestroker's topic in Gun Holsters, Rifle Slings and Knife Sheathes
Really nice work Robert, great job. Best regards, Josh -
Mounted Shooter Holsters Question
Josh Ashman replied to Luge Boy's topic in Gun Holsters, Rifle Slings and Knife Sheathes
The Stohlman book won't have any "mounted shooting" holster patterns but it will guide you through how to make your own patterns. If you're already familiar with mounted shooting it should be relatively easy to use what he shows to get you started. There was some information a short time ago about "sight locks" used for retention. Basicaly a leather ramp glued inside the toe of the holster that the front sight slides up then locks behind. You might want to search this out if you're not familiar with them. FWIW I hand sew everything, that works fine for me. Good luck, Josh -
Mounted Shooter Holsters Question
Josh Ashman replied to Luge Boy's topic in Gun Holsters, Rifle Slings and Knife Sheathes
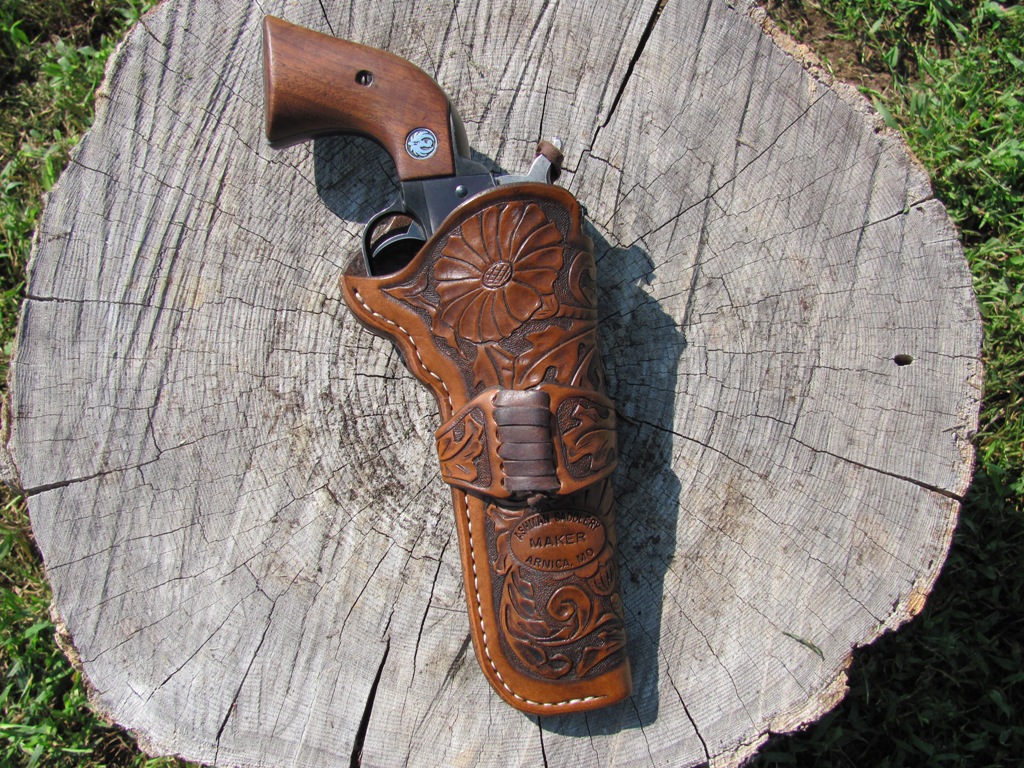
Mike (Katsass) nailed it. In addition to showing you how to make your own patterns and giving a brief rundown on assemply there are a number of patterns in the book complete with carving patterns if you decide to try your hand at that. This holster for a Ruger Single Six is straight out of the Stohlman book and my first attempt at carving Once you have the basics down Will Ghormley's patterns are also very good, either for following "step by step" or for using as a "starting point". Good luck and have fun, Josh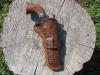
-
Thank you all, I'm glad you like it! Steelhawk - It's a pretty tight fit, you can't shake the gun out with the holster upsidedown if you try to so for now there's no hammer loop. I see the guy I built this for pretty regularly, I told him if it ever gets loose to bring it by and I'll add a hammer loop. One word of warning about my dyeing process - it can be a little "blotchy", you might want to play around with it a little before commiting to something nice. If you do get spots, streaks or splotches you can usually hide or blend them in but it takes more of the oil mixture. I tend to oil things more heavily than a lot of folks on here do so that works for me, it might not work for someone else. Thanks again, Josh
-
Thanks Terry, my thoughts exactly! Best regards, Josh
-
Thanks Robert! Best regards, Josh
-
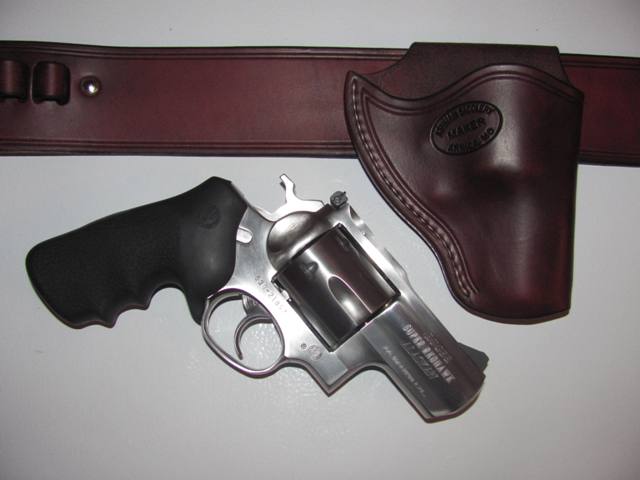
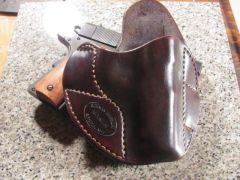 Thank you! it is my design, it was my first attempt at a pancake style crossdraw as well as my first attempt at using "tunnels" instead of "slots" for the belt. I was happy that it turned out as well as it did. Best regards, Josh
 -
Thanks again Michael! Leatherwork is full of great debates, if you think holster makers get opinionated check out the saddle makers page! Best regards, Josh
-
 Thank you! and Good luck on your bridle !
 -
Michael, Thank you for your commets! Safety should always be considered in holster design, I am comftrable with the amount of trigger showing considering the firearm this will carry and the manner it will be worn however I certainly respect that others may not agree with me. For dye I used a mixture of medium brown and british tan Fiebrings pro oil dye, maybe a tablespoon of each, and some pure neatsfoot oil, maybe 1/4 cup. I put all of this in an empty soda bottle, shook it up, poked a hole in the top with a scratch awl and applied it with trimmed shearling. This was followed by a coat of Fiebrings Aussie Wax rubbed in by hand and left to soak in with the rig sitting in a parked truck on a sunny day and then a little glycerine saddle soap to put on a shine. Best regards, Josh
-
Thanks for the kind words on the rig!, I'll try to fix the pictures
-
Misc Stuff Spring 2012
Images added to a gallery album owned by Josh Ashman in Our Leatherwork Galleries
Just a few things built this spring -
-

From the album: Misc Stuff Spring 2012
-
From the album: Misc Stuff Spring 2012
-
From the album: Misc Stuff Spring 2012
-
From the album: Misc Stuff Spring 2012
-
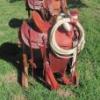
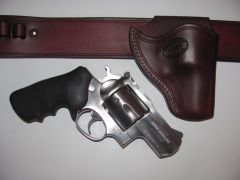
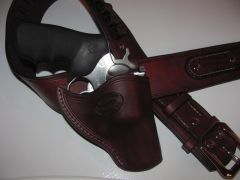
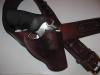
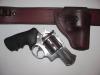
Here's an open carry cartridge belt and holster for a Ruger .44 Mag Super Redhawk Alaskan. Let me know what you think, thanks for looking! Josh
-
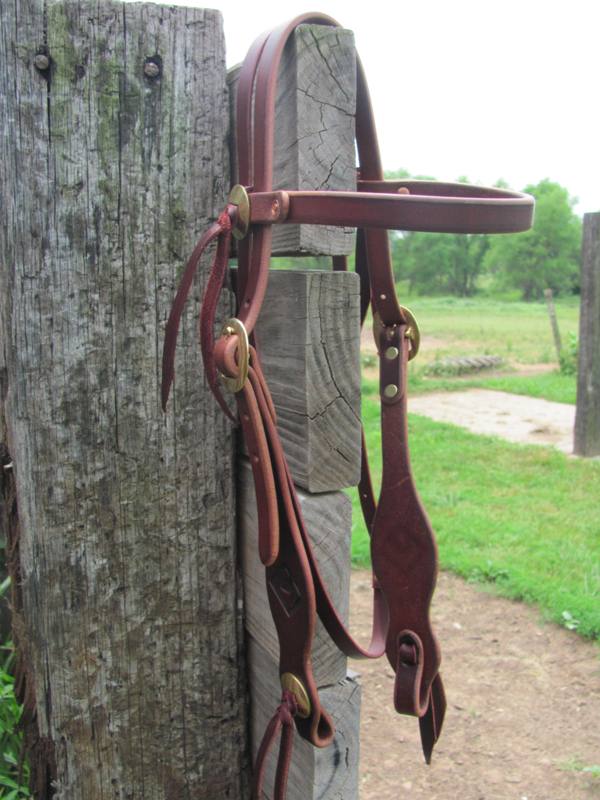
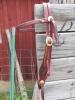
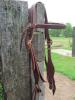
Simple browband bridal with "diamond 4" brand and brass hardware for my son in law. Let me know what you think, thanks for looking! Josh
-
A Couple Holsters And Intro
Josh Ashman replied to chiefjason's topic in Gun Holsters, Rifle Slings and Knife Sheathes
Welcome to the forum. For some of your first holsters you're off to a great start, thanks for sharing. Josh -
Wet Forming Question
Josh Ashman replied to Dave Richardson's topic in Gun Holsters, Rifle Slings and Knife Sheathes
I agree with Shooter in that it's personal preference and I can see where the equipment you have would have a pretty big impact on that. FWIW, I build mine pretty much just like Mike, handsewn in the following order, cut, tool, dye, stitch, mold then finish. Best regards, Josh -
Some Belt Rigs
Josh Ashman replied to Eaglestroker's topic in Gun Holsters, Rifle Slings and Knife Sheathes
All great looking stuff Eaglestroker. I especially like the black basket stamped thumb break. Good job! Josh -
1911 Thumb Break
Josh Ashman replied to Matt Alsaker's topic in Gun Holsters, Rifle Slings and Knife Sheathes
Dang nice work Shooter, thanks for sharing! Whenever I see high quality work it pushes me to raise my own standards and in the area of thumb breaks you've set a very high bar. Josh -
Basketweave Western Rig
Josh Ashman replied to Josh Ashman's topic in Gun Holsters, Rifle Slings and Knife Sheathes
Thank you Mike and JW! Bluesman, thank you and you are correct on the lettering. Just cut with a swivel knife, well, I did also use a "stop" stamp on a few of the ends to clean it up. Best regards, Josh