Josh Ashman
-
Posts
1,183 -
Joined
-
Last visited
Content Type
Profiles
Forums
Events
Blogs
Gallery
Store
Everything posted by Josh Ashman
-
More Western Holsters
Josh Ashman replied to Frank's topic in Gun Holsters, Rifle Slings and Knife Sheathes
Those all really look nice Frank, outstanding job! Josh -
Thanks Frank, that's good advice! I wish I'd have thought of that when i was stamping the cantle back. I wonder if it's worth doing now..... Having just finished a saddle the one thing that I'm really noticing is that all of my gun leather projects seem really small and fast moving now ! Have a great day, Josh
-
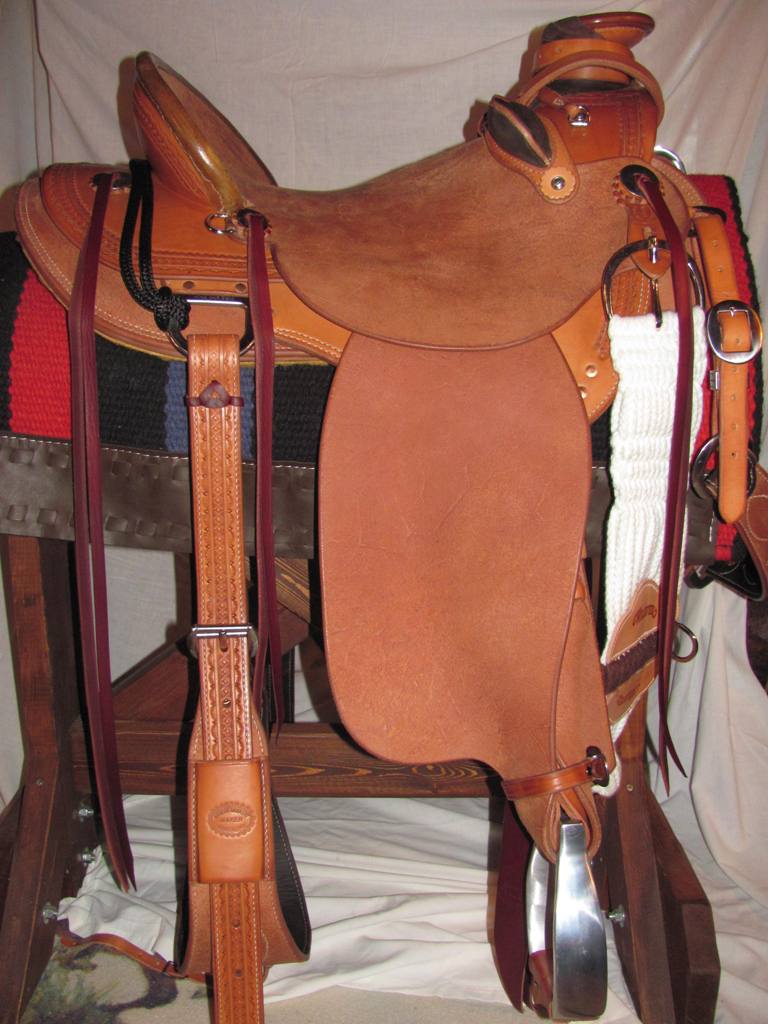
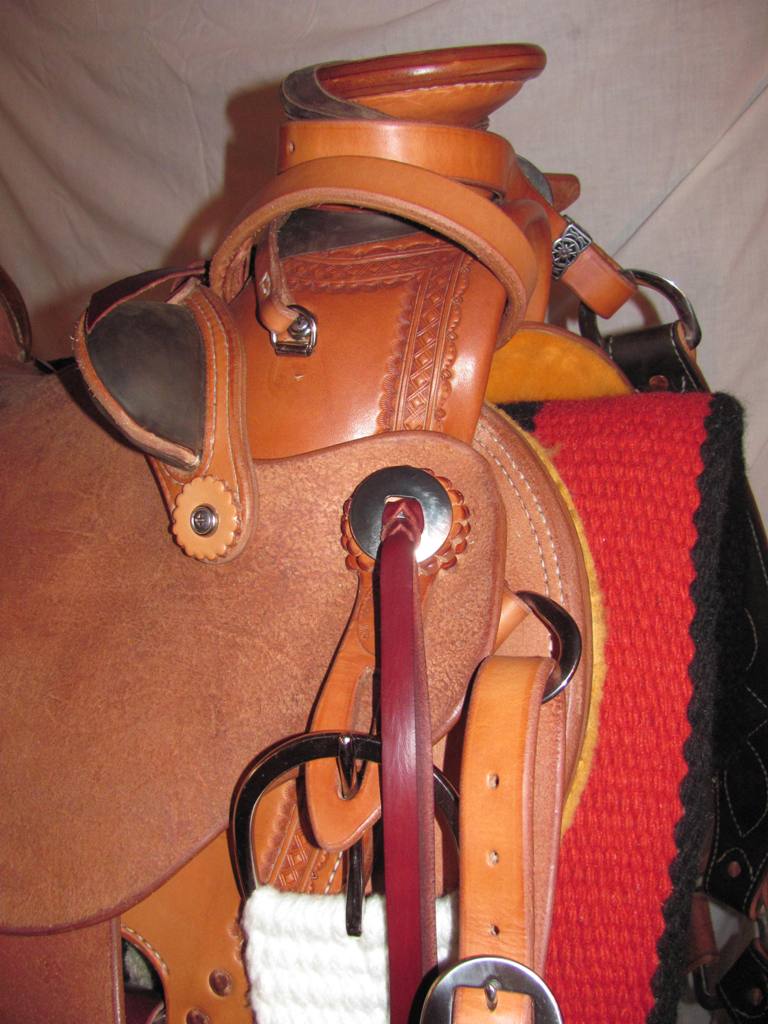
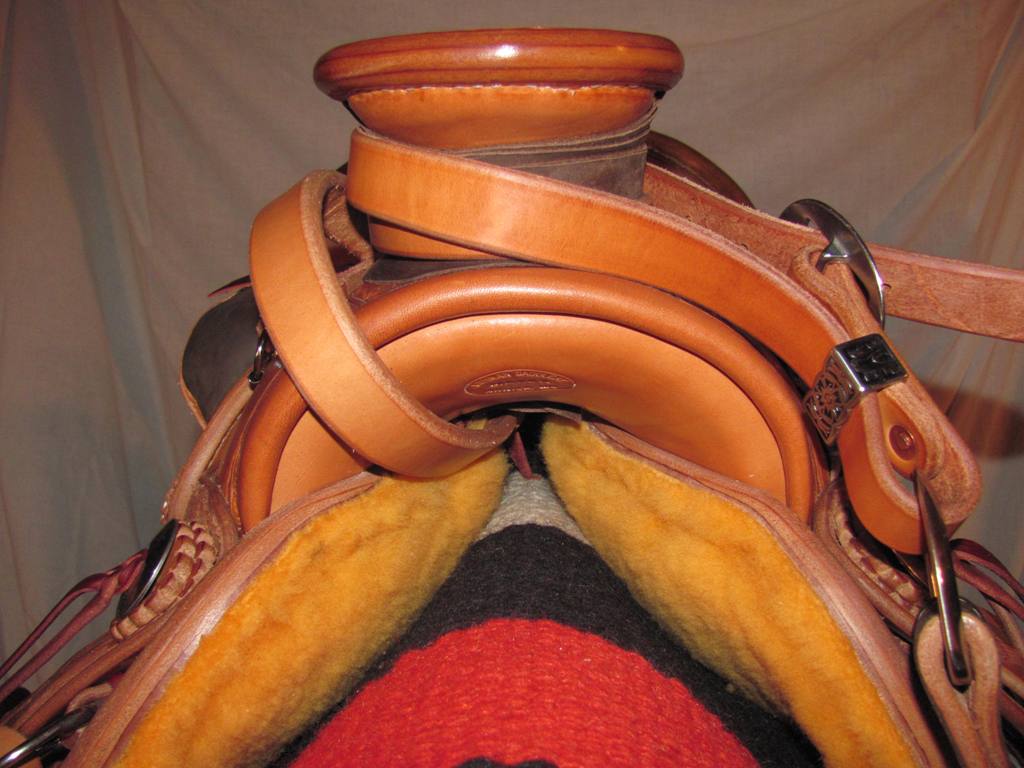
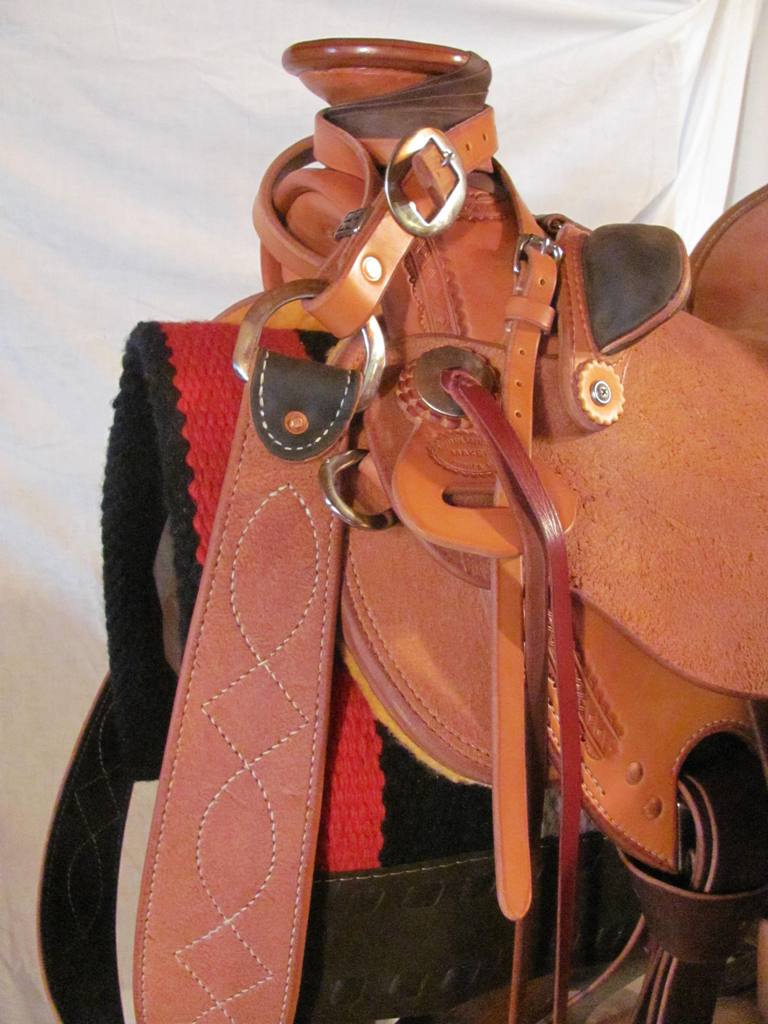
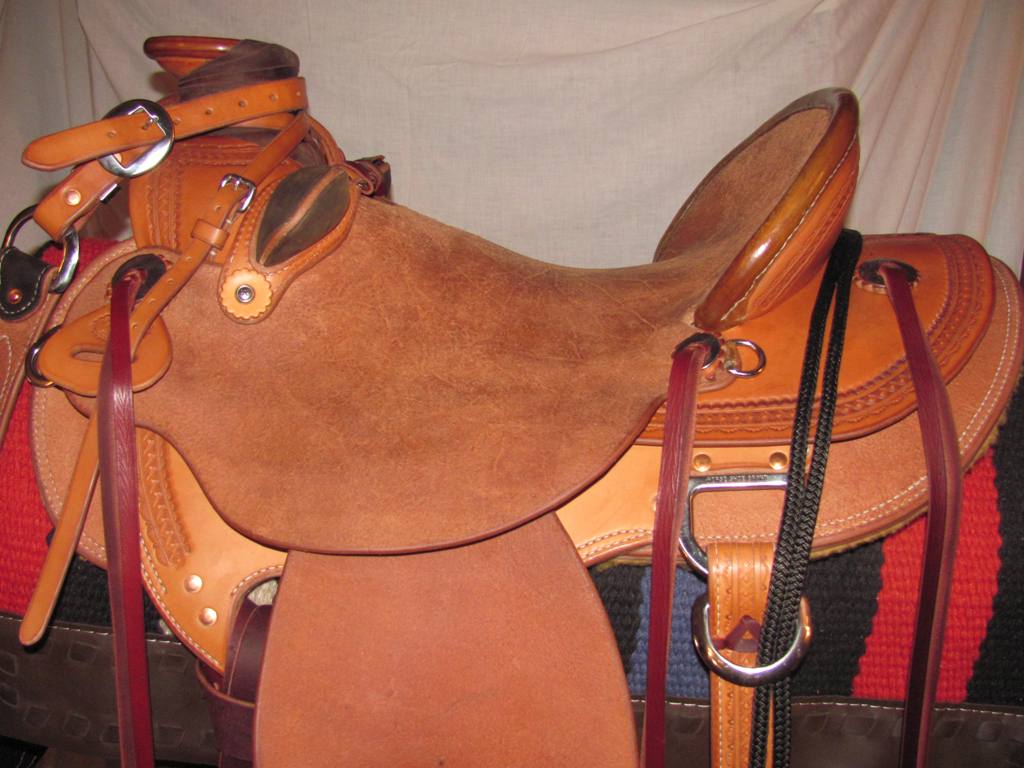
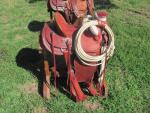
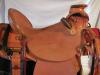
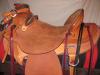
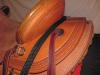
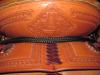
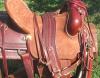
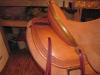
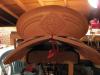
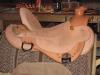
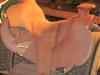
I've been working on this for a while now. The main saddle was done in mid February but it took me some time to button up the finishing touches. There's a post that shows the progress in the saddle construction forum. If the weather holds out we'll take it out for a ride after work and see how it sits on a horse. Thanks for looking, Josh


-
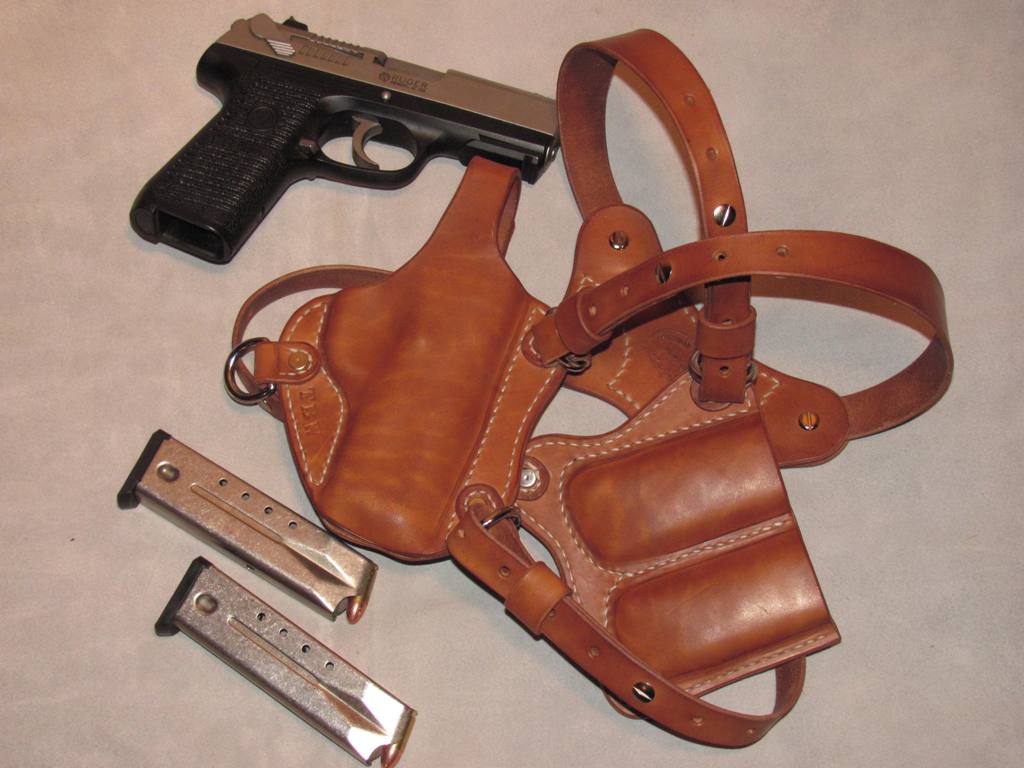
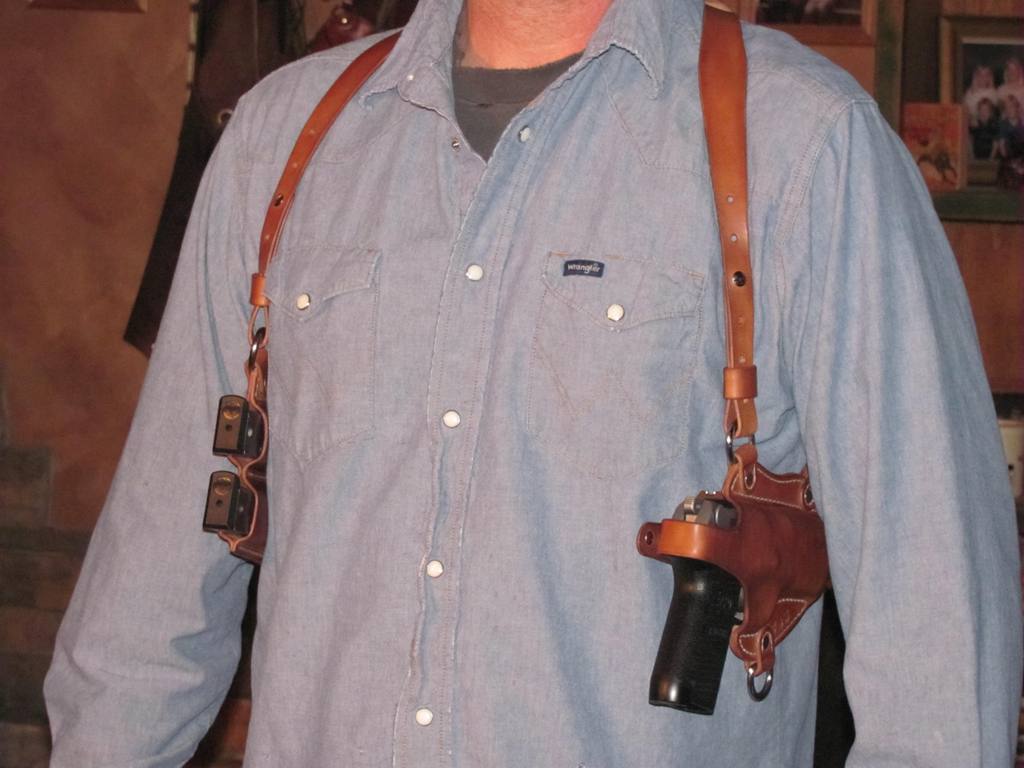
Horse Shoulder Holster
Josh Ashman replied to Josh Ashman's topic in Gun Holsters, Rifle Slings and Knife Sheathes
Thanks Steve, that just two light coats of NF oil with a little saddle butter rubbed on to give it a finish. Best regards, Josh -
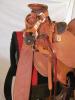
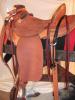
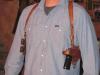
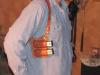
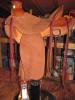
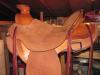
Thanks Aurelie! I appreciate the kind words. I may have to build a few with cheyenne rolls if I can't get a better handle on my binder stitching ! BTW, I really enjoyed watching your progress on the saddle pictured above! I finally completely finished this saddle for my wife. If the weather holds up we'll go out for a ride after work and see how it fits on a horse. Here's a picture of the complete package. I'll put a bunch more in a seperate post in the "show off" forum. Thanks for looking and thanks to everybody for the helpful advise. Best regards, Josh

-
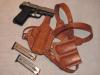
Here is a horse hide shoulder holster I put together for a Ruger P95. It's basically a modified Jackass type rig with heavy influence by a post that Lobo made a while back. This is the first time I've used horse and it really seemed like a good choice for this type of set up. Thanks for looking and thanks to Lobo for giving me a great starting place. Best regards, Josh
-
4Th Holster 1St Iwb Holster.
Josh Ashman replied to yotebuster1200's topic in Gun Holsters, Rifle Slings and Knife Sheathes
Nice job on both holsters! Josh -
Took Nearly Half A Cow!
Josh Ashman replied to Ran's topic in Gun Holsters, Rifle Slings and Knife Sheathes
Lookin good Randy! Best regards, Josh -
Another Ammo Belt
Josh Ashman replied to Eaglestroker's topic in Gun Holsters, Rifle Slings and Knife Sheathes
The leather and guns look great Robert. Is that a 44 mag model 92 with the Ruger? They make quite a pair! Best regards, Josh -
Chris, Yes, the copper rivets are set by hand with the tools Ron noted above. I use a horse shoeing hammer instead of a ball peen hammer and I also keep a nail nipper at my bench to cut off the extra length on the rivet. I haven't seen the Tandy video but I'm sure i set them the same way. One thing you can do to "dress" them up a little is round off the rivet side, I use a double cap/jiffy rivet setting tool (the one with a concave side) to do this. It fits pretty nice on a #12 and works OK on a #9, just set the burr, flip the piece over and using the concave face of the rivet setting tool smack it pretty good once or twice with with a mallet or maul. You can over-do this so a little practice isn't a bad idea. Ron's suggestion on sewing the stress points is also very good advice. Good luck, Josh
-
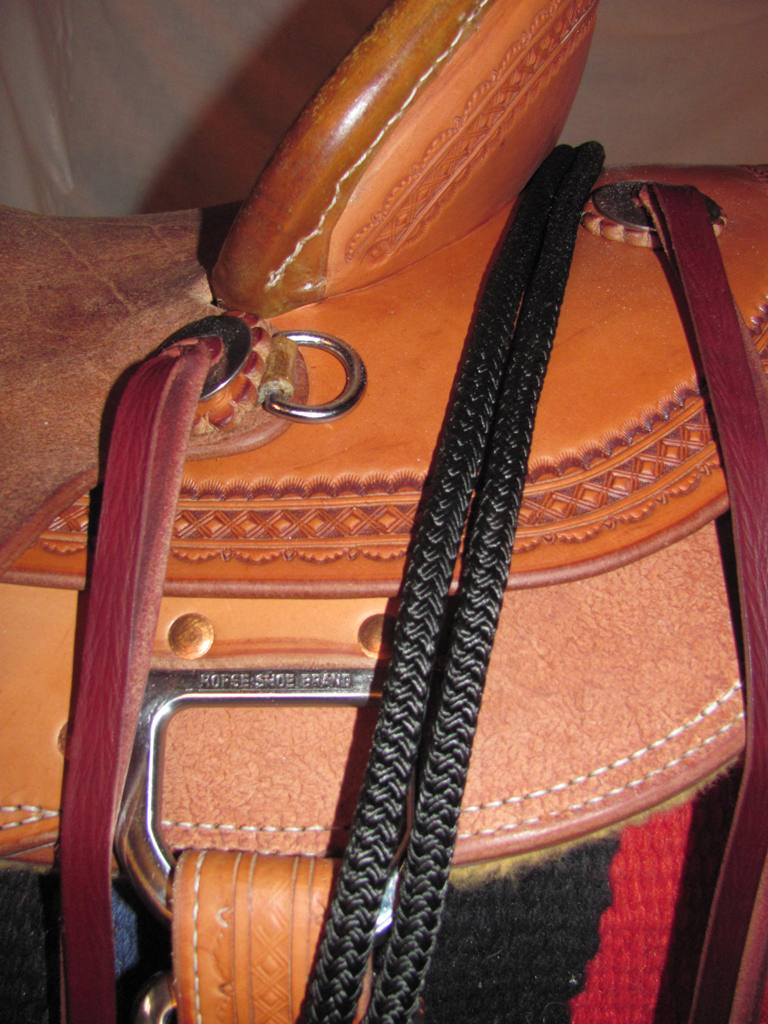
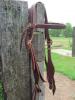
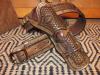
Chris, I mostly use #9 and #12 copper rivets and burrs, I also do some sewing and sometimes I'll use double cap rivets and chicago screws. It all depends on the application. Double cap rivets aren't super strong so if the piece your riveting will recieve much pull it's a good idea to sew it as well or use a copper rivet. Chicago screws are OK for attacing bits to headstalls or reins to bits but they do rattle loose and having your bridle fall apart in the middle of a ride is never very fun, I'll usually use a laced tie instead of a chicago screw if it makes sense and looks right. I've attached some pictures below to maybe give you an idea or two, the best thing is to look around at tack you like that you feel works correctly then build yours in a similar fashion. Good luck, Josh
-
Craig, Dwight's suggestion to use some extra thread was pretty good, it seems like the first 6" from the needles usually get it the worst. You can also see a lot of improvement just by going over your stitches with your overstitch wheel after you get done. I rarely make anything that is truely black but here's some that are certainly dark and the stitching stayed pretty white. FYI, the IWB is dyed with eco-flow dark coco brown (cut with a little water to give it a little distressed look) and a resolene top coat and the western rig is fiebings liquid antique black with leather balm for a top coat. Good luck, Josh

-
Thanks Ron & CW! I appreciate the compliments and the good feedback. Best regards, Josh
-
Thanks again Bob, I really appreciate that you're taking the time to share your thoughts.
-
I think there is a difference between "fatal flaws" and things we would do differently next time. I've sure never built anything that was "perfect" and my very best work from a few years ago isn't nearly as good as what I make now. If I make a major mistake I toss it, if it's a minor mistake I fix it as best as possible and move on. Do the best job you can and get better with each one. That's my 2 cents.
-
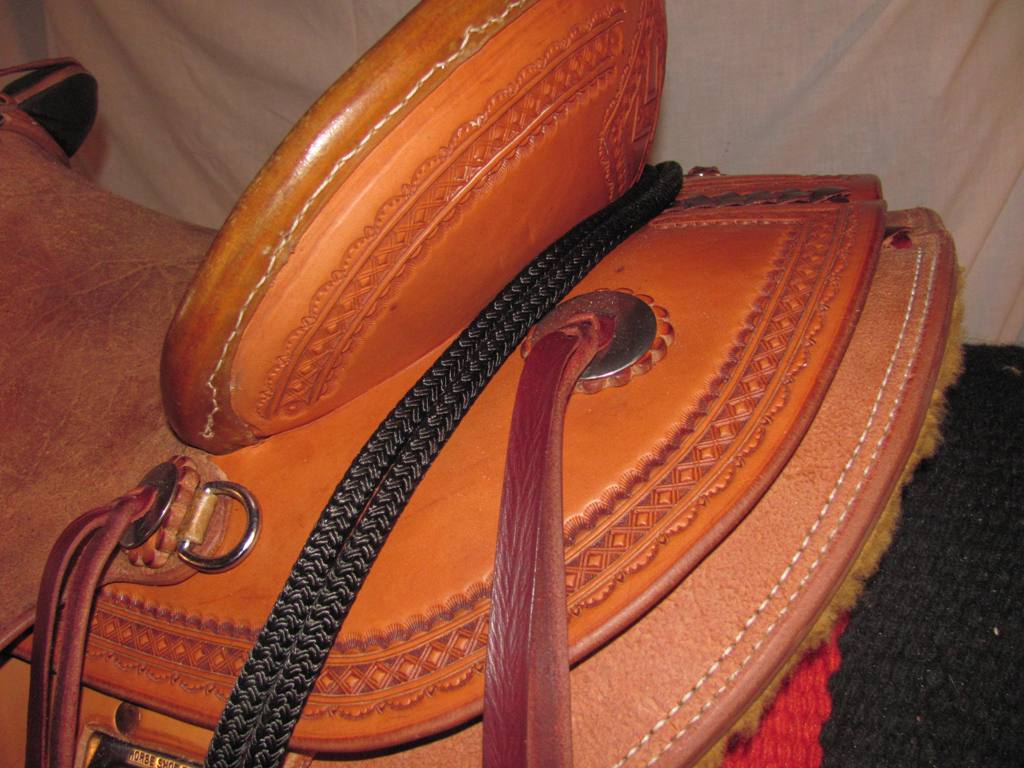
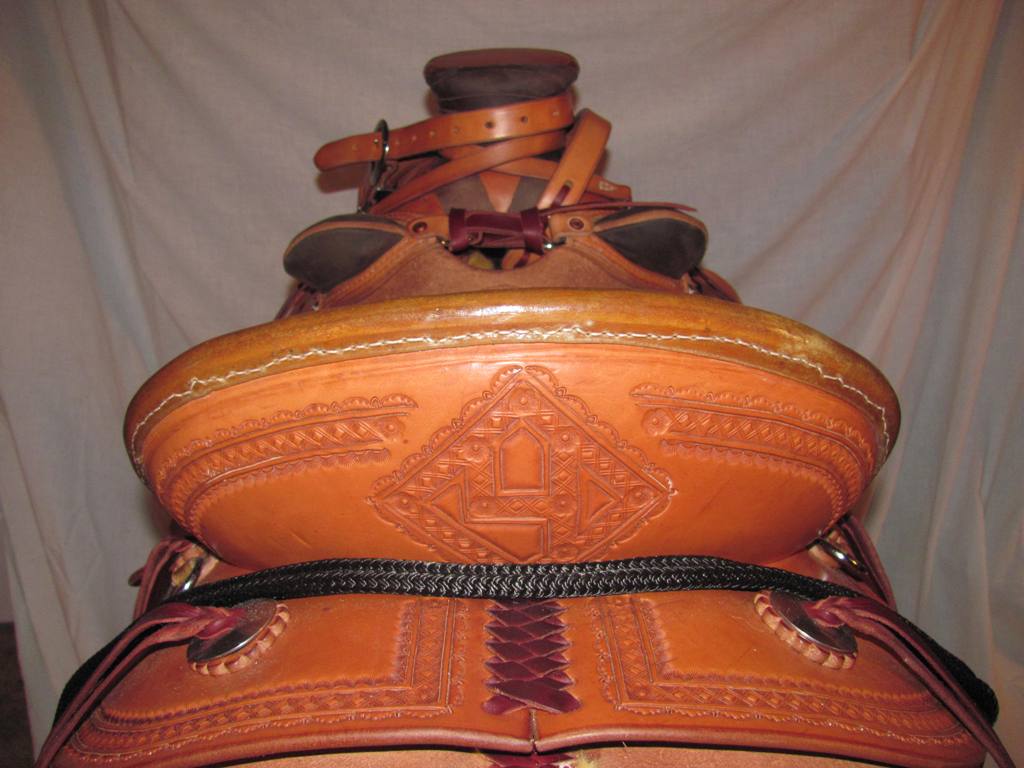
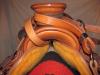
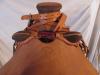
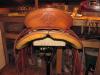
Thanks Dave & Jinxed! I really like the combination of rough out and smooth out too. The border stamp pattern turned out really nice and it all seems to flow together. I'm pretty pleased with that aspect of this saddle. Bob (BondoBobCustomSaddles) took the time to give me a few pointers in a private message, which was really nice of him and I'll share one of the things he brought up. One of things I didn't do very well was the blocking on the skirts. I'm sure the experianced makers all see it straight away but the novices like me might not be picking it up. It's easy to see that the back jockys don't sit down on the skirts like they should. It's not so much that they aren't tight but that my blocking wasn't good enough. I did block around the back of the bars and even tacked ths skirts into the edges of the bars while it dried but I didn't go far enough and once the intial blocking was done and the skirts had shrunk a bit I didn't force them back to where the blocked edge matched the skirt. Add that to the previously mentioned horrible cantle binding and this saddle doesn't look near as good as it should from the backside. Neither of these is a "fatal" flaw or has any "structural" impact in my very humble opinion but they certainly do detract alot. Anyway, I shared that so maybe others could avoid these problems. If you go look in the "Makers" page cac just posted some pictures of an awesome roughout association saddle where he nailed the jocky/skirt fit up and cantle binding. Best regards, Josh
-
That looks great, very nice job! I really like that you fit the swell cover without cutting it. I'm sure you'll have a very happy customer. Best regards, Josh
-
Western Holsters, Scabbard, And Belt
Josh Ashman replied to Frank's topic in Gun Holsters, Rifle Slings and Knife Sheathes
I really like your work Frank, thanks for sharing! Best regards, Josh -
Great looking rig George, I really like it. Best regards, Josh
-
Iwb Cross-Draw - Too Many "firsts"!
Josh Ashman replied to particle's topic in Gun Holsters, Rifle Slings and Knife Sheathes
It sure looks good to me Eric, nice job! Best regards, Josh -
First Matching Holster/gun Belt Combo
Josh Ashman replied to Ran's topic in Gun Holsters, Rifle Slings and Knife Sheathes
Excellent job on the leather and the grips Ran! Best regards, Josh -
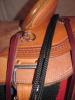
Well, it's not 100% done but it's very close. The wife is very pleased and can't wait to put it on a horse. Here are some pictures of how it looks now and a few i took along the way. I appreciate any comments and I'll be the first to note my cantle binding is horrible. Bad doesn't even come close and I know it, I'm not sure how to fix it on the next one but I need to figure it out. Other than that I'm fairly happy with it. Thanks for looking, Josh


-
First Ammo Belt / Scabbard
Josh Ashman replied to Eaglestroker's topic in Gun Holsters, Rifle Slings and Knife Sheathes
It looks awesome, great job as always. There's no question you are your harshest critic, I think most of us are! I am somewhat concerned about your Ruger SBH being a "little" gun.... Take care! Josh -
A Few Knife Sheathes And Holsters
Josh Ashman replied to Josh Ashman's topic in Gun Holsters, Rifle Slings and Knife Sheathes
Thanks Harley, it has a border made with Crafttool D447, you can go to Tandy's website and search for it. I don't recall what the seeder in the corners are but anything you like would work there. Best regards, Josh -
Thanks Brian, Semper Fi!