RavenAus
-
Posts
378 -
Joined
-
Last visited
Content Type
Profiles
Forums
Events
Blogs
Gallery
Store
Everything posted by RavenAus
-
Thanks for those I'd love a copy of the type III if that's ok?
-
For the hole cutter I'm getting a friend with a lathe to turn me some brass anvils and cut a thread on my tandy hole punch, you know the one with the 6 tubes? That way I'll be able to use it for multiple sizes. All you'd need is to get the thread size confirmed and any good machinist or shop could do it for you. For crystal rivets I'd say you'd be fine with the press as long as you put some poundo board on the bottom anvil and put the face of the rivet on that so the crystal is not hitting metal. It's the same board they have in the packs when you get the crystal or turquoise rivets. In fact, I may just get a big old hole punch and cut out a few pieces of the board to fit onto anvils since I'll get a few from my lathe-owning mate Bit of contact cement and we're sorted
-
With the double cap and the single cap rivets, the size is the main thing. The post has to come through the leather about 2mm and you want the hole tight enough to be just a bit of a pain to get the rivet in. Then the most important thing to me is a solid surface to hit them on. I have given up on using a dished anvil for them and just rest the back on a flat surface as it's more likely to slip when it's sitting on a curve. The hammer I use now makes a heck of a difference too, it's a deadfall hammer. What that means is you can hit something and you don't get recoil. It has really helped me with rivets and posts, I bend a lot less rivets now With the rivet press, I use a C clamp to stop it moving about on my bench. I like to have the jaws of the press hanging over the bench for when I need a little more space I'm still waiting for my rivet and snap dies though, I hope they work as well as the eyelet ones!
-
It really depends what you want. That generator just produces a 2-panel corset - 1 each side. It should give a decent shape but will not be much use for waist reduction I wouldn't think. Try it, put your numbers in and generate it's free. Just make sure you mock it up before using the good stuff
-
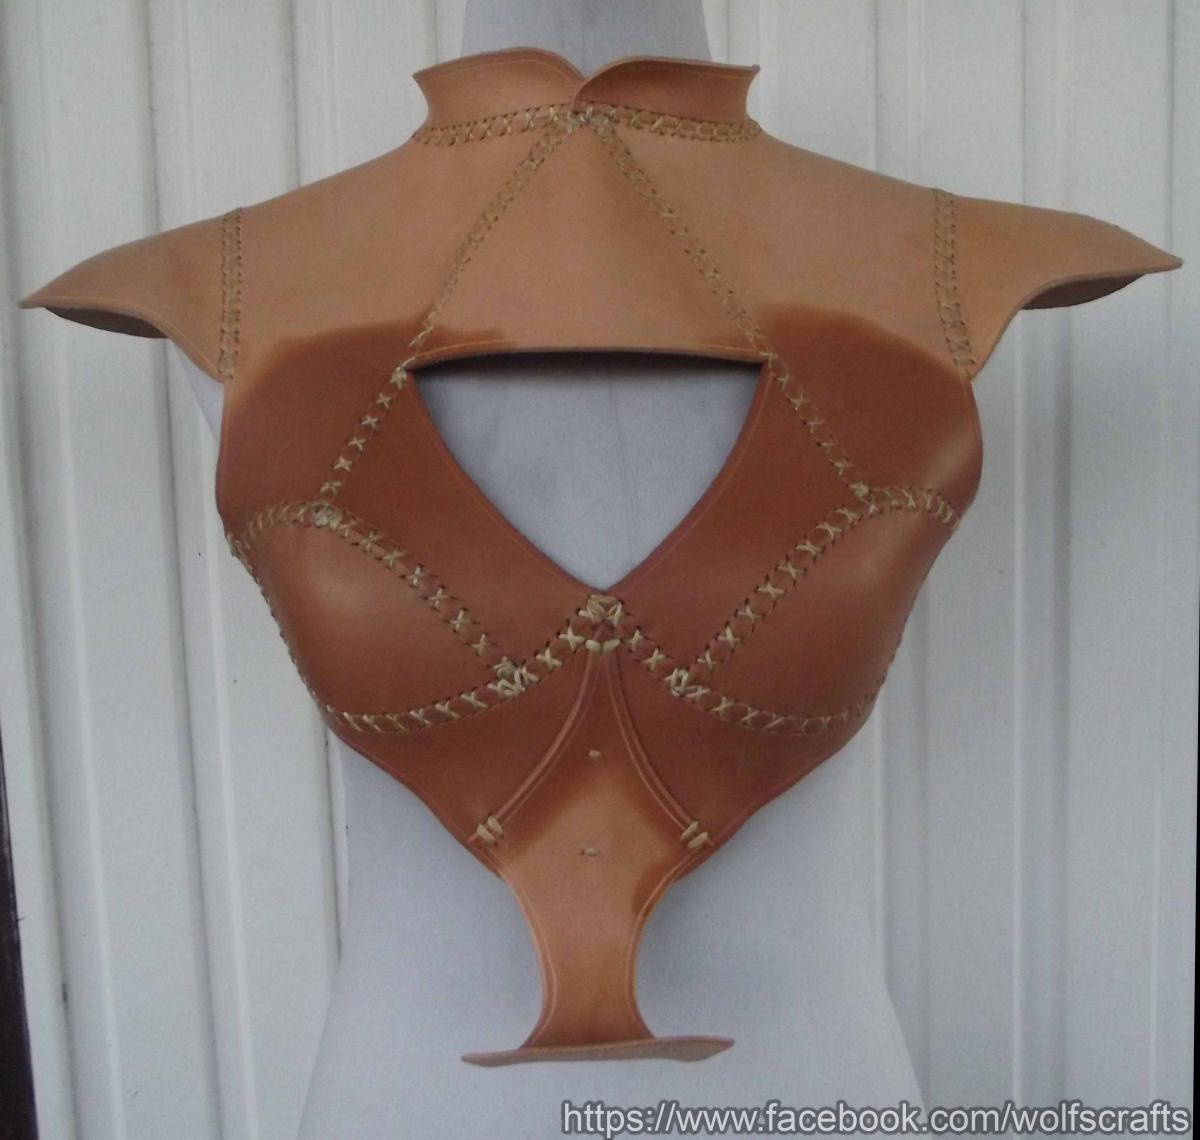
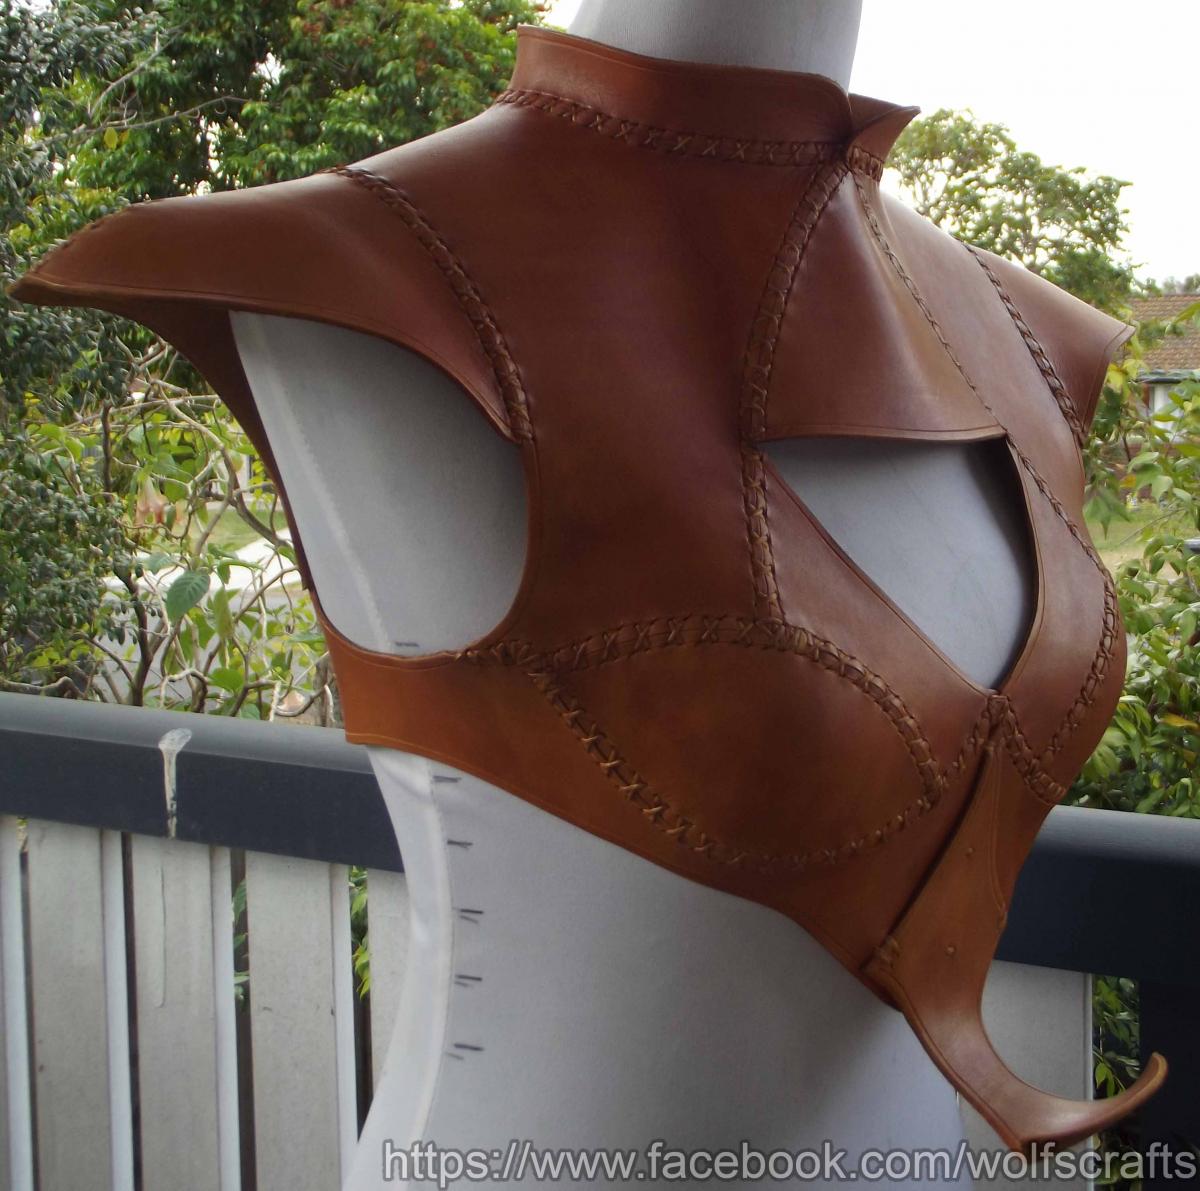
Thank you everyone! Sona, I had a pattern from the net for this one but when I made it in card it was just awful, so I ended up covering my tailors dummy in card and masking tape and drawing the design on that As you can see, it took some shaping to get the bust right, it was flat as a board when I finished sewing it, but my other shop display mannequin had the shape needed and didn't threaten to break when I wetformed on it
-
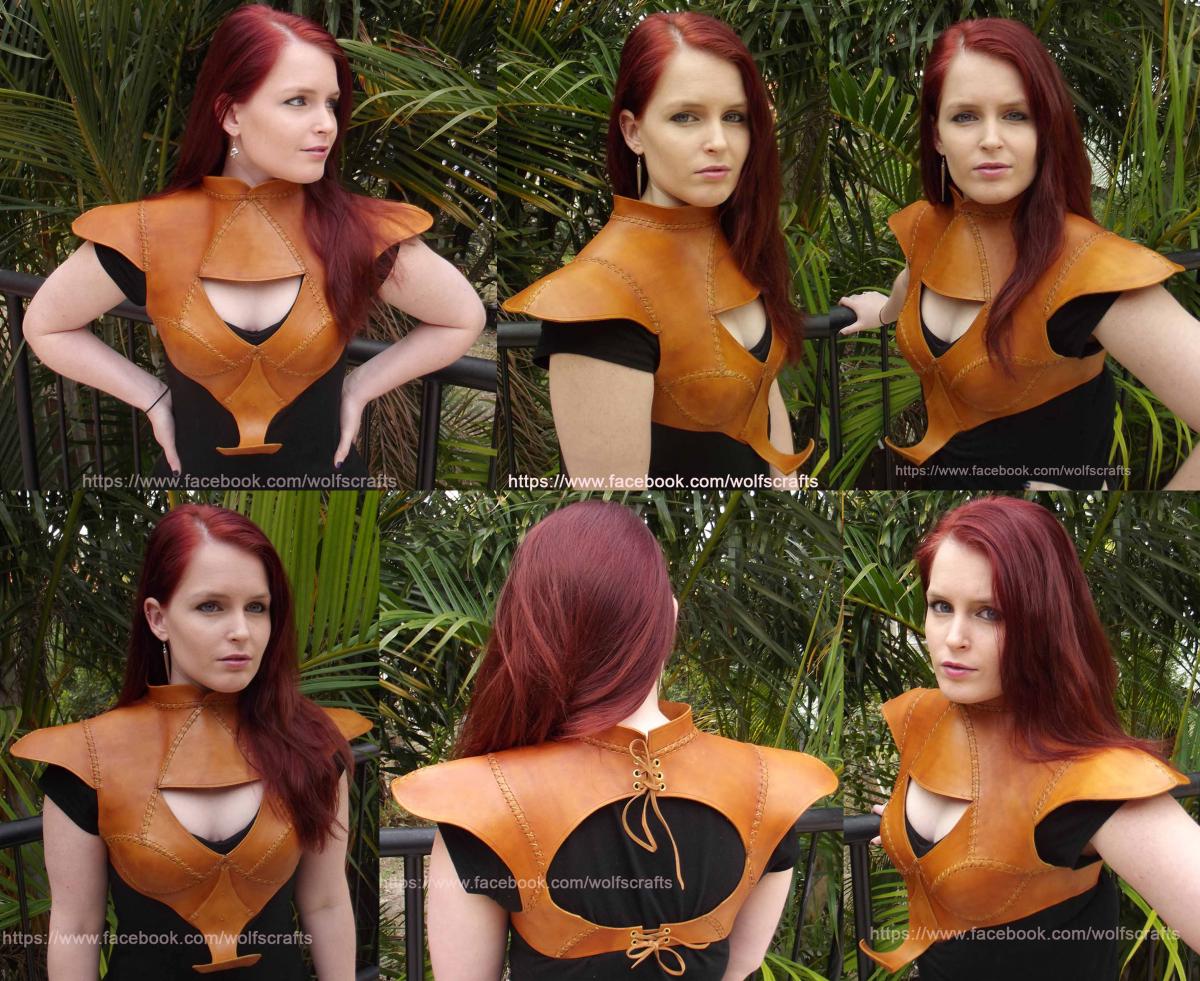
Thanks Here's a shot of it being modeled by my beautiful stepdaughter Zoe

-
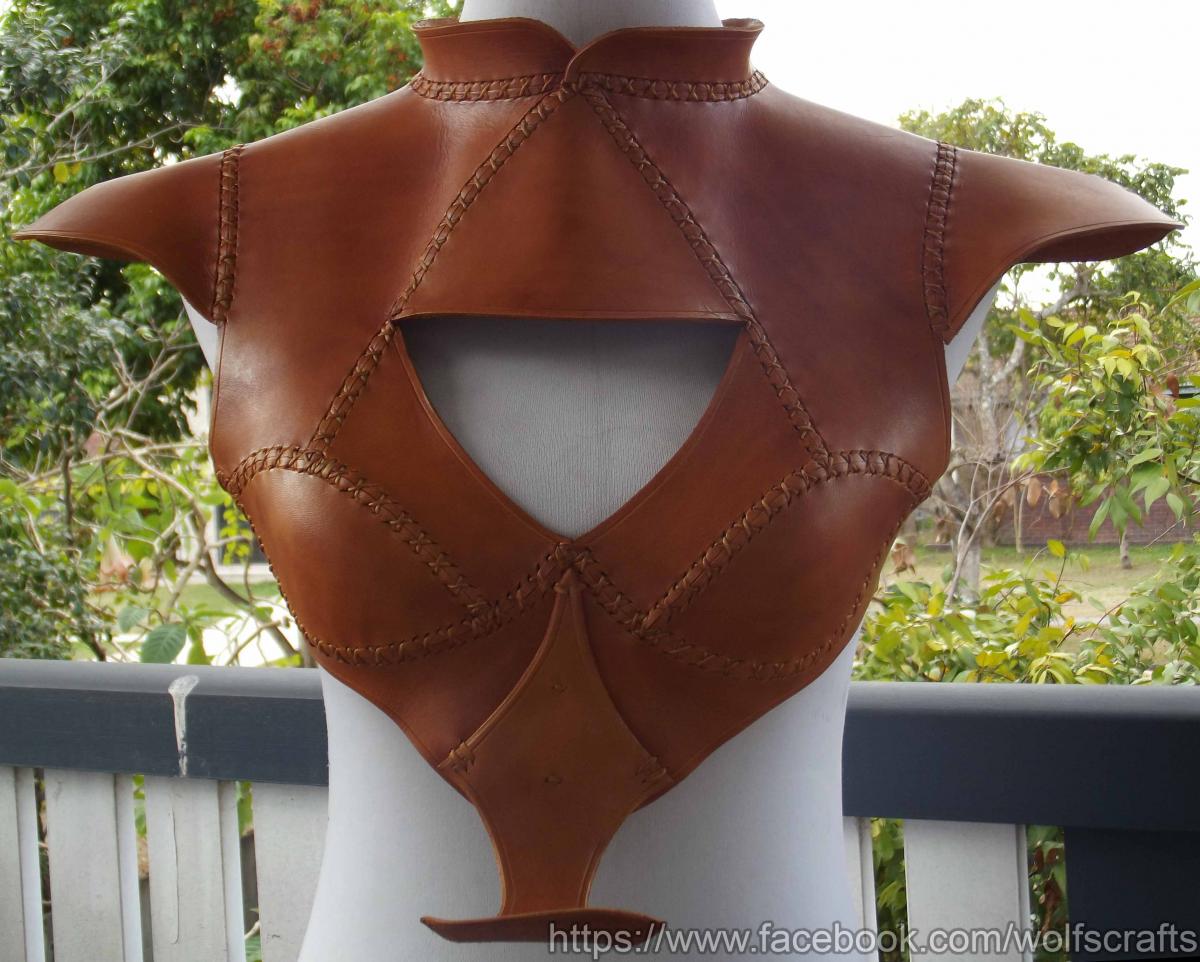
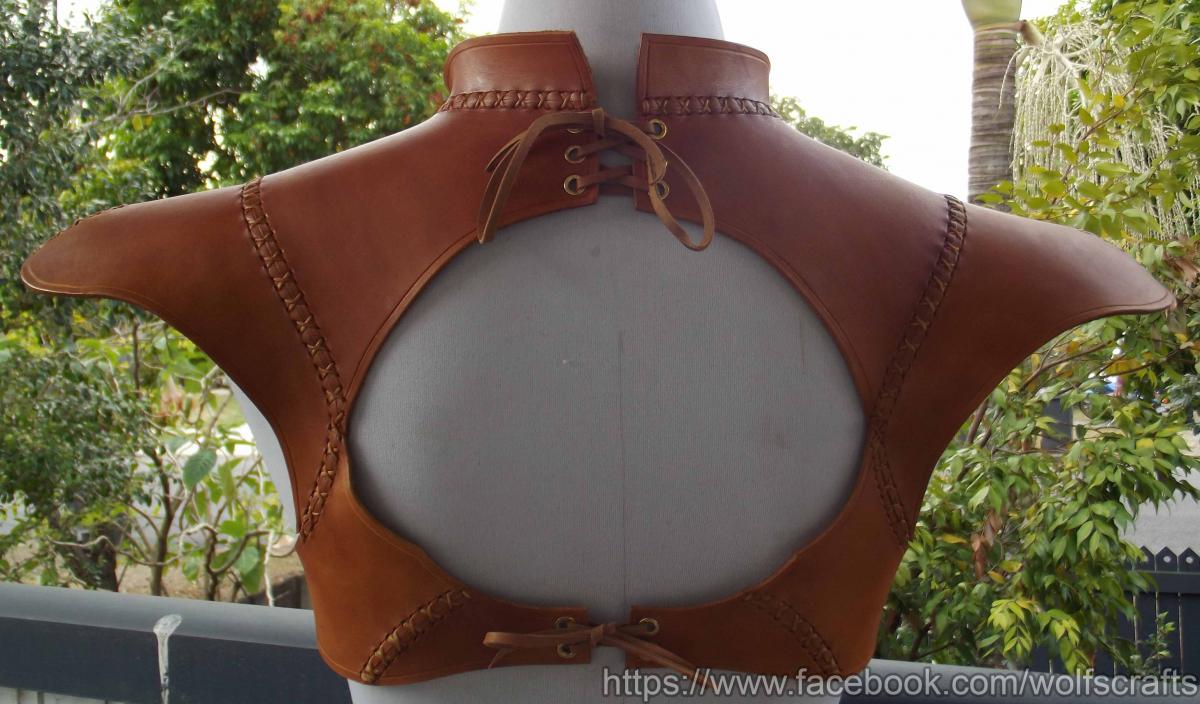
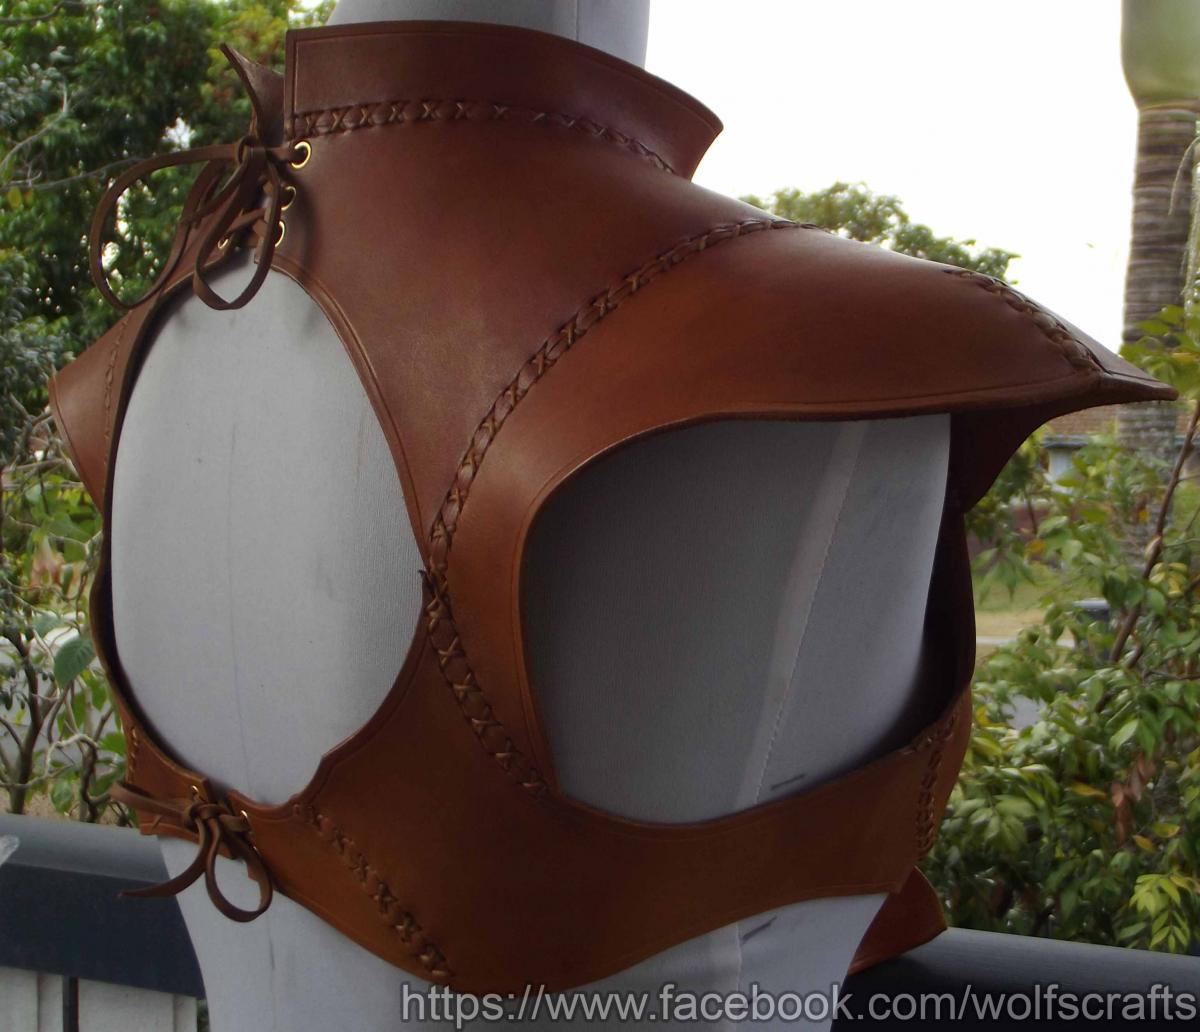
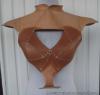
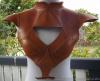
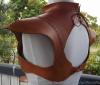
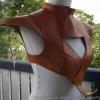
This is my interpretation of the Game of Thrones Qarth armour worn by Daenerys. This is to my own pattern as I couldn't find a decent one. Getting it modeled soon will post pics when I get em. Made from 2.2mm natural veg-tan leather, hand sewn and laced at the back.


-
Thanks The back detail was a happy accident really but it looked good so stayed in the final design
-
Glad you got it figured out mate
-
Thanks
-
This is quite a small group and we're only the 2nd lot who are going Saxon, most are Byzantine, Hun or Norwegian. They are very good on clothing but I'm the first leatherworker to join so the first thing they asked was when could we have a shoe workshop! There's a lot of research going on at the moment but so far it's either before or after that we're able to find.
-
:D Thanks guys!
-
Thanks man
-
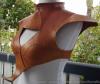
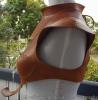
I had someone ask me could I make a Batman cowl for his cosplay. It's of a very dieselpunk type Batman with a duster jacket and a definite biker look (Can you tell I'm not a comic geek?) Anyway, this is what I came up with. Ok, so the beard just doesn't go... But here it is, the Mk II Batman Cowl! This one is machined with the 'Cranky Ba*****d' ™ hand-cranked sewing machine, and while possible, this is not really the best option. This needs to be either riveted or hand sewn, as the machine simply cannot reach a lot of the areas without distorting the stitching lines - imagine sewing up a bowl, and you'll understand! For a prototype though, I didn't want to spend so much time hand sewing, and even riveting is a pain as the inside areas are a pig to get to even on my anvil horn. That said, I am pleased with the outcome All this needs is a pair of goggles and you're set!
-
Hi, I've just joined a Dark Ages reenactment group - 400ad to 750ad - and I'm basing my character in Early Saxon so between 400 and 600ad. I'm finding everything but the shoes it relatively well documented but I can't for the life of me find an early period-specific Saxon shoe pattern. Everything is either Bronze Age or Viking Era. Can anyone help?
-

How Are Rolled Edges That Hide Stitches Done?
RavenAus replied to leathervan's topic in How Do I Do That?
http://leatherworker.net/forum/index.php?showtopic=9940 Have a look at KK's tutorial in that thread, he uses a 'french rolled edge' I believe it's called, on the wallet. Is that what you're after? Basically, you sew a strip of leather to the face side, stretch it back over the edge to the flesh side and stick it there, then sew back through the seam from the first stitch line. Hell, if I did it, it can't be that hard just take your time with the second stitchline -
Try threading the needle and with the bobbin out, turn the crank until the needle is at its lowest point. Take the thread and pull it gently to the side so that it is horizontal. That will tell you where the eye is located - if the thread has to bend over the side of the arm then it's below the plate.
-
I swear they could've done a better job blindfolded There was a pattern sale at the local fabric/haberdashery store and I bought 4 different patterns for corsets, so hopefully the next will fit a human better
-
Original thread on the pattern - http://leatherworker.net/forum/index.php?showtopic=57134&hl=
-
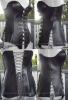
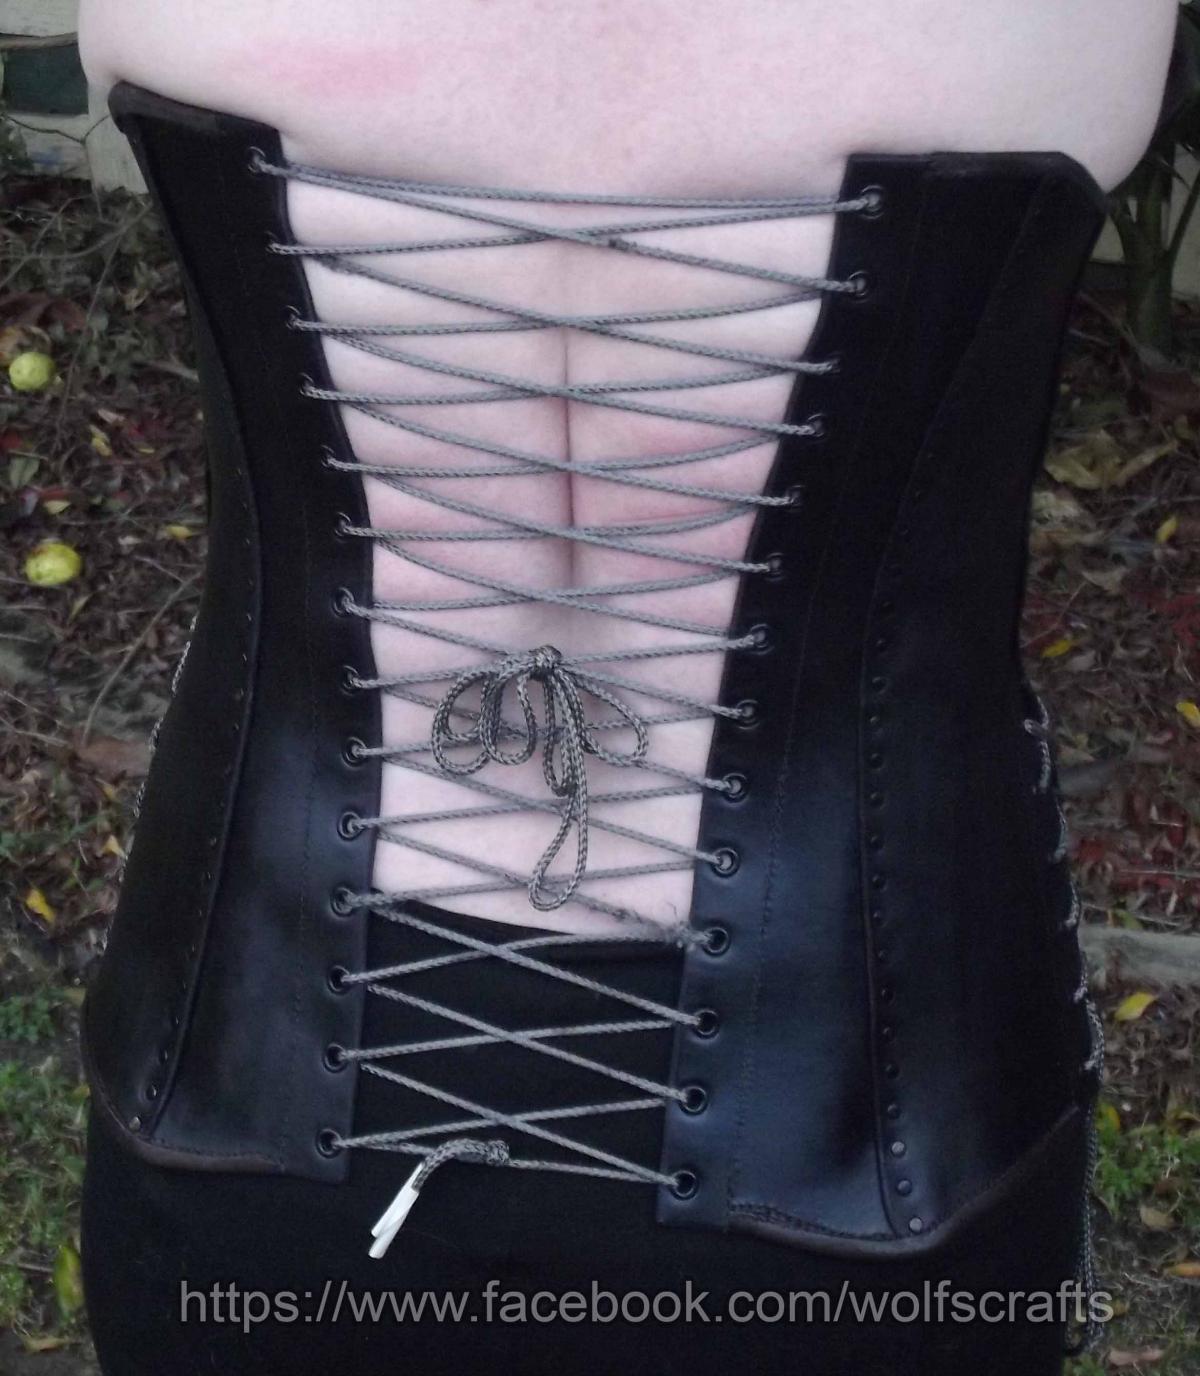
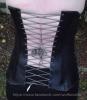
It wasn't made for her Tink, and if you read the thread in the pattern section you'd see I am very dismissive of the pattern itself. I made it to test the pattern and Bec agreed to model it once it was completed. The pattern is not made for someone 5'2" and the way the panels fit is by using the rivets to pull the panels into shape, the seams are not the same length so you can't make it without stretching. Also there's extra leather in the front side panel which shouldn't be there. It is not a pattern I would recommend to anyone. It only comes in one size and the only 'good' thing I can say for it is it only cost $2 from leathercraftlibrary. Billybopp, the original pattern has nothing on the inside, just the flesh side of the leather. I wasn't happy with that so I made a lining from suede and added some light boning. I finished the top and bottom edges with the suede also - is it a turned edge, rolled edge, or what? When you sew the suede to the face side, pull it back over itself onto the back side and sew through from the front on the same stitch line. Well, that's what I did I remember seeing a post about it on here a year or so back. *edit* It was KK's wallet tutorial, the french rolled edge Oh, also we couldn't lace it too tight as the actual corset lacing hadn't arrived and the cord I was using wouldn't take much more than that amount of pull.
-
Well, this one was a pig to make but I am very glad I did I turned out a lot better than I was fearing. We had a friend over today to model it for us, so here's the action shots Thanks go to our friend Bec for modeling, and for the feedback which will help me improve the pattern


-
Steampunk Full Corset Tandy Pattern - Boning?
RavenAus replied to RavenAus's topic in Patterns and Templates
I've completed the corset now, will post in Show Off -
The thing I found with the Tandy gauge is do NOT use the strap cutter blades! Use the super skiver blades. The little strap cutter blades are about as hard as tin and lose their edge in one cut, the skiver blades are much better at retaining an edge, you just have to watch they don't catch you since there's more blade exposed. On the plus side, more blade means more use before binning it
-
LOL yep, it's that pattern Came together ok in the end but man, it's not designed for ease of use!
-
Ah, yeah the needle bar height. Had that happen a few times. Completely forgot about that. I'm going to check mine today, been doing some work where it's struggled to get through and that can shift the bar. Here's what I made with my 'Cranky Ba****d' ™ Able 290 (Yes, that's my nickname for it )