

immiketoo
-
Content Count
2,354 -
Joined
-
Last visited
Posts posted by immiketoo
-
-
This is common to colors other than brown, and the liter the color, the worse it is. The water stains may be more color fast, but they don't penetrate as deeply. I'd give them a try for sure to see how they work for you.
-
My true heroes are those who inspire me to do better. And those who challenge me to keep improving. As examples, Bobby Park took me under his wing at Sheridan the first time while in his class, Serge Volken and Bob Beard have mentored me many times, and Peter Main with his subtle nudges in the right direction have each have influenced me significantly, while encouraging me to have my own style. All of the above people teach paid classes at various shows around the world, and I have gladly given my hard earned money to each of them and would do so again. Why? Because nothing is as good as being immersed with a master for a few days with them looking closely at what you do and offering advice about how to improve.
-
On October 22, 2018 at 6:22 PM, JLSleather said:Nope, can't find it.
In simplest terms, you need to add about 3/8" (actually closer to 10mm) for every 1/16" of leather thickness. So an 8 oz belt (1/8" thick) would need to be 3/4-7/8" LONGER on the grain side.
For your girl, waist size 30.5".
- 6 0z belt = 31 1/8"
- 8 oz belt = 31 1/4"
- 12 oz belt = 31 3/4"
THEN, some clarity on buckles used. consider this ...
 Belts need to be measured from "where they hook" - on the buckle and on the leather.
Changing the buckle can change the size of the belt, as shown. These straps are all the SAME - only the buckle is different.
Two things about that:
- replacing a belt with one with a same or similar buckle, you can just measure off the old leather (hook to hole).
- you "lose" some at the fold, so to be accurate you're not actually measuring the (whole) buckle.. but rather the part of teh buckle that extends beyond the leather (since teh buckle actually goes BEHIND the fold).
- The "size" belt you are making doesn't matter.. it's not a "percentage" .. just an allowance for leather thickness.
NOW, keep in mind that NONE of this accounts for measuring error, "cheaters", or outright lies about the size.
")
Got another minute? I can tell you about the problems arising from people (mostly girls) giving you the "over the clothes" size over silk or knit slacks, who are now wearing that same belt with heavy denim. Or other people (mostly boys) who KNOW FOR A FACT they are a 34, because their Walmart bonded leather belt SAYS SO right on it (and they are NOT interested in hearing that cheap belt actually measured 35 1/2 when new, and has now stretched to 36 1/2). And, just to have in mind .. so-called "vanity" pricing. "BOX" stores often sell clothing (especially belts) marked wrong -- this is deliberate. WHY would I go buy a belt from Jeff for $65 and listen to him tell me I'm a 38, when I could go to Walmart and get a belt for $21 and they'll tell me I'm a 34?@! Hey, don't blame the messenger ..I'm just telling you how it goes.
Raise your hand if you feel that's way more info than you asked for ....

Perfect reply.
-
What if you leave it oversized and trim after you stitch?
-
Ok, here's what I do. I glue an over sized piece and then trim it to the proper size, making sure I glued past the line where I want to cut. I also tap my edges where I glue. TAP, not whack, and I use a mirror smooth cobblers hammer which leaves no marks in the leather.
Once it is dry, use a sharp knife to trim your piece to the desired shape and you'll never have that problem again. Tapping the seam where you glue ensures the best bond possible between the pieces and you'd be hard pressed to separate the pieces.
-
You're stitching too close to the edge, or you're using thread too thick for the distance of the stitch line from the edge. My suggestion is to use thinner thread, or move you stitch line in a bit further. You'll never have that problem again. You also may try cutting your piece out after stitching if possible. Then your edge will be ready for edging and no ripples.
-
If you make your belts slightly oversized and then cut them to the width you want after everything else is finished, you have a perfectly smooth edge. Then bevel and burnish. Theres nothing smoother than a freshly cut edge. Except a burnished freshly cut edge.
-
Question. Have you let everything dry thoroughly before applying a finish? Sometimes, dissimilar products react poorly with each other. I had completed a pair of barstools and the finish started to crack then flake off. I hadn't let my dye fully dry and the solvents killed the finish.
A suggestion if you haven't already tried it is to pre bend the fold a little while the leather is lightly moist, then add your dye. Stops a lot of spine cracks, but you may end up with wrinkles when its open.
Lastly, try RTC as a finish if all else fails. Its easily the best finish out there in my experience. -
Gengado,
At four months, most of us were still trying to figure out which end of the tool to hold. Your wallet is functional sound and it looks well made. You lack experience with making things out of leather, and in this craft, mistakes equal experience. Unless you have a mentor showing you how to do things, it all comes down to trying something, and in that regard you're already way ahead of folks who read a lot but never try anything.
Each time you make something, whether it has mistakes or not, you learn how to or how not to do it in the future. People who are masters of the craft have made all the same mistakes and a thousand more. As mentioned above, learning how to hide them is key. Eventually, you'll have enough experience to know how to avoid mistakes MOST of the time.
Nice work. -
This happened because of the inconsistencies when using a dauber. They are heavily loaded at the beginning and lose dye as you move it. There are very few colors that will apply smoothly at anything less than 100% saturation. This is why people gravitate toward dip dyeing or air brush. Lighter tones are possible with thinned dye when dipped and sprayed. It CAN be done by thinning and daubering (made that word up), in circles, but I've never had the patience to figure it out.
Looks like you had good luck with full strength. -
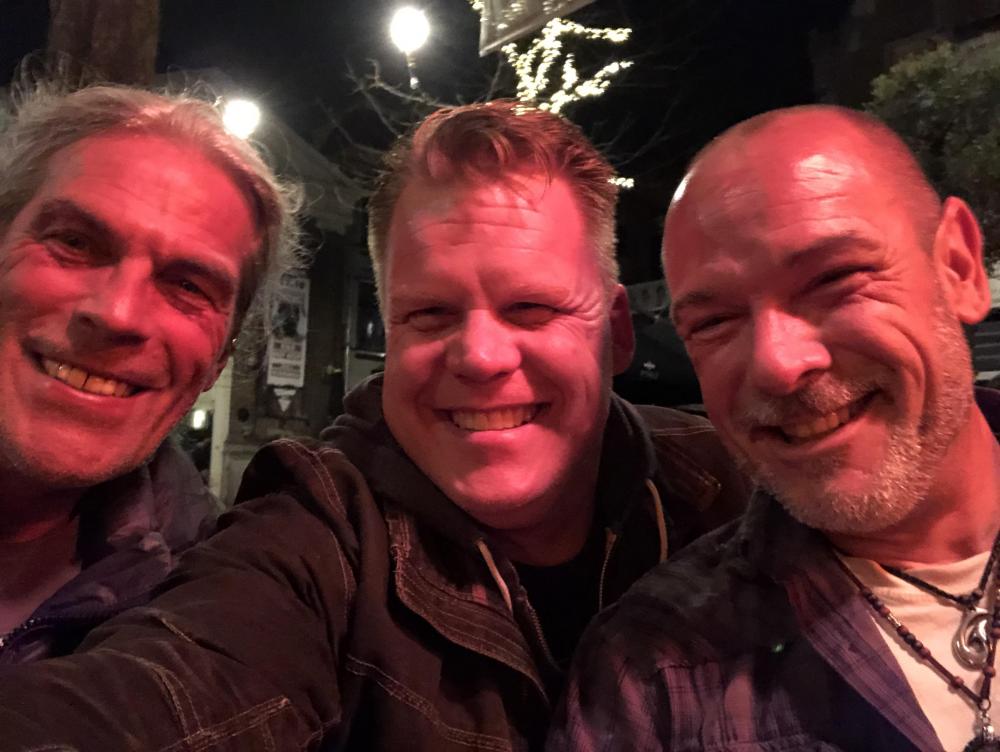
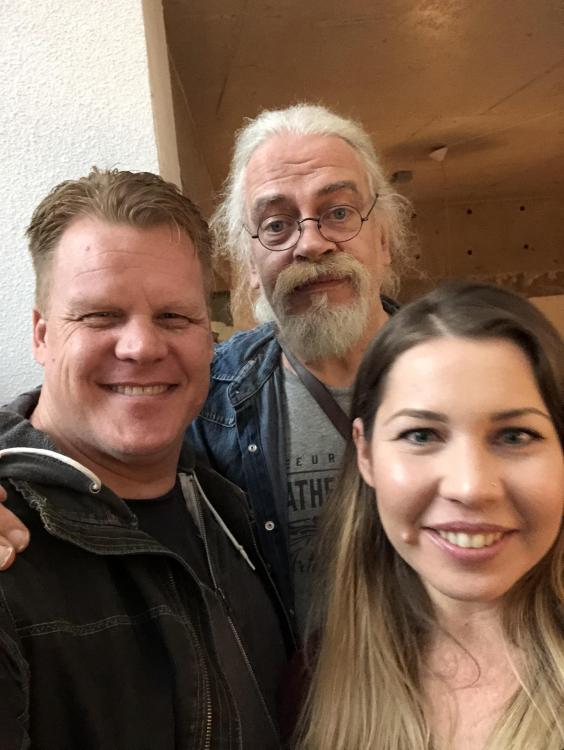
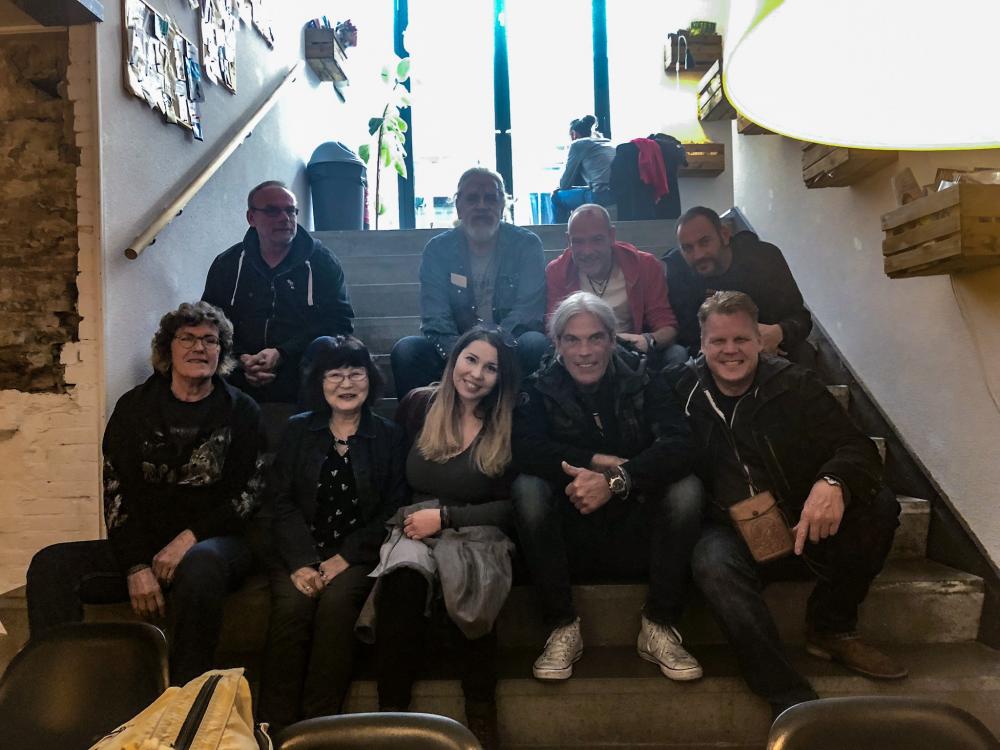
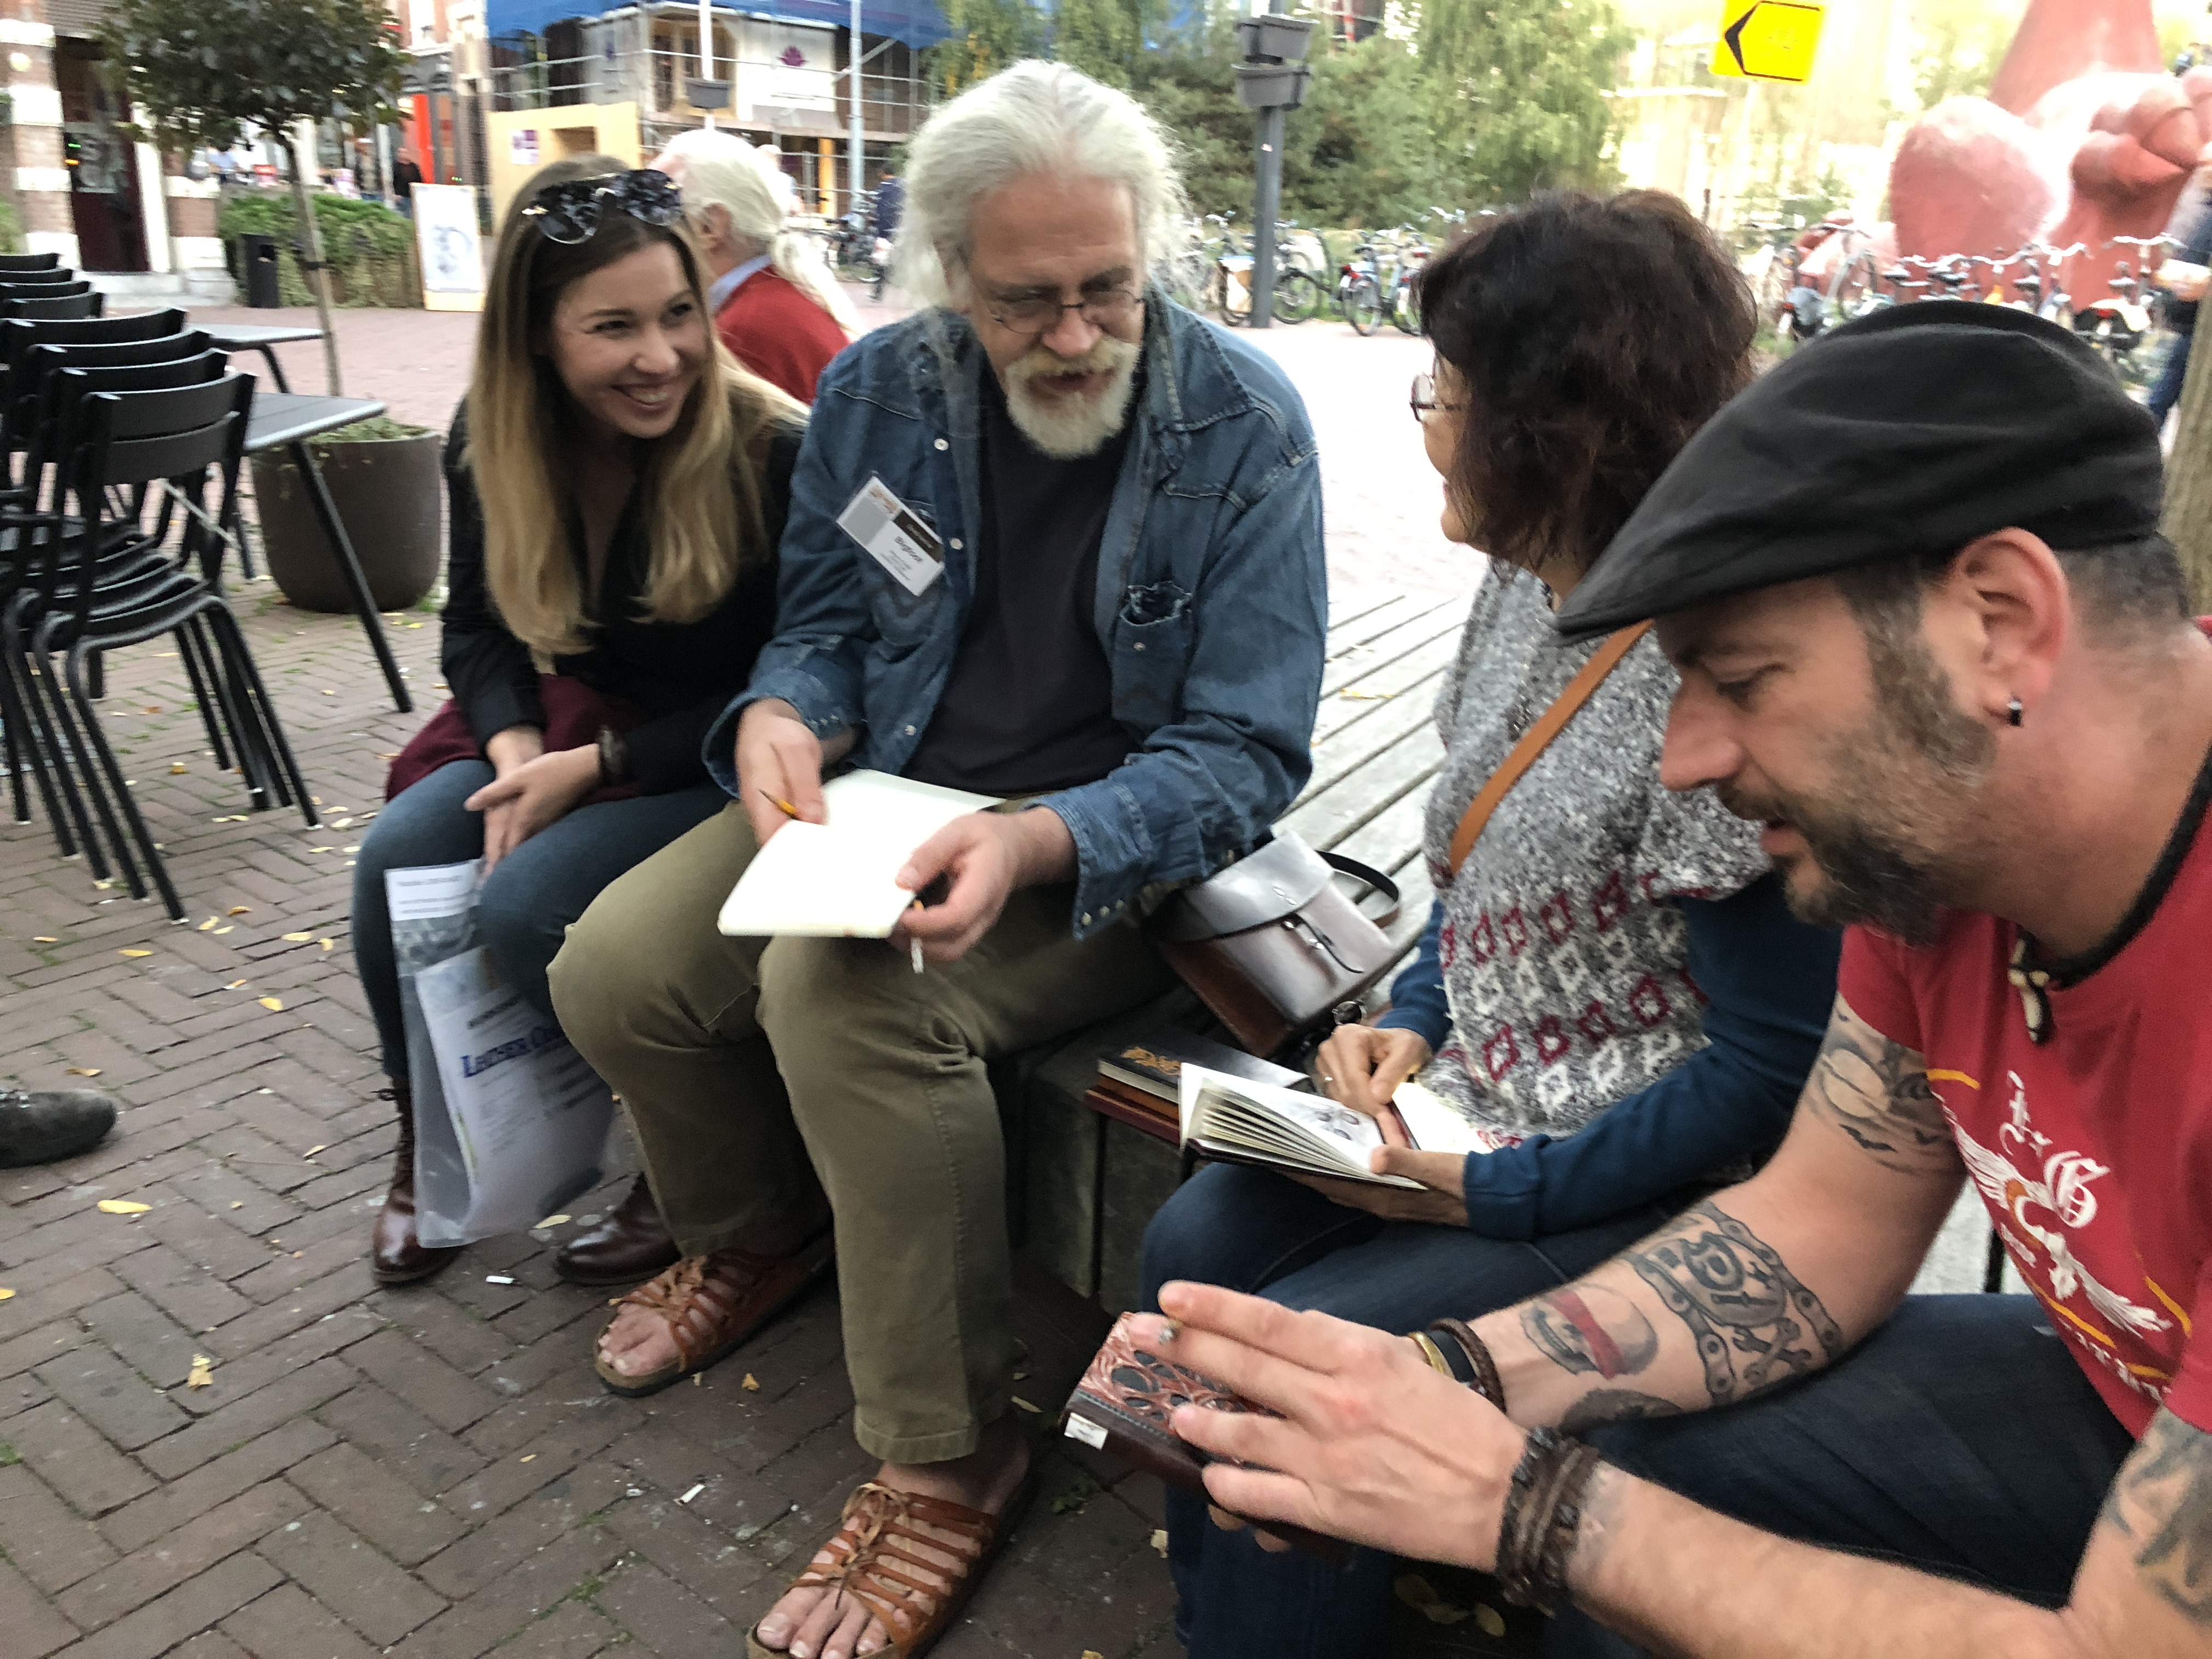
19 hours ago, battlemunky said:That is Serge Volken, a.k.a. Bigfoot! Check him out on YT, he is good to learn from.
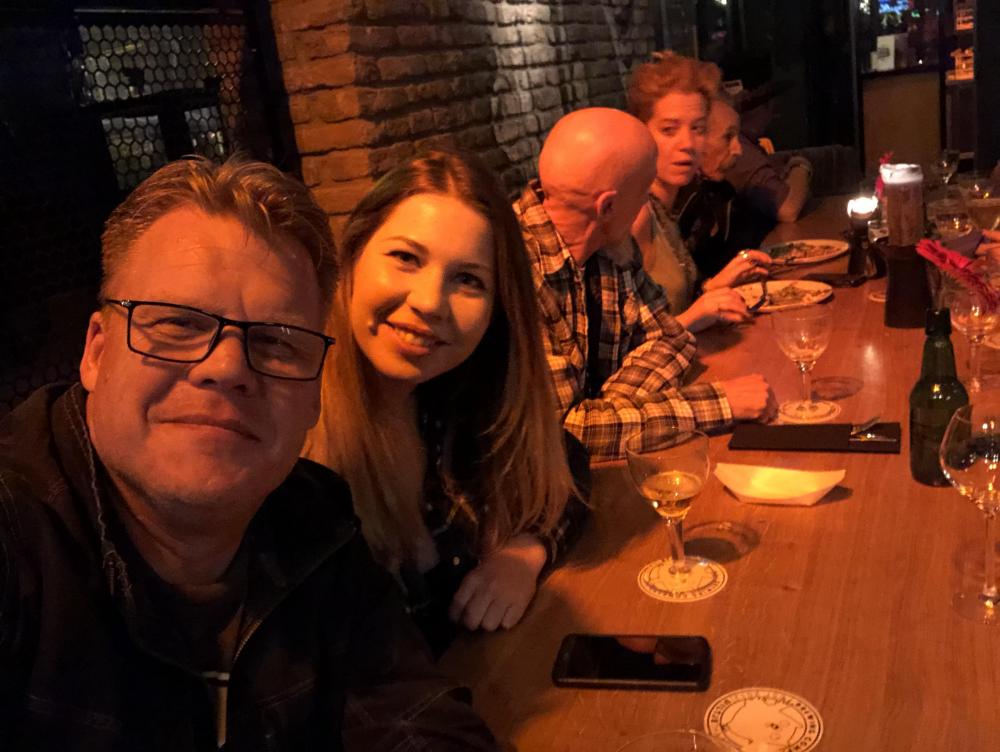
I think Mike is the middle one in the 5th pic down.
16 hours ago, Sheilajeanne said:Thanks, battlemunky! Mike is younger than I thought, then!
")
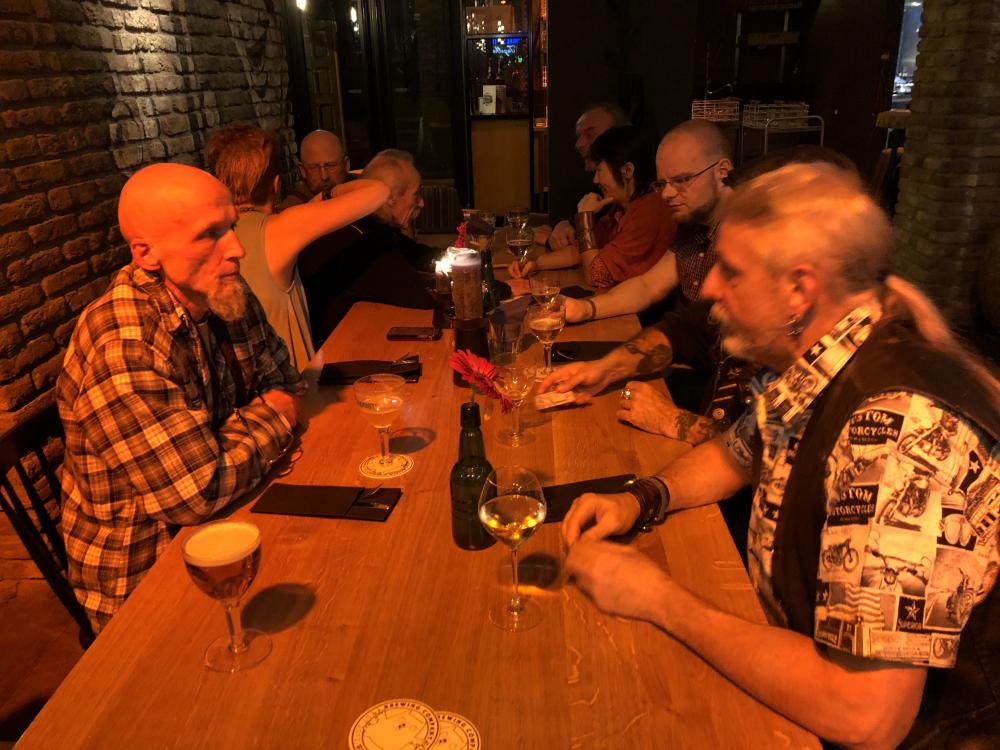
Munky is correct. Serge is a great man and mentor. He's also a great teacher. I am the ginger in many of the pics, and I'm older than I look.
-
There's no statute of limitations on being an asshole. Rest assured if I ever find out who was responsible, they will regret it.
-
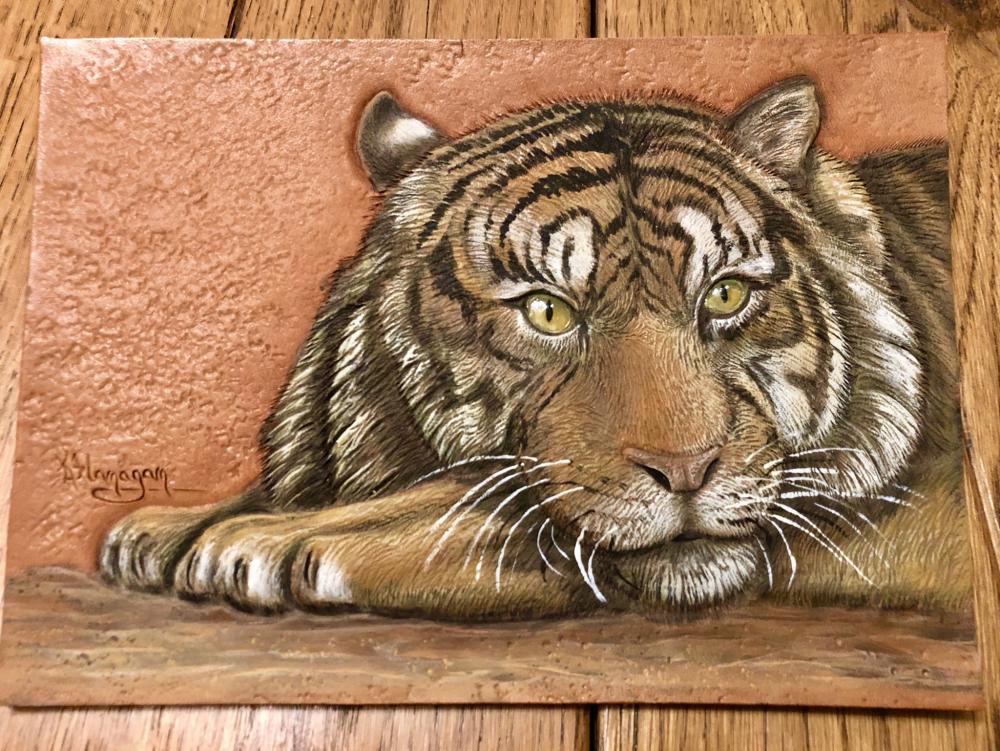
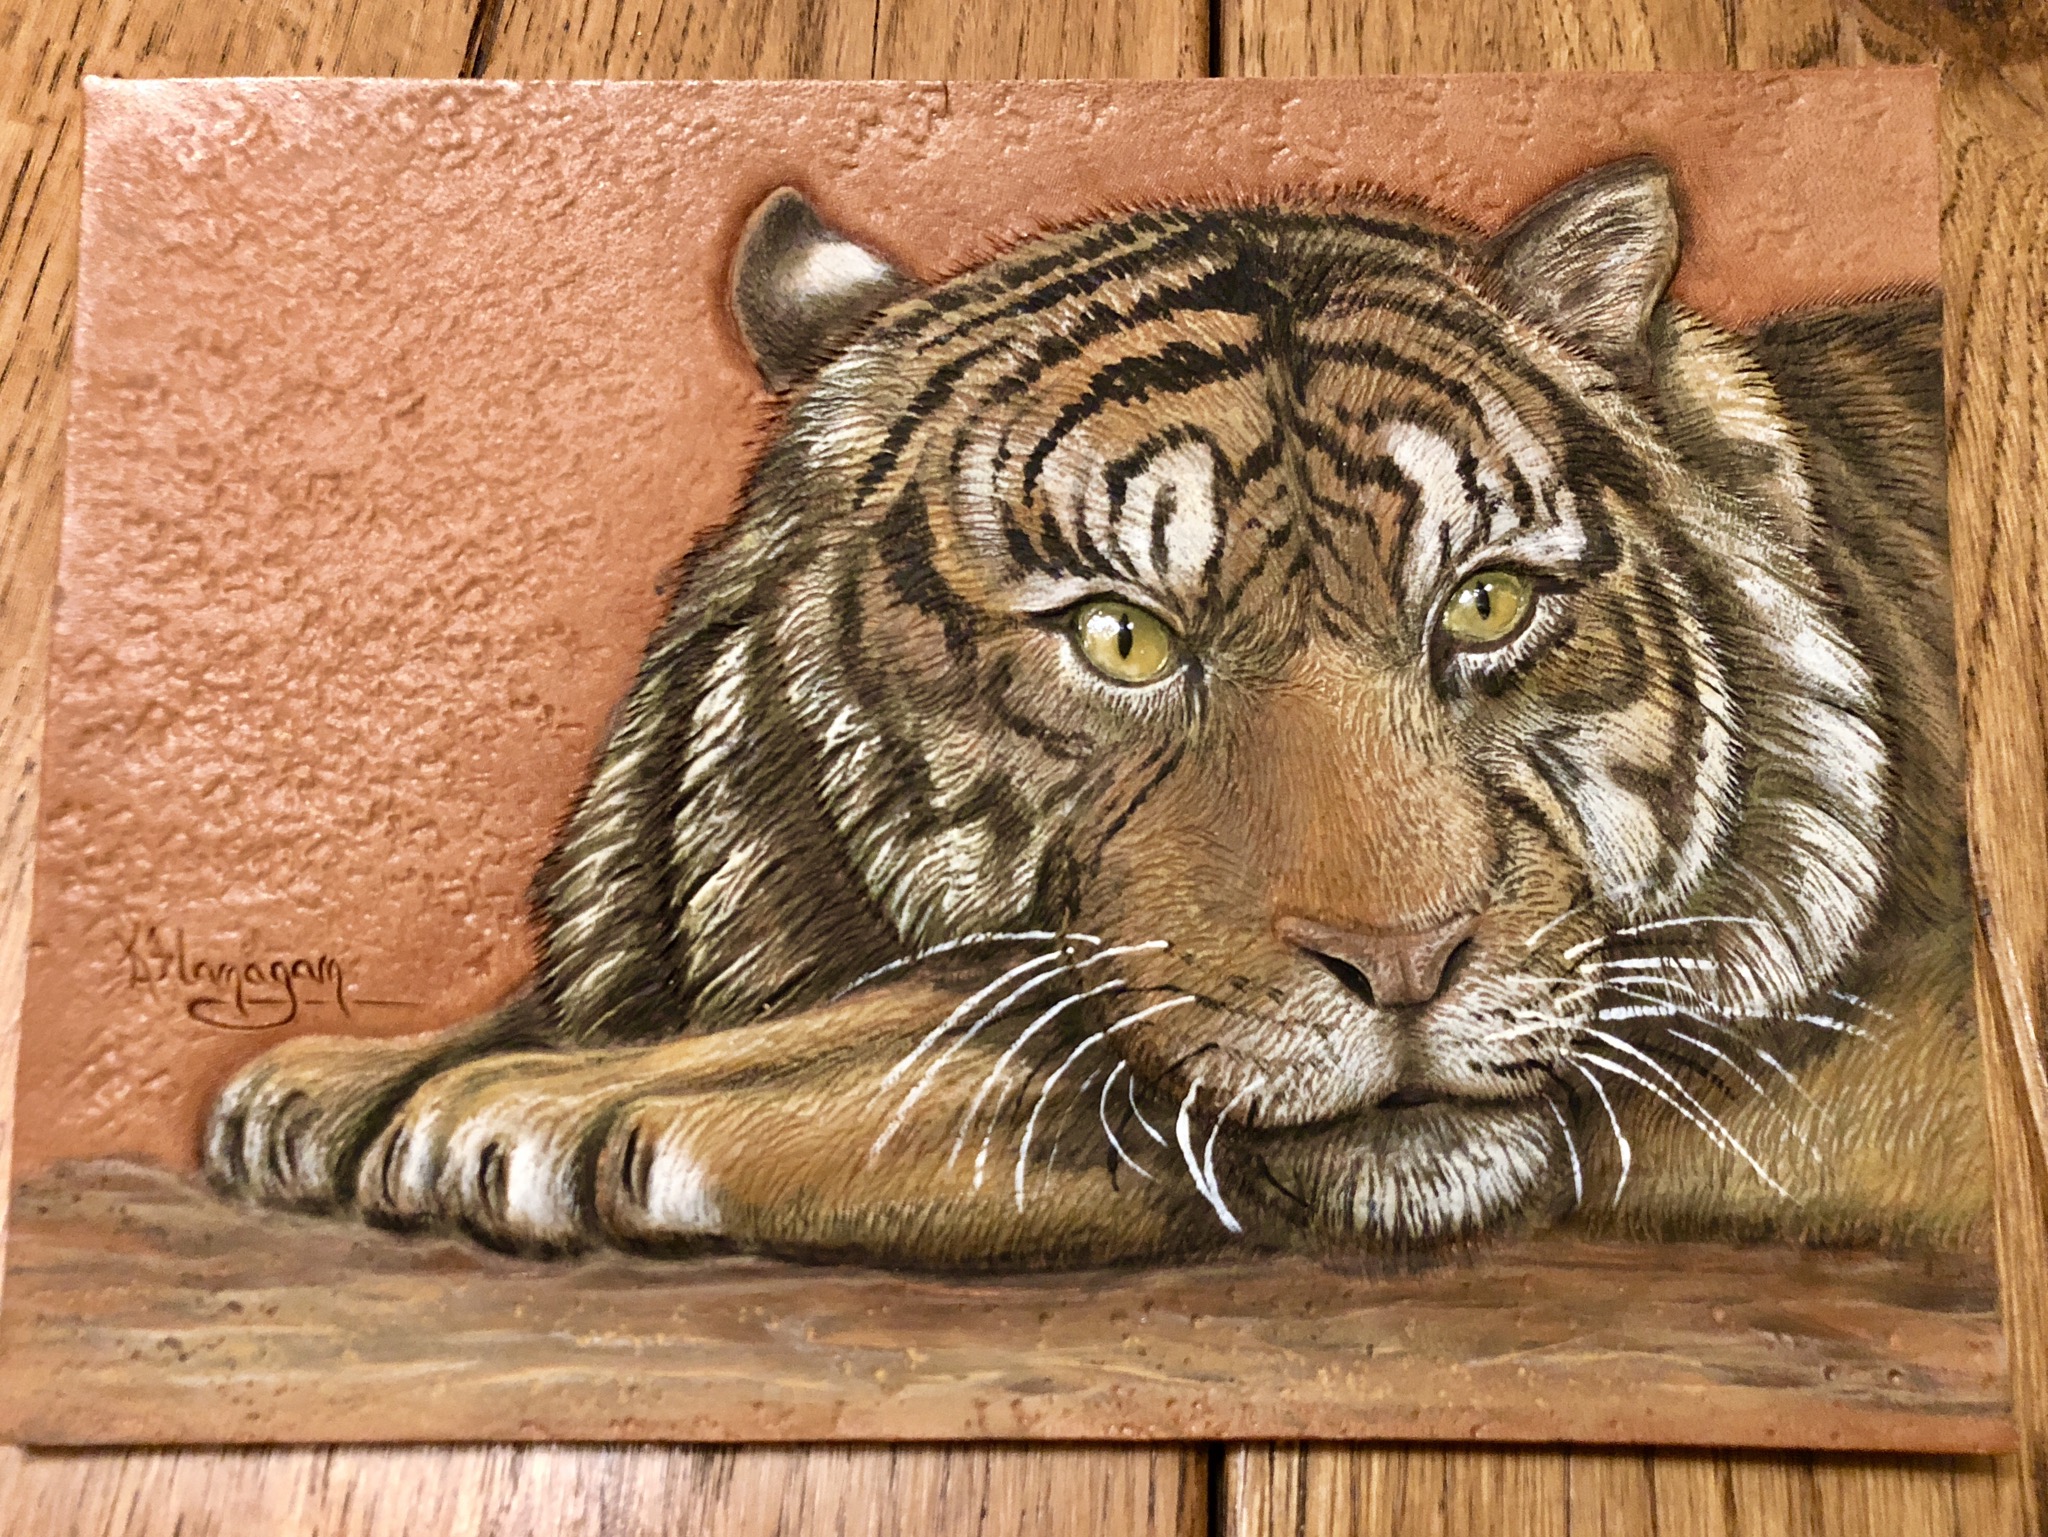
22 hours ago, battlemunky said:That looked super fun and intimidating. All that leathery talent all in one place. Her tiger she made you is incredible Mike.
It was the least intimidating place ever. EVERYONE was super nice, and helpful. All of the instructors there are awesome at their job and you can ask them anything. This is why I love trade shows and push people towards them so much. I learned more there in my first 6 months and it set the course of my career for sure. Arnhem was as good or better than any other leather show in existence, and it is now my favorite. What an amazing place.
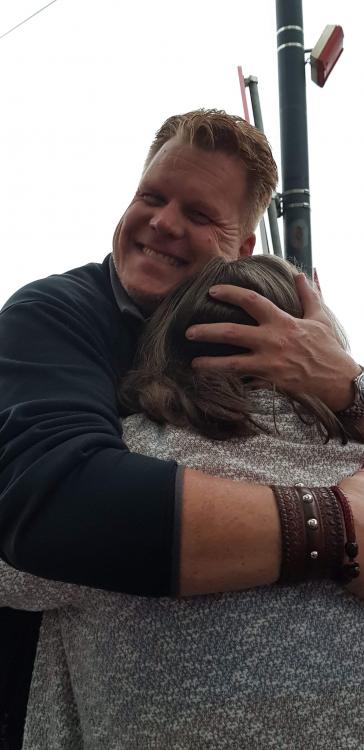
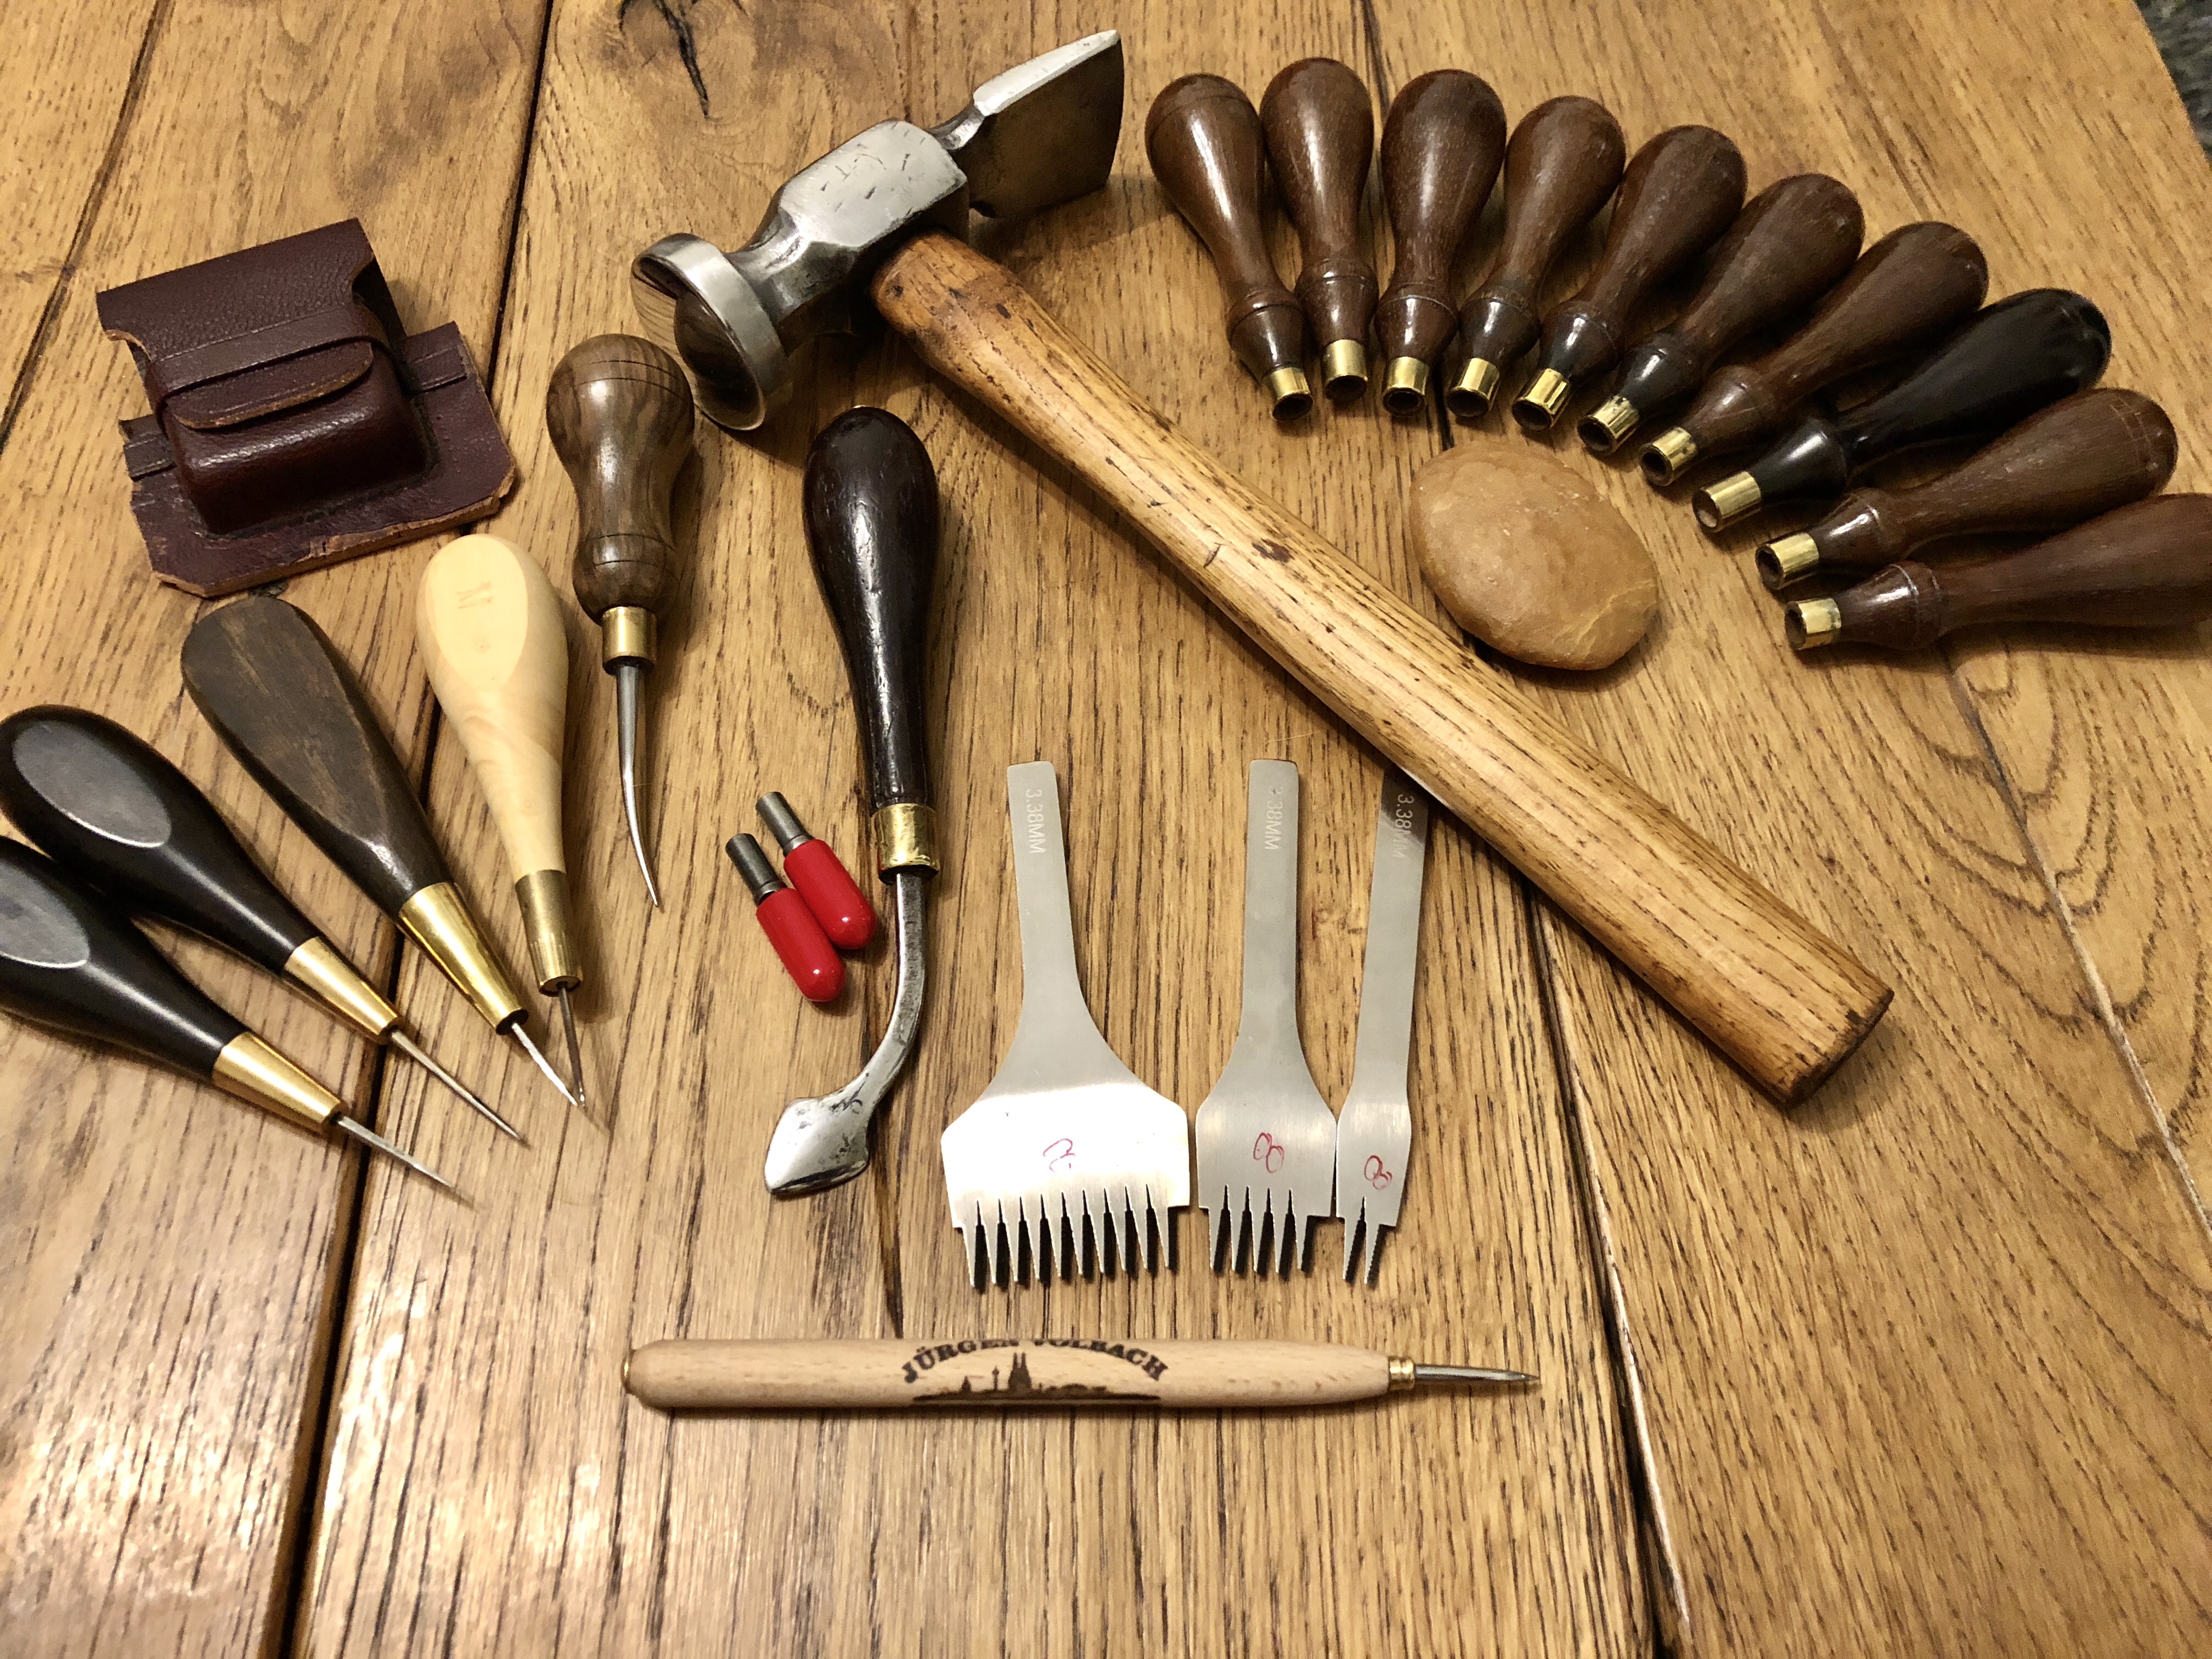
Kathy is adorable, and truly gifted. Plus, she lugged that and a box of tools across the world for me. -
The weather in Arnhem was perfect fall weather, but yeah we have the sun here!
as for the slabs, yep. People from all over dragged them with! Gotta love leather workers!
-
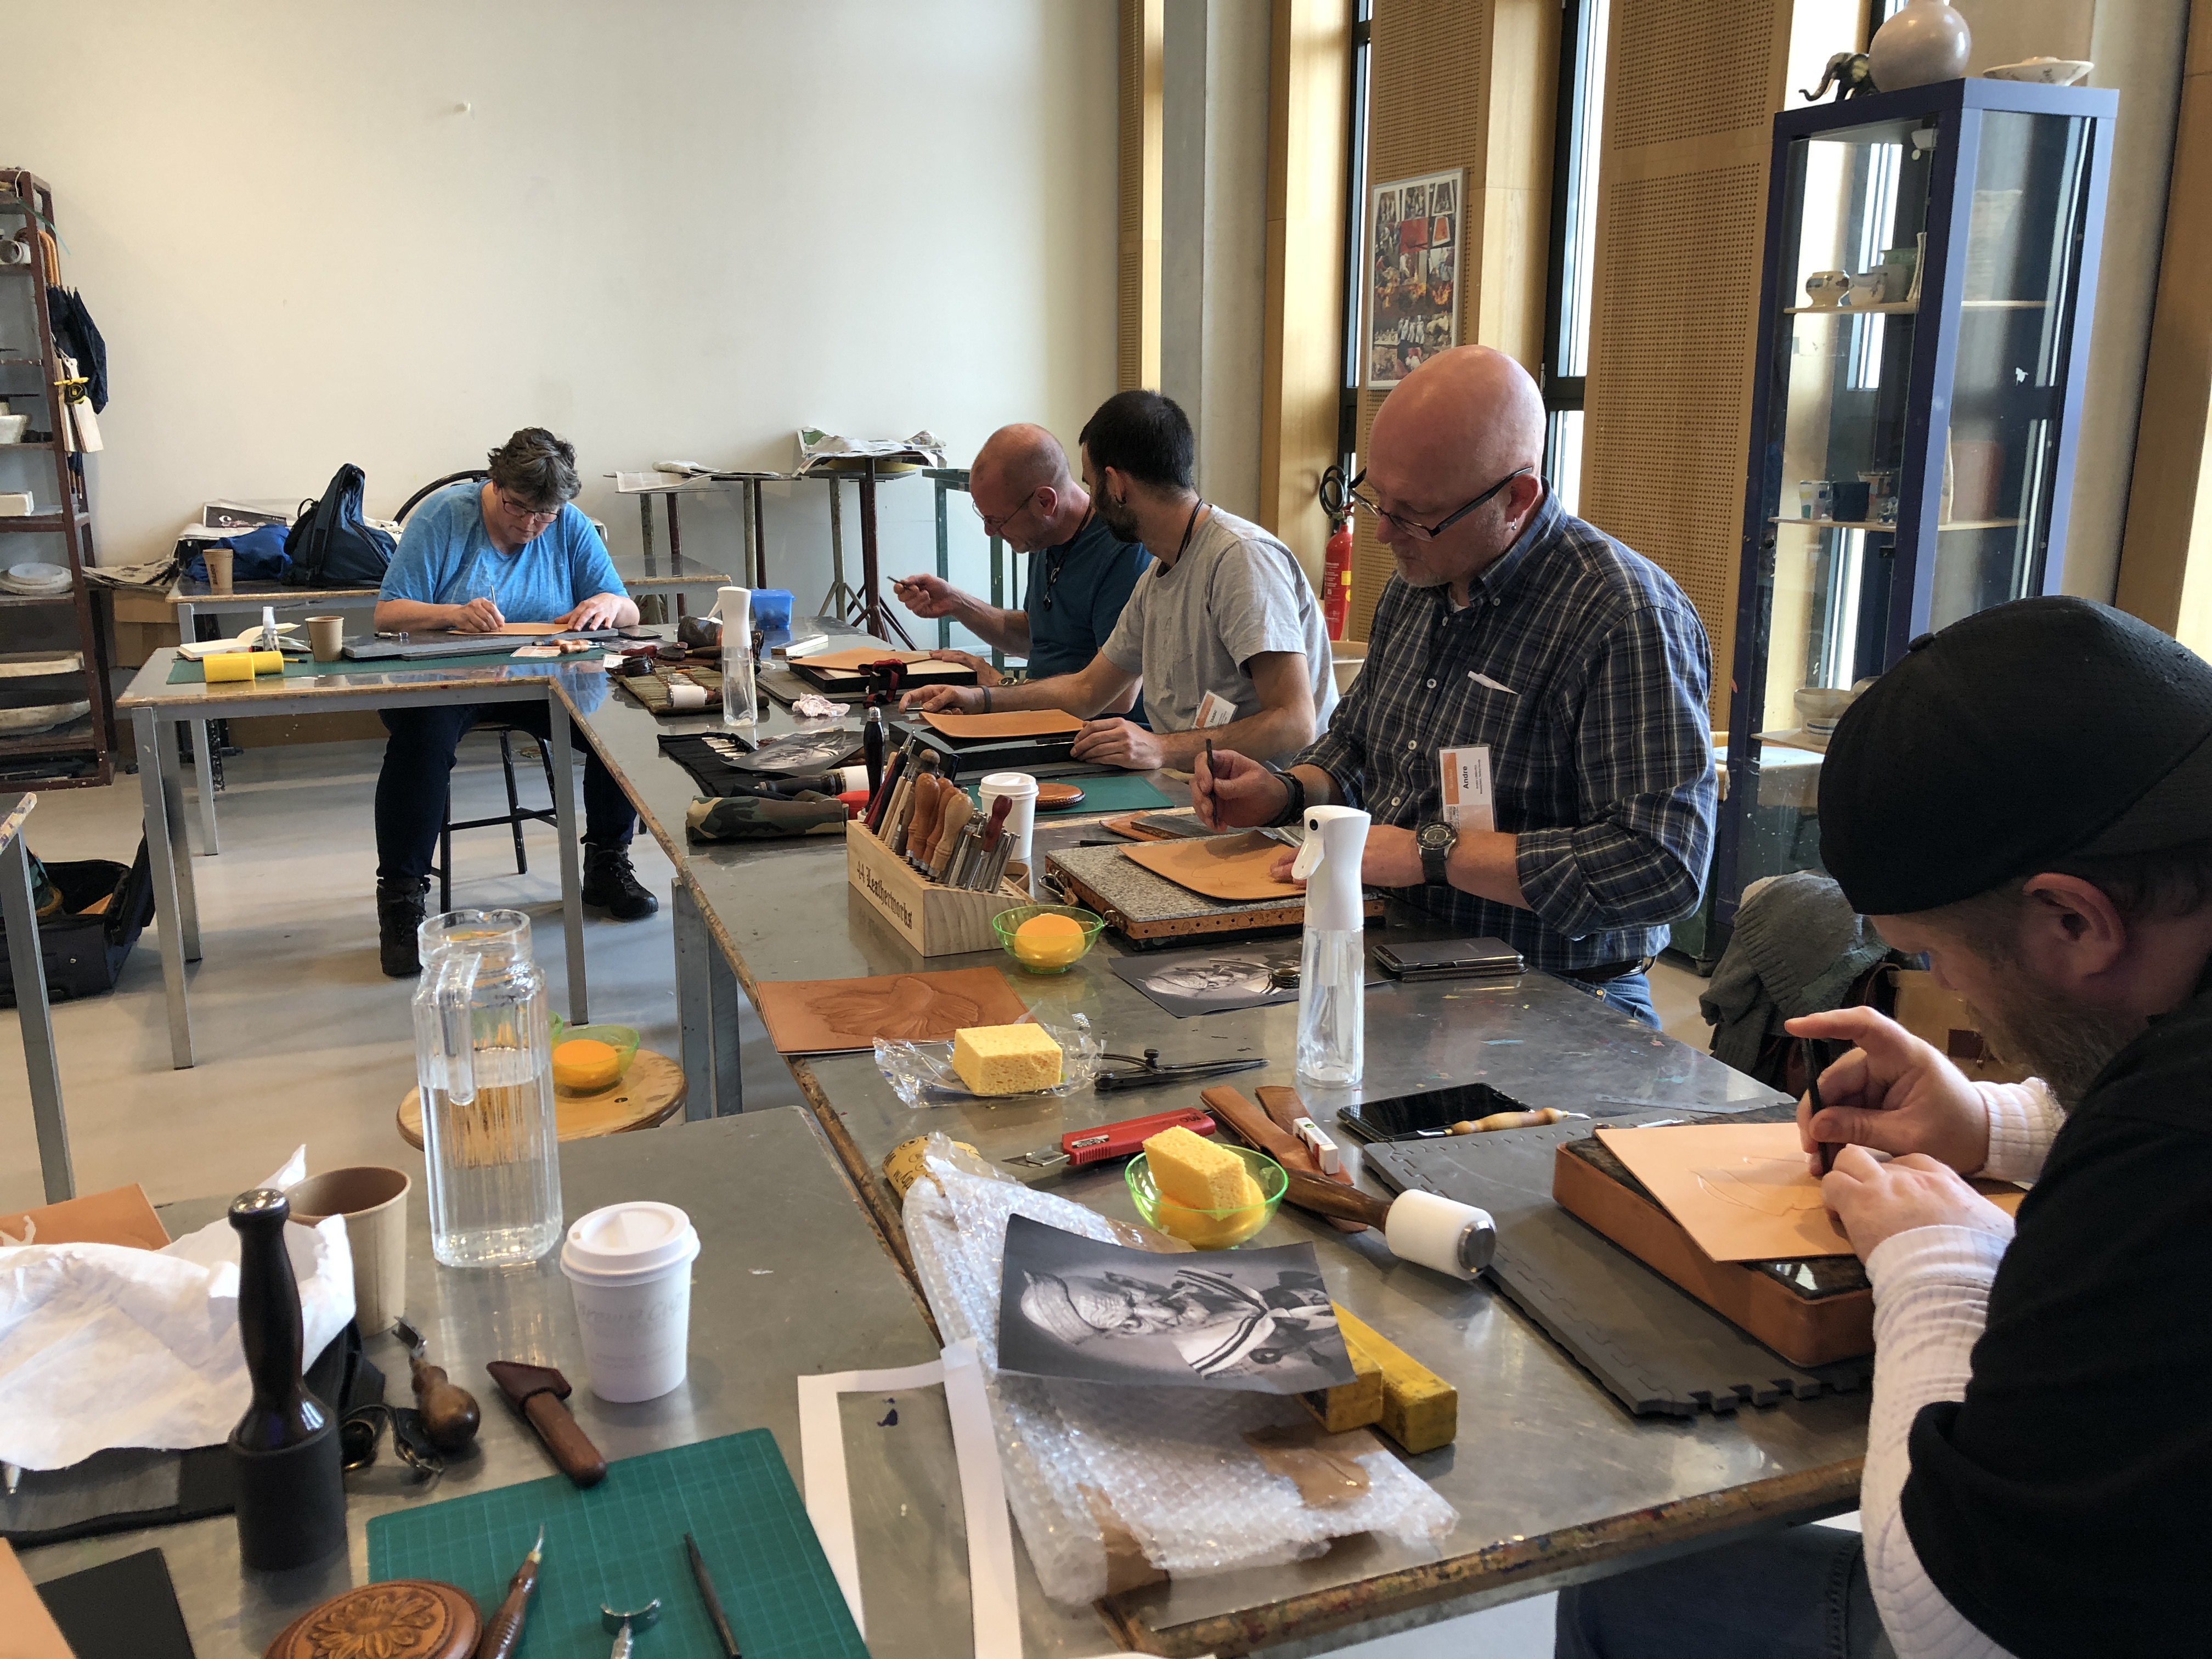
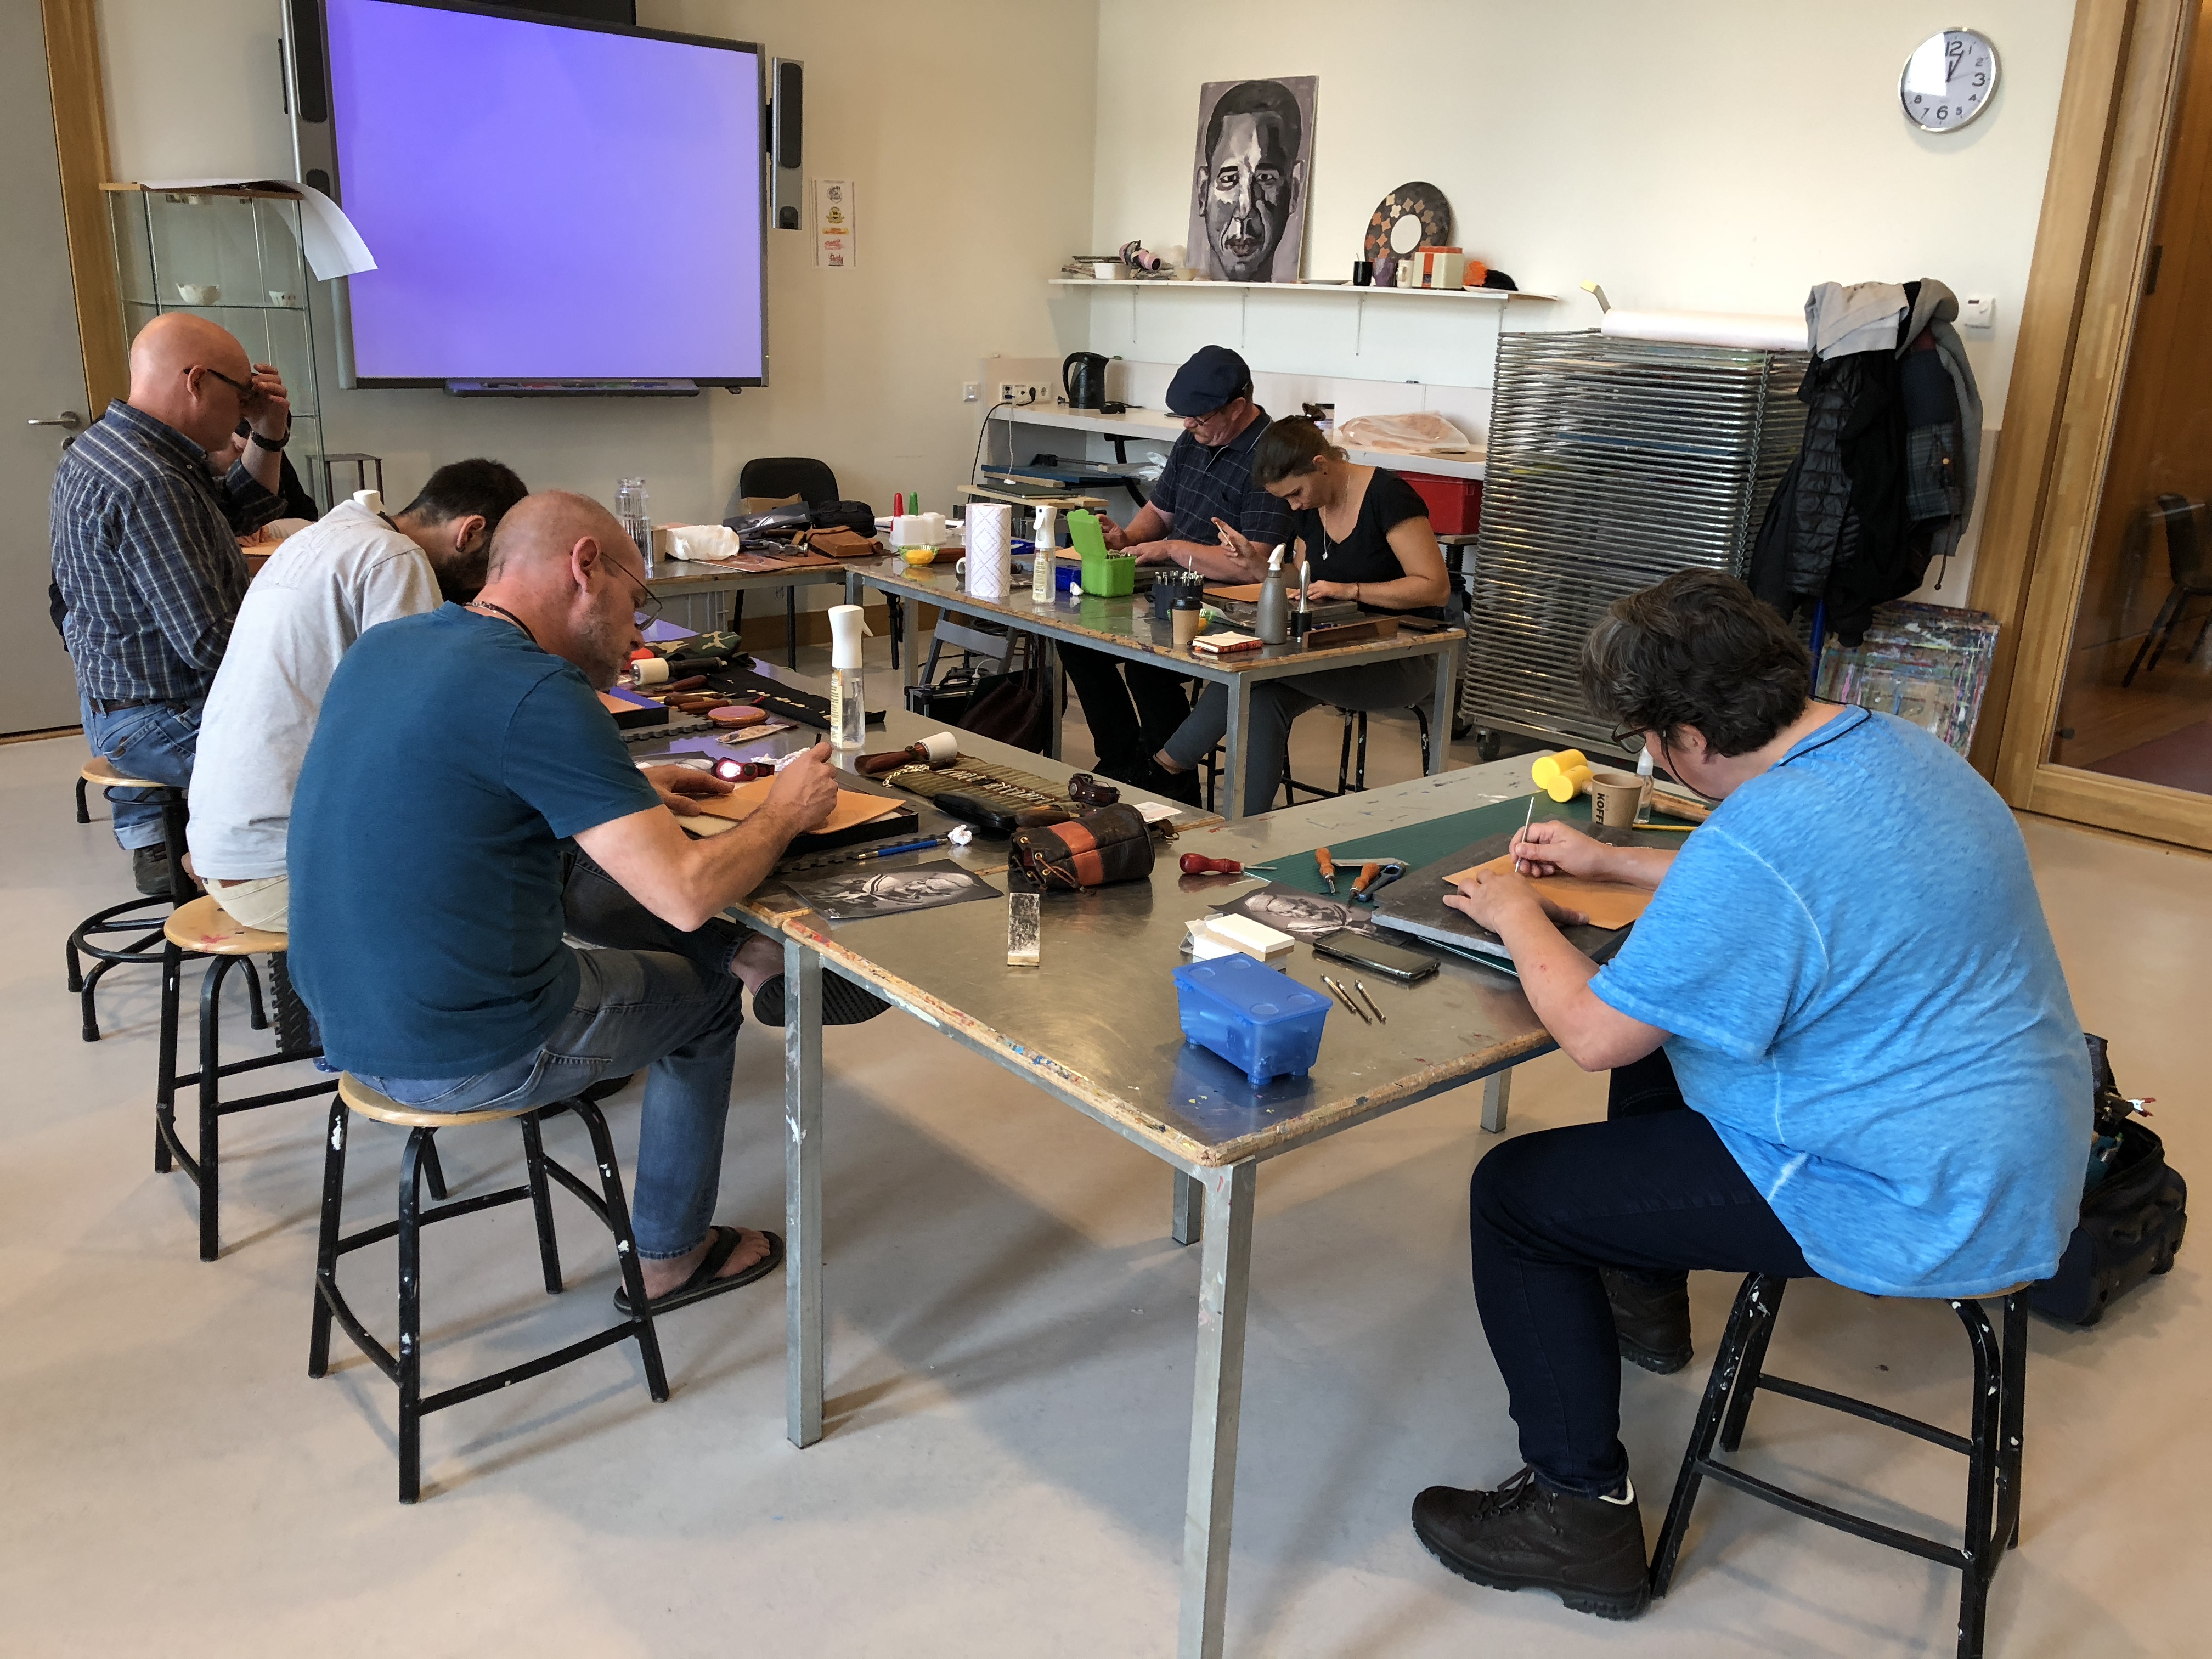
Everyone said they loved class. Took 8 hours to teach it. Everyone had an embossed Popeye by the time we were done.
I had an absolutely amazing time. I want to live there, it’s that good.
-
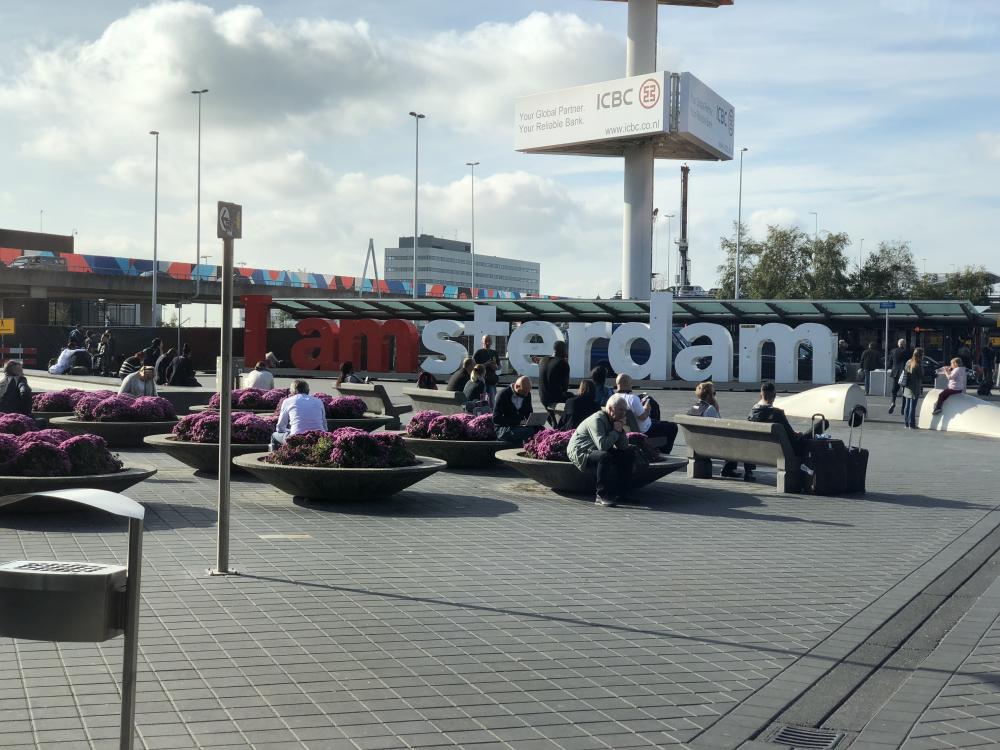
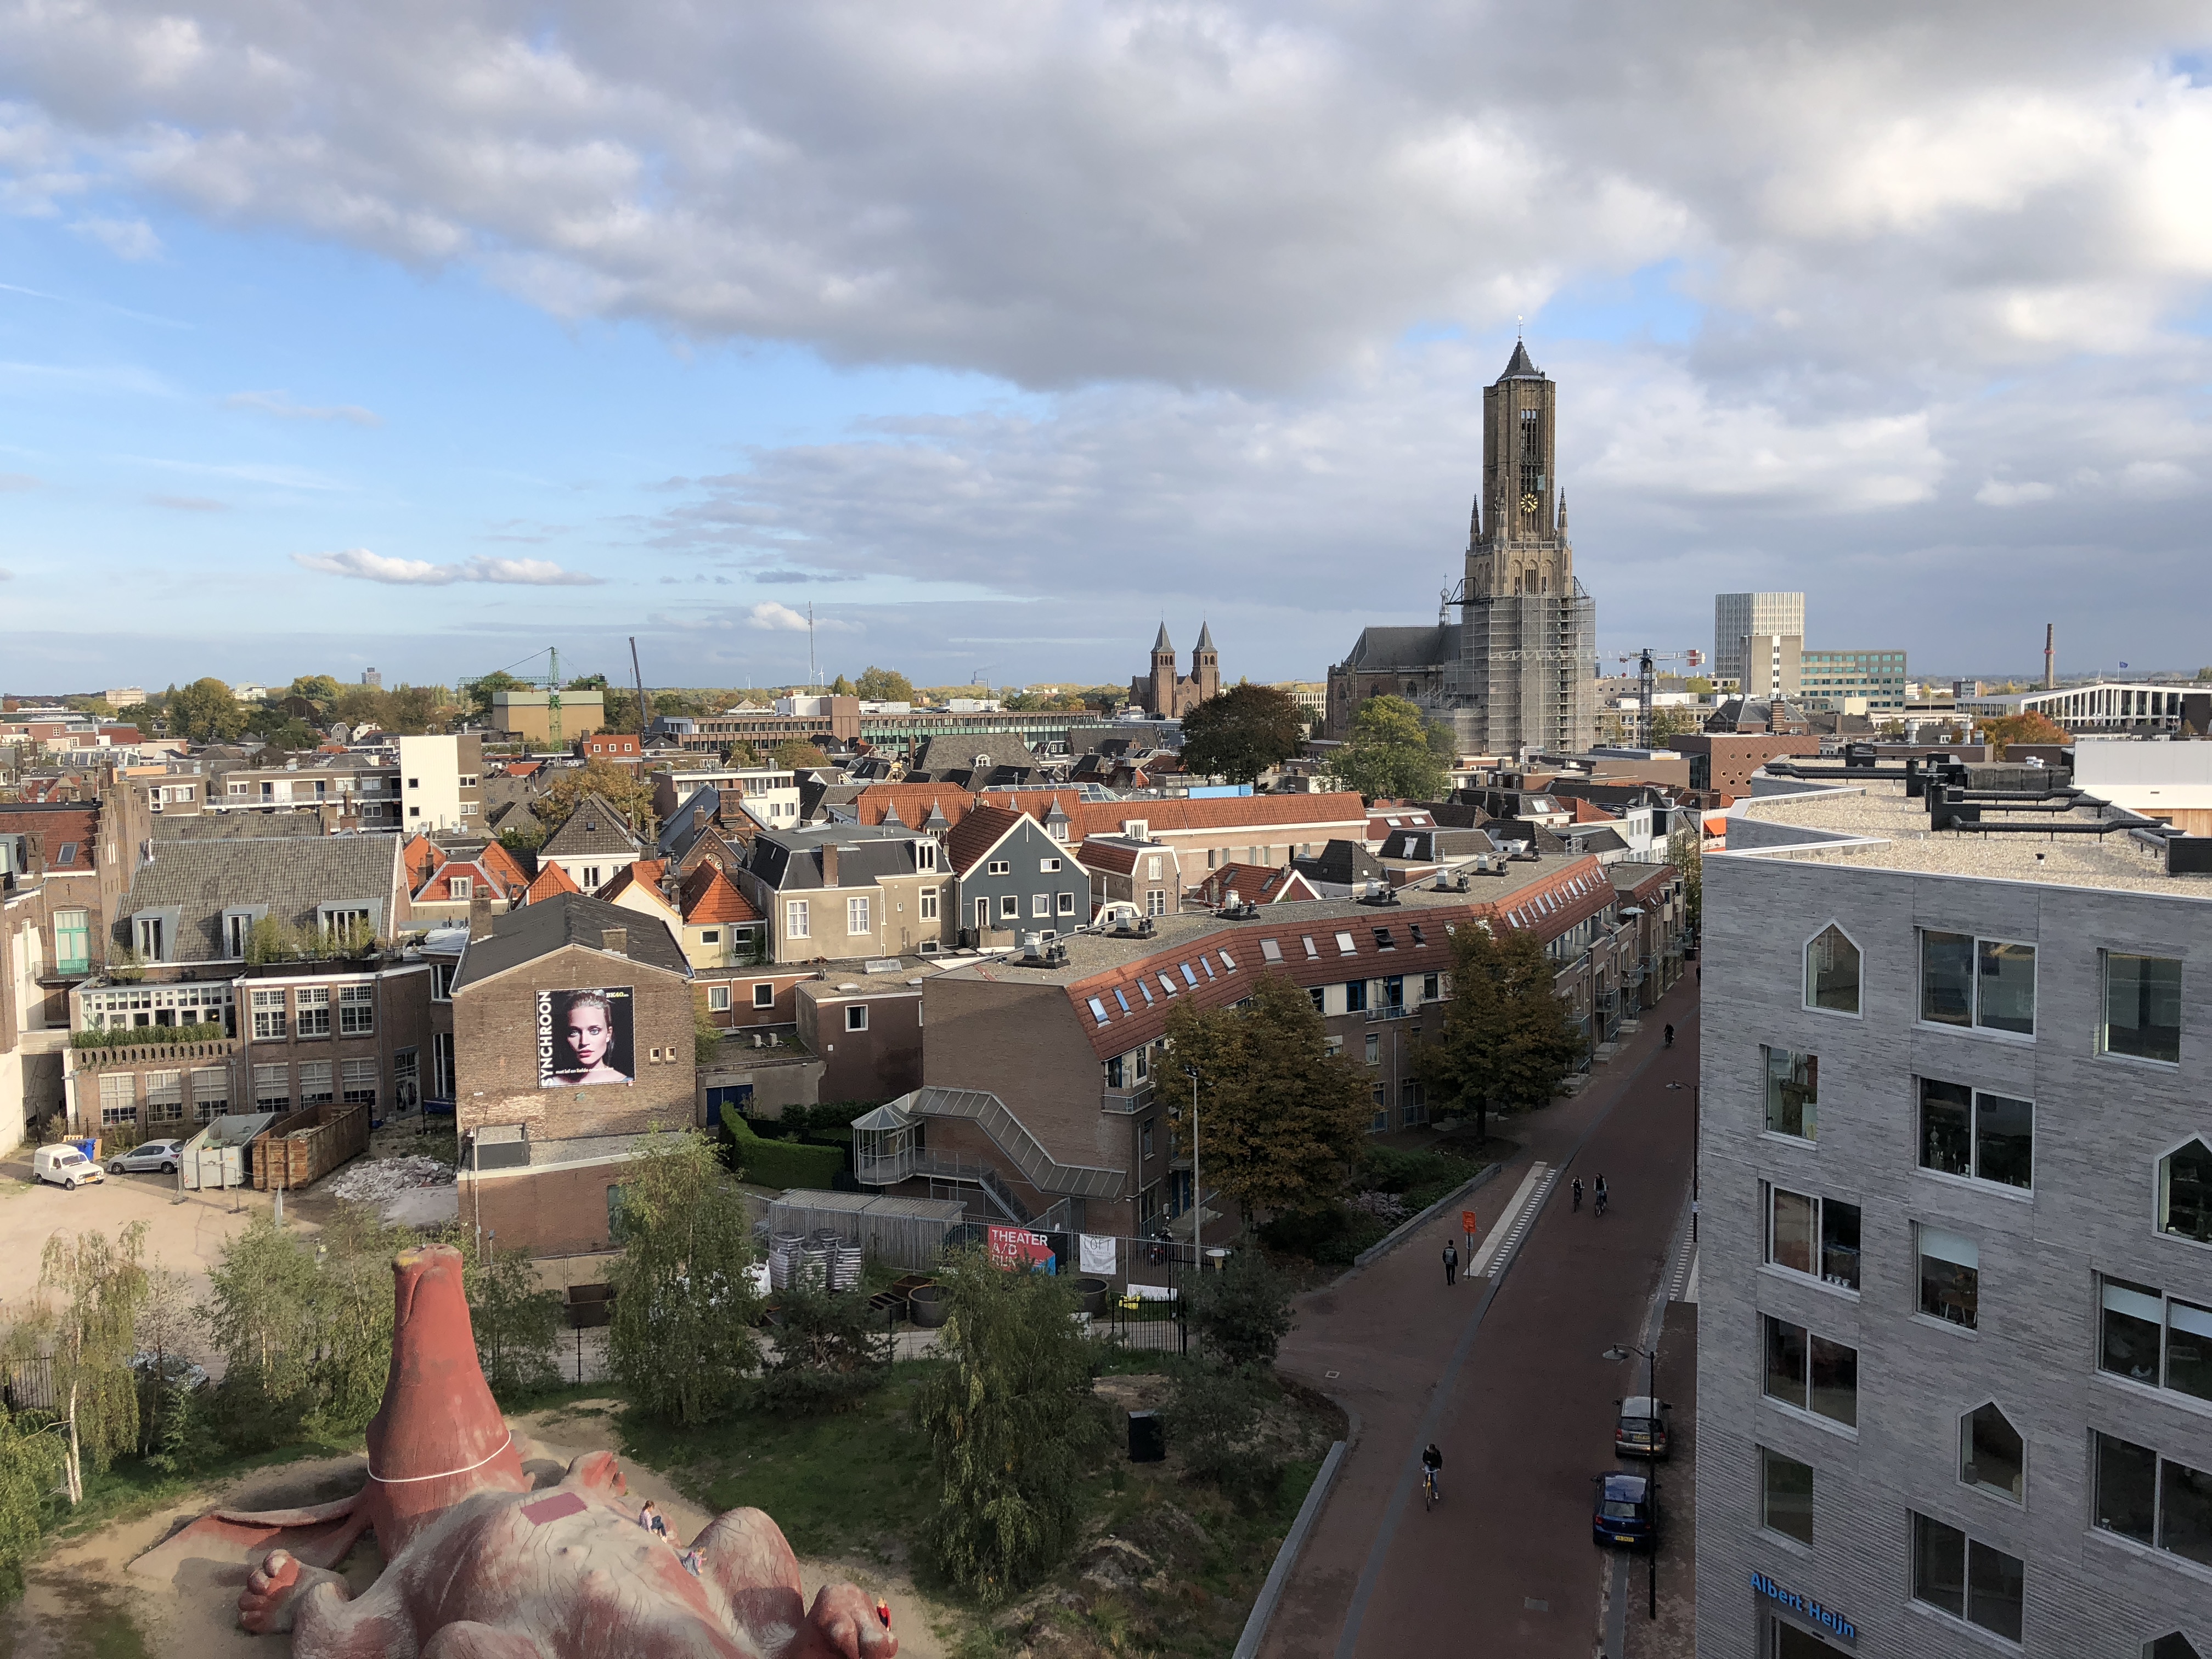
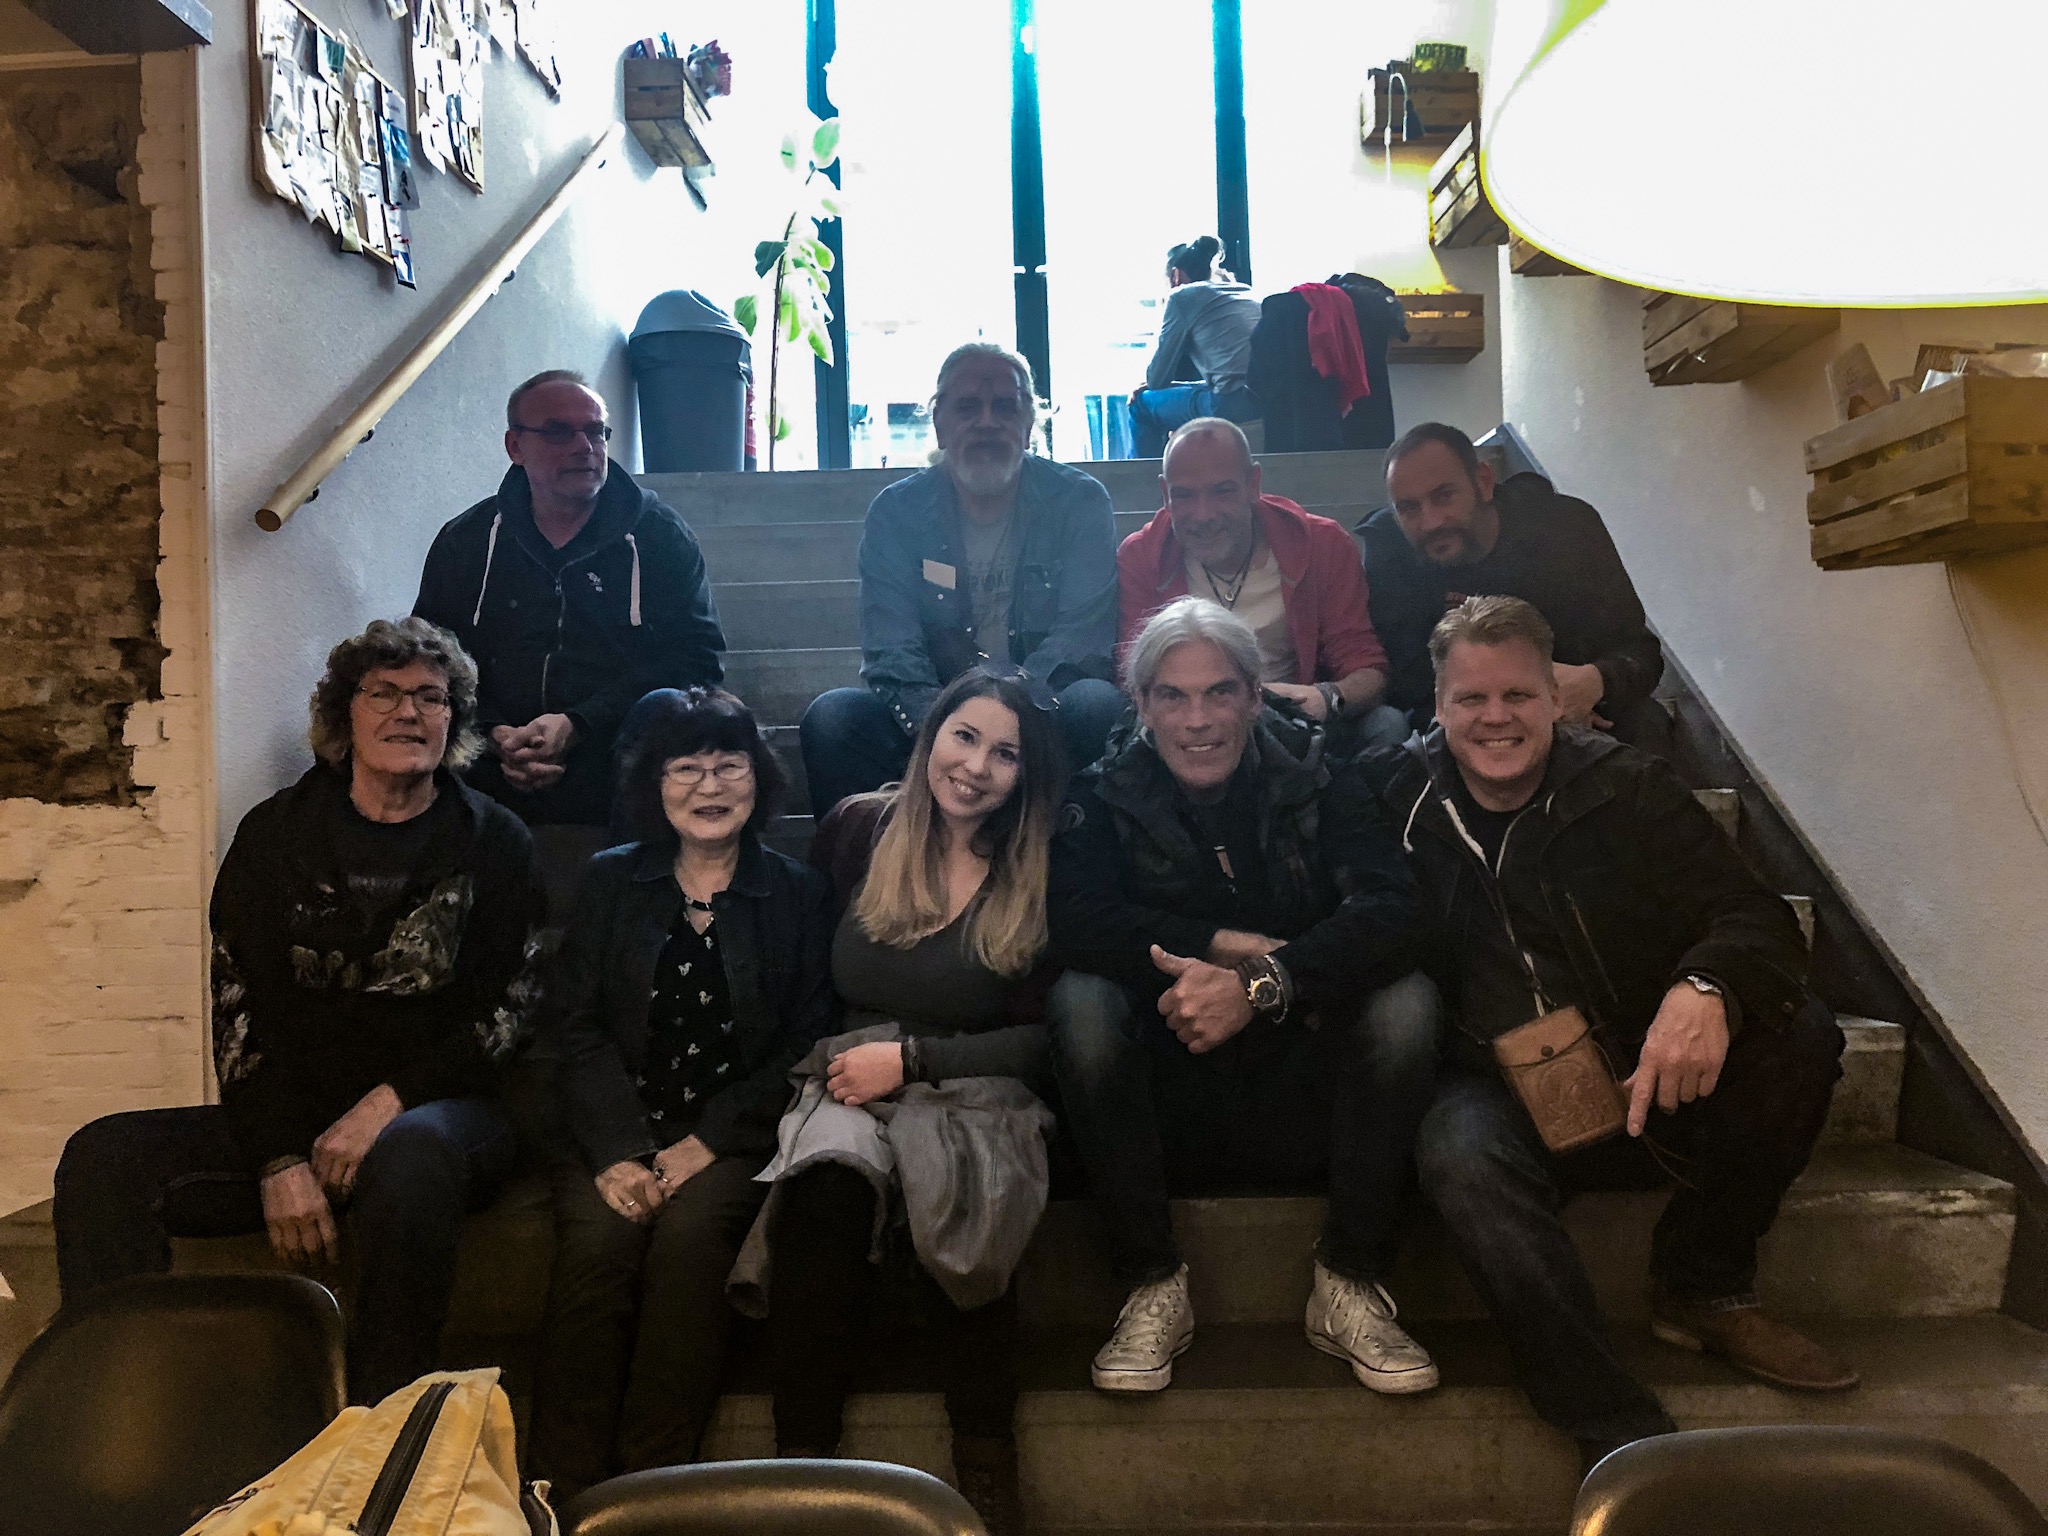
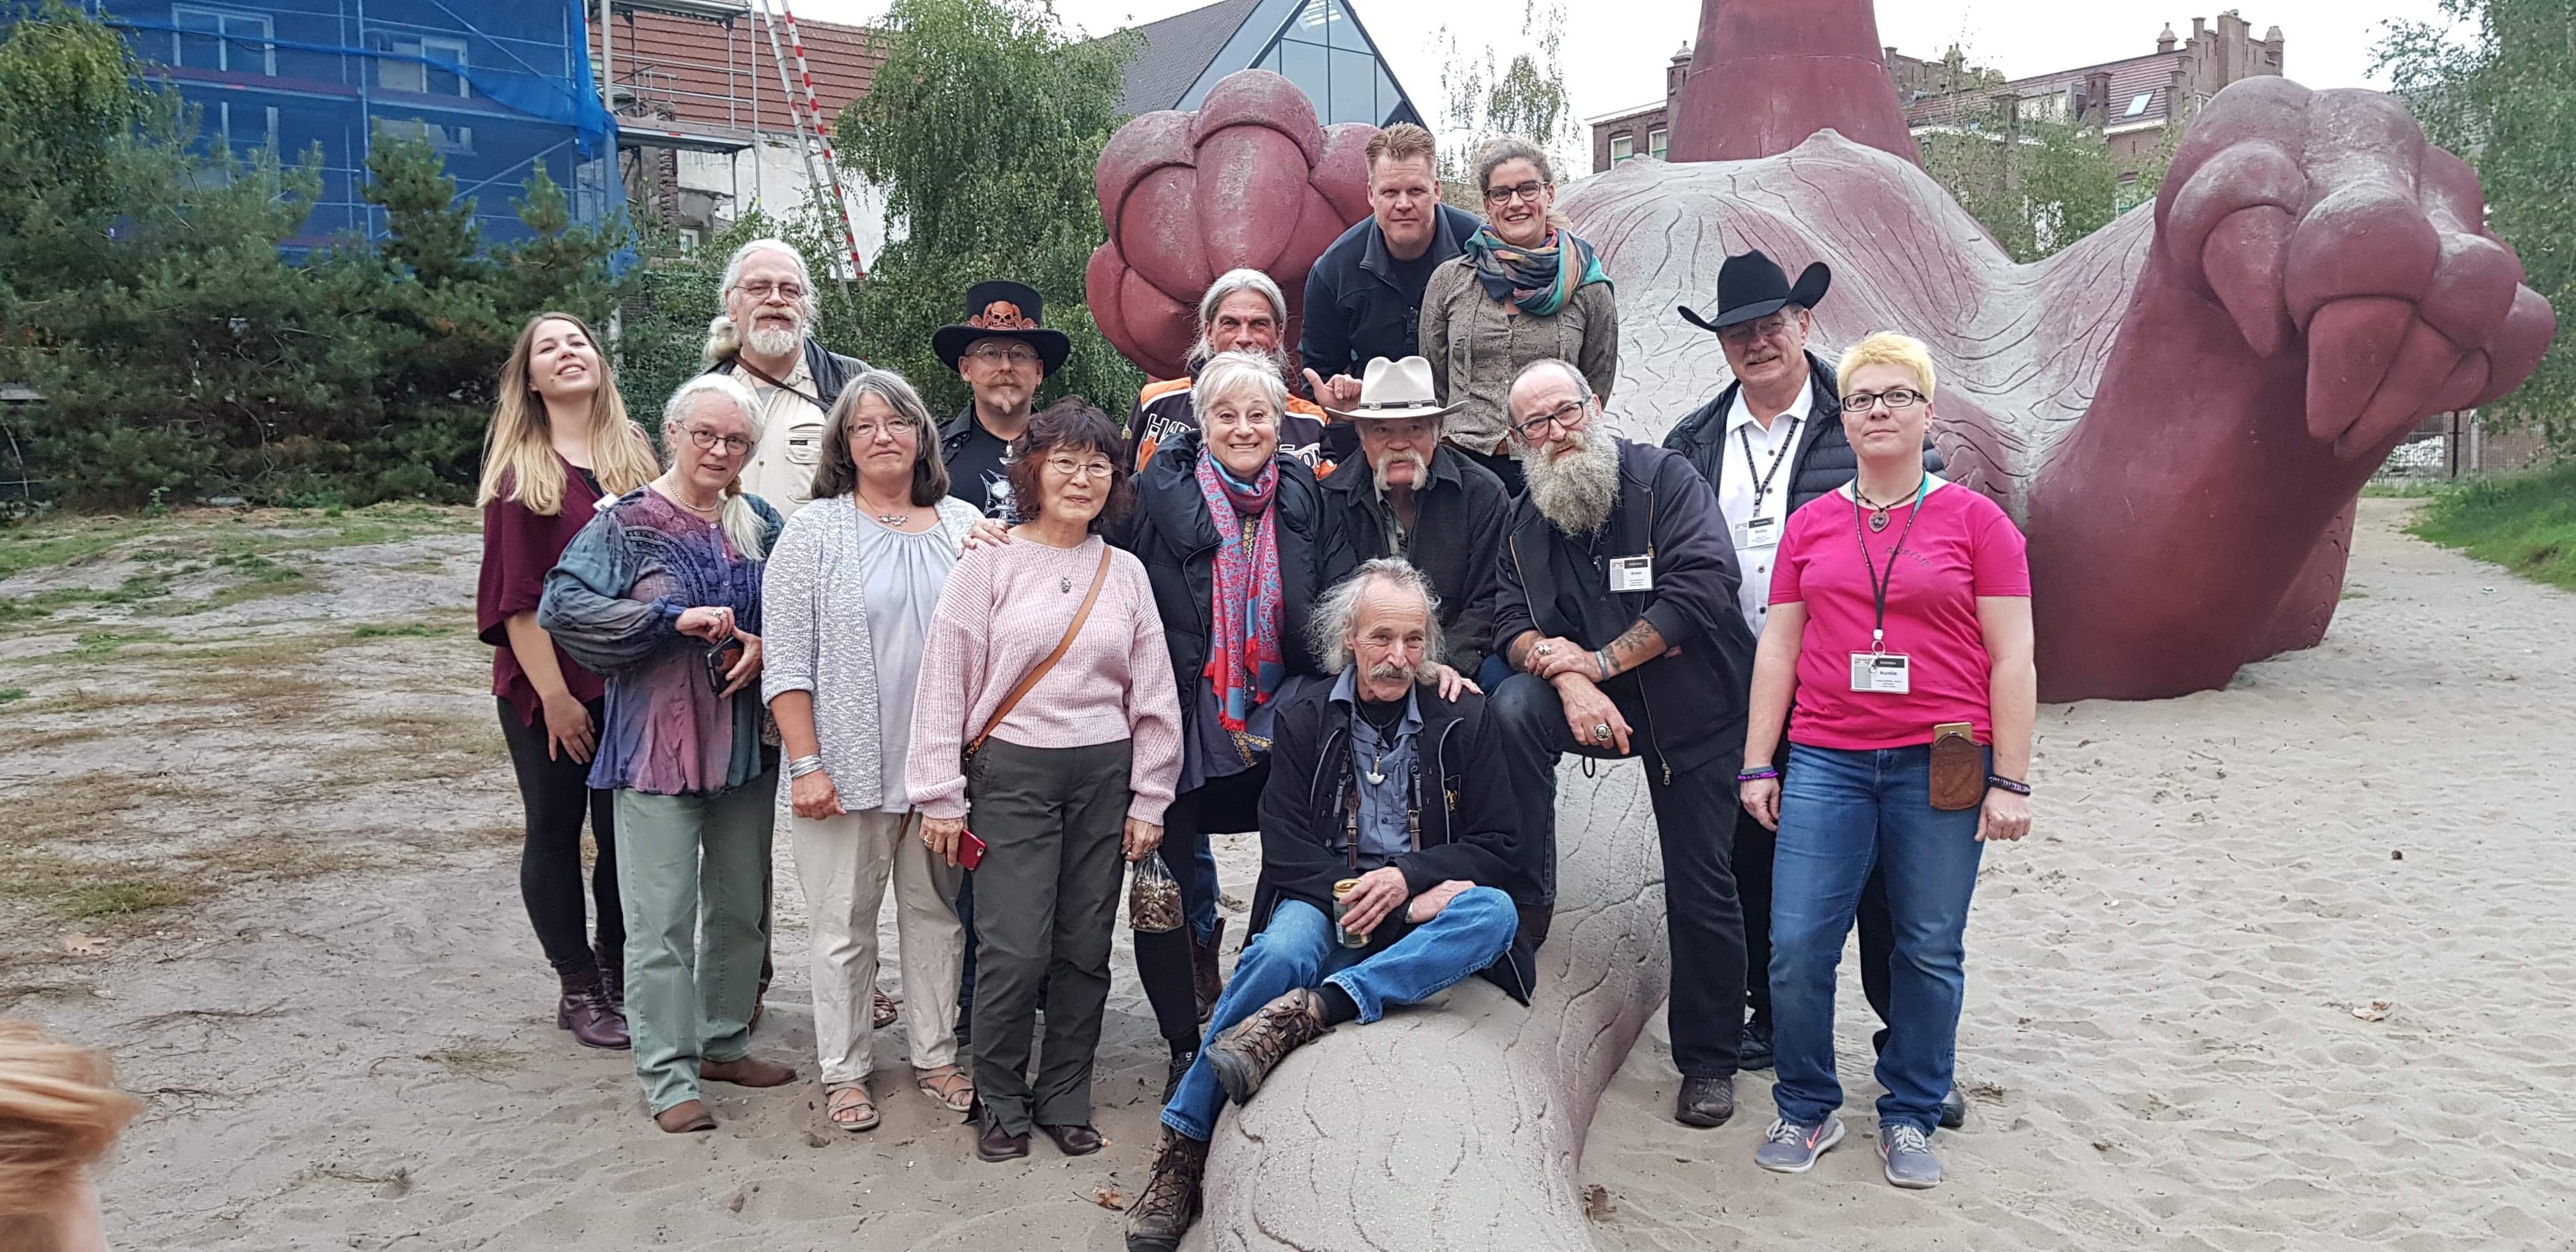
I had the honor of teaching again at this year’s ELWATS in Arnhem, Netherlands along with some great friends.
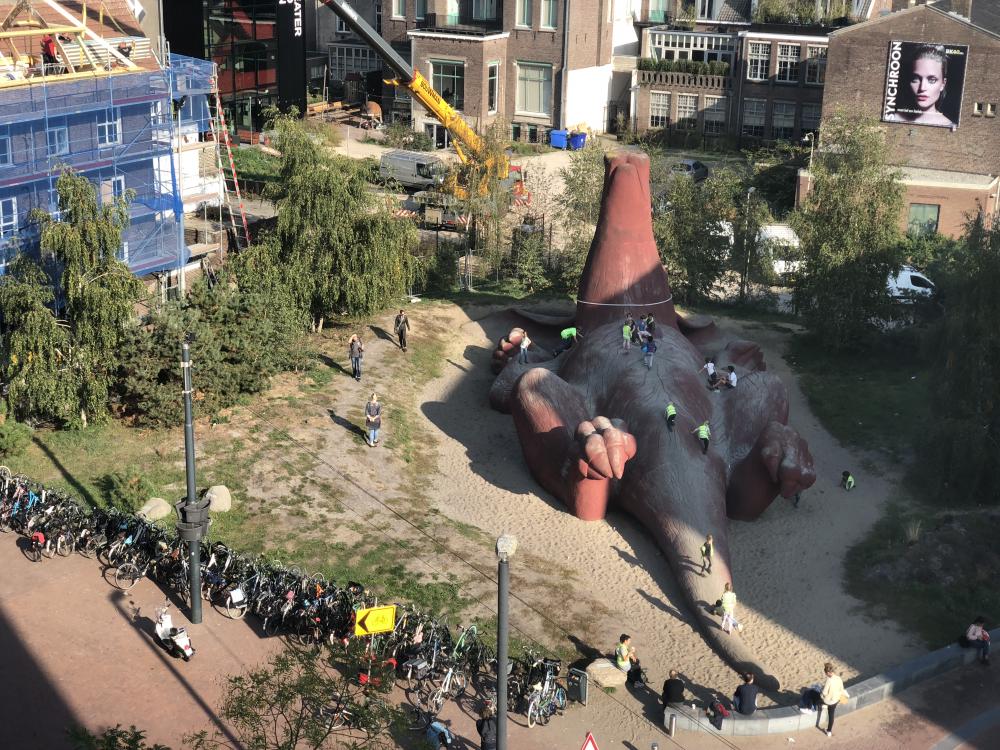
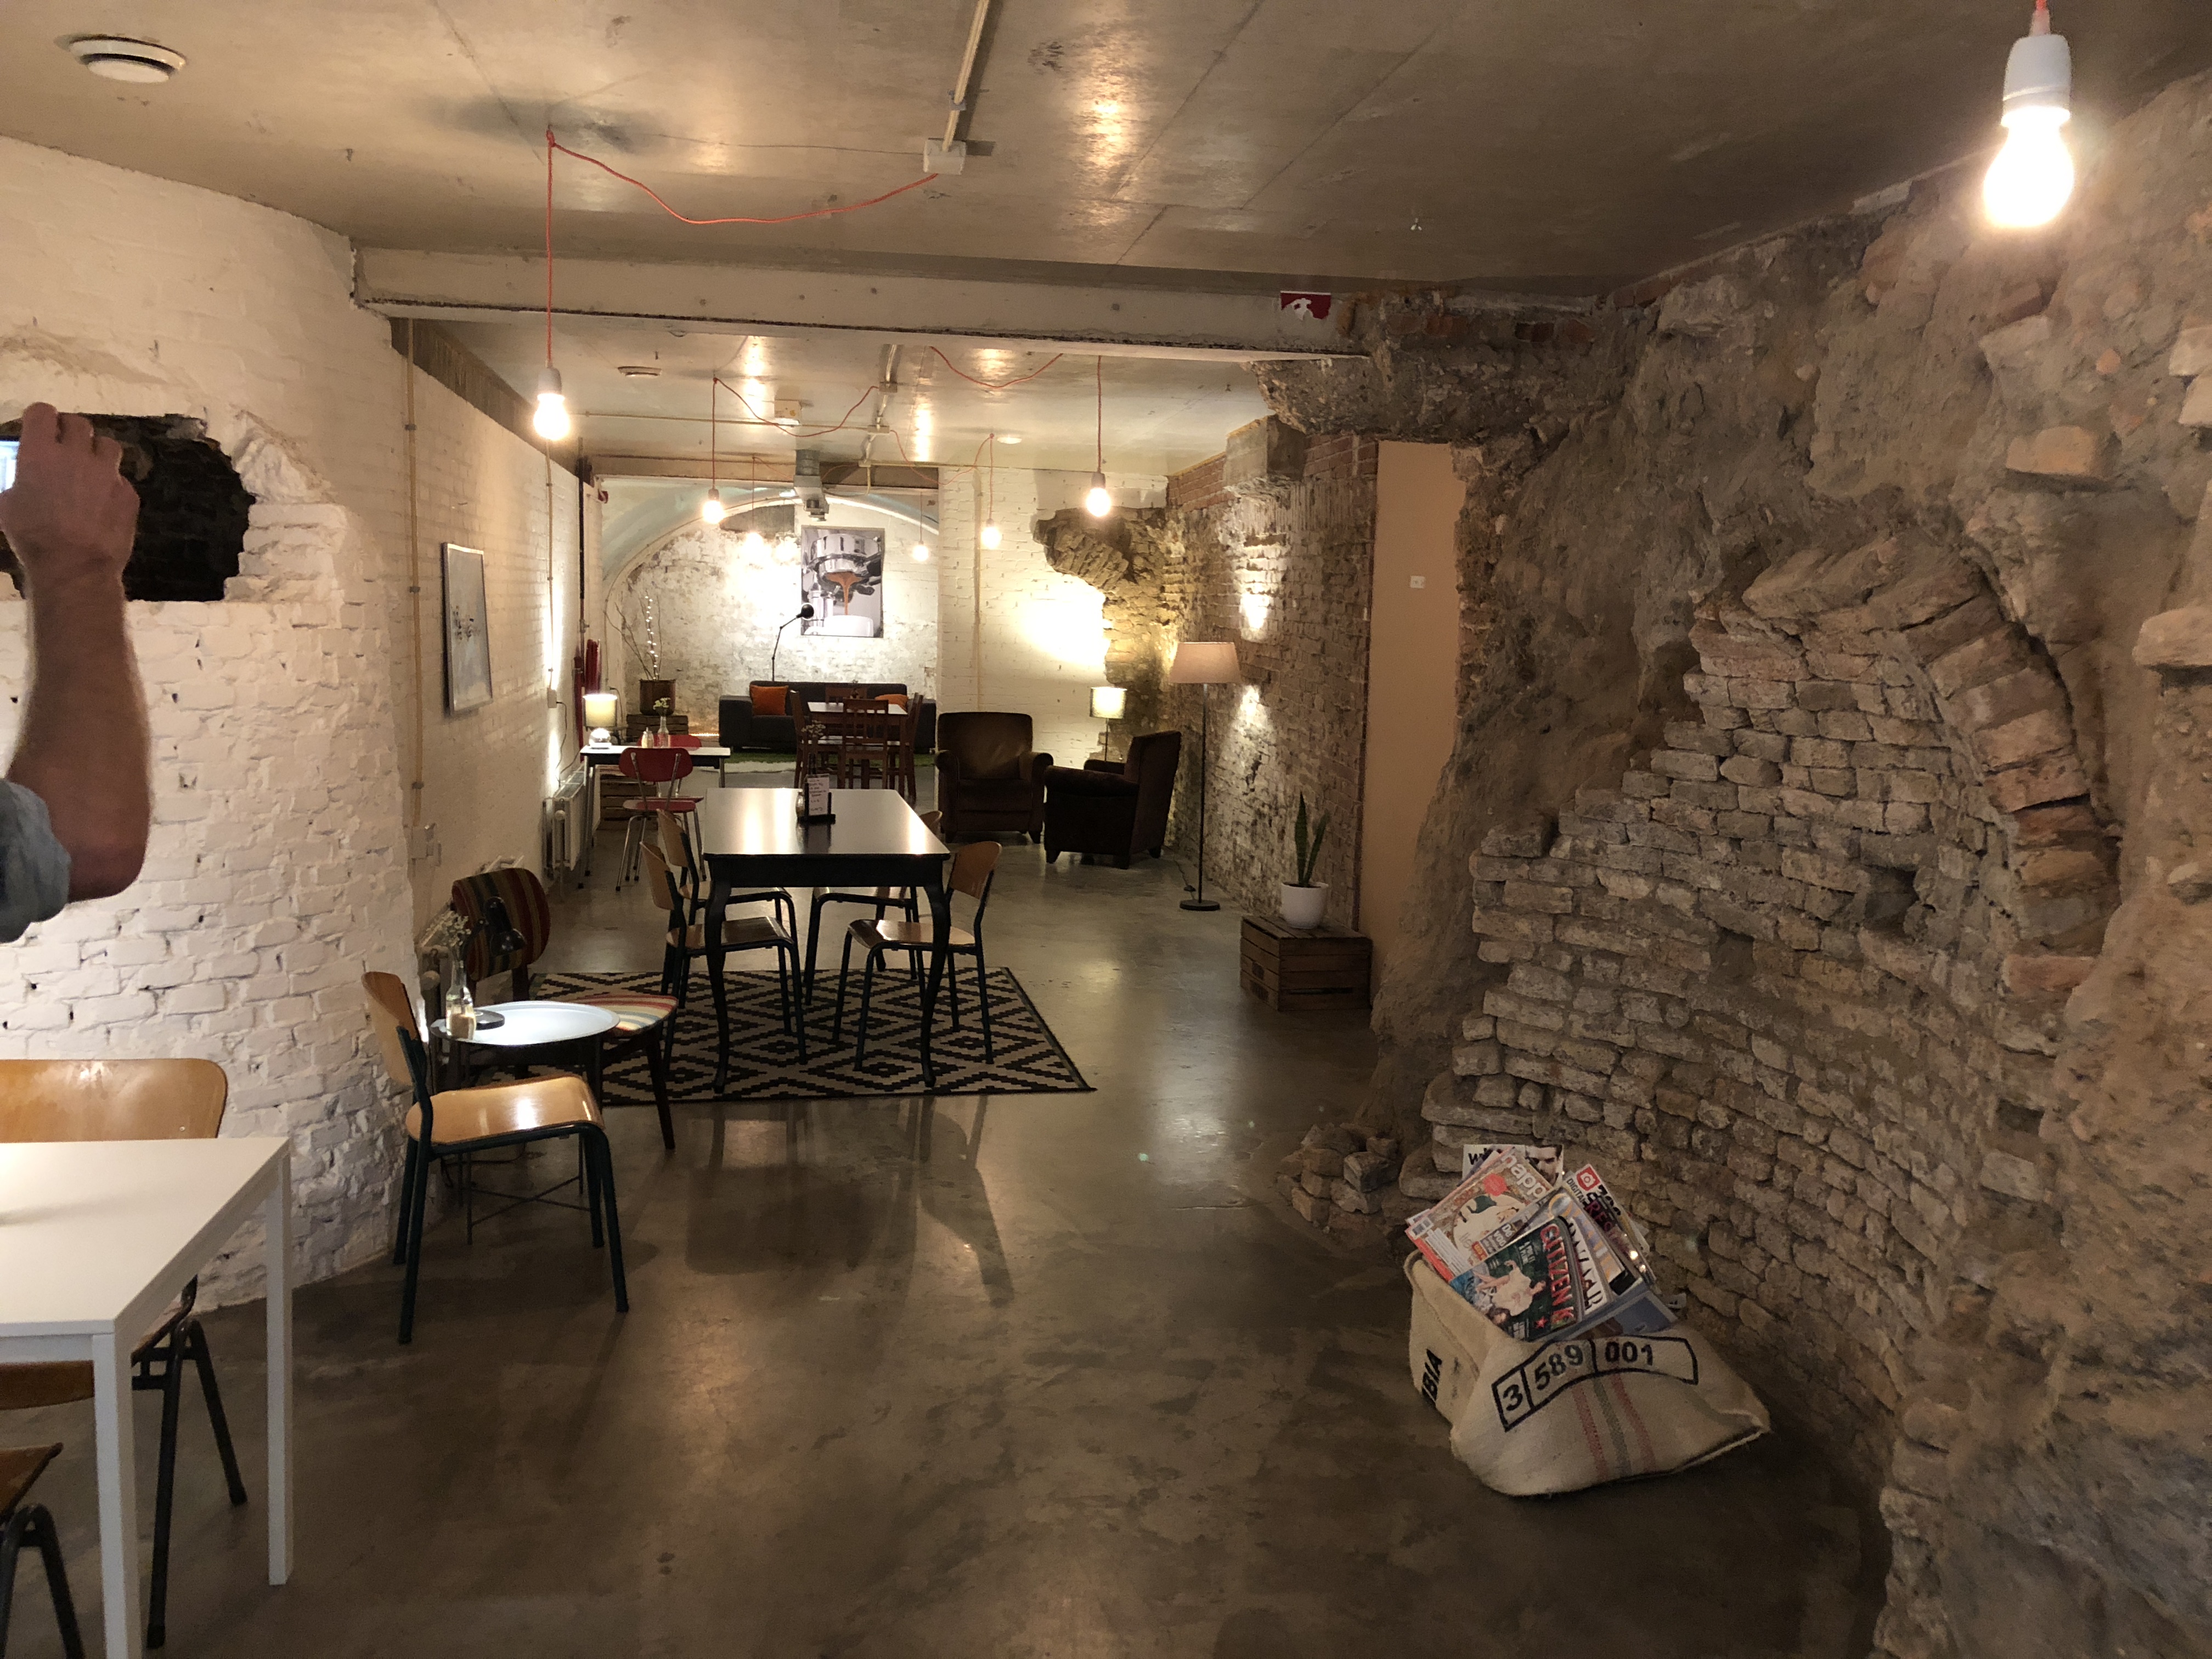
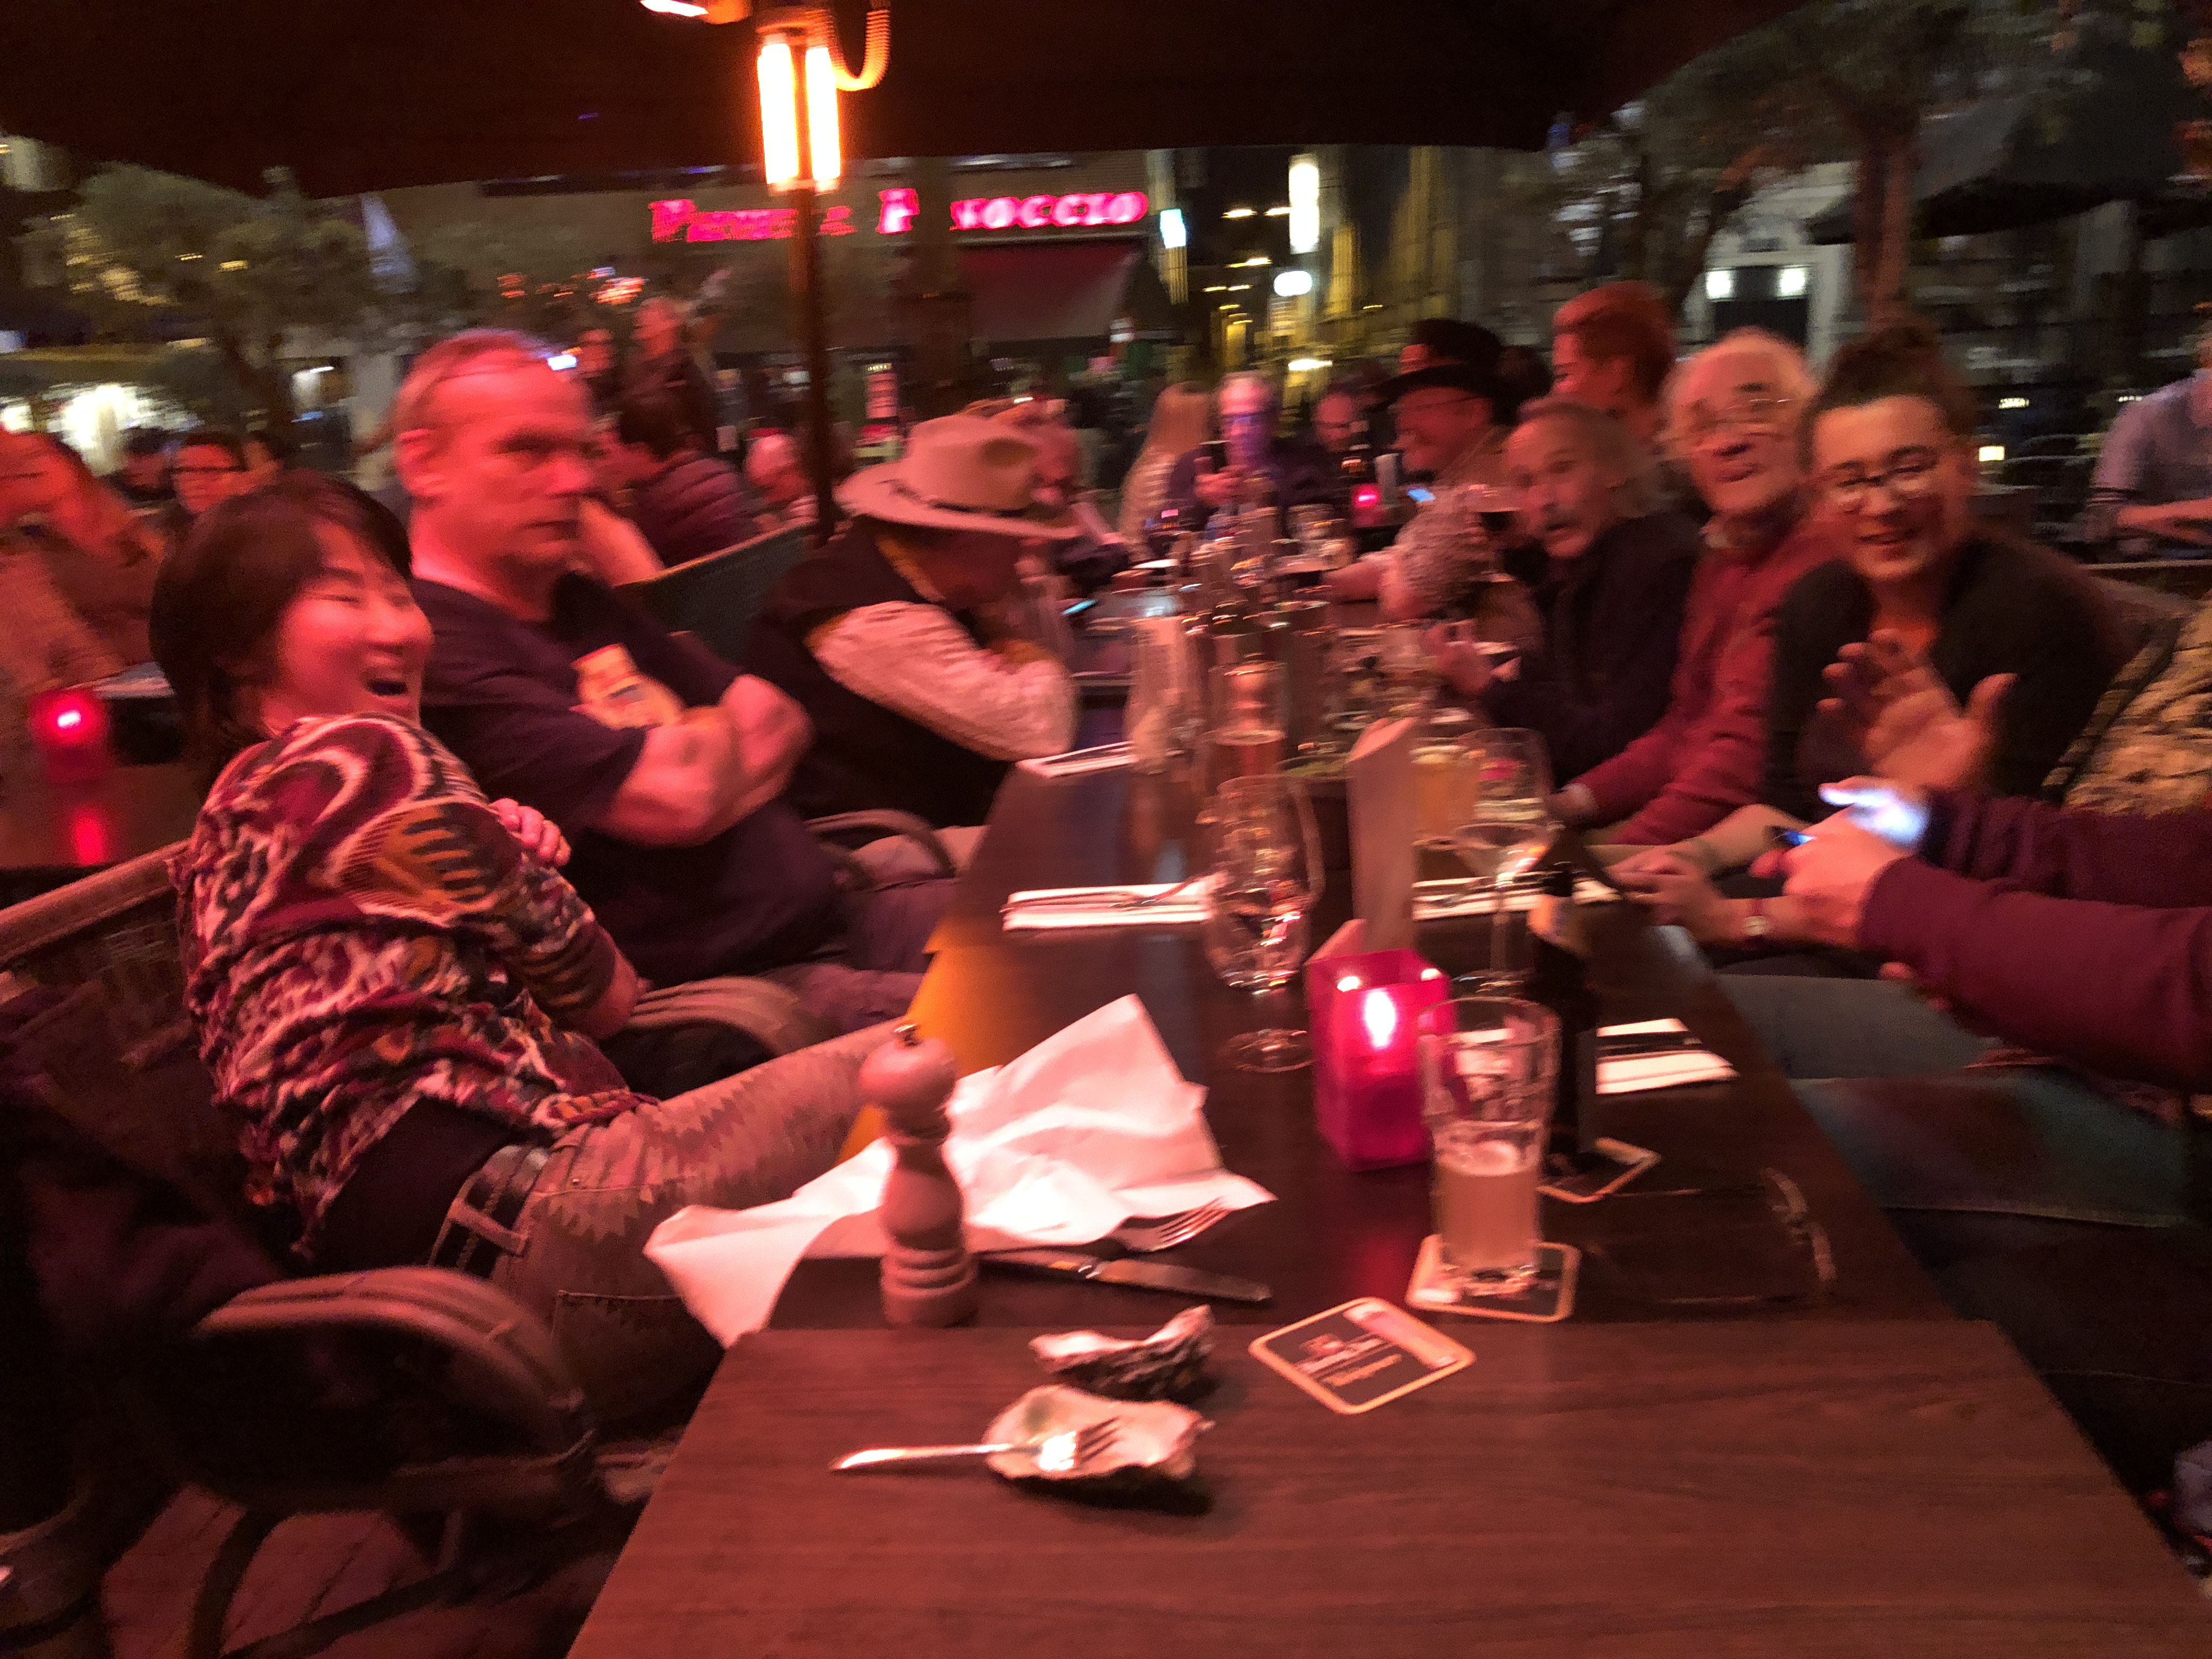
The city of Arnhem is an amazing, world class city filled with history, culture and warm, friendly people. Oh, and the night life is great! I can’t speak highly enough about it.
Charil and Ralph, along with the help of a local leather worker, Danielle picked an amazing venue and organized a show that rivals Sheridan or Prescott.
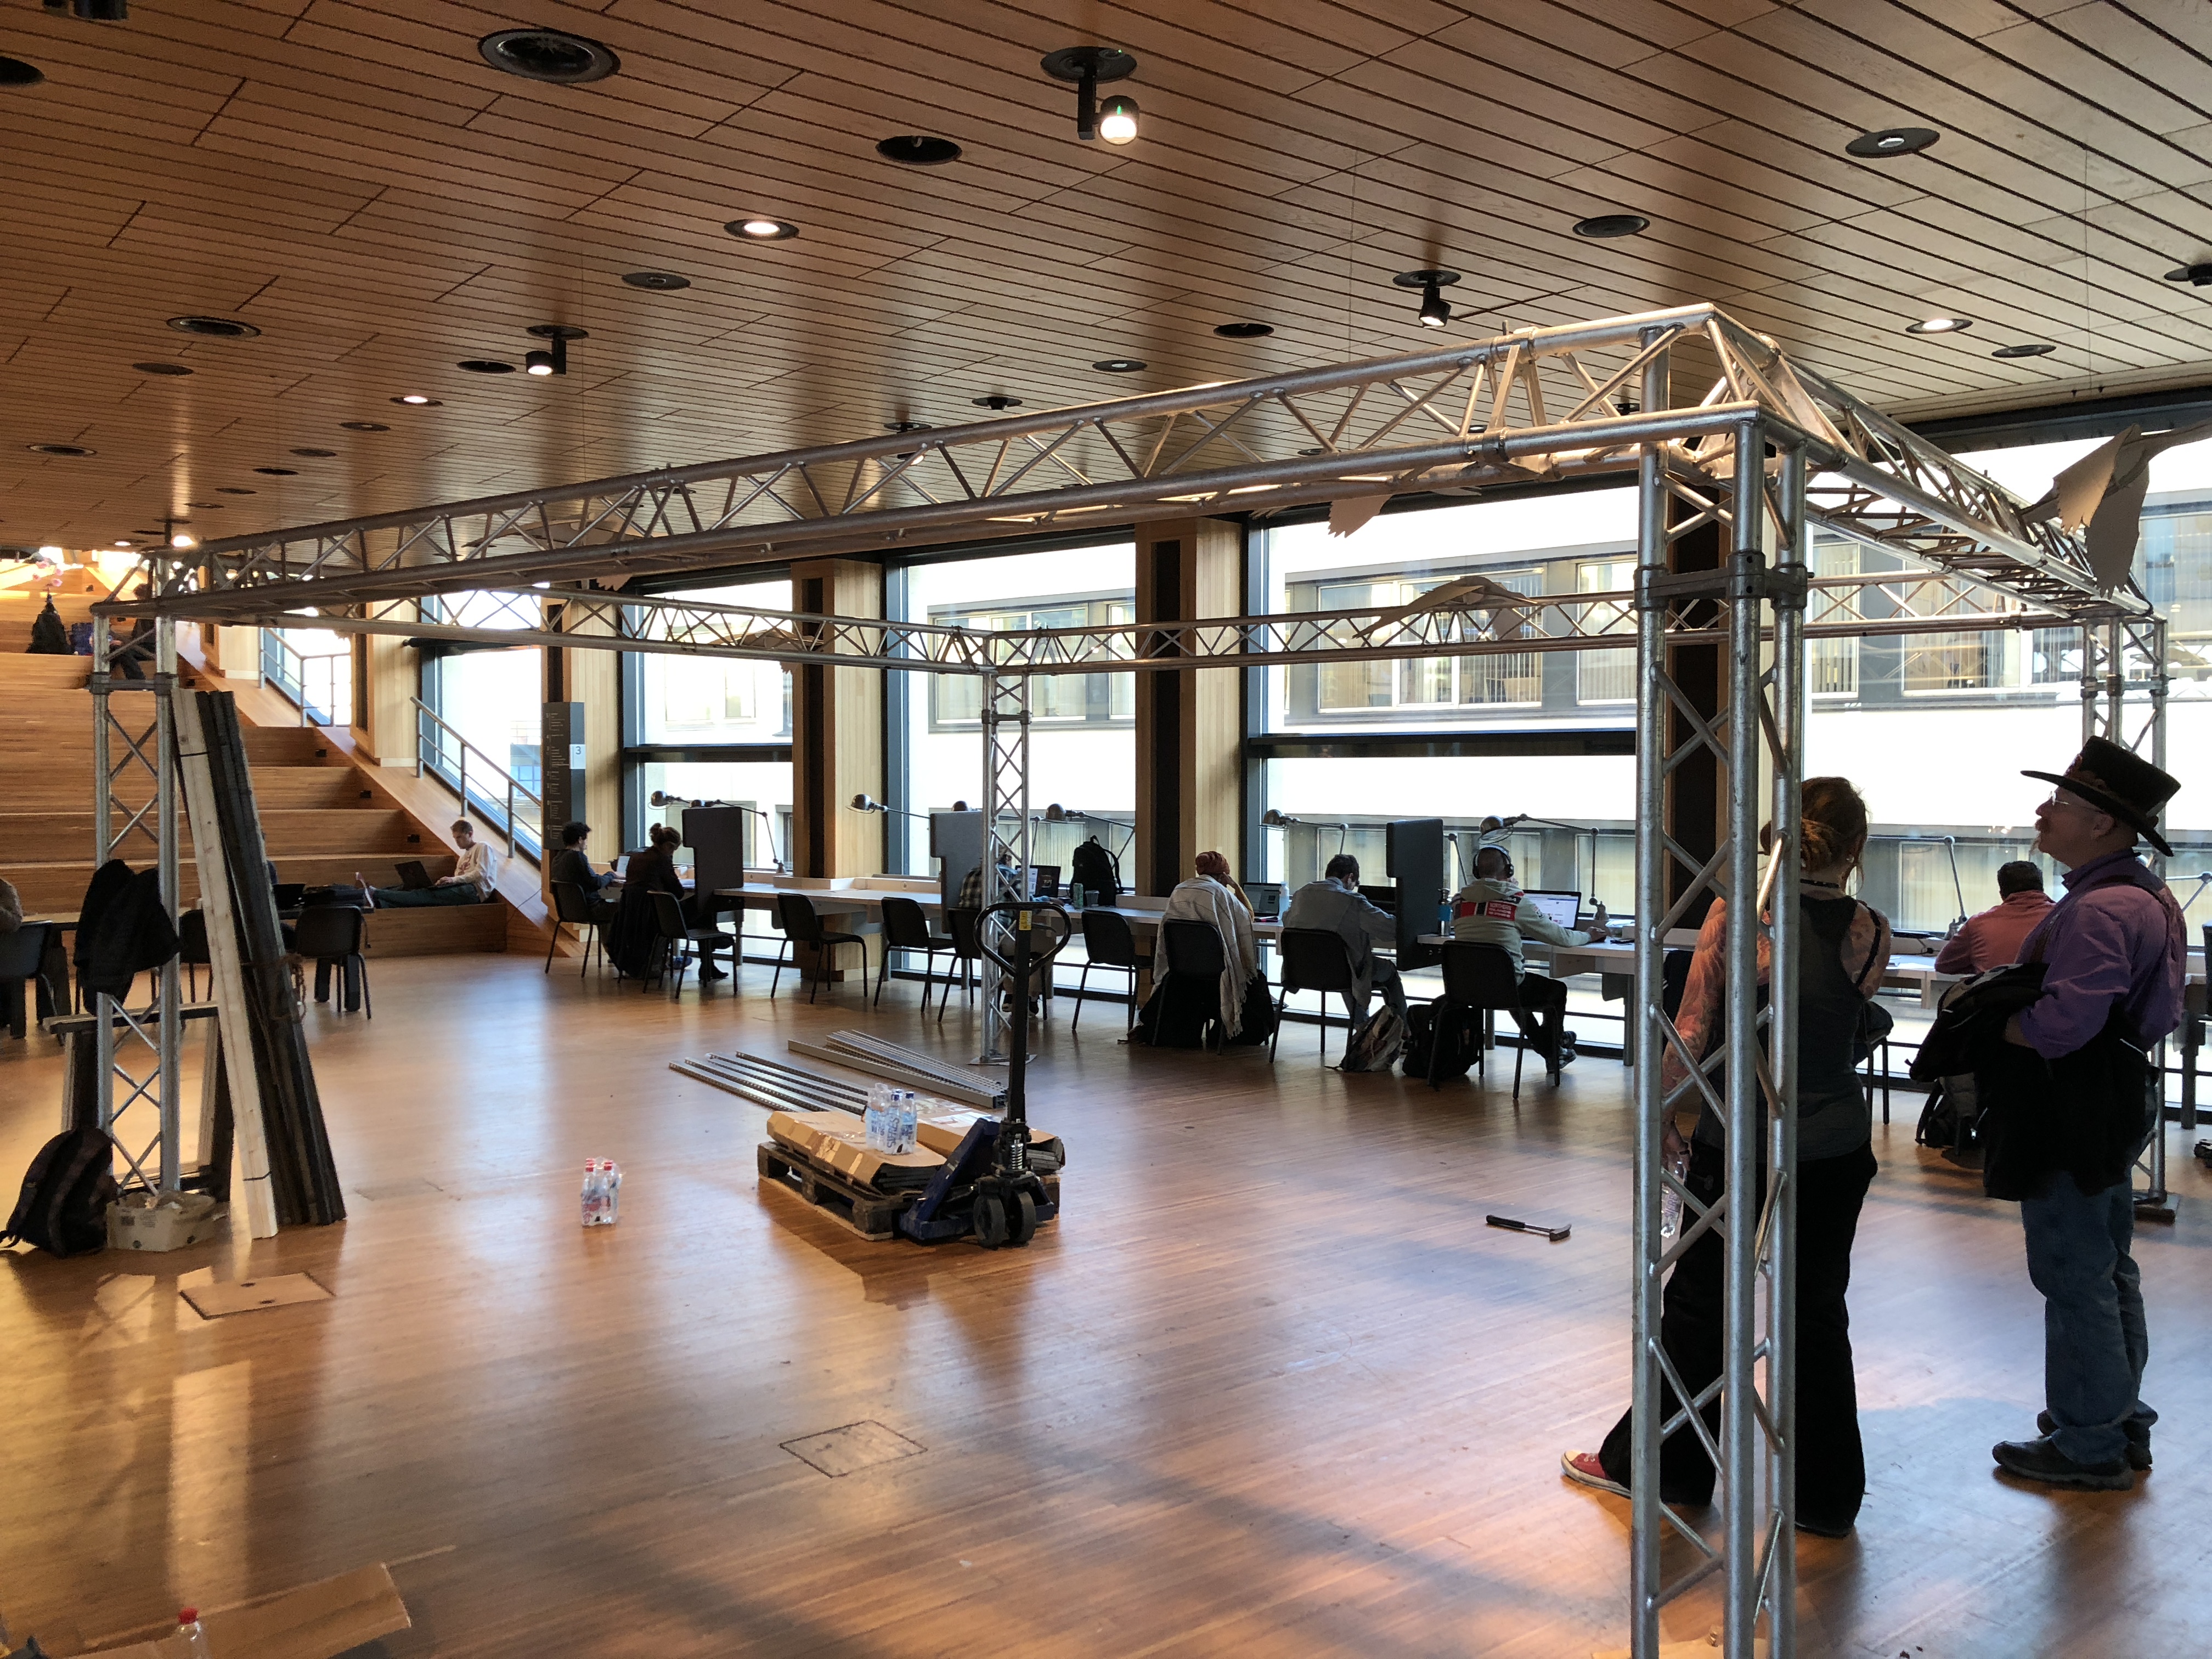
My class consisted of 7 students from all over the world, including Canada, Spain and the Netherlands. They were a talented group of individuals of all levels.
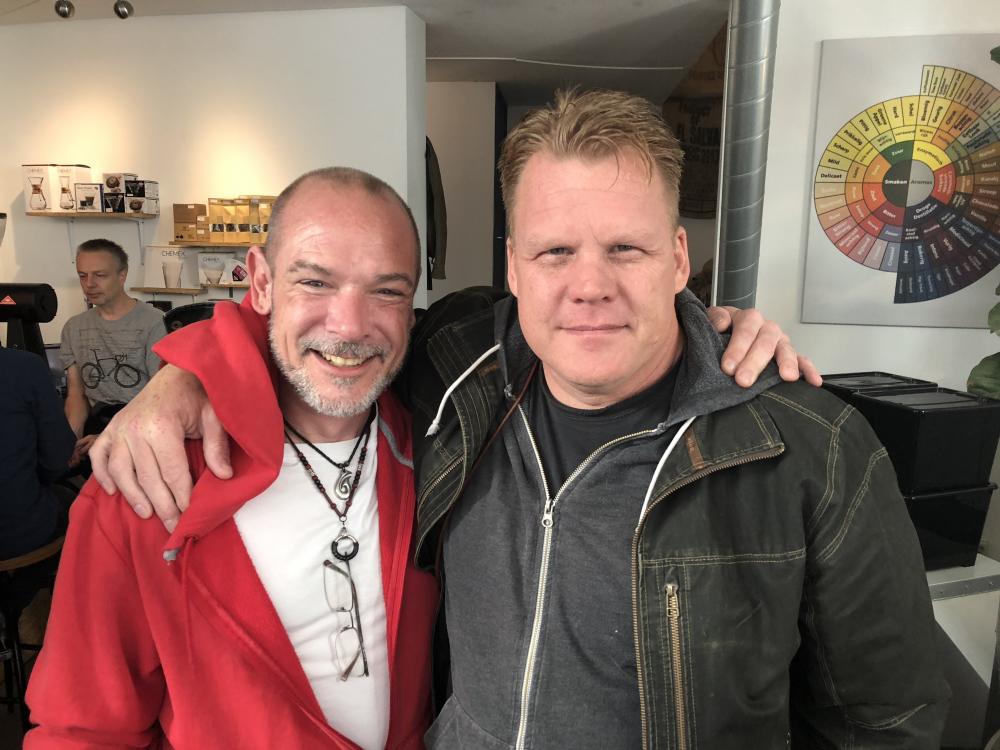
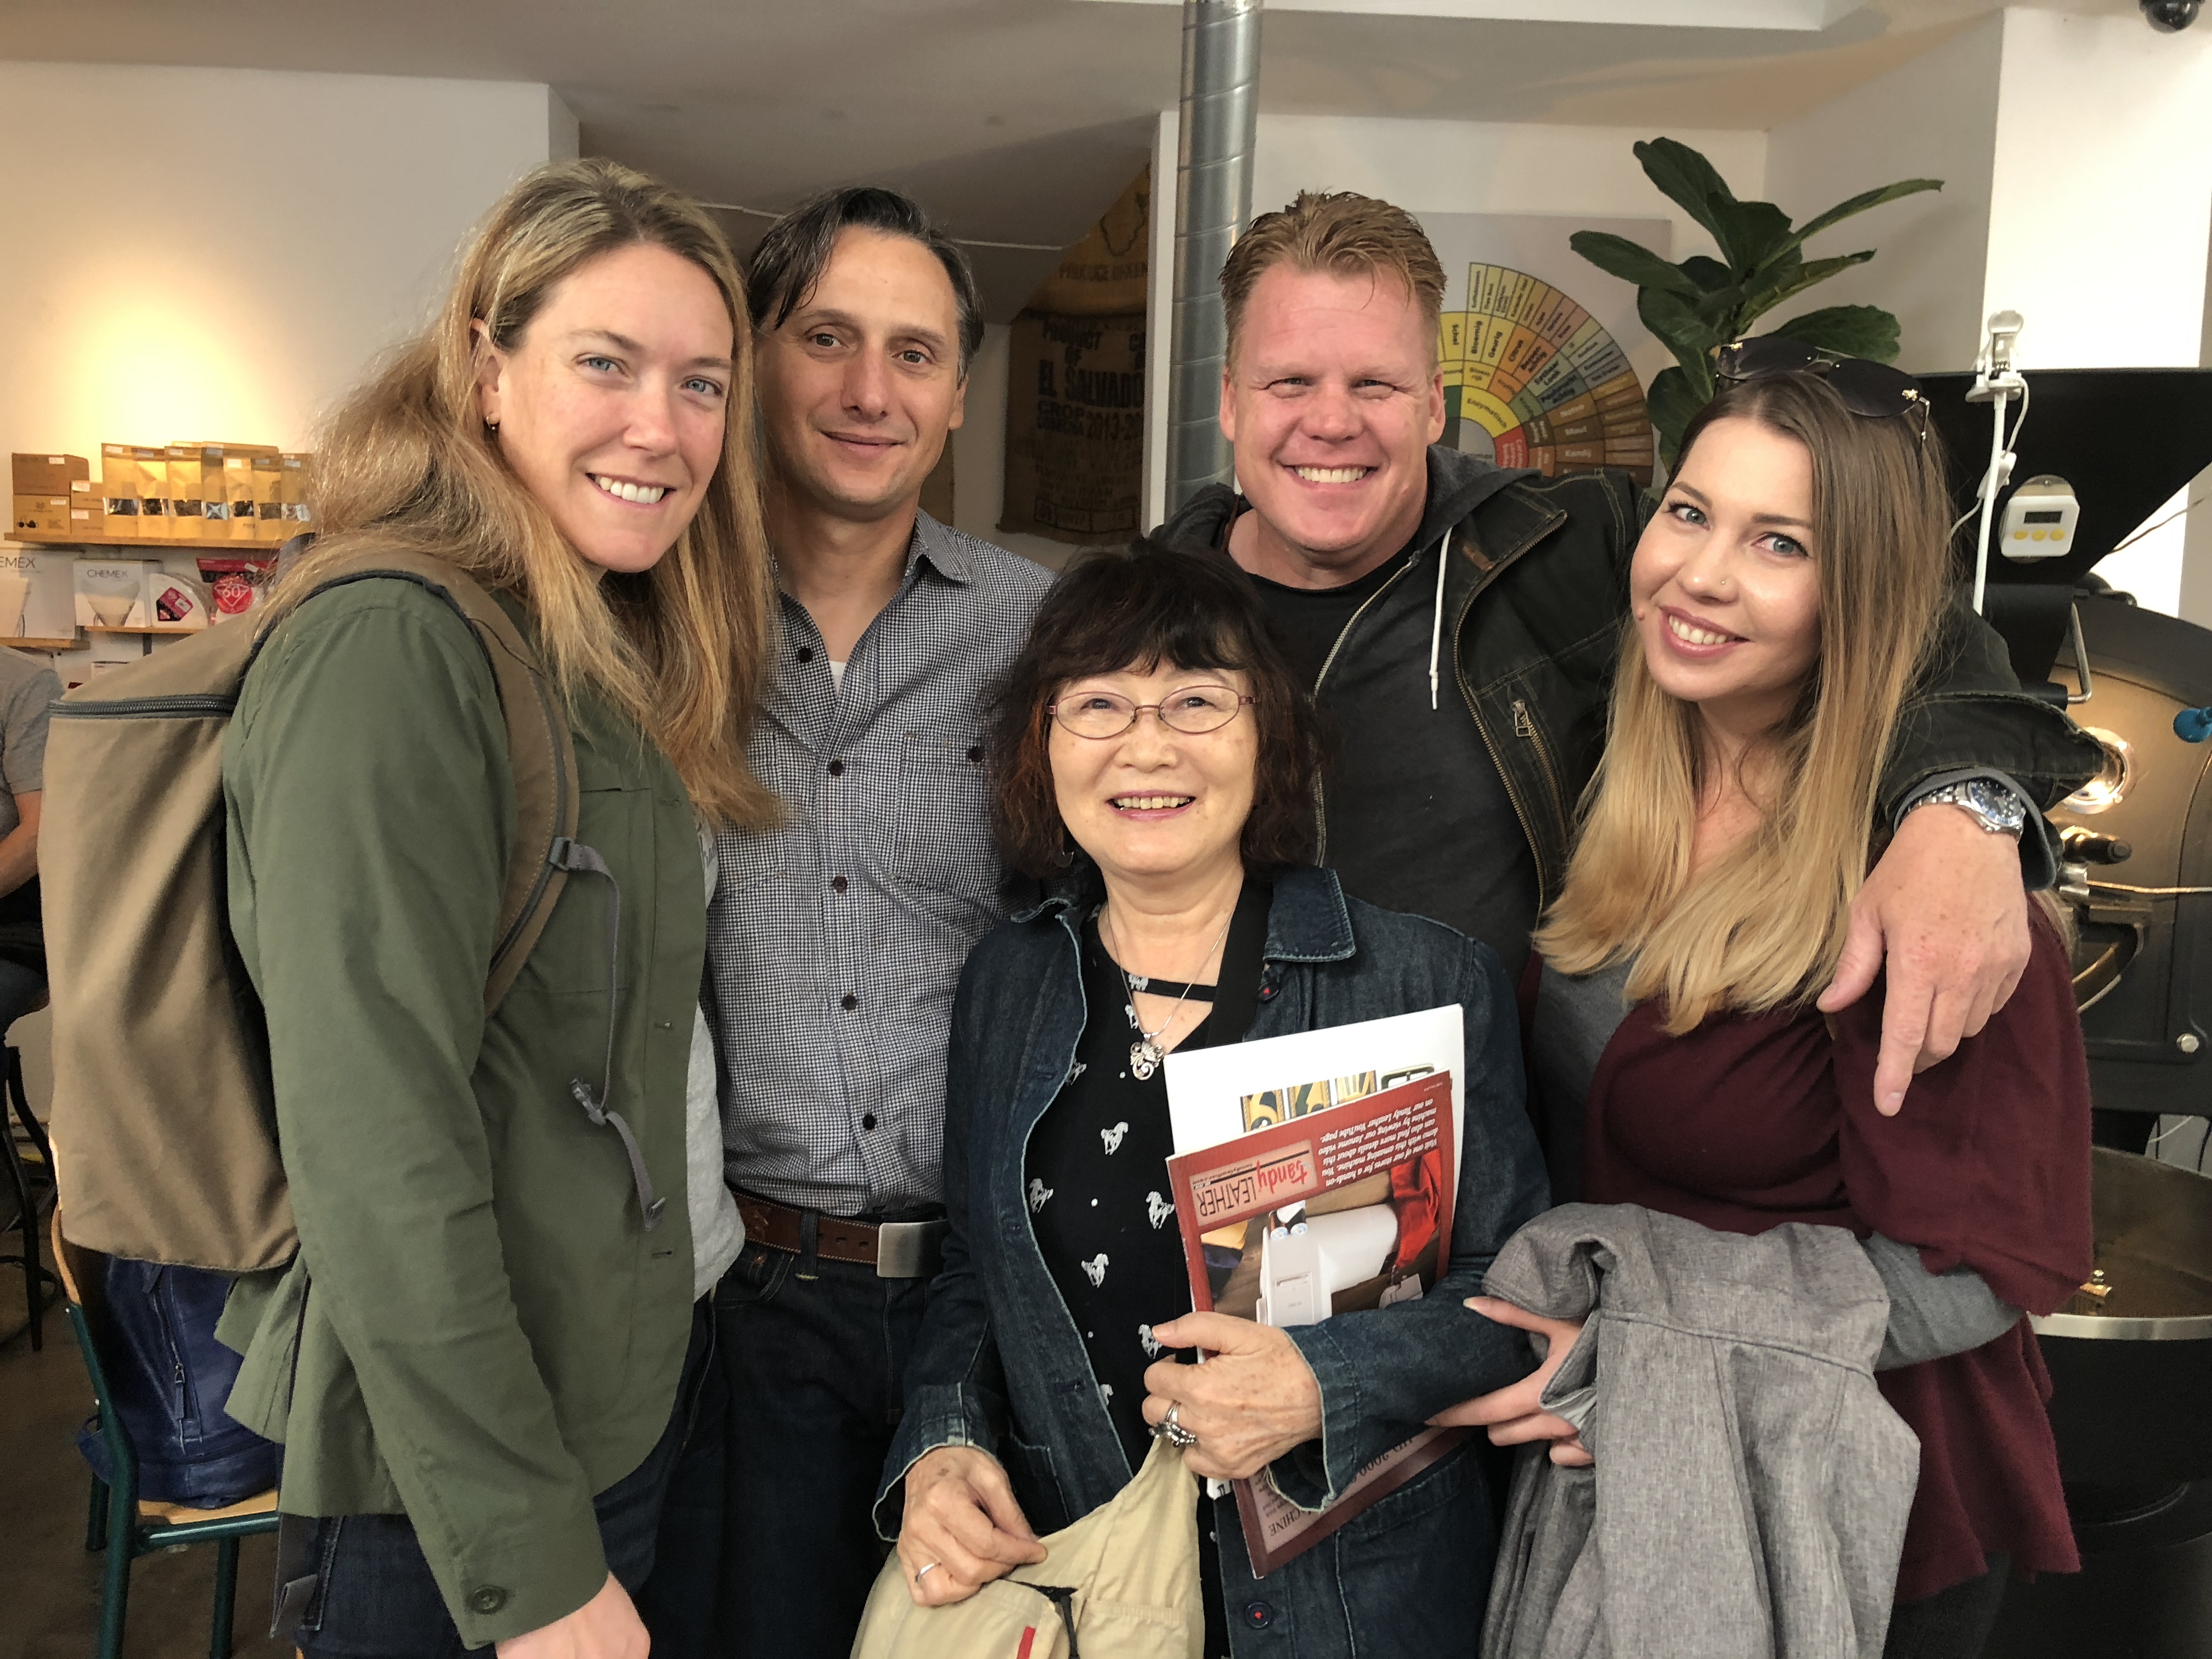
The best part was hanging out with my international leather community friends, especially those I don’t get to see often.
Kathy Flanagan and I were across the hall from each other, and we finally got to exchange work pieces! I love my tiger!
Enjoy the pics and if you ever have a chance, be sure to come to Europe and see the show. I guarantee it will be a good time!


-
Depth could be part of the issue, although it looks plenty deep to me. I think its because of the smooth pear shaders. Textured tools hold antique much better than smooth ones. Another option is to use a block dyeing technique when you wipe off your excess antique. Put a block of wood or firm foam in your paper towel and only wipe the surface. The block will prevent the paper towel from wiping out the antique in your recessed areas.
-
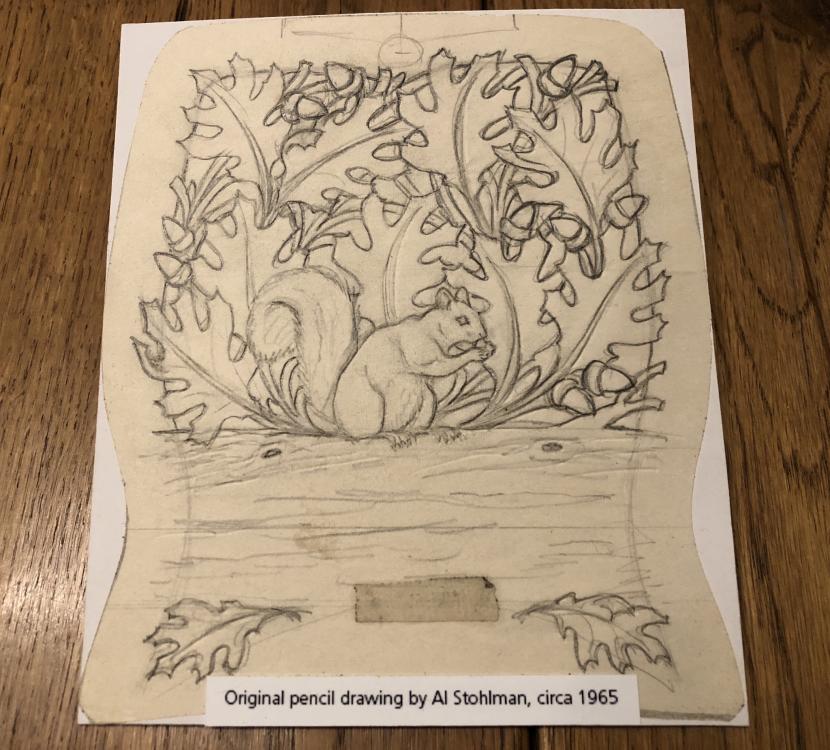
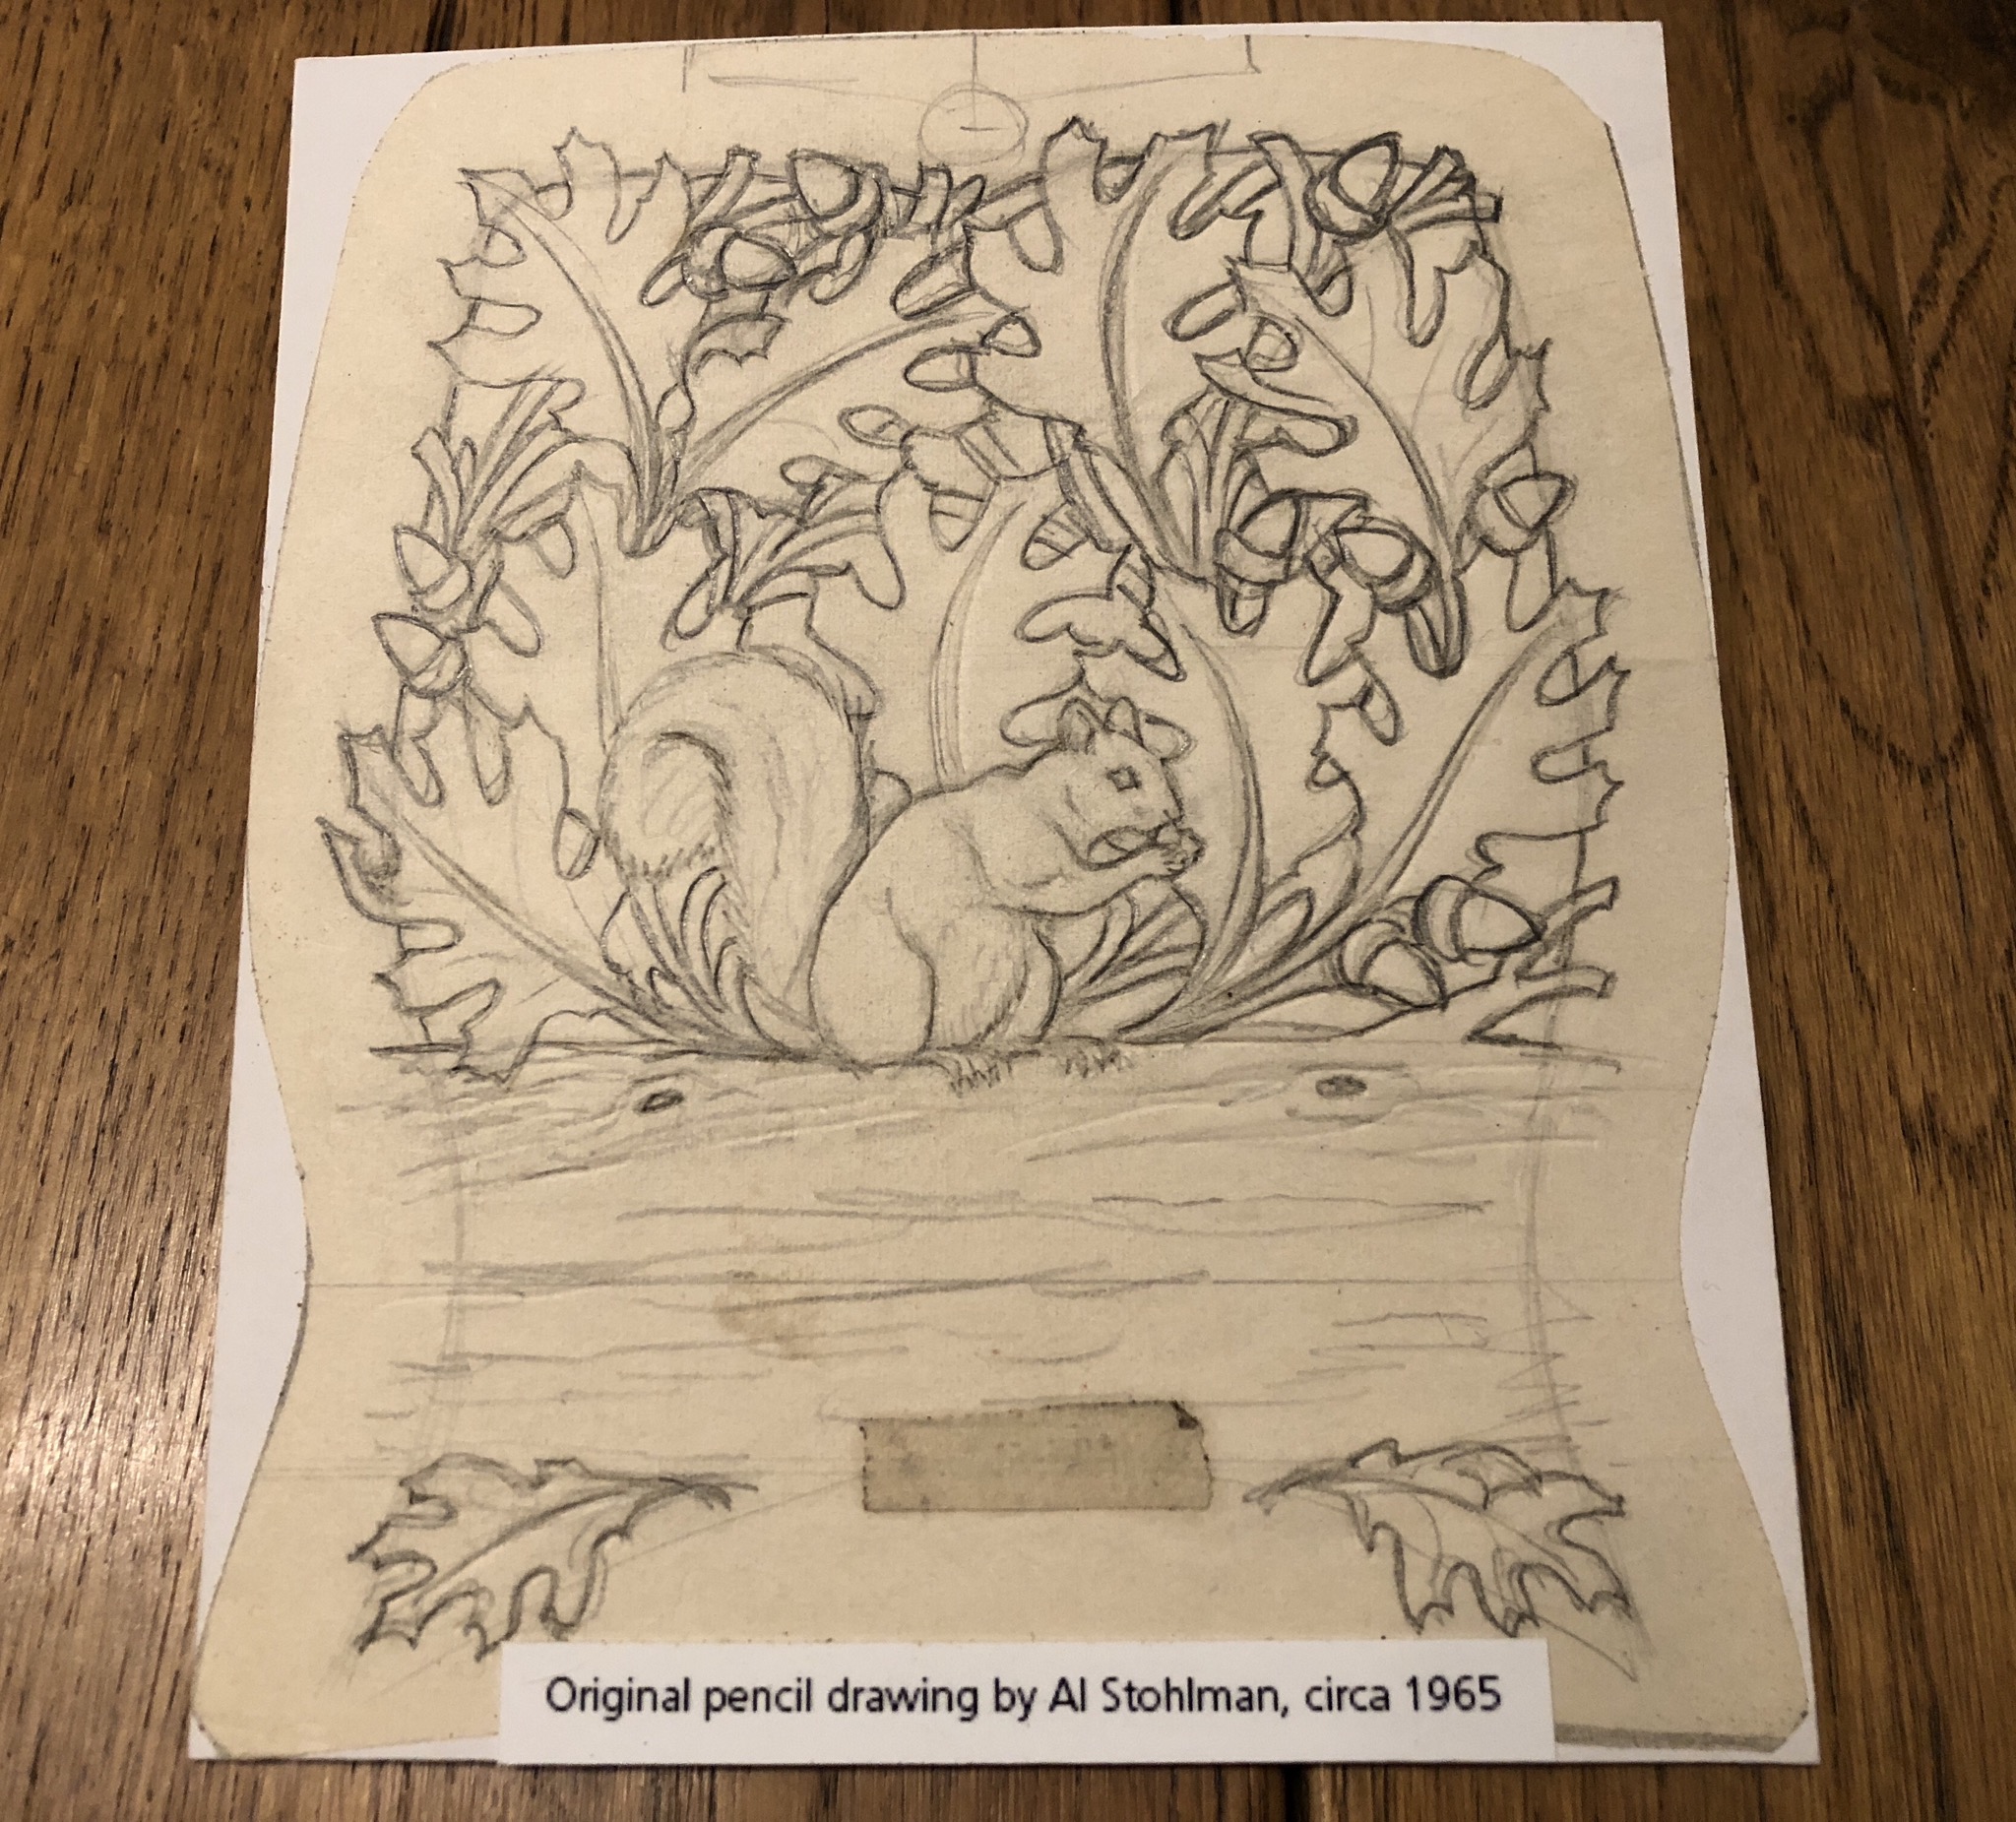
On October 10, 2018 at 9:48 PM, Sheilajeanne said:Immiketoo, are you kidding me?? That wasn't me, that was Al Stohlman!!
 You need to read my post more carefully!
Yeah, I took that into consideration when I posted, then decided regardless of HOW he gets the content, it's free. And it came with a boatload of advertising, too!
The paid content on the site looks to be a good deal. He was an excellent teacher.
Whoops. Was really impressed, but yeah, I see that now. I sowwy.
-
Fine work, Matt. All the way around.
-
I adjusted the tension on my foot until it barely touched the leather and added tension until it left a faint mark. Then I backed off a bit and polished the foot. Mine doesn't leave marks and it feeds fine.
-
Thats what I say about top tier tools. The eliminate any excuses!
-
1 hour ago, Fire88 said:We and them are all makers and artists in our own way. Just as we put our marks on a piece of leather they put theirs on the tools they make.
They add “bling” as you say to make their pieces stand out amongst the other tools out there. Exotic wood handles don’t really add that much to the cost of tool as the amount of wood being used isn’t of a large enough quantity to make a major increase in cost. The cost of this exotic wood adds probably less than $15 to the overall coots of the tool. So 5-10% of the overall cost of a knife.
A $20 watch tells time well enough so why buy a $100 or $5000 one? Simply cause you can and you like it and the nicer watches keep time better.
We all have to make a decision during our beginning and throughout our time in the craft on what tools will give us the quality of work we(clients) want. If you have the opportunity to buy the “blinged” out tool and you like then buy it.
We all use our tools to do work and some of us like the tools we use to be unique or nice. Their is nothing wrong with this.
Amen. I have never bought a tool thinking of what my customer would think of it. I mean, who in their right mind would think that? I buy them because I like them. Period. I had Terry make me a knife with a special handle because its an amazing tool. I have respect for the maker and at the end of the day, the best tool on the market takes away any excuses I may have regarding skill. You can't hide from your own inadequacies with the best tool looking gat you and saying, "Is that the best you've got?"
I learned this from guitars. Its easy to blame a shitty guitar. You simply CANT do some things with them. On a top end axe, all your excuses are just whining because you didn't practice. Same analogy applies to tools. Now, can a gifted pro make that shitty tool perform better than you? Of course they can. They circle of life! can also make the top tier tool perform better than you. That's part of the challenge.
-
1 hour ago, Sheilajeanne said:Gavin, unfortunately, Paul Burnett passed away in 2012, from cancer.

Last I looked, his website was still up, being run by his wife and daughter, and there was some good stuff on it:
http://paintingcow.com/content/
Edit: okay, the tutorials once available for free on his site are no longer available. PM me, with your e-mail, and I can send you the PDF's. Or they may be the same ones listed on the website, where it says 'Sign up for free tutorials and newsletter.' I really don't recall if I downloaded the lessons from his website, or if they were e-mailed to me. It was a long time ago!
Apparently, a lot of his teaching is still available from that website, if you are willing to pay for it. He also wrote a book on leather carving, which may be still available!
Please don't share any restricted content. They may have changed their minds about what is paid content and what is free. Do them the courtesy of signing up and obtain it properly. It's well worth the minimal cost for the lessons. By the way, Sheila, I really liked your bear art in the other post. Nice work!
-
Yes on this one I did.


ELWATS 2018, Arnhem Netherlands (Pic heavy)
in Leatherwork Conversation
Posted · Report reply
I have seen a lot of leather art, and that tiger is amazing. The bracelet was out of his bag for 5 seconds and I said I had to have it. Fine work for sure!