


immiketoo
-
Posts
2,372 -
Joined
-
Last visited
Content Type
Profiles
Forums
Events
Blogs
Gallery
Posts posted by immiketoo
-
-
This happened because of the inconsistencies when using a dauber. They are heavily loaded at the beginning and lose dye as you move it. There are very few colors that will apply smoothly at anything less than 100% saturation. This is why people gravitate toward dip dyeing or air brush. Lighter tones are possible with thinned dye when dipped and sprayed. It CAN be done by thinning and daubering (made that word up), in circles, but I've never had the patience to figure it out.
Looks like you had good luck with full strength. -
19 hours ago, battlemunky said:
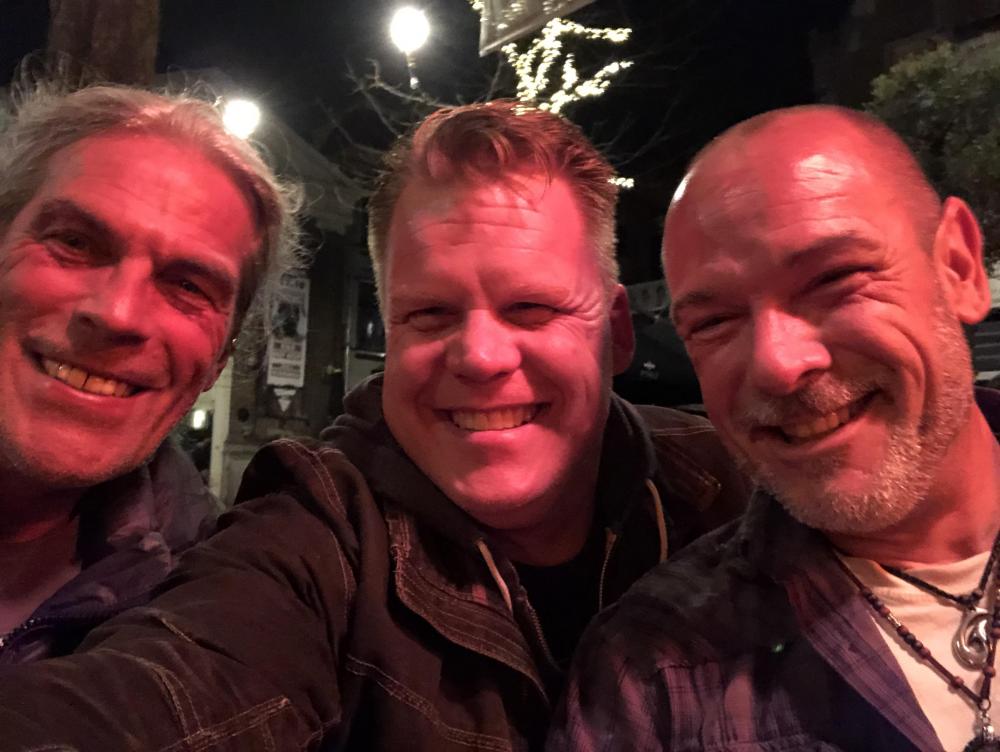
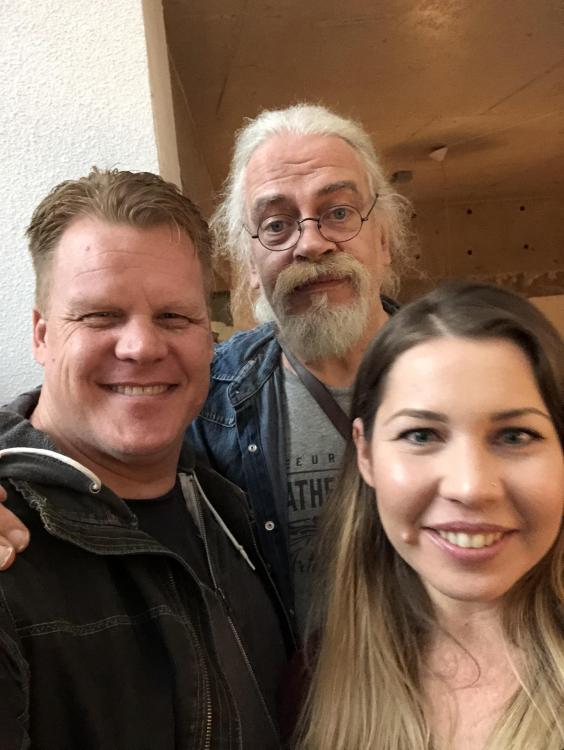
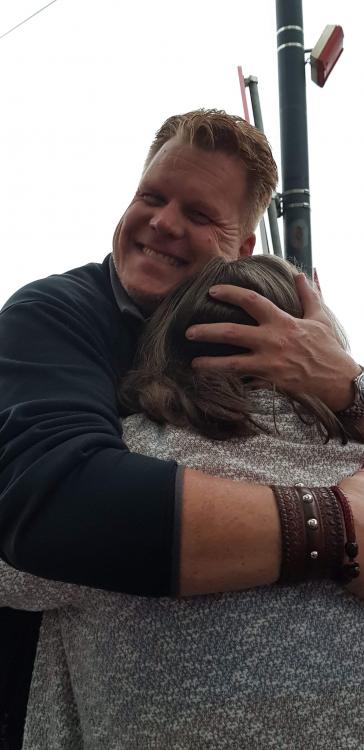
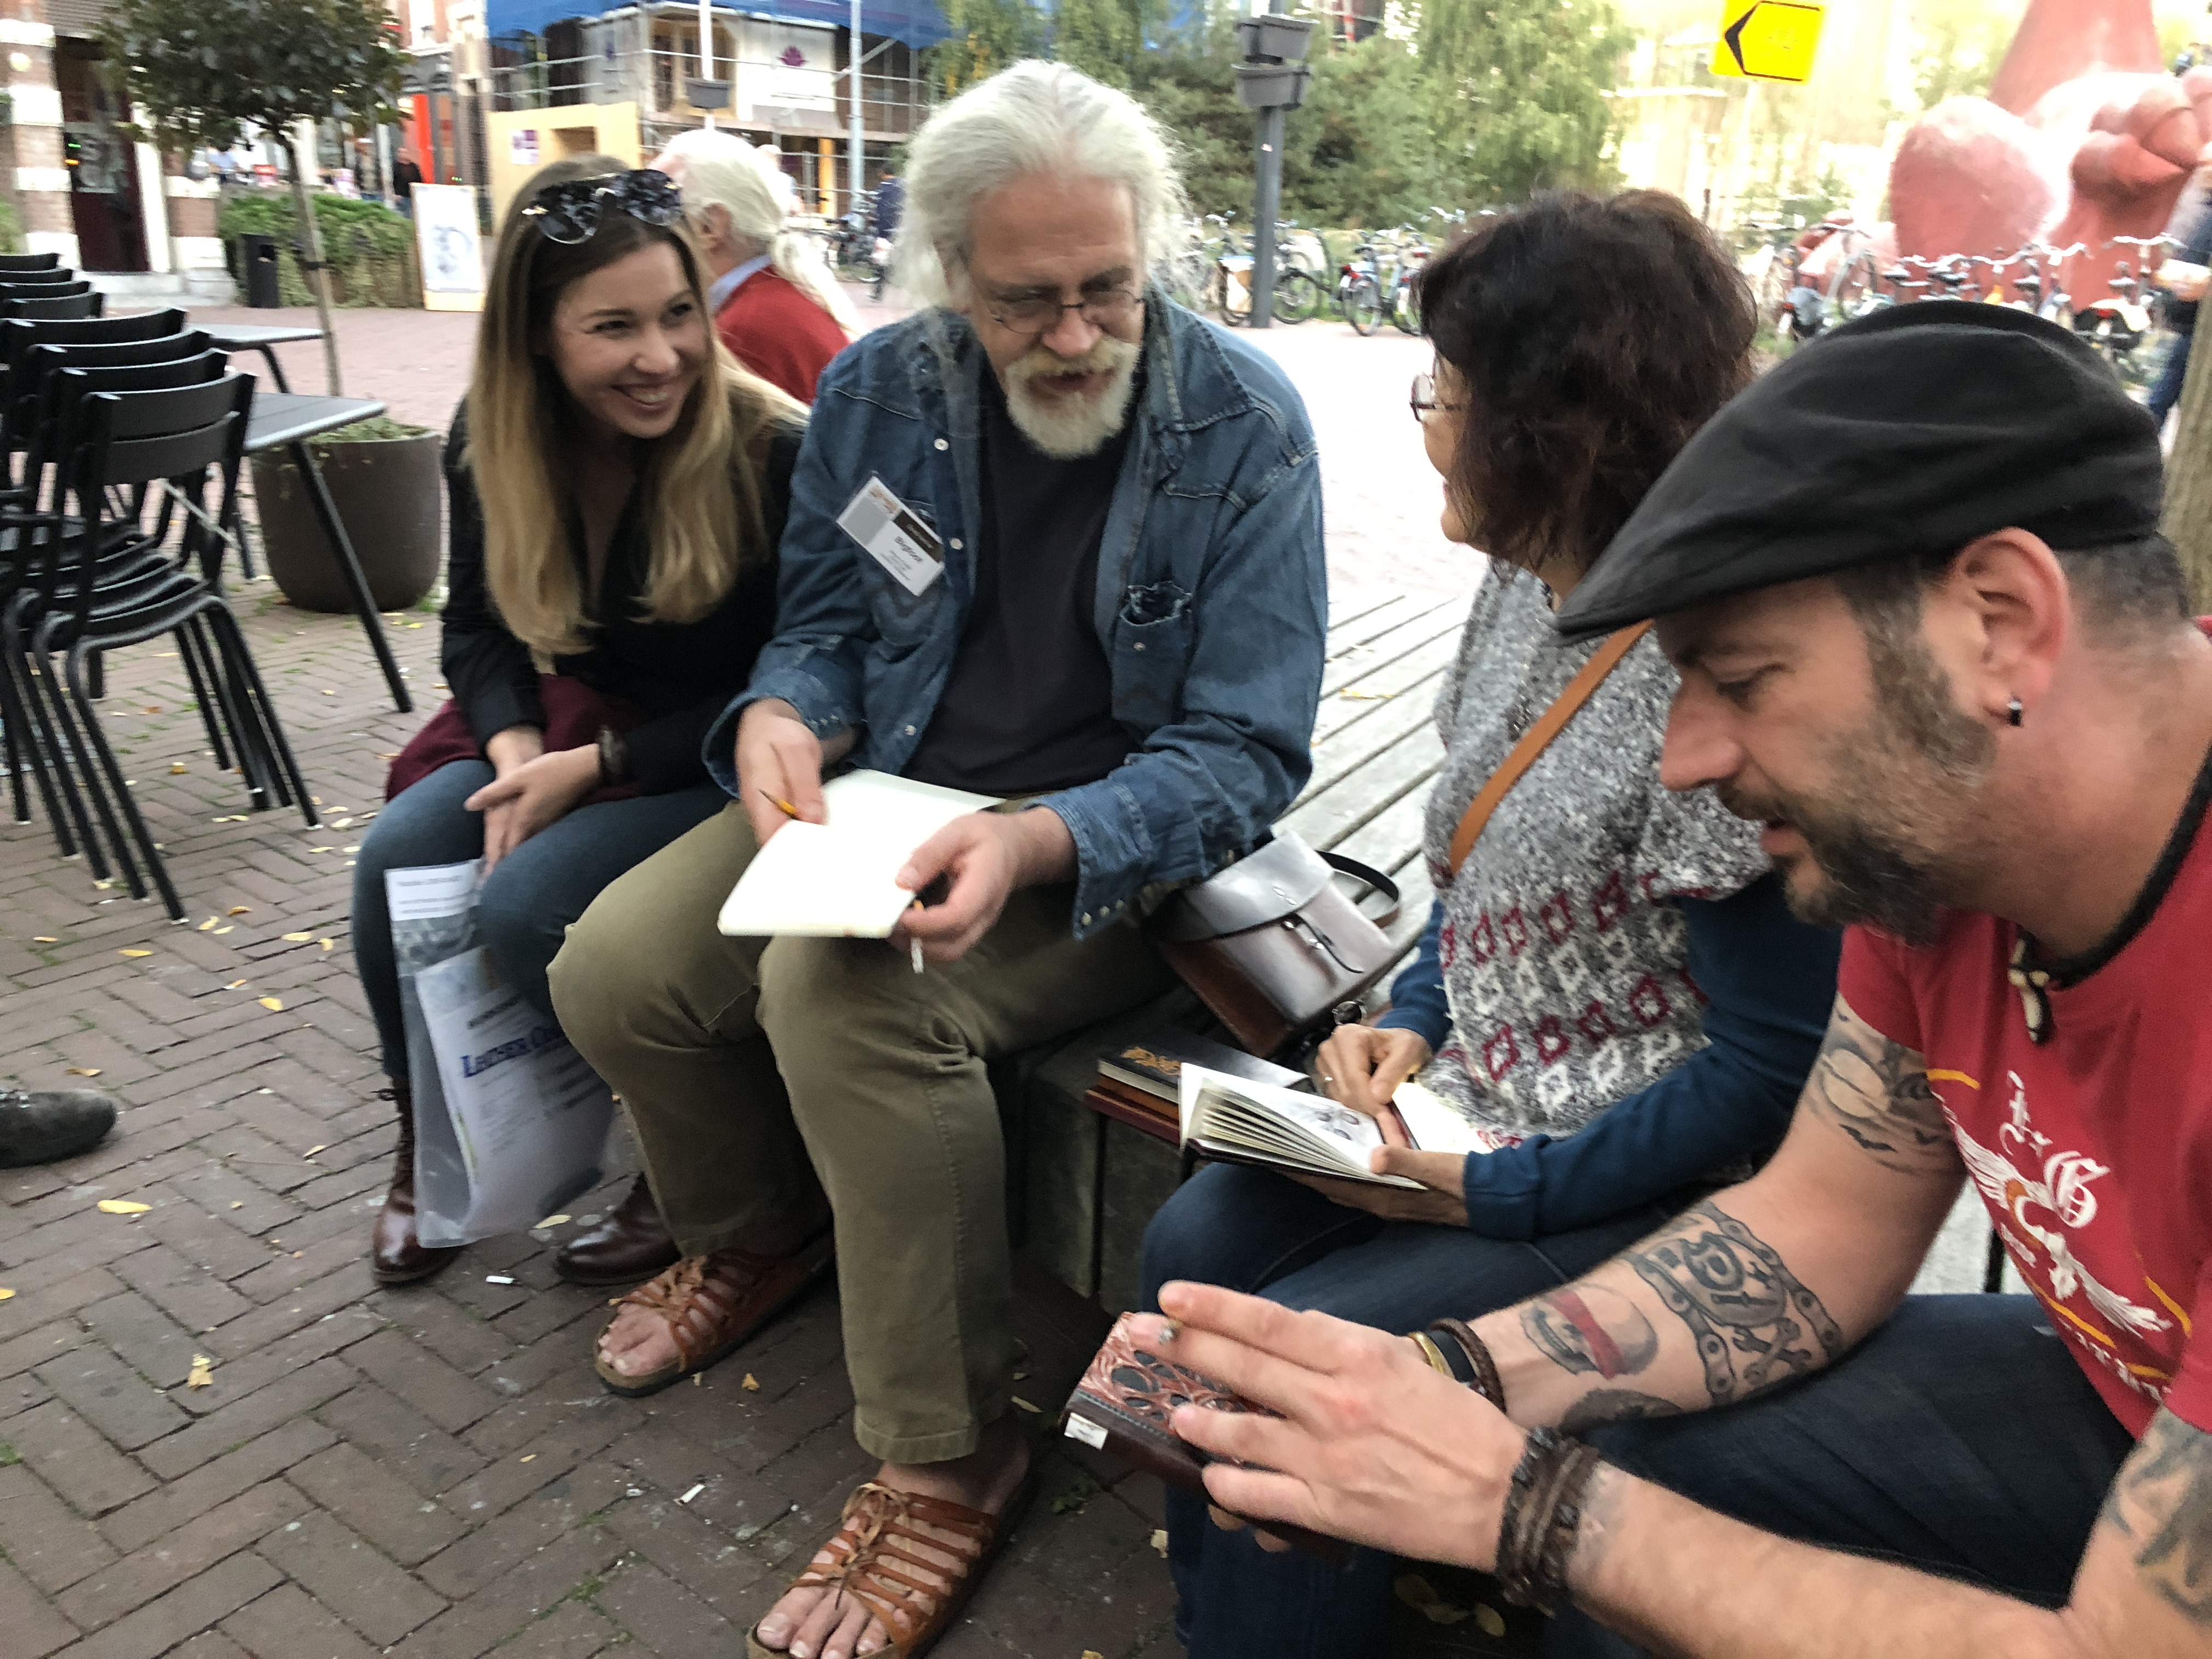
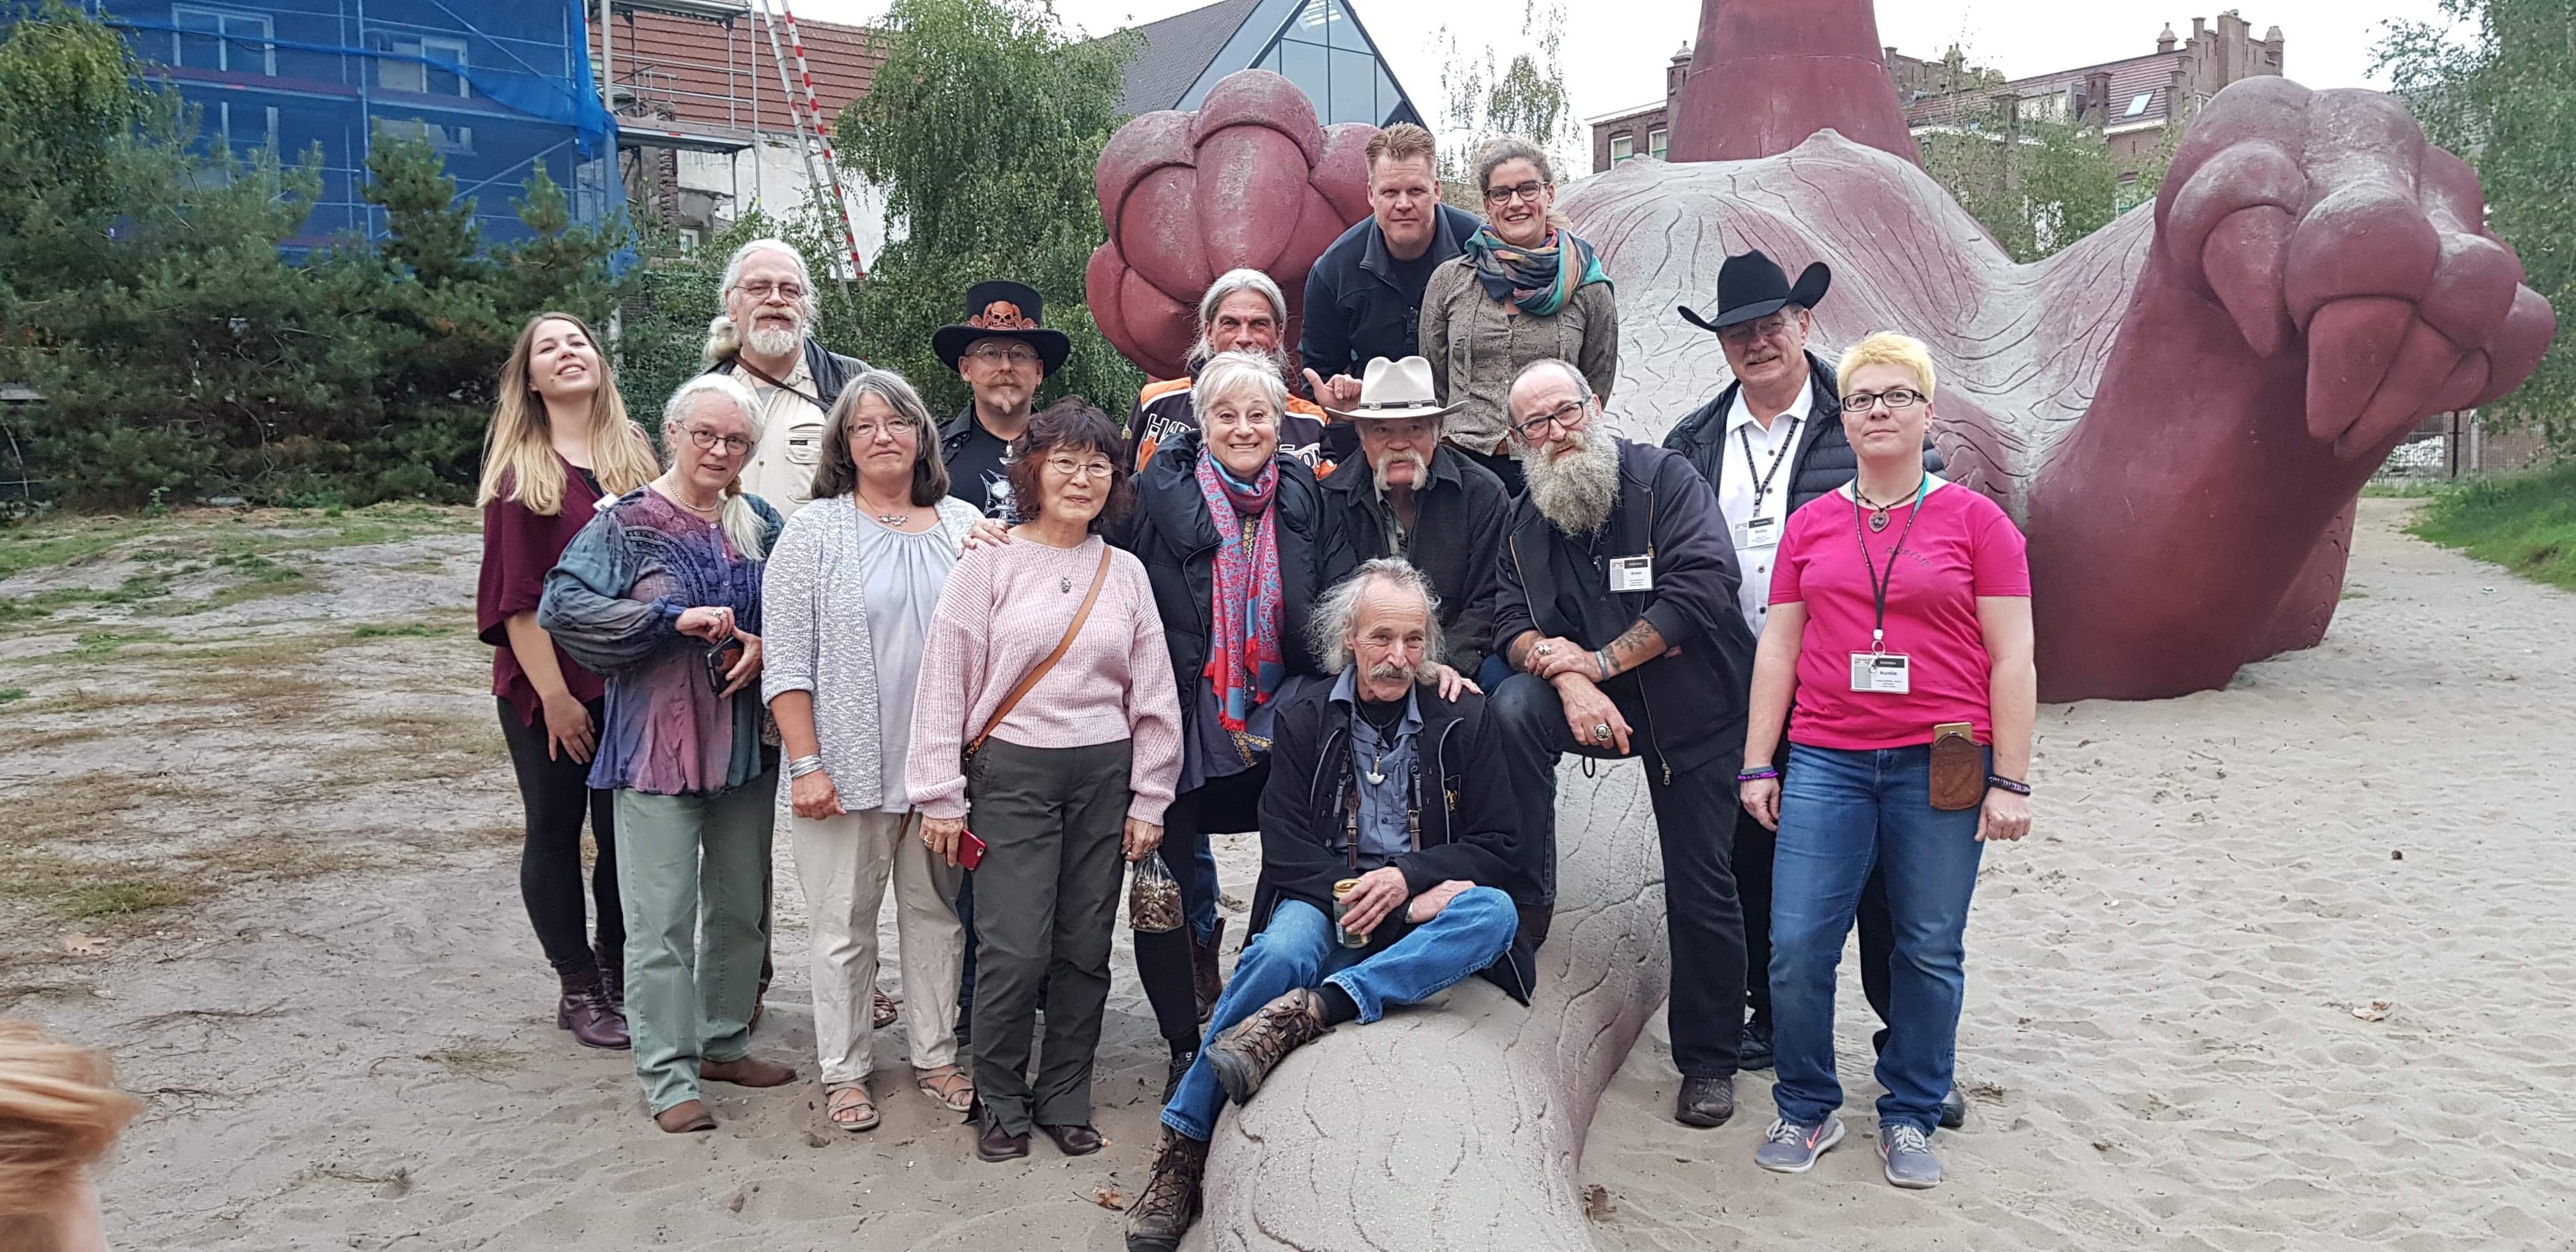
That is Serge Volken, a.k.a. Bigfoot! Check him out on YT, he is good to learn from.
I think Mike is the middle one in the 5th pic down.
16 hours ago, Sheilajeanne said:Thanks, battlemunky! Mike is younger than I thought, then!
")
Munky is correct. Serge is a great man and mentor. He's also a great teacher. I am the ginger in many of the pics, and I'm older than I look.
-
There's no statute of limitations on being an asshole. Rest assured if I ever find out who was responsible, they will regret it.
-
22 hours ago, battlemunky said:
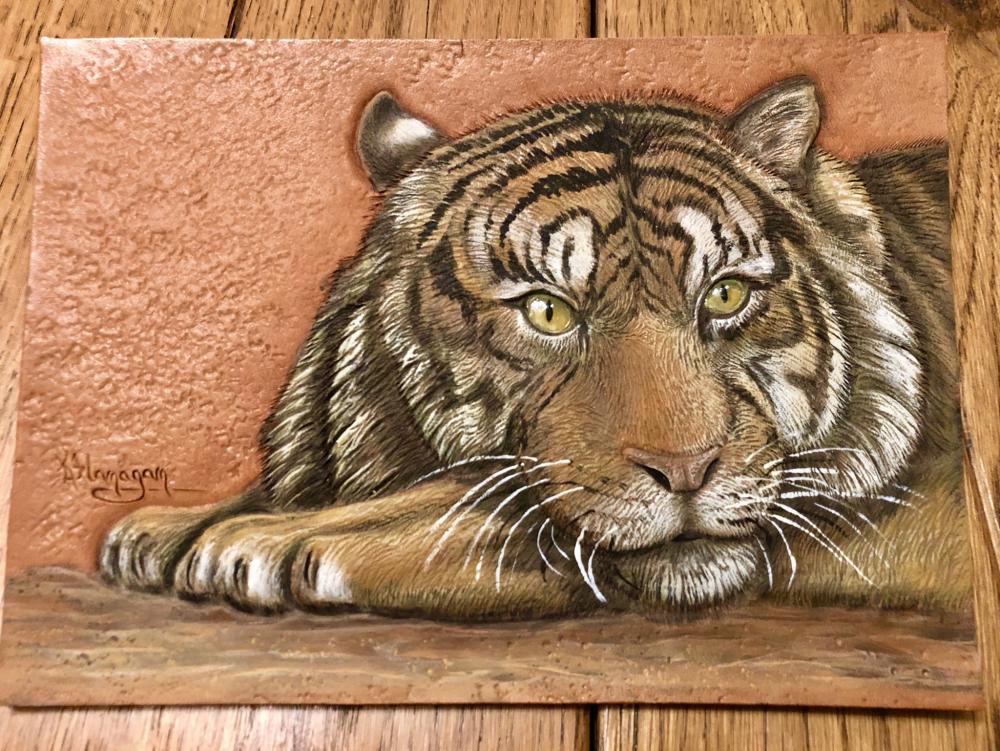
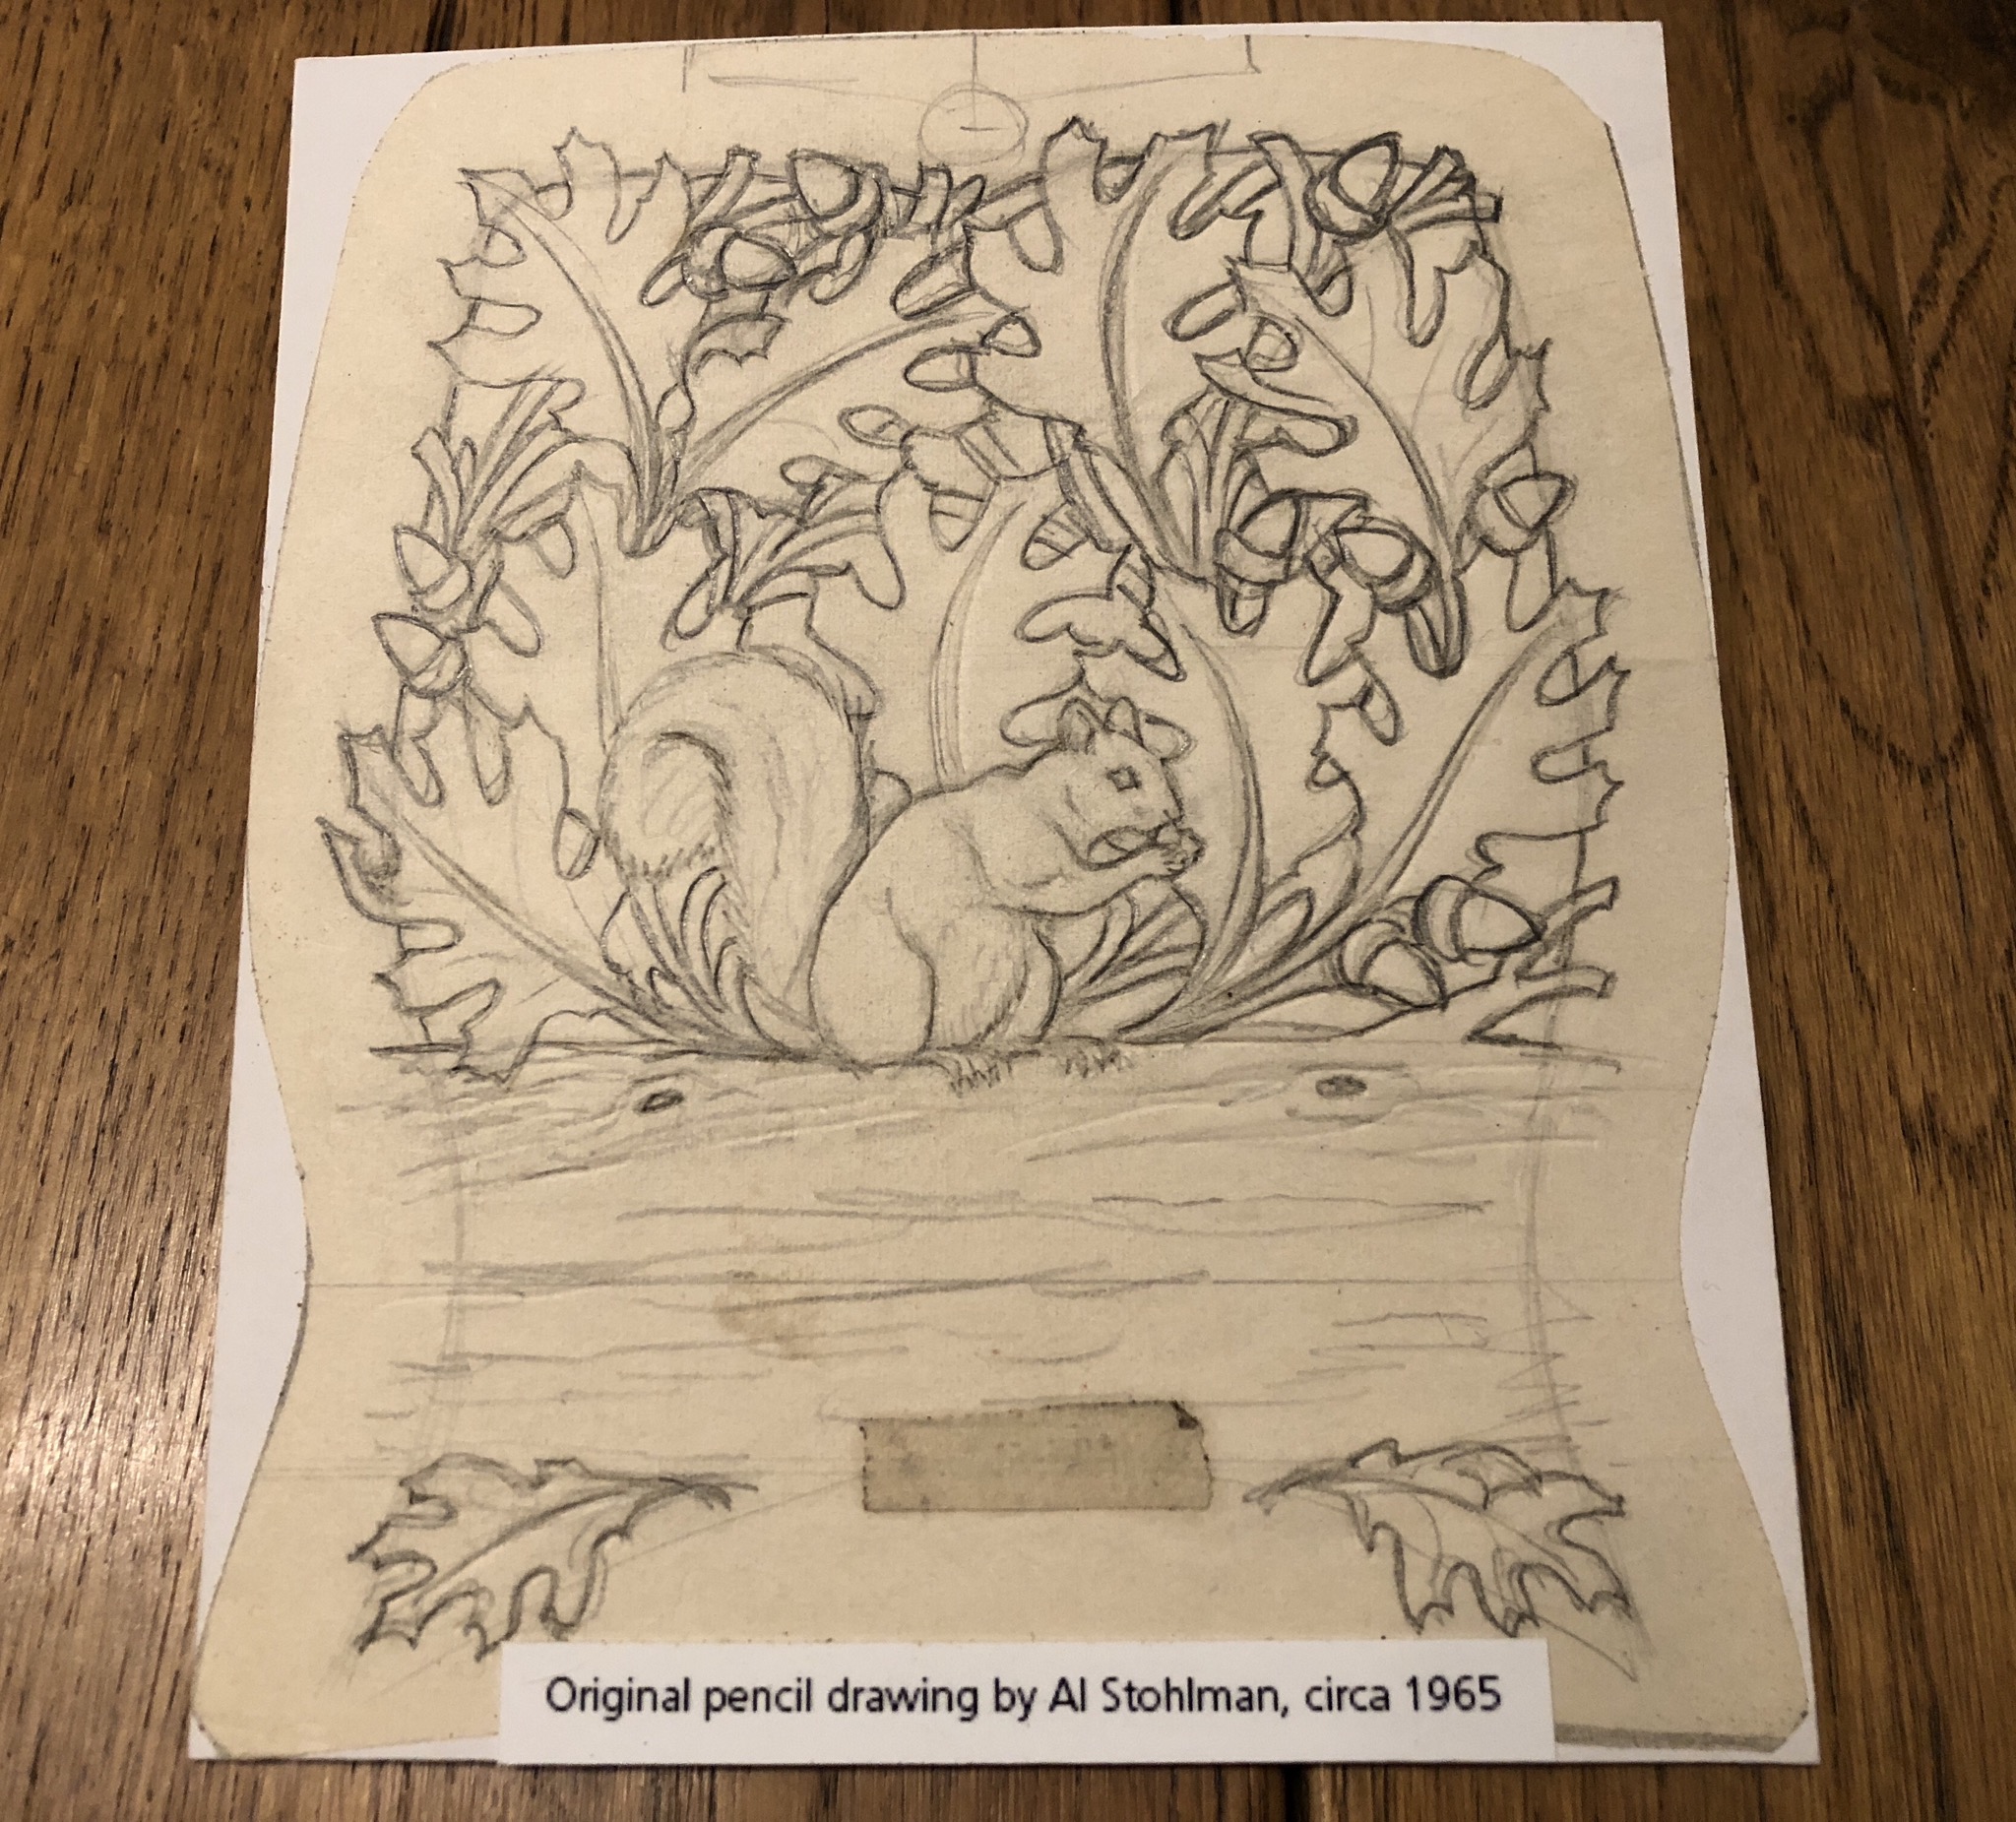
That looked super fun and intimidating. All that leathery talent all in one place. Her tiger she made you is incredible Mike.
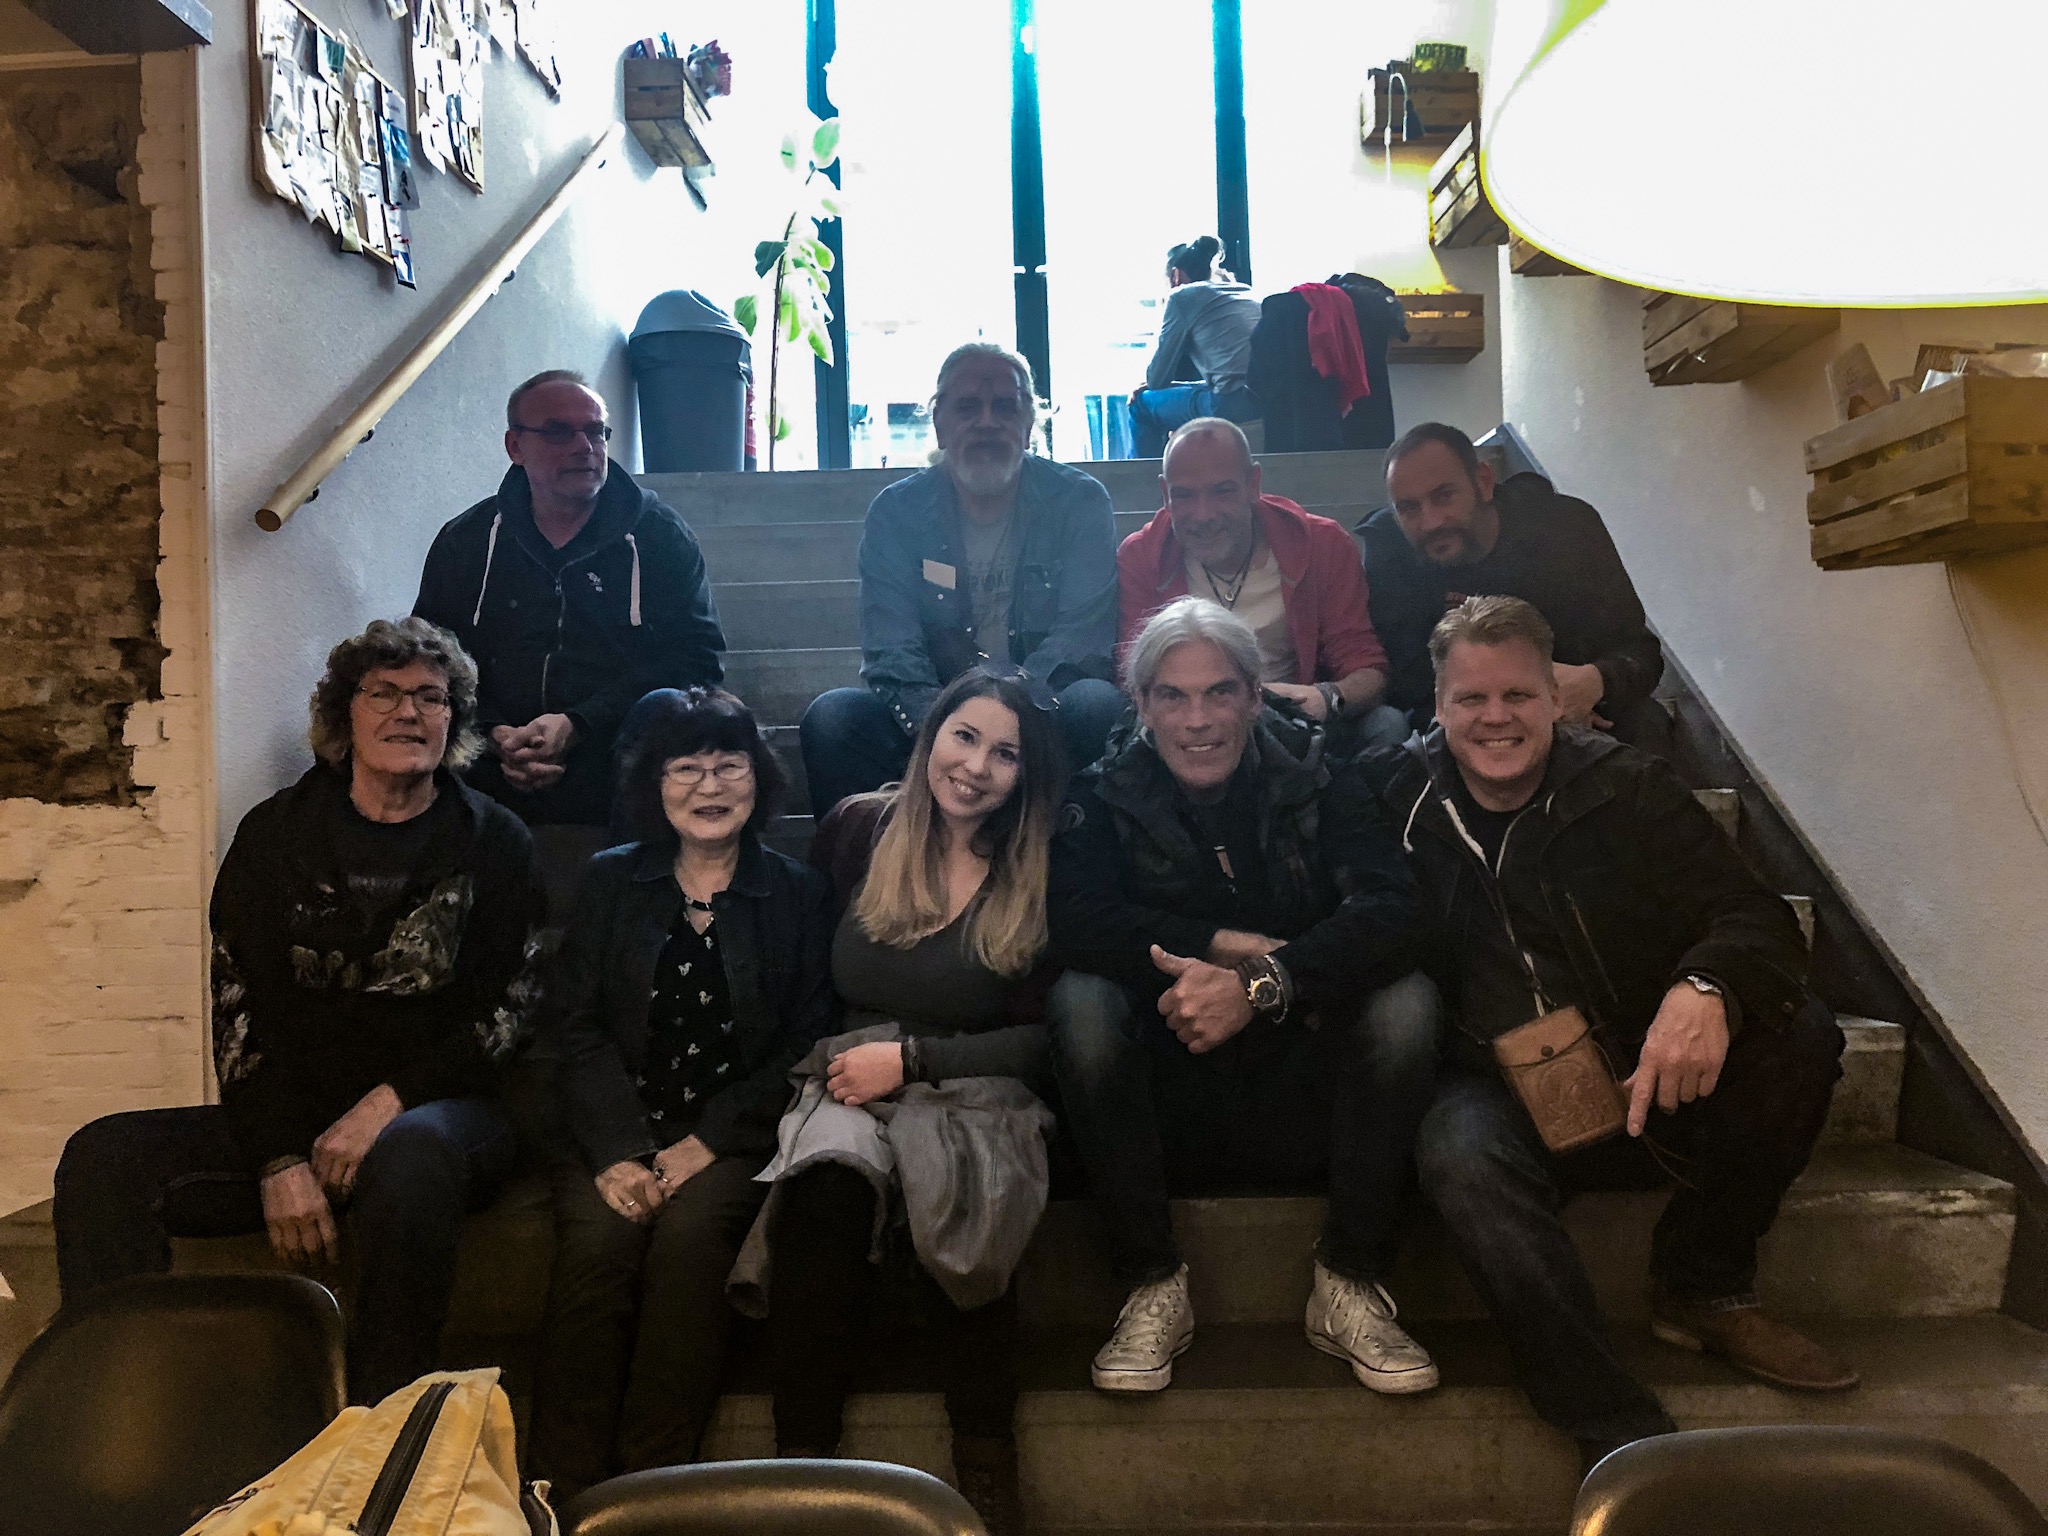
It was the least intimidating place ever. EVERYONE was super nice, and helpful. All of the instructors there are awesome at their job and you can ask them anything. This is why I love trade shows and push people towards them so much. I learned more there in my first 6 months and it set the course of my career for sure. Arnhem was as good or better than any other leather show in existence, and it is now my favorite. What an amazing place.
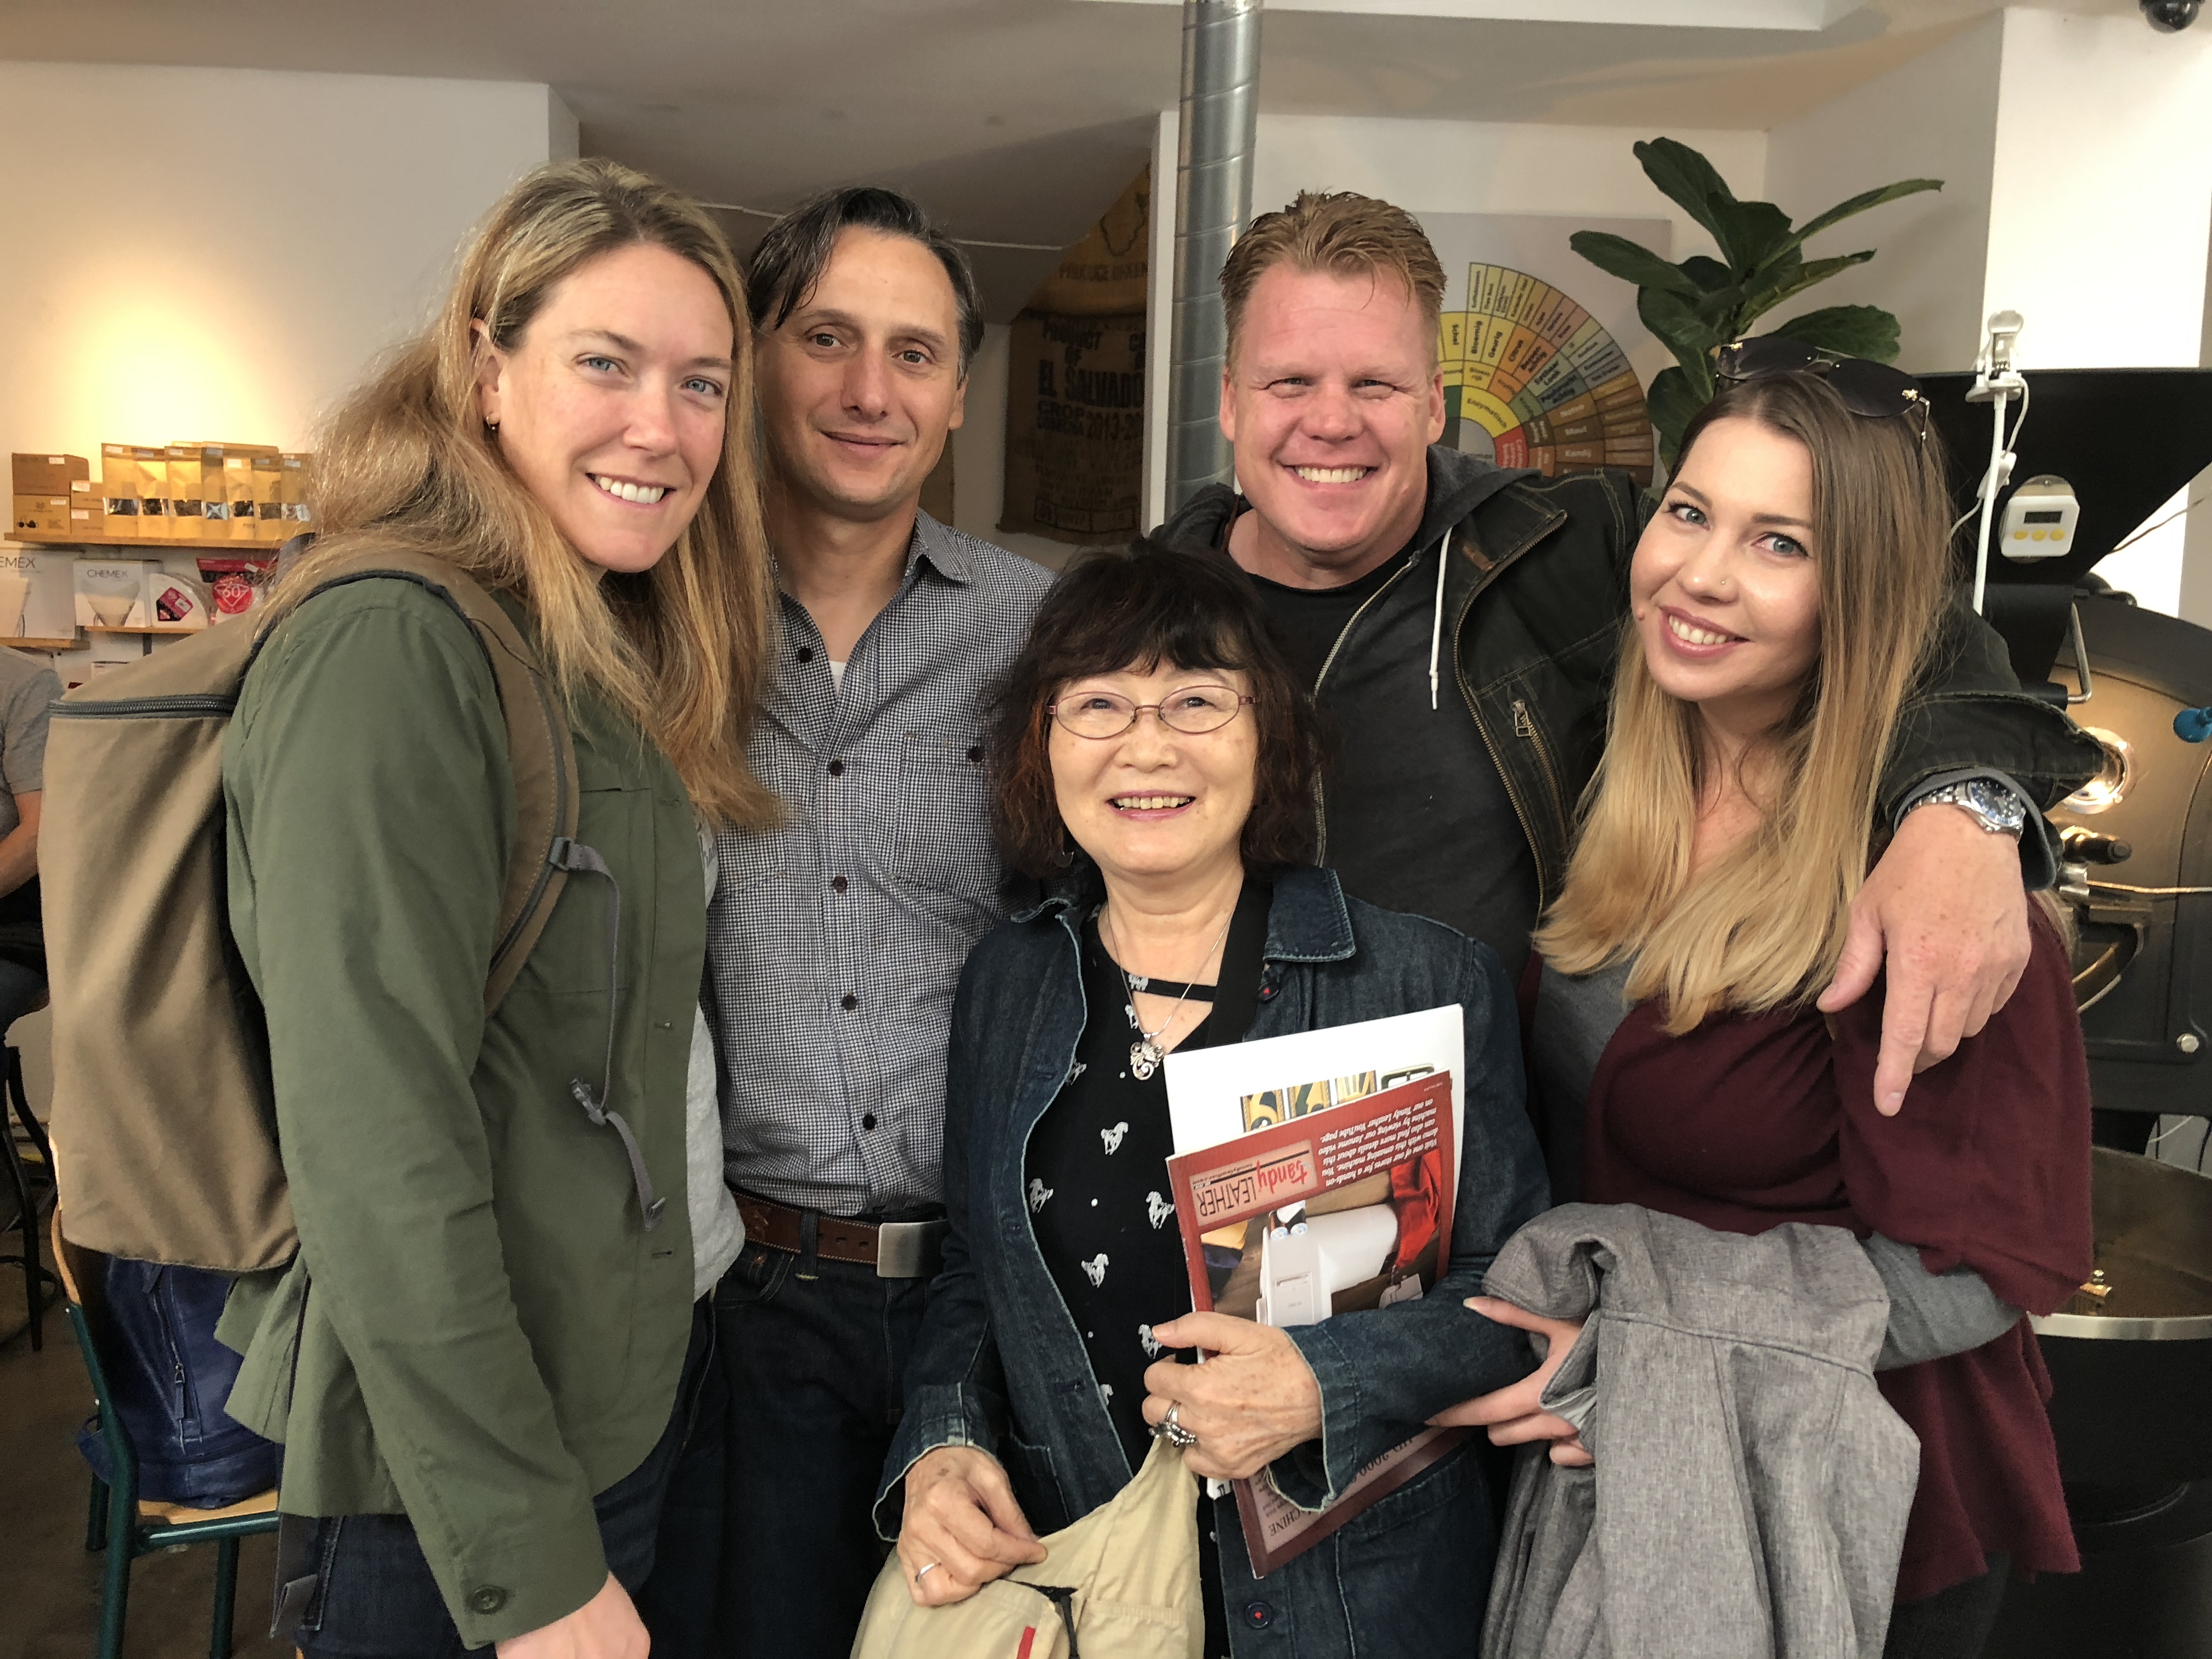
Kathy is adorable, and truly gifted. Plus, she lugged that and a box of tools across the world for me. -
The weather in Arnhem was perfect fall weather, but yeah we have the sun here!
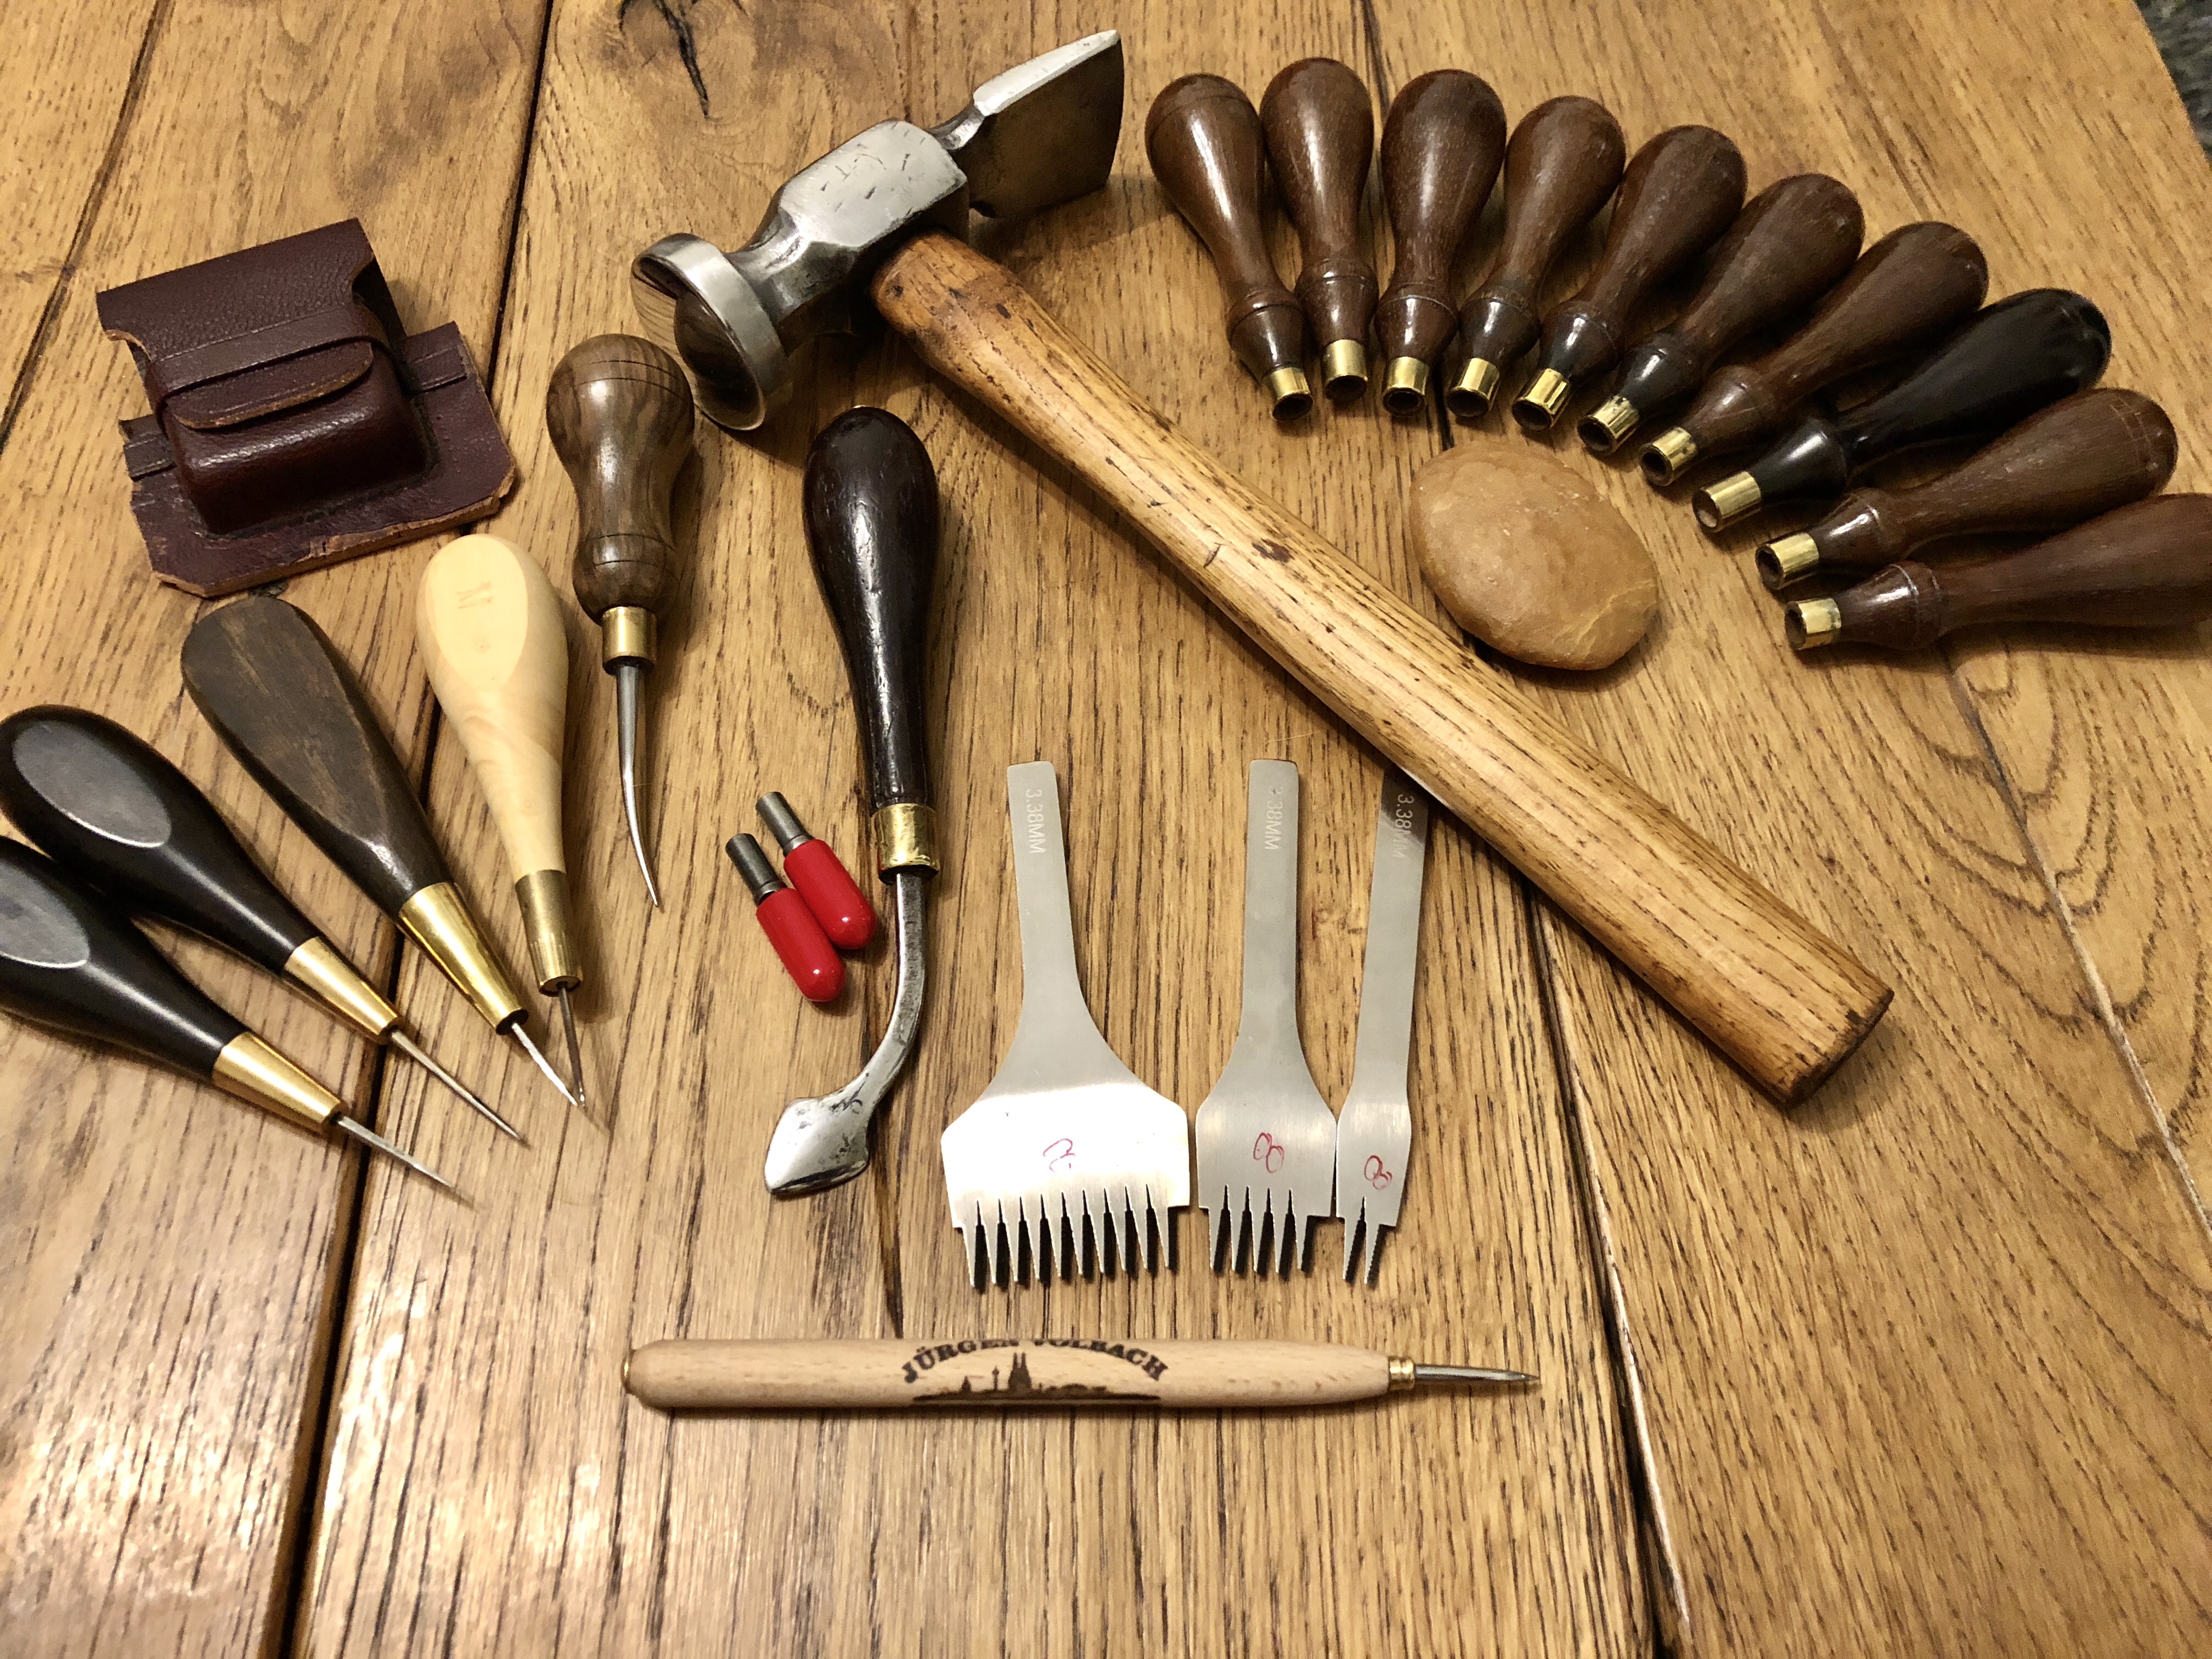
as for the slabs, yep. People from all over dragged them with! Gotta love leather workers!
-
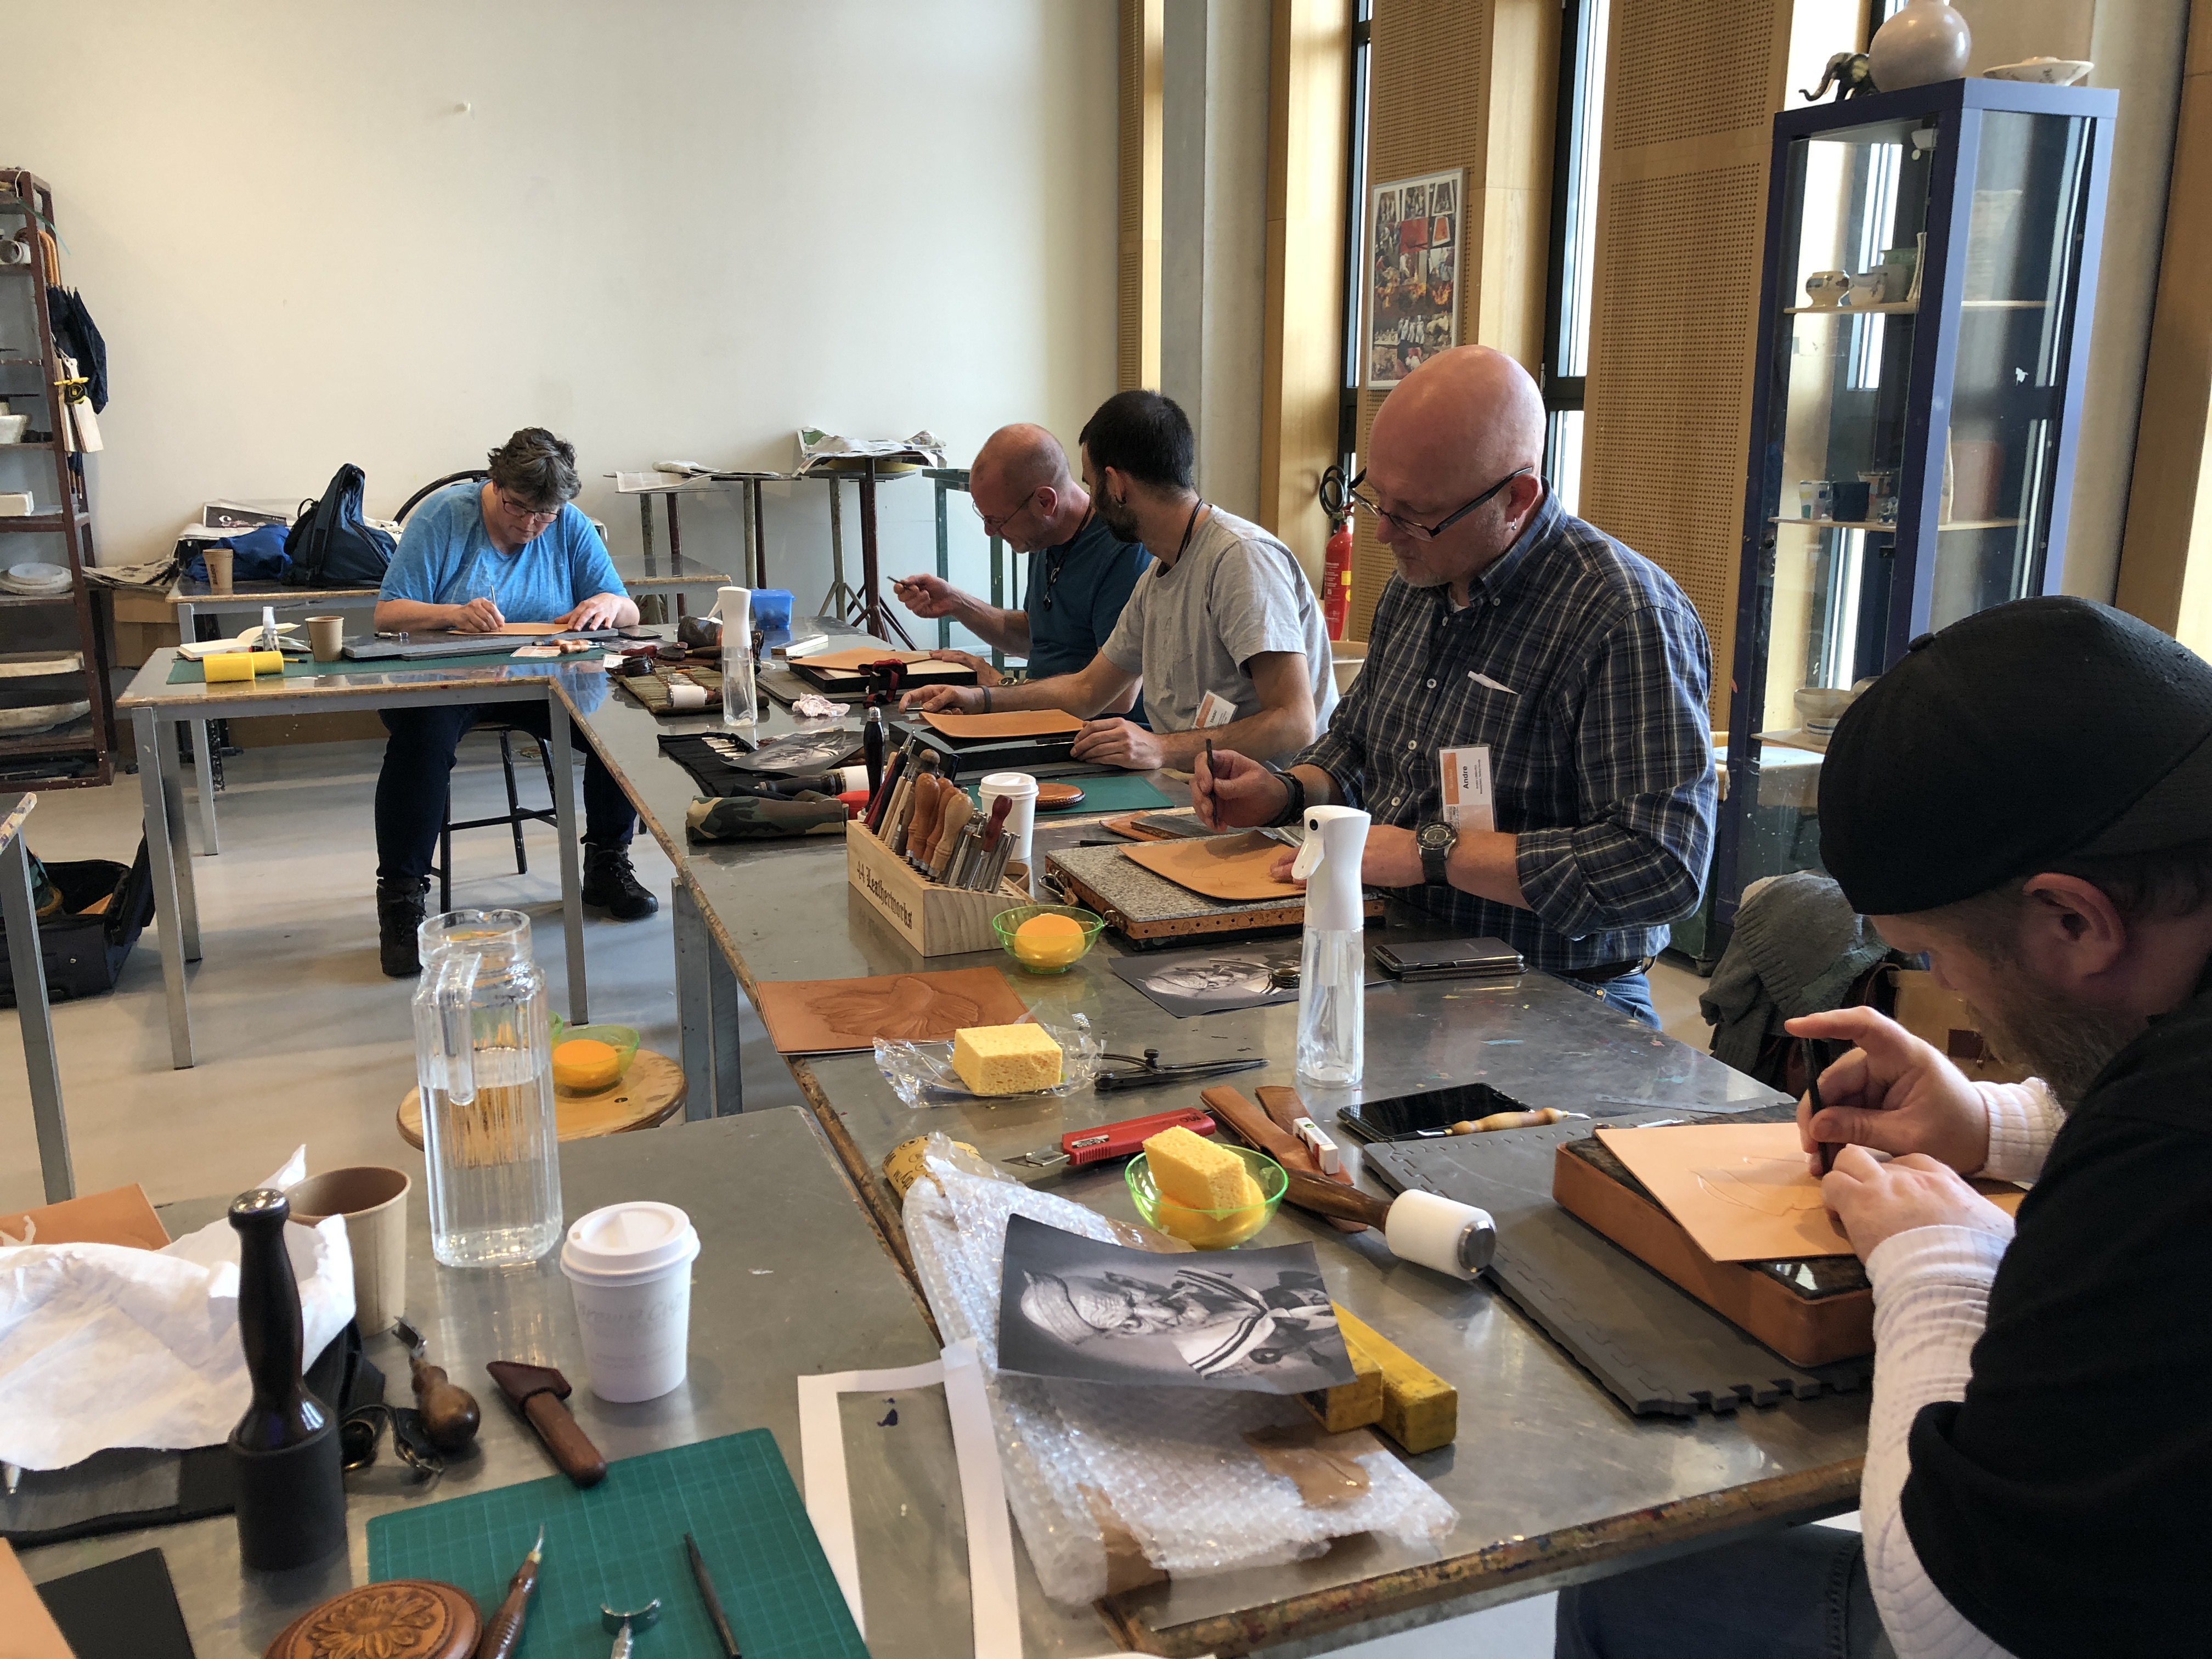
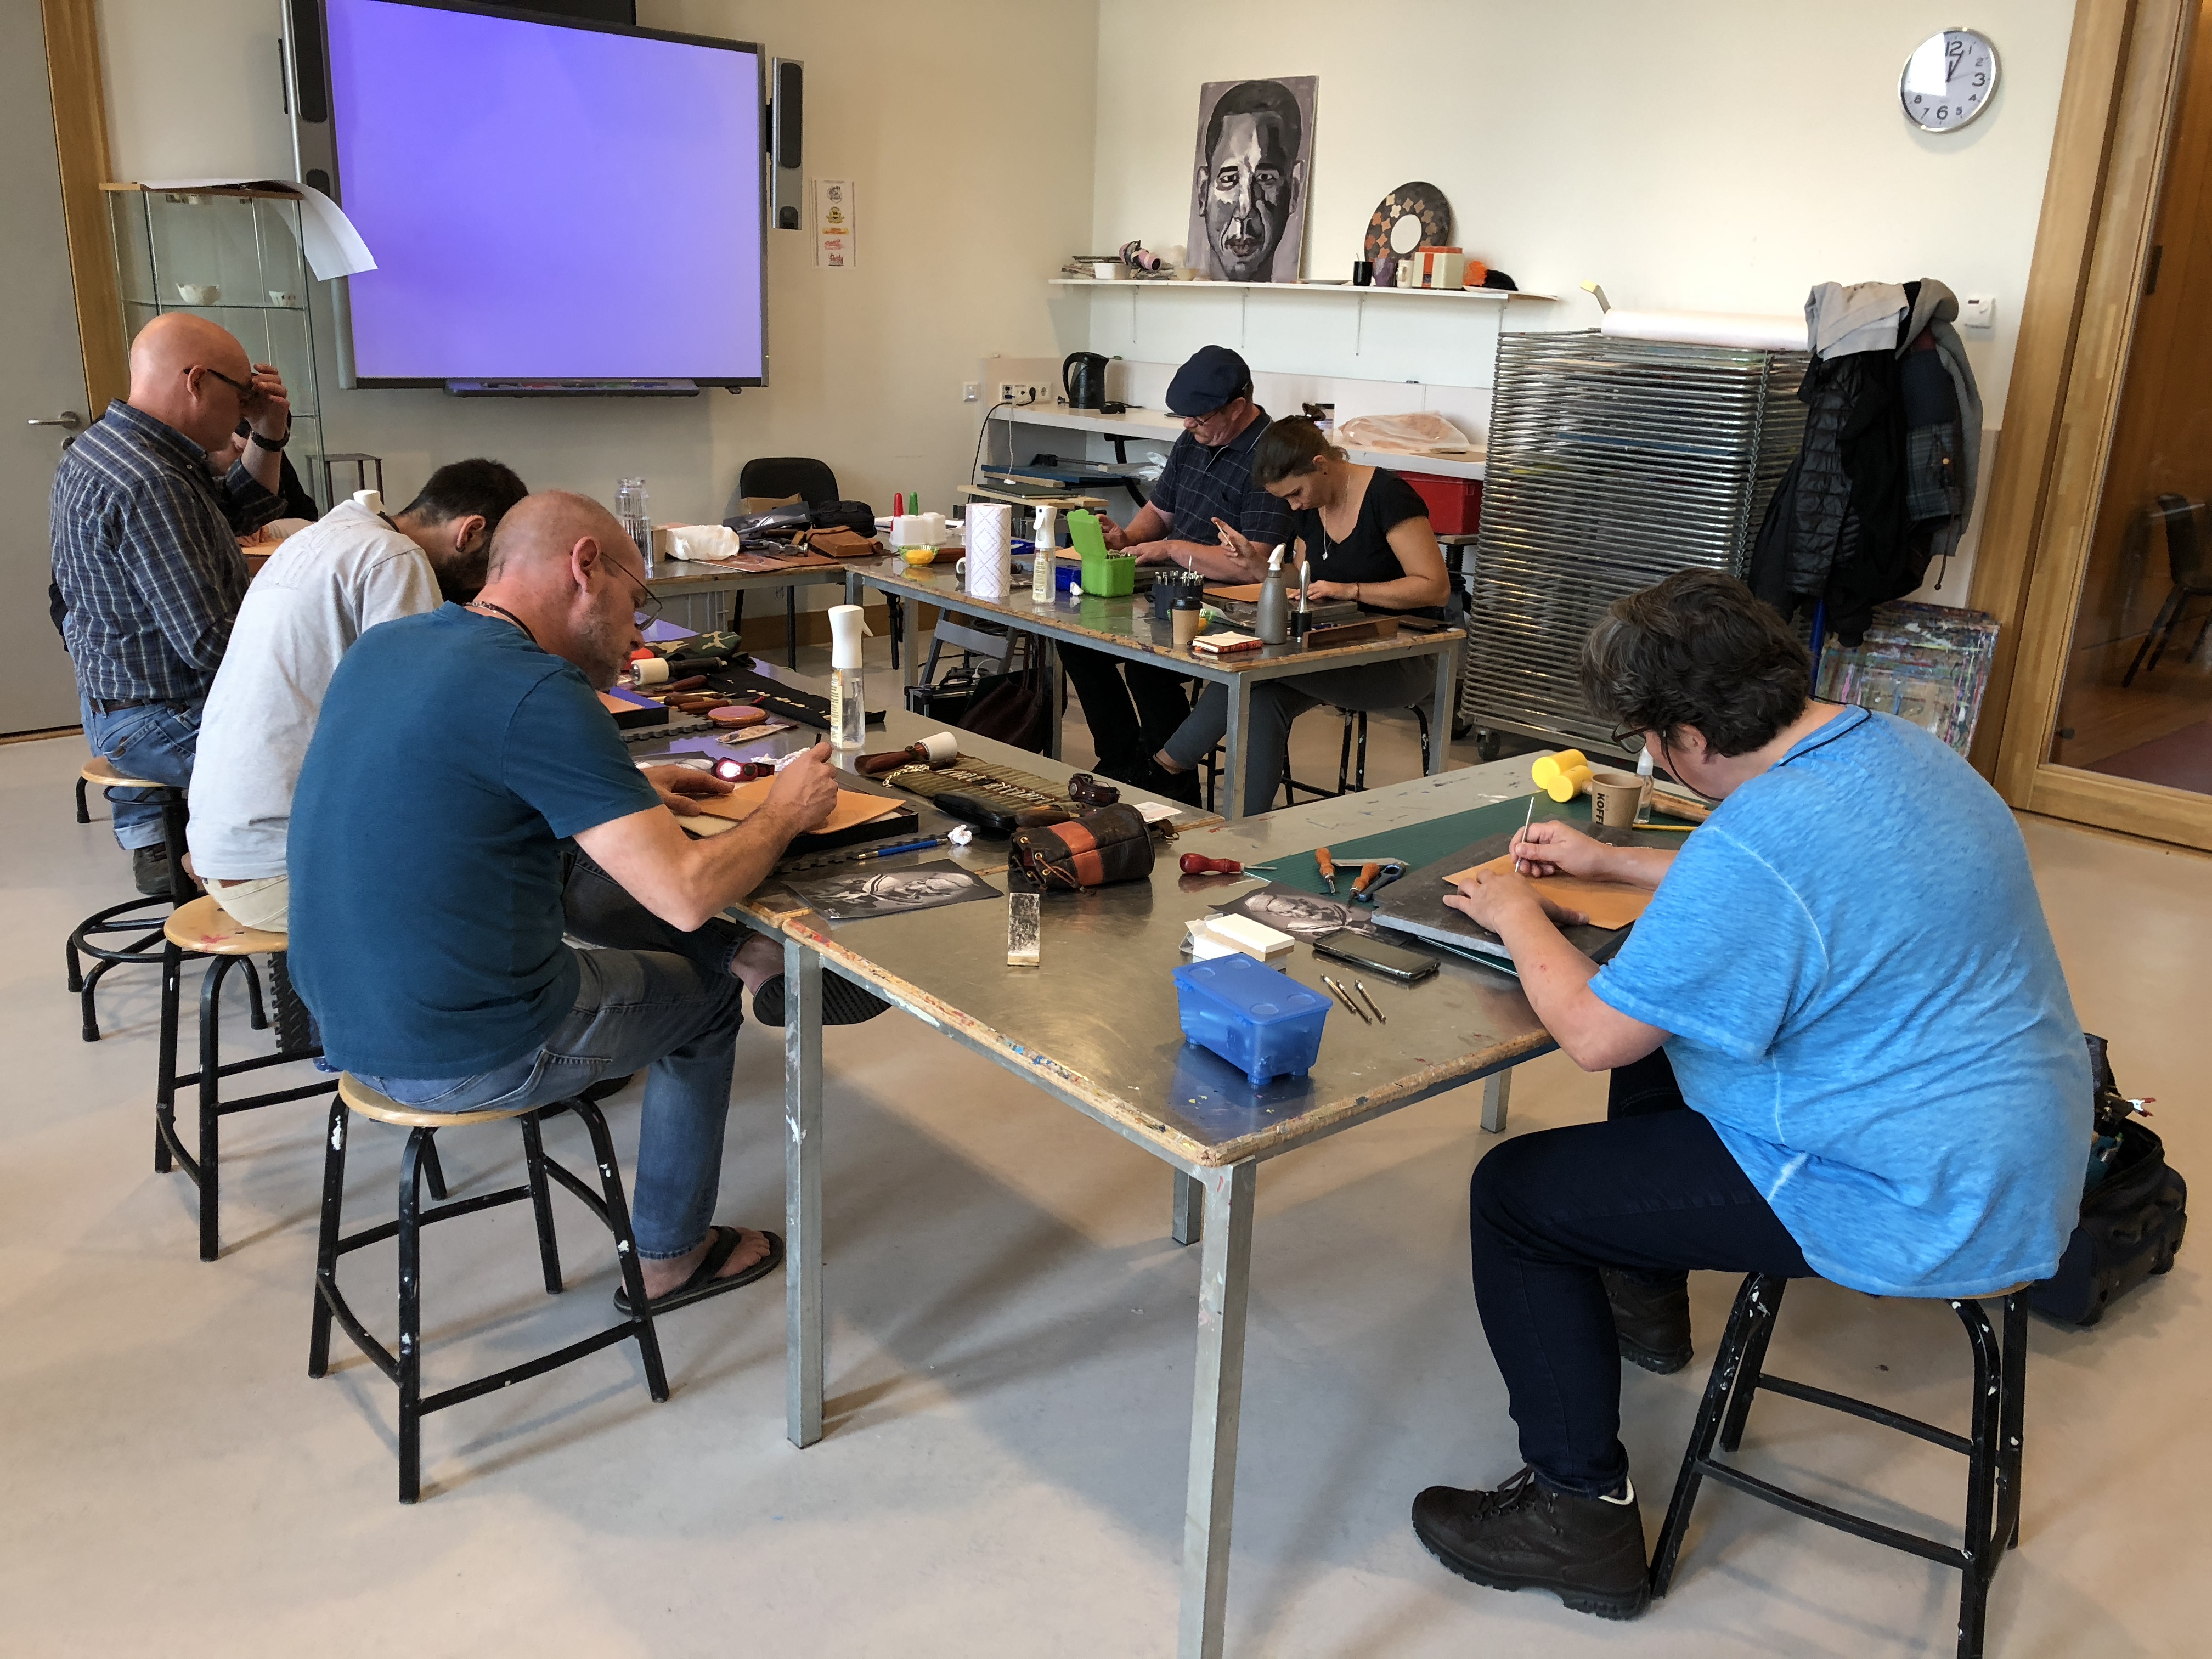
Everyone said they loved class. Took 8 hours to teach it. Everyone had an embossed Popeye by the time we were done.
I had an absolutely amazing time. I want to live there, it’s that good.
-
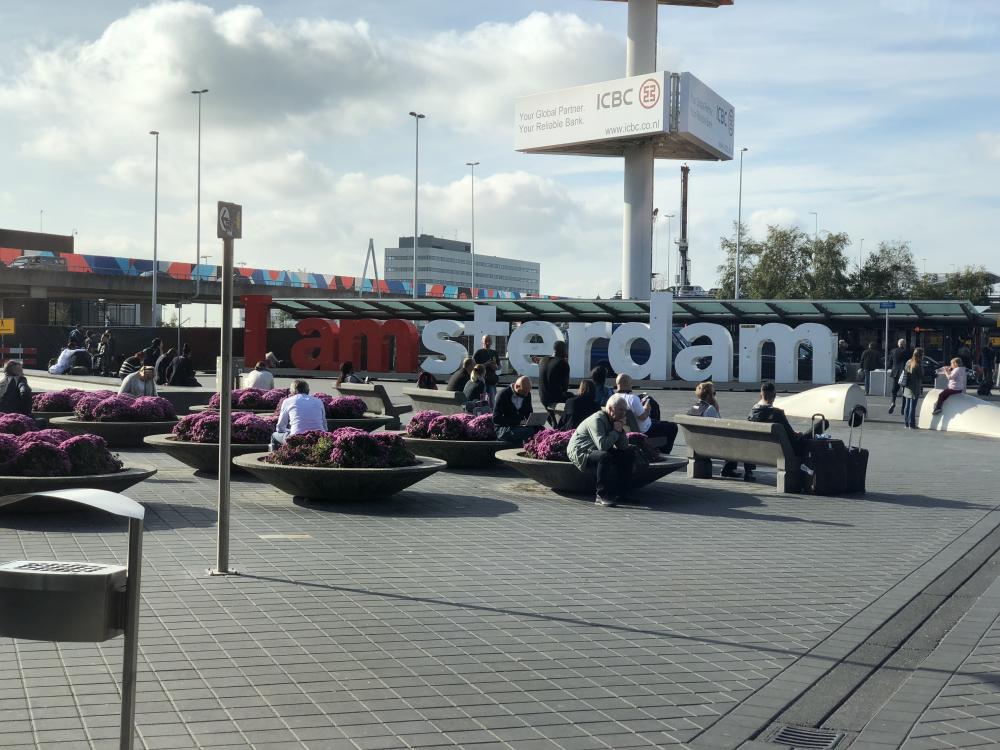
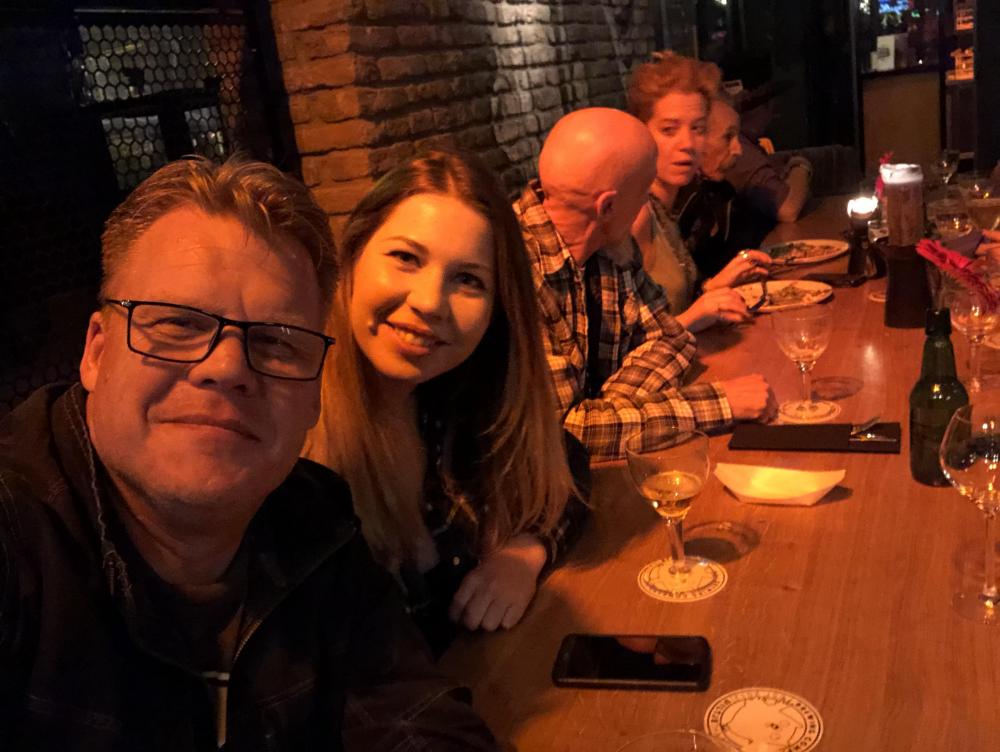
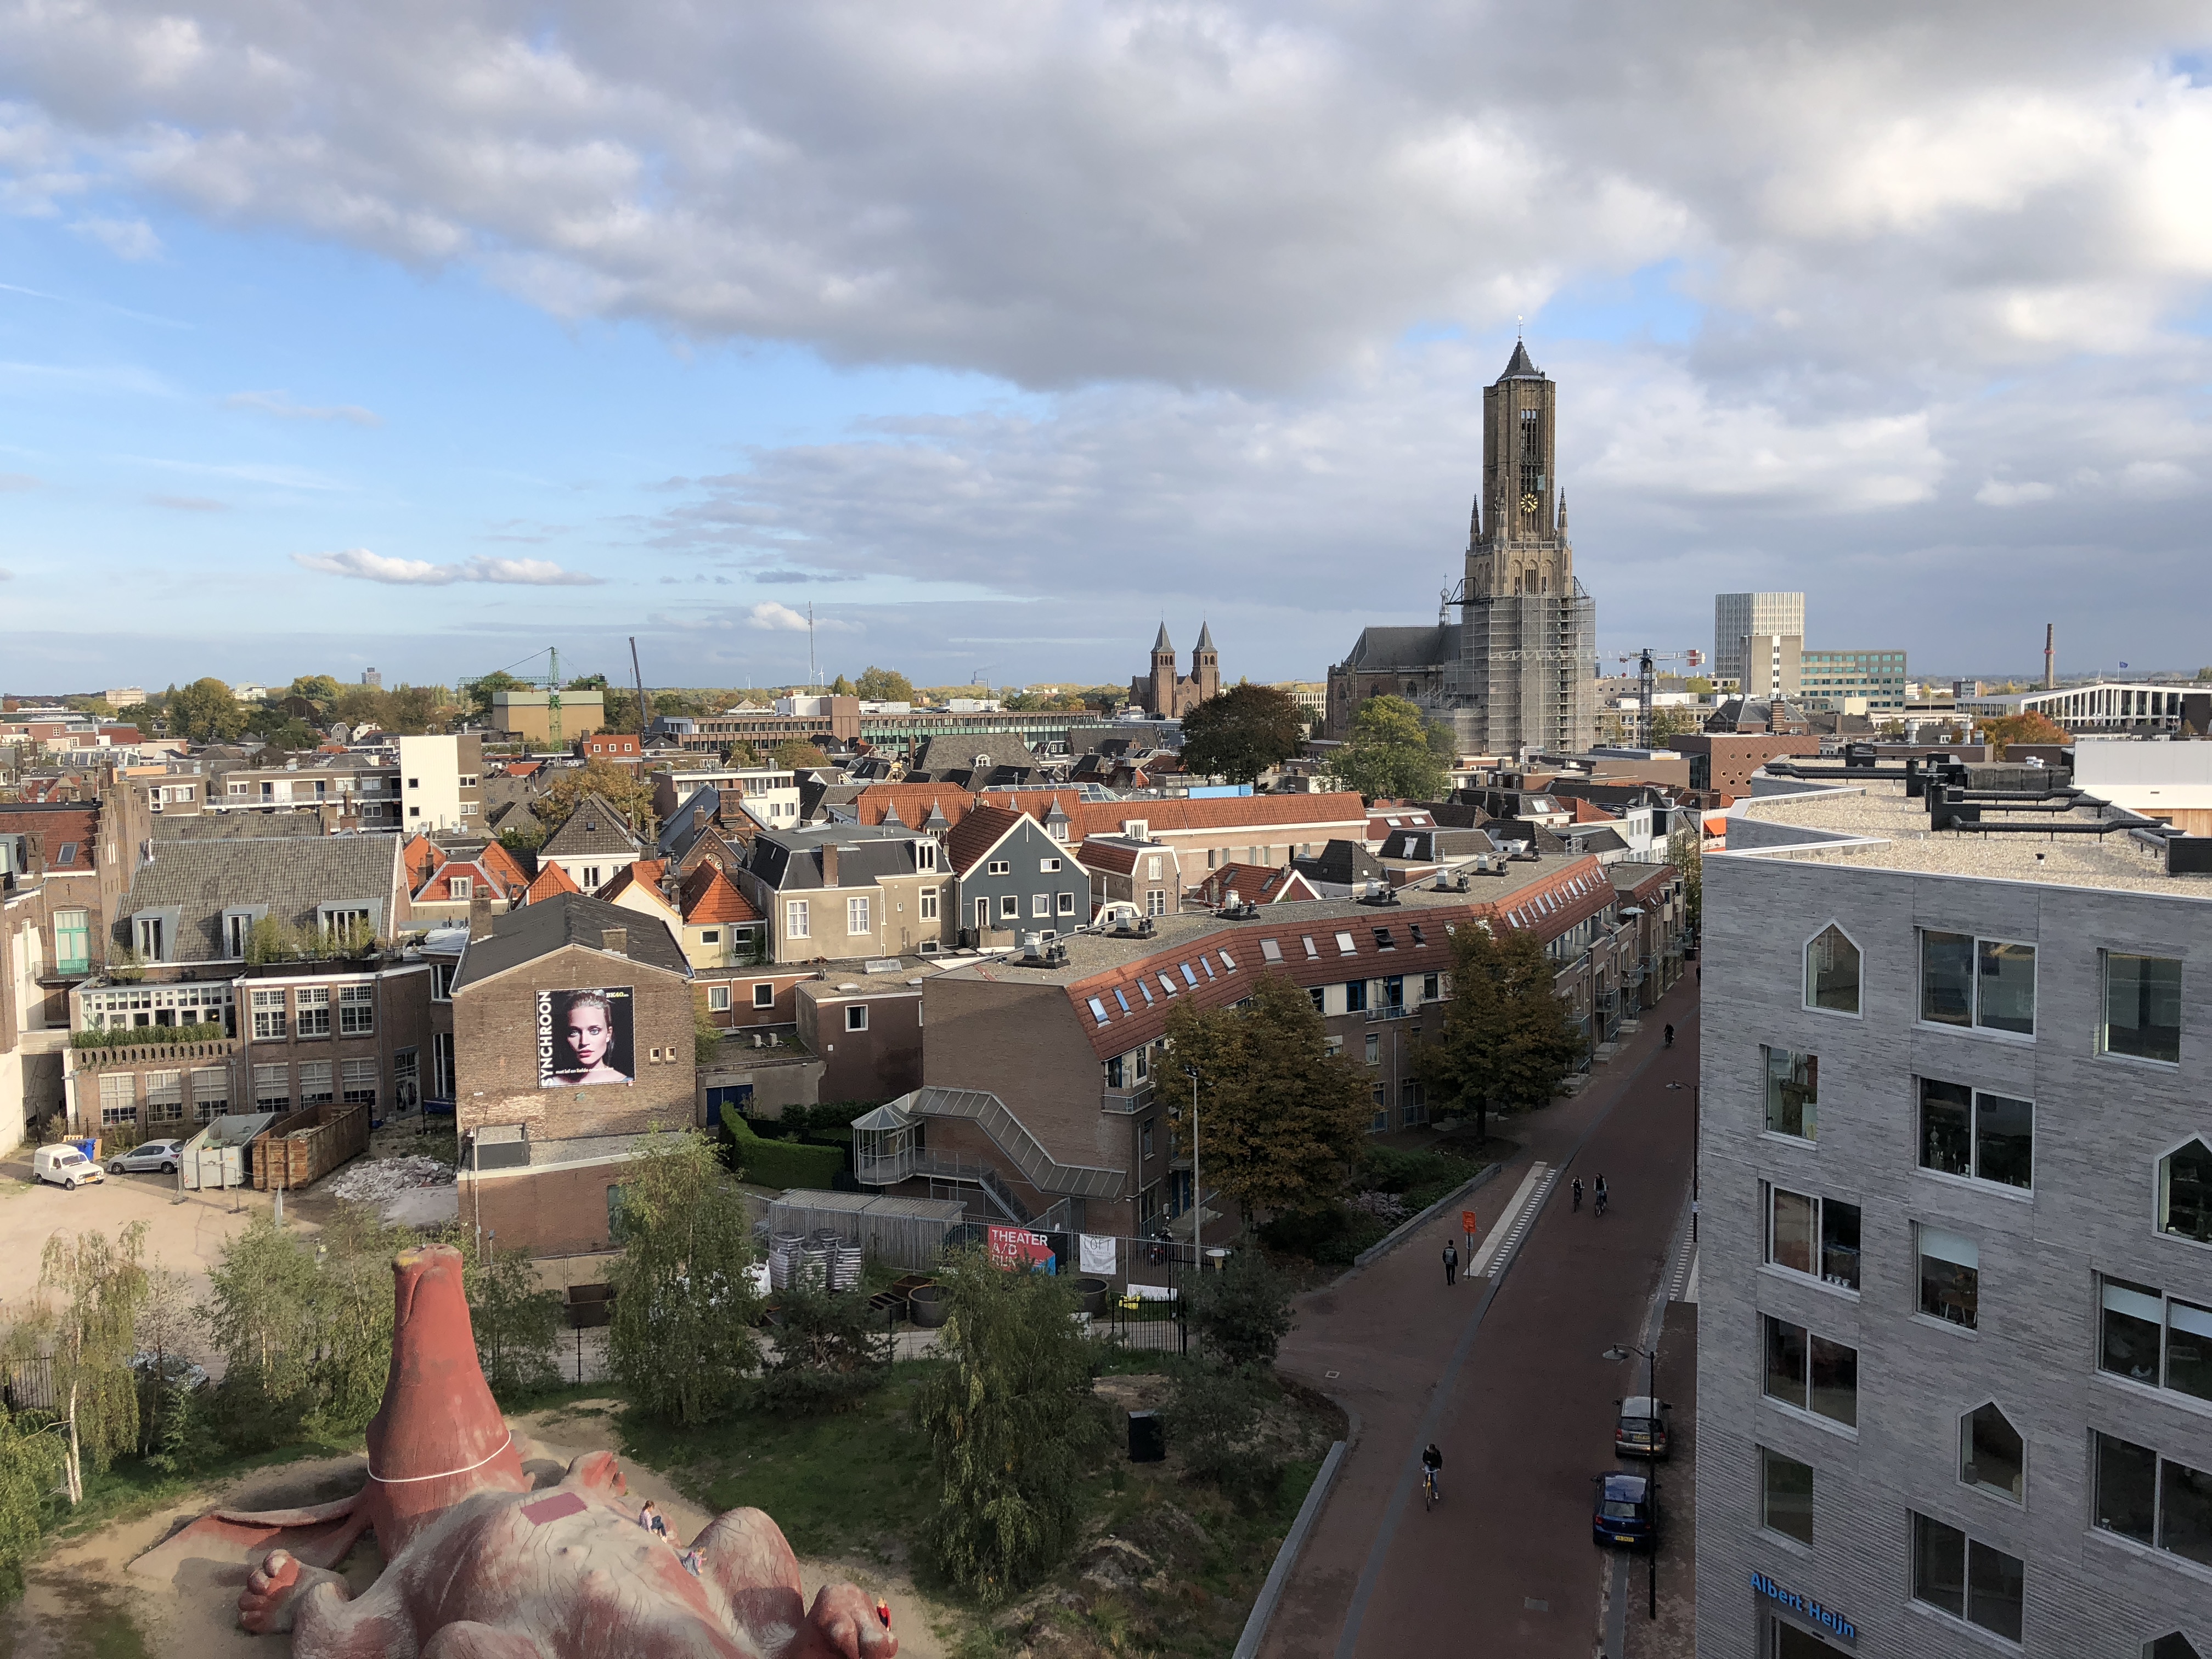
I had the honor of teaching again at this year’s ELWATS in Arnhem, Netherlands along with some great friends.
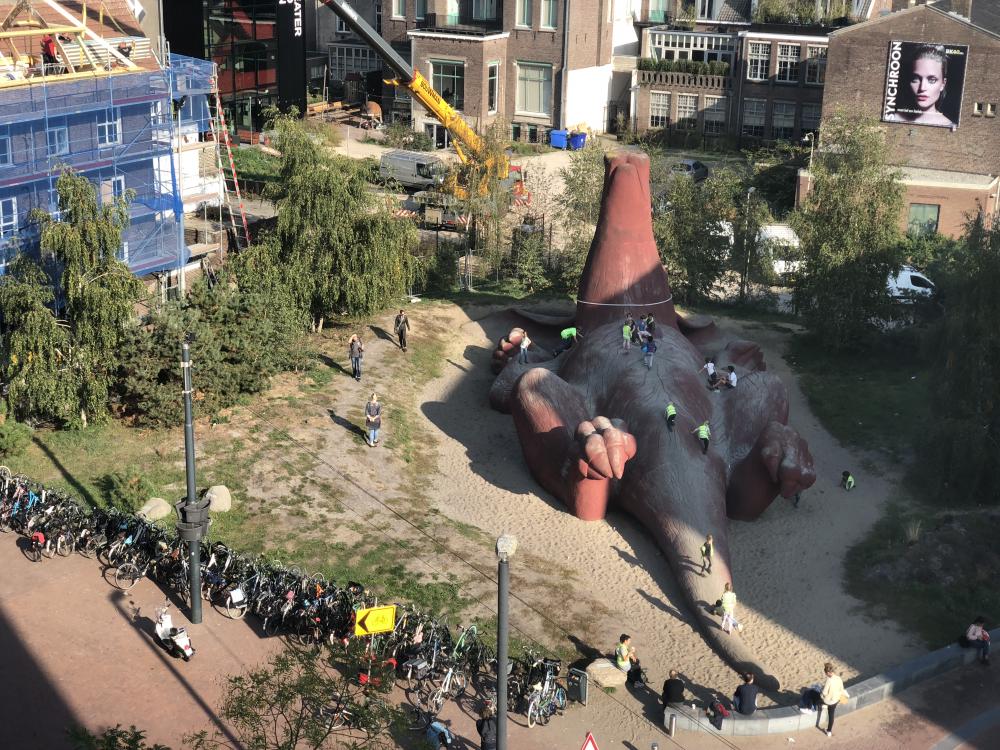
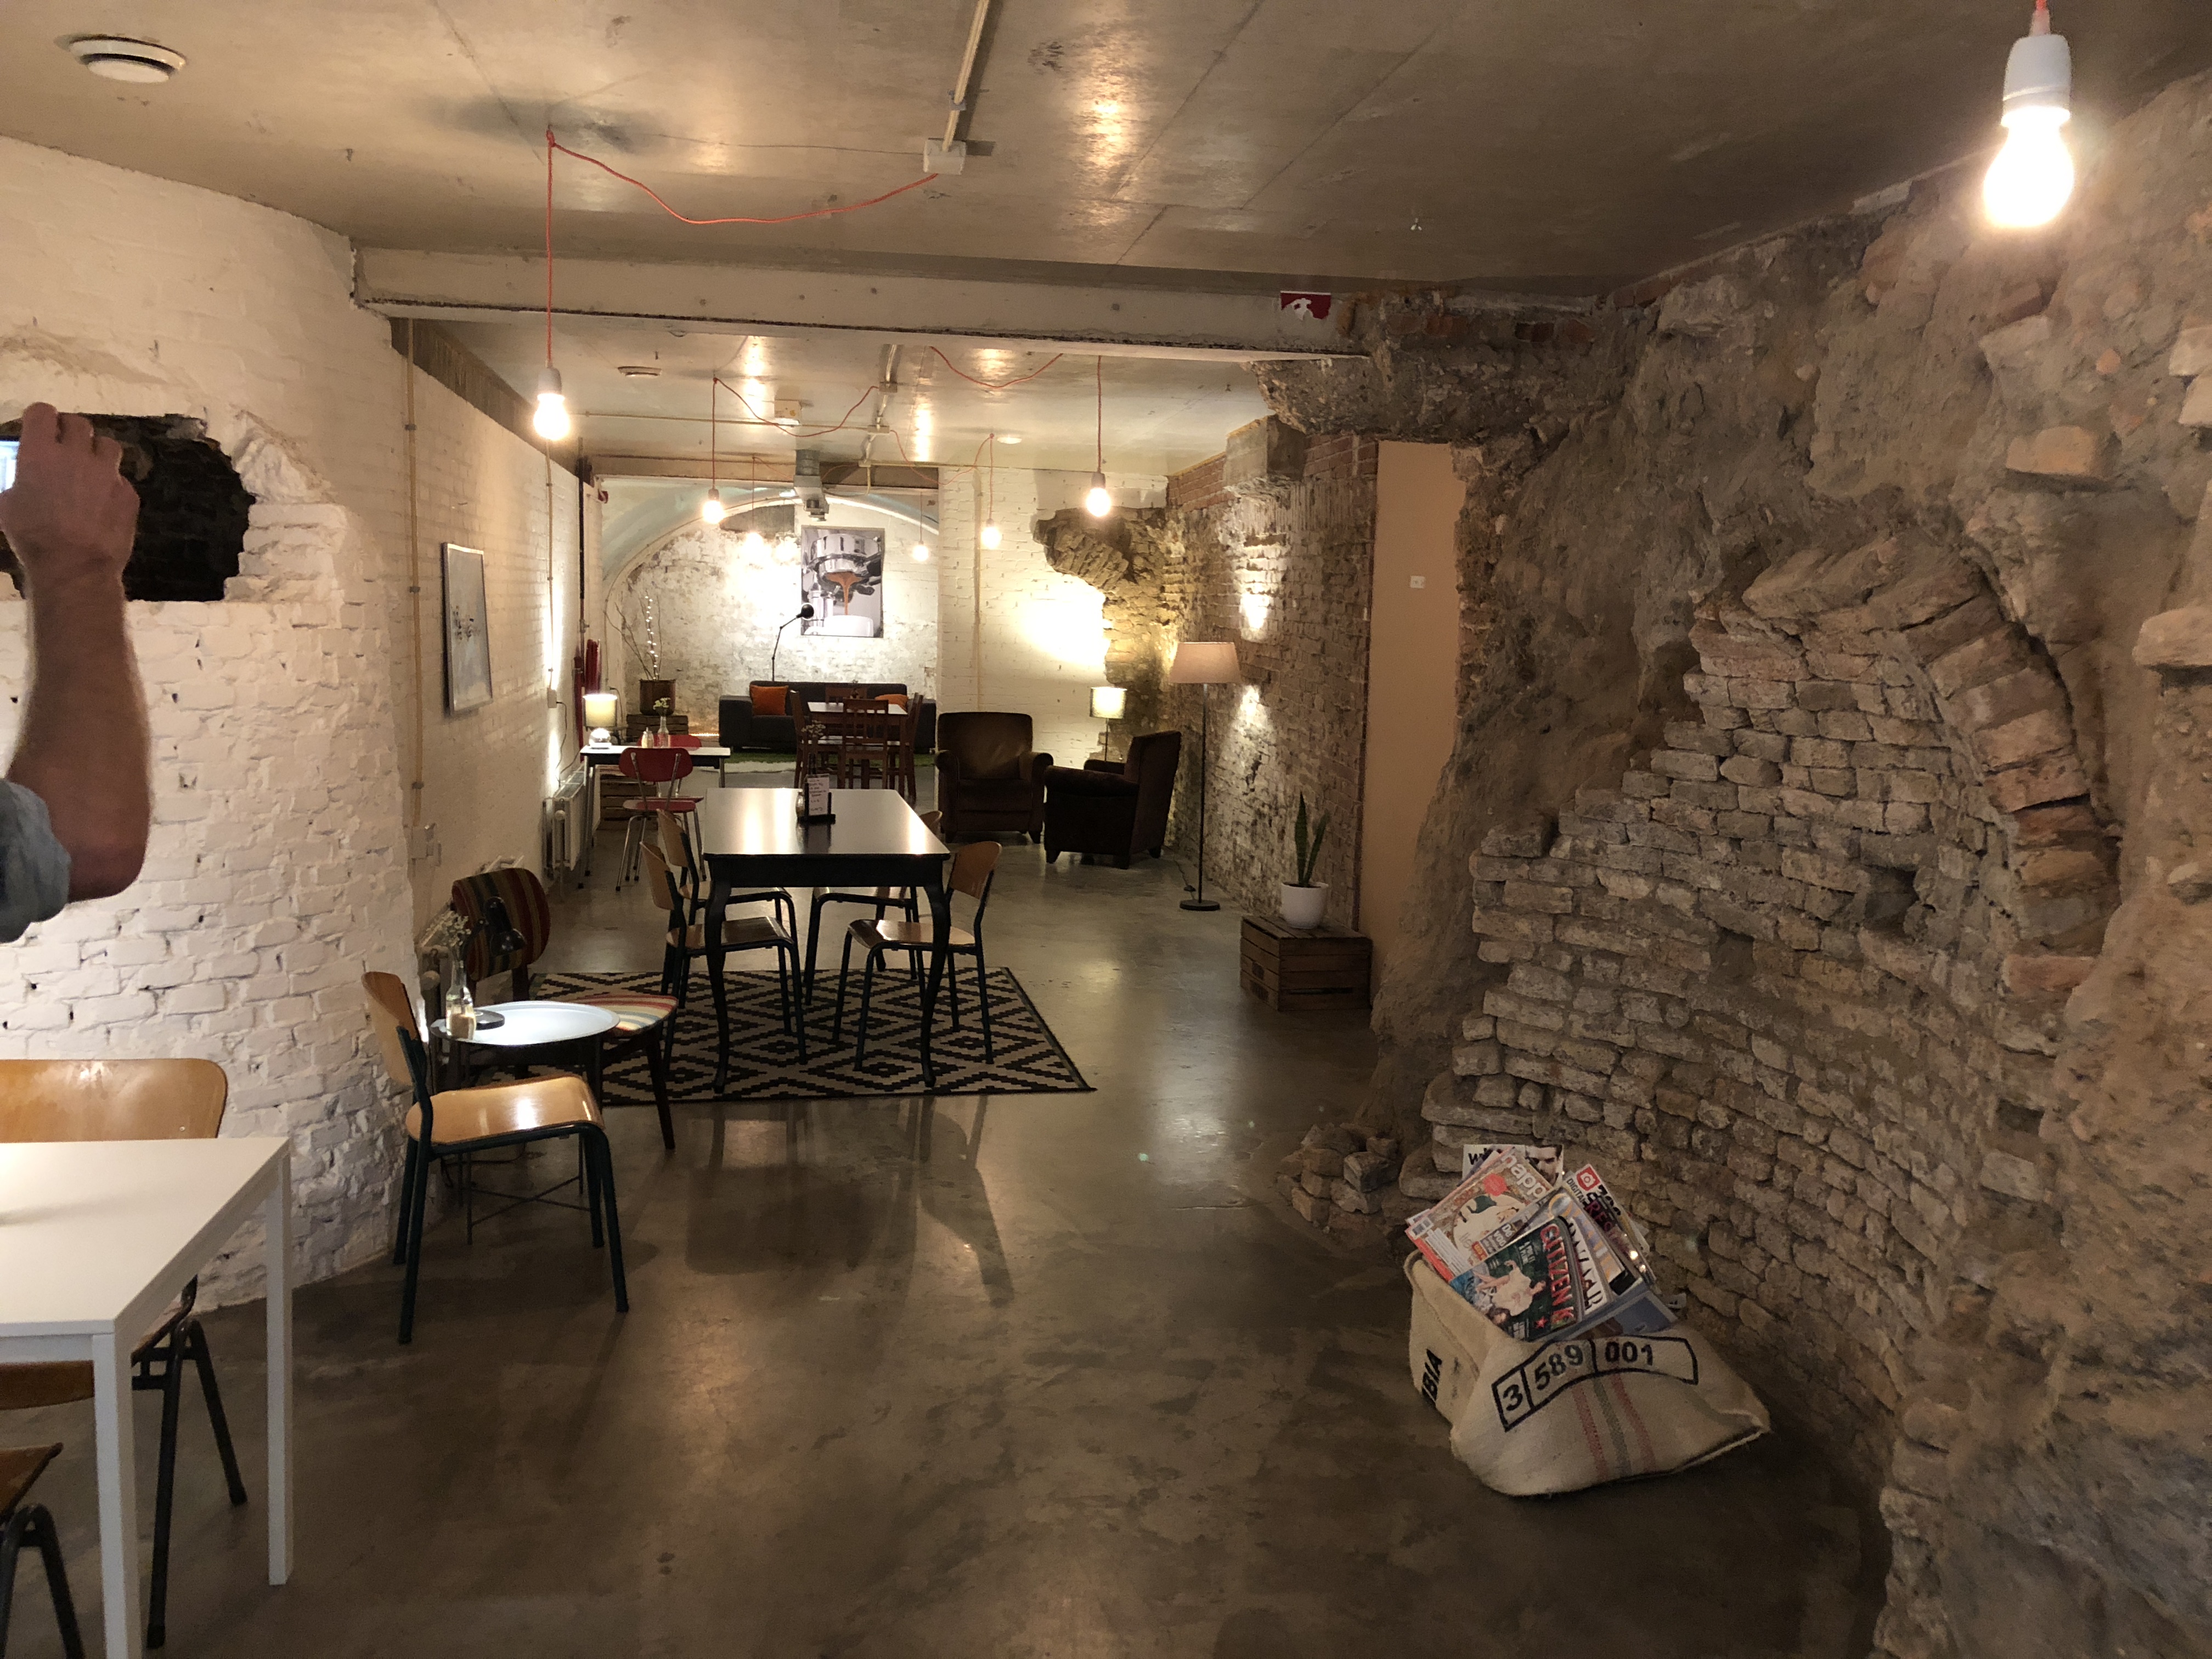
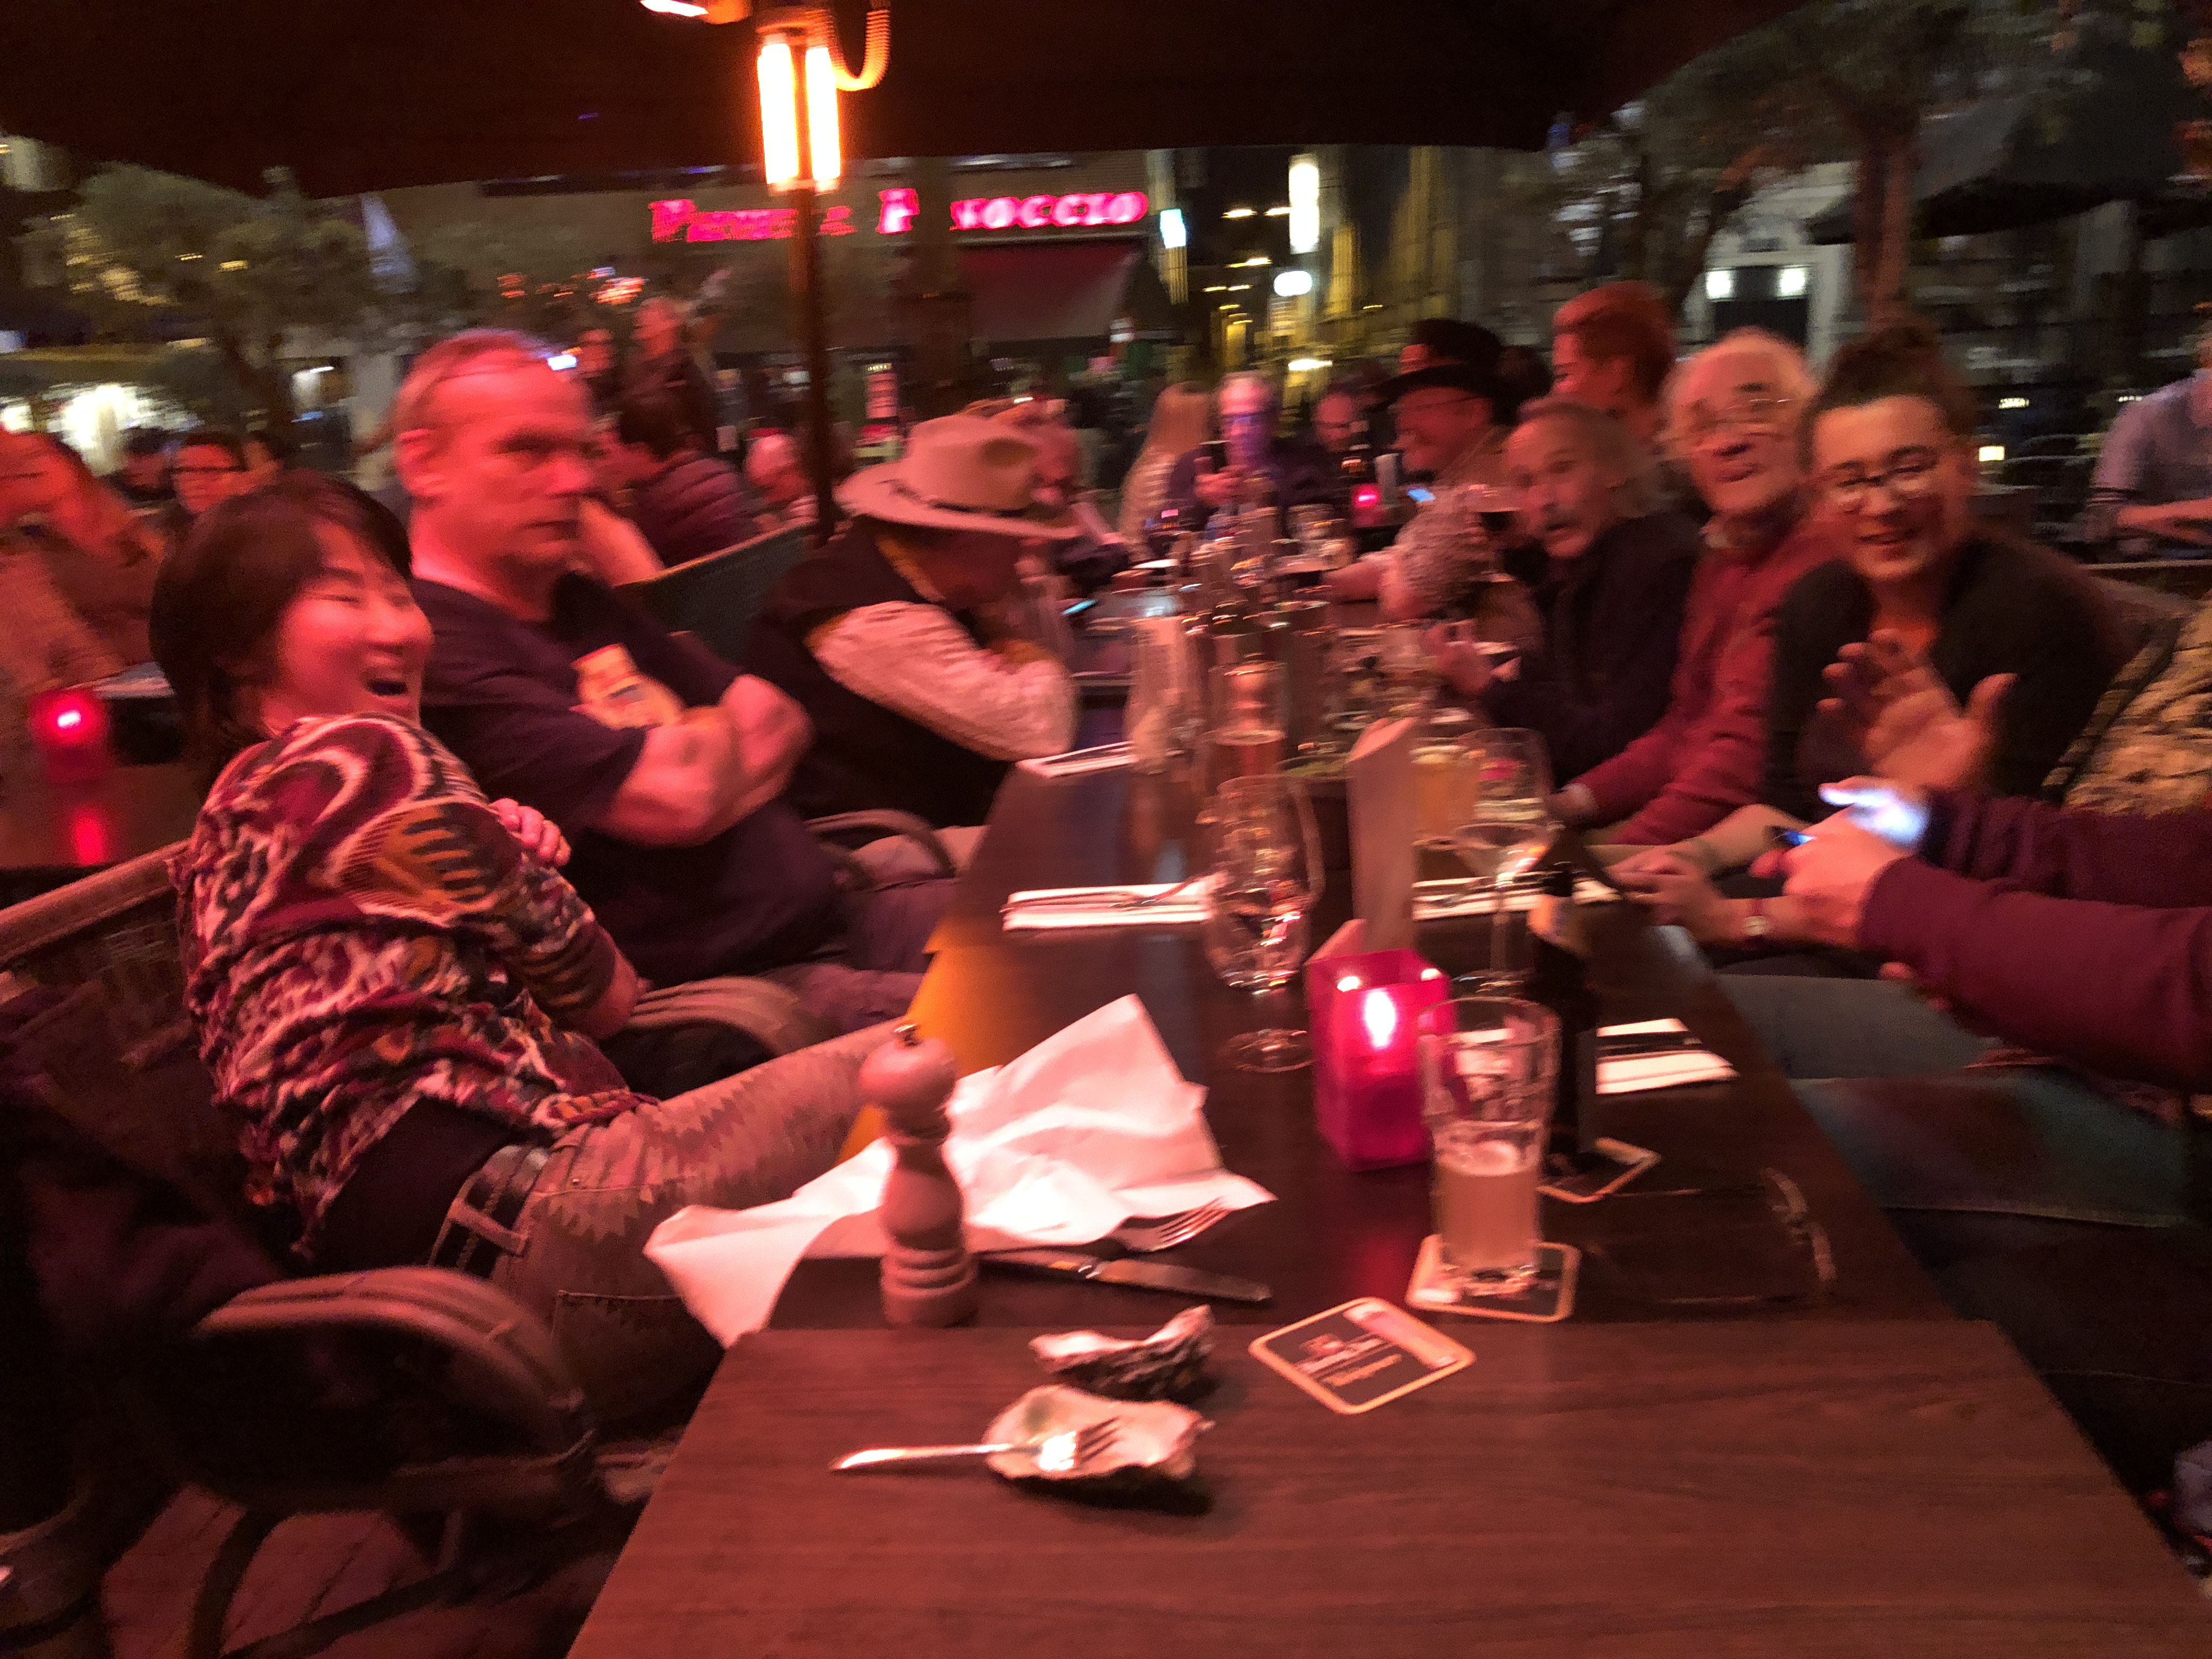
The city of Arnhem is an amazing, world class city filled with history, culture and warm, friendly people. Oh, and the night life is great! I can’t speak highly enough about it.
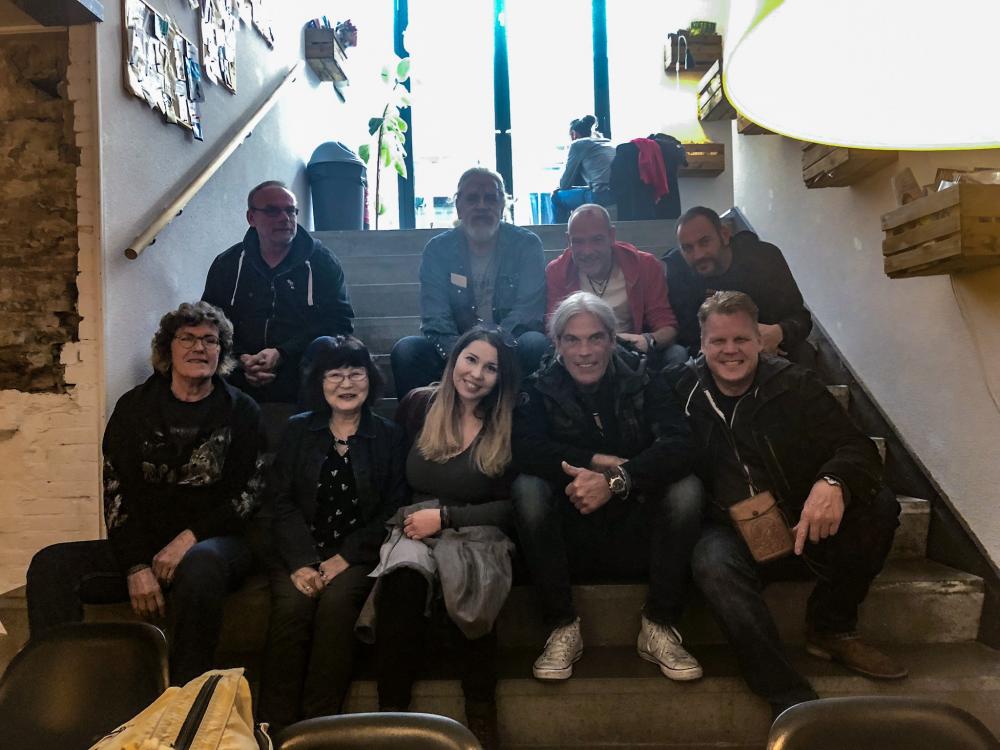
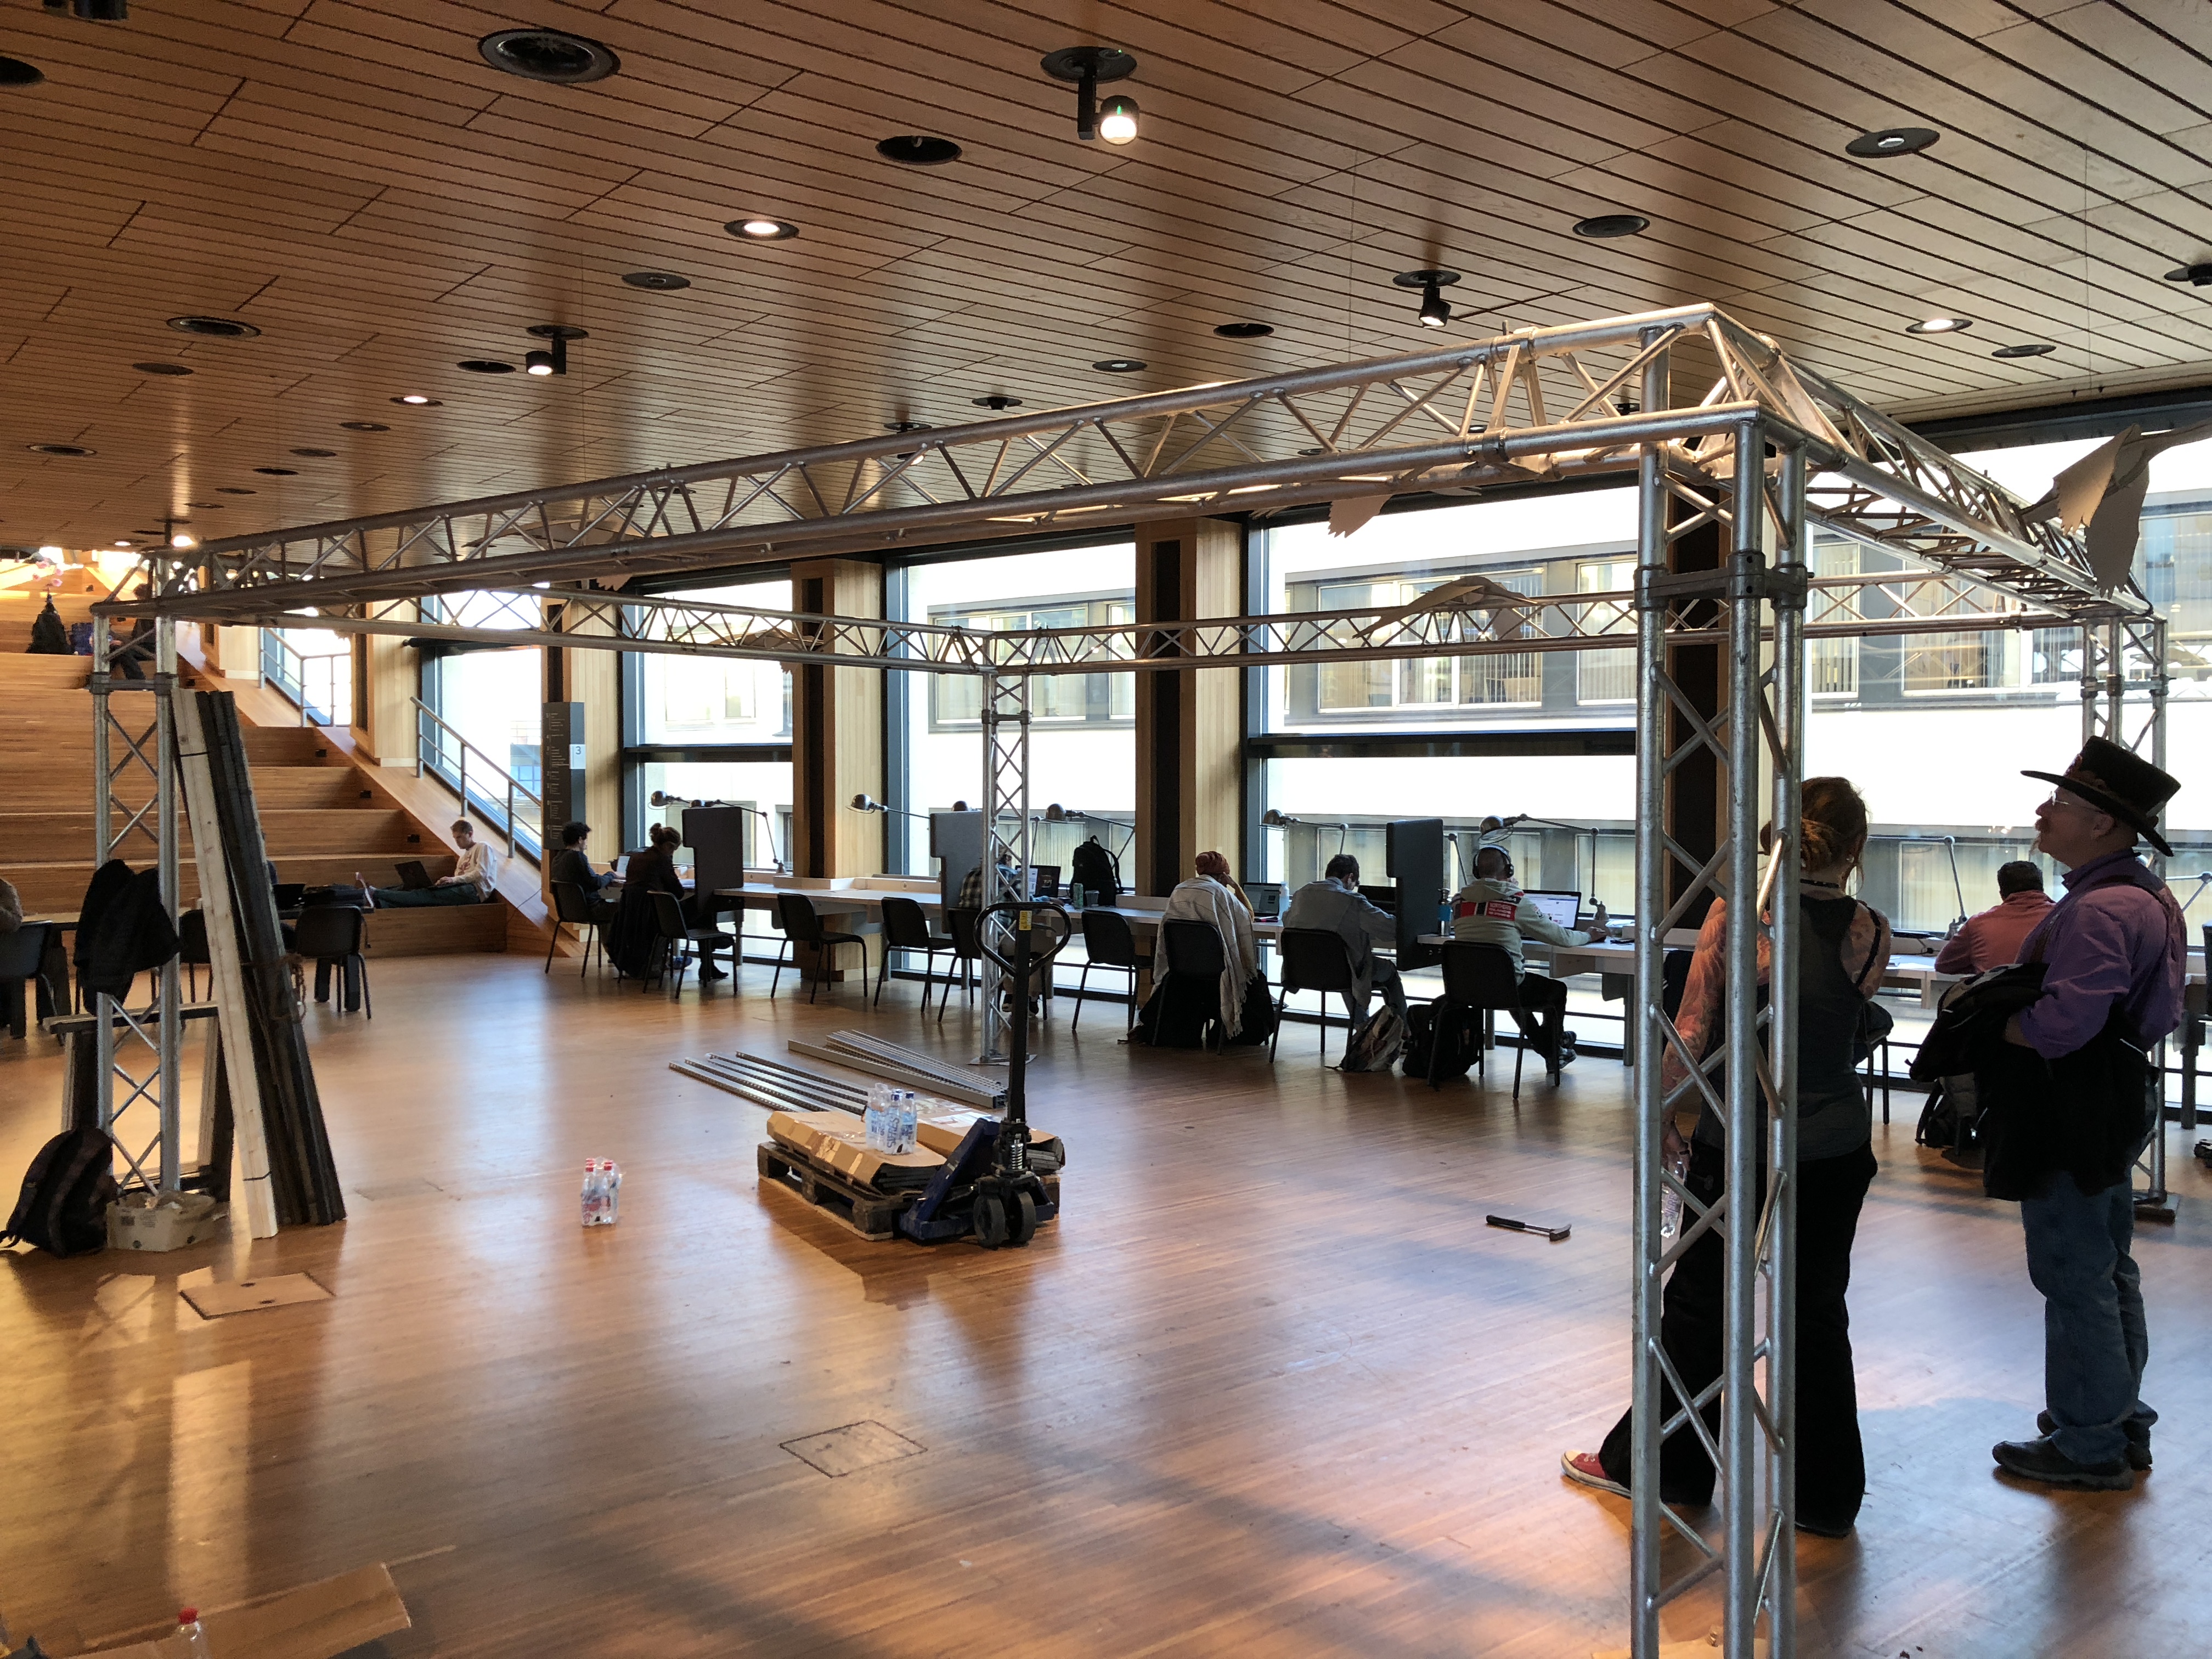
Charil and Ralph, along with the help of a local leather worker, Danielle picked an amazing venue and organized a show that rivals Sheridan or Prescott.
My class consisted of 7 students from all over the world, including Canada, Spain and the Netherlands. They were a talented group of individuals of all levels.
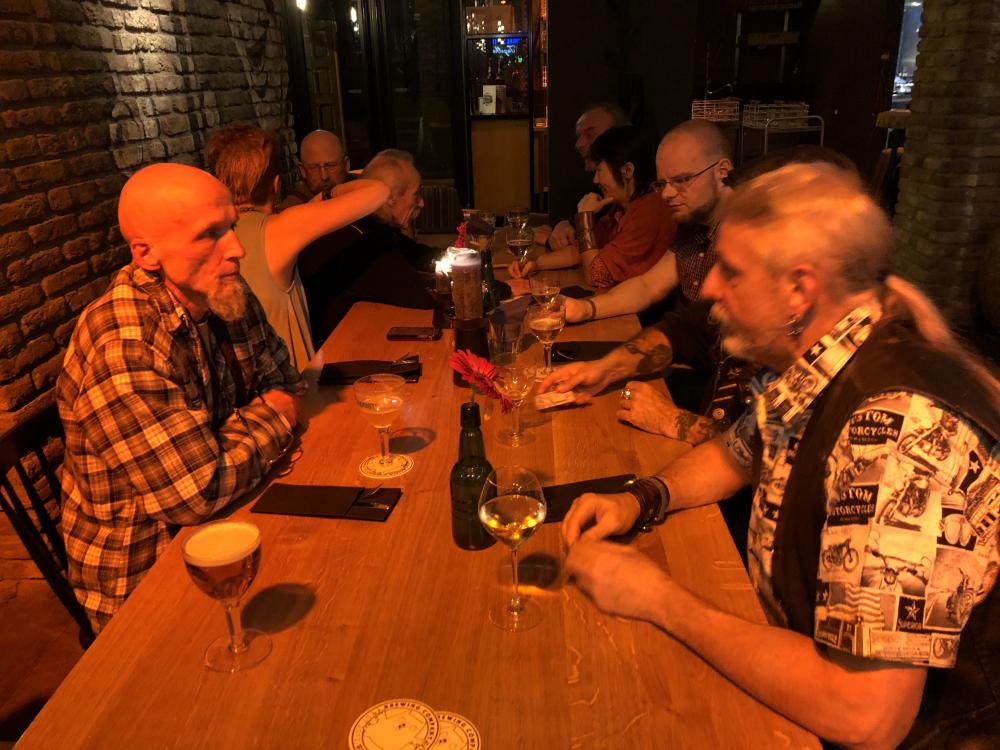
The best part was hanging out with my international leather community friends, especially those I don’t get to see often.
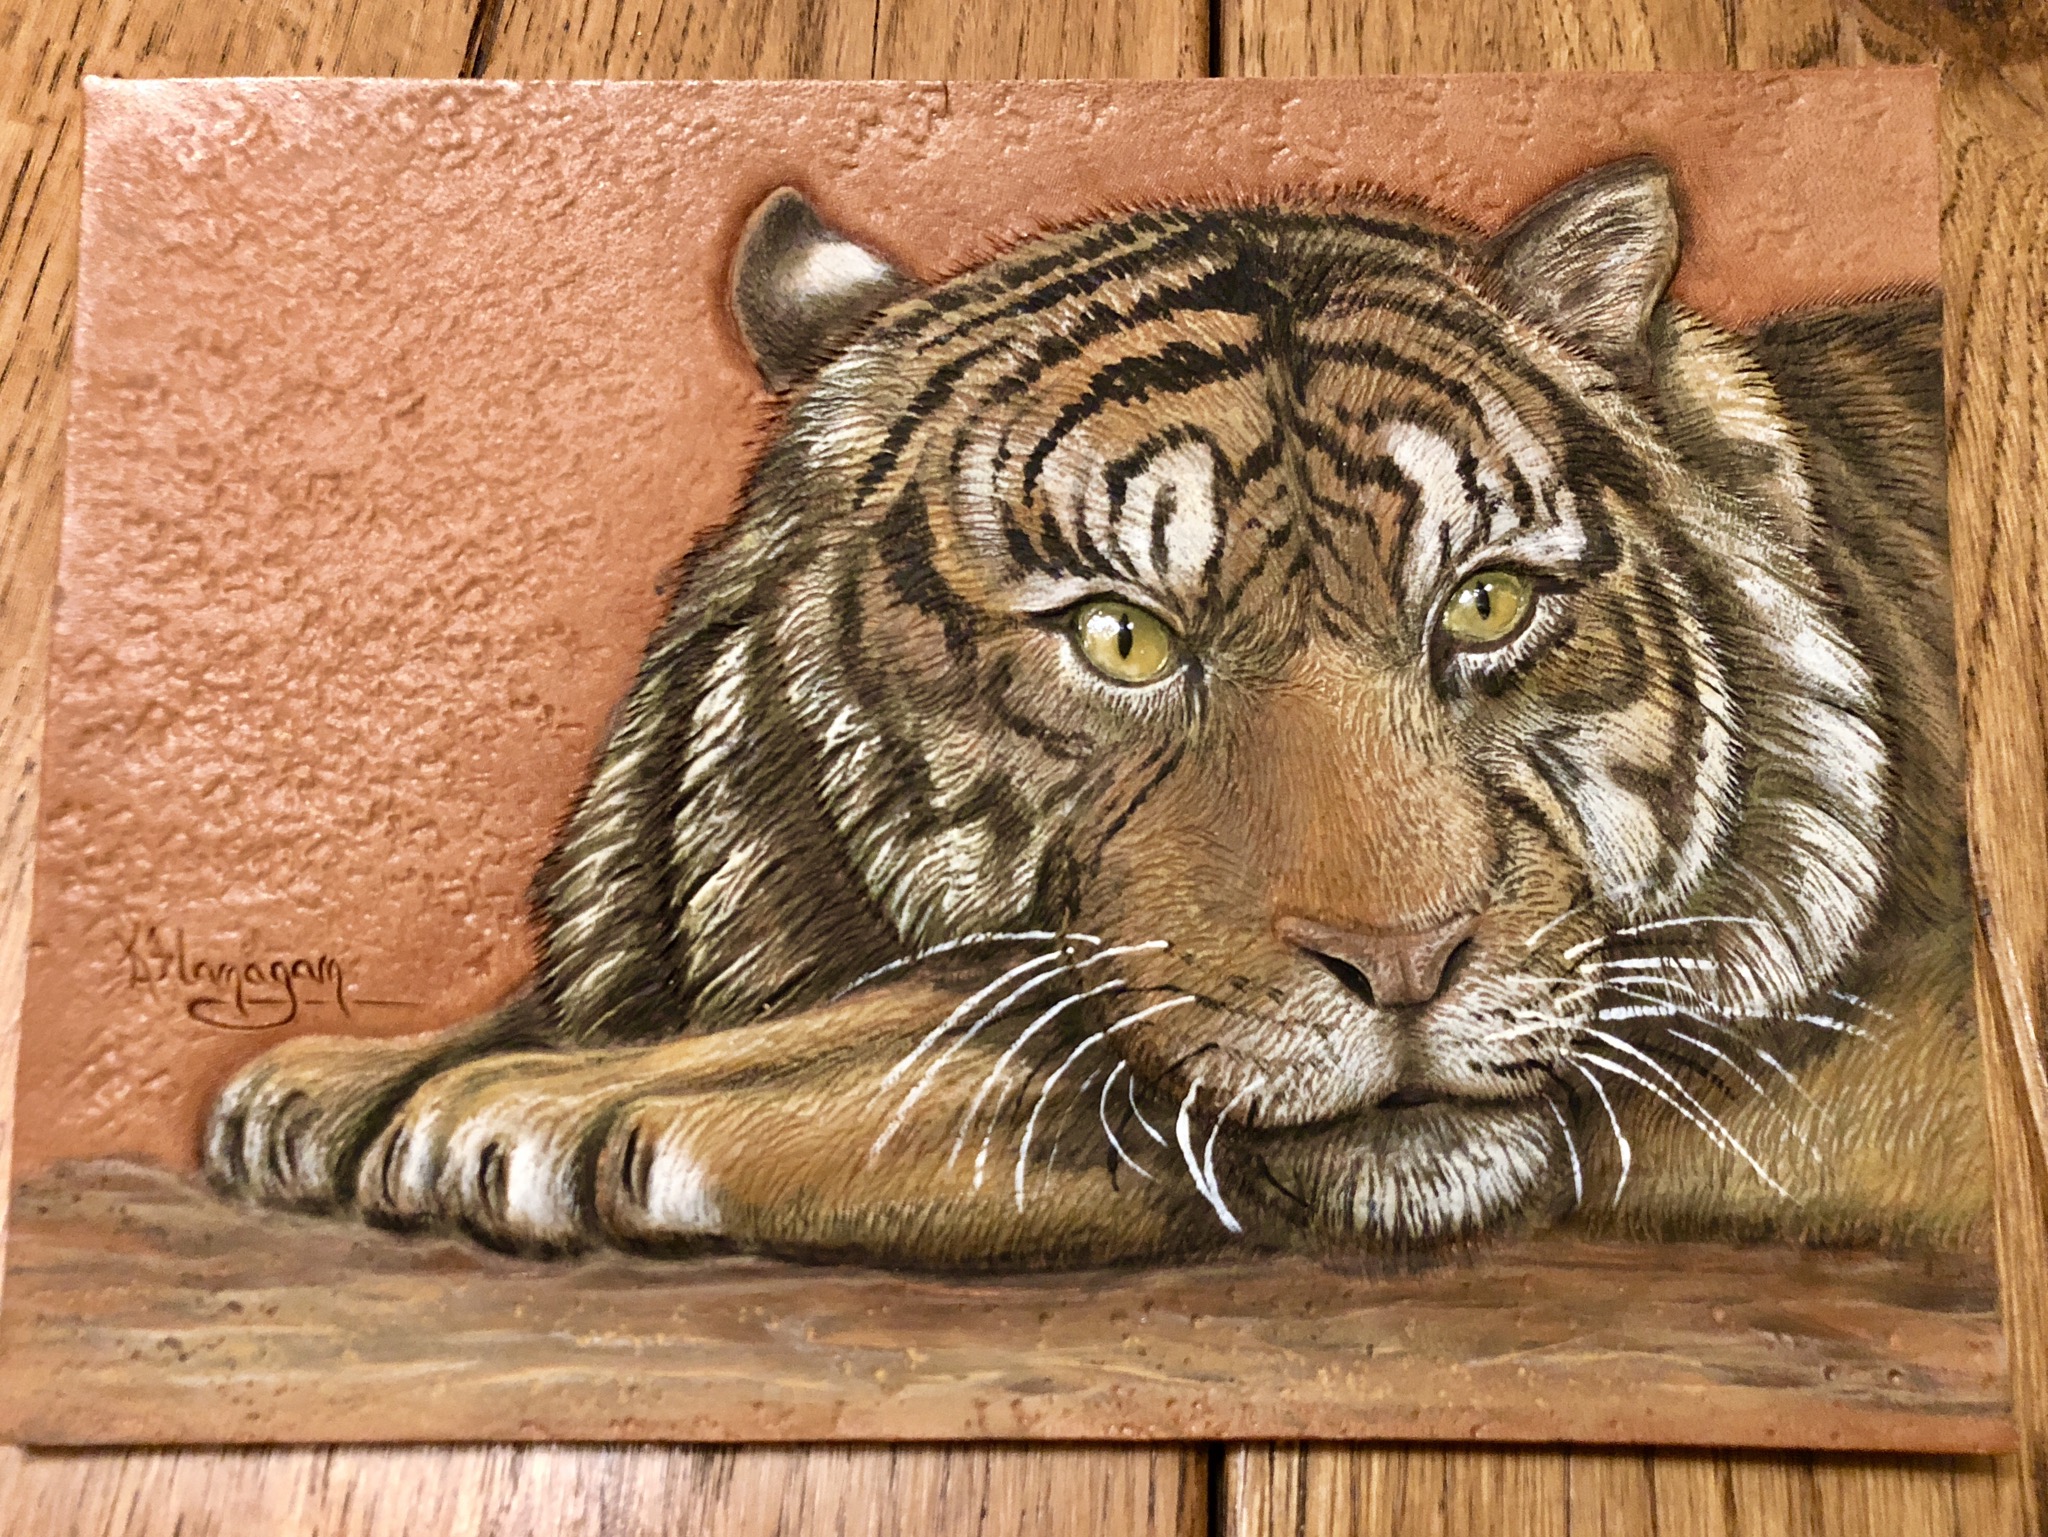
Kathy Flanagan and I were across the hall from each other, and we finally got to exchange work pieces! I love my tiger!
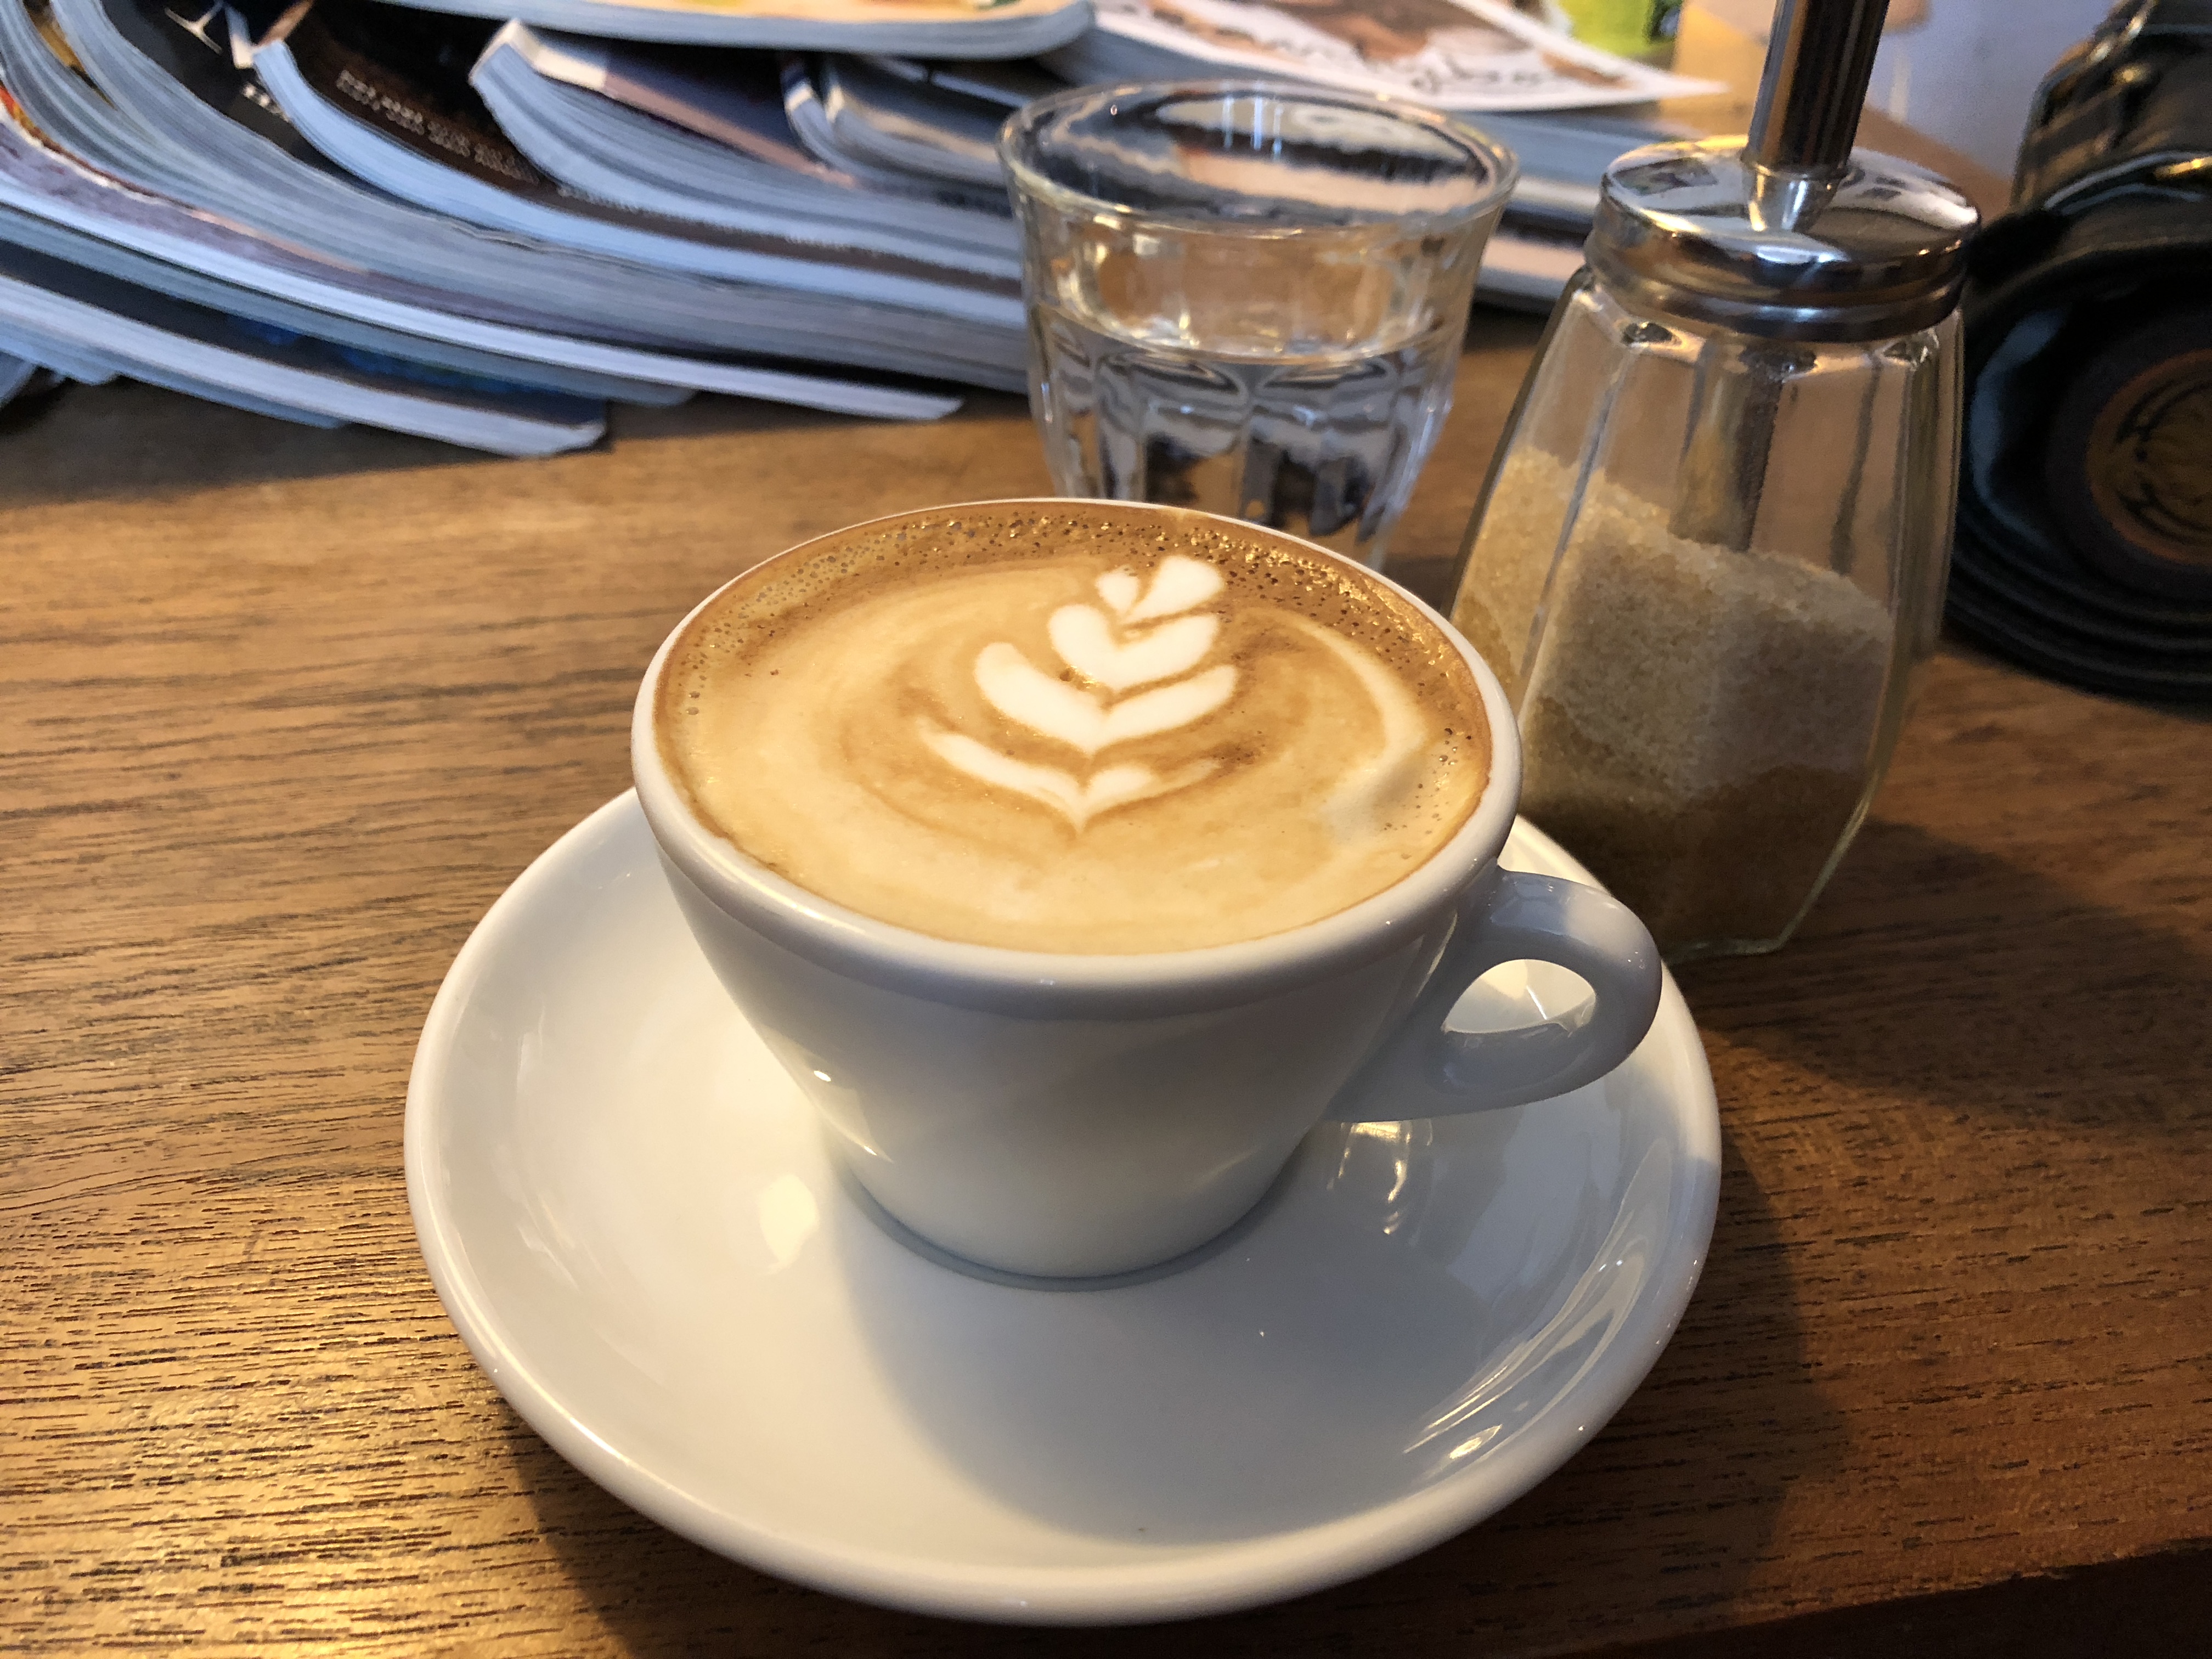
Enjoy the pics and if you ever have a chance, be sure to come to Europe and see the show. I guarantee it will be a good time!


-
Depth could be part of the issue, although it looks plenty deep to me. I think its because of the smooth pear shaders. Textured tools hold antique much better than smooth ones. Another option is to use a block dyeing technique when you wipe off your excess antique. Put a block of wood or firm foam in your paper towel and only wipe the surface. The block will prevent the paper towel from wiping out the antique in your recessed areas.
-
Fine work, Matt. All the way around.
-
I adjusted the tension on my foot until it barely touched the leather and added tension until it left a faint mark. Then I backed off a bit and polished the foot. Mine doesn't leave marks and it feeds fine.
-
Thats what I say about top tier tools. The eliminate any excuses!
-
1 hour ago, Fire88 said:
We and them are all makers and artists in our own way. Just as we put our marks on a piece of leather they put theirs on the tools they make.
They add “bling” as you say to make their pieces stand out amongst the other tools out there. Exotic wood handles don’t really add that much to the cost of tool as the amount of wood being used isn’t of a large enough quantity to make a major increase in cost. The cost of this exotic wood adds probably less than $15 to the overall coots of the tool. So 5-10% of the overall cost of a knife.
A $20 watch tells time well enough so why buy a $100 or $5000 one? Simply cause you can and you like it and the nicer watches keep time better.
We all have to make a decision during our beginning and throughout our time in the craft on what tools will give us the quality of work we(clients) want. If you have the opportunity to buy the “blinged” out tool and you like then buy it.
We all use our tools to do work and some of us like the tools we use to be unique or nice. Their is nothing wrong with this.
Amen. I have never bought a tool thinking of what my customer would think of it. I mean, who in their right mind would think that? I buy them because I like them. Period. I had Terry make me a knife with a special handle because its an amazing tool. I have respect for the maker and at the end of the day, the best tool on the market takes away any excuses I may have regarding skill. You can't hide from your own inadequacies with the best tool looking gat you and saying, "Is that the best you've got?"
I learned this from guitars. Its easy to blame a shitty guitar. You simply CANT do some things with them. On a top end axe, all your excuses are just whining because you didn't practice. Same analogy applies to tools. Now, can a gifted pro make that shitty tool perform better than you? Of course they can. They circle of life! can also make the top tier tool perform better than you. That's part of the challenge.
-
Yes on this one I did.
-
At least 4. I can't remember.
-
24 minutes ago, BillinTR said:
To me "tool" = "utility".
Apparently I ruffled at least one or two feathers here. It wasn't my intention but I can understand where some of you might be coming from. It just seems to me that there are some things you spend money on as much for appearance as for its intended use. Personally I wouldn't consider it for a tool. Apparently some people feel strongly about the glitz of their tools as well as the function.
I fully agree with this. I can appreciate the difference that buying higher quality can make in your work. As a hobbyist on a limited budget I have take value into serious consideration so I have to look for how to acquire as much quality as I can without killing the budget. For that reason I have to focus on function more than glitz. In that regard I have been trying to locate tools somewhere on the scale between $10 and $100. But that doesn't seem easy to do. I guess I will always be one of those "tandy toolers" you can spot a mile away. But I am a beginner and I want to eventually do good work. I will eventually see if I succeeded.
Again I apologize if I offended. I have no intention of ever becoming the professional that some of you who were offended are.
You didn't offend me in the slightest, and I can't see any reason that you think I would be. And what I mean about tandy stamps is that they lack crispness compared to the other makers I mentioned. You basically want to spend smart money so rather than spend it on 100+ of SK when 28 will give you an excellent knife, an you can spend the change on a good stamp. I was in the exact same boat as you a while back, and after bending a few Tandy stamps, I bought a barry king. The difference is clear. Especially when it comes to good looking geometric stamps. For general carving you should look at pre-letter craftool (Tandy) as they are quite good, just as crisp and modern tools and VERY affordable. I still use several of them today on account of the quality they produce.
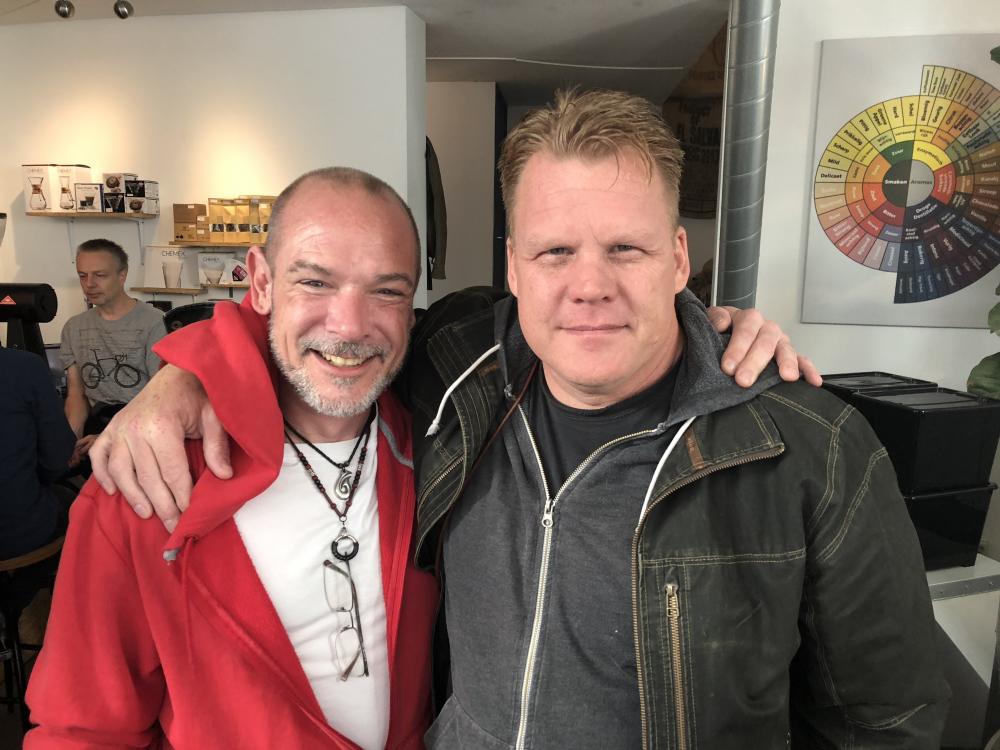
Frankly, I wish I had focused more on function than show when I started. I have so many tools I don't ever use now its ridiculous, and I'm not even that big a collector. I just like sparkly things. My friend Serge gives me a cookie whenever I walk away from something sparkly. It took seeing all kinds of tools to know the difference though, and since you have already identified the desire to have better stamps. All of the money on a stamp goes into the design they stamp. The rest of it could be a nail and the cost difference of the materials isn't enough to justify the price difference. The business end is. -
it can make astounding edges. But you really need to put the time in.
-
Bend the hooks so they fit your tools?
-
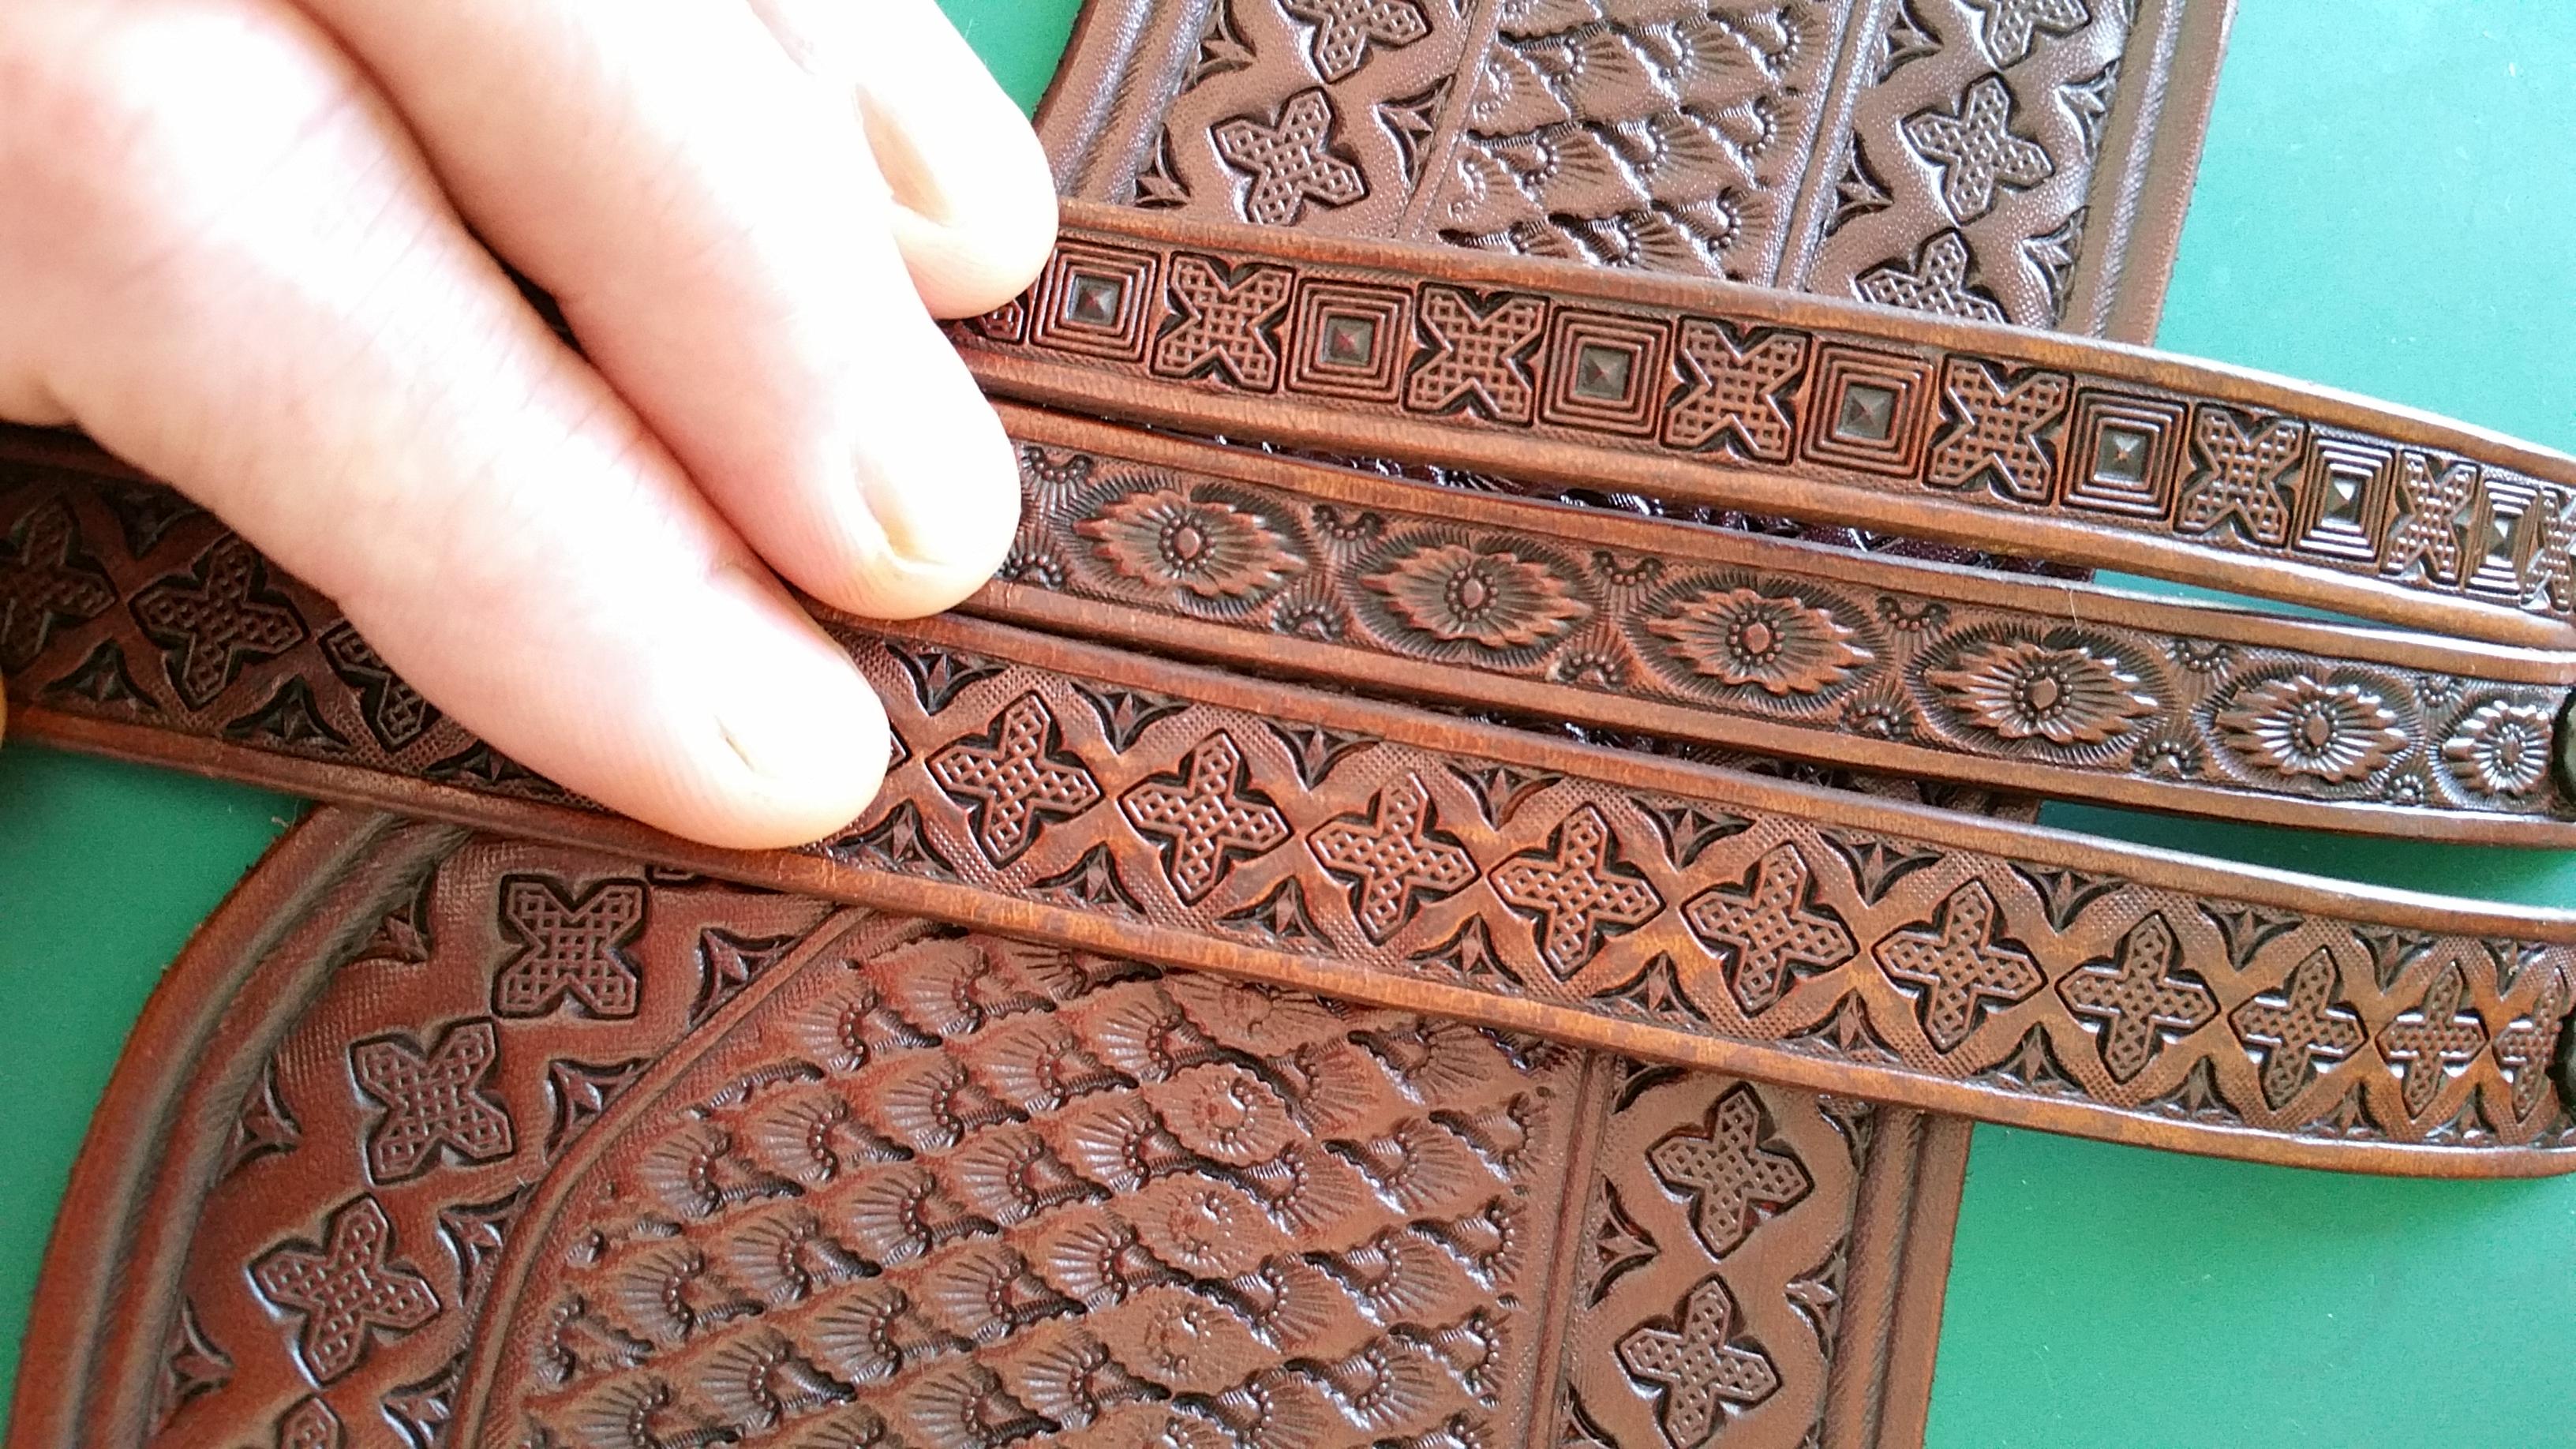
One other thing. When it comes to stamps, i.e. basket weave or geometric, you get what you pay for. Crispness, depth, burnish and symmetry all come at a price, and that price starts around $30 bucks per tool. Wayne Jueschke makes some of the finest geometric stamps in the business. They are amazingly crisp and the have perfect alignment. They are 100 a piece. Barry King makes amazing geometric stamps as well.
In addition to sharp, accurate stamping, what you're really paying for is tools that don't bend, rust or look like every other craft level maker on the market. I can tell a tandy tooler a mile away in most cases. The ability to create your own combinations of less common tools makes your work stand out from the crowd, and that what we all really want when it comes time for someone to hand over their hard earned cash to us as makers, right? Just food for thought.
Here's a pic of something Tandy can't do.
-
An age old discussion! I am an admitted tool whore in recovery. I have spent a lot of money on a lot of tools that are beautiful and work well. I have some cheap tools that suck ass. I have a lot of tools in the middle that are functional and average looking. I got caught up in the hype of collecting and had some extra cash at the time. Until you try some tools, learn a few things, you won't know what's worth while and what's not.
I'll use bevelers as an example. Its the most important tool in a carver's arsenal, and I have close to 50 different ones. They each have their use. However, I could narrow down 90% of my carving to seven or ten tools. That's it. They are all Robert Beard bevelers, and they are worth every penny. I'd sell all my guns (Except one) before I sold those 10 tools. Nobody else on the market can touch them for quality and ease of use, and they make my life easier. Sure, you can scrape along with Tandy tools and do an adequate (Sometimes exceptional) job with them, but the Beard tools made me a better leather worker. They taught me things I couldn't have learned with any other tool.
Same thing goes for a swivel knife. Now that I've tried dozens of them, I have settled onto one that I could use the rest of my life. In fact, I could probably get along just fine without a swivel knife. I sharpened up a screw driver and it can carve leather just fine. You get a lot more hand fatigue, but it can be done.
Now, WHY do tools have exotic hard wood handles? Or stag handles? Why do SK have fancy barrels? Because a lot of makers are artists just like us. They take pride in what they do and add a little art to the tool. If you don't appreciate that, don't buy it. If it makes you happy, go for it. There are a lot of manufacturers right now making good quality, affordable tools. Take a look at Rickert Werkzeuge as they have a new line of Japanese tools that are true performers without the cost. No, I don't get anything from them and I don't work there.
-
If you want gold, this is the only way to make it look good and have it be durable. It will do the trick though.
https://shop.leatheredgepaint.com/en/leather-edge-metal-effect/ -
On September 27, 2018 at 5:00 AM, ScoobyNewbie said:
How do you use those? Push? Pull? Jiggle?
I always like the jiggle method
 On October 5, 2018 at 2:46 AM, wrz0170 said:
Right now, I’m trying it out without a microbevel. I feel safe with the push cut going at the edge at 90°. Short cuts and slow, but it lets me breath a bit easier. Practicing the pull cuts. Haven’t quite got the angle down for those nice long strips. I get a moment of “a ha”, then lose the angle. Lol.
After I gave it an initial sharpening, I’m using a horse butt hide strop (without any compound at the moment) to see how it goes.
On those long cuts, don't try and do it all at once. Draw your line and do an initial cut into the fibers, then go back and do it again. Way easier.
-
I would only use fine grit sand paper to sharpen these. Files are a bit rough. I roll sand paper in a little tube and put it inside the punch to clean up the inside. On a piece of thick veg tan, I lay the sand paper on top of the leather and pull the punch toward me, rolling it as I go to clean up the edge. If you haven't damaged it, it shouldn't take much work. Then I strop it the same way.
-
8 hours ago, BillinTR said:
Mike, very interesting comments and that looks like gorgeous work to me. I am beginning to believe that some form of technique that involves pre punching all of my stitching holes for a stitch line is going to be my preference, at least for what I consider thicker stuff.
Chris, I don't have a "selection" of veg tan. But the stuff I have is fresh from Springfield Leather within the last couple of months. It isn't old and dried out. And hopefully I won't let it get that way.
it works for me. I'm not knocking the purists and I use exactly the Stohlman method for the rest of the stitching, including holding the awl to open difficult holes. I just find I get good consistency this way. Now this would be impossible sewing a cantle binding on a saddle and you'd HAVE to do it the other way, but I don't make saddles.
-
The problem is time, expense and refinement. Most printers leave subtle lines on the surface of the finished item and those would transfer to the leather. Acrylic is cheaper.


i permanently make mistakes in my work
in How Do I Do That?
Posted
Gengado,
At four months, most of us were still trying to figure out which end of the tool to hold. Your wallet is functional sound and it looks well made. You lack experience with making things out of leather, and in this craft, mistakes equal experience. Unless you have a mentor showing you how to do things, it all comes down to trying something, and in that regard you're already way ahead of folks who read a lot but never try anything.
Each time you make something, whether it has mistakes or not, you learn how to or how not to do it in the future. People who are masters of the craft have made all the same mistakes and a thousand more. As mentioned above, learning how to hide them is key. Eventually, you'll have enough experience to know how to avoid mistakes MOST of the time.
Nice work.