chriscraft
-
Posts
300 -
Joined
-
Last visited
Content Type
Profiles
Forums
Events
Blogs
Gallery
Store
Everything posted by chriscraft
-

Few Rifle Sling Questions
chriscraft posted a topic in Gun Holsters, Rifle Slings and Knife Sheathes
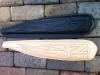
I'm visiting a friend in South Texas in a couple weeks and would like to make a nice custom rifle sling for him as a gift. I don't hunt with a gun and have never used a rifle sling before. How wide can they be? I'll be tooling some Texas game on this sling and could use the extra width. I've seen pictures of cobra slings with a thumb hole cut out. Would like to use a design like this but need some basic measurements if anyone has any. He has an old Weatherby rifle that was handed down from his dad he treasures. I'd like to make this sling for this particular rifle as it has an inexpensive sling. Measures on rifle is 34" from sling clip- to-clip attachments . Over all lenght of the nylon sling that is currently on it is 45" long. Thanks, Chris -
I have an inexpensive 3 piece pebbler tool made by Pro Crafter. Do you know who makes a better tool?
-
This shoulder strap turned out nice. Took me longer than expected to make it but I really didn't know what direction I was going. The next ones should take less time if I keep the same strap design. Chris
-
I'm using Fiebings products, antique paste in black. It still needs a matte finish to seal the paste when dry.
-
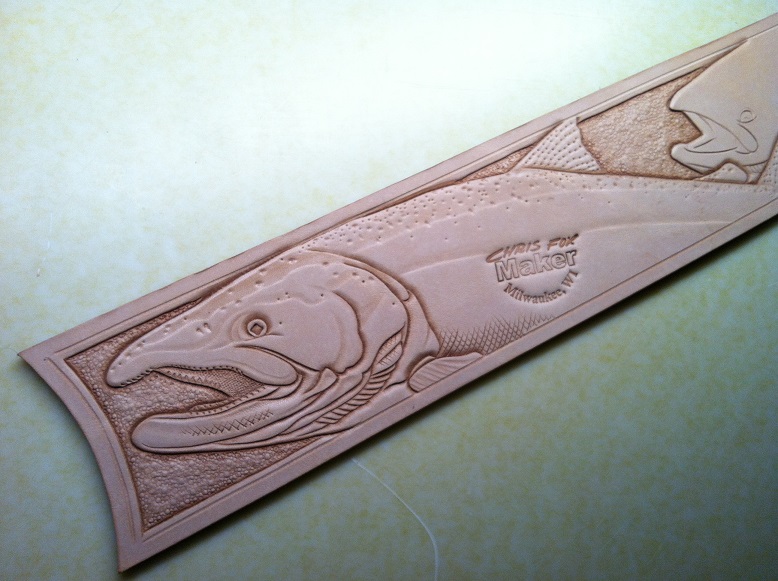
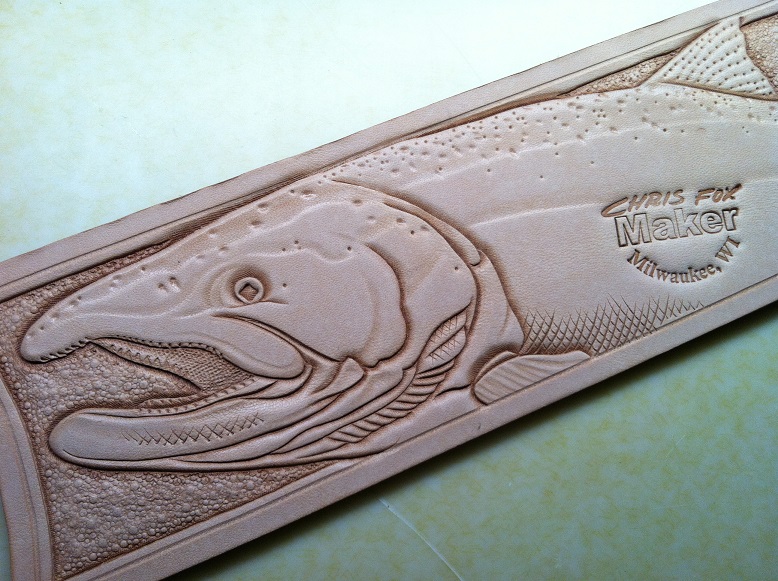
Bob, I see your also into carving. How long would it take you to get this far into a carving? Maybe its just me, we'll I know its just me that works slow. I've never been fast at creating any kind of art. Worried I'd make a mistake at one point and have to start over again if I would speed up. I have about two hours just in tooling so far. Just wondering if that's a normal time frame. I know in the long run It's not about speed, more about how the piece turns out. Also if I were to make this again I don't think I'd be much faster. Maybe after 4-5 times repeating a same pattern would make me gain some speed. I'm also not adding as much detail to the back ground to not make it look too busy. I layed this design out so the salmon stand out from 30 feet away while wearing it even though its a small 2 1/2 inch wide shoulder strap. Chris
-
Making a strap to replace the worn out nylon webbing shoulder strap on my fishing bag. I fly fish for King Salmon on the Milwaukee River in the Fall. These are stocked Lake Salmon that run up river and are a blast to catch on a fly rod. Will be making a 2 1/2" wide shoulder strap with a Buck and Hen on it. Here is what I got so far.

-
color- Maybe its just the angle of the picture capturing light off the Angelus Matte Acrylic Finisher. Dye color: after being dried I used Fiebings 100% neatsfoot oil and after 15 minutes dyed the piece. I mixed it as 80% Fiebings Pro Oil Saddle Tan with 20% (99%)alcohol let dry for 24 hrs before buffing and adding finisher This is the same fly fishing yoke harness to get a better look at the color of this piece. In the little time I've been doing leatherwork, have noticed that same dye pigment looks different on what you apply it on and how you apply it.
-
I've only been using Fiebings products since I started last year. Pro oil dyes. I'd like to try the Angelus dyes. The acrylic paints are nice and I like the matte finish that I've been using.
-
Some of my recent work. This one is on a harness yoke I've been working designed for fly fishing. Has a stainless steel D-ring to attach the fishing net to your back while fishing. This piece was made for a guy out east in Pennsylvania.
-
I've have no issues with mounting bolts as I don't have a table top sewing machine. I have the small heavy duty cylinder arm sewing machine, Cobra class 3. Been stitching with my work on the outside of the arm. This machine was a huge investment that will one day pay for itself. Been busy getting set up for these BTR Saddles these past few months. As you can see, it wouldn't have been possible to stitch these on a flat table top sewing machine. I acquired a small contract for these saddles but will also be hand tooling some custom made to order seats once I'm set up. Really excited about this project.

-
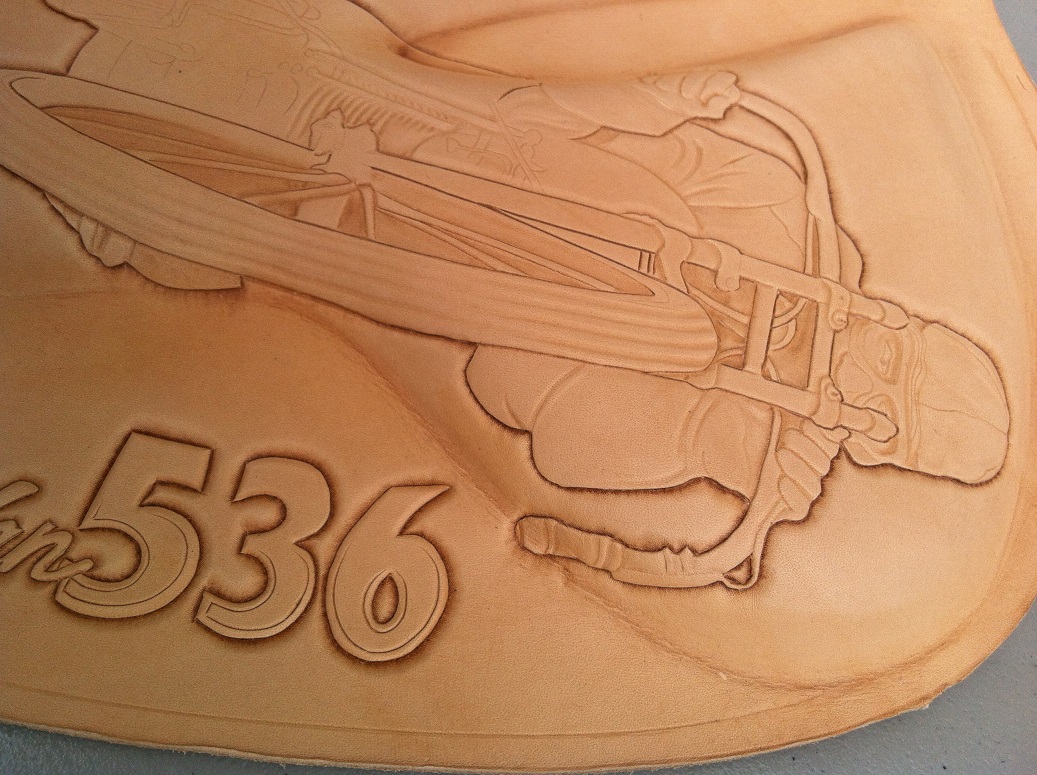
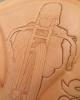
Most of this riders face is covered by gear so it's not a good face practice piece. It's also small at about 3/4 inch tall. You can see my outlines and shading beginning to take form.
-
The more I play with tooling, the more I start to figure out how to shade and use gradients. Once I get better at controlling the use of these fine tools I'll know where to apply them in my work. I agree with less is more. When I first started drawing, everything I made was in a form of a line drawing . Mostly did cartoon cars and comic book style figures. I always wanted to draw faces but was afraid for some reason they would not turn out so I never tried. My fist go at it was when I was 15 years old. All I knew was my line drawing style and man did I have a hard time with faces during this time. My school art teacher was impressed with my work but corrected me by stating that faces have no lines. Even though I was shading correctly, I was still using hard lines around he eyes, nose, mouth and entire outline. Being self taught, it was a tough transition to stop outlining. That's when I picked up the airbrush and began painting some amazing portraits on t-shirts and didn't stop for many years. I later went back to my hard outline drawings as most tattoo designs start out that way. I really liked the clean crisp combination between hard lines and soft shading I used to accomplish with the airbrush. I've long put the airbrushing away since 2004. Now that I'm doing leatherwork, I'm just tooling it the only way that I know. I'll post some pictures of my latest work soon. You'll see the hard bevels and the smooth shader being used the only way that comes natural to me. It's hard to describe but I don't add detail when shading. I usually pick focal points where the average eye tends to focus on and that's where I spend time and add detail. However, in my line drawings, this is accomplished by thickness of lines. I'd also like to see some of your work.
-
Custom Board Track Racer Saddle
chriscraft replied to chriscraft's topic in Motorcycles and Biker Gear
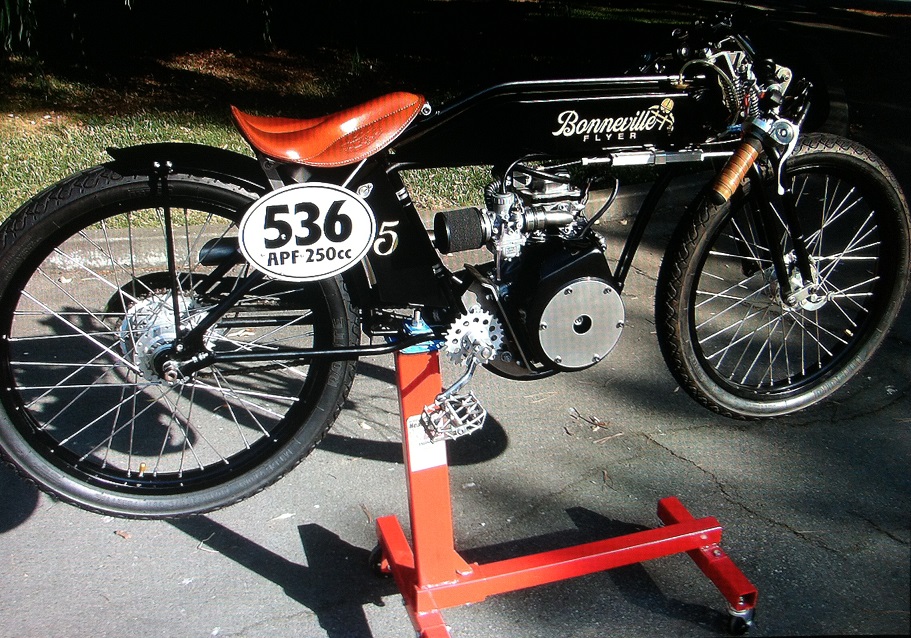
From what I was told, these are direct drive motorized bicycles. These have no transmissions to select gears from. So all you have is just one gear. To break the previous record, all he had to do is maintain a consistent speed of 79+ MPH. There is more involved than just going over the past record speed just once. Have to be able to run the track both ways as you may have a head wind assisting you in one direction and those speeds are averaged out. Then if you break a record speed , your vehicle is held at impound for tech inspection overnight. Then you need to run the following day and be able to back up your top speed again in order to go down in the record books. I was told by PAT that he was able to break the record and now is the new speed record holder in that class. Previous record was 78.048 mph and new record is 80.438 mph. It was an amazing story with a blown engine to repair on the salt lake while the clock was ticking between runs. He and his crew were somehow able to put together another racing motor from parts and get it inspected ready to run. Yet a great ending as he was able to bring home a trophy. Congrats Pat. I'm looking forward to the pictures from this event. Pat told me he has a nice photo of a Magazine Model sitting on my tooled seat. Will post photos soon. Chris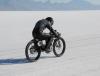
-
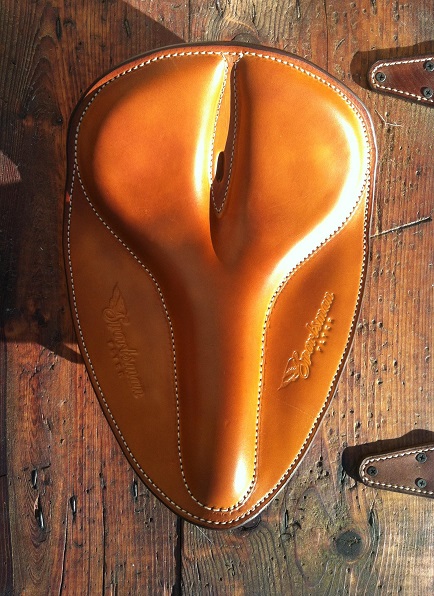
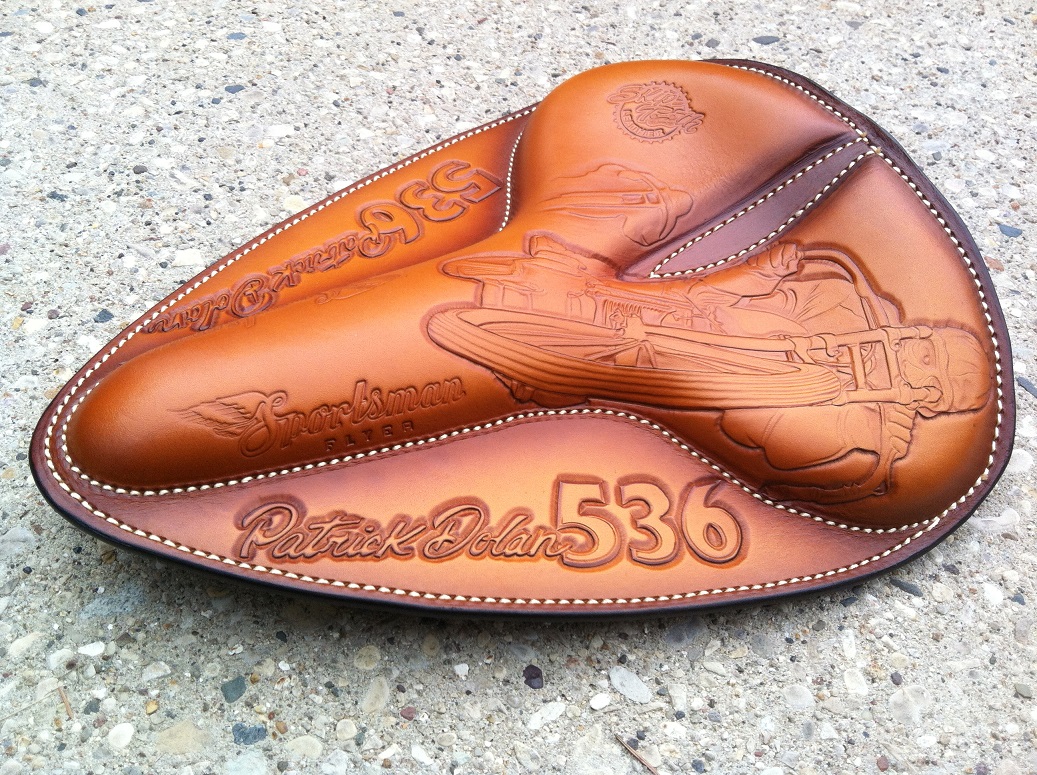
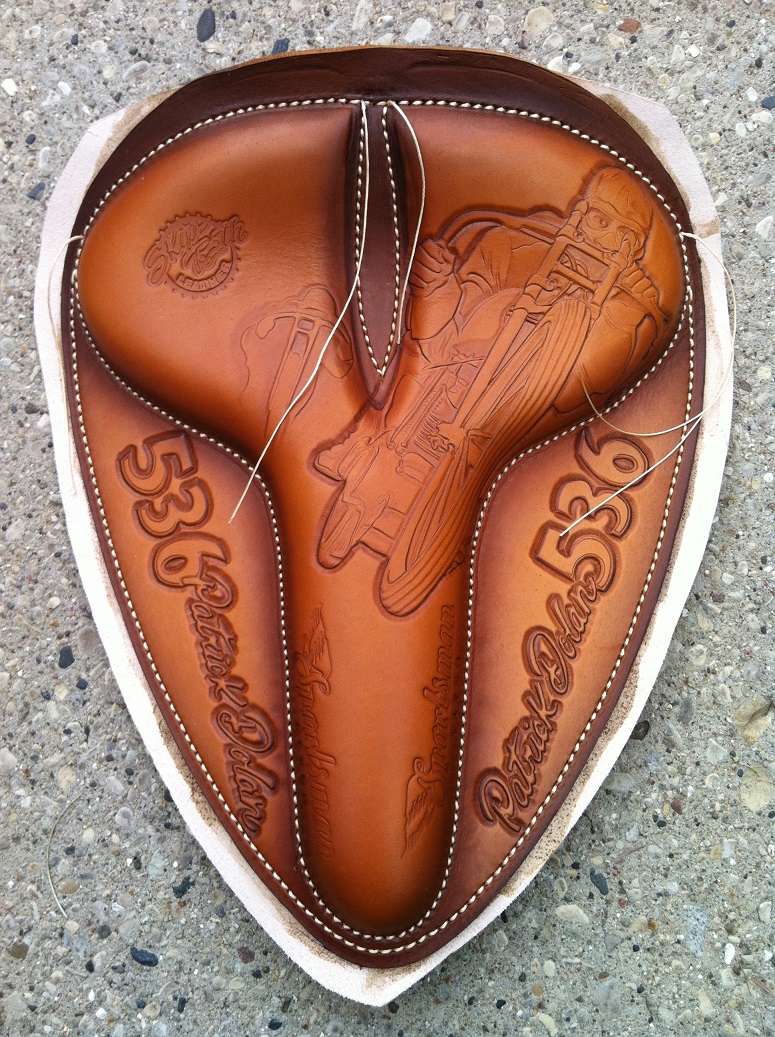
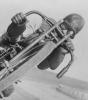
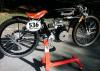
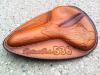
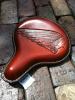
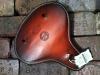
I just finished this 1920's style saddle creation last Monday and managed to get it shipped on time for the Bonneville Salt Flats Speed Week racing event in Utah. Pat(owner)has been telling me the carved saddle has been grabbing lots of attention from fellow drivers and both his racer and my seat have been in a couple photo shoots with magazine models. Who knows, it might end up being featured somewhere near the end of a racing Magazine. Cool. And here is the finished saddle.

-
Nice Great White Shark image. I need to start using that two tone combo on my work, it just looks awesome. Did you tool that image before or after molding?
-
So I recently started making these 1920's vintage style Board Track Racer Saddles for a motorized bicycle builder. This project is still in the works and I'm still improving on construction but things are look good so far. This saddle I made will be mounted on a Racer that will attempt to set a new Land Speed record in the salt flats of Utah. So I decided to carve a vintage board track racer image and include the drivers name/number like on most race car paint jobs. The racer already grabs your attention with a standard saddle but I just wanted to add a little more detail so when you walk up to the racer, the seats also grabs your attention. I think I succeeded with my creation.


-
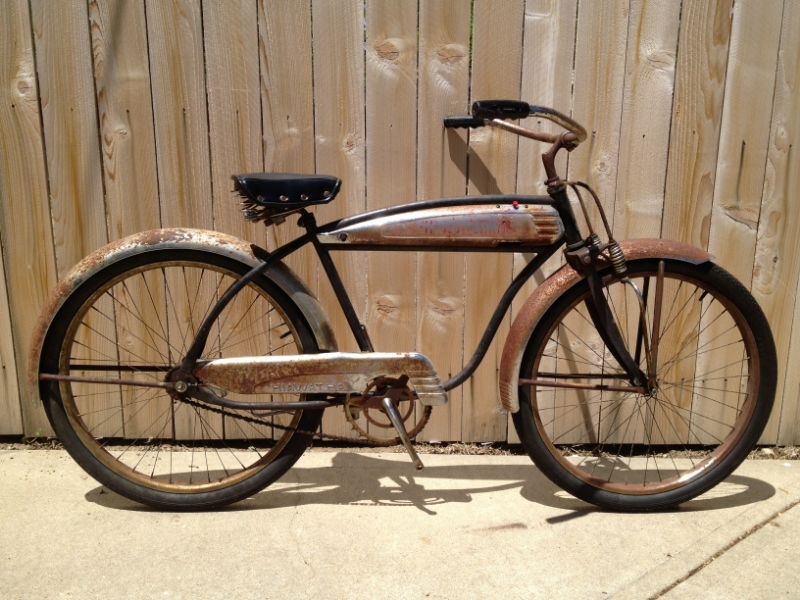
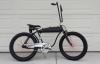
Here's a pic of my Springer Basic Saddle installed on this custom vintage 1940's bike.

-
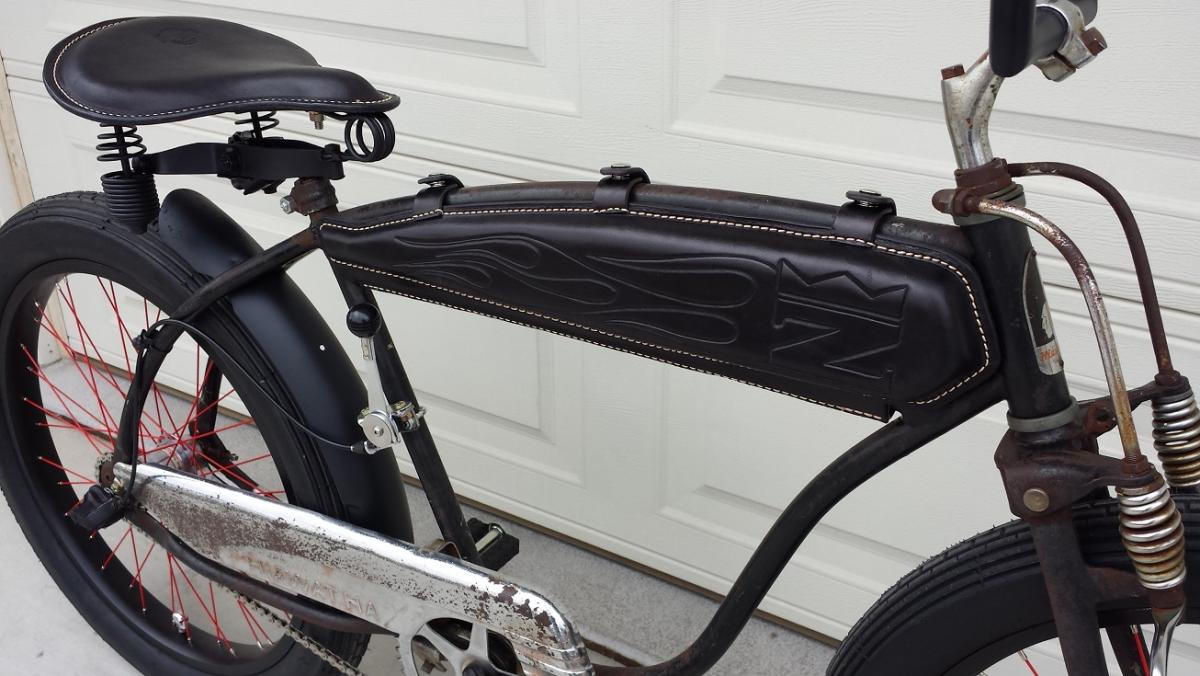
Thanks so much. Here are some pictures of the delivered black leather tank/saddle installed by owner. Again, these tanks are custom and designed for custom vintage bicycles. They just might not look right on a stock bike. These California creations are called "Rat Rod Bikes". Following the style of the Rat Rod Hotrods by using vintage 1930's-40's bicycles and not restoring them to like new condition. Surface Rust is king on these cool rides. I'm just adding leather to the build. Chris
-
Finished the bicycle saddle today. Right now I'm cutting my own steel pans but will be farming out the work and get them water jet cut locally. I'm waiting on the cost quote for these 10g pans.
-
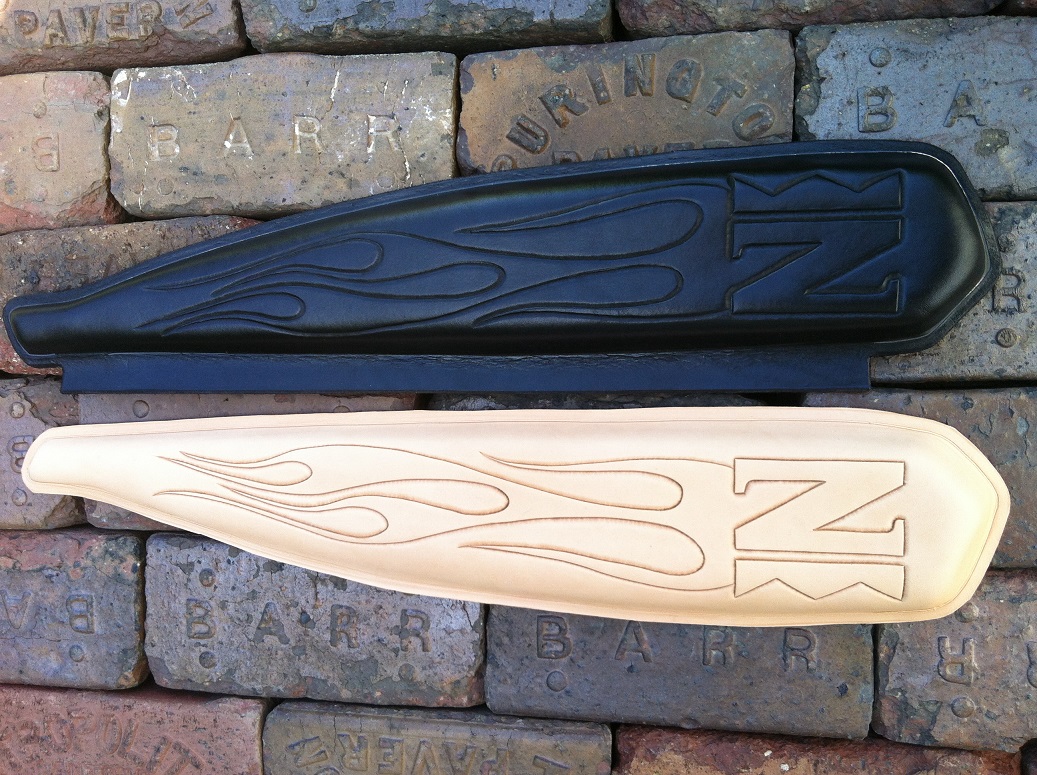
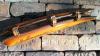
Another custom leather tank I'm working on. This one will replace the rusted out metal tank and will serve as advertisement for a custom bicycle builder. His logo is tooled into the new leather tank. It will also get a matching leather seat that I'll also build.
-
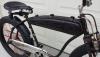
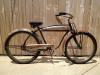
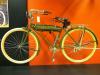
Here is a picture of a 1920 vintage men's bicycle with a metal tank that I took at the HD museum. The side door is located on the right side and not shown in this pic.
-
That's what I intended to accomplish. My father inlaw challenged me to build something new. He said, " why do leatherwork if your just going to build key fobs". He's a retired NASA Apollo MIssion Engineer to put it in small words. So That's when I showed him this tank. My construction impressed him to say the least. It's hard for me to understand if he is complementing me or saying," Who really needs this large key fob anyway"
-
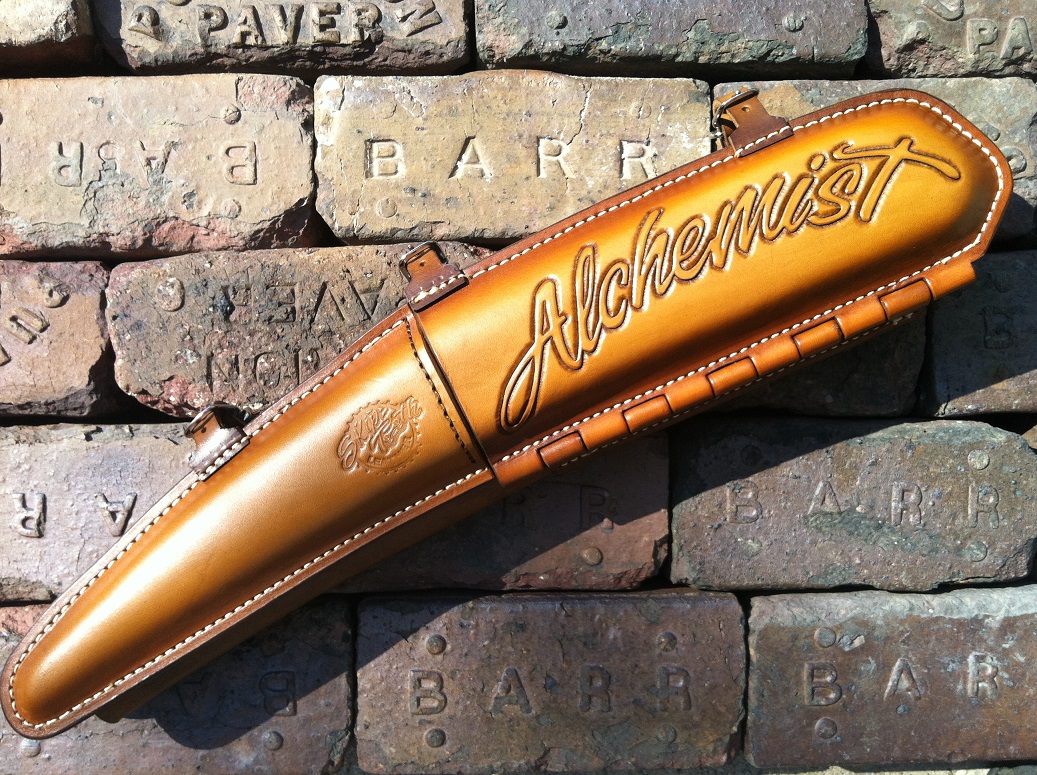
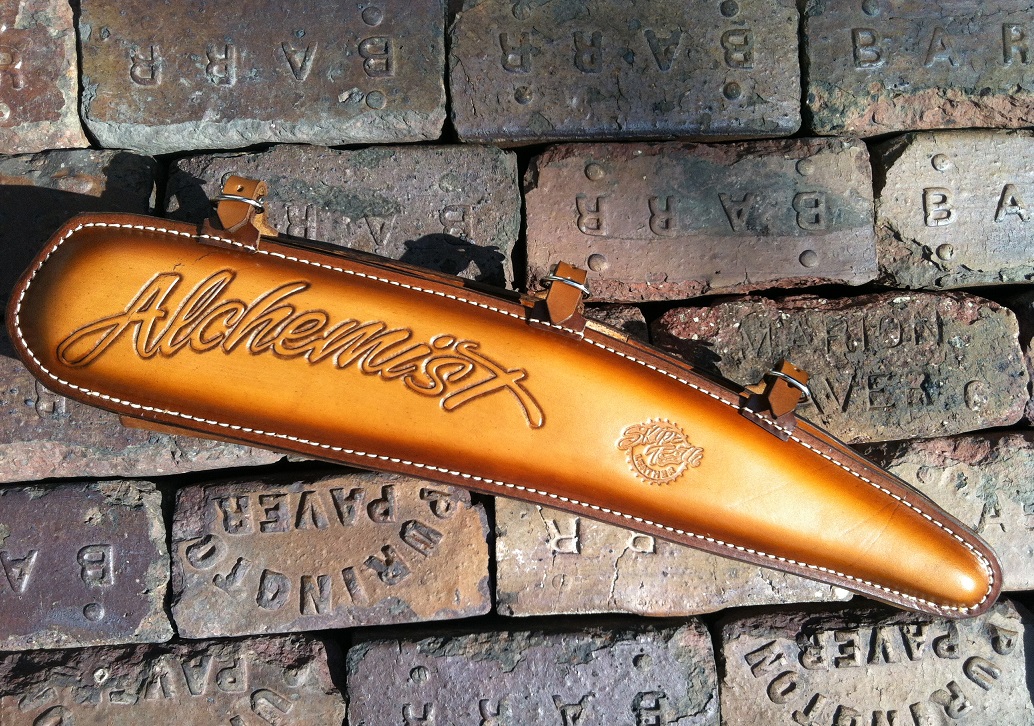
I was told by a vintage bicycle collector that during the early 1900's, they were used as a glove compartment on a bicycle. These small tanks were made from metal and used as a built in bicycle storage area. The tanks mounted to the crossbar tube between rider and handlebars. These early metal tanks came with small doors. Later when they started building bicycles (1930's) for young adults and kids, they no longer had doors and would mount by bolting one side to the other. These pre war metal tanks incorperated a built in battery powered horn. These were used till the 1950's. As you can imagine, when a bicycle was dropped, these metal tanks would get damaged and sometimes removed. These are sought after by collectors now and premium dollar is paid for a nice example. Not all vintage tanks are the same and were specific to each model. Some rare bikes are the best examples of top dollar tanks. My leather tank is a throw back to the early compartment door storage tanks. The reason I decided to built it is to practice my case building skills. I will never be compensated for my time spent constructing these tanks as no one will install a $280 item on a $80 bicycle. But they will pay $1000 for a nice leather tooled case to carry a $2000 fly fishing rod/reel. At least thats what I think. I just started leatherworking Febuary of this year. This hobby is expensive so building a few items to pay for materials will keep me practicing till I get better and faster at building. Chris
-
I've been working on these vintage bicycle leather tanks for a couple months and have improved my design. This is the third one I've made. It's not suppose to replace an original metal tank. Designed for the vintage bicycle customizer that doesn't like the original look. The purist bicycle collectors will frown at this tank but everyone is entitled to an opinion. Constructed from 8-9oz. HO and stitched with 346 bonded thread, size 26 needle on a Cobra Class machine.


-
I don't have the bicycle so I'll have to upload picks after the customer installs it. I don't like to play by the rules and start with easy projects. These bicycle tanks are my first three dimensional leather case construction. Didn't have any directions so I just made it up as I went. This last case is better came out better than my first two as I kept improving this design. I thinks it's a winner. Chris