chriscraft
-
Posts
300 -
Joined
-
Last visited
Content Type
Profiles
Forums
Events
Blogs
Gallery
Store
Everything posted by chriscraft
-
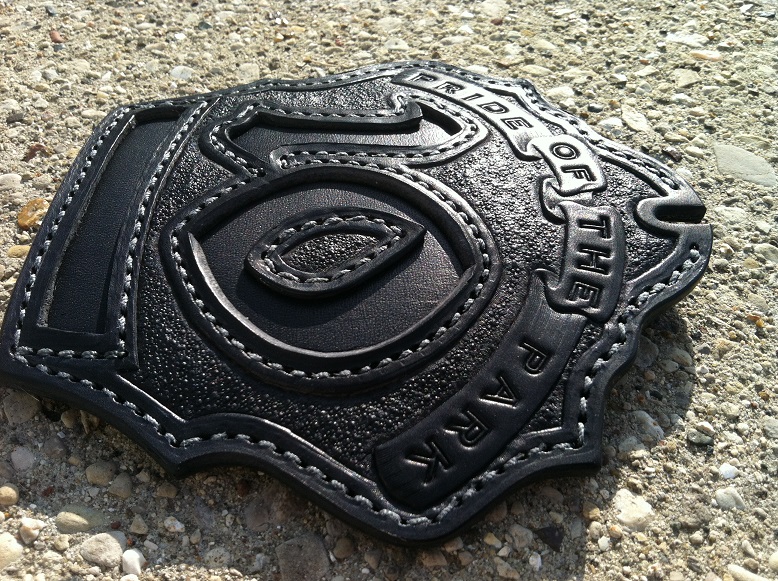
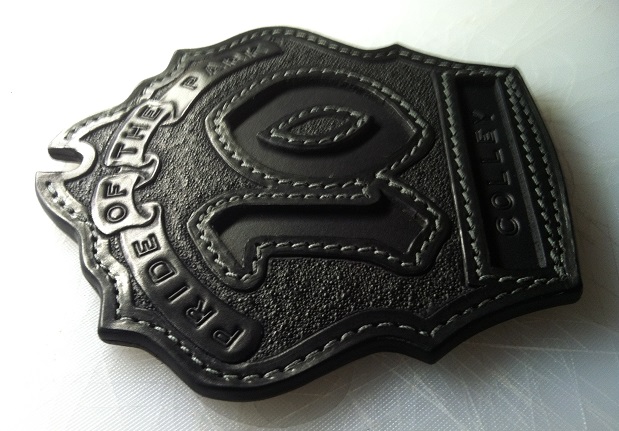
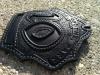
These Blacked Out leather Firefighter shields have become popular. This sturdy leather shield will provide many years of service. The owner will need to drill or punch the two mounting holes required to mount this onto a leather firefighter helmet.


-
This came out nice. The hidden metal plate is out of sight and no rivets on the front face of this leather shield. Not bad for my first project using an alphabet stamp set.

-
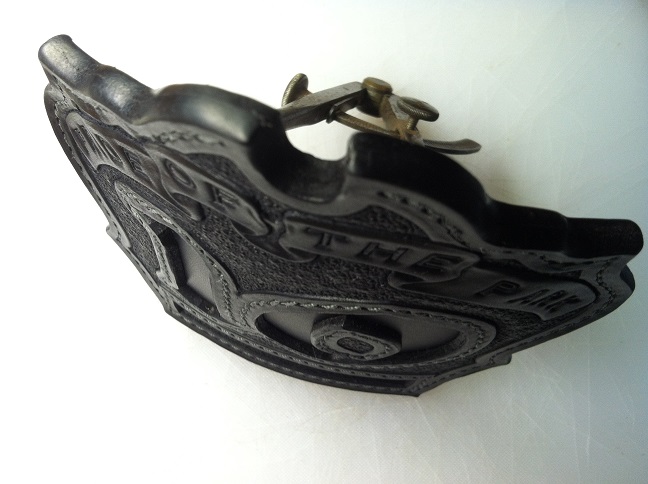
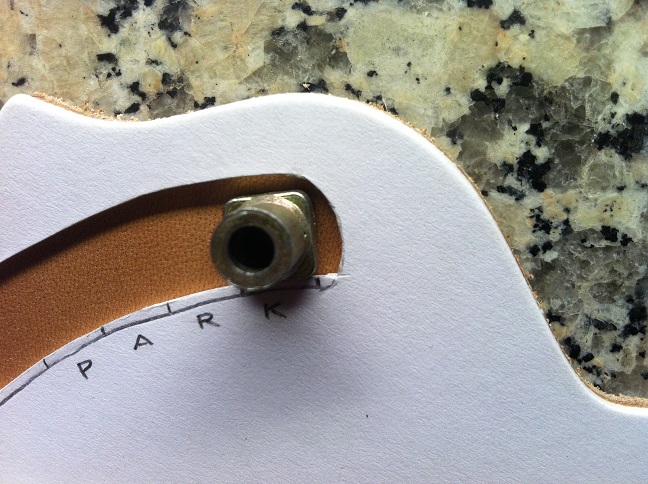
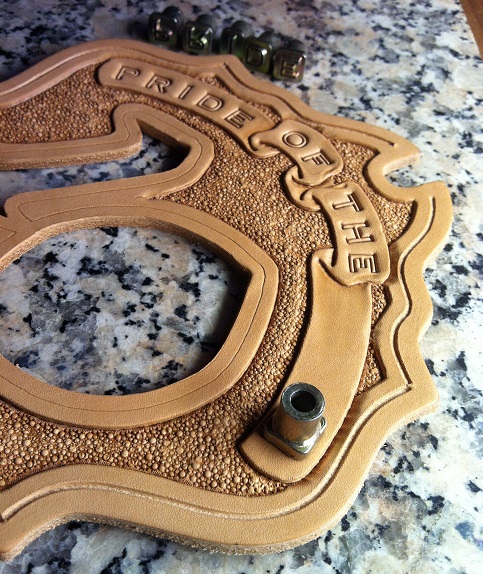
Most FF leather shields have a metal plate rivet to the back of the shield. This ends up leaving a visible rivet on the front as well. I came up with this way to hide the front rivets or in this case just eliminate the use of a front rivet. My metal plate will be sandwiched between the front and back layer. The only rivets one will see will be on the back side. Last name is stamped in the bottom section. Now Just glue and stitch away.


-
Front tooled leather used was 7/8 oz. Center sandwiched leather was 5 oz. that was skived around the edges. This will be backed with 8/9 oz. leather. I waited till I stitched the 5 oz. piece of leather, that way I can stamp in the last name to make sure this lettering will be centered.


-
You may get a slight ghost impression of the square stamp. If you do use a modeling spoon and rub the square impression away. Most of it will blend away as shown. You will get better results if you dampen with a sponge and re apply the modeling spoon. I waited till all the letters were stamped before removing the square impression. Once finished with the alphabet stamping I let the cased leather dry before dying everything black.


-
Each letter is marked where it will be stamped.


-
You can make yourself a lettering template and use it to center all your letters. That way all your multiple work looks similar.

-
This is where I begin to stamp the 1/4" letters. I made the right side of the banner same length as the left to keep things slightly centered. I'll need to end the last letter near the edge of the right side so I'll start with the last letter first working toward the center.
-
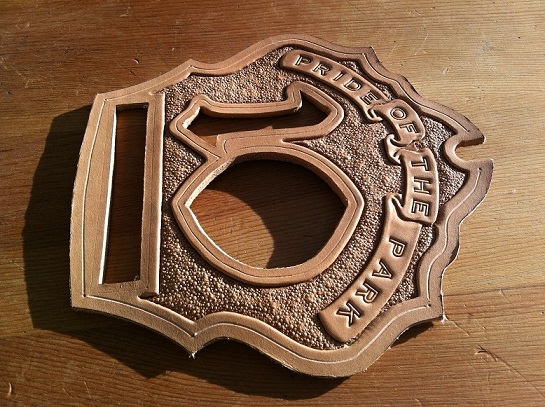
I used a small 2-pc. pebble background tool. This shield will be dyed black so I really didn't take additional time to carefully make these impressions, you can see heal marks and such but it will all blend in when finished.

-
Now I just follow my lines along with a swivel knife to make my cuts.

-
Using a small 5 3/8" divider, I layed out my stitch line and outer swivel knife line.


-
After hand cutting out the number and bottom cutout for the last names I used a stitch groover only on the outer edge of my shield. My top banner will be tooled and I had already spaced out my 1/4" lettering to fit within this banner.


-
I made my pattern from poster board. I've been using poster board for templates for many years now and I just feel comfortable using this material. It cuts easily with an X-Acto blade and has a clean edge to lay an outline against.


-
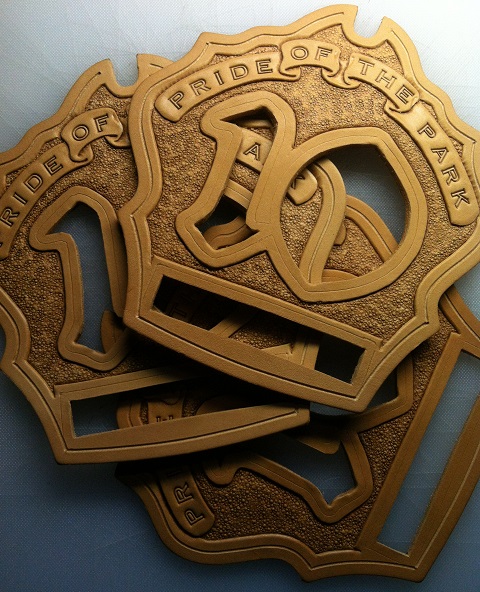
This small order was for 9 leather shields so I had a die made to cut my shields.

-
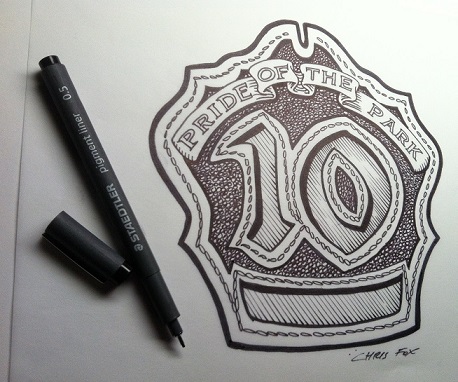
This is my first project using an alphabet set. I have been carving out my own freehand style lettering in the past on the few personalized projects I've made. The top of the leather shield needed to fit 14 letters with some spacing in between. Bottom section needs to fit various length last name on each shield. So I had to order a small 1/4" alphabet set for this Firefighter shield project. I designed the layout for this shield to be able to accommodate the top lettering the best.

-
I've had this idea for the past 5 years and haven't done anything about it. I would like to start producing some custom hand tooled leather Firefighter shields. Simply because of the simple construction involved and it being a flat surface to stitch and hand tool instead of other complex construction. Each shield will use up one square foot of 8oz. veg. tan leather, glue, acrylic paint and thread. Plan is to use good materials and finish all edges. These will Create great one-of-a-kind retirement wall hanger leather shields for EMS, Police and Fire service. Would like to have a middle man doing the advertising and display. Local shops like Police Dept/Fire Dept. uniform shops and trophy plaque shops. Similar idea as having a local Guitar Shop sell your custom leather guitar straps. What are some of you paying that are doing this type of consignment? If being charged a percentage. What percentage is fair? I just want to pic up a few orders and not deal with having my own website or store front. I really don't need to be backed up with orders so I will start with high prices in the $150-$350 range depending on amount of labor involved in creating each custom design with hand tooling. Like anything, it takes initiative to start. I approached a local Fire Service shop and I produced a couple of shield samples in the past few weeks. This lead to a first inquiry for a possible order. I designed the shield on paper and it was approved. Working on these first few shields will give me an idea of how exactly this will work out. That way I can figure out if we can both make some cash in the end.
-
interested,, PM sent
-

Looking for alternative to clicker die press.
chriscraft replied to Patrice's topic in Leatherwork Conversation
I have been using one of the large cast iron book press as you described as a clicker press. The one I have must have been an industrial size press. No fancy designs in the casting, no fancy gold leaf or pin striping artwork. It's not the collectible show piece you would want to display. The one I picked up is also an antique and weighs at 80 lbs, found it on CL as I didn't want to pay shipping on one of these. I only have a few small clicker dies I use that are about 6" wide and I can click 8 oz. veg tan without any issues. I'm currently clicking 8 oz glued to 5 oz, ( 13 oz total) it works but I have to move/rotate the piece a couple times as it generates more pressure just under the screw. I don't think it's a big issue as I've seen a hydrolic bottle jack set up having similar issues. It's not a speedy set up but it can handle my hobby size operation. Depending on what volume your producing, this should determine what equipment you should purchase. If I were paying an employee to click out hundreds of patterns, I'd pick up a purpose build leather clicker press as they are faster. I also use it as my wet molding press. I custom made my own molding blocks to use on this press. This is where it shines and works great as the even clamping pressure can hold my item in place till its dry. -
I would like to start making these leather Shield fronts and wondering if you need to use Kevlar thread? The issued shield on my Fire Dept. helmet uses a thread that burns when I burned it with a pocket lighter. Wondering if its a safely thing to use Kevlar thread or will standard bonded nylon thread work? On my first sample shield pictured I made using 346 bonded nylon thread.
-
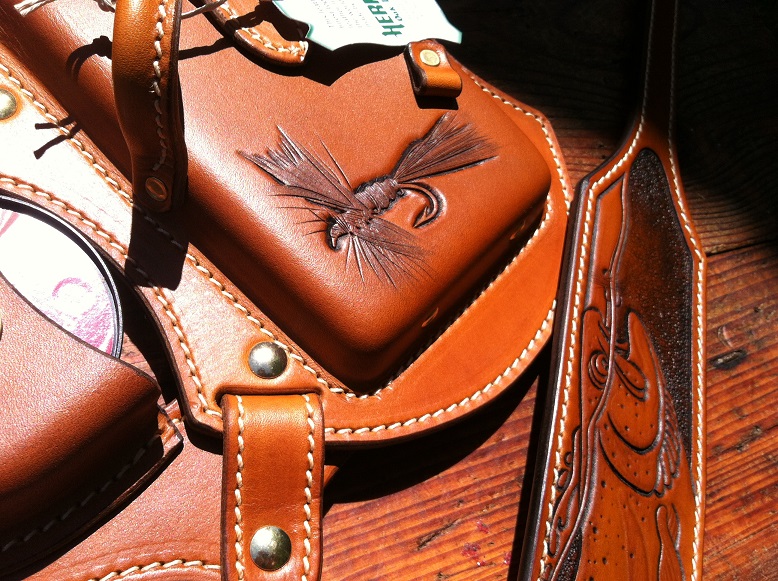
 Amazing work, I really like the different skill level involved in this piece. Almost like a portfolio of your craftsmanship all in one item. Thanks for sharing. Keep on tappin.
 -
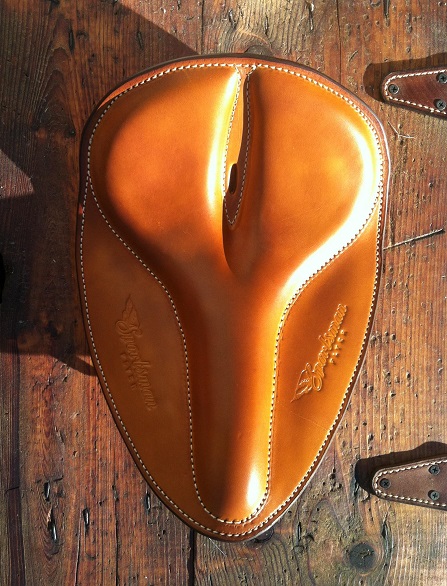
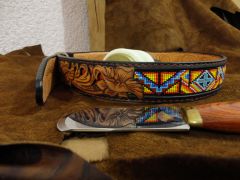
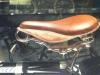
Great work on the sewn-edge Timesofplenty. I believe these vintage seat coverings are among the most sought out by vintage bicycle collectors. The old pre-war bicycles were just made too well. I too tried to replicate some of the old seats but found original leather seats hard to acquire . They are just hard to find and are just out of my price range when trying to buy them off ebay. What I really liked the most was that a this time, only a few companies were making seats. These seats were placed on every brand bicycle and motor cycle of this era with a beefed up undercarriage. Its a great item to reproduce as it can be mounted on many different bicycle models. What weight leather are you using? What type of leather was used on these old seats? Here is an picture of an old Troxel bicycle saddle on a very rare motorized bicycle, the first Harley-Davidson.
-
Another Dry Fly pattern. I really enjoy tapping these one-of-a-kind fishing lures.
-
TexasLady, the 1920's replica Motor Cycle leather seats I was making had three mounting points underneath. Two near the rear outer sides and one bracket towards the front. This center bracket just barely covered my makers mark so it was exposed but not directly in view. One would have to flip the cycle upside down to see it. These seats were also special ordered as an upscale leather seat. If you already owned one of his motorized builds you could upgrade to a better seat. At this time you would clearly see my makers mark before installation. The customer didn't explain how his friend was able to find my makers mark. He did say he search with the word "leather" attached to my name and was able to find my website. I also stamped a small serial number to log these seat builds. Type of leather weight, dye combination and finish coating, thread size, SPI and color. Date is was completed. I did this for future reference incase I ever had to replicate this build or make repairs to the seat.

-
So if a person were to just purchase patterns and all the tools one needs to make a leather item. Then learn the skills it would take to properly hand craft and assemble these items, this would make him/her a crafter. Then what is an Artisan? What is a "Maker"? Does one become a Maker by simply placing a "Makers mark" stamp on your craft items? I have seen many basic good quality holsters made from patterns with a nice makers marks stamped on them. I would like to understand what this "Makers" stamp represents as I started using one simply to identify the items I am making. If the stamp represents a higher level of skill that I have not learned or earned yet then I will stop using it.
-
I've never used it but kangaroo leather is really popular when used as lacing.