Wyowally
-
Posts
125 -
Joined
-
Last visited
Content Type
Profiles
Forums
Events
Blogs
Gallery
Store
Everything posted by Wyowally
-
I also have the same machine, redone by me with help from others on this forum. I am not near it and won't be for a while. My first thought is the main pinch screw (the big-headed one) in the exposed linkage on the back let slip. Not common, but it does squeeze a clamp, so unwanted rotation is possible. Next thought is lubrication dried out if it has sat for years. Another possibility is something moved in the internal feed eccentric that also adjusts the two feet and their movement and relationships. I did find the military manual I have pretty useful. On YT, search for Uwe Grosse and his videos - not all specific to Singers, but also the other machines of nearly identical design. I found this very good.
-
Pictures this afternoon. From the tool marks and screw heads I think this was worked on several times for sure. I'll update. Thanks!
-
Trying to help someone who just acquired one of these, but no help or info from the previous owners. New owner isn't experienced. Threading through the tensioner and check spring - parts don't look the same as the parts manual. Check spring has an external little coil along with the standard U-shaped bend. The check spring adjuster/stop has a wide range possible. Timing seems off, Hook/shuttle, bobbin case mechanisms appear sloppy. Any guidance appreciated! Can get pictures later today.
-
That was good help, thanks! Found the online manuals - parts, owners, and adjusters. All I needed!
-
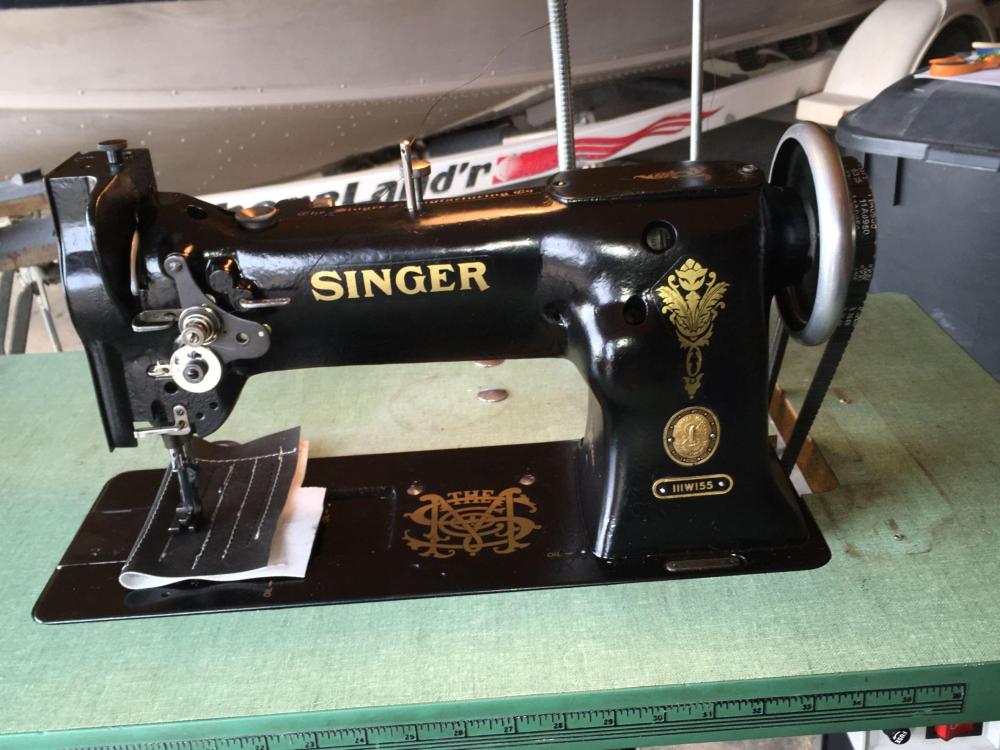
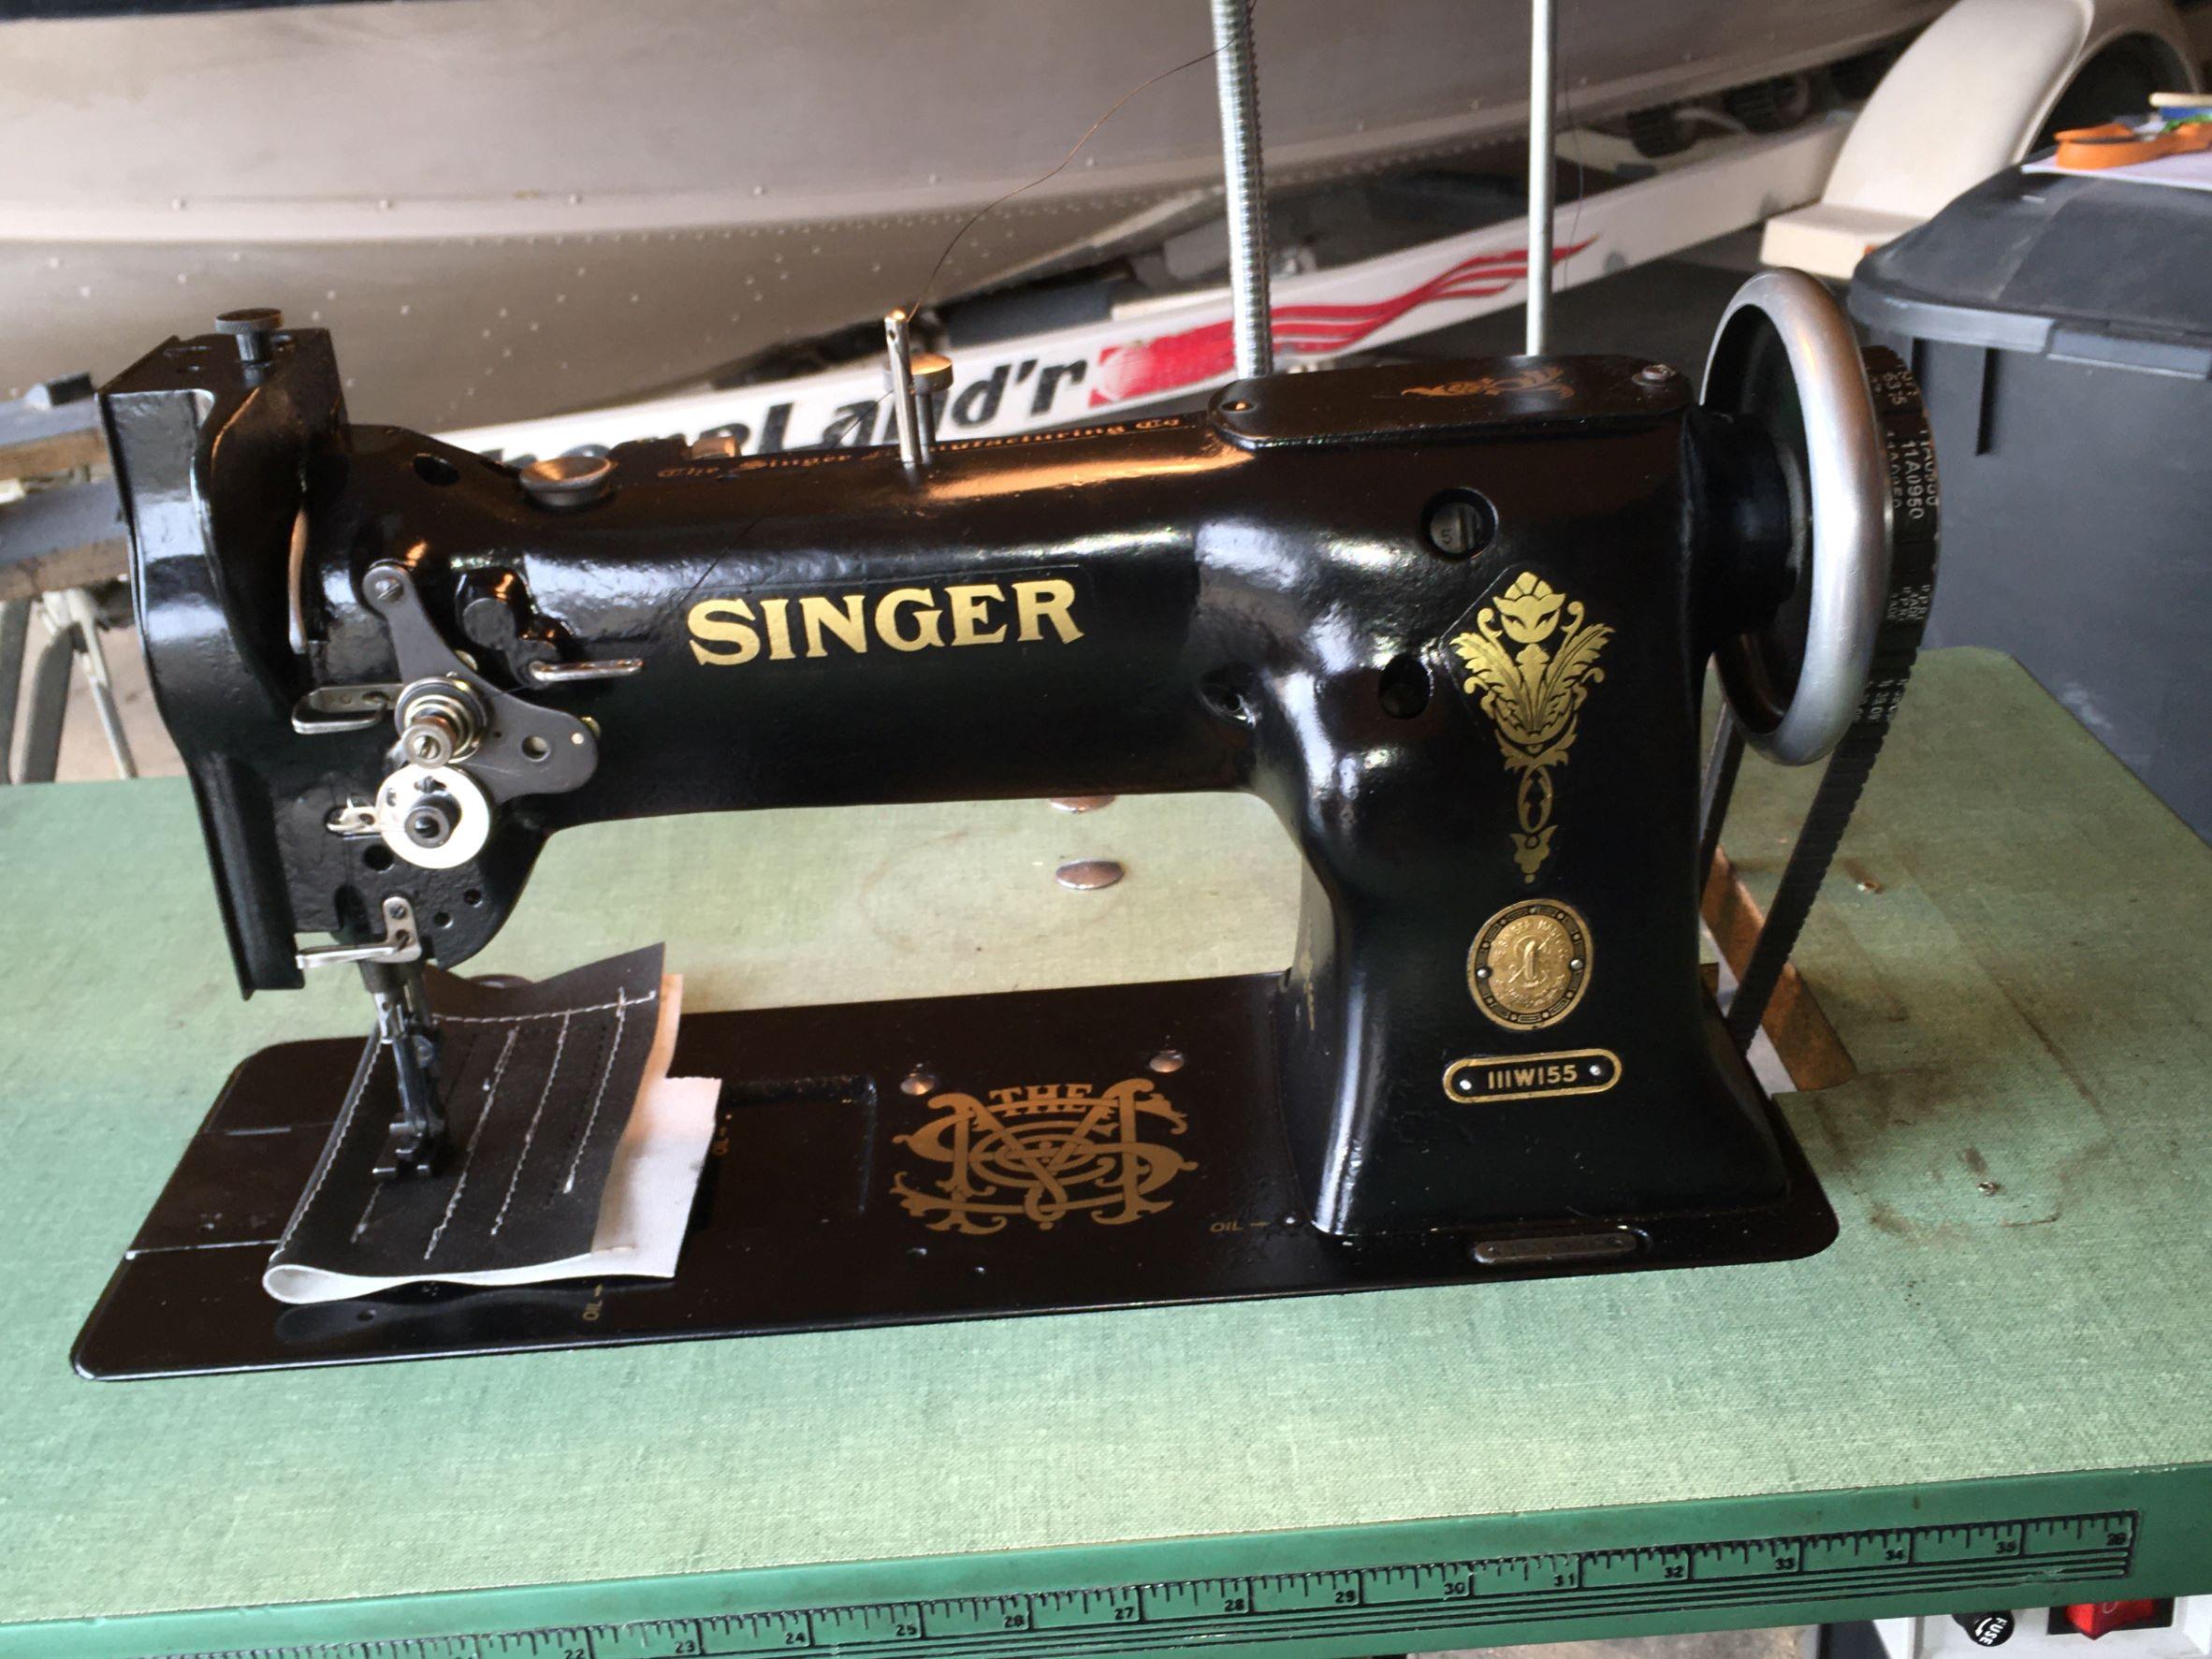
I've been asked to come look at this machine. They say they think it is "out of time". I can time almost anything, if that is the problem. Can anyone tell me the model? Any suggestions or resources? Thanks!

-
I use my Chapman Master set almost daily. The little ratchet is best of several I have. USA made is a plus.
-
My introduction to clutch motors was on an old Necchi BV. The motor was installed in New York where assembly for imports took place. Upside down, so the lube ports were on the bottom! After fixing that, I addressed the cork surface clutch. There were many ways to adjust alignment, but all crude threads. Perfect engagement of the clutch and plates took some work. I renewed the cork surface by lightly engaging a sanding disc between the plates using the engagement lever carefully. This old motor/clutch combo is nearly silent and feathers nicely. Alignment had to be perfect. My time is worth about 25 cents/hour, so I pulled it off. Point is, perfect alignment, good running motor and good clutch surfaces will make for easier feathering.
-
 Between the discs on top, not just laid across them. Make sure threaded correctly the rest of the way.
 -
Probably no help, but here goes: My first tabled, clutch motor machine was a Necchi BV. These had the head imported, then installed with a US made induction motor in a table. The old induction clutch motor had lubrication holes - but the motor was installed with the holes on the bottom! The old bushings were shot, I machined and installed oilite bushings. Not silent, but pretty quiet, and I can manipulate the clutch for slow sewing.
-
What kind of needle? Round holes in stiff leather pinch the thread. If you are using a leather needle, just ignore me!
-
I have found what they call an "embossing mini heat gun" very useful for heating stuck parts without flame involved....
-
After some experience with filthy horse blankets, I charge almost double if they aren't clean. The cleaning after takes more time than the repair, and that filth goes everywhere.
-
The bouncy check spring issue is all related to size and type of top thread, and EXACTLY where the bobbin case tab is positioned by the bobbin case opener. IF off just a little, the upper thread will hiccup as it passes by the tab when being pulled up, but not really stopped. Just enough to make the spring bounce. Until recently I was trying to measure opener clearance precisely. Now I set it by watching the thread as it is getting pulled past the tab, with stitched material under the foot, cover open, turned by hand. Works for me.
-
Most of the brakes are adjustable or modifiable for when they engage and how much they engage - with a little effort. Others on this forum might have the best ways of doing that. They can be set to stop movement especially if wanting to stitch slowly. Adjusted that way, it won't dead stop things if stitching fast though.
-
Now I am wondering how change the eccentric or the linkage coming from it could have changed the timing. The timing was very good when the presser foot quit lifting. Puzzled.
-
Spent a little more time. There are some adjustments procedures hidden in a couple of the manuals available today. What I have discovered is there are relationships between the eccentric, the big head pinch screw linkage, the lifting bracket position, the bottom clamp the flat spring pushes against and the two feet positions and action. I actually got both feet lifting decently. Somehow, without touching the hook timing, it is now way out. I am leaving it all alone for a while!
-
I'm more frustrated than embarrassed, so here goes. I got this machine a few years ago and totally went through it, including priming, painting and proper decals. It was and is a great machine and I learned a lot. I got a lot of that learning help right here, thank you! Fast forward : I have done several projects each year since, as I am a hobbyist, not a production guy. A few days ago the presser foot quit lifting. I'm sure I did something wrong, left a screw loose, etc. I got my manuals out, re-visited Uwe and YT, checked this forum for history. I spent four hours this morning trying to get it back The puzzle to me is understanding mechanically what even makes that foot lift at all. It is obvious that the mechanical linkage raises the center vibrating foot - not obvious to me at least what raises the presser in each cycle. I have adjusted the eccentric and the vertical travel. I don't know where to set the small block that the tip of flat spring rides on. I have moved it up and down quite a bit. Likewise the topmost clamp guide thing - not sure where to set it. It appears its only function is to guide and keep things straight. The clamp screw on the back that holds the tension release mechanism on - is it supposed to be tight, or loose enough for the presser bar to move inside? If it is supposed to be tight, where on the presser bar should it be? I have a new replacement eccentric but never got into removing the main shaft. The old one works, but it was missing a set screw - not the major one that pins it to the shaft, but one of the pair that "locks" the adjustment. I hope that's not too much information. Thanks!
-
Bernina model 1001 sewing machine ok for leather work
Wyowally replied to waynebergman's topic in Leather Sewing Machines
It won't hold up sewing leather any better than that Elna you were considering. 7 oz. chrome tan it might swallow for a while, but eventually it won't be happy and you won't be either. -
Elna Supermatic straight stitch 722010
Wyowally replied to waynebergman's topic in Leather Sewing Machines
No. That is a nice and respected vintage machine - but still just too light duty for what you want to do. My wife owns one, and it is well designed and manufactured. I suggest spending some time reading the threads and posts on here, particularly Wizcrafts post in this forum on the type of machines suited to sewing leather. -
Weird and frustrating obstacle Setting up shoe patcher
Wyowally replied to Annikita's topic in Leather Sewing Machines
Oh, I think it is legit. As a very successful owner of one of these things, I've spent a lot of time getting mine right and trying to help others. There are many people with limited leather and sewing experience who buy them hoping they are a shortcut to getting away from hand sewing, or will help them get started on the cheap. There is a lot of frustration and disgust expressed by those hoping for plug and play. I believe our poster is legit and sincere, and just trying to tap whatever resources can be found to get it going. Success depends on the person and attitude, willingness to learn and listen and spend the time it takes. Many machines have been dumped or trashed. Others have been turned into smooth working motorized acceptable units by those with a lot of patience, money, and ambition. I haven't gone that route - mine does the limited non-production work I want without trying to make it something it is not. I try to follow advice from a friend - "just stay in your lane". ! -
I get scraps from a saddlemaker friend frequently. I made some cartridge holders, and learning the loops for different size cartridges is challenging. What I did find out - and should have known - is that you've got to be careful about long term storage. Some of the chemicals in the leather will start corrosion on brass cases. It takes a while, but will start sucking the copper out of the brass. Not good!!
-
I actually bought a new replacement eccentric just so I could understand how they're designed to work. Never had to install it though.
-
I use that Coats thread that was posted with a price earlier. That's about twice or more what I pay, BTW. $3.79 a spool if I buy 3.
-
FNG Seeking to clarify mixed messages...
Wyowally replied to Ripper70's topic in Leather Sewing Machines
I commend you for your approach and attitude about learning. I'm sure you will progress quickly. The advice you get from the regulars here is spot on! I know from my own experience. You found the right place - I see so much misinformation and bad advice in some of the FB groups that I just shake my head, now that even I know better. -
Singer 111G156 saved from landfill
Wyowally replied to johnnysingerfan's topic in Leather Sewing Machines
I did get aftermarket decals. Not exactly original, but close enough for me.