timjtodd
-
Posts
25 -
Joined
-
Last visited
Content Type
Profiles
Forums
Events
Blogs
Gallery
Store
Everything posted by timjtodd
-
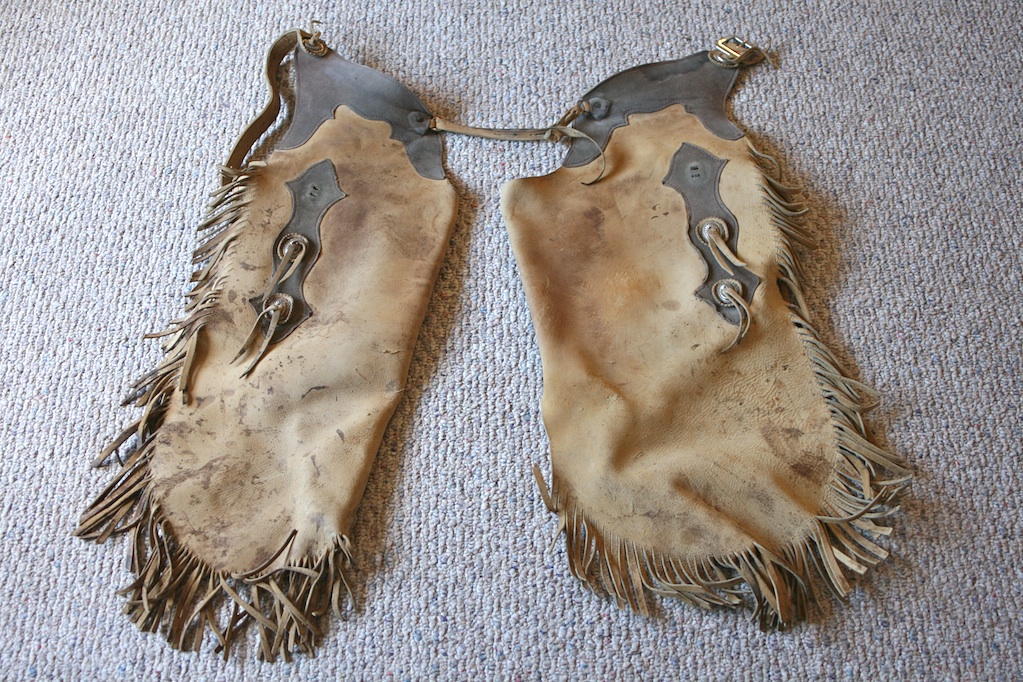
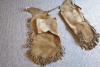
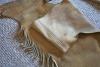
two pair of chinks with no buckles on the legs. Just slip them on. They're used so they aren't too pretty.


-
I always go buckle to the outside, and if no buckle then I would put the large side out mainly because that is the side that would have the ornamental tooling on it and if it was to the inside it wouldn't be as visible. Also I always felt that the large side out helped protect that part of my boot while riding through brush where as the inside of my boot is up against the stirrup and already protected.
-
How do I attach a chin cord to western hat?
timjtodd replied to SCOUTER's topic in How Do I Do That?
You could also attach a cotter pin to each end of your stampede strap and either poke it in between the inner hatband and the hat on the inside then splay out the cotter pins to hold it in place or put a small hole in the brim on either side and poke it out through those holes and splay out the pins and it would be hidden by the outer had band. That way you wouldn't have to put such big holes in the hat. -
Help for a novice horse owner
timjtodd replied to jennifer's topic in Choosing the Right Saddle for the horse(s)
I would have to agree with JRedding. Knock at least 100 lbs off the mare and you'll be looking at a whole different back to fit. Granted you'll still probably need a saddle that is pretty wide where the bars meet the fork at the base of the gullet, but without all that extra "flesh" you'll have a much better chance of finding a saddle that fits. You might want to do the same with your three year old as she looks like she's packing extra weight too. T -
You're welcome, but I'm not creative enought to have come up with that on my own. I got the idea from Dusty Johnson.
-
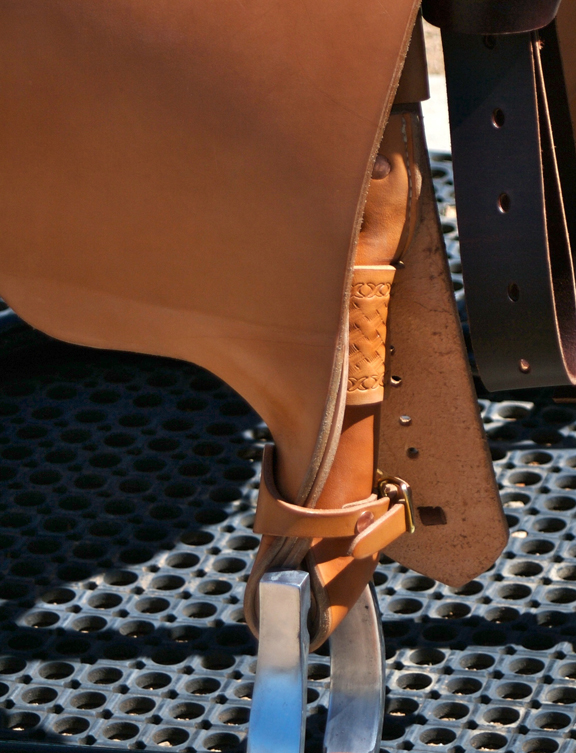
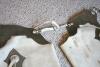
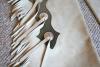
Duke, You can also use a solid piece of leather 3"x4" and punch holes across both 3" ends and lace it that way. If you do it this way you can also tool the wrap. Here is a picture of what I'm talking about. (the tooling isn't that great but you get the idea) Tim

-
Duke, It is actually pretty simple to do and you can wrap it with whatever you want. A lot of the saddles posted on here have the wraps you are talking about. Here are just four that I found real quick in the Saddle and Tack maker gallery. Three wrapped with latigo strings and one (mine) with the same leather as the saddle is made out of http://leatherworker.net/forum/index.php?showtopic=2136 http://leatherworker.net/forum/index.php?showtopic=2592 http://leatherworker.net/forum/index.php?showtopic=1595 http://leatherworker.net/forum/index.php?showtopic=2017 The important thing to remember is to install your blevins posts in opposite of what you normally would without the twist.
-
WoodWeld contact cement. You can get it at your local hardware store.
-
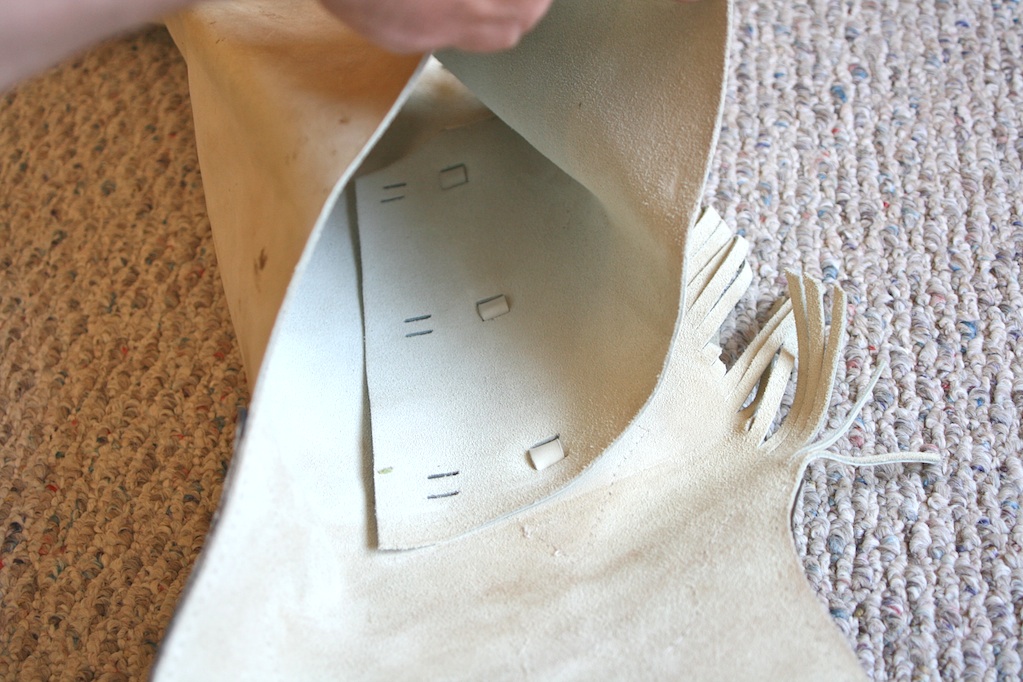
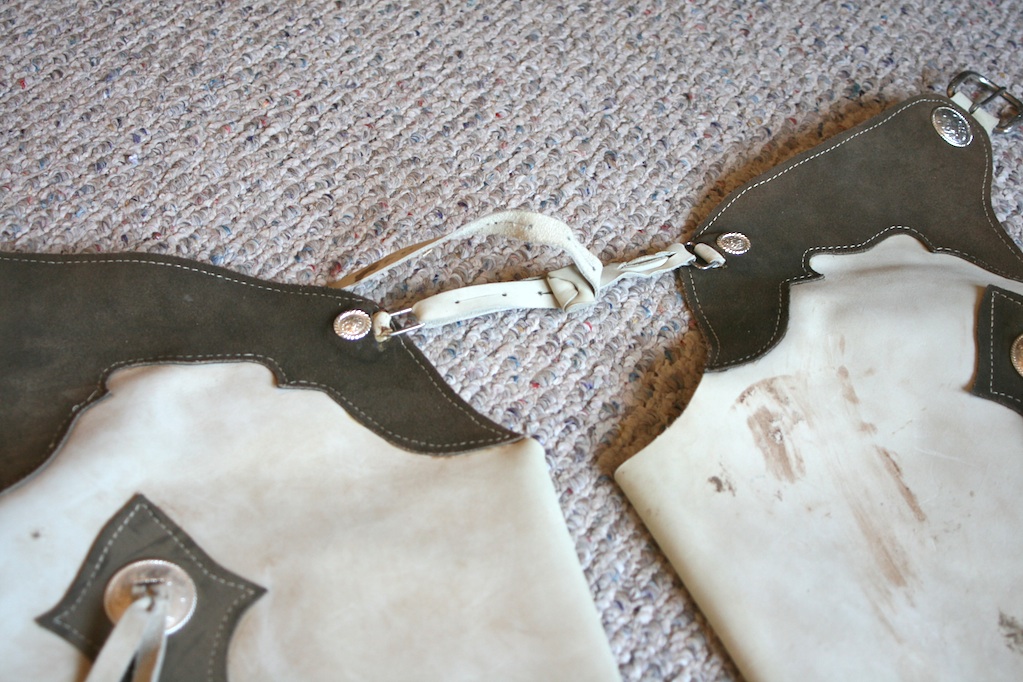
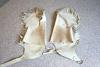
Tracy, I have some step through chinks that I made years ago. I'll get some pictures this weekend and you can see if you like the pattern or not, if you're still looking that is. Here in AZ lots of people wear the step through kind rather than buckles, zippers, clips. Tim
-
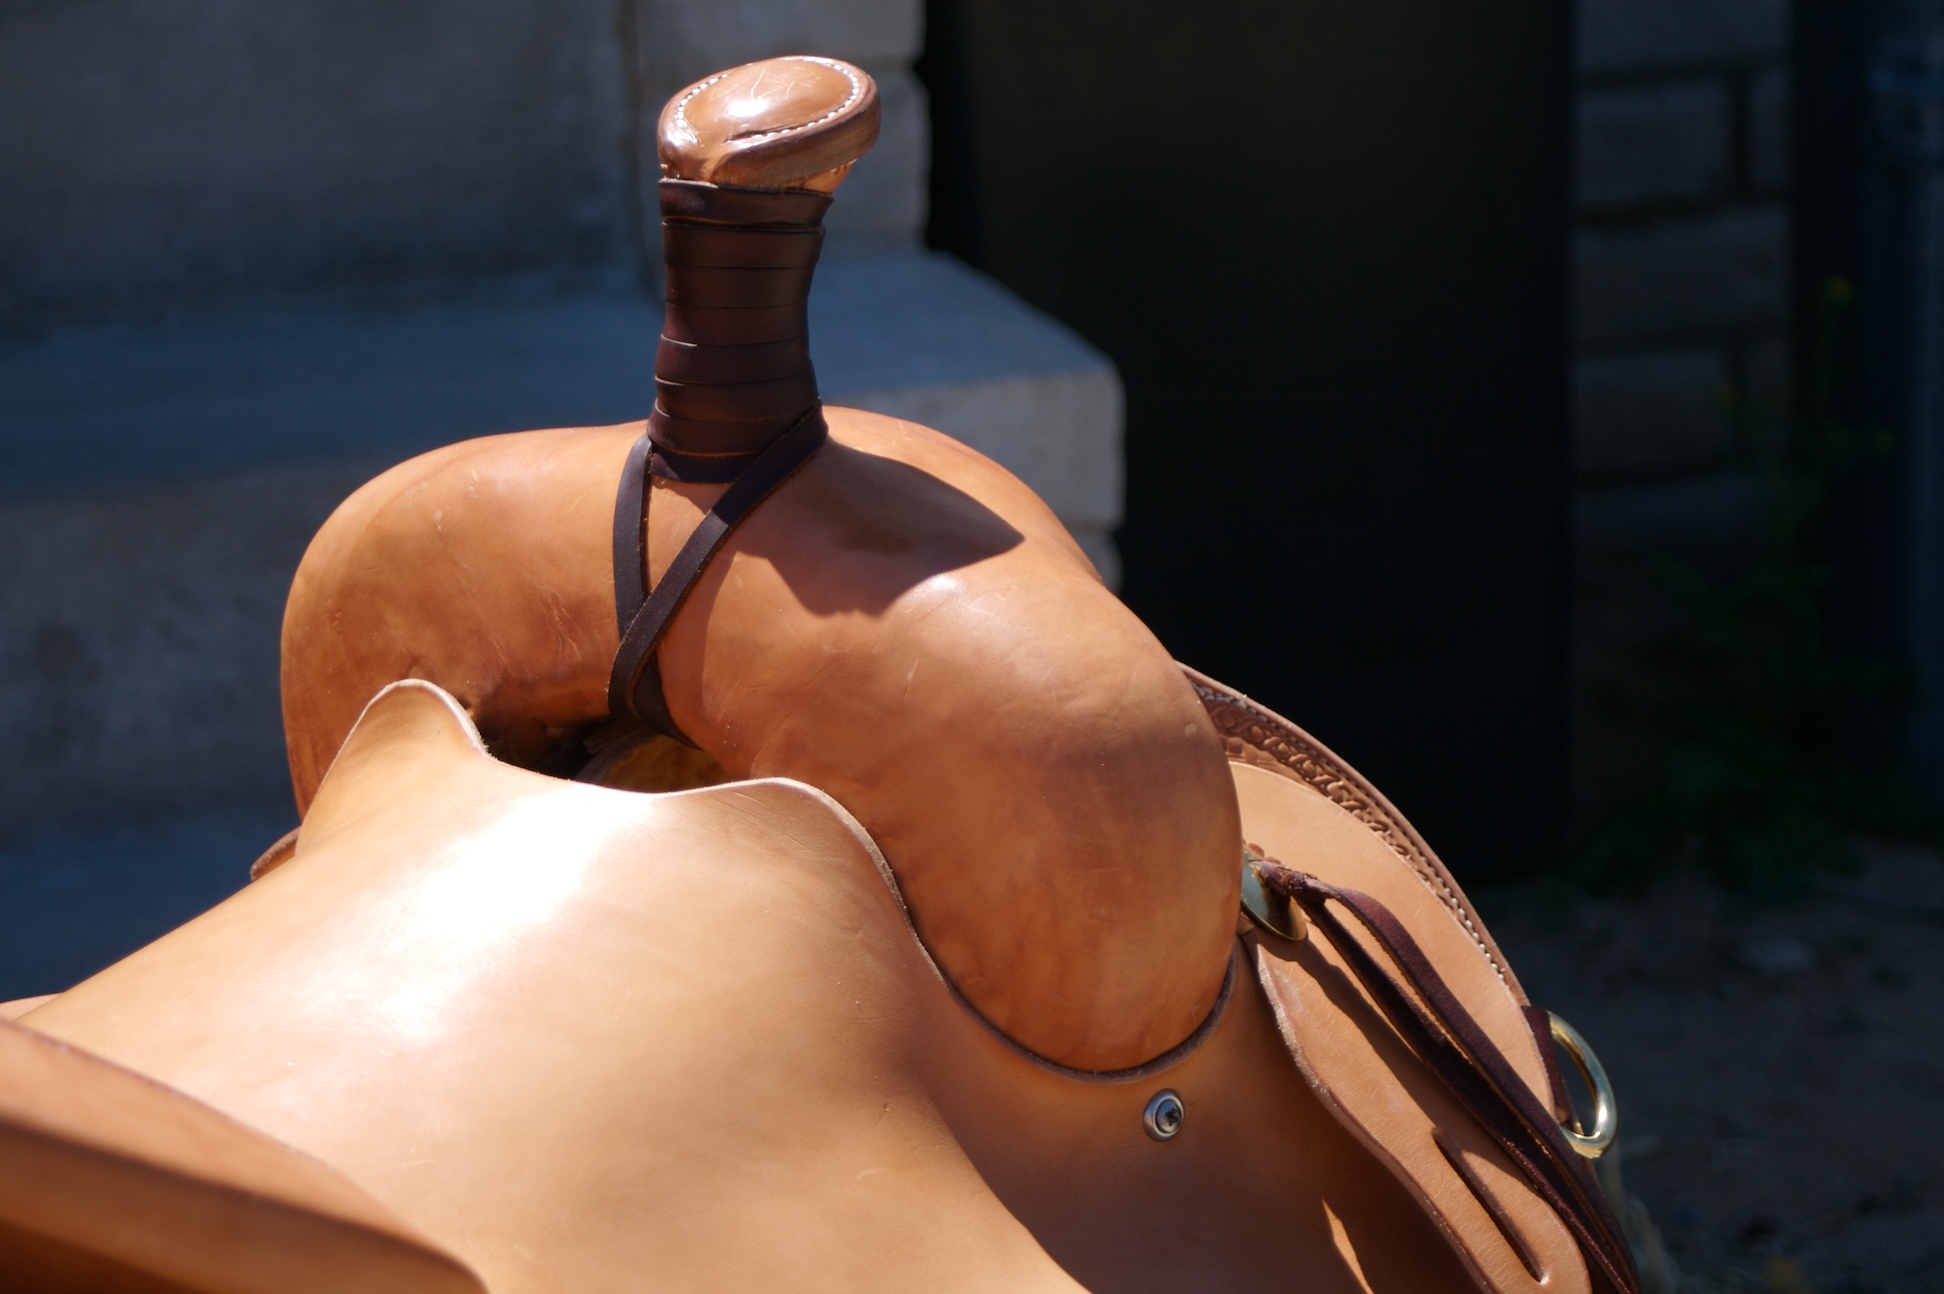
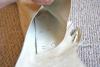
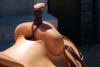
Thanks Bruce. I think the biggest help was something I believe that you and Keith had mentioned and that was to leave the piece thick and not skived down on the edges. So I left her thick and like you guys said, it was able to absorb the excess without having to fold it over. I did get some slight wrinkling, as you can see in the photo, just above the hand hole, but I think if I had re-wet it after I got it tucked it I could have worked those wrinkles out. I'll have to try that next time.
-
Thanks you guys. Ken, the border stamp was done with one tool. It is a craftool #701001 from the Leather Factory. Keith, it was definitely a learning experience getting to try the new techniques and the in-skirt rig. Don't know that I'll do another one of those, but it sure taught me a lot. I sure appreciate someone with your level of experience taking the time to look and comment as well as offer advice. JW, I thought I was beat covering the swells on this one as well. I had it down to about an inch of excess and was planning on splitting it in the middle below the horn. About then some folks showed up at my house and I had to take a 2-3 hour break. When I came back I thought the leather was too dry to do anything with and was going to re-wet it. Then I remembered Bruce Johnson having mentioned something along these lines happening to him so I gave it one more try before re-wetting and by-golly I was able to make it work.
-
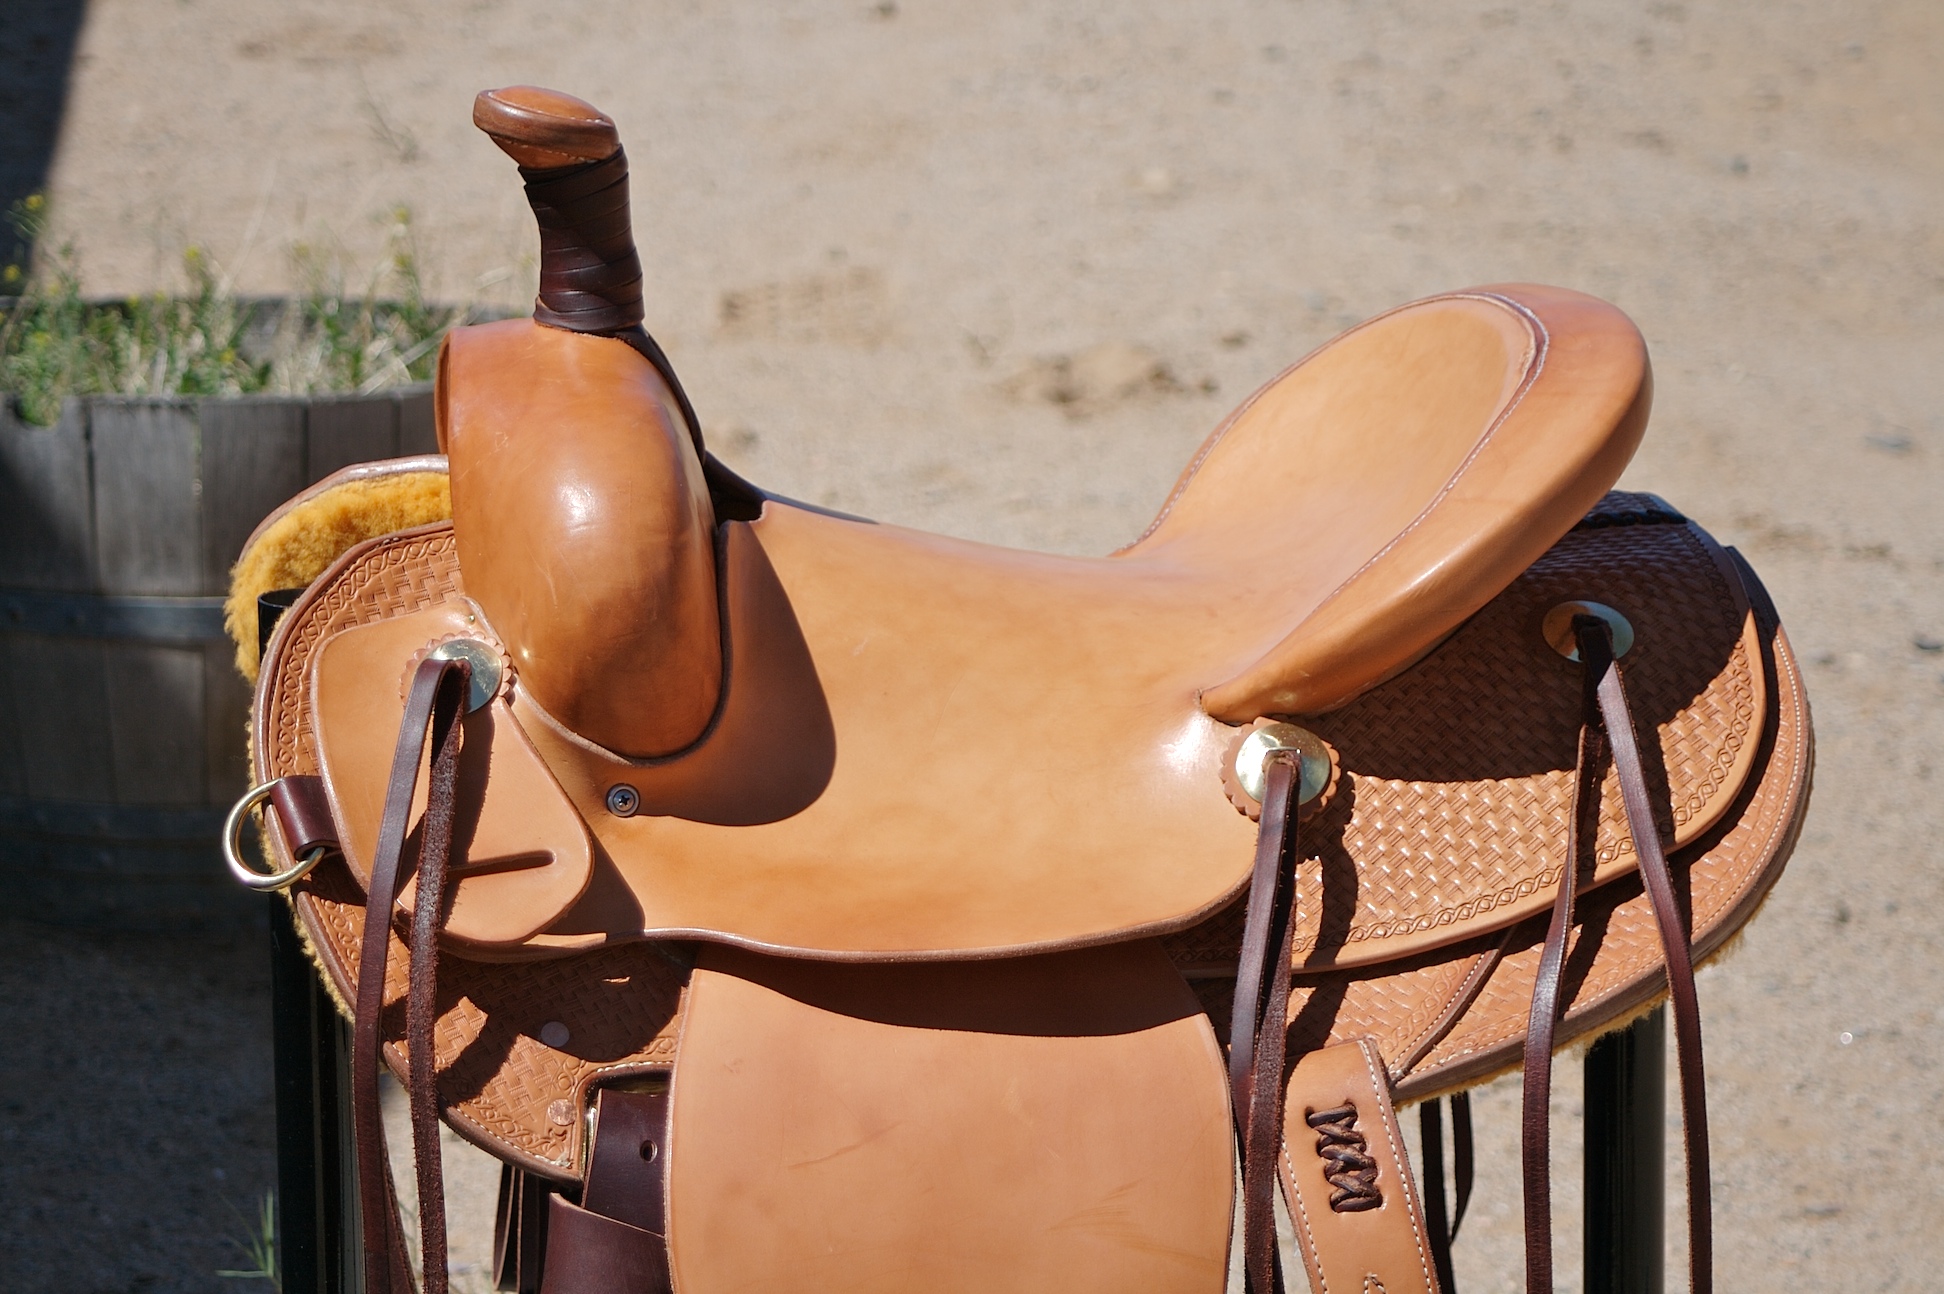
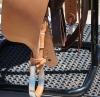
Just finished this saddle today. Dina Special Cutter 15" seat, 13" swells, 3"x1.5"X13" cantle550 in-skirt rigging. This was my first in-skirt rigging and I wouldn't have been able to do it without all the information I got from several folks here in the forum. Thanks everyone for all of your input on in-skirt riggings, Cheyenne rolls and how to cover swells without welting. Tim


-
Beautiful saddle bags. As far as a breast collar though that lacing as is looks like it would rub the hair off of a horse fairly quickly. You have to remember that where the breast collar fits on a horse, all of that is in constant motion and anything that isn't smooth is going to be digging into them with each step. It might work if you used a piece of backing leather that was slighly thicker than your finished lacing and cut it to fit just inside the lacing so that it would keep the lacing from rubbing on the horse. (did i use the word lacing enough in that sentence?)
-
Great holster Buff. By the way in the wild, animals hunt, kill and eat each other. We're just honoring their culture when we do the same.
-
Sorry, I meant the wrap on your Nevada twist on the stirrup leathers and not your horn wrap. The horn wrap looks great. The badge was a great idea too.
-
Beautiful saddle. Especially for only your second one. That should do well for the raffle. I have three suggestions though. 1. Finish all of your edges more, so they're smooth and slick, especially on your fenders. 2. Take another half wrap on your Nevada twist and hide the tail in between the two pieces. That way you won't see a bump in the wraps. 3. Pull your front riggin plate up a little to where the bottom of the plate matches up to the bottom of your skirts.
-
Perfect. Thanks Steve.
-
Thanks for the info. Steve. That is a very clean and solid looking roll. You wouldn't happen to have any photos of the intermediate steps would you?
-
I am working on my second saddle and am going to put a Cheyenne roll on it. My question is how many layers of leather do you usually put in the Cheyenne roll before you put on the cantle binding? I know you have one for the seat and one for the back of the cantle, but do you put in a filler piece or two between those? Thanks for any input you could give.
-
Beautiful saddle Jon, worth the wait to see it. So in the front half of that skirt is there 3 layers of leather or two? And then the back half is just two right?
-
I'm getting ready to build a cutting saddle and am leaning toward and in skirt rigging. I've not done an in skirt before so I'd be interested in seeing different designs for them. Pictures, Drawings, whatever you've got. I really like the one Jon has over in the flat plate discussion. Thanks Tim
-
Thanks Keith. Great info.
-
Keith, Why no skirt plug? And I would be interested in the specs on depth. Also, do you have any photos?
-
Timbo, I built my first saddle just using Dusty Johnson's book and video with no prior saddle making/repair experience or outside help. It is not the prettiest thing and I will definitely do some things different on my next one, but it is a good using saddle that has held up well. If you're wanting to get your feet wet and get one built this is a good route to go. At least it was for me.