-
Posts
335 -
Joined
-
Last visited
Content Type
Profiles
Forums
Events
Blogs
Gallery
Store
Everything posted by 276ccm
-
-
From the album: 276ccm´s Leather Work
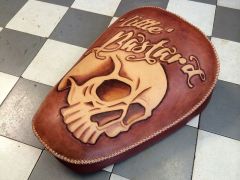
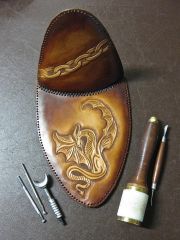
This version of "virgin" Mary might not be so good for the easter spirit, but it´s finally over and I can post this.. a custom seat I´m working on for a Harley bobber.. -
-
From the album: 276ccm´s Leather Work
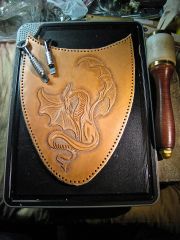
This version of "virgin" Mary might not be so good for the easter spirit, but it´s finally over and I can post this.. a custom seat I´m working on for a Harley bobber.. -
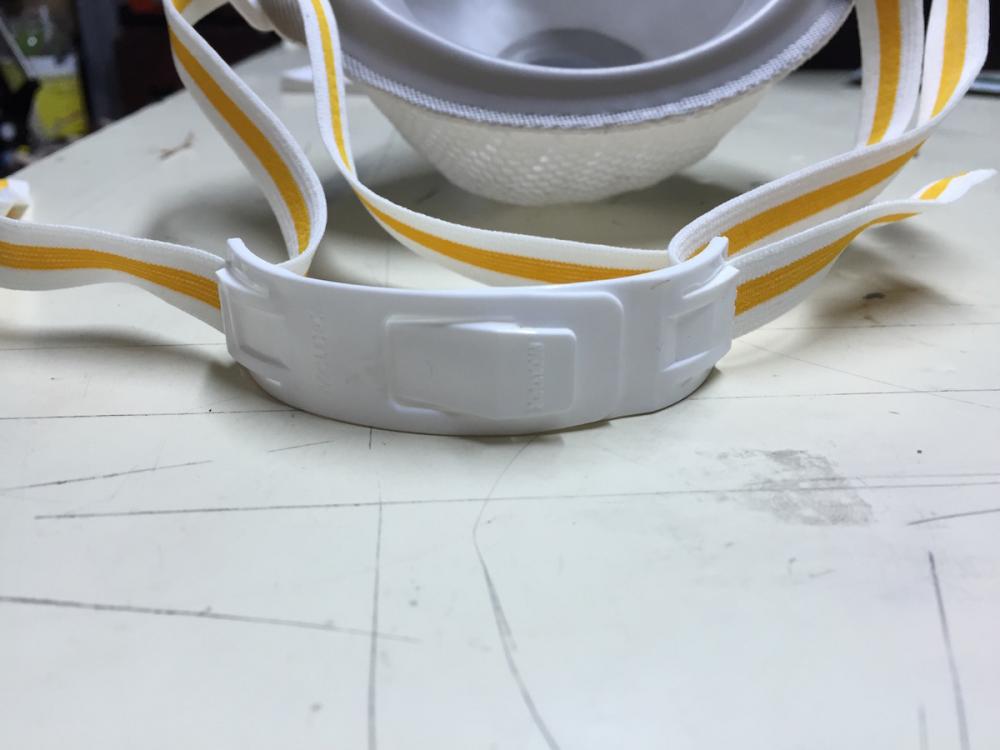
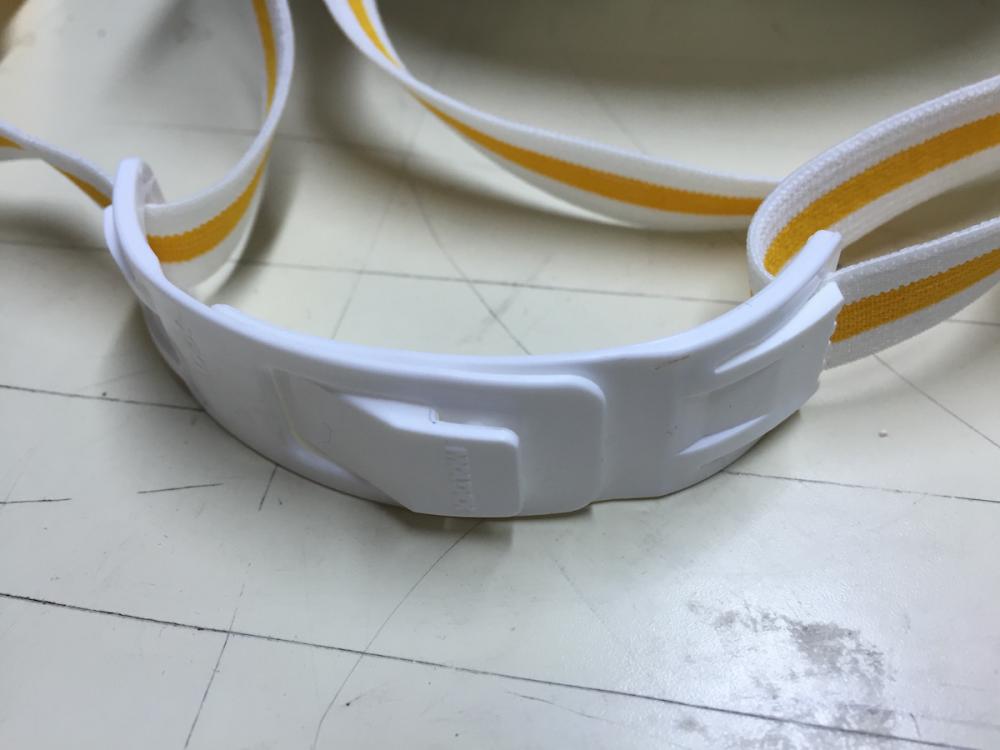
Hi, does anyone know where to find something like this, or what would you call this tension adjuster/lock.. On the the "lock" on the picture is from a safety mask, and it doesn't have to be exactly like that, but something easy and similar.. Anyone please? :-)
-
From the album: 276ccm´s Leather Work
Going to make a stool of it.. just need to make the legs :-)© Marius Mellebye
-

Thread Compatibility Of Nylon And Polyester.
276ccm replied to llucas's topic in Leather Sewing Machines
I think Serafil makes the best polyester :-) http://www.amann.com/en/products/serafil/ -
-
Thanks a lot Bruce, I appreciate the feedback so thank you! :-)
-
Most defiantly a valuable lesson! Yes I will try to clean up all the parts I can, and I´m not so afraid now to open my machine and loosen things, but only the things I´m 100% sure how to do hehe :-) The video was fantastic and truly helped me a lot, together with all the explanations :-) Talk to you soon Tor, and have a great weekend all! :-)
-

Would This Yakumo Deu-750 Be A Clone Of Something?
276ccm replied to JimDavies's topic in Leather Sewing Machines
The design reminds me a little of an old Singer, or an old Adler machine I had many years ago.. mine wasn´t a cylinder arm tho, but the design. I´m not an expert, so I might be way off, but it was the first that came to my mind :-) Good luck finding the information! :-) Edit: I found this link tho: http://www.ant-zanbi.jp/cgi-bin/ant-zanbi/siteup.cgi?category=1&page=2 Maybe you can get some help translating and send them an email.. I see the similar machine there :-) -
This video tutorial should be a "sticker" so it won't disappear after new threads, or maybe make a sticker with "fixing" tutorials and collect all in one post. This video really helped me a lot, and without seeing it, I would never dare to open my gearbox and probably make a mess.. but now. after this my machine is working again! :-) Thanks again Uwe, this video is fantastic help, and very clearly explained! Lots of kudos for you! :-)
-
Yeah! The machine is sewing again!!! I followed the video step by step, and HURRAY! :-) Thanks a lot! :-) https://youtu.be/FZ1zAcoPHnY Yes Tor, something else might have moved, but not sure where, as you see from this picture, it was really way off. But after to hook timing it sews well, and I can't hear any strange noises :-) I adjusted the clutch screws after the clutch was engaged. When I'm back in Spain in end of Octobre, I'll try to take the clutch apart and clean it well and oil it up again. Muchas gracias all of you! :-) Regards Marius :-) A happy sewer at the moment! :-)
-
Thanks a lot, again! :-) I took another video, which shows the 360 turn, but I can't really see anything going on in there to check. But I will open the gearbox and start the timing tomorrow morning and hopefully it'll be ok :-) The 360 degree video: https://youtu.be/PoZCBCOFq0I I also tried to put the pin inside while very carefully turning the clutch, but it would only drop where the ball is supposed to drop. And it's no chance it will go all the way trough as the little wall to support the timing belt will block it. Muchas gracias! :-) I'll update tomorrow :-)
-
Thanks Uwe! :-) If I turn another 180 degrees it´s only like a soft "pop" (not even really a "pop" but I feel it´s something there) and its obvious its not the right place, so this position, as it shows in the last video must be the right place. It really "POPPS" into place.. but at this position, I can only put the 5 mm pin, 2,5 cm in that hole. Does that means something else is wrong, or the screws that holds the clutch to the shaft must have been sliding? Or did I misunderstand something? :-) I saw there was a little difference on where the balls is placed now.. so this position is the only place it really pops into the right place, so only one correct place for every 360 degrees turn.
-
Hi again! :-) Good news and another worry.. The good news is that with a little WD-40 I managed to get my safety clutch “loose” and I can fairly easy pop it in and out of place.. but my new worry is: When the clutch pops into place, I can not put the 5 mm pin all the way inside and the "holes" is not aligned .. only 2.5 cm. If I look down the “hole” and adjust and align the clutch I can put the 5mm pin all the way down (3 cm) but the clutch is not popped into place. You will see both in the video: https://youtu.be/8TvA1AwvuvM Can I pop the clutch in place and start the timing process, or is it really important that I get the "holes" in the clutch aligned, and that it is popped into place at the same time first? This is maybe because the screws that attach the clutch to the shaft, slipped a little, due to the hard clutch?
-
Thank you so much! The video is excellent and with these very good explained instructions, I think I can do it! :-) I did some test sewing with similar pieces of leather and it was sewing fine, without the feeling of the machine working too hard.. before this thing happened. Of course I would prefer to have a 205 fir this, but for now.. :-) Thanks for super tips too Tor, I´ll let you know for sure! I booked the flight and will stay in Oslo some weeks before the show, so if I can't fix it I´ll take your offer to borrow one of your machines in your work shop :-) I´ll for sure try to visit you anyway! :-) Tomorrow I´ll get some WD-40 or parafin, and start the process! I´ll keep you updated! Have a super sunday! :-)
-
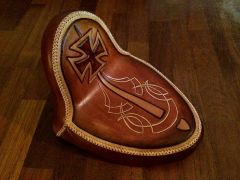
Muchas gracias! :-) I´ll get some WD-40 spray on Monday and do as you told me.. I´ll try to be patient and wait til I can do it properly so I won't damage anything more. I´ll also get a set of the right tools.. Super kind of you with this help and I´m looking forward to see the hook-timing video! :-) At least now I learn a lot about my machine, and hopefully it can be very handy for later maintenance or to help someone else with this problem the right way! Not really important in this case, but here is one of the seat I´m eager to finish before I go.. I was so close to start sewing it together :-) I´ll post an update to this early next week, when I have all the right tools and spray, and for sure I´ll leave the timing belt alone.. :-) And I know someone will be happy that I dont need to go to the office again more this weekend.. Have a super weekend! :-)
-
Uwe, I can't say how much I appreciate this help! Just so you know! :-) I will for sure "steal" my girlfriends hairdryer this afternoon and give it a try! I bough this machine here in Barcelona, and at summer the humidity can be pretty crazy, so it would´t surprise me if there was some moisture in this clutch.. I know for sure the previous owner took really good care of the machine, but I guess this is difficult to know, if she wasn't an expert, as me.. :-) Do you think the heat from the hair dryer can harm the belt? I´m also curious if the I can carefully try to slide the belt off, and adjust in one toot.. it looks like the timing at least would be better with this, but if this is something that should absolutely not done, I´ll leave it.. The screws I loosened before I tried to twist the safety clutch was this: 0216 00052 but maybe it was not the right ones? I didn't do anything with the screws that goes on the side: 9205 102498 (If you see on mu picture, it doesn't even looks like there is any screws there, only "deep" inside there are some shine thing, but it doesn't look like I can fit a screw driver on this head) but maybe there still is and is this the screws that I had to loosen before trying to twist the clutch in place? Maybe I misunderstood :-) If I was still in Norway, I would for sure buy all the dried fish and Tors favourite beer hehe! Tor is a living library and a unikum for these things, and he have helped me so much over the years, so I feel a little embarrassing asking him all the time :-) I´m soon going to Norway for Oslo Motor Show if I can finish the seats (it depends on the sewing machine) and I will for sure give Tor a visit to honour his help! :-) Thanks so much again Uwe! :-)
-
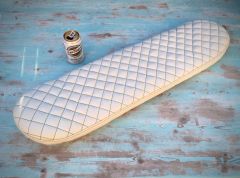
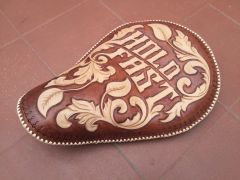
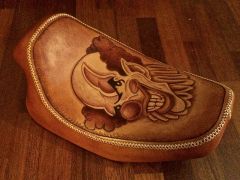
The Lucky 13 seat is all done: Started on a new skull seat.. going to try to paint this with acrylics.. well see how it ends :-) Also started another seat, with diamond stitching.. have a little sewing machine problem right now, but as soon as the timing is fixed, I´ll continue with this one.. The "Hold Fast" is done too.. :-)
-
I do both.. it´s just a way I feel comfortable with as I have seen so many seats, with the motive a little "off" center, and for me it would ruin all the work.. so I prefer to start holding, so I can place the motive as accurate as possible, then start the tooling, and then mold the rest after.. I learned all this by my self, and I found a way that works for me.. It has defiantly crossed my mind that I can try other methods, but this works and the clients are happy with the result :-)
-
Well I guess it will depend on what you are sewing and how much! Personally I´m not really a commercial user either, but for me I could´t work without.. well I guess I could if I absolutely had to, but I feel its very convenient to have it, especially when sewing leather and corners. I feel I can do more accurate stuff and it makes the work much easier, for me :-) I have no personal experience with the Chinese motors, but from what I hear from some people, they say they doesn't always work really well with the needle position. It´s not accurate enough.. I was recently looking for a motor my self, and I ended up with a Japanese Ho Hsing G60 motor with the needle position, and I´m really happy about it! It´s super strong and the needle position works perfect! I bought it from http://www.ae-sewingmachines.co.uk in UK. I dont think the motor is listed in their online catalog, but if interested send them an email. The service was super good, and delivery very fast, and it was the place with the most low price I could find.. I paid 160 BP plus shipping.. So for me, the needle position is worth paying extra for, but make sure you read some reviews of the exact motor and needle position before you buy. At least check out the price difference with these motor and the Ho Hsing G60 Good luck! :-)
-
There is absolute no way I can pop that clutch either in or out of place.. I loosened the two clutch screws, hold the shaft as tight as I could with a tool, and turned the hand wheel, but no way.. It looks like the clutch is in place tho (see picture) bit something is obviously wrong as I can't pop it out of place either. Can there be a solution to take off this belt and turn it a few "teets" and put it back on? I think I would have heard it if the belt was jumping some teeth when it happened, but now I'm not sure, or maybe desperate hehe Or can it be any chance this screw is out of position? It feels tight tho, but I won't touch it yet.. Just trying to think what could have happened. Any thoughts on this last "update"? Regards a frustrated man :-)
-
Thanks a lot Uwe! I truly appreciate your help! I watched your video and I will go to the office the first thing in the morning.. Now I have to pay attention to my girlfriend and the two year anniversary dinner! :-) I can't wait to try again :-)
-
Hi again.. :-) I couldn't wait and went to the office to check, but it doesn't look good. It looks like the clutch is even. I took out both the screws on the clutch and it looks like I can put a pin in the hole all the way. It doesn't go trough, but as far as I can get. The video shows what I tried. I also tried to hold the shaft, but nothing popped in place and I could hold it still.. The video: http://youtu.be/_A8BoGDJYEo What do you think? Also some pictures


