-
Posts
24 -
Joined
-
Last visited
Content Type
Profiles
Forums
Events
Blogs
Gallery
Store
Everything posted by pmieras2000
-
Rifle Scabbard
pmieras2000 replied to pmieras2000's topic in Gun Holsters, Rifle Slings and Knife Sheathes
lol just 4 times. I would have had to practice a couple of times on scrap also -The first drawing is the time consuming one. Lots and lots of tweaking before I can finally commit. Thank you all. I'm very pleased with it. Get's delivered tomorrow or Thursday. -

Rifle Scabbard
pmieras2000 replied to pmieras2000's topic in Gun Holsters, Rifle Slings and Knife Sheathes
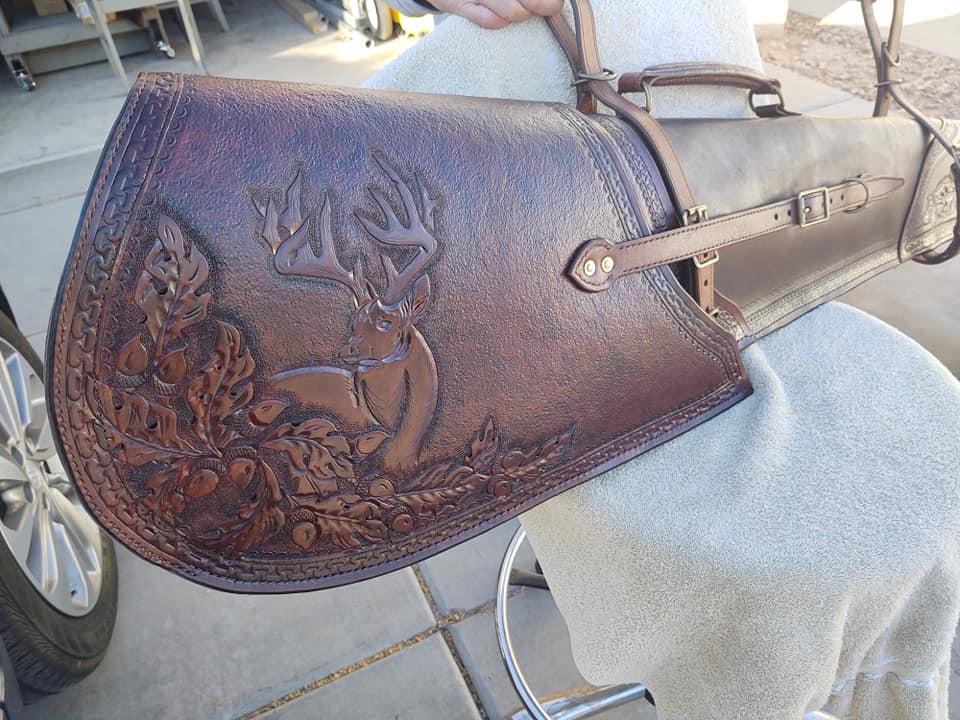
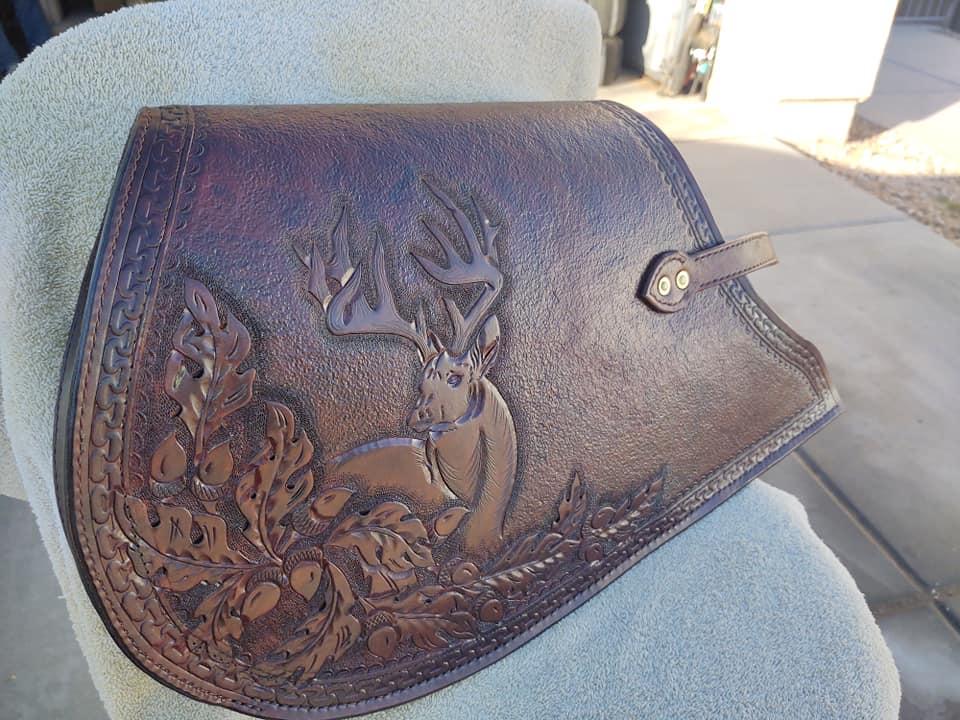
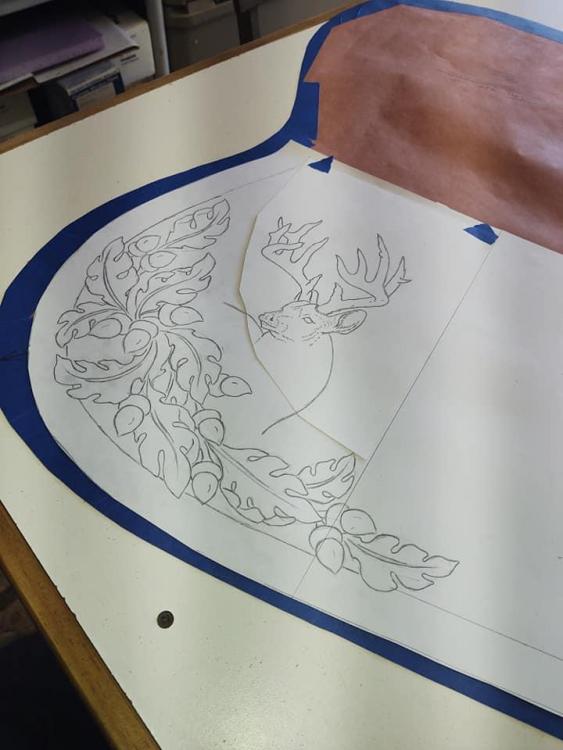
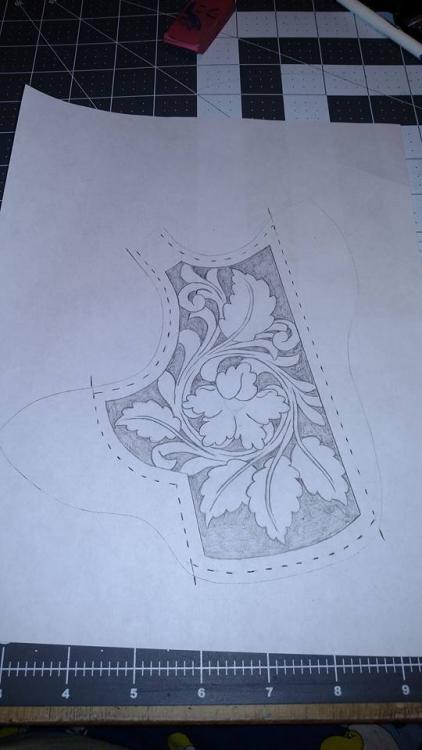
Thanks for the kind feedback. The deer carving wasn't on of his, just one of many sketches that seemed to turn out. Of all the carving the deer worried me the most. It's one thing to be able to draw it on paper. I did a lot of patterning with paper and poster board. Lots of checking, double checking and triple checking before I would commit. Even had to put together in an order that I didn't paint myself into a corner. On the carving designs: I would draw it out on paper first, erase, adjust and get things just the way I wanted. Then trace it on tracing paper. Case the leather and position the tracing paper where I wanted it. Trace the tracing paper again (usually with a ball point pen) to transfer the pattern to the leather. And finally swivel knife away. So I would literally draw the same thing 4 times. -
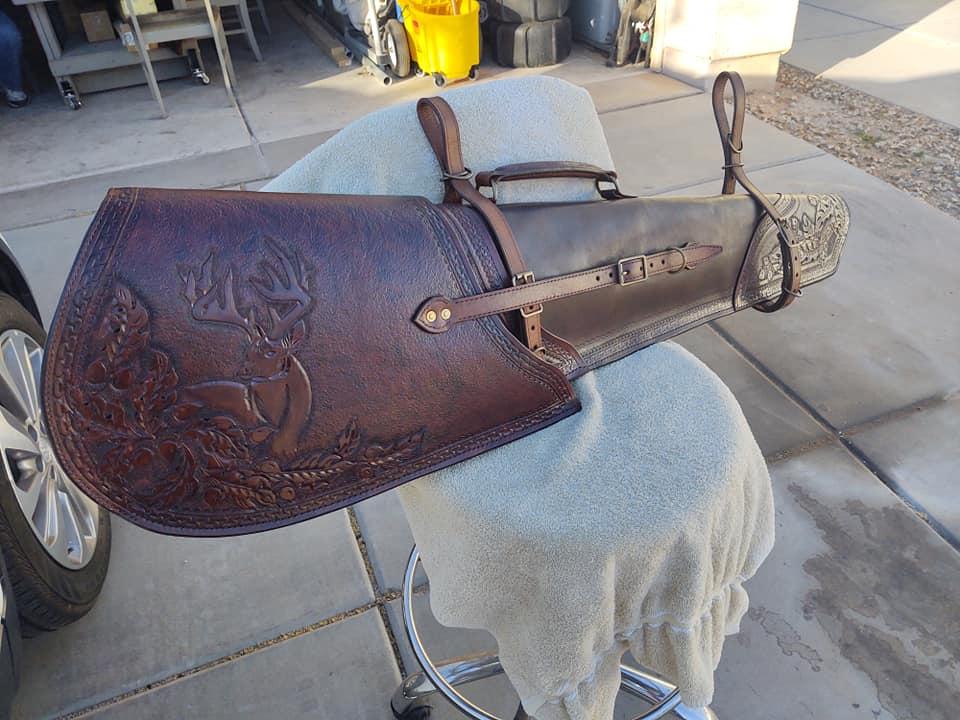
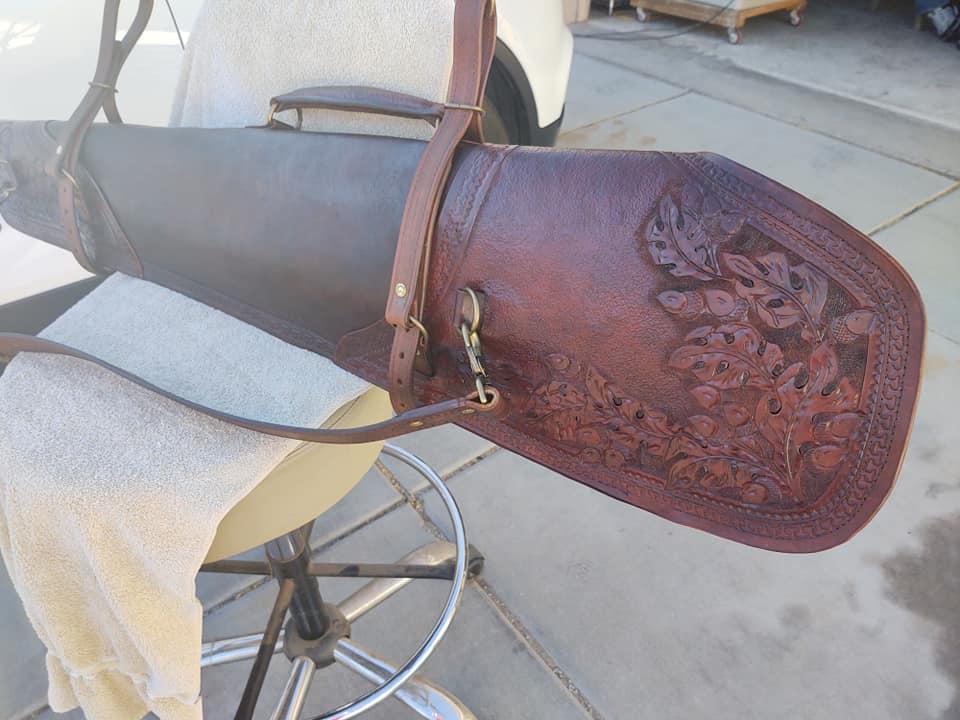
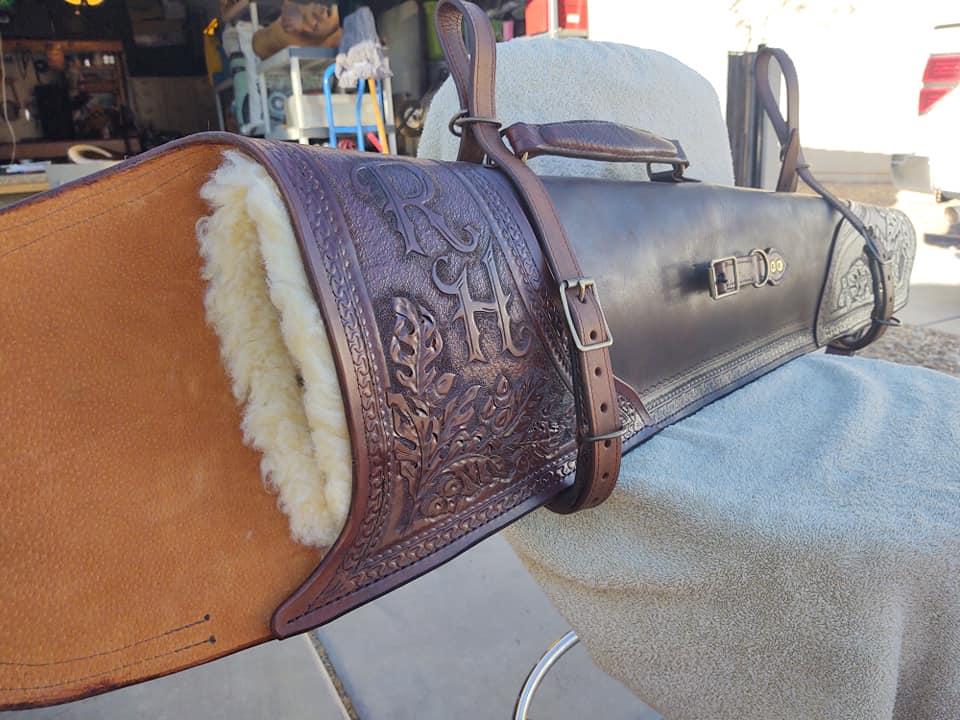
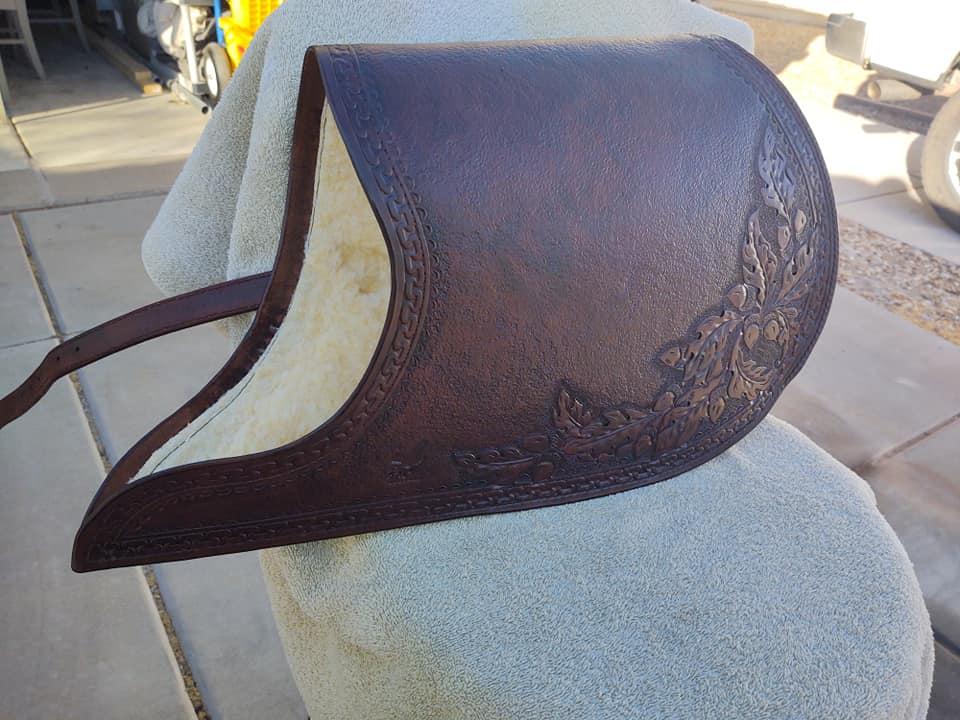
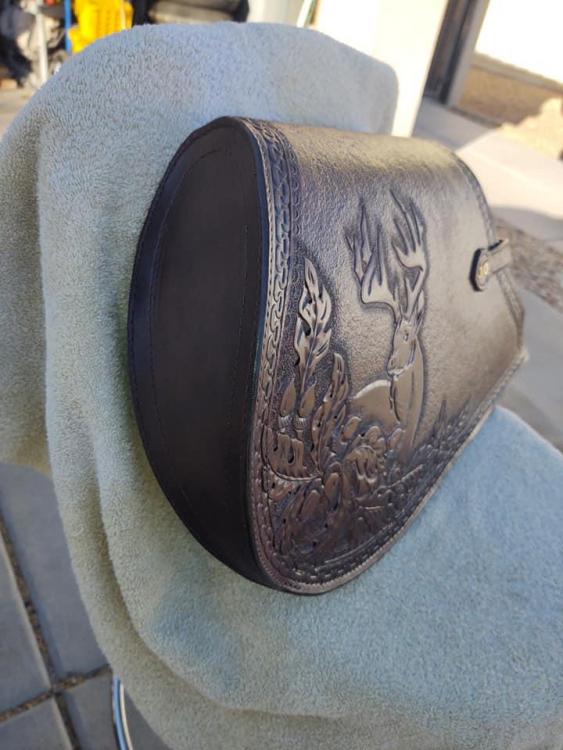
Had a customer make a request for a rifle scabbard. We met and went over a few details / notes (color, stitching color, general layout, carry handle, shoulder strap, etc). Gave me a lot of free range on the design. Few phone calls back and forth to go over some things as things progressed. Took a lot of work. Lots of head scratching to figure things out and sketching out carving ideas and themes. I'm very happy with how it turned out and more importantly the customer is ecstatic with the results. It's was a big piece and very strong. Gonna be hard to part with it. One these days I'll invest is a better means to take better pictures.
-

My first gunbelt
pmieras2000 replied to Thescandall's topic in Gun Holsters, Rifle Slings and Knife Sheathes
Very nice -

Couple Chest Rigs Done.
pmieras2000 replied to pmieras2000's topic in Gun Holsters, Rifle Slings and Knife Sheathes
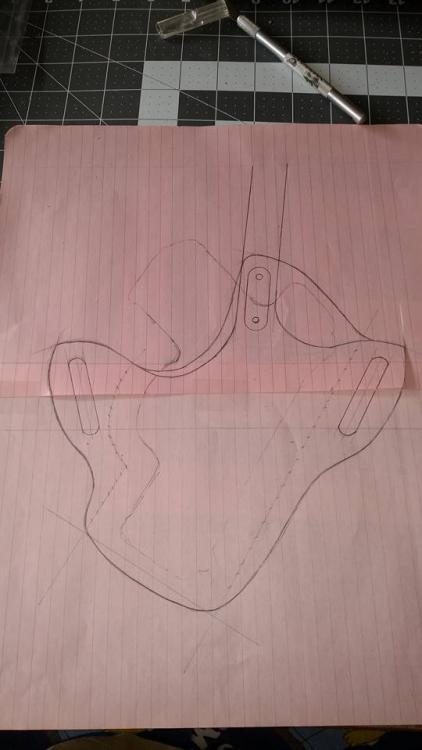
I usually spend a considerable amount of time with patterning. Checking, double checking and triple checking with paper before I commit leather. I will also use strips of leather of the same weight to help with where to place the stitch lines. There are some good tutorials on youtube (I believe "Adams Leather Works" has some good videos for making patterns and layout). As with skill level, practice, practice. I'll generally over think something before committing but will generally commit. If I mess up, it was a good learning experience and try again... These are stronger than my prototype. The prototype in a single strap of leather vs 2 layers and stitched. My prototype has held up very well so these should last a life time. They are over-engineered for sure. -
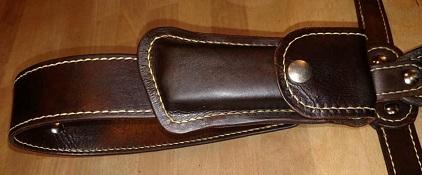
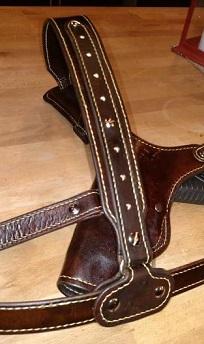
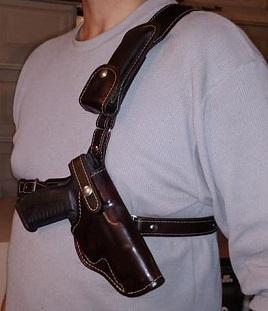
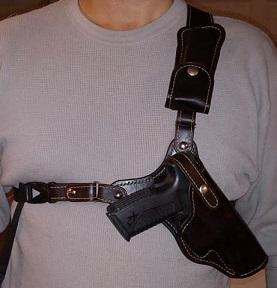
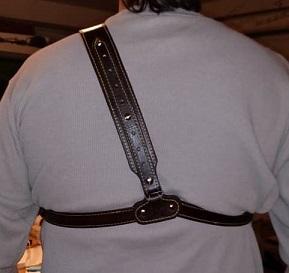
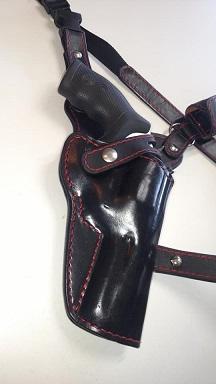
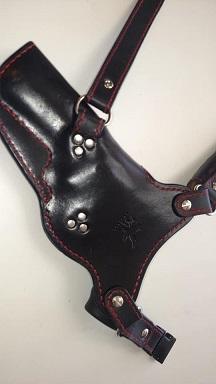
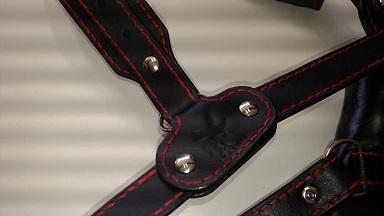
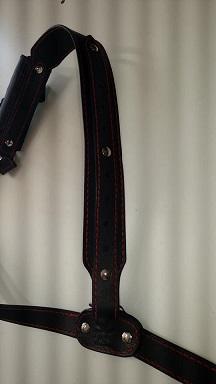
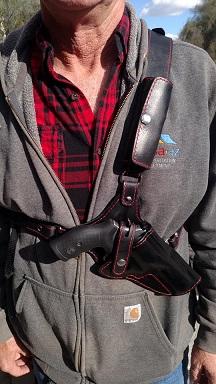
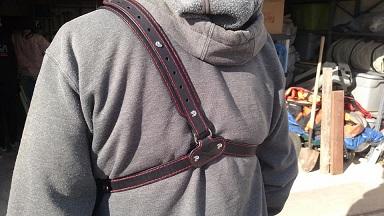
Finished 2 chest rigs: Springfield XD in 45ACP. Mag pouch is removable. Medium brown finish with natural color stitching. S&W 686. Bullet pouch is removable. Black finish with red stitching. Came up with a pretty cool way to carry extra rounds for the S&W. It basically a miniature bullet belt with a flap to keep things fully retained and clean (lined in pig skin). Both are very comfortable (even with a full pack) and don't seem to get in the way of the shoulder straps for the backpacks. Rigging is essentially the same between the two. Goes on extremely quickly once you have the top shoulder strap and left side strap adjusted to how you want it. Right side is a 1" nylon webbing with a snap clip. Pull it tight to cinch it in.
-
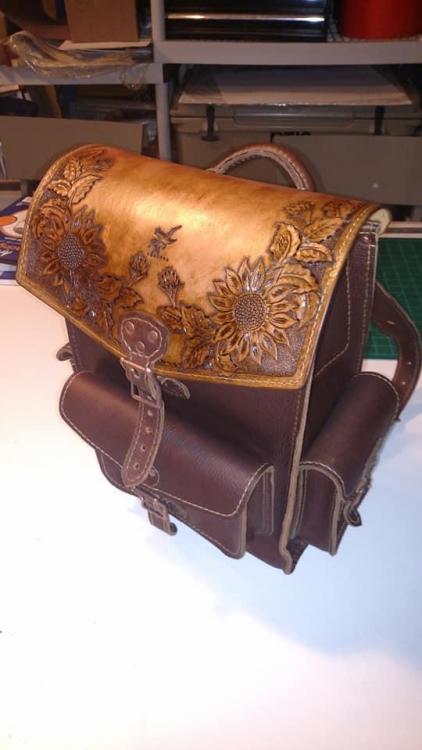
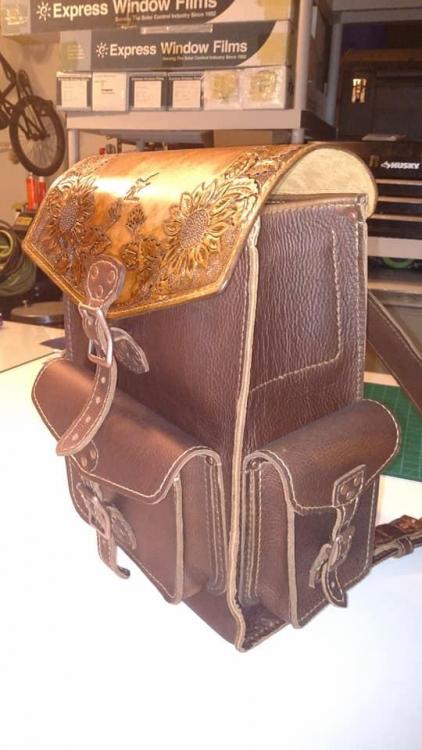
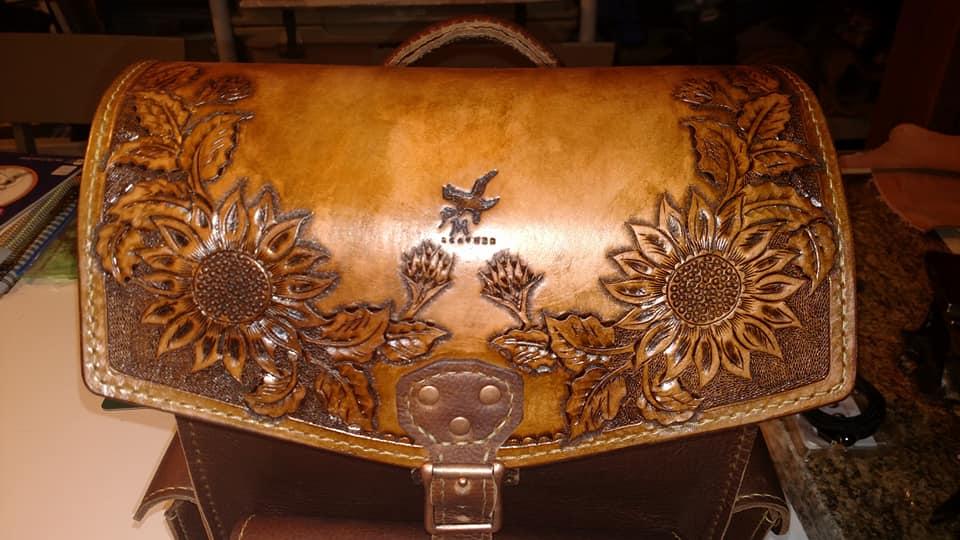
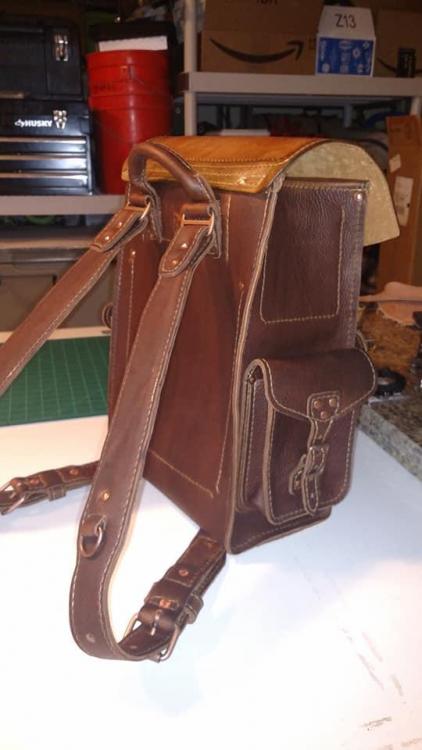
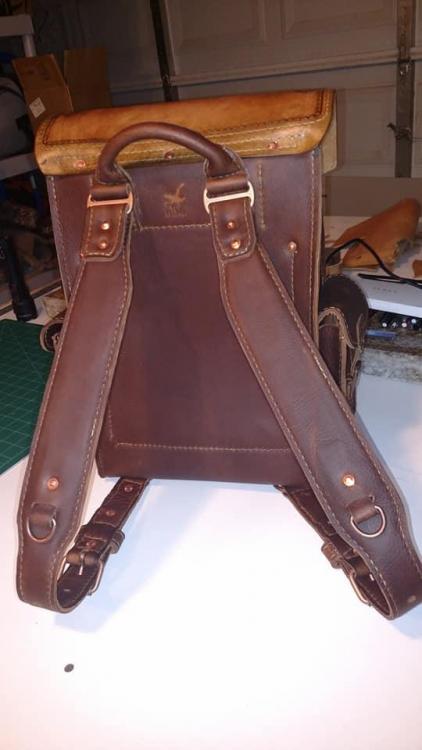
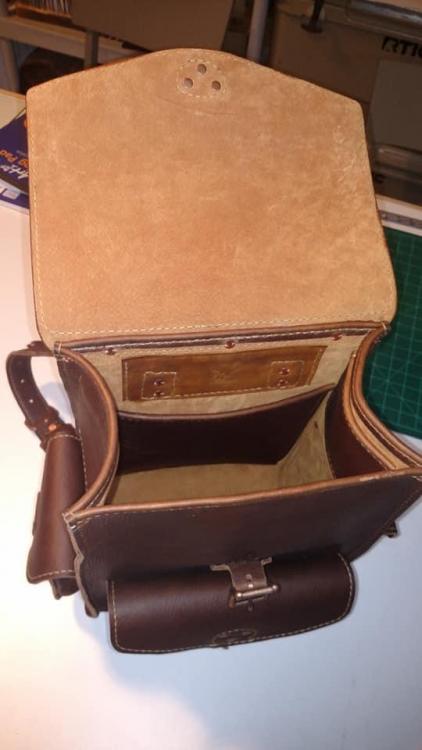
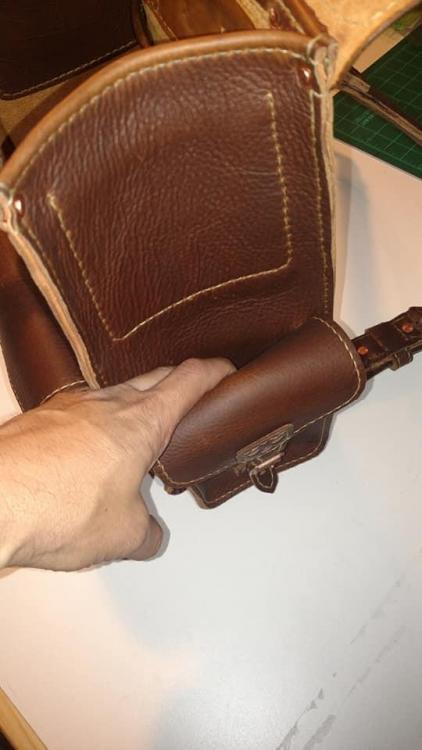
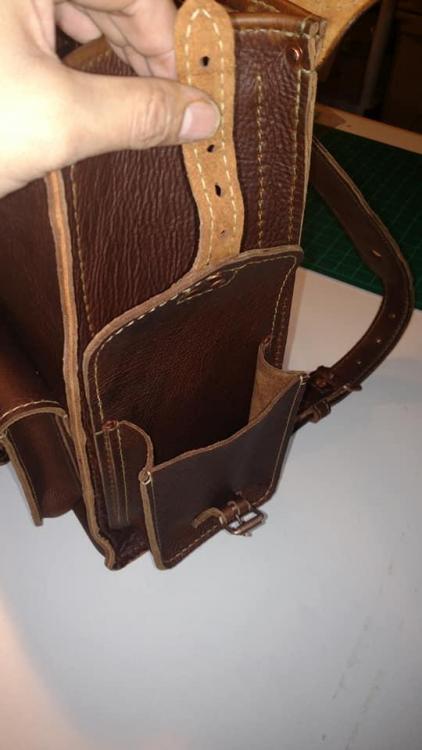
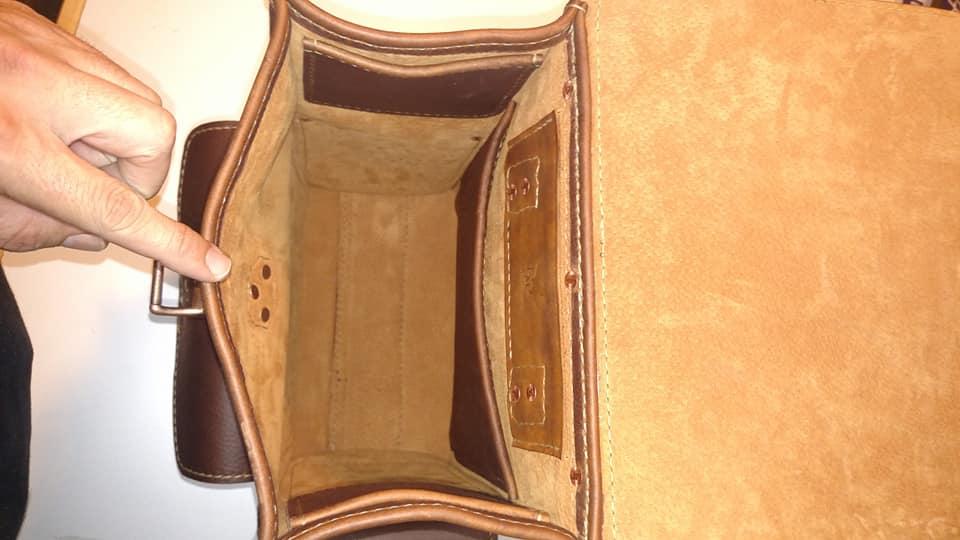
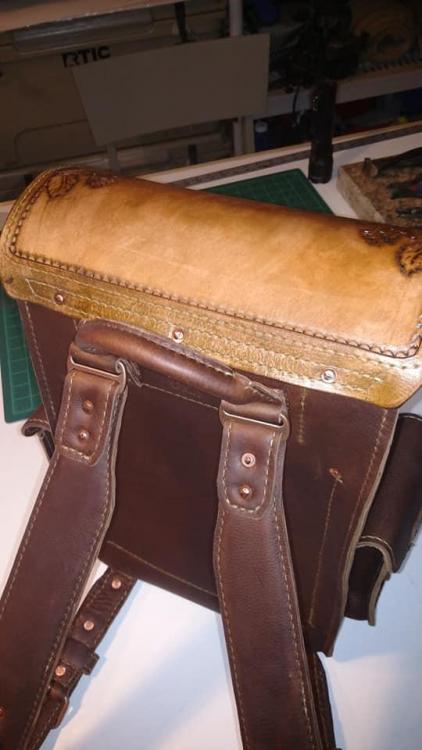
So I finally finished it. Took a long time and tons of planning, staring, visualizing, figuring out stuff on paper with designs, fiddling with the order to put things together, etc but it's done and turned out better than expected. The customer is extremely happy with the backpack. To preface the piece a little... The main body is a kodiak oil finished leather with veg tanned top. It was requested to match Doc Marten boots as well as a wallet I had made for the same customer some years ago. Top flap needed to be tooled. All-in-all, it took almost a whole half a cow, almost a whole pig for lining, 20+ copper burrs and a bunch of copper hardware. The bag is fully lined and completely hand stitched (most I have ever done on a single project). There are 3 internal pockets with one being sized to fit a Surface Pro and 3 external pockets (the external pockets have a pocket space behind them as well). Some spots the layers were extremely thick and it caused a little alignment issues (Top shoulder mounts). There is 1" nylon webbing in the shoulder straps for added strength as well as the grab handle across the top. Shoulder straps have foam padding for a little added comfort and well as a sheet in the back panel for a little added rigidity. Hope everyone likes it. Any feedback, negative or positive is welcomed as it helps be get better. Have made some adjustments to my pattern it help with the next one. I love how the copper burrs added subtle copper ques.
-

Firefighter's Long Wallet
pmieras2000 replied to MisterSmith's topic in Purses, Wallets, Belts and Miscellaneous Pocket Items
clean- 2 replies
-
- wallet
- long wallet
-
(and 1 more)
Tagged with:
-

Forward cant Western holster?
pmieras2000 replied to dikman's topic in Gun Holsters, Rifle Slings and Knife Sheathes
I don't see why it would be a problem. I build my holsters according to what the customer wants. -
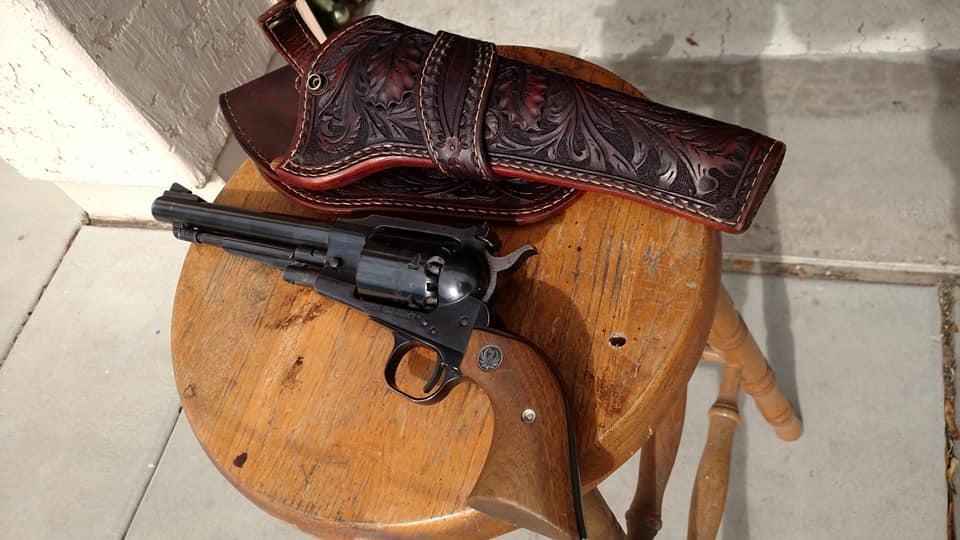
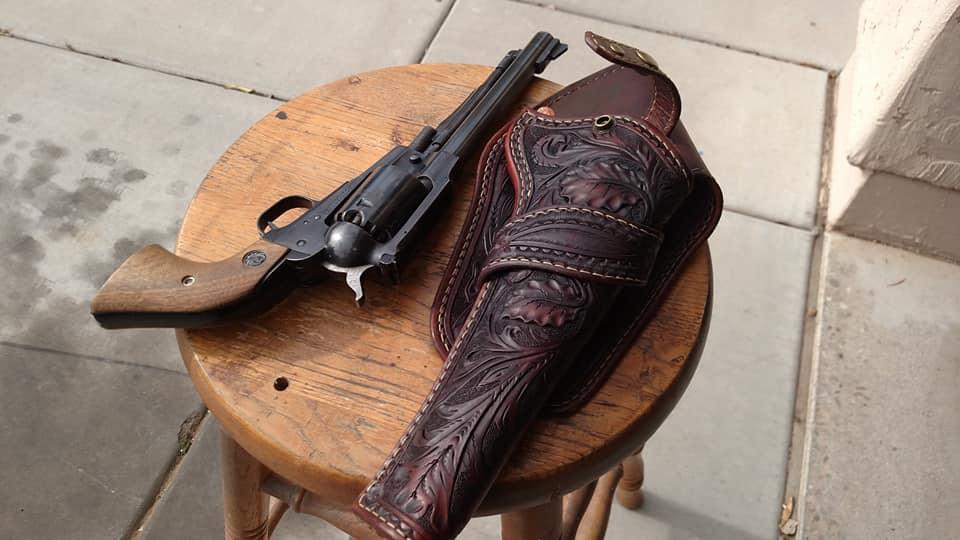
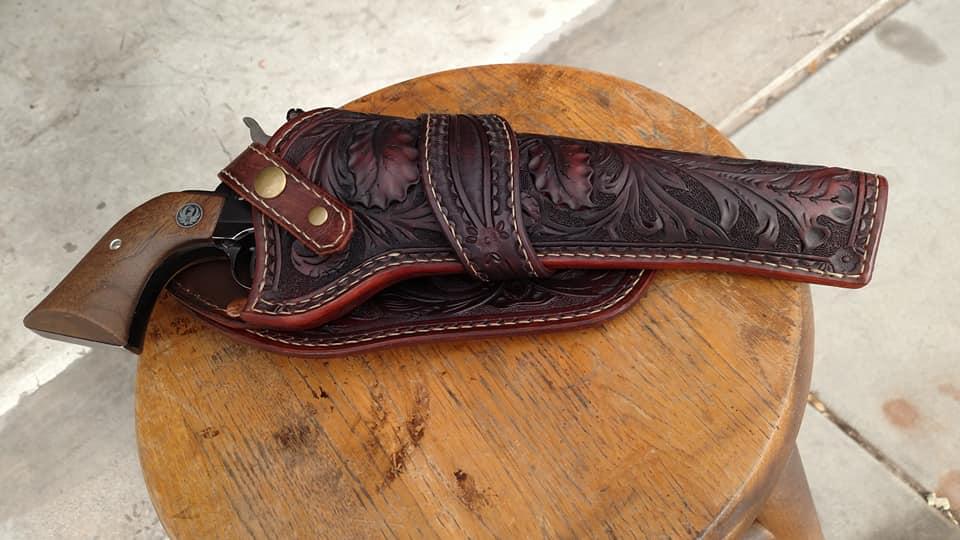
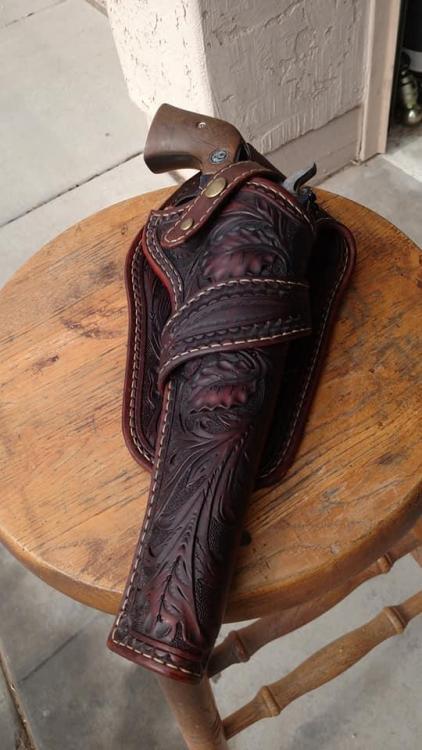
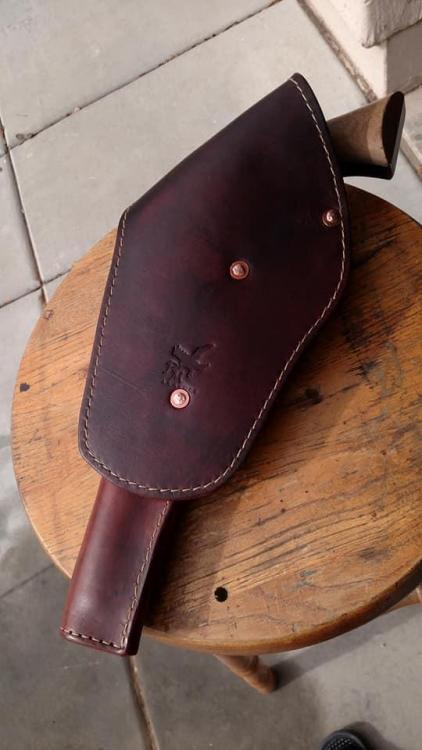
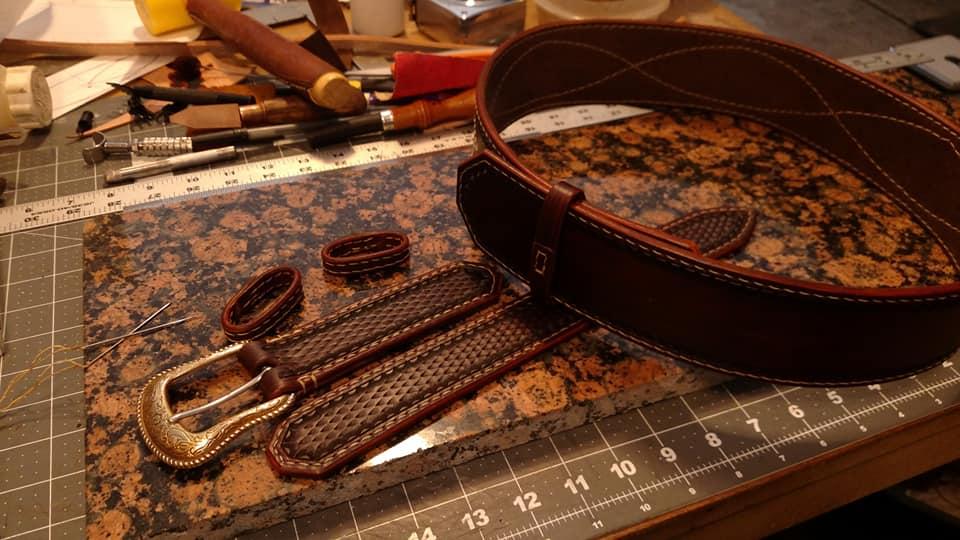
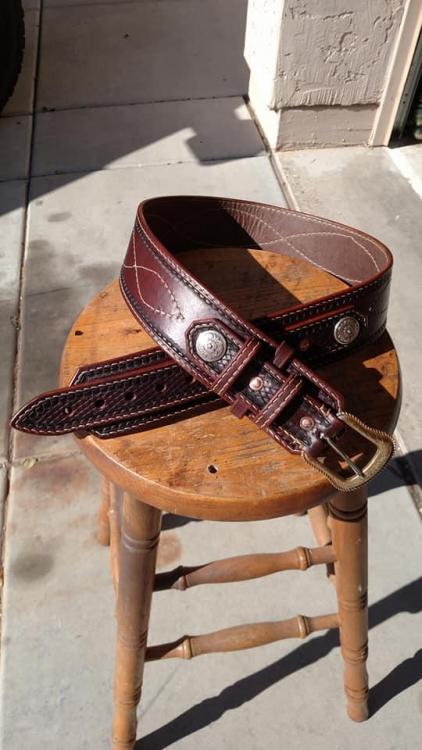
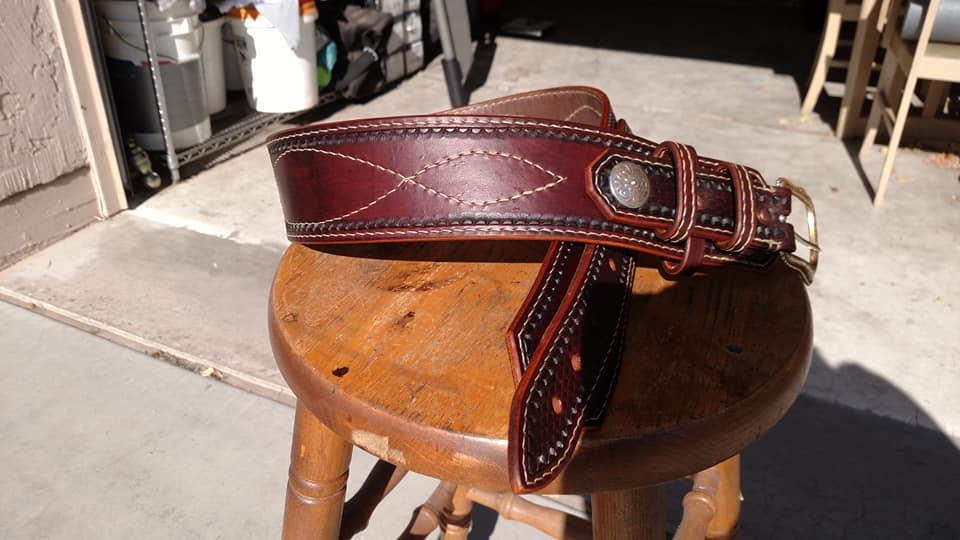
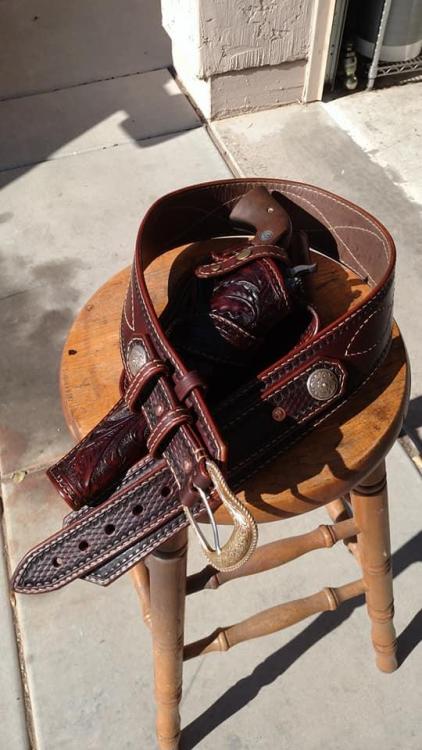
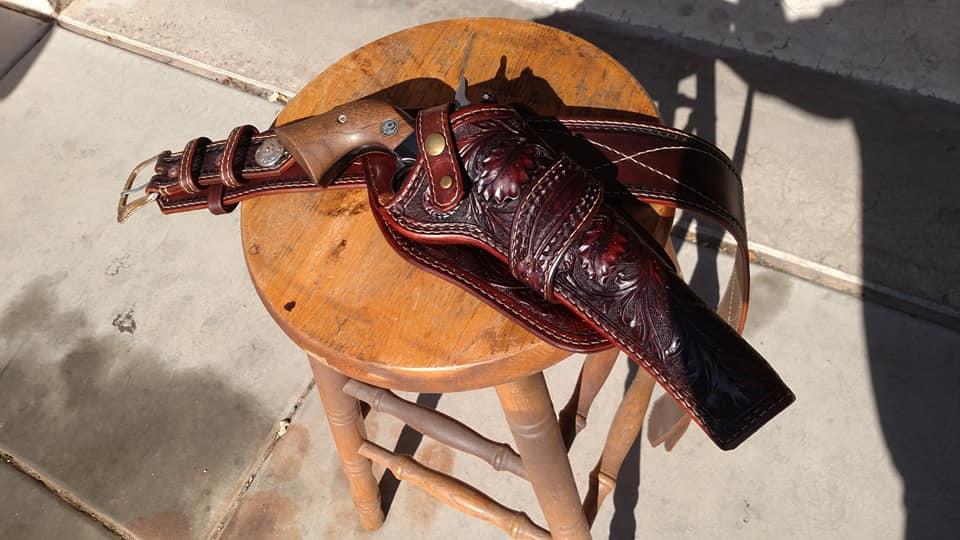
I finally got to do a western inspired belt. Customer gave me free range to do what I wanted with a few requests. Needed to be cross draw... Well I guess that was it. I thoroughly enjoyed putting this together. The holster is about a 7-9oz lined with 2-3oz. Belt is the same, just went with a chap leather for the liner. Up to this point, it was the most hand stitching I have ever done. The customer loved it. Just thought I would share a few pics. Always love seeing everyone else's pics so it was time to share some of mine.
-

My First Holster
pmieras2000 replied to pmieras2000's topic in Gun Holsters, Rifle Slings and Knife Sheathes
I don't mind at all... -

My First Holster
pmieras2000 replied to pmieras2000's topic in Gun Holsters, Rifle Slings and Knife Sheathes
Thank you all for the wonderful comments and feedback. She loves it and her co-workers and friends like it as well. May be getting some requests to make some more. -
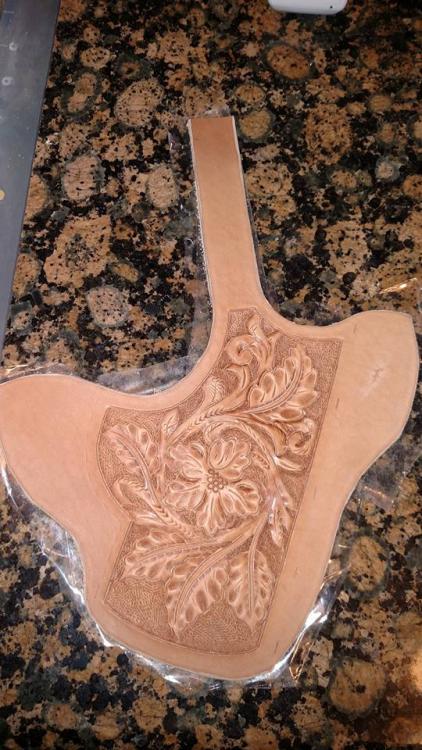
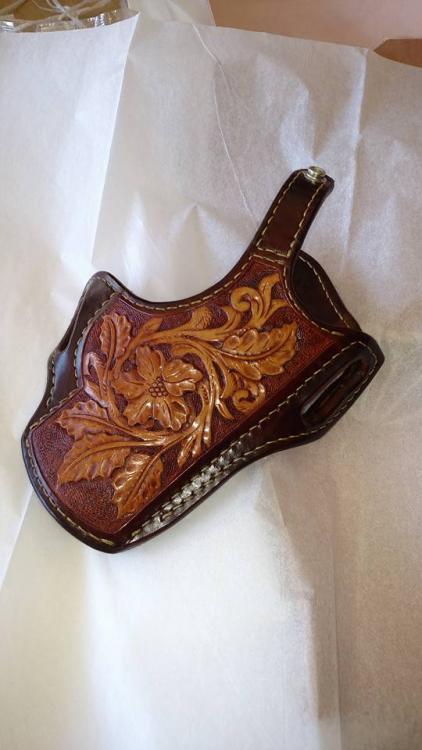
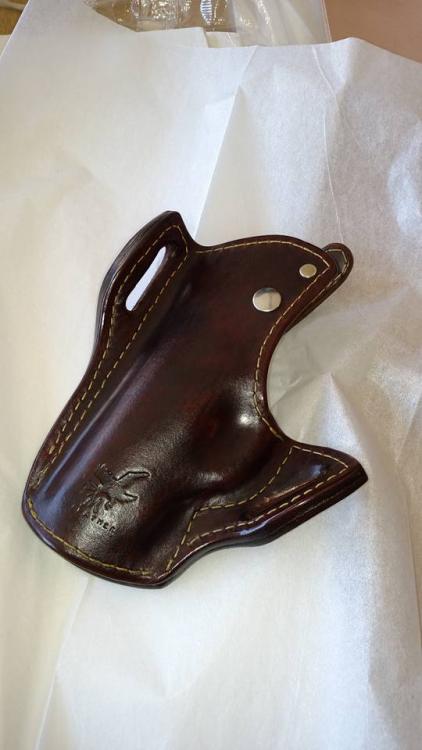
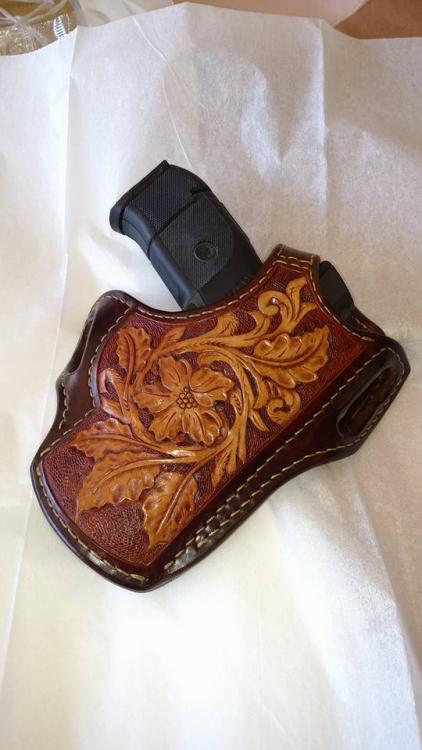
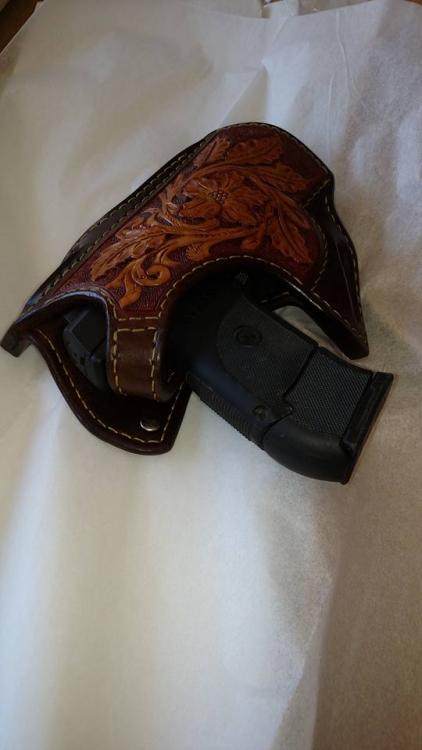
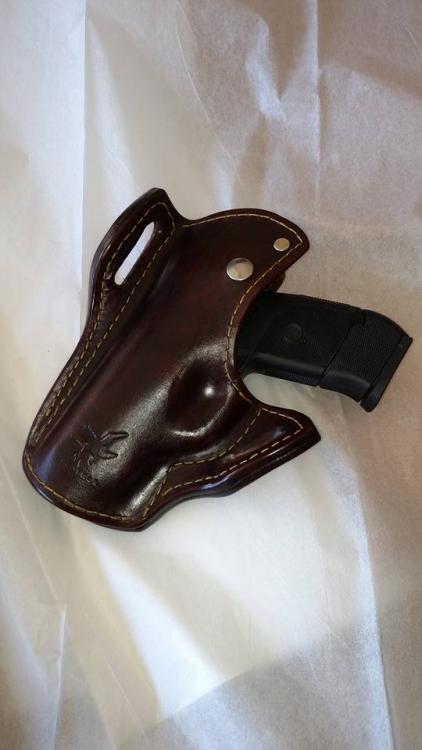
Had a little bit of 9oz veg tan left so I made a pancake style holster for my daughters 9mm. She wanted something unique. The holster is lined with 2-3oz veg tan and hand stitched... I was really worried about the wet forming so I took it easy and did most of the forming on the back to preserve the tooling. Turned out nicer than I expected. Sealed off the carving with super sheen, medium brown feibings for the main body and sheridan antique over the carving.
-

First Tote Bag
pmieras2000 replied to Instinctive's topic in Purses, Wallets, Belts and Miscellaneous Pocket Items
I like it... Simple, yet effective. I like the idea of the strap inside. -
The original sheath didn't have a welt in it so it was just a matter of time before the blade cut through the stitching. For the replacement sheath I added a welt.
-
Thanks for the kinds words of encouragement... and yes... I'm hooked
-
-
What started out as a simple project is now transforming into it's own animal... First project was a leather wrapped handle using a scrap pieces from a remnant bag. Just a simple herring bone stitch I ran across on a youtube video. I bought a deluxe kit from Tandy just cause it seemed like a good starting point to get some tools rather than piecing it together, besides, it was on sale. From there it sat for a while, until I borrowed a rifle from a neighbor for my daughter to use on a deer hunting trip this last season. Inside the case was his old hunting knife in a sheath that really needed to be retired. To show my thanks, I decided to make him a new sheath. Also made it match him for being left handed. The lead to another sheath for another friend after they saw the pictures. This one can mount horizontally in the small of the back or vertically... This lead to Christmas presents for this year as a suggestion from my wife. Since I already had a belt blank as part of the kit... Made a folding knife sheath for my son (made from scratch), a wallet for my middle daughter (tandy kit) and a belt for the oldest... Will have to upload the belt separate... Pics are too big... It's addicting though that's for sure. I'm really enjoying the whole process. and I get to use to drawing skills I haven't used in a long time...


