


chuckgaudette
-
Posts
81 -
Joined
-
Last visited
1 Follower

Recent Profile Visitors
5,259 profile views


chuckgaudette's Achievements
Member (2/4)
-
Purchased new in 2017 for $3855 from a PFAFF dealer Complete with P-40 servo motor, table and 110v transformer This machine has hardly been used. Probably not much more than 6 hours total sewing time. I need to make space in my shop so it has to go. Selling for $3000 Pick up in Los Angeles CA New design of this classic PFAFF machine for the shoe industry Top-quality for all decorative and securing seams Simple adjustment to number of backstack stitches via control panel „Stitch in stitch“ backtacking – no perforation of material Easily adjustable thread trimmer for short thread ends (up to 15/3 syn.) Overload clutch for hook protection Edge guide for an accurate and consistent seam distance to the edge A multi-function switch with pre-programmed functions is integrated in the sewing head - Reverse sewing / intermediate tacking, Backtack inversion, Needle up, without trimming Seam length programming by control panel Electromagnetic controlled functions for thread trimming and presser foot lifting The LED light, which is built into the sewing head, creates optimum illumination of the sewing area No compressed air required Hand wheel within easy reach of the operator https://www.pfaff-industrial.com/en/portfolio/sewing-machines/post-bed/pfaff-591


-
Advice on buying a post head sewing machine
chuckgaudette replied to kjack88's topic in Leather Sewing Machines
Great post Uwe. Thanks. I plan on putting my PFAFF 591 post machine up for sale. Its about 2 years old and doesn't have more than 10 hours on it so its practically new. It's a great machine but I don't just don't have a need for it anymore. Chuck -
Thanks Brian. Your craftsmanship in making jigs and parts is as impressive as your leatherwork
-
twenty dollars is a good price to experiment with this. Thanks Brian.
-
Does this look like a project for a 3d printer? If it's only used once in a while it might not require steel. I could make a couple of variations
-
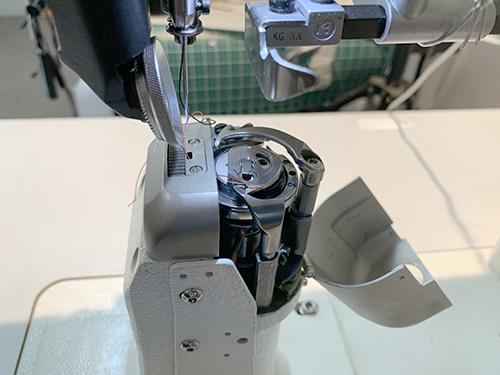
this looks like a good solution. I emailed Uwe to see if he knows where I can get this raised needle plate. Thanks so much Brian
-
Brian, this is an interesting idea. I know this is a difficult design but I'm always curious as to how things are done. I've never seen a raised needle plate like this. I wonder if I can get one for my Pfaff 335. Thanks for your expert suggestion. Chuck
-
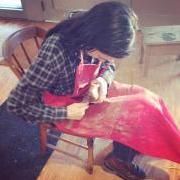
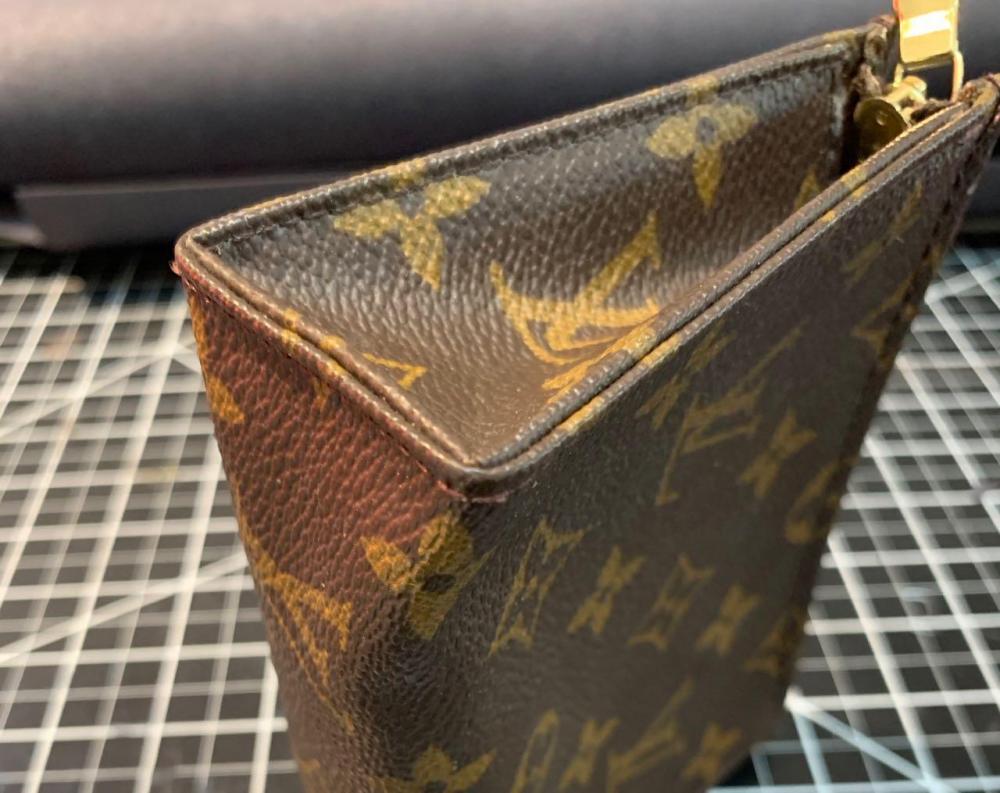
Hello All, I’ve been trying to figure out the best way to machine sew around a right angle like the example here. I have a cylinder arm machine and I’m using fairly thin soft leather. I’ve tried sewing from the face and from the gusset side but the results haven’t been very good. The leather bunches up going around that angle. Is there a technique I’m not aware of? Do you sew this in 3 sections and then hand sew across the angle? Looking at the example under a magnifying glass it does appear the stitches across the angle are slightly longer than the others. Does anyone have a suggestion for me? Thanks
-
Bell Skiver Feed Roller Replacement
chuckgaudette replied to chuckgaudette's topic in Leather Machinery
I figured it out. You have to remove the roller bracket arm. You'd think they'd tell you in the manual. -
Bell Skiver Feed Roller Replacement
chuckgaudette replied to chuckgaudette's topic in Leather Machinery
I have the new roller and the shaft. That's as far as I've gone. I can position the roller in the bracket at the front of the machine but I can't get the shaft back in between the roller and the drive shaft bracket in back. I don't know if I need to remove some additional parts to do that and, if so exactly which parts.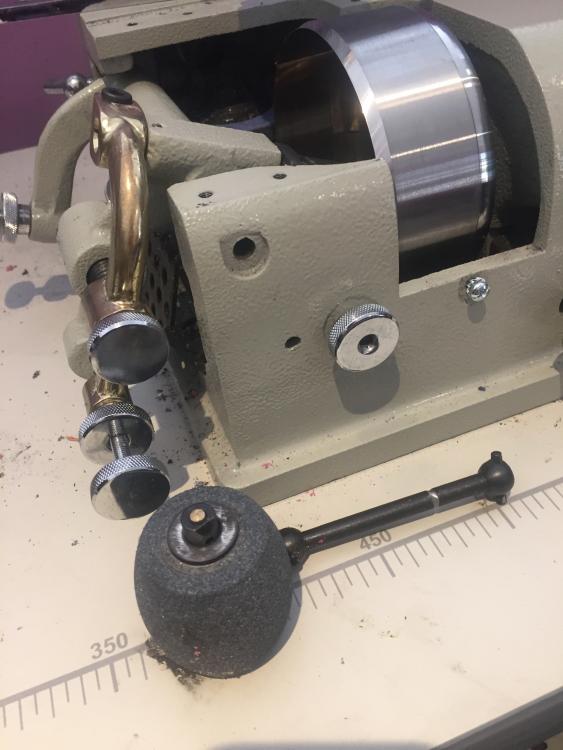
-
The feed roller on my Consew Bell Skiver literally broke. For some reason, the leather got bunched up between the roller and the knife and the roller shattered. I have a replacement roller but I need some help with the steps involved in replacing it. With the roller in place on the shaft and in the bracket, I can’t seem to get the shaft positioned between it and the drive shaft joint. Are there some parts that need to be removed to facilitate replacing the roller? The manual isn’t much help in this. Thanks

-
These people are in Los Angeles and have a Camoga splitter. they charge $45 an hour. http://losangelesleathercraft.com
-
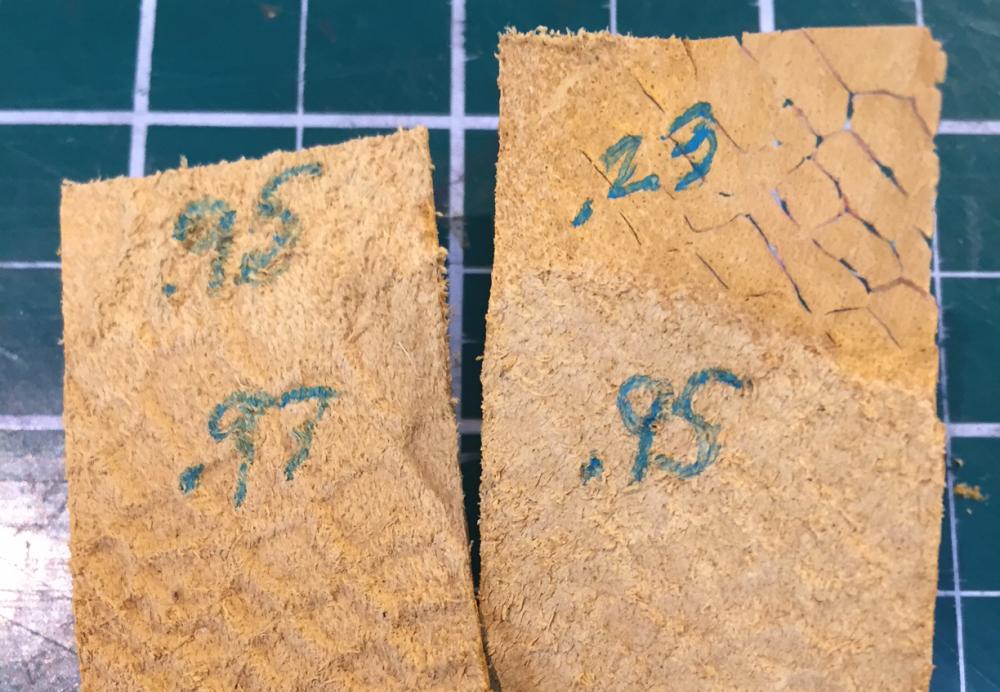
Here is an example. This is both ends of an 8 " strip skived with the exact same settings. It is a embossed leather and closer to the belly area. The blade was just sharpened. The one on the left had an original thickness of about .97mm and it skived down to .95mm. On the right (the opposite end) it was originally .95mm and it skived down to .23 mm.
-
Matt, I'm skiving fairly thin soft leather used mostly for handbags. Its typically embossed and dyed and maybe 1.5 - 2 mm and I like to take it down to around 1 mm. I do have a digital thickness gauge I can use. Gigi, Yes I am skiving both the left and right side of one piece so when I rotate it I get a different result through the bell skiver. Once I get it adjusted to where I want it on one side, I rotate the piece and get a different result on the other side.
-
Not sure if this question should go in the machinery section or technique. If I cut a 1 foot square of 2mm leather and skive a half inch along one side it will come out as I intended. Then if I turn the leather to skive the opposite side with the exact same settings the second side may barely skive at all. does this have something to do with the grain of the leather? If so, how do I correct this without readjusting the skiving depth for each side? Thanks


