-
Posts
85 -
Joined
-
Last visited
Content Type
Profiles
Forums
Events
Blogs
Gallery
Store
Everything posted by Carnivore
-

Key Fob
Carnivore replied to neilyeag's topic in Purses, Wallets, Belts and Miscellaneous Pocket Items
That is one nice looking key fob. I like how the thread color compliments the red and black. -

Deer Skull Wallet
Carnivore replied to Carnivore's topic in Purses, Wallets, Belts and Miscellaneous Pocket Items
Thanks, I did not trim after stitching but I made sure the edges were even and square before I marked out the stitches and tried to make sure my stitching chisels did not wander. Due to the total thickness of approx 1/4" I punched the outer shell first, then glued together and and punched the inner layers using the outer shell as a guide. -
Here is a deer skull wallet I recently finished. It matched the change purse I made earlier. Outer shell is 4-5oz veg-tan and the inner parts are 2-3 oz veg-tan. Dye is Tandy Eco-Flo medium brown applied with an air brush. Hand stitched with Tandy waxed nylon thread.
-
Small coin purse with carved deer skull. 3-4oz veg-tan. Dye is Tandy Eco-Flo medium brown applied with an air brush.
-

First Purse
Carnivore replied to Carnivore's topic in Purses, Wallets, Belts and Miscellaneous Pocket Items
Thanks for pointing that out! I had not noticed or thought about it. I will be more aware when I do the next one. This is why I like to show other leather crafters my efforts, often they will notice details I overlooked. It's all part of the learning process. -

First Purse
Carnivore replied to Carnivore's topic in Purses, Wallets, Belts and Miscellaneous Pocket Items
Hand stitched, with the exception of the strap. -
I just finished my first purse, which was a gift for my wife. The leather is veg - tan 4-5 oz, with embossed crocodile pattern and the color is Tandy - Eco-Flo stain ( Bordeaux). The inside has eight card slots and a zippered compartment. Dimensions are approx. 9.5" x 5.5" x 2.5" deep.
-

First time in a long time.
Carnivore replied to TomW2's topic in Gun Holsters, Rifle Slings and Knife Sheathes
Very nice! What is the collar around the handle for? I thought it might protect the handle if the head missed the target but the blade is so large you probably couldn't miss. -

1st knife sheath
Carnivore replied to stormdevil's topic in Gun Holsters, Rifle Slings and Knife Sheathes
Interesting design, are the side separate with a spline on both sides? It looks like that might be easier than rolling it over from one piece.. -

Gusset Virginity
Carnivore replied to Carnivore's topic in Purses, Wallets, Belts and Miscellaneous Pocket Items
It is hand stitched. -
After a year or so of making key fobs, wallets, bookmarks, coin purses etc. I decided to take the plunge and loose my " gusset virginity" as a first step towards making a hand bag. So my first gusseted project was a belt pouch. It turned out no too bad ( in my opinion) and sewing in the gusset was not as hard as I thought it would be. The leather I used was Tandy 5 oz. veg tan and the color is Tandy Eco-Flo Water stain Tan.
-

Wallet
Carnivore replied to Carnivore's topic in Purses, Wallets, Belts and Miscellaneous Pocket Items
I didn't use an airbrush, the dye was applied with a cloth pad. One thing I like about the embossed veg tan leathers is that you don't get the visible streaking and blotching you sometimes get with the plain veg tans. -

Wallet
Carnivore replied to Carnivore's topic in Purses, Wallets, Belts and Miscellaneous Pocket Items
Thanks battlemunky, my stitching is a work in progress. -
This is a bi-fold wallet I just finished. It is 5-6oz veg tan crocodile print. The color is Tandy Eco-Flo Stain in medium brown.
-

IPhone Holster
Carnivore replied to Carnivore's topic in Purses, Wallets, Belts and Miscellaneous Pocket Items
I'll take that as a compliment Ferg, but as you can see in the close up my carving is far less than perfect. Yes, it fits fairly snug. My phone is in an Otter Box and I wrapped it in Saran wrap and wet molded the leather for shape and fit. -
Here is a holster I made for my Iphone. I used 5 oz Veg Tan. The carving is from a West Coast Native sketch of a wolf.
-
Thanks for the tips fredK! I will try them out.
-
I recently used Eco-flo stain ( black) on some 3 oz. Veg-Tan leather. After the stain was absorbed and dry there was a bluish tinged residue visible under some light conditions. The residue had a swirl pattern from the applicator I used. The question I have is , should I have cleaned the leather before staining and what should be used?
-
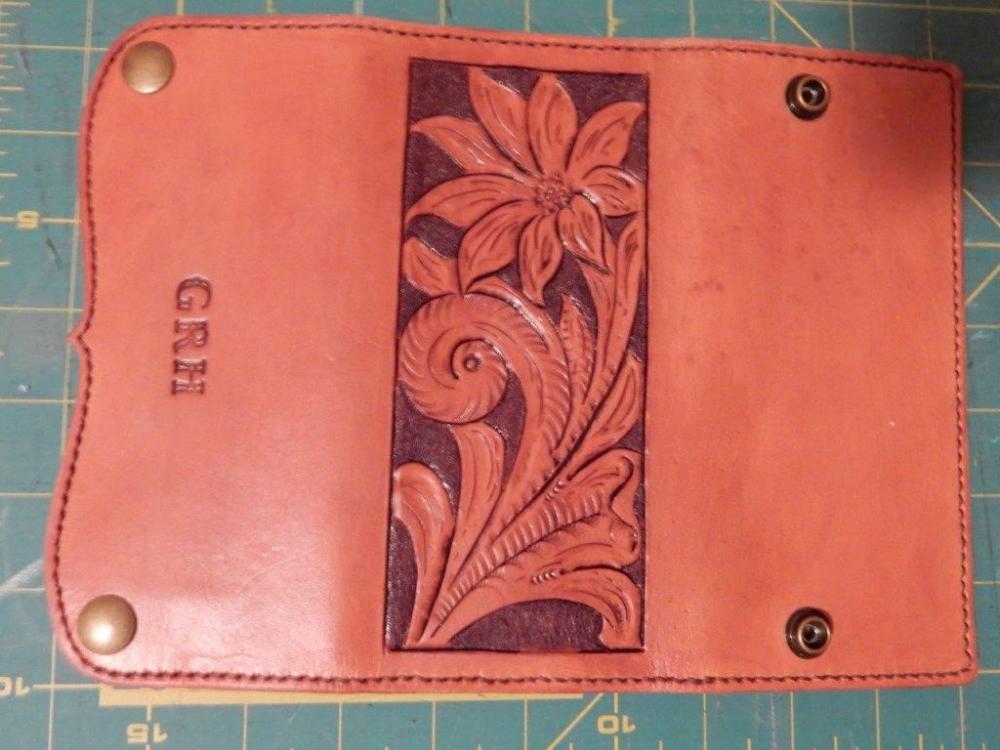
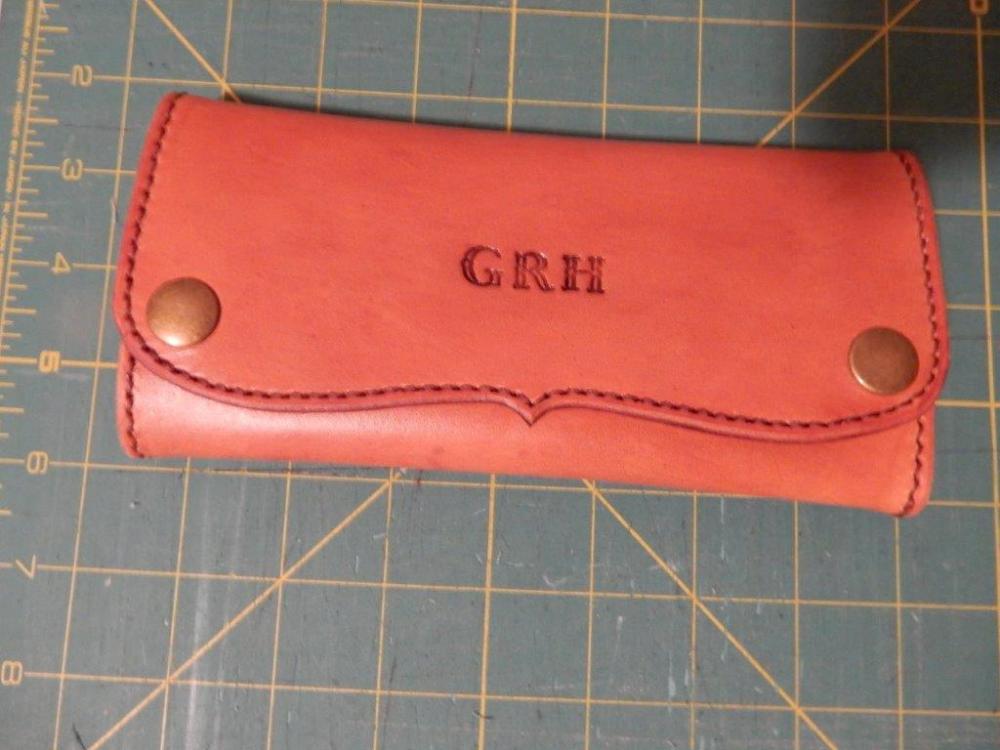
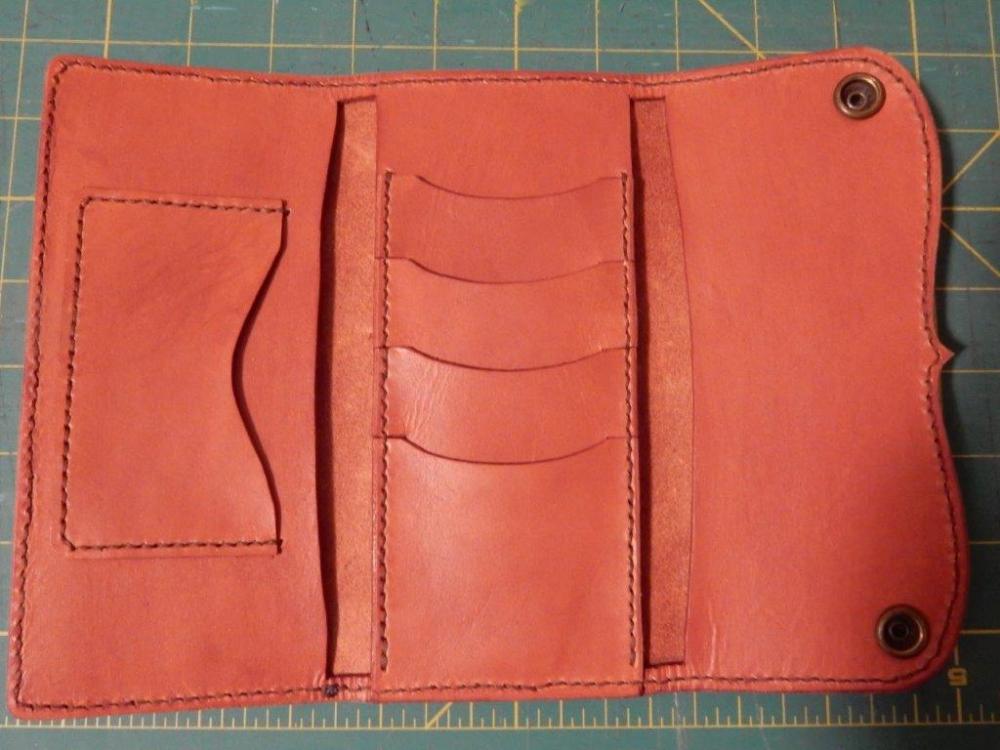
This is the second wallet I have made. It is my first project that incorporated carving. I made it for my wife.
-
Good point guys! I never thought the possibility of scratching leather if it had a finished side down on the sandpaper. So far I have only used veg-tan leather with the flesh side down on the sandpaper. I will have to try another method if I am ever working on something where I will be tooling with a good ( finished side down).
-
I may have re-invented the wheel but I thought I would throw it out there. As a newbe leather worker I was practicing my carving skills on small pieces of leather and getting very frustrated on how the the piece kept moving on the stone slab while I was beveling etc. I taped a piece of 150 grit sandpaper to the slab and walla!! no more moving. The tooling seemed to take to the leather as before. Has anyone else tried this??


