jbradford
-
Posts
23 -
Joined
-
Last visited
Content Type
Profiles
Forums
Events
Blogs
Gallery
Everything posted by jbradford
-
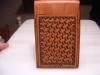
I've been making a few of these for family and friends. Any suggestions or improvements appreciated. Thanks!


-
Nice clean look. Good idea using the roller buckle also!
-
Very helpful information and I really appreciate your sincere comments. Your description of what started your sewing machine quest sounds very familiar to where I am at this moment. It is a difficult decision for some reason.
-
finished flip flop sandals
jbradford replied to JustWakinUp's topic in Shoes, Boots, Sandals and Moccassins
I know this is an older post, but it's new to me. I REALLY like the flip flops! I'm going to have to try to make a pair now. I never would of thought of it. Great idea! How are they holding up? -
I like 'em! Nice, sturdy and well designed.
-
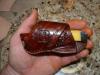
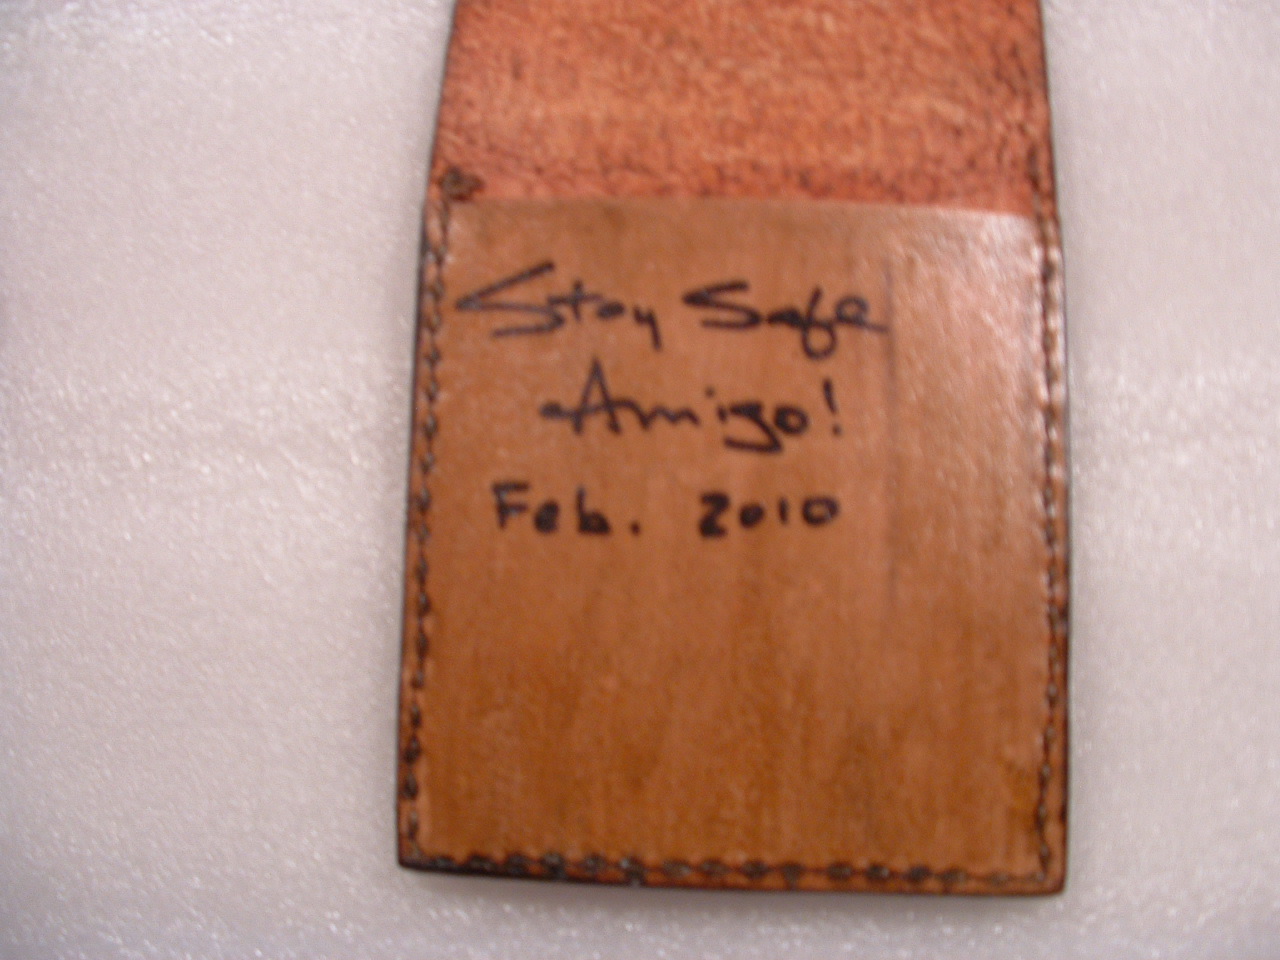
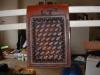
Well, I'm obviously still fairly new at this. This is about the 5th memo pad I've made. It is sized to fit in shirt front pockets. Sometimes I carry mine in the back pocket of my jeans. PLEASE give me any tips/tricks to help me make these better. Thank you! Also, you won't hurt my feelings. I take constructive criticism very well and I'm soliciting it.... Thanks again! I hand sewed the leather by using a 3 prong chisel. I've read advice on finishing edges by Bob Park (excellent article) and tried to follow it. I used a light coat of conditioner, antiqued it, applied black edge coat, and followed with two coats of Acrylic Resolene. The edge coat must not have dried long enough because the acrylic resolene picked some of it up and streaked the acrylic finish some. Kinda made it a little "punchy" looking though and it's ok for this piece. I would not want it to happen again though.
-
Thank you for your replies! If I put on (or have one put on) a servo motor w/ built in speed reducer, do you guys think this would be a machine that is capable of working well? I do not do production type work, but would like to be able to sew medium weight leather on the things I make. So far, it has mostly been notebook covers and a few knife sheaths. I know it depends on the thickness of the leather I'm sewing. Mostly so far has been around 6-8 oz w/ 3-4 oz backing. I did just make some suspenders that is 8-9 oz with a 5-6 oz backing. It's pretty thick, but I would probably use a little lighter weight leather on the next ones. There is adequate room under the "foot" for the leather to fit. I'm not sure if I can use a thick enough needle and thread to work well. The needles that came with this machine are DB x 95, 16x95, #22 (140). I'm not really sure what that all means (sorry!), or what size thread they accomodate. It has been suggested that if I could get it set up to sew up to 209 (?) thread, I would be happy to have that capability. Ideally, I would like to be able to sew up some custom breast collars for my saddles, but I understand that probably requires a true harness type stitcher. I guess my main concern is whether or not it is worth it to invest a couple of hundred dollars in this Consew 290. Thank you very much for your help!
-
Howdy. I ran across an older Consew 290 industrial machine that currently has a 3 phase motor. I have not sewn with a machine before. The machine appears to be in very good shape. If I spend $100 for the machine/table, would it be cost effective to put a 110 motor on it, with a speed reducer? I have been informed the motor, install, set up and reducer would be in the $250 neighborhood. Soooo, I would have around $350 in the rig. Any advice will be appreciated. Also, would the mod's make this machine suitable for sewing up to a 8-9 oz thickness? Again, I'm new to sewing, so use small words and type very slowly! Thanks, Jim
-
I'm almost speachless at the quality of your work. Absolutely amazing! Your work is an inspiration to me! I mean that very sincerely.
-
Very nice work. I've seen a lot of 'em. Your's is outstanding.
-
Absolutely beautiful work! Your quality shows.
-
Very nice!
-
I like it a lot! I think the look is very nice. The distressed finish really makes it. Great job!
-
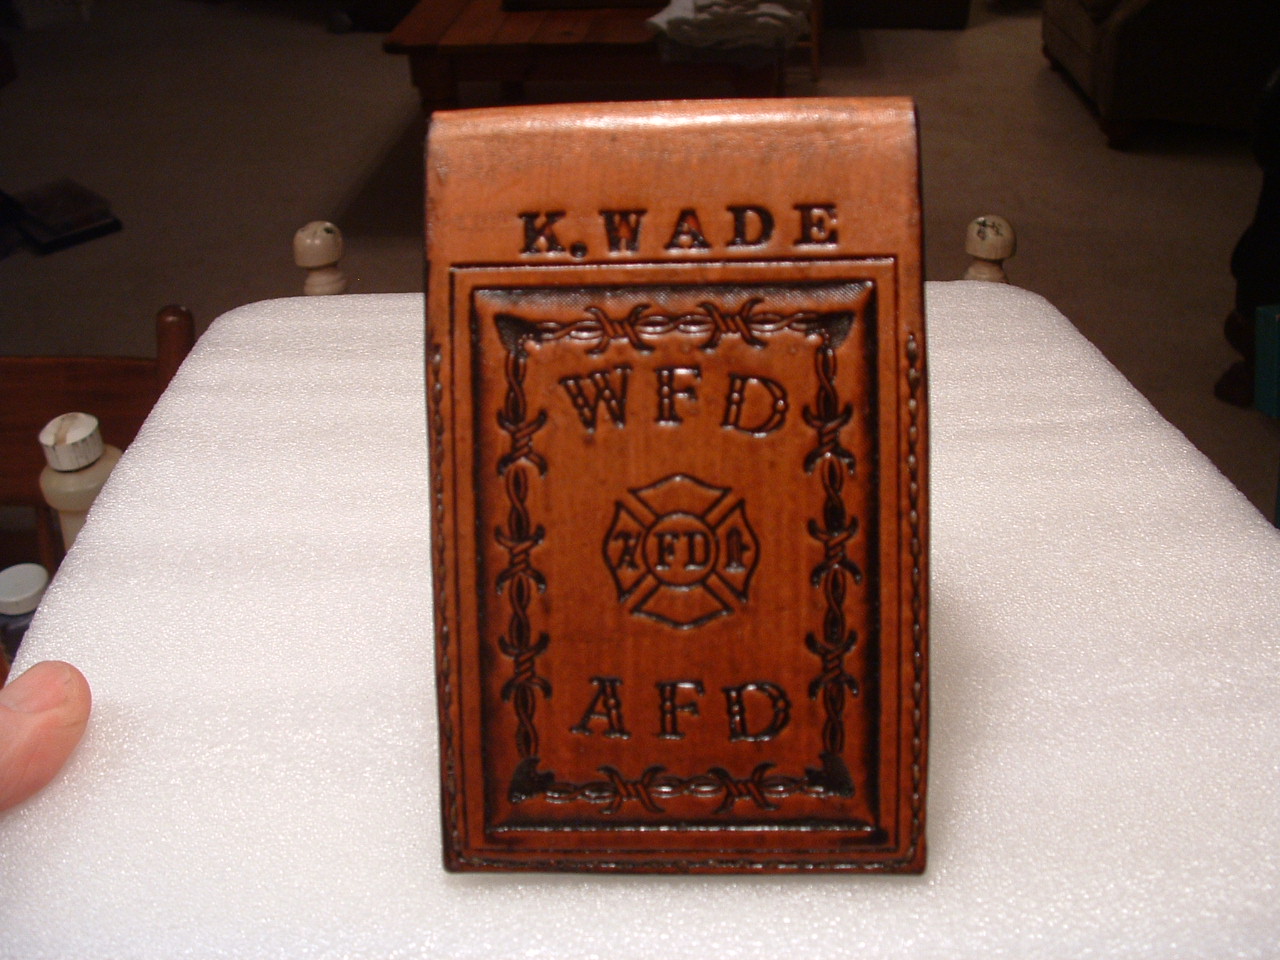
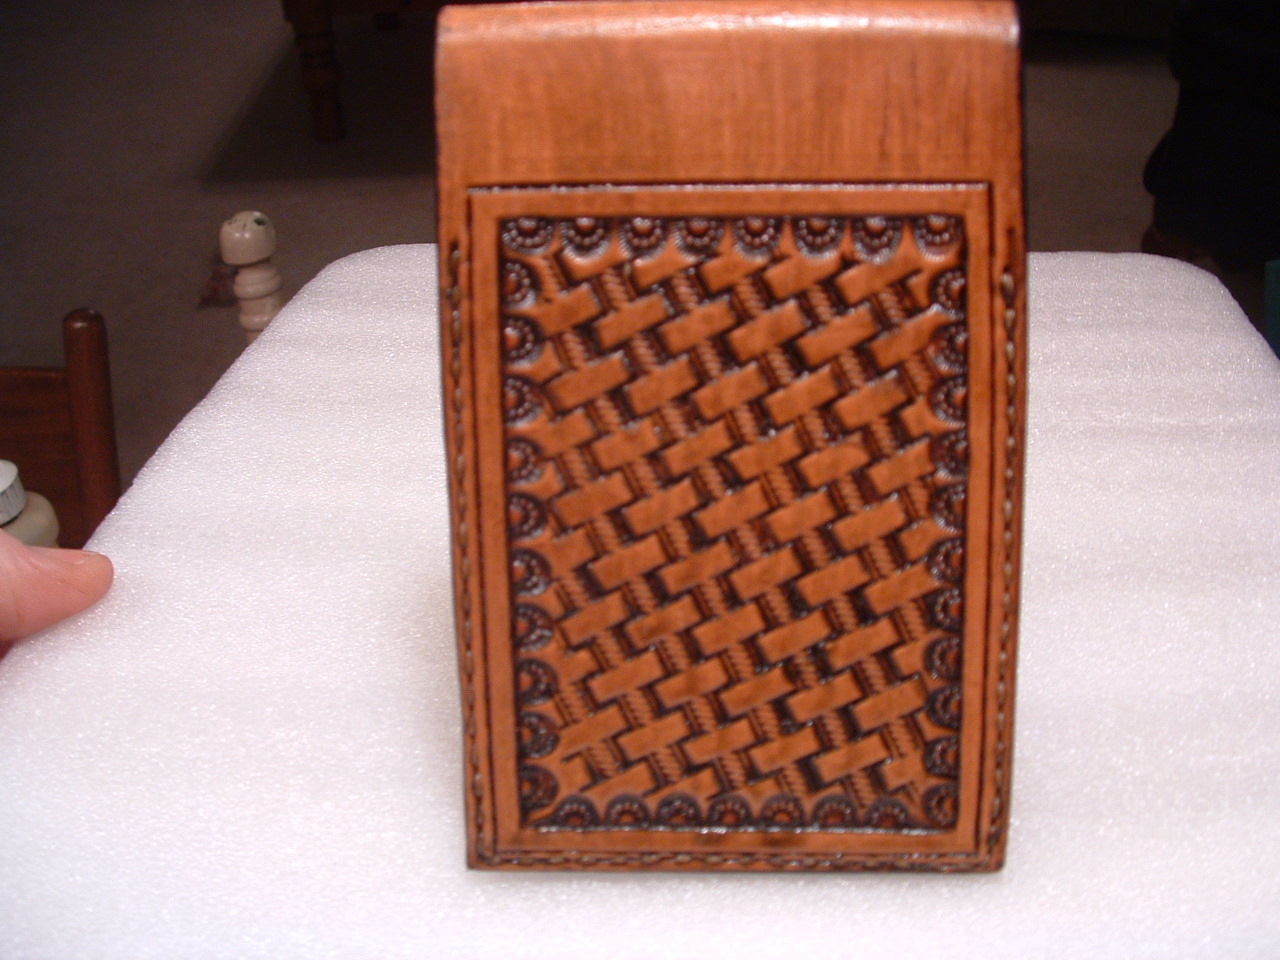
I'm a beginner and learning. Very serious about making it right. This is the 3rd leather tally book I've made, but the first one I've tried to put any type of "finish" on. Some things I feel like I've learned and would appreciate any advice on you care to offer. It would be very beneficial to me. It's difficult to lay out a pattern and have it come out exact. Since this pattern involves basically working inside a box, the barbed wire hasn't come out exact yet. I've about decided I'm laying it out backwards. I've been cutting in the double lines, and then tooling everything inside "the box". You can see the barb wire did not lay out perfectly. Maybe I need to work from the center and then out? Then the double cut line would just wind up where ever it needs to be? Not sure if I'm describing this well. I oiled with neatsfoot, then a coat of conditioner, then two coats of Bee Natural Leathercare "RTC" Sheridan Resist & Finish, then some paste antique. Letting the antique dry and then plan on a couple of coats of Fiebing's Acrylic Resolene to protect it all. Is this about right? I burnished the edges using some beeswax and then put on some edge dye. This doesn't seem to be correct cuz the edge coat is beading up due to the wax. What is correct? Also, the stitching absolutely kicks by b***. I've been using a 3 prong punch. I'm using needles that have sharpened edges along with wax thread. It literally takes me about an hour and a half to sew up both sides. Appreciate your help! Jim
-
Some busy work
jbradford replied to Timd's topic in Purses, Wallets, Belts and Miscellaneous Pocket Items
Very, very nice! Everything about it looks professional. How long to do the braid? -
Thanks so much for taking the time to do the write up, and showing me the link. I hope you more seasoned guys/gals remember what it's like being new to the craft. You are very much appreciated! jim Both of the threads are pinned in Figure Carving. Johanna
-
Saw this thread posted today in "critique" section. Thanks to everyone for helping us learn! GREAT quality photo's that show step by step progression. Thought it merited a "bump" to the how-to section. I find myself here quite a bit..... Tips, tricks and "best practices" get my attention as a newbie. http://leatherworker.net/forum/index.php?s...p;hl=oak+leaves Thanks, jim
-
A Ride on the Wild side!!
jbradford replied to RocknBLeather's topic in Saddle and Tack Accessory Items
Very nice! I can tell you are a great detail person.... Very cool making one of kind items. What kind of finish do you put on it when done? -
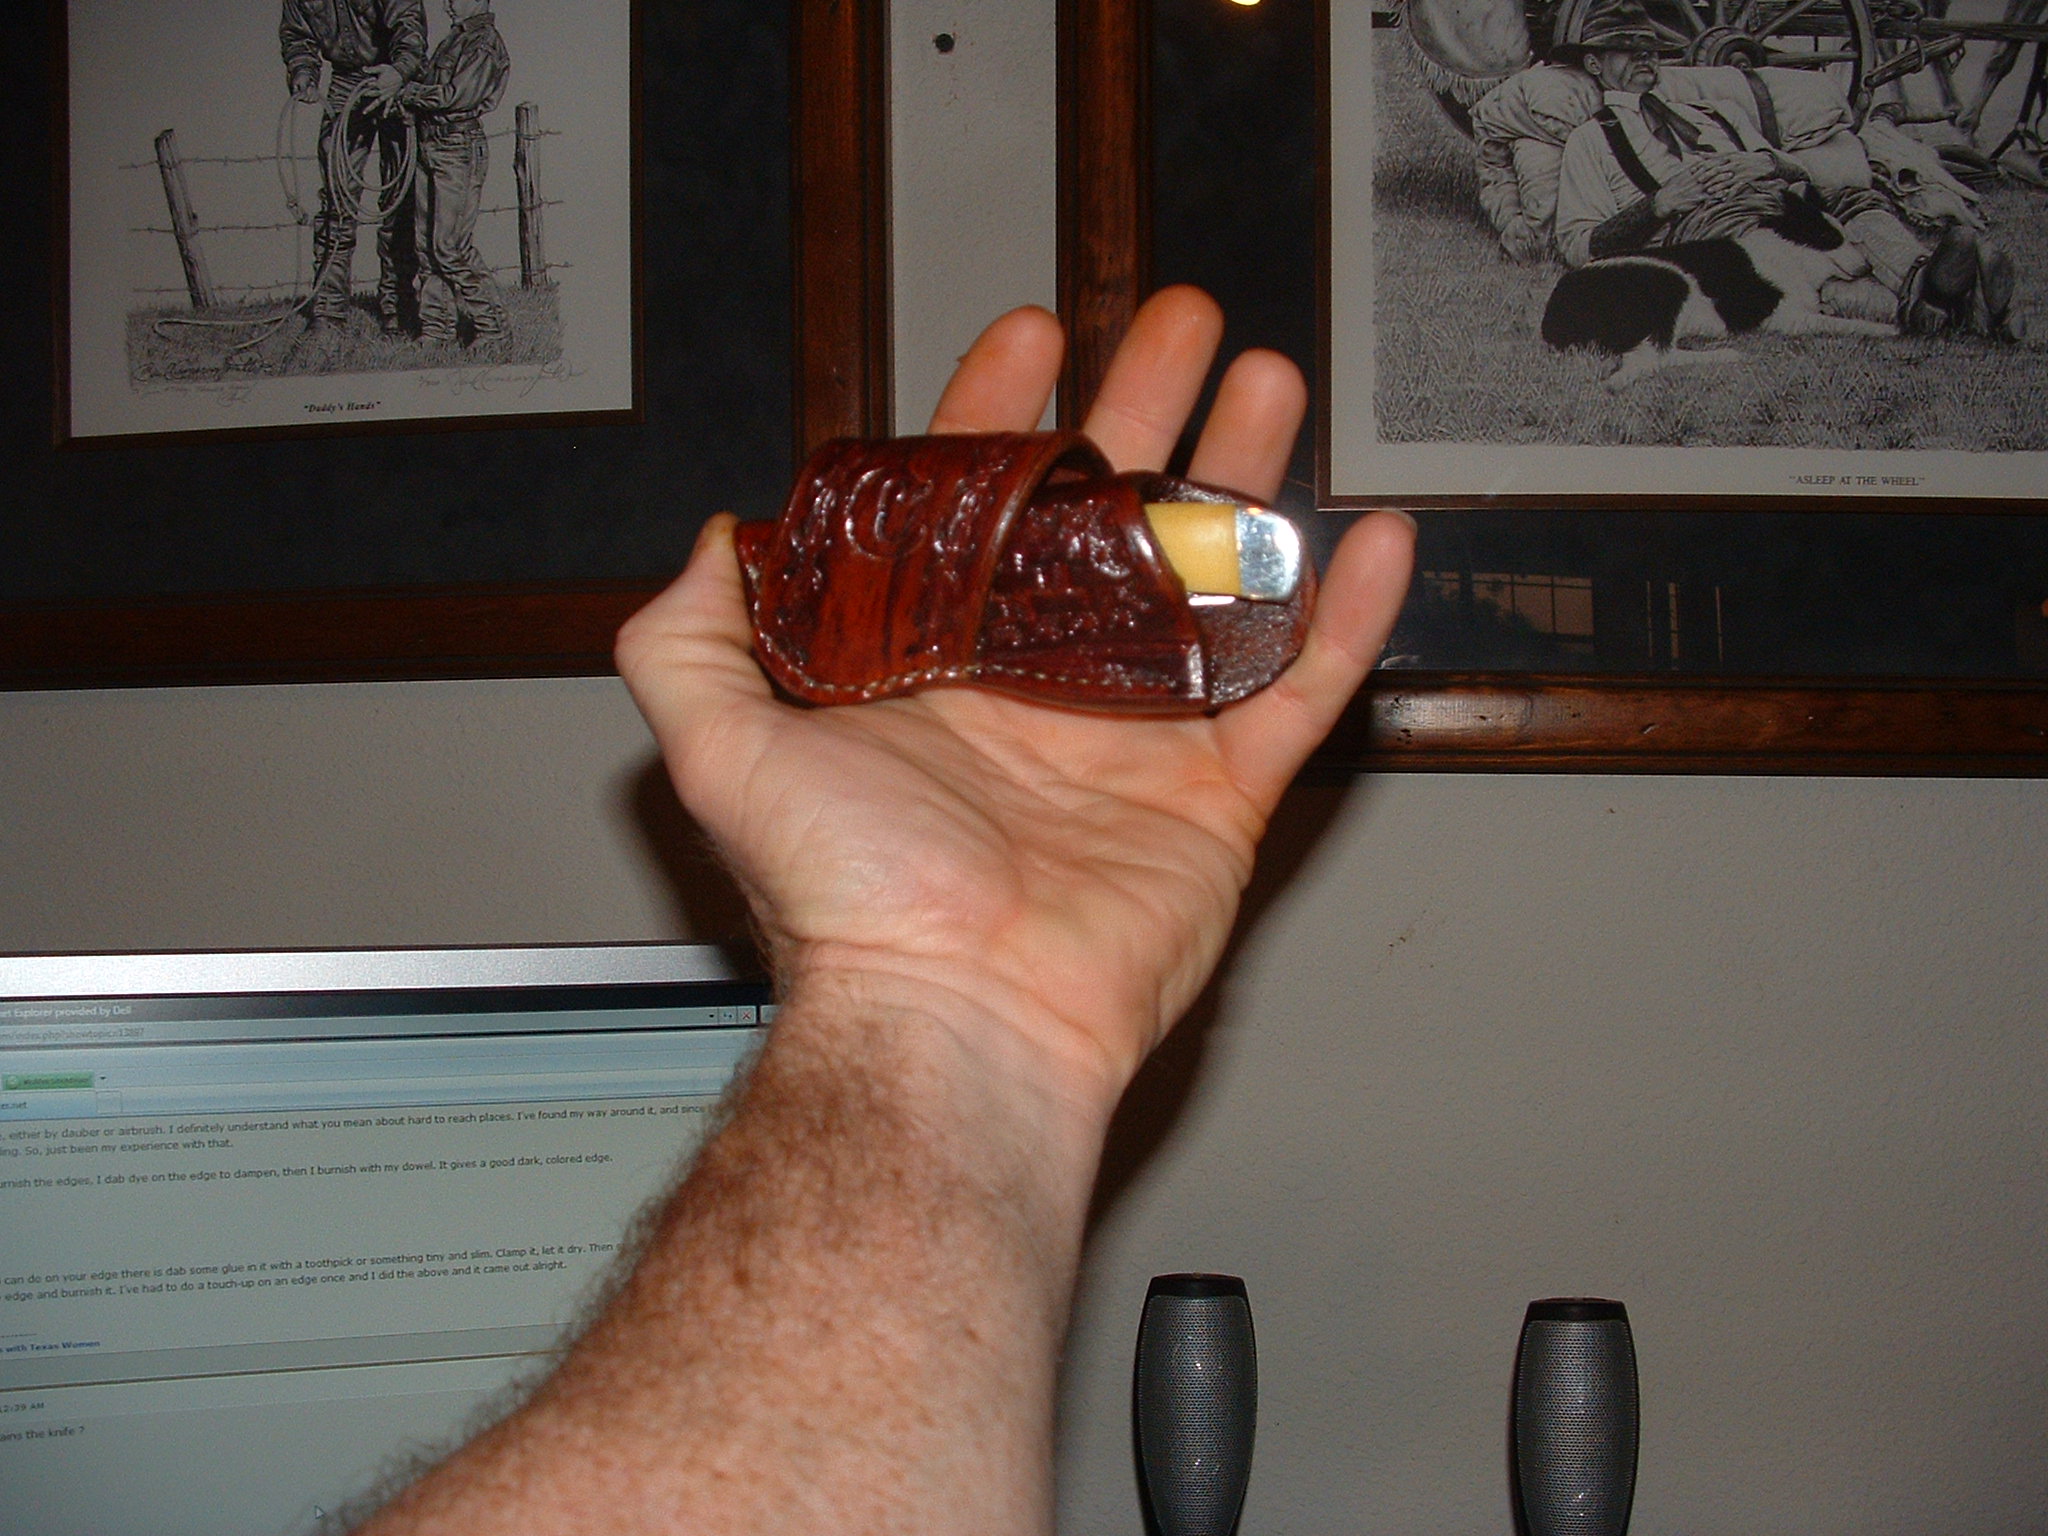
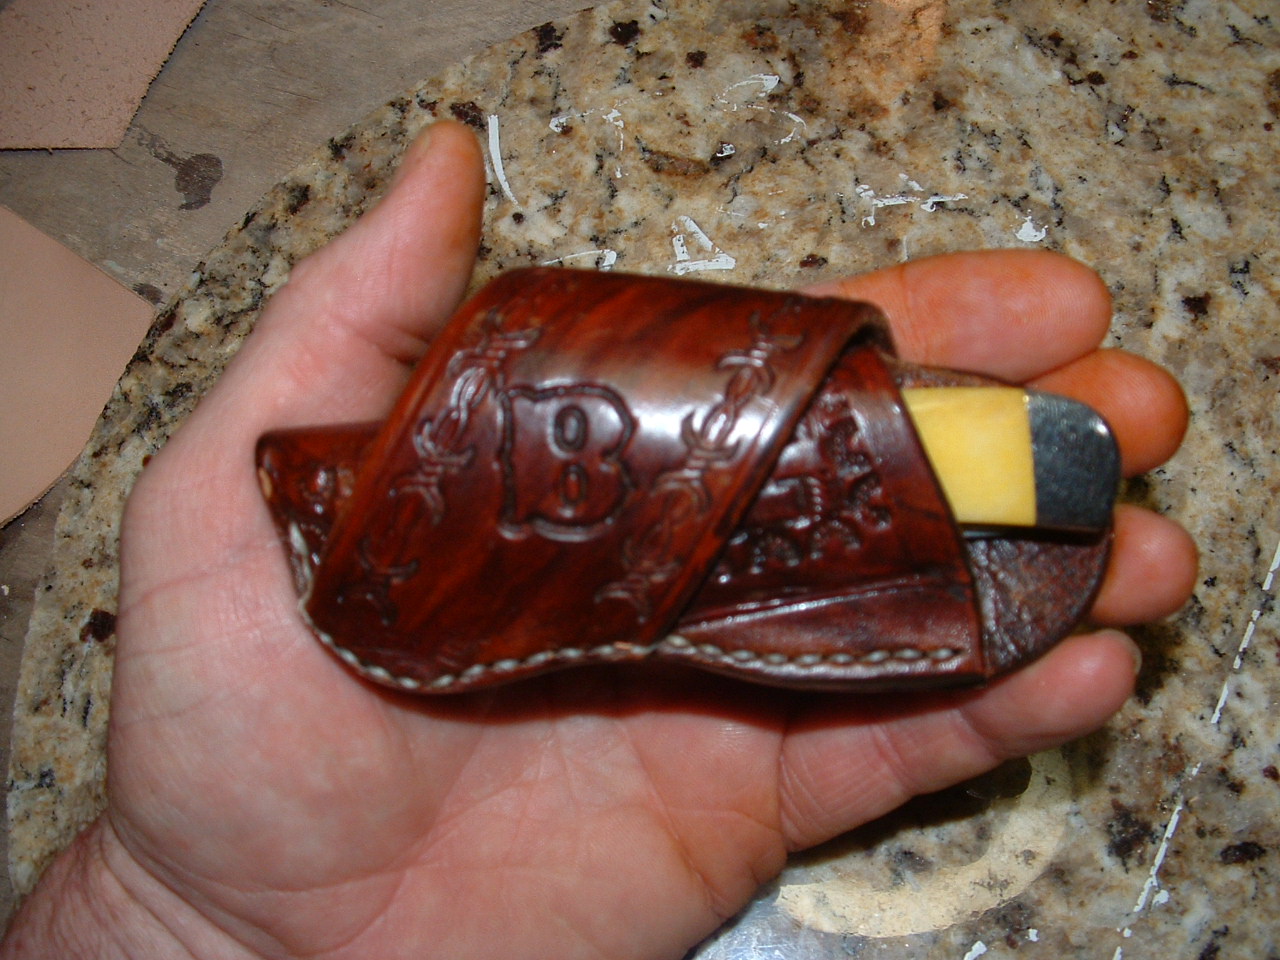
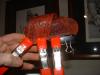
It's a snug fit and I kind of wet molded the toe of the sheath to the knife. Also, once on your belt, the outer layer of leather is snugged up to the knife sheath. Initially, I was concerned about the knife being too tight, but it loosened up a bit and I can get it out with one hand (cross draw). I ride horses and wanted a knife accessible. I'm very confident the knife will stay in the sheath, but if anybody has a redundant safety suggestion, I'm definately interested. I've seen some horizontal knife sheaths before and decided to give it a go. Also, I used 9-10 oz. leather, so it is fairly stiff. That probably helps retain the knife. Here's the second one with a shiney coat. I need to buff it out somehow. The acrylic resolene applied with a dauber doesn't seem to be working well for me. Seems impossible to get a smooth coating.
-
Ok, thanks Shorts. That's probably what I need. Here's a new pic that shows the separation. I have already glued it. But it is separating. I have not stitched yet. Soooo, should I take this "outer" piece back off and re-glue prior to stitching? I'm using Duvall #88, super strength all purpose cement. If I don't dye it prior to assembly, there are places I won't be able to get to. Also, my stitching will be discolored (maybe it should be....) Also, I tried glueing one together and then dying. The dye did not take in a couple of small places where the glue squeezed out onto the leather.
-
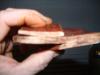
This picture probably shows better what I'm trying to figure out. This is my second attempt at this sheath design. I've glued the leather together and clamped it. Once dry, I've been hand stitching the leather together. Is there a more proper way of doing this? I've just tried to kinda figure it out. I'm not confident right now that it will stay together and keep the edge clean where it will look like one piece of leather once it it burnished and waxed (which I'm also still trying to figure out). One my first one, after I was through stitching, I took it to the grinder. It worked fairly well, except where I ground too far and almost got into the stitching! (OK, I did in one spot!).
-
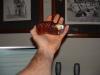
Ok, my first post. First of all, thank you to everyone who makes time to make this forum a success. I have been impressed with the quality of the content and the helpful, encouraging attitude everyone conveys. I have found myself spending an increasing amount of time here! I've recently taken up the trade. Yep, the bug has bitten me hard! I'm starting with smaller projects. Hopefully, I'll be on to bigger and better things soon. I have a question about a knife sheath I've been working on and trying to refine. This sheath requires two pieces of leather that ultimately get sewn together. Here's a picture of my first: I've determined I need to bevel and burnish certain edges, then dye and oil prior to glueing and then stitching. I accidentaly discovered what came out to be a pretty cool finish. Mixed dark brown dye, conditioner, and neatsfoot oil together. Then applied two coats w/ a small dauber. Once dried, applied resilene. My question right now is, will the glue stick over this mixture? Or does the stitching provide the proper "support" to keep it together? I've noticed on this one, after wearing it for a couple of weeks, that my "edge" where several layers of the leather are joined, looks like it is beginning to separate a little. I stitched by hand (PITA!), and pulled the thread pretty dang hard when doing the stitching. What should I be doing to make this right and last a long time? Thank you! Jim PS: If my pic's did not upload, I'll try again! Keeping my fingers crossed!