.jpg.d60258221c476480a6e073a8805645bb.jpg)

Cattleman
-
Posts
178 -
Joined
-
Last visited
Content Type
Profiles
Forums
Events
Blogs
Gallery
Everything posted by Cattleman
-

"Grade A" HO 8/9 from Springfield looks terrible
Cattleman replied to palehorse's topic in Leatherwork Conversation
I can speak from experience... Most all blemishes can be hidden with tooling. My first HO side was an "Economy Grade" from SLC... It had many bot marks, a few butcher cuts, and the entire but had a signifcant amount of rawhide left in it on the flesh side. Even with all that ive never been able to see even a flicker of thise blemishes once it was tooled... And the rawhide in the butt turned out to work EXCELLENT for pancake knife sheaths, I've even had a couple customers say those sheaths "click" almost better than a molded Kydex sheath. -
One of the best ways I've found to minimize stretch in strap goods is to wet the straps, somewhat wetter than you would case for tooling, nail or clamp one end to a solid immovable object and pull on the other end with all the weight you can muster. This stretches the leather, then let it dry. The strap can then be used to make whatever strap goods you want and the final product will have very little stretch. I learned this from an old saddle and harness maker. Pre stretching in thus fashion may require that the strap be cut slightly wider than what you intend to use it for, as it can become slightly narrower once stretched. It is possible to stretch an entire side of leather... But it is very difficult, simply because of the size, and amount of force required to accomplish the stretching without the aid of some mechanical device.
-
Wet leathet does indeed cut easier... However it is also easier to stretch and deform the leather while cutting it wet.
-
I generally use 6B pencils as they don't crumble quite as easily as 8B. But if I need to draw on very soft or cased leather I use 8B.
-
Snap button and rivets for thicker leather
Cattleman replied to Swedbeans's topic in Leatherwork Conversation
I think I'd use copper rivets on something like that. The snap could be set through a single layer before cementing the stack. -
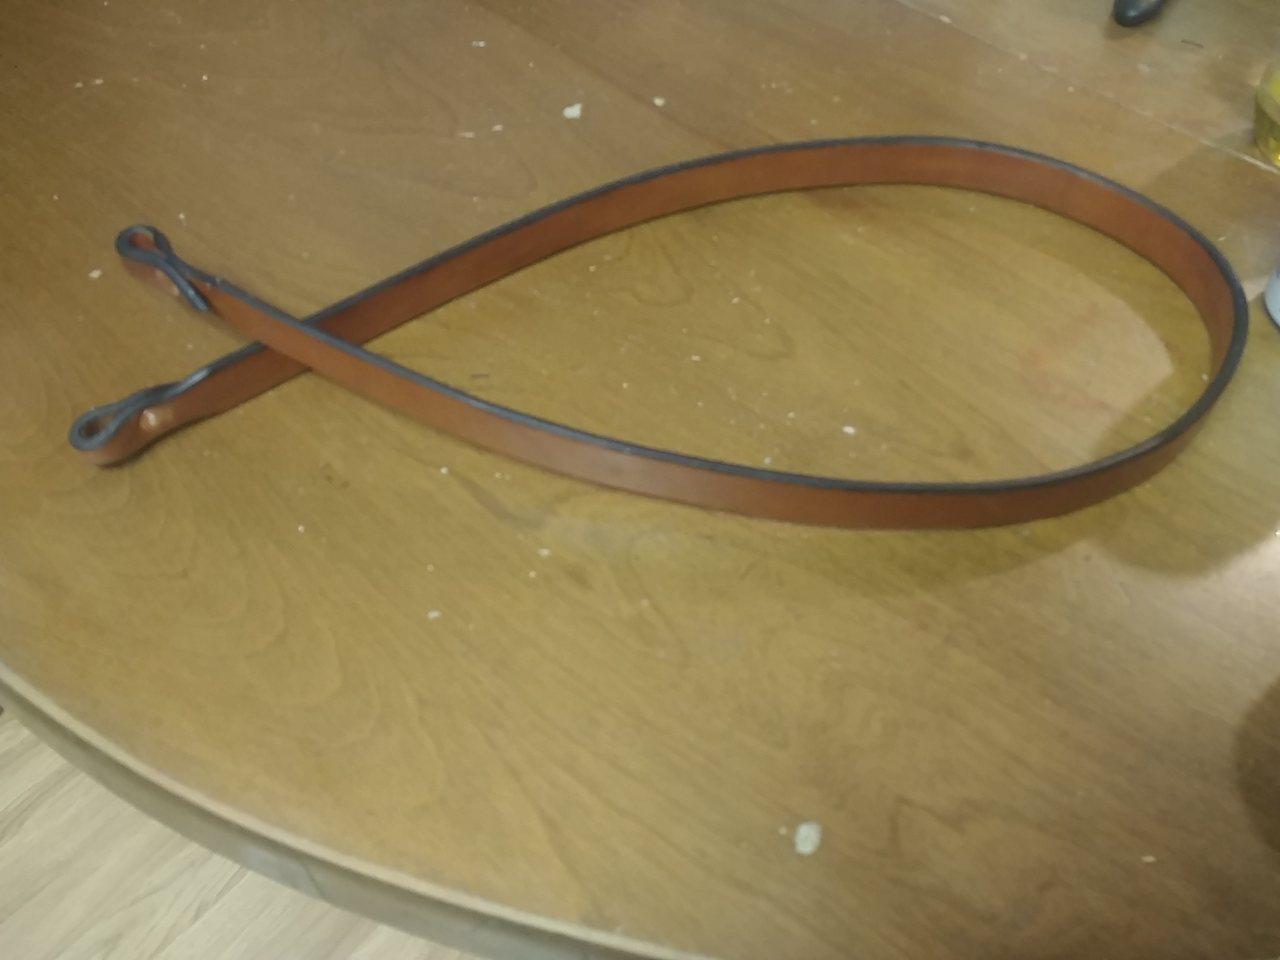
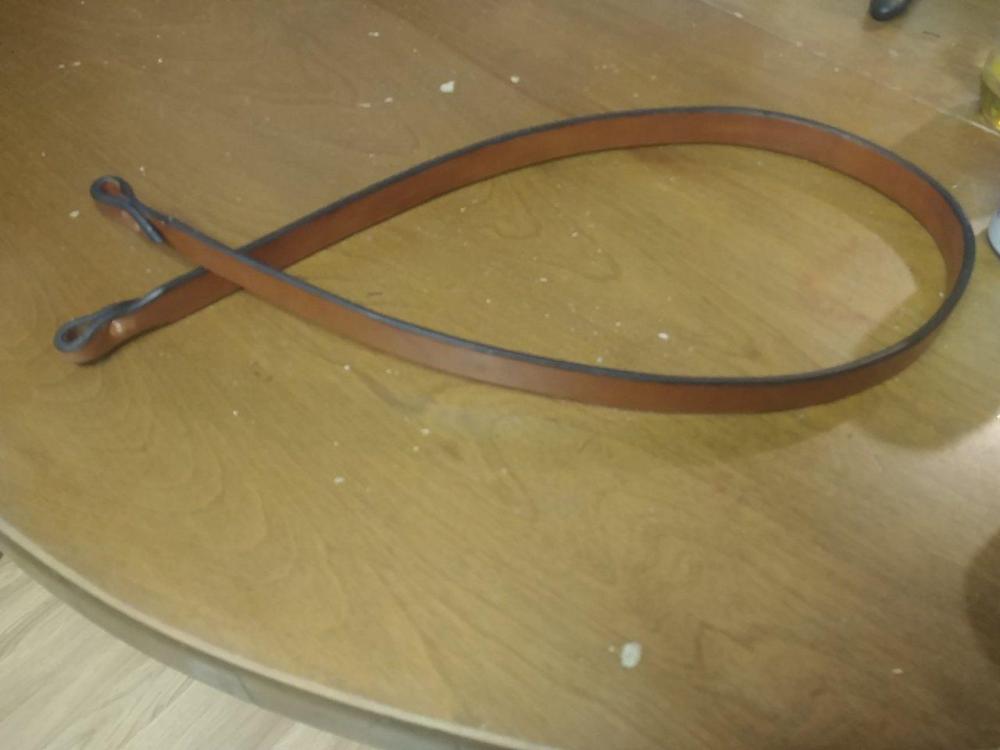
Shoulder strap, nothing super fancy. It's pretty much finished, except the hardware. Which consists of grommets and clasps to attach the shoulder strap, and a buckle for the closure strap. Also getting a rivet domer to gussy up the copper rivets a little.
-
Thank you. This is after slicking and dying the rest of the edges... I'm currently working on the shoulder strap... 2 layers of 6/7 veg tan cemented together, with a little detail cut end to fancy it up some... Pics to come soon.


-
Thank you. I did consider dying the back side of the strap, but decided against it as I dont want the dye to transfere to the tooling. I instead slicked it with some tokonole, as it will not be visiable most of the time. The shoulder strap will however be dyed on both sides.
-
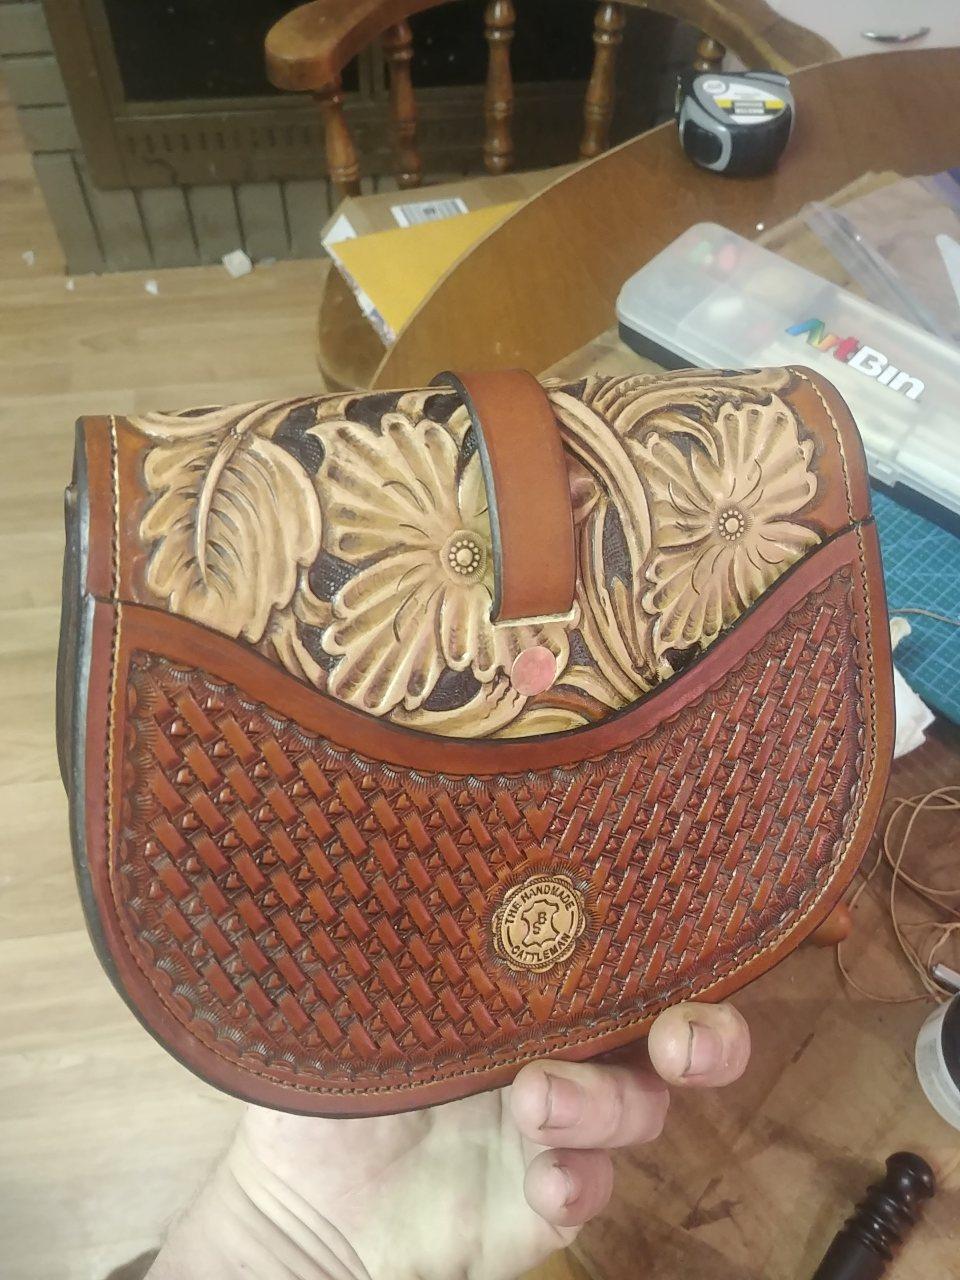
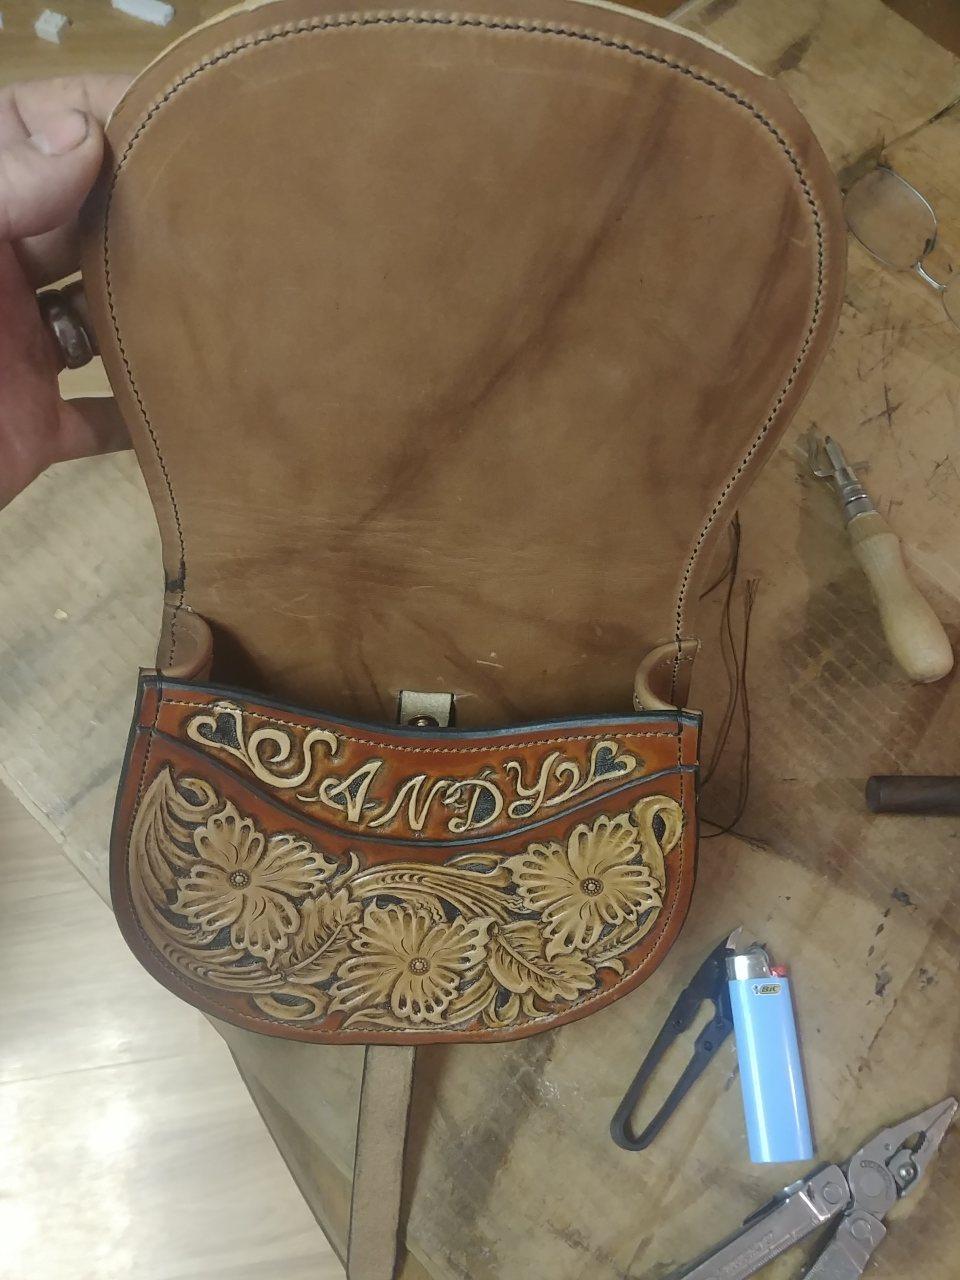
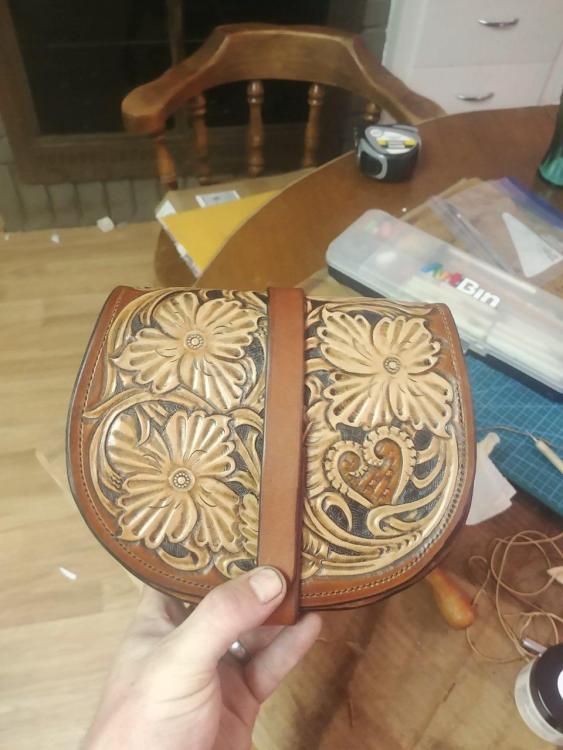
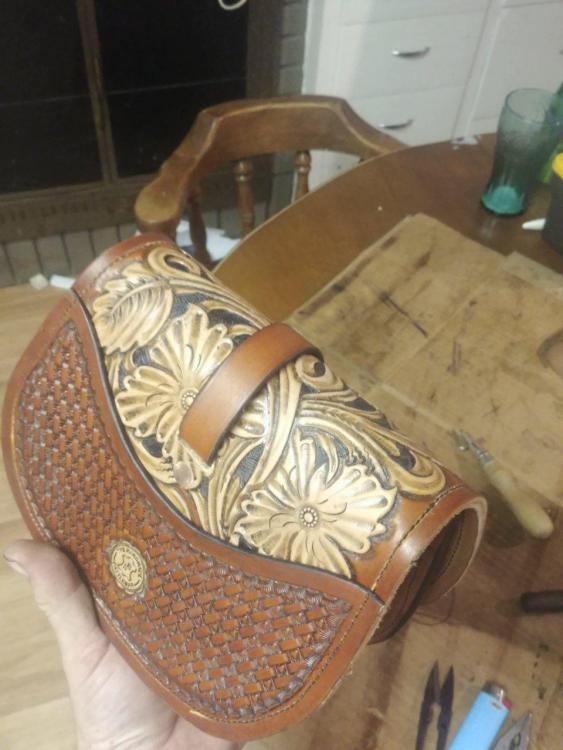
It has officially become a bag... Still have some edging and dye work to do, as well as a buckle and strap. But I'm currently waiting on some hardware I ordered.

-
Lol... Funny how when you're focused on a particular feature, the rest just kinda disappears... Until it changes.
-
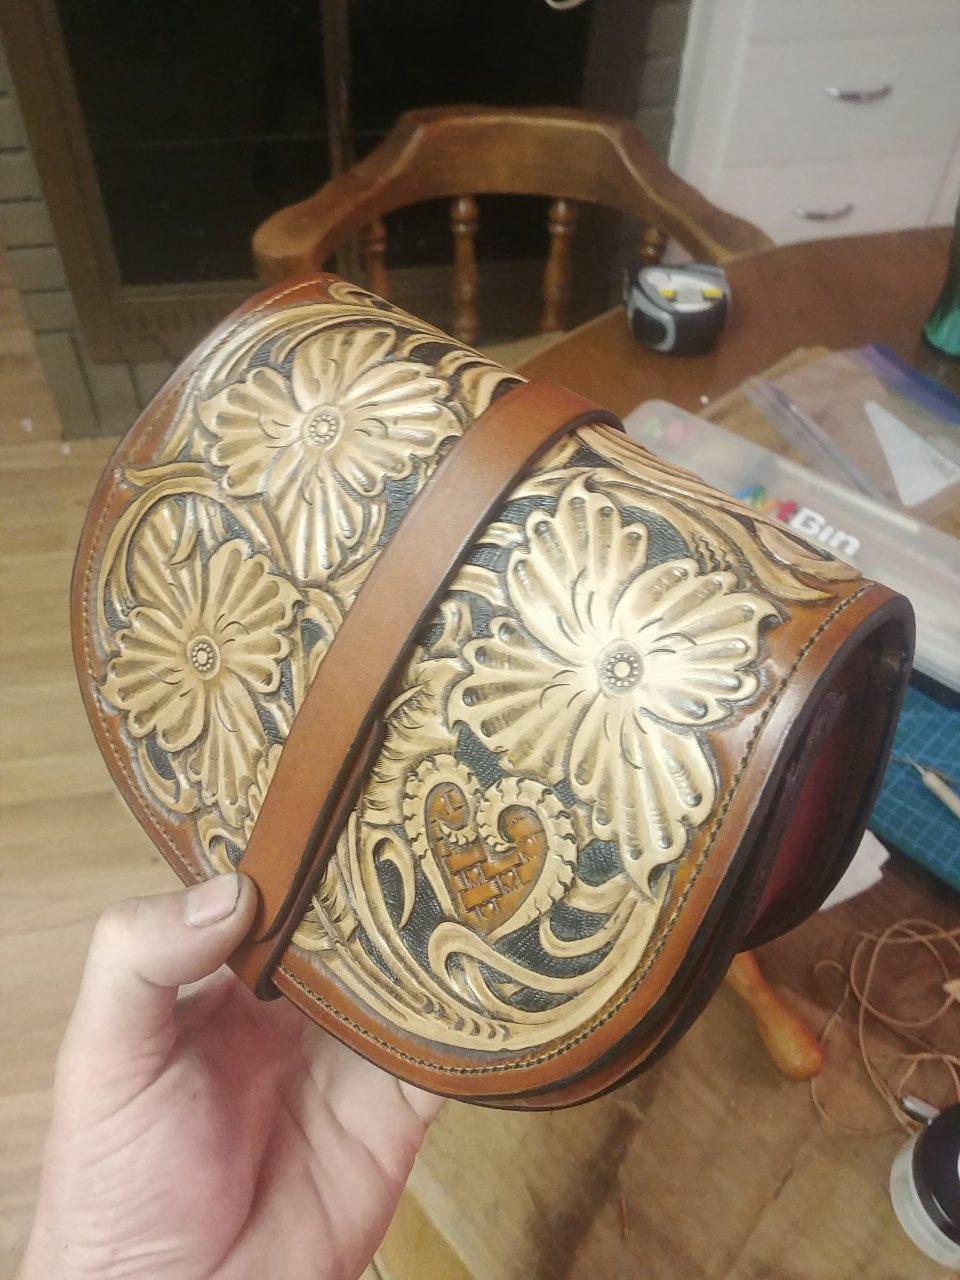
No dye or paint on the flowers or vine work... Your probably seeing the light reflecting off the top coat.
-
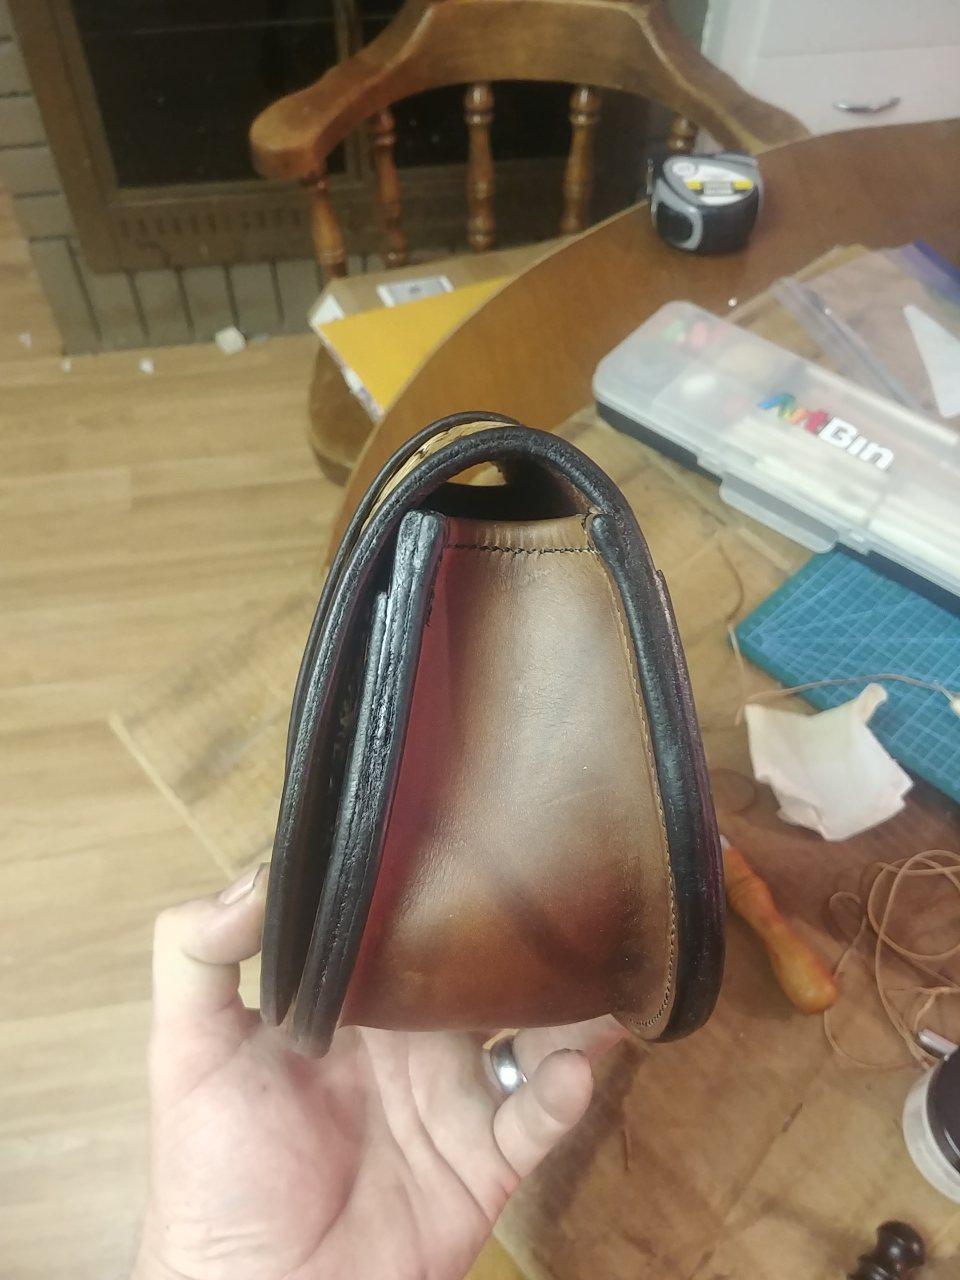
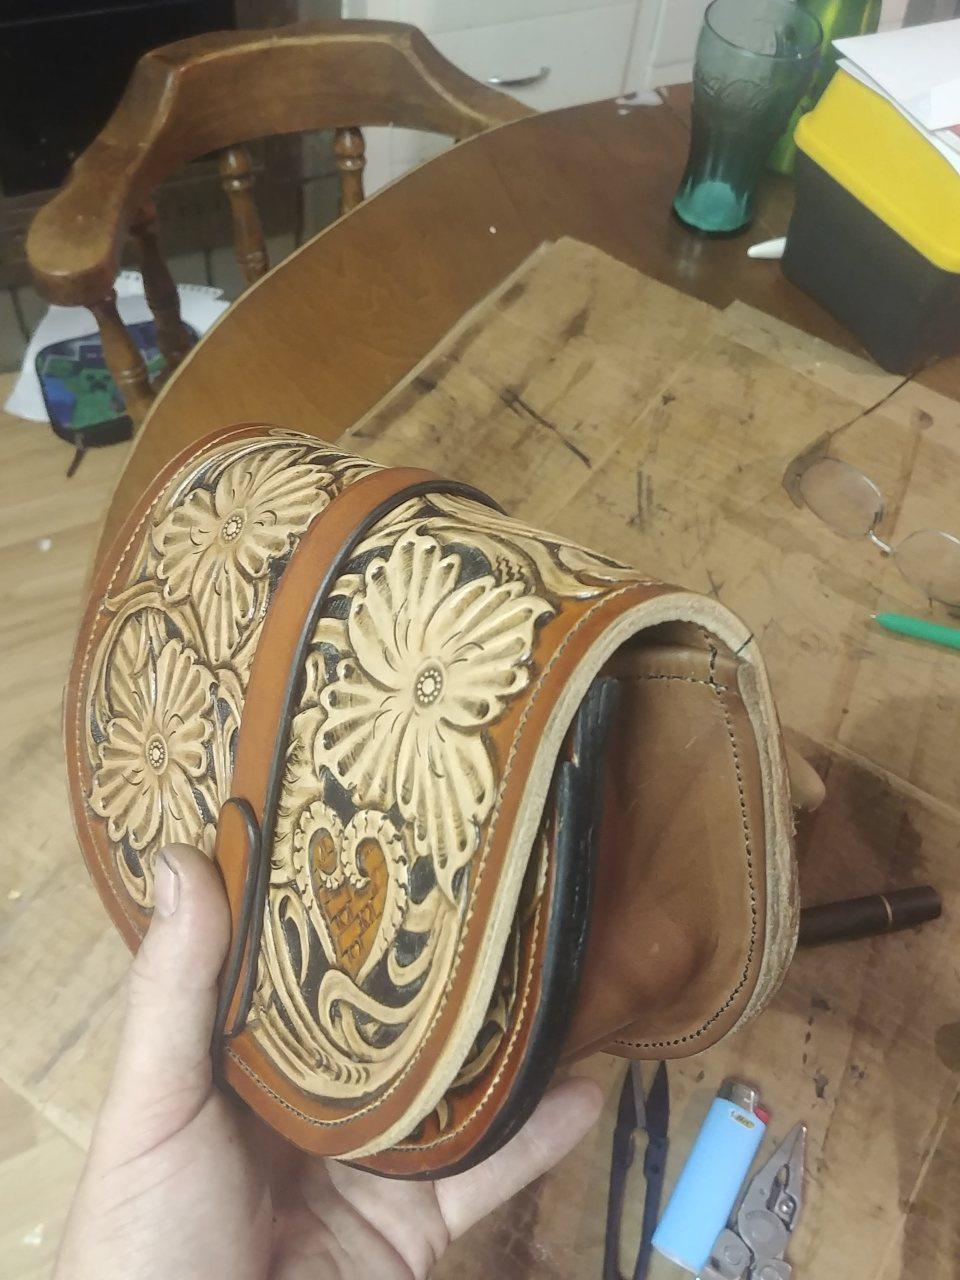
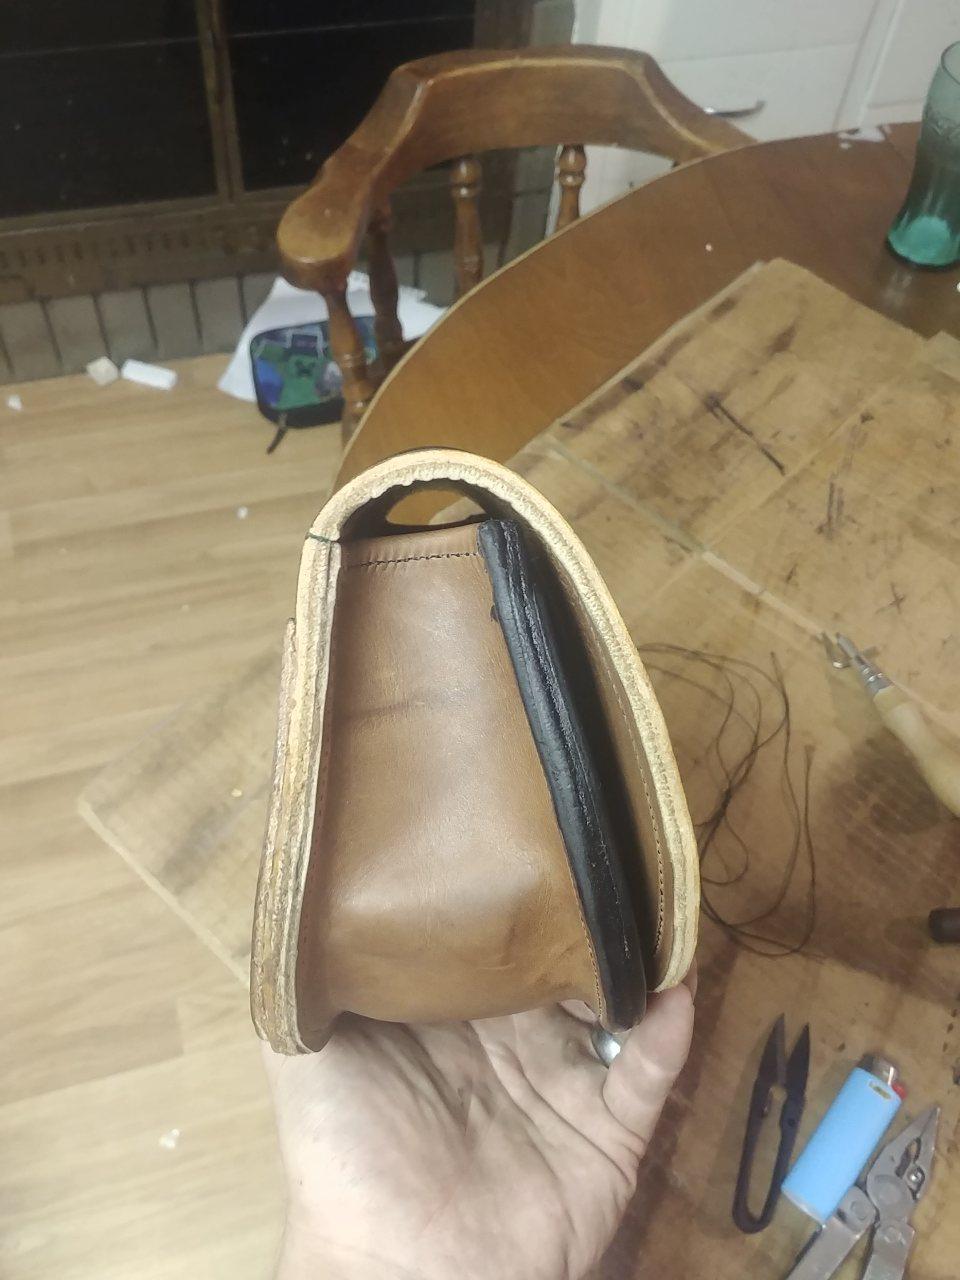
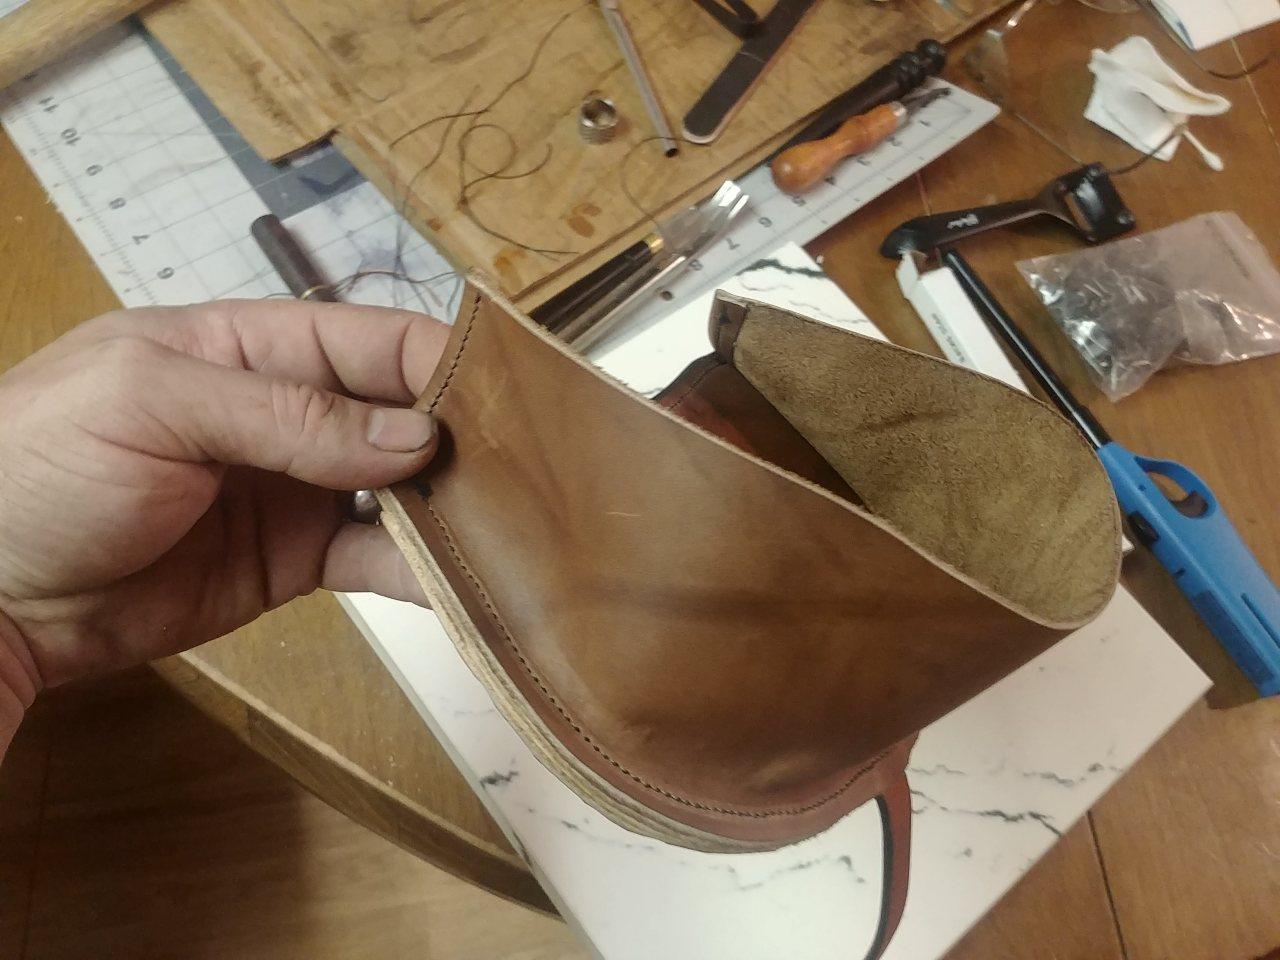
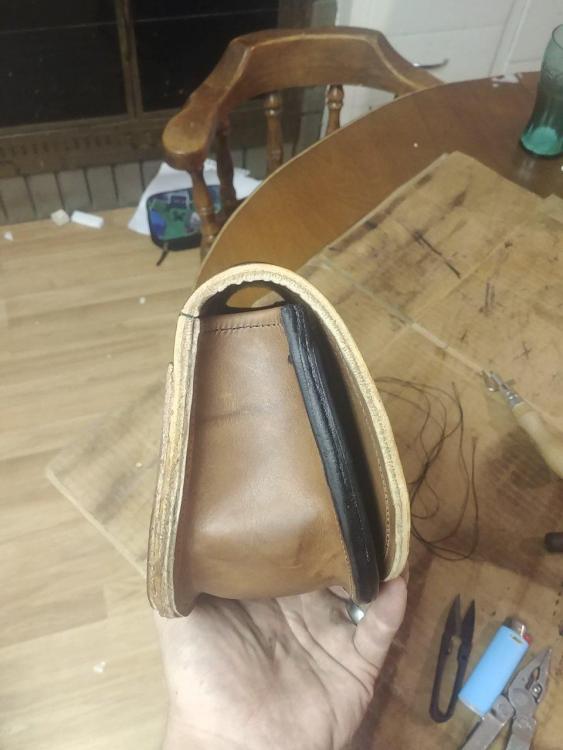
So today I managed to get both the main body panels lined and the front body panel sewn to the gusset. It's finally starting to resemble a bag!!!


-
Thank you. If it looked awesome before antique, it should look even better now... Now all the little details really jump out and give it some real depth. Thank you, and my pleasure.
-
Some very nice blades and sheaths. Really like the one with the tooled antler.
-
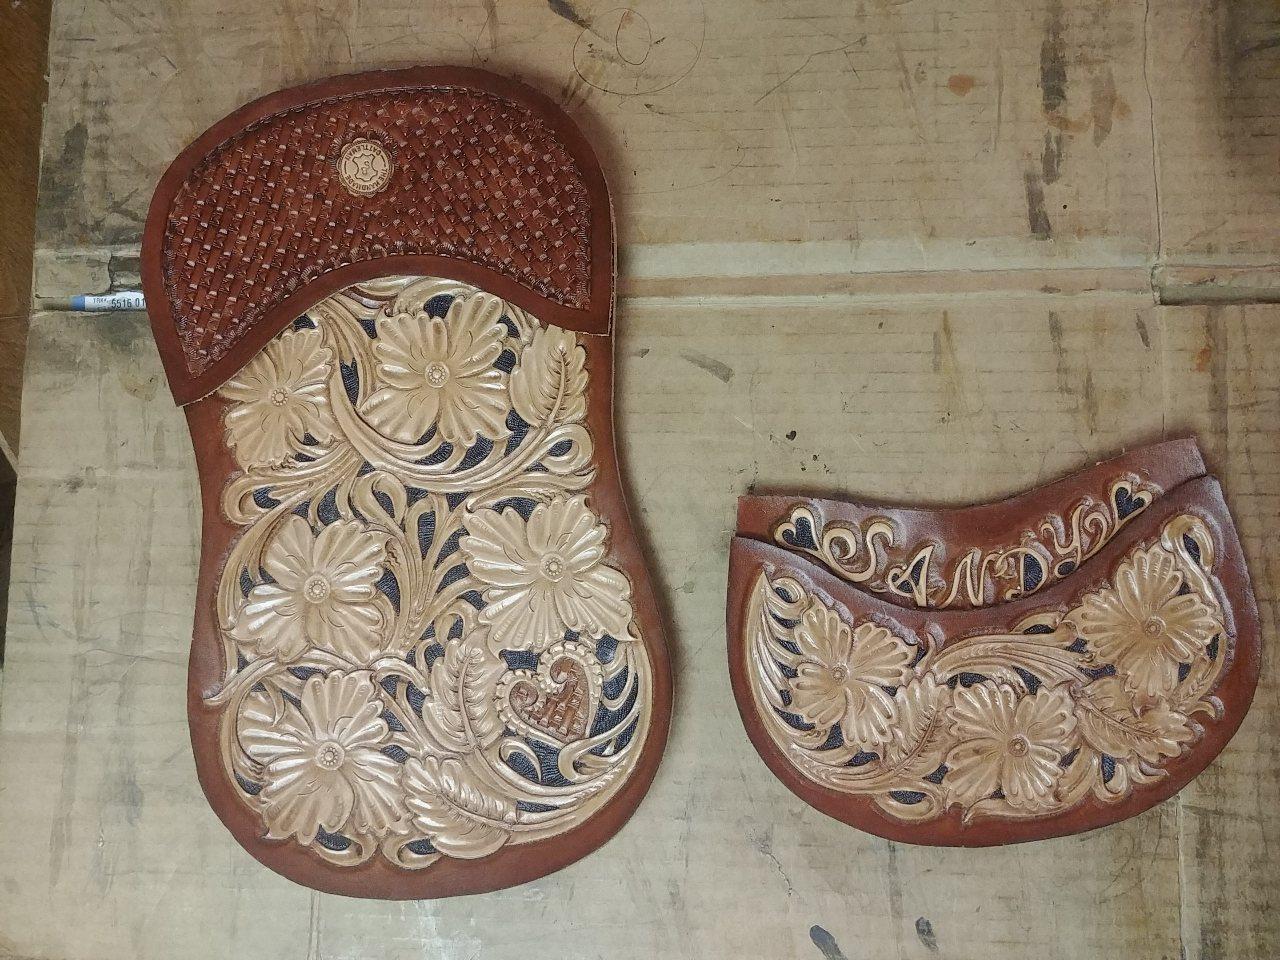
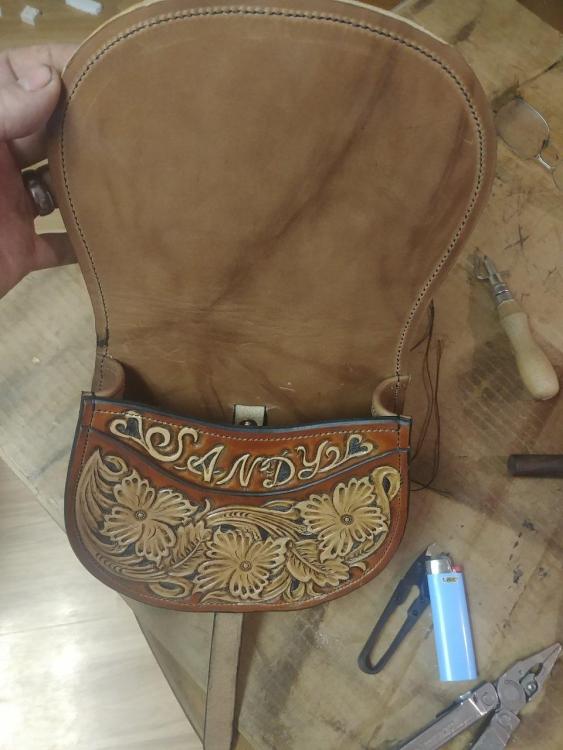
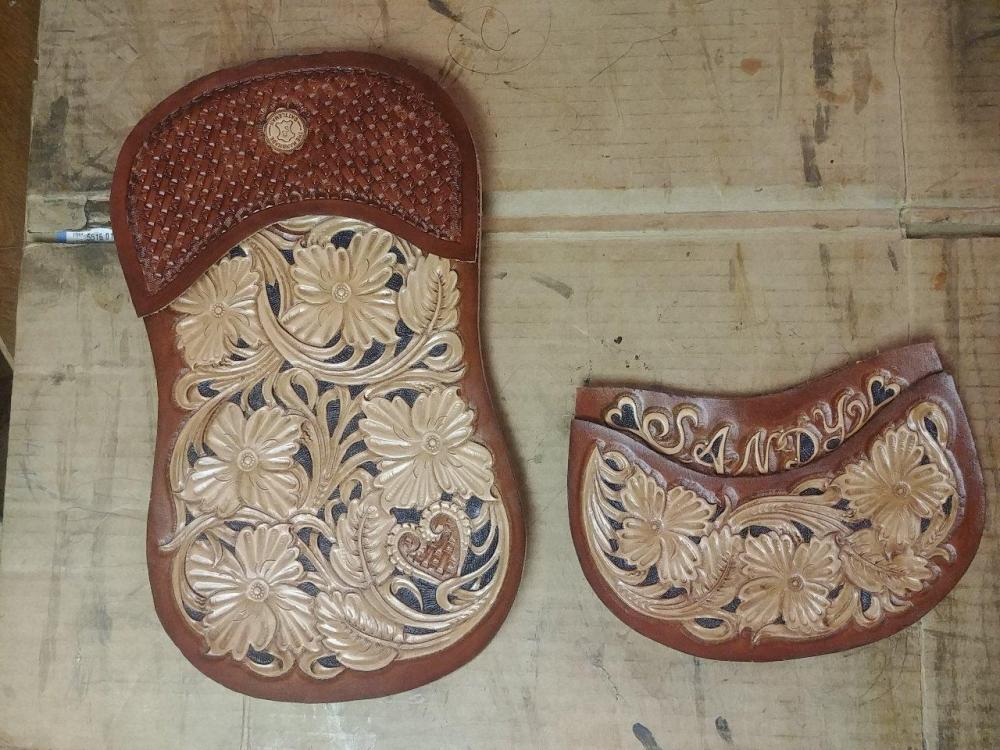
Dye and resist completed... Once the resist dries I'll antique.
-
Lol... Thats why I'm charging $750 + shipping. Thank you. I'm getting excited to see it finished too.
-
Well, I'll have it done before then I think... But might not arrive to my client until a few days after, as I am going to have to order the hardware... My local source doesnt have what I want. Yes the dye is definetally making it pop...

-
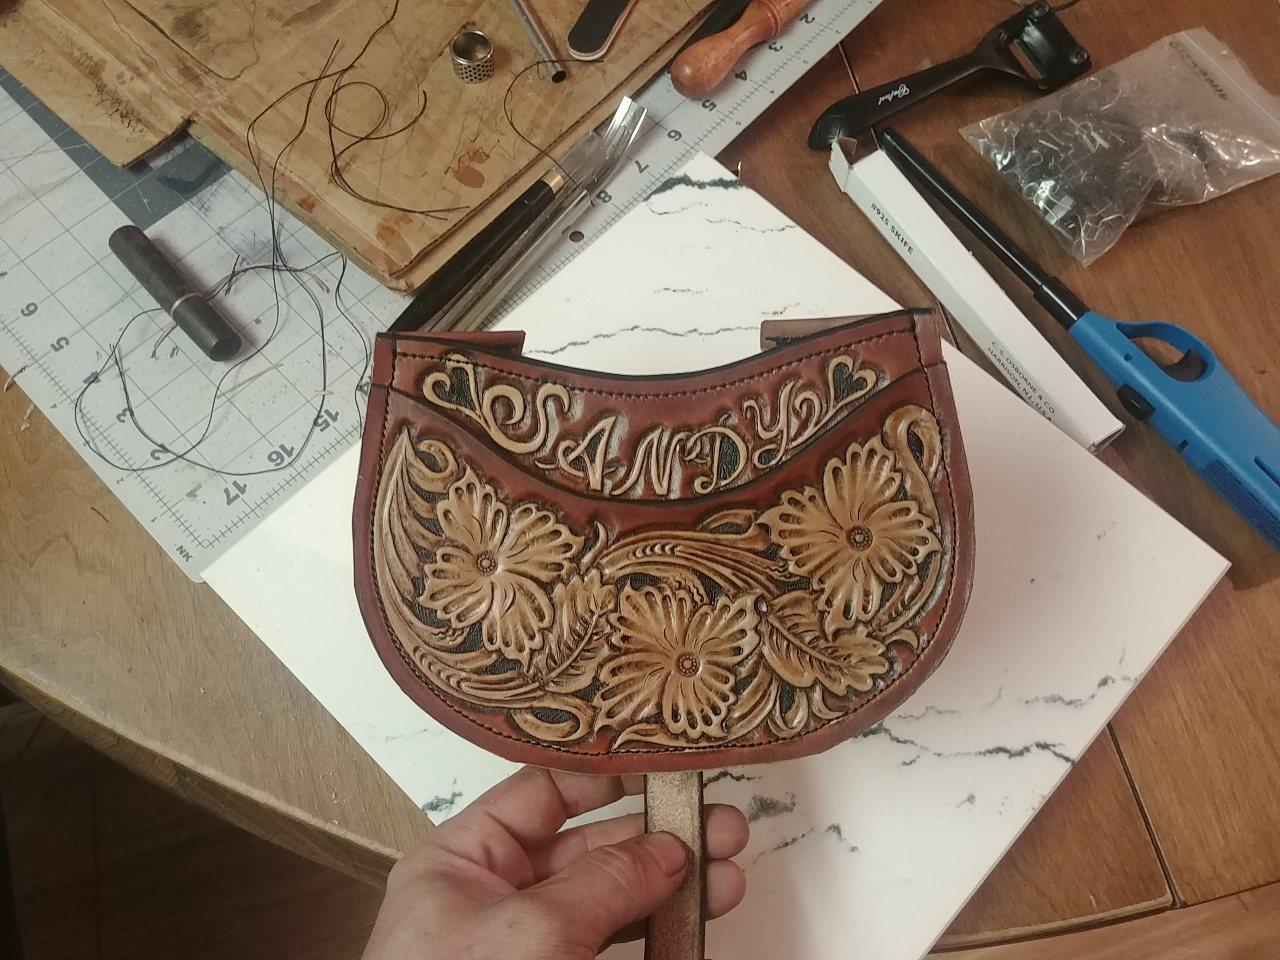
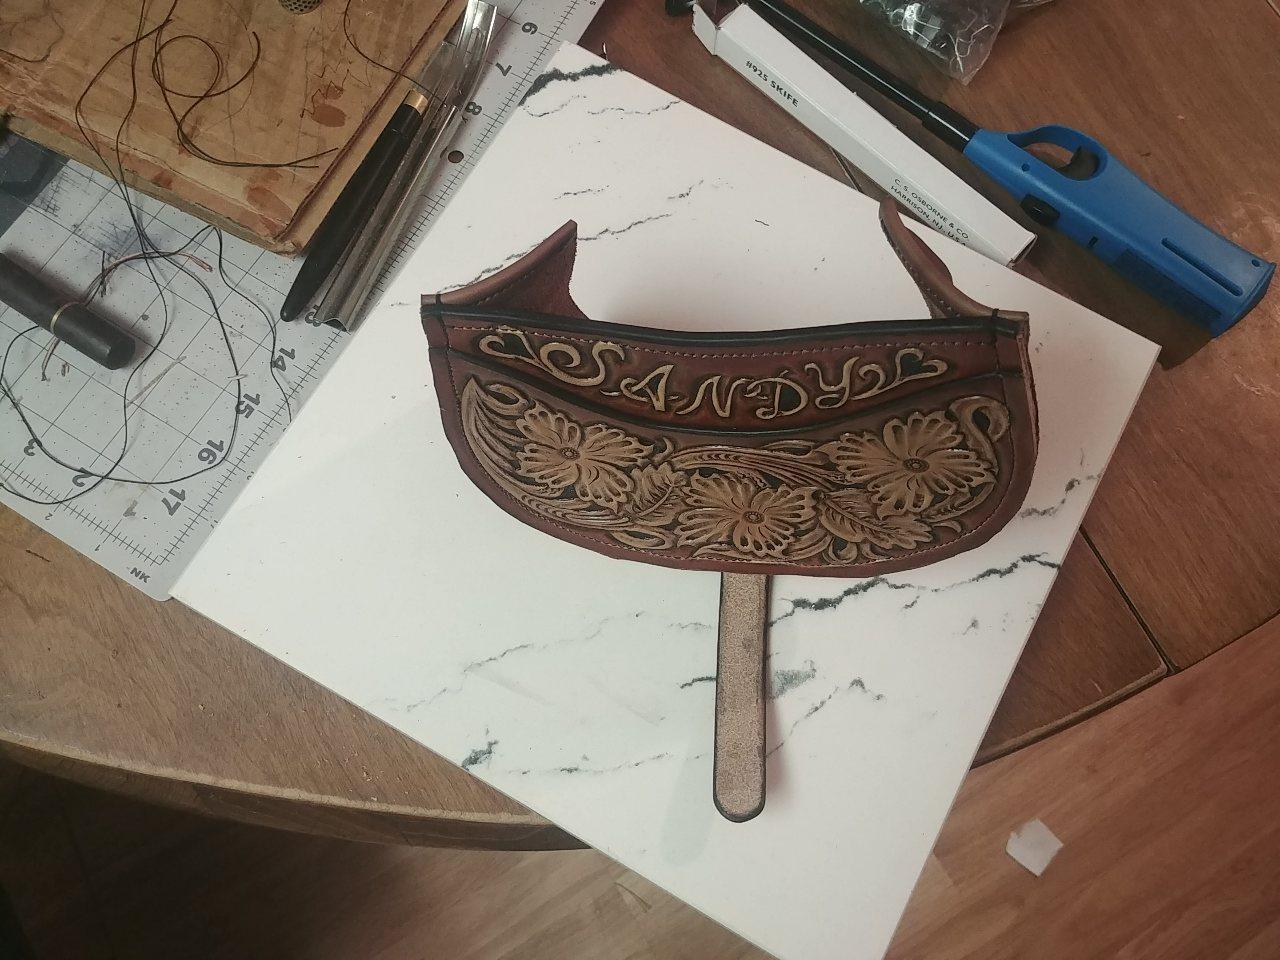
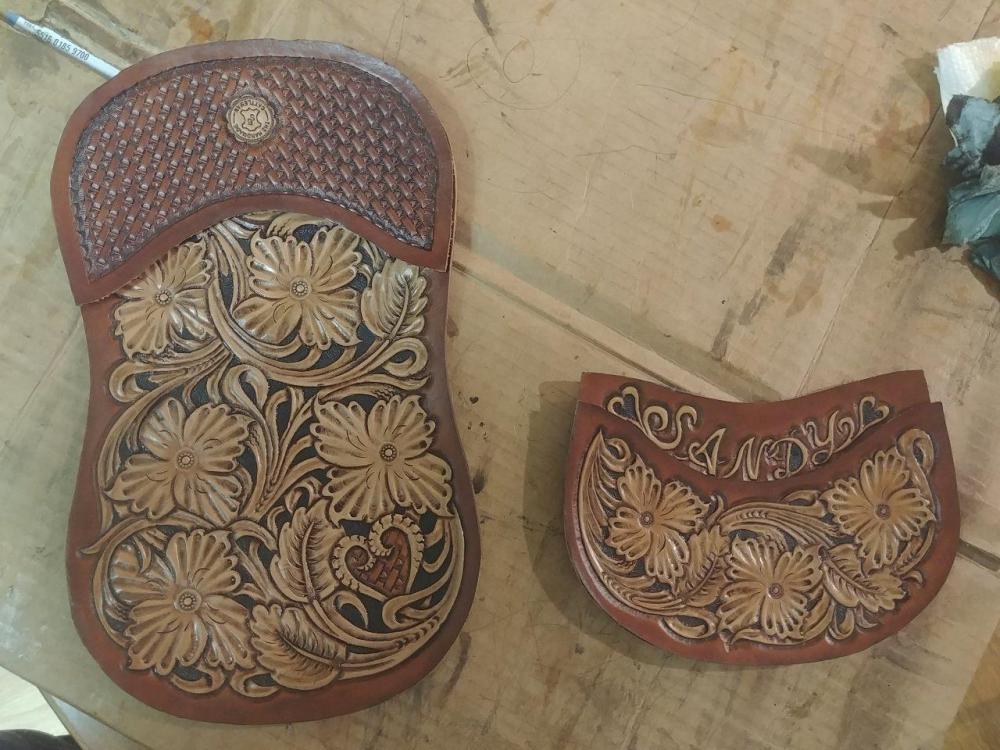
Here is the final tooled panel.... And how it will set to create a small pocket after assembly... And all 4 tooled panels...
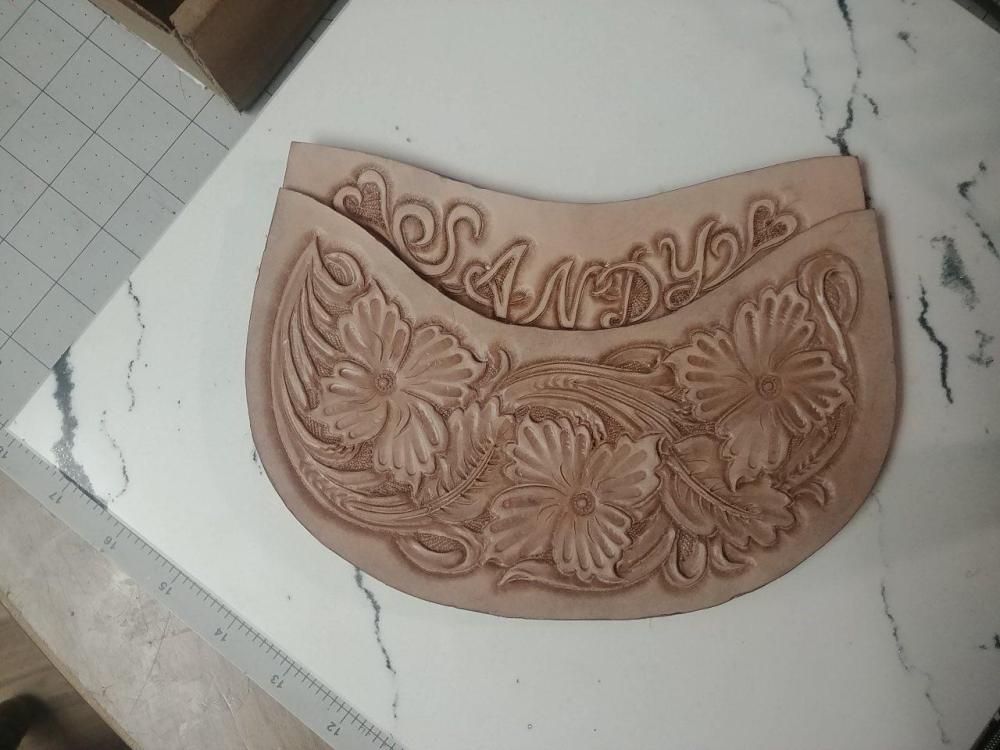

-
Thank you... I didn't want to bar-ground that large of an area, but it isnt really enough room for initials even. So I very lightly pressed a few basket stamps into it to see if I liked the way it would look. After the first 3 I was sold, and set them hard and fast.
-
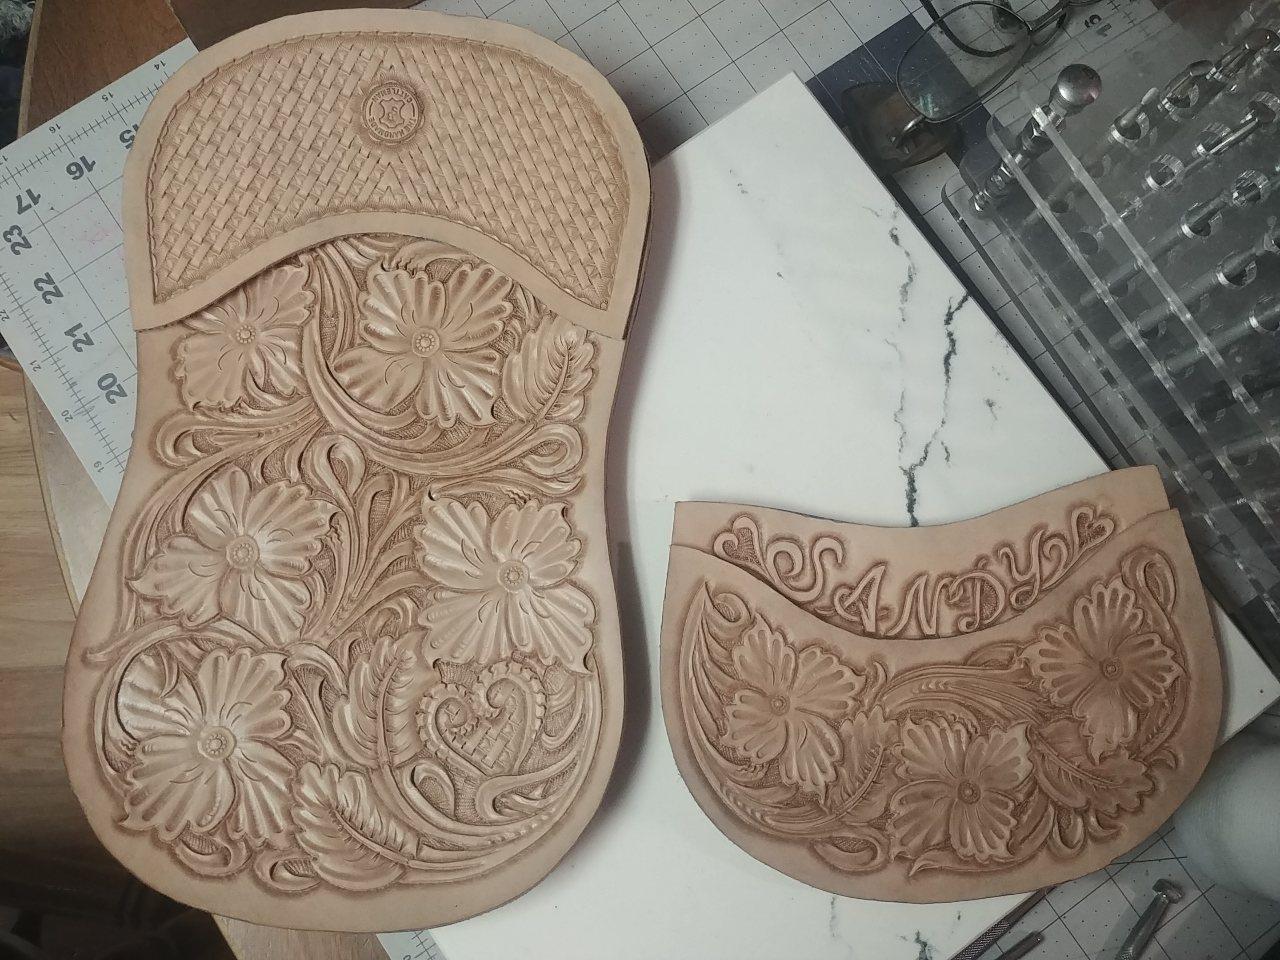
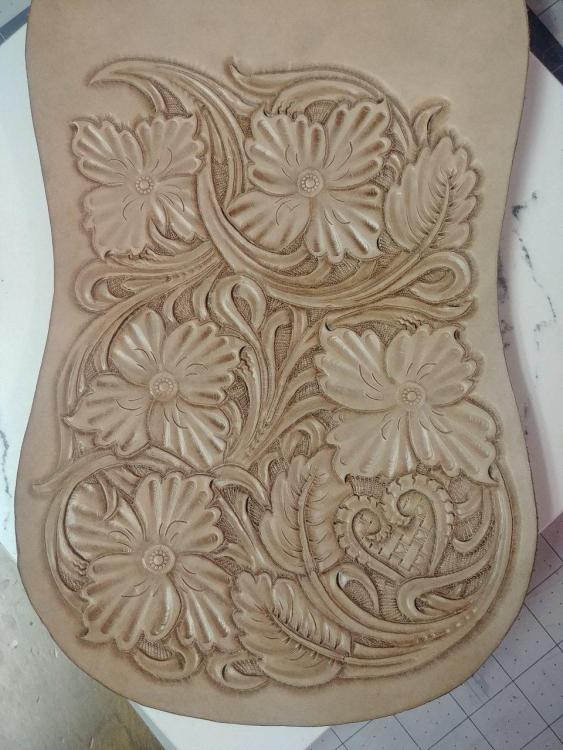
This panel brings the tooling to about 90% completed for the entire build...
-
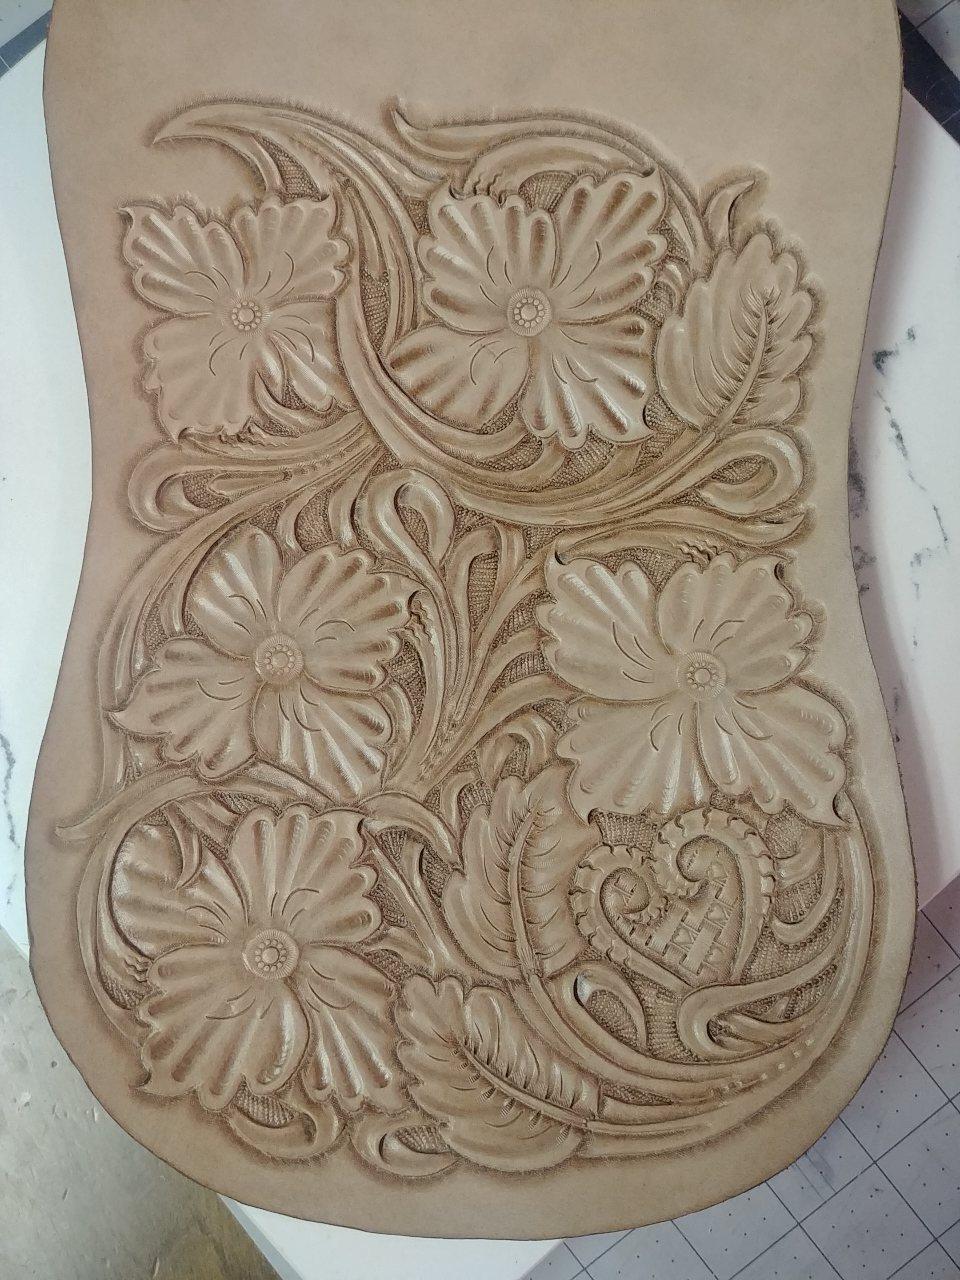
Several hours later... Beveling is now complete... Good thing too, my arthritis was starting to get to my hands.
-
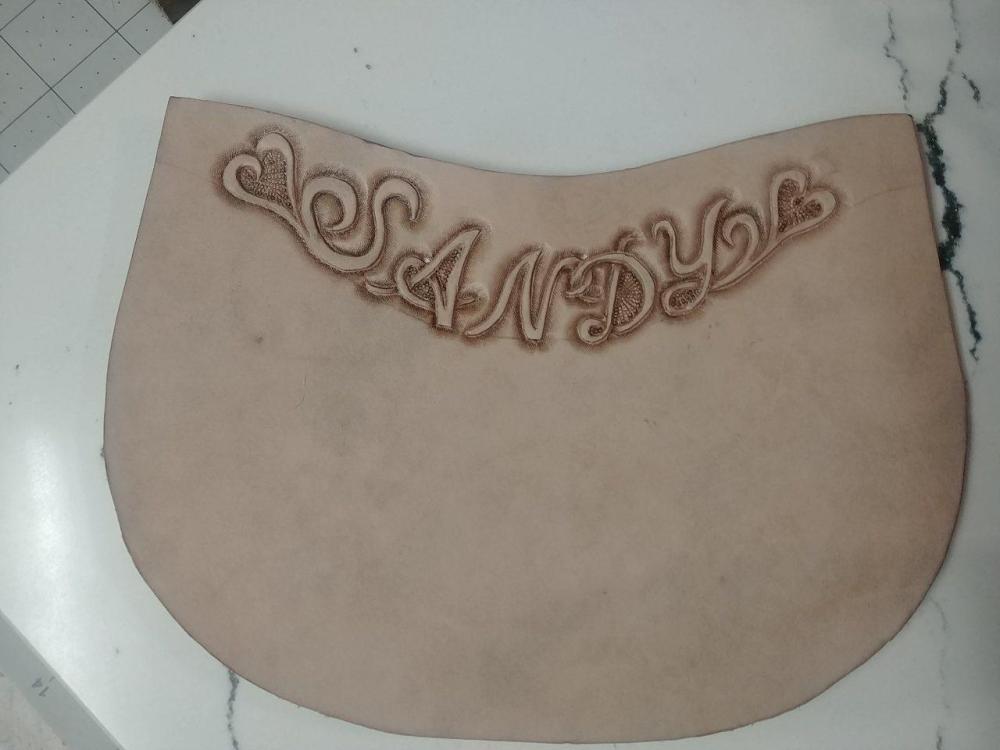
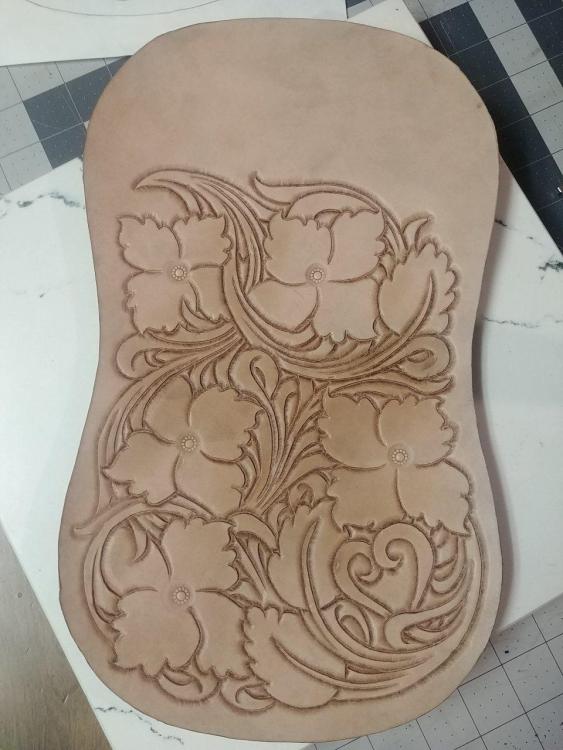
An this piece has ALOT of swivel knife work. By far the largest single floral piece I've ever done. Now onto the fun part!
-
I really like the tooling... A little antique would really make it pop!
-
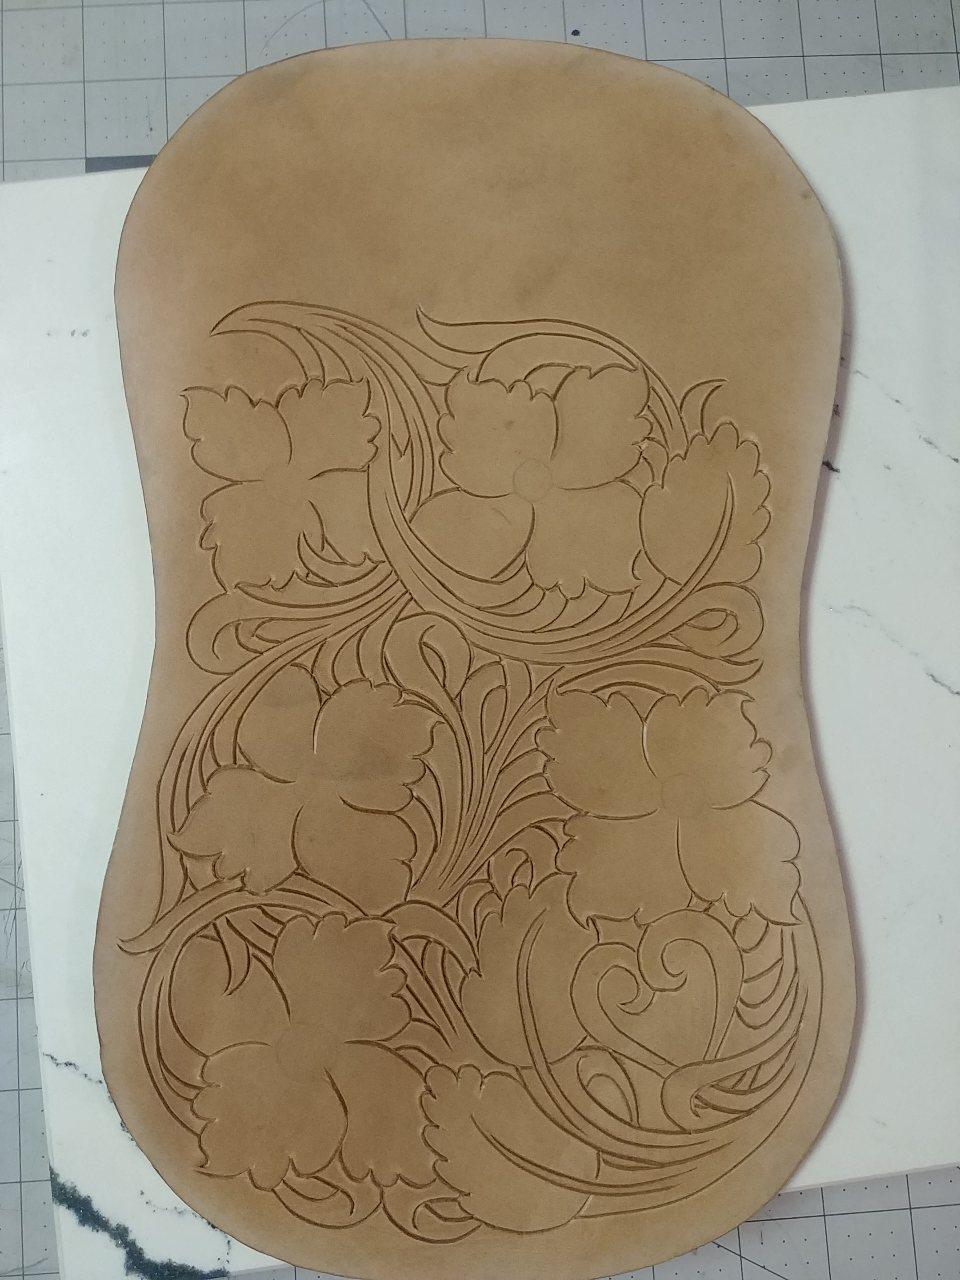
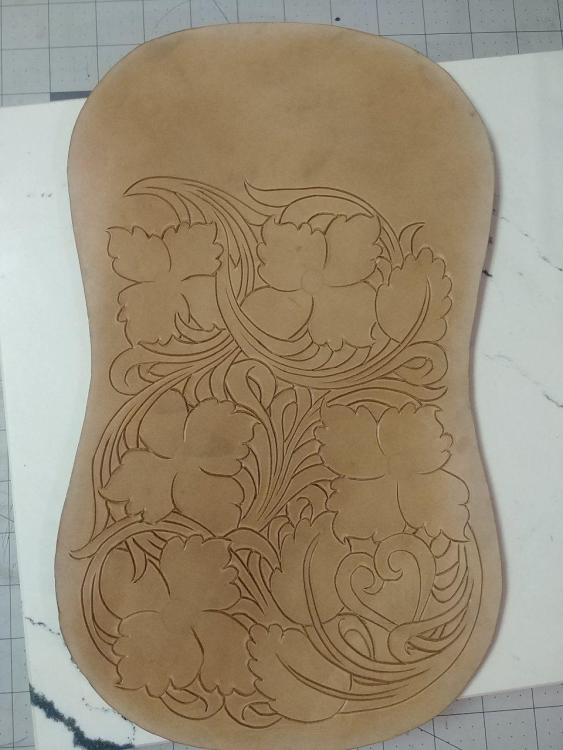
Tooling pattern transfered to the largest piece...
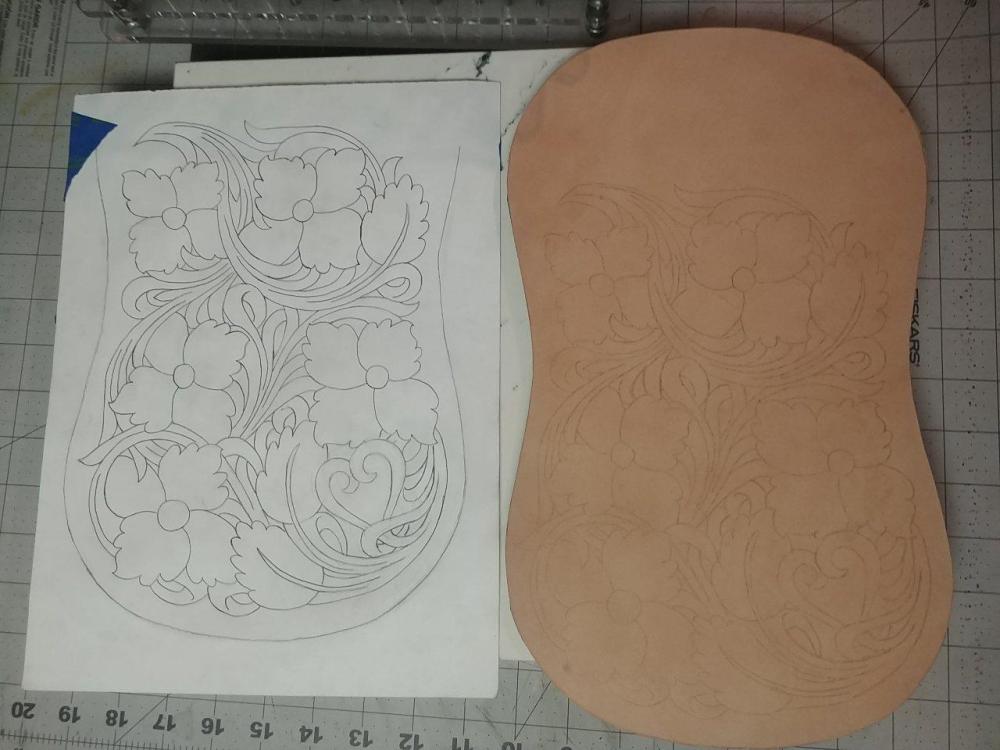
-
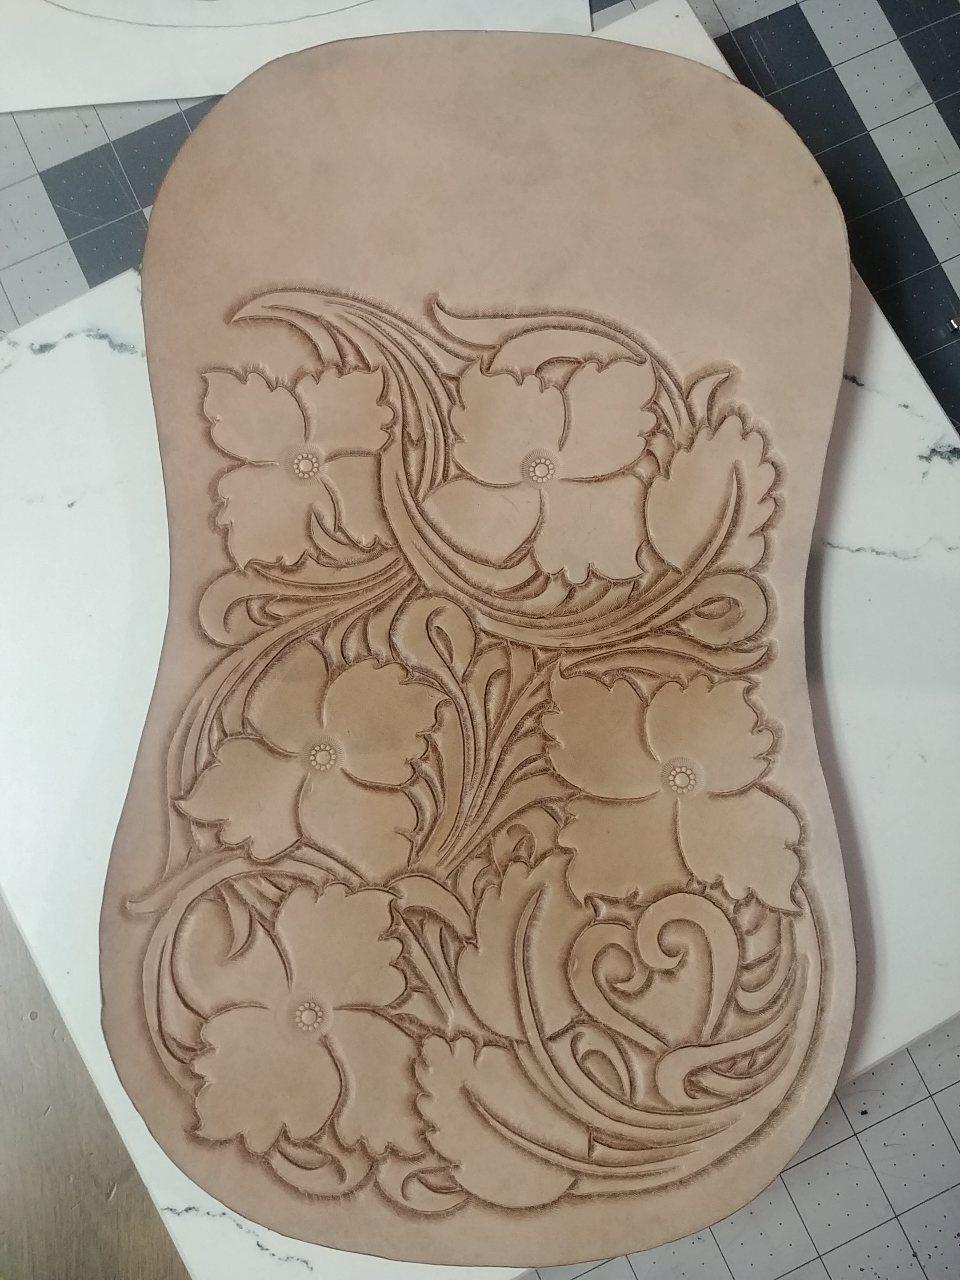
Thank you... I wish weilding a swivel knife was as easy as weilding a pencil, Especially the erasing part... Lol there are several cuts in that that if I could have moved them just a little bit I would have.