-
Posts
178 -
Joined
-
Last visited
Content Type
Profiles
Forums
Events
Blogs
Gallery
Everything posted by Cattleman
-
That will definetally help I'm sure. Im so used to using and seeing horse hair macates that I forgot that they dont have to be made of horse hair.
-
I think aloy of folks here are going to need picture illustrations to fully understand what you said... Lol. Growing up and having lived and worked on working cattle operations I'm very familiar with the setup you describe. Never really cared for a mecate on a bit myself, but always used a mecate on my hackamore.
-
As a machinist I have a little professional incite on this matter... For a cutting board you will have easier cuts and longer life from a UHMW (Ultra High Molecular weight) board. It's hard enough that blades glide along the surface without damaging the blade and the blades only cut into the board a very minimal amount, thus reducing drag on the blade. For punching with drive punches a softer surface is preferable to allow the punch to fully penetrate your work piece without damaging the punch. An inexpensive option is a rubber mud flap, but a better option is something along the lines of pondo board, which is slightly harder than rubber (and cleaner).
-
If you are posting from a phone or tablet get onto your app store and search for "free photo resizer app" This is the app i use on android... https://play.google.com/store/apps/details?id=com.fookiemonsters.photoresizer
-
Cartridge Belts: Curved or Straight?
Cattleman replied to ZARDOZ the GREAT's topic in How Do I Do That?
I usually stitch those type of items black... So I dont have to worry about staining the stitching. As to whether the curve makes a difference... I think that really varies client to client. -

Cartridge Belts: Curved or Straight?
Cattleman replied to ZARDOZ the GREAT's topic in How Do I Do That?
First off... Pre-stretch the straps used to create the cartridge loops, BEFORE building the belt. Then once you have finished the construction of the belt, but before oiling and finishing, buckle it tightly around a 5 gallon bucket or a 30 gallon drum (with a cartridge in each loop) while its slightly moist. Allow it completely dry, then remove to apply oil and finish products. -
Would very much be interested in a build thread!!!
-
Never carry a revolver on a live round... Would imagine thats why only 5 cartriges, 5 makes for a full reload.
-
@Tim Schroeder Do you have a copy of this tooling pattern, that I could get from you? My aunt wants me to make a tote bag for her and i think this pattern would work perfect.
-
As a machinist and welder by trade, I have to say that is some OUTSTANDING work!!! Can hardly tell it was ever broken. Side note: I would do almost anything to have that knee-mill!!!
-
Ranger Belt... Usually made with a fancy buckle, loop, and tip set. The pictures above are a ranger belt minus the fancy hardware.
-
Here is a video by Chuck Dorsett about making cuffs (or an arm guard, as he calls it). He starts by taking measurments and making a pattern, so I think this may help you. https://youtu.be/31CqelRgm7M?feature=shared
-
I seem to remember hearing Don Gonzales mention in one of his videos that he draws tooling patterns on his tablet. Below is a link to his website... You might reach out to him through the contact form on his site. He has always been willing to help when I have reached out in the past. https://dgsaddlery.com/
-
Thank you @bruce johnson I had just recently read over this thread, then a day or 2 ago a client asked about getting something with a rope border. So I wanted to get as much info as I could, because i REALLY like the way your rope borders turn out. Now I'm off to spend some money at Barry's and Pro Leather Carvers. Thanks again.
-
@bruce johnson I see that you now use Barry King bevelers to modify for this type of border. What sizes do you get? Do you still use the same rope stamps?
-
Personally, for any edged tool I wouldn't go any lighter weight than 5/6 oz. And for a full size axe, or similar tool, I would use 9/10 or heavier.
-
Thank you. I cant take credit for the patterns though. With the exception of the modifications to the tooling pattern, the patterns were created by Don Gonzales
-
I hope so... If its properly cared for it should out live the owner. Luckily they are people that know how to take care of leather items.
-
Lol... That definetally helps. Just wish I could spend more of iton something other than bills.
-
Thank you. This one is going to be a little hard for me to put into a box and ship... It just turned out so nice. I could look at the tooling for hours.
-
-
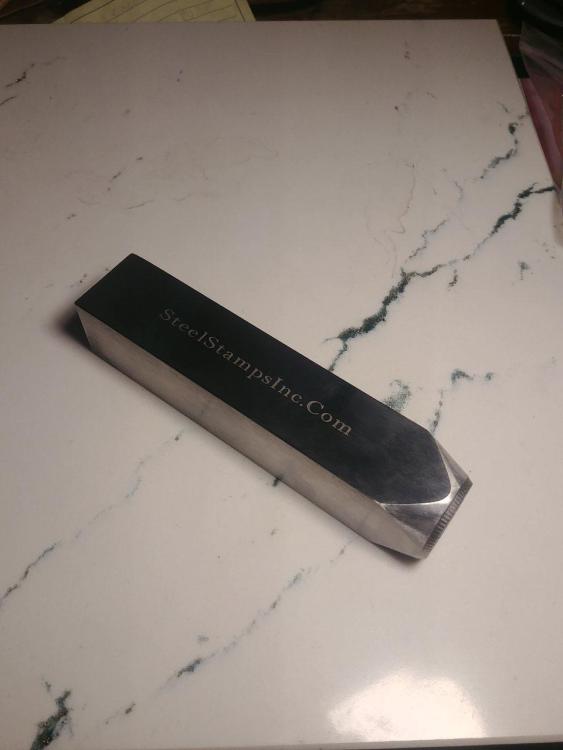
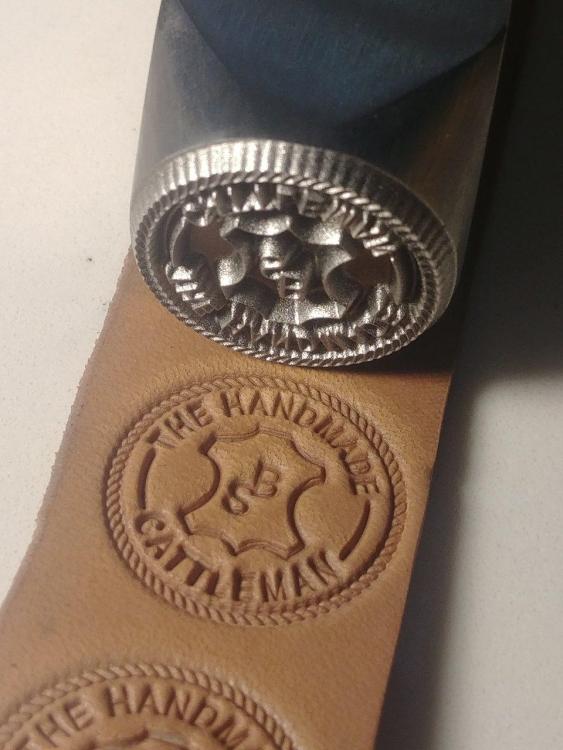
How you getting along with your makers marks? If I had seen this sooner id have suggested exactly where you ended up going. I got mine about a year ago now... Best couple hundred I've spent in some time. Mine is on a 1" square, makes the stamp about 15/16" diameter. What do you use to set it? Ive got a 3# deadblow that works pretty good.
-
Please let us know what your results are with the various products. Its always nice to know of alternative products in case one becomes unavailable.
- 13 replies
-
- burnishing
- edge
-
(and 1 more)
Tagged with:
-
Hey Randy, Have you ever used Tokonole? I recently picked some up at my local saddle shop, and boy howdy does that stuff work wonders with chrome tanned chap leather! Its available in brown, black, and neutral (clear). I use the clear. It doesn't get that burnished color like traditional slicking methods do on veg tan, but I dye most of my edges anyway. And yes it seems to take dye very well after slicking, I then follow with a coat or 2 of Tan-Kote to give it a more lustrous look. Note: it only takes a very SMALL amount to get a very nice looking edge.
- 13 replies
-
- burnishing
- edge
-
(and 1 more)
Tagged with:


