Search the Community
Showing results for tags 'tool roll'.
-
Tool Roll / Art Roll / Pen & Pencil Roll - Veg Tan, Full Grain
AltaAndina posted a topic in Old/Sold
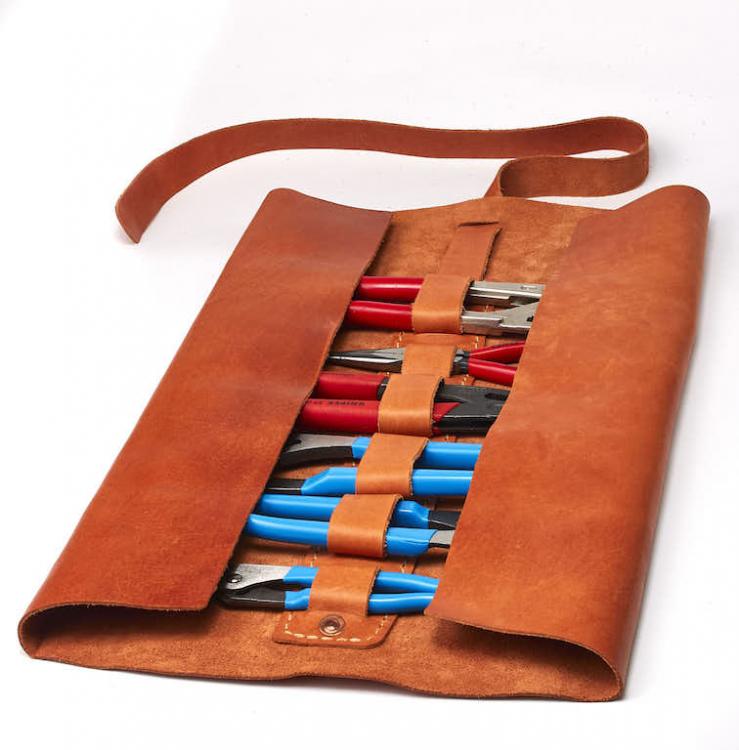
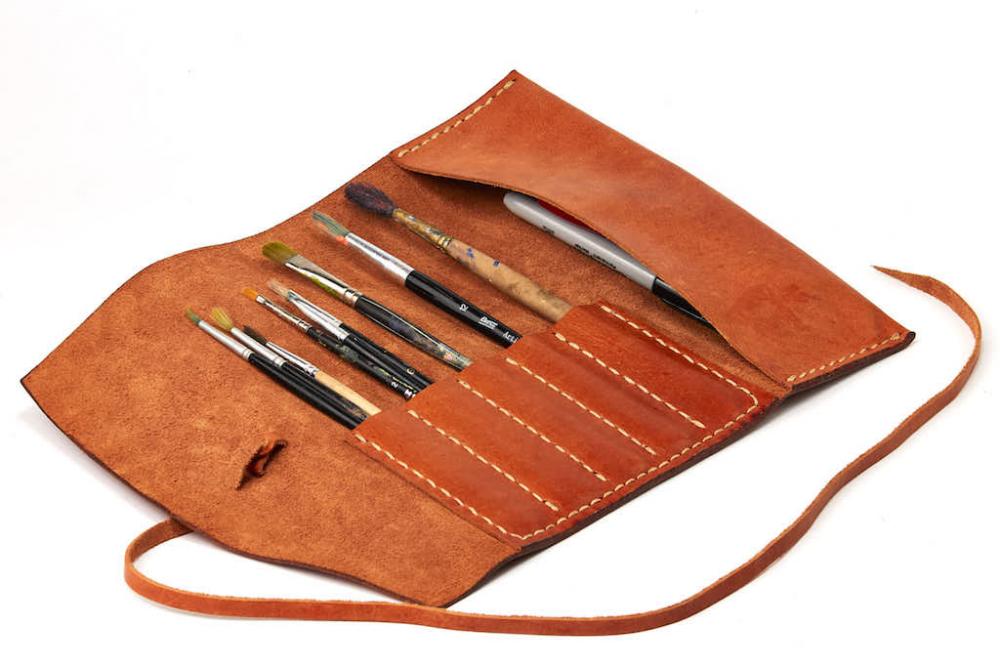
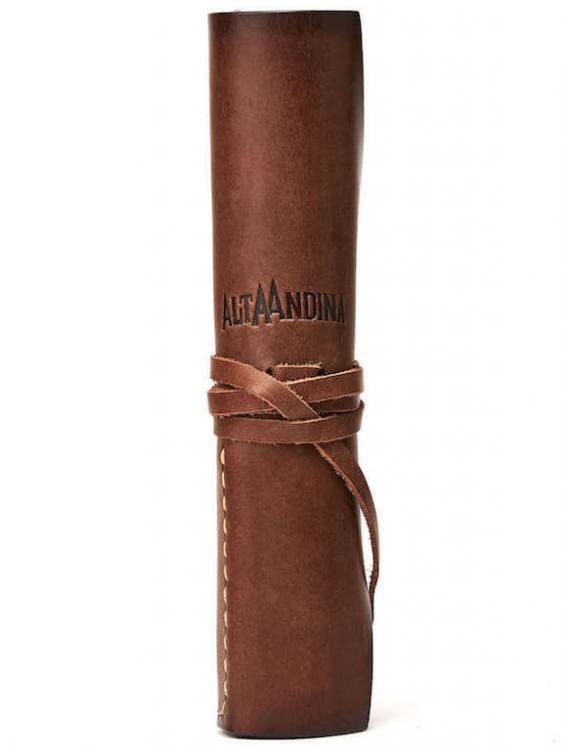
Alta Andina crafts handmade mutli-use rolls. They are for sale on our website: https://altaandina.com/products/ Our tool roll can be used for almost anything. Fits a 12 inch wrench. Each slot can be sized as big or small as needed. Great for woodworking sets, chisel sets, bonsai sets etc. Also works great for paint brushes or art supplies. Our art rolls can also be used for pens and pencils, brushes, etc. We haven't played with putting tools in our art rolls yet, but we'd love to see how you use them! We do all our work by hand. Hand stitching, hand hammered copper rivets, hand burnished with beeswax. All full grain, vegetable tanned leather (quebracho, mimosa blend).-
- vegetable tanned leather
- full grain leather
- (and 17 more)
-
Hi All - New to the forums and wanted some feedback on my companies' leather craft. All our products are handmade. Hand stitched, hand burnished, we hammer in our copper rivets by hand. We use only full grain, vegetable tanned leather (quebracho, mimosa blend). We'd love some feedback, especially on our rolls - see attached photos. They are really functional, but we're looking for suggestions, features to add, or general improvements to the design. Any suggestions for how you'd use them? Features you would like to see ideally? Each slot of the center strap tool roll with the wrenches adjusts so you can put various items inside. The art / pen and pencil rolls have the side pocket for extra storage which closes on its own when rolled. More photos on our website: https://altaandina.com/products/
- 1 reply
-
- full grain
- vegetable tanned
- (and 15 more)
-
Good morning I'd really like some assistance please. I want to make the attached link roll out of leather. Will it be as easy as just folding the bottom part over and stitch the pockets or will the 'fold over' section have to be bigger and separate in order to make room for the bulges of, for example deodorant? Their tutorial says to cut two similar size pieces and sew together. Any assistance in this regard will be appreciated.
-
I just posted this to my "Always Be Carving" thread (in the Critique forum) where I'm seeking continuous feedback on my carving skill, but I realized that I really am proud of this so I really am going to show it off. Attention Fellow Newbies: I am about to brag about something that really sucks! Critiques are certainly welcome, even if the only critique you can think of is "suck less.". This tool roll works well but looks awful because it's made entirely from scraps and I've built it over the past 4 months--and I started in leather just 5 months ago. So the quality does actually improve as the tool roll grows in size. Any tips or advice are most welcome. I just want to sort of prepare you for what you are about to see, which is that this roll is all about "function over form". I know it's ugly. Here's the post: I don't think this should go in "Show Off!" but I don't see a "No, Dave, Noooo!" thread, so here you go. I saw George Hurst mention a tool roll project in one of the Tandy Premium videos and thought "Heyyyy, I know how to do that already." I grabbed some spare upholstery vinyl and made a tidy little bundle: the brown/gray/black panels in the lower left. Then I bought 15 more tools all at once. Liz suggested instead of lengthening the roll, I should make it a "double decker". So the upper left black panel was added, also out of upholstery vinyl. Then I bought more tools. And more. And more. By this time I was doing dyeing experiments on entire pieces of 8.5"x11" alligator-embossed leather, and waste not want not, right? So I added the center panel (with gray tool slots), and then about a month later added the rightmost panel (with black tool slots). I ripped off the "legend" from the center panel when I added the rightmost panel because the steampunk gears needed to be moved down to the bottom row to balance the top/bottom roll diameters. Organization? HAH! They're basically in the order I bought them. Some day when my tool-itis slows down I'll go back and make myself a"nice" tool roll, and I'll organize the cams and the shaders and the bevelers each with their own kind, but until then... well, I sort of know where everything is. In this thread (The "Always Be Carving" in the Critique My Work forum--Ed.) I have done all my carving practice with JUST the tools in the lower left GRAY PANEL ONLY. That's the Tandy "Magic 6" plus a Mulefoot. (Well, plus the swivel knife and stylus on either side of that panel. Oh, plus the V707 veiner stop, that's second in from the the very top right.) So yeah. Lots of tools in there, so lonely, calling out to me... but I want to get my technique down first. I'll probably "play" with other tools soon but I don't want to branch out into other tools until I'm sure I'll learn more by doing so, rather than develop bad habits by using a tool that covers my mistakes. Confession: I am inordinately proud of this tool roll. It's ugly as hell and I know it but it's mine and I made it and it works perfectly. Pragmatically speaking it is perfectly adequate. It's so ugly that only a mother father could love it, but I do. P.S. Not that anybody cares besides me, but I do so shut up: Rolled up tight, in its current size and loadout, it's almost exactly 12" long and 4" in diameter, and weighs 5lb 10.6oz. Unrolled length is 27.5". This gives it a density of 2637kg/m3, so it will sink in molten aluminum (right before it catches fire), though it will float in aluminum bromide (without catching fire, though the vinyl might melt). It will also sink in molten Cesium (or it would, if you could get enough of it together and melt it without it exploding upon contact with moisture in the air, so you know what let's skip the Cesium). In fact, about the only reasonable molten solid to sink this in might be molten sulfur. At 115°C the vinyl might melt, but if, hypothetically, you were carrying this tool roll near a brimstone vent by an active volcano, and you dropped it into the molten brimstone, it would sink, but it would be just fine. I would still understand if you chose to leave it there and get yourself to safety though. I mean seriously what are you even doing trying to tool leather next to an active volcano? Priorities, people, priorities! P.P.S. My favorite 2 things about this tool roll are 1) everything fits snugly enough that I can sling the unrolled slab over my shoulder and carry it from my office to my workbench, and 2) the glove snaps along the top. They force the top flap to tuck and crimp instead of flop out as I'm rolling the bundle. They were my wife's idea just a few days ago and they're already my favorite thing.
-
From the album: my work
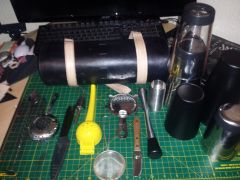
so far this is what fits inside... there is a lot-
- cocktail bar roll
- bar roll
-
(and 1 more)
Tagged with:
-
From the album: my work
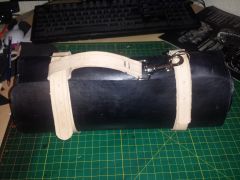
2 external straps (they started as collars) with a small trigger clip handle strap to create a horizontal carrying handle. the staps are stitched onto the body of the roll.-
- cocktail bar roll
- bar roll
-
(and 1 more)
Tagged with:
-
From the album: my work
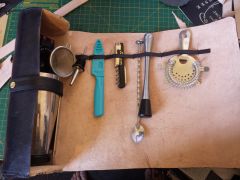
small leather retention straps to hold my tools. this changes-
- cocktail bar roll
- tool roll
-
(and 1 more)
Tagged with:
-
From the album: my work
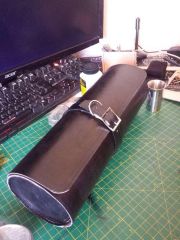
this is becoming my white whale. wet moulded the round end pieces, single strap... she grows day by day.. will it ever end??-
- cocktail bar roll
- bar roll
-
(and 1 more)
Tagged with:
-
Here’s a little something I knocked up recently… I do get out and about with the leatherwork and wanted something a little different than a tool box. I have the Gerstner, but that is just too big to lug about… so I had a play and came up with this. It’s oiled leather and canvas and very robust, the running loops make it easy to fit most of my tools. It’s ideal when I’m nipping out for a quick repair or doing jobs on site. What do ya think?
-
Hello all, I am new to the forum and leather work in general and I am trying to recreate a tool roll I have found online. The leather portion seems simple, but I figured I would tap into the wisdom here to see if I am leaving anything out. Pictures attached. It appears the edges are burnished (never done this), the logos are branded, and it is sewn into the waxed canvas lining. I am unsure if the border of the flap is burnt as well? I am looking at getting some 8oz leather from Tandy and some #10 Duck material to make it out of. Thanks!! Brian
-
A Christmas present for my Brother. This is the first project I have finished. I have a seat started. It is a dual seat that is going to require a lot of lacing. So this is my third tooled piece but only my first lacing job.


