Uwe
-
Posts
2,215 -
Joined
-
Last visited


Uwe's Achievements
Leatherworker.net Regular (4/4)
-
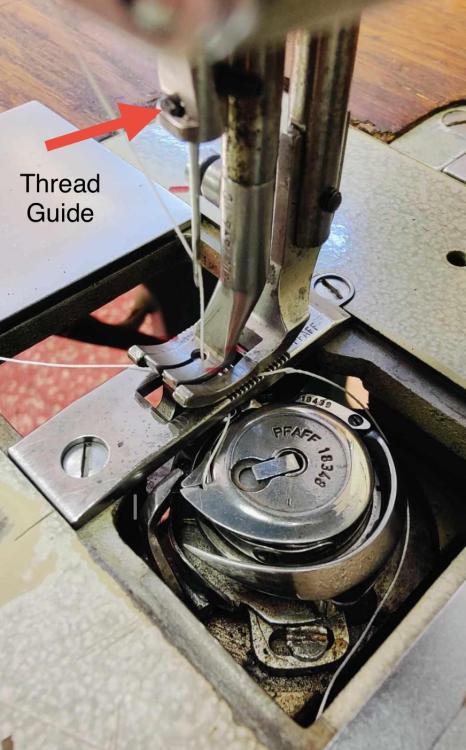
The thread should definitely be sitting in that “shoulder”, as in the second picture. If the thread misses that shoulder in long stitch reverse, then something is not aligned quite right. This may also happen if you stop in precisely the wrong position and the hook has a little backlash in its movement as you stop. A slow motion hand turned stitch with a close-up video snippet of that area would be of great help in debugging. (See sample video below) It may be that your needle/feed dog are adjusted too far back in the throat plate opening. Ideally, the feed dog movement should be nicely centered in that opening front-to-back. The video below shows how that basket opener and the thread pickup works on my machine (before I upgraded it to the 341N hook with a cap.) Perhaps compare timing with your machine.
-
I’m happy to report that the inventory has found a new owner and is in good hands. Thanks to all who had expressed interest! Cheers, Uwe
-

Sneak peek: Acrylic flatbed attachment for Juki LS-341 class machines
Uwe replied to Uwe's topic in Leather Sewing Machines
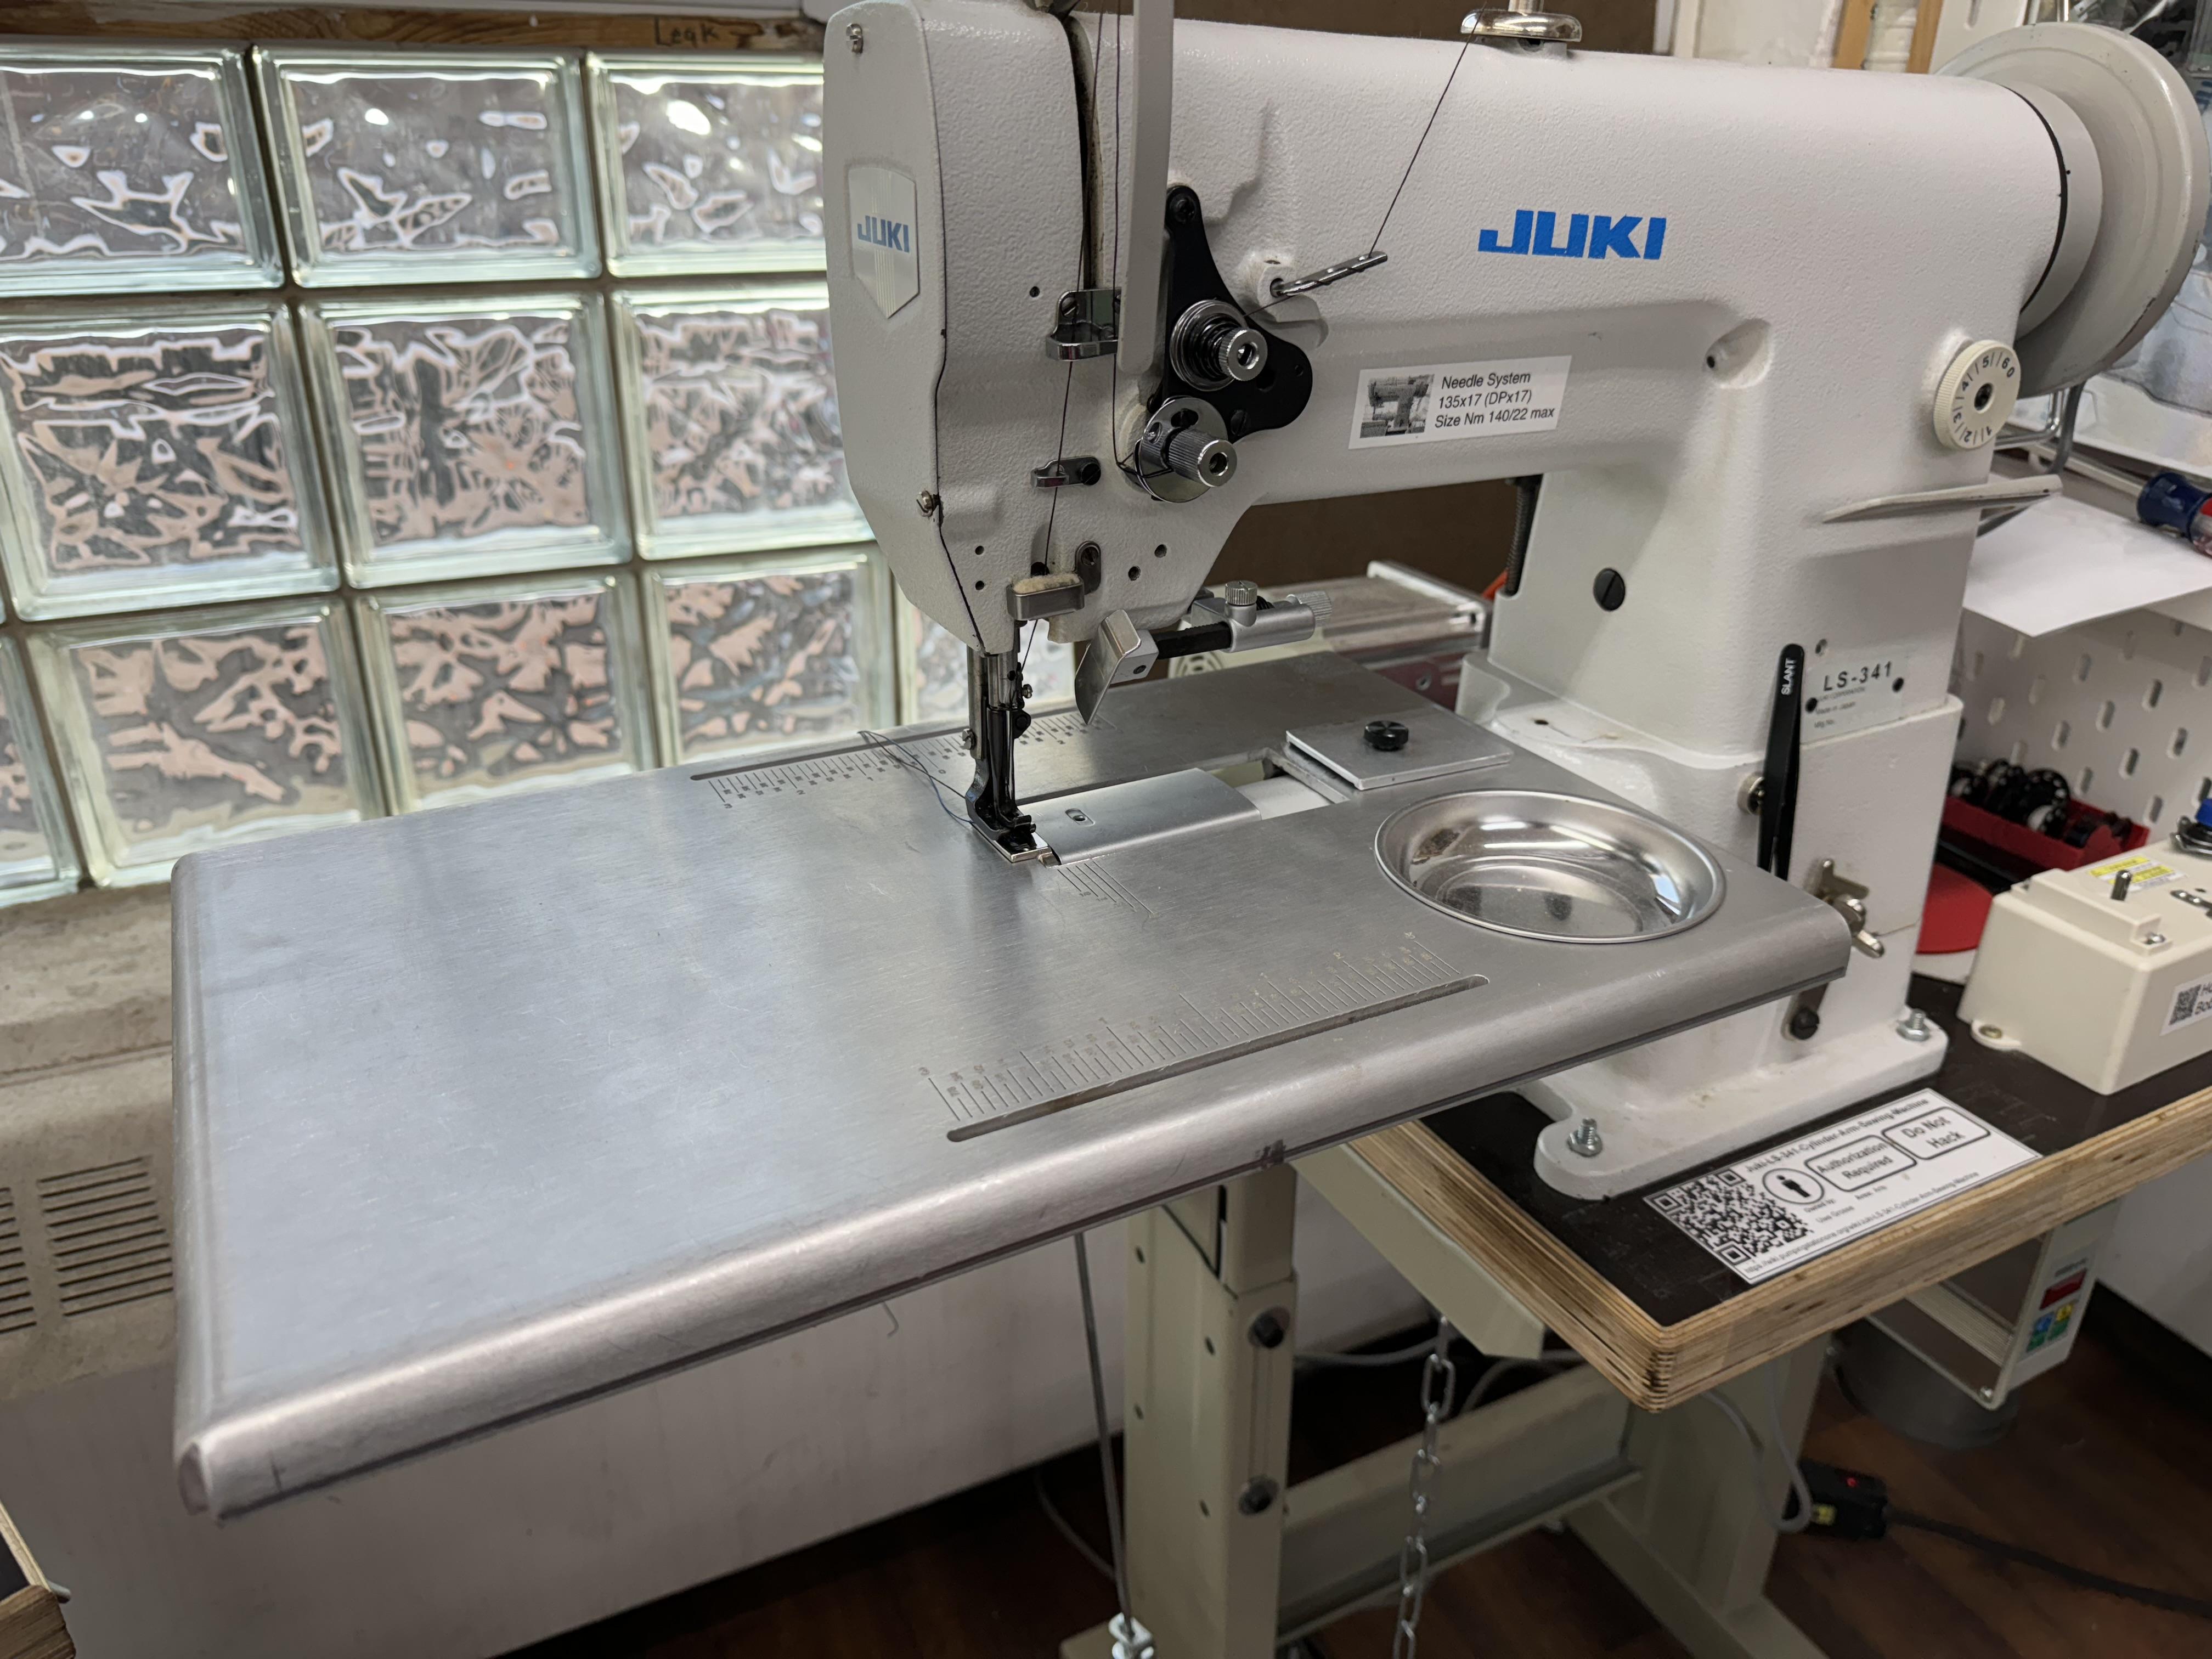
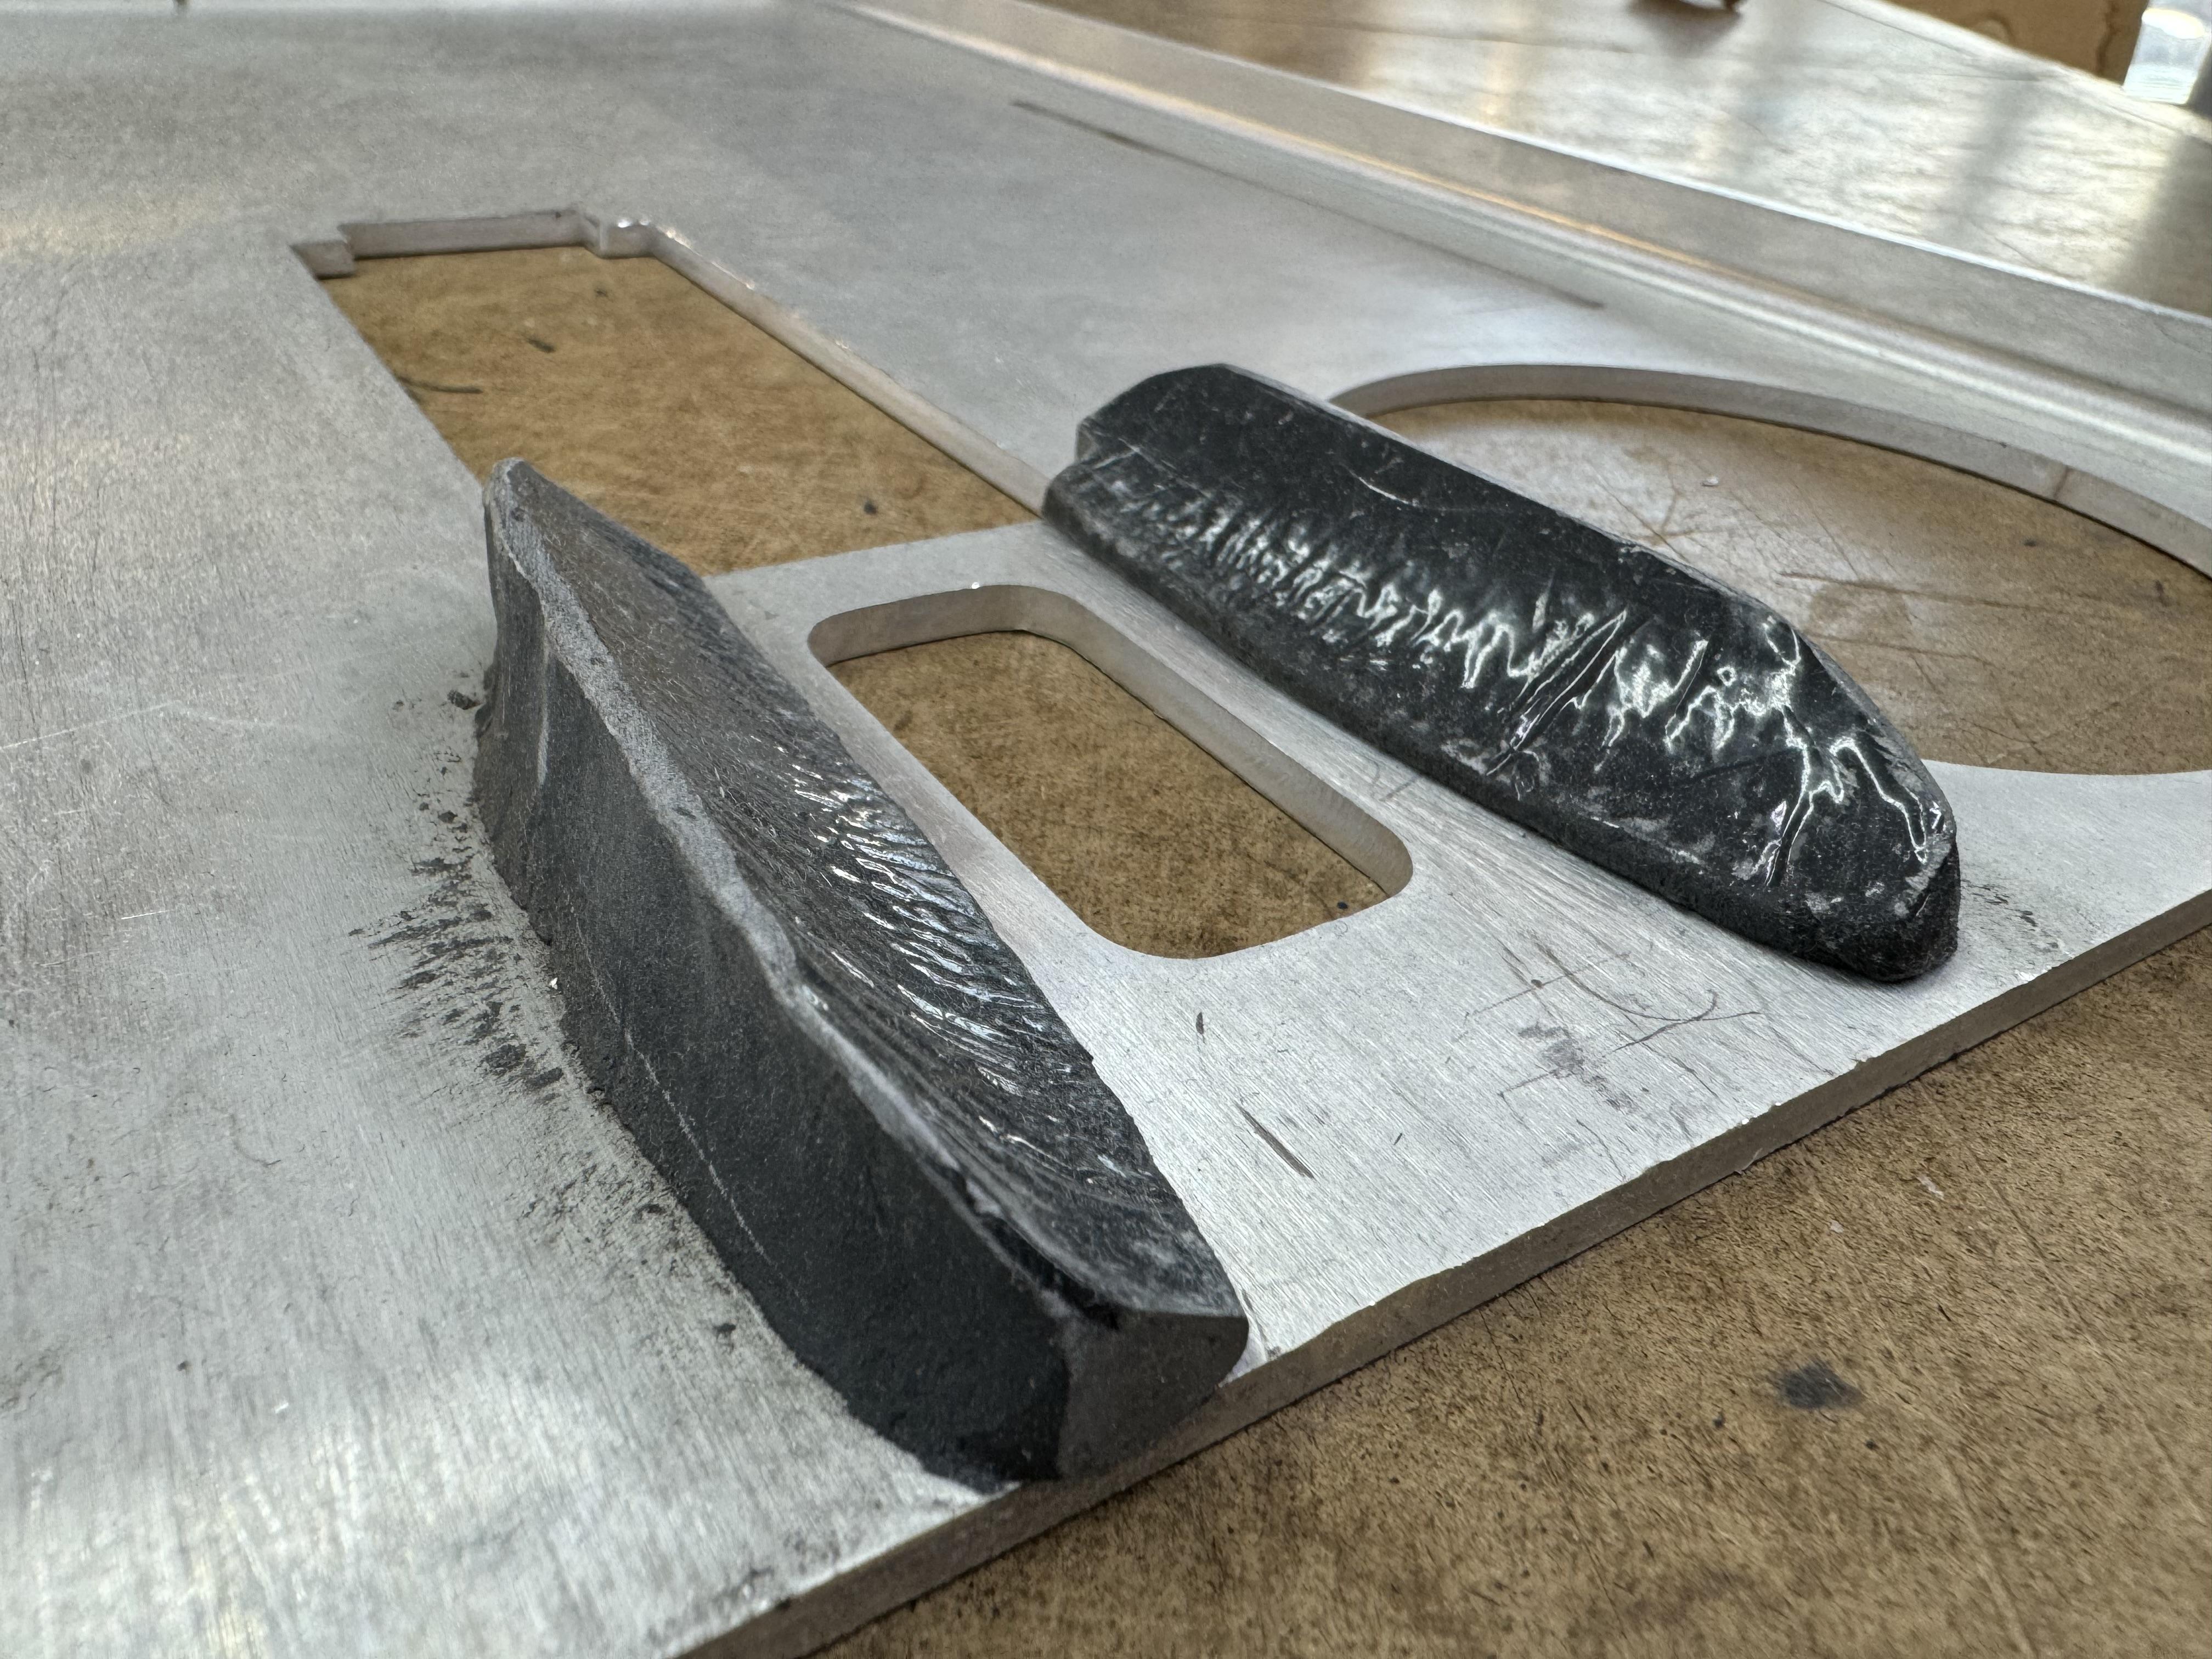
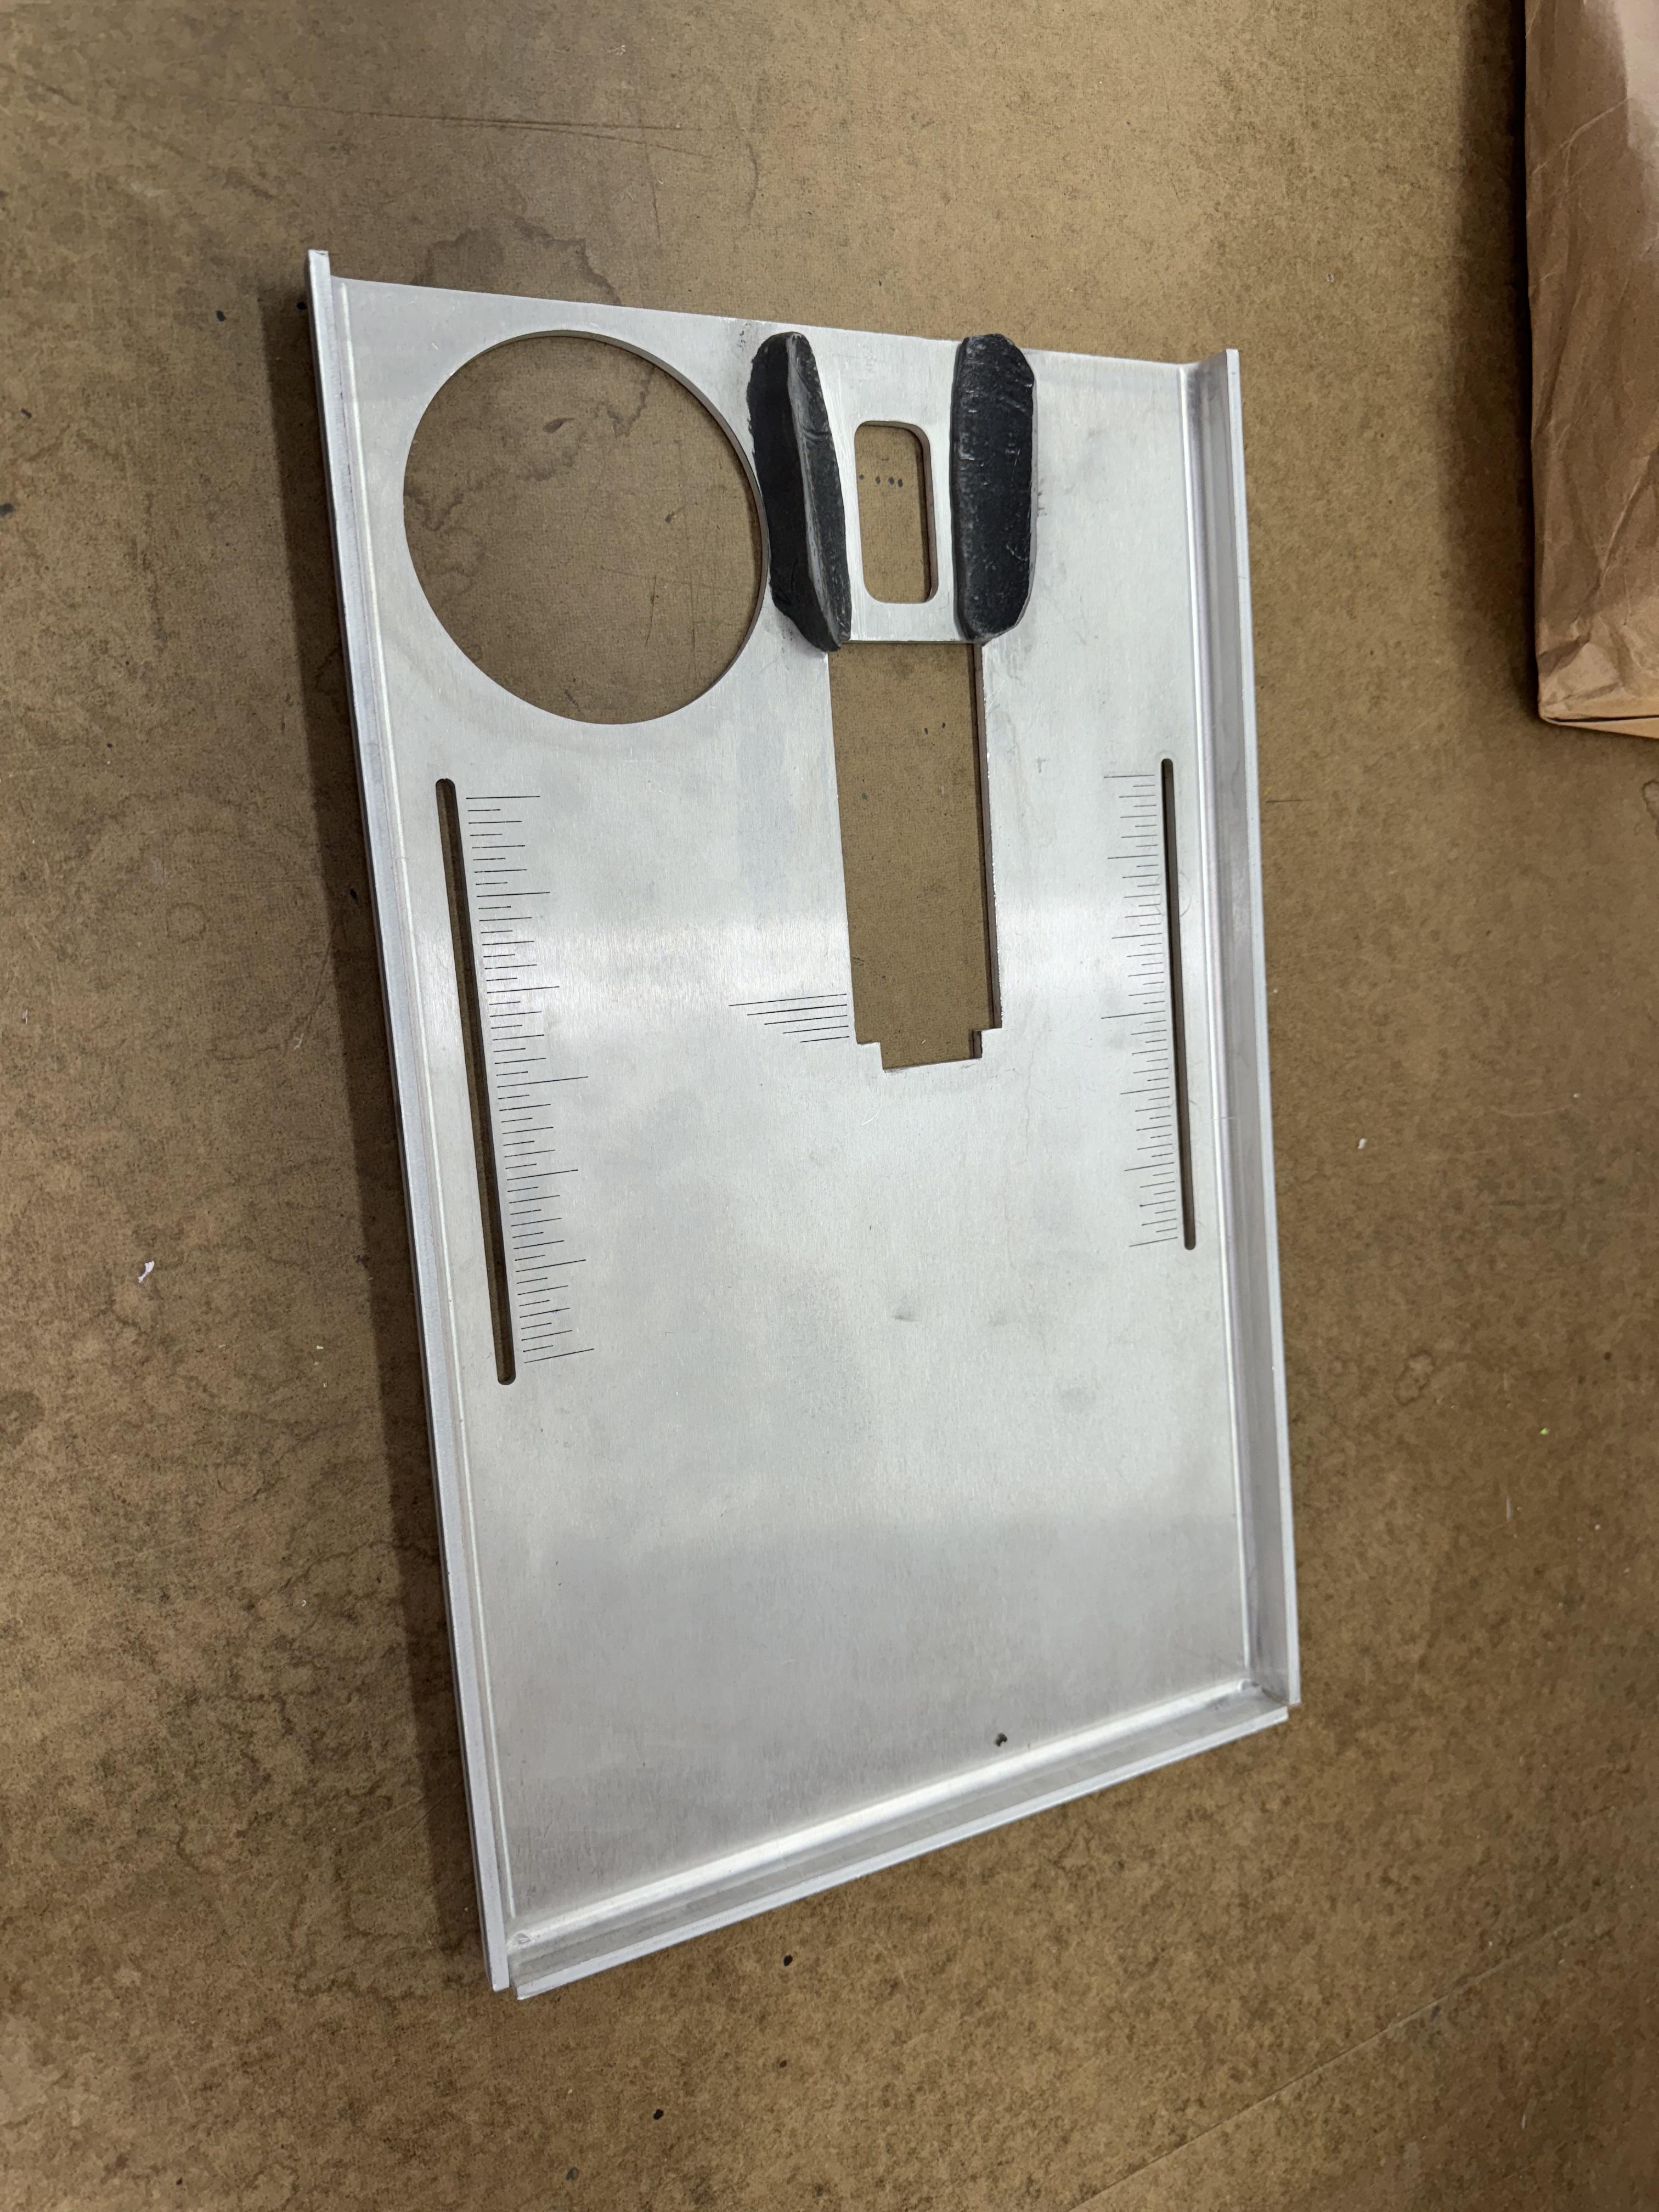
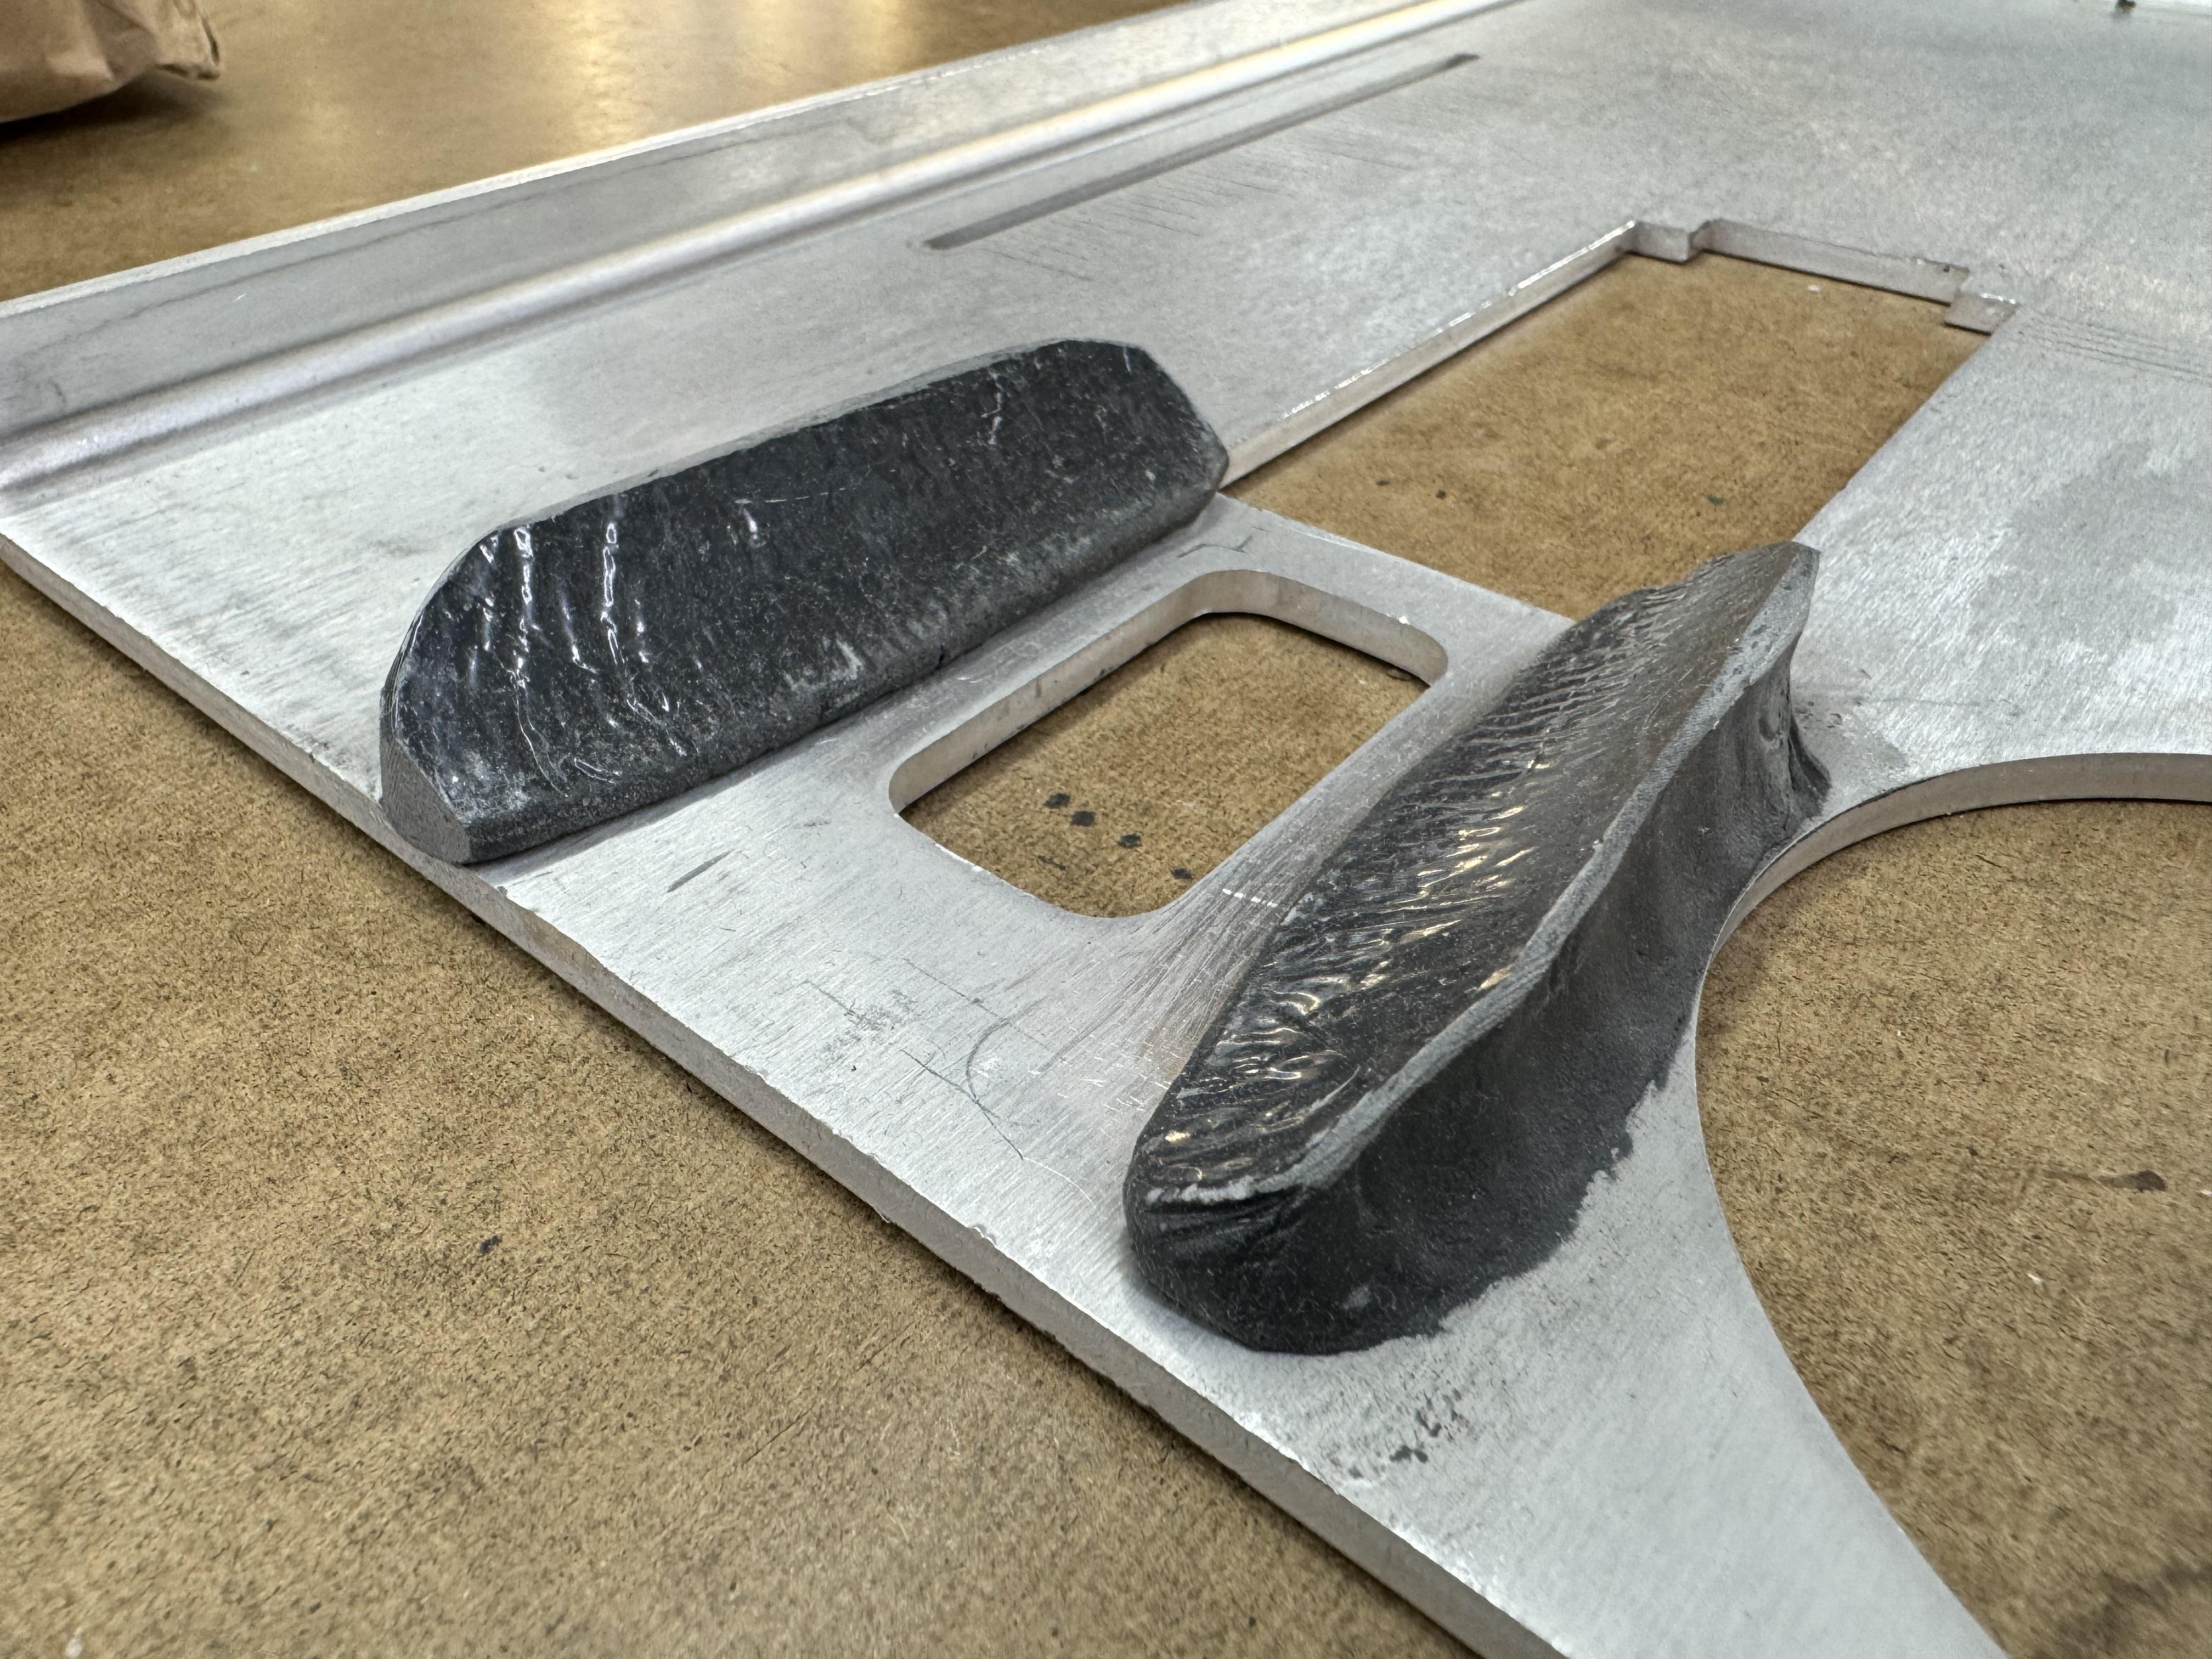
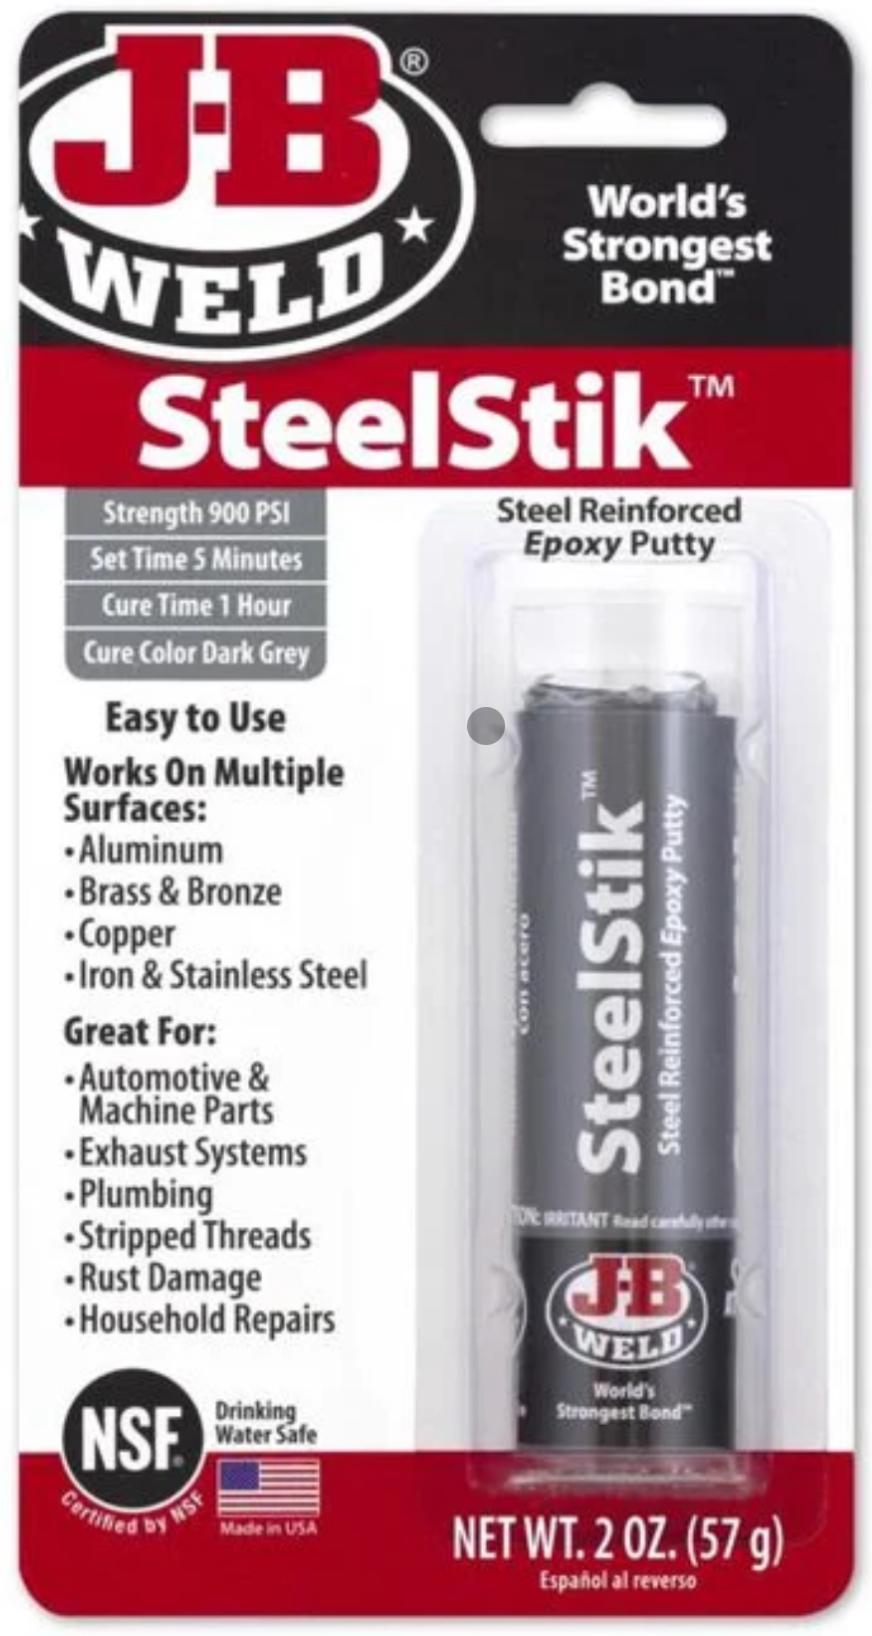
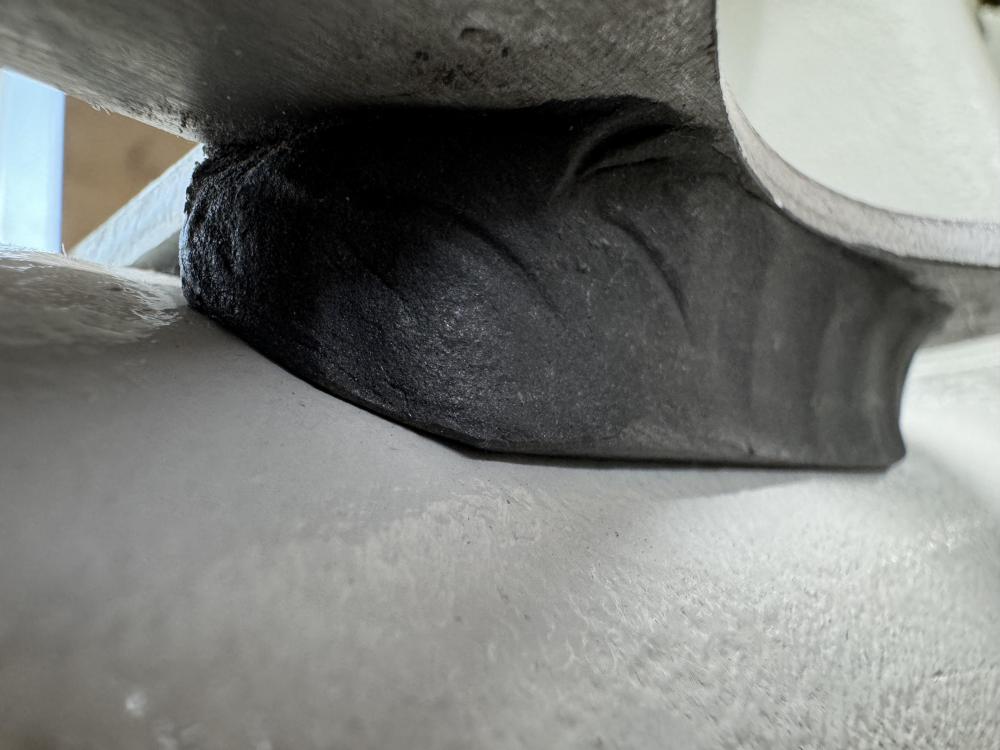
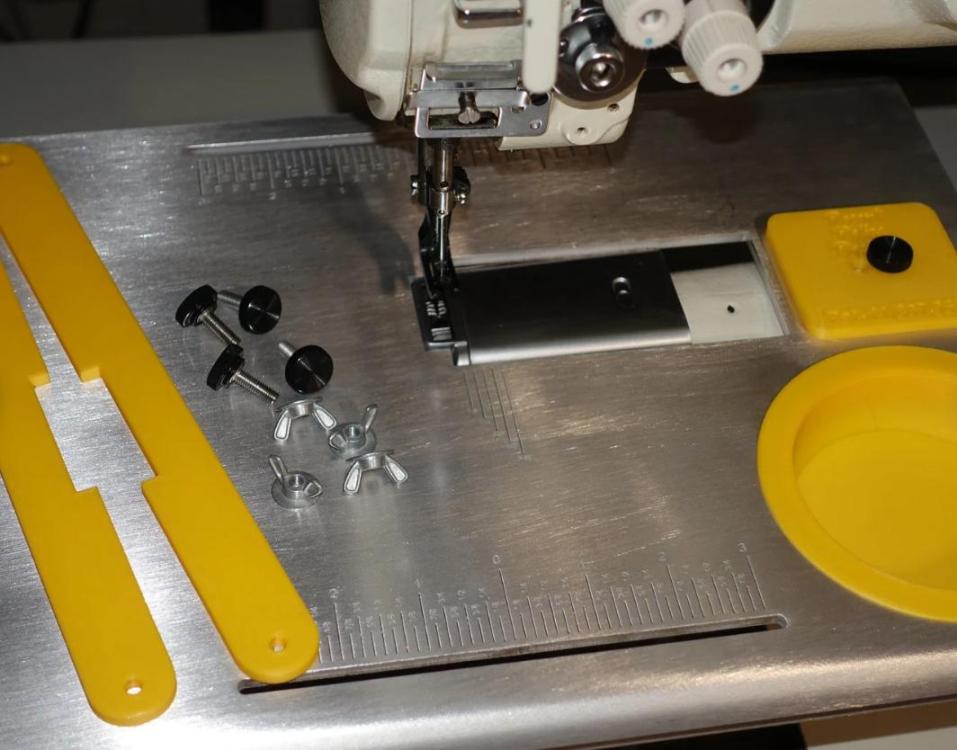
I got an aluminum table for my Juki LS-341 from RecentRelics on Etsy. It’s a very nice table and with some upgrade modifications, it’s rock solid and takes seconds to install or remove with a single thumb screw. I was not a fan of the 3D-printed bits that came with the table attachment, so I replaced the one for the thumb screw with a small aluminum plate, and the arm wedges with a custom-molded J.B. Weld SteelStik saddle. The round magnetic tray insert for needles or clips can be found at most hardware stores. J.B. Weld is a steel reinforced epoxy putty for making repairs to metal parts. It’s a miracle in stick form. You tear off a part of the stick and knead it to activate it. You can file, drill, cut just like metal when it’s hardened. I used half a stick on either side of the arm. Here’s how the table attachment arrived, including the 3D printed parts (You can’t see the arm wedges on the underside of the table.) Here are few pics of my modified table attachment: This is the J.B. Weld SteelStik saddle. I wrapped the arm with kitchen plastic cling wrap, then in stalled the table and pressed half a stick of J.B. Weld in the gap on either side of the arm. It sticks really well to the aluminum table (but not the plastic wrap) and it conforms perfectly to the arm, paint/casting dimples and all. I filed some edges down a bit by hand.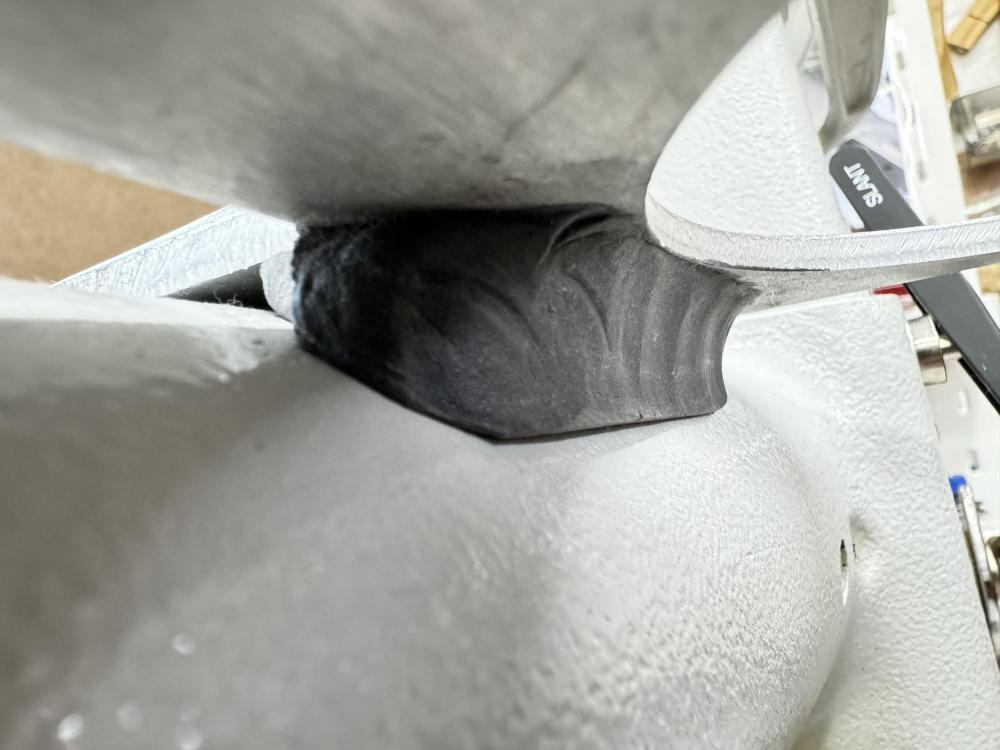


-
And the “S” at the end means that it left the factory with toothed presser feet and feed dog designed for fabric (”Stoff” in German). Presser feet and feed dog are easy to exchange for leather version without teeth.
-
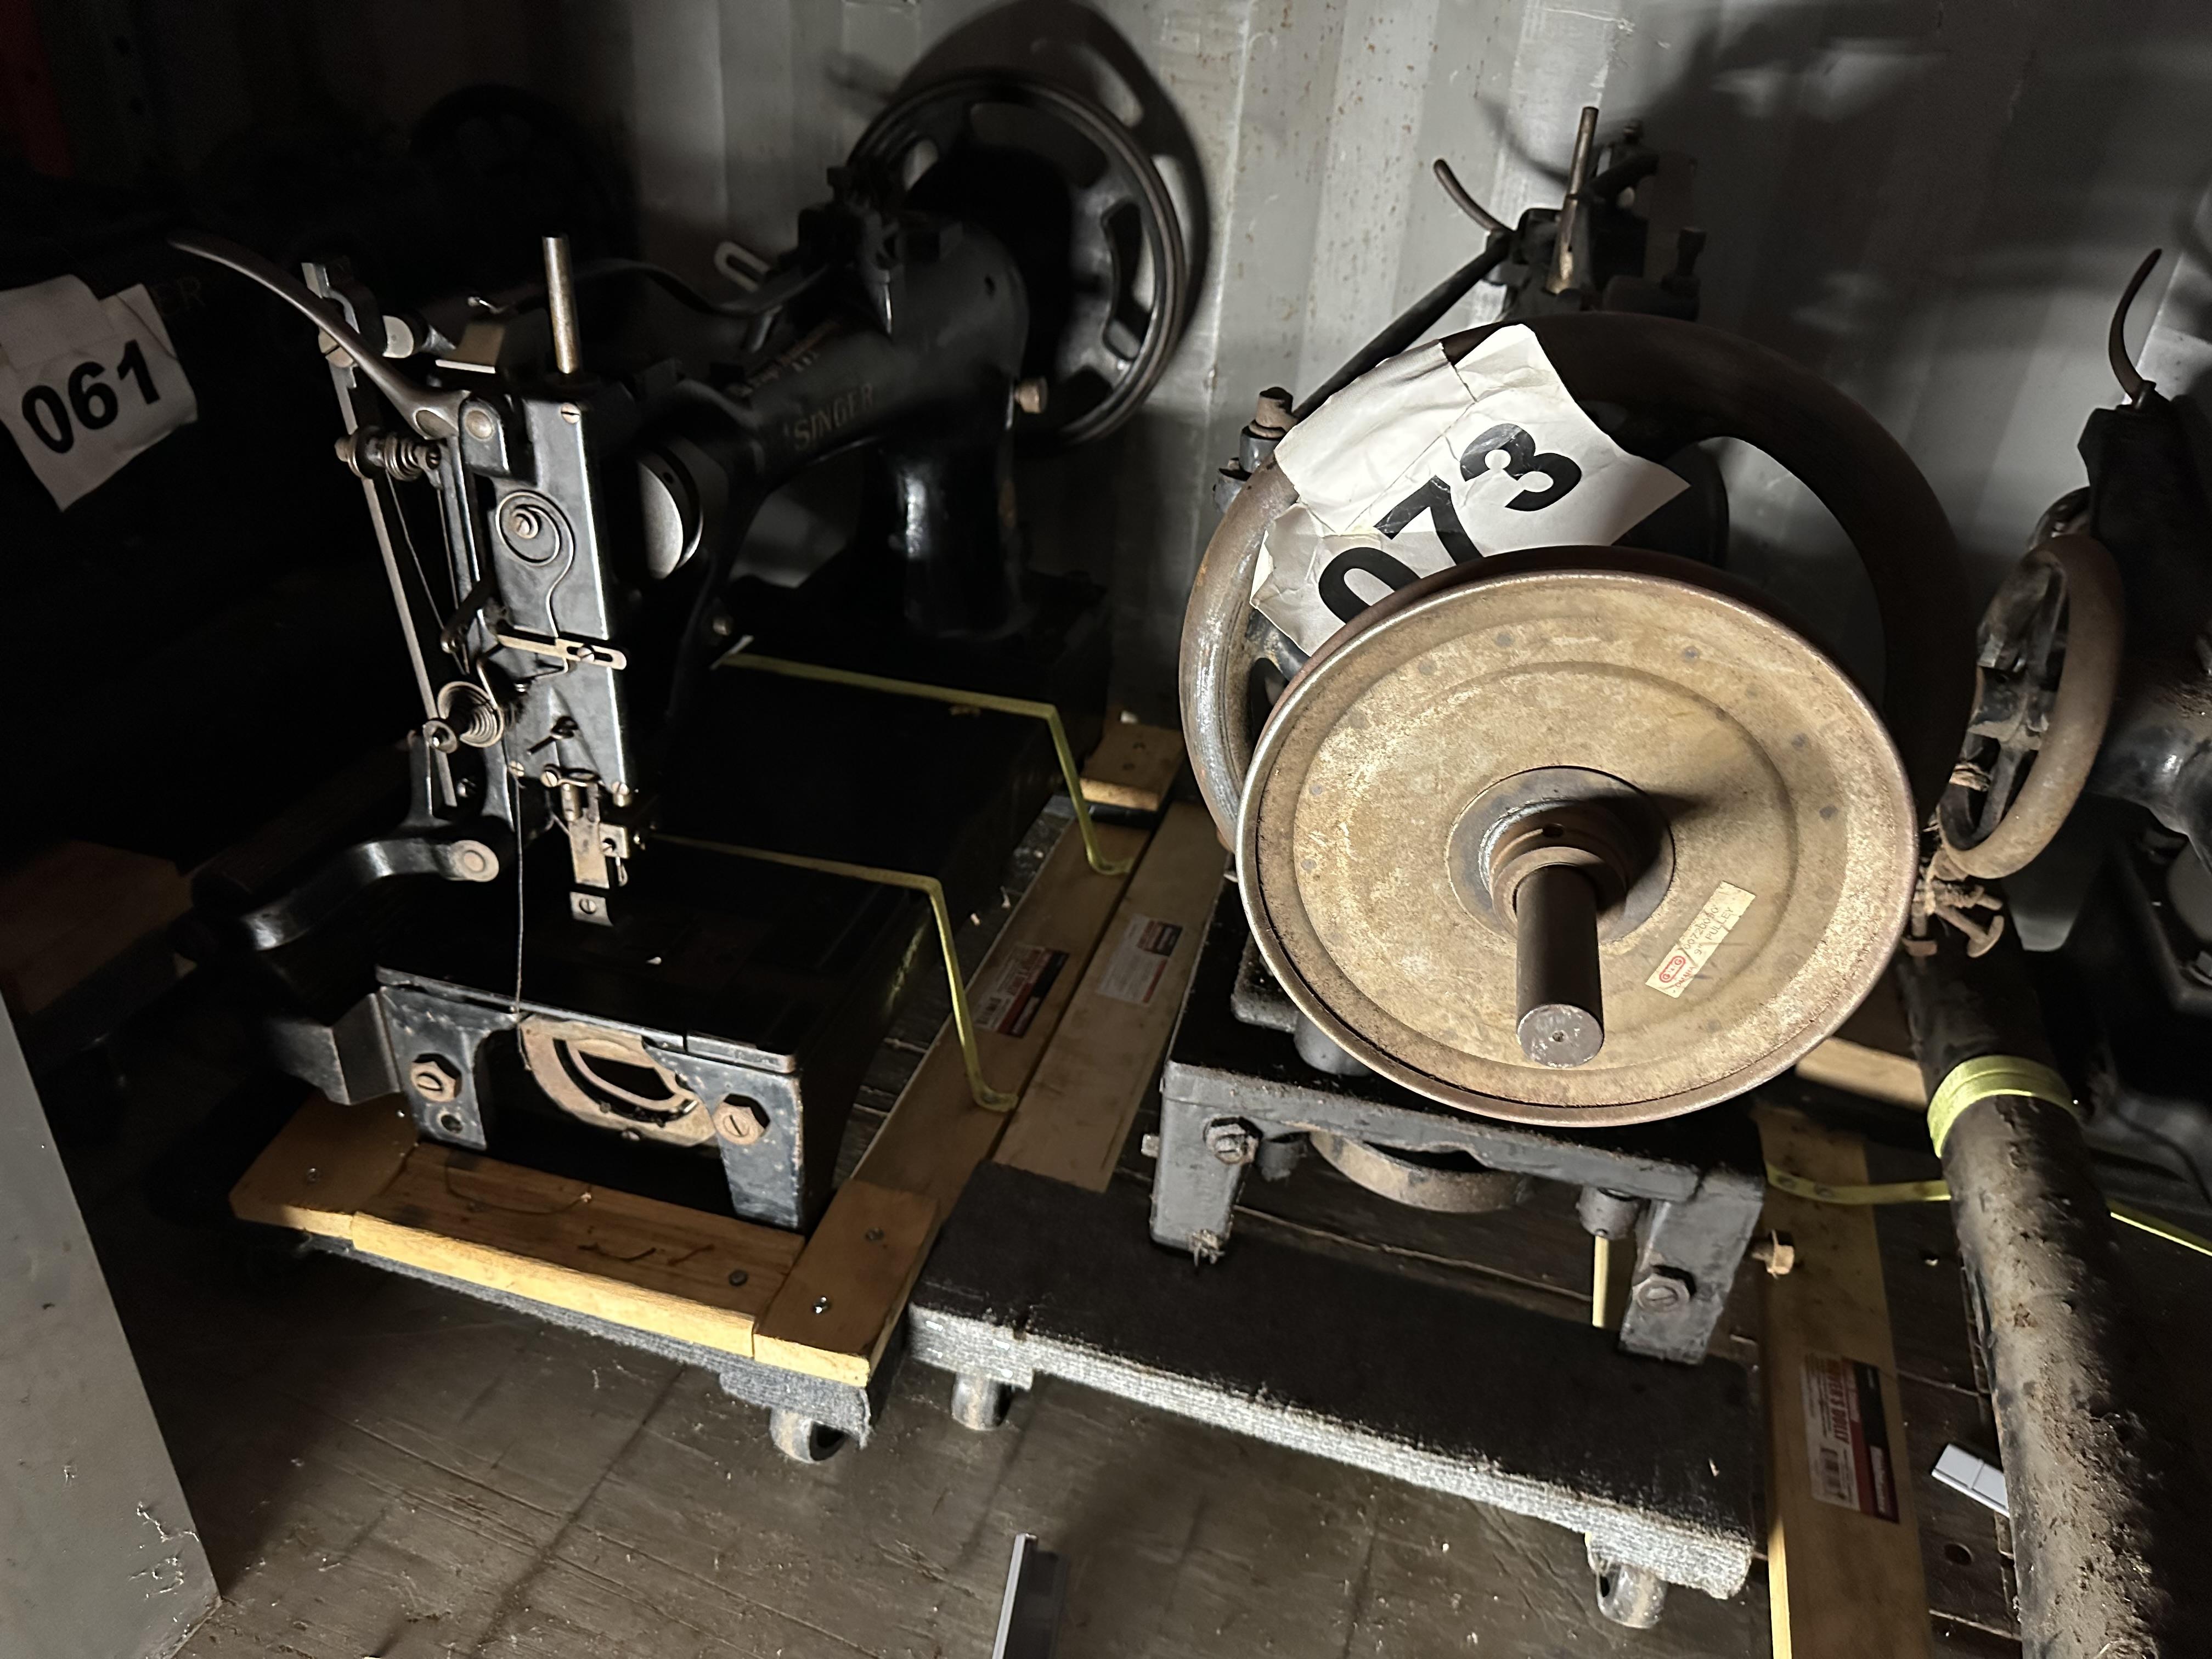
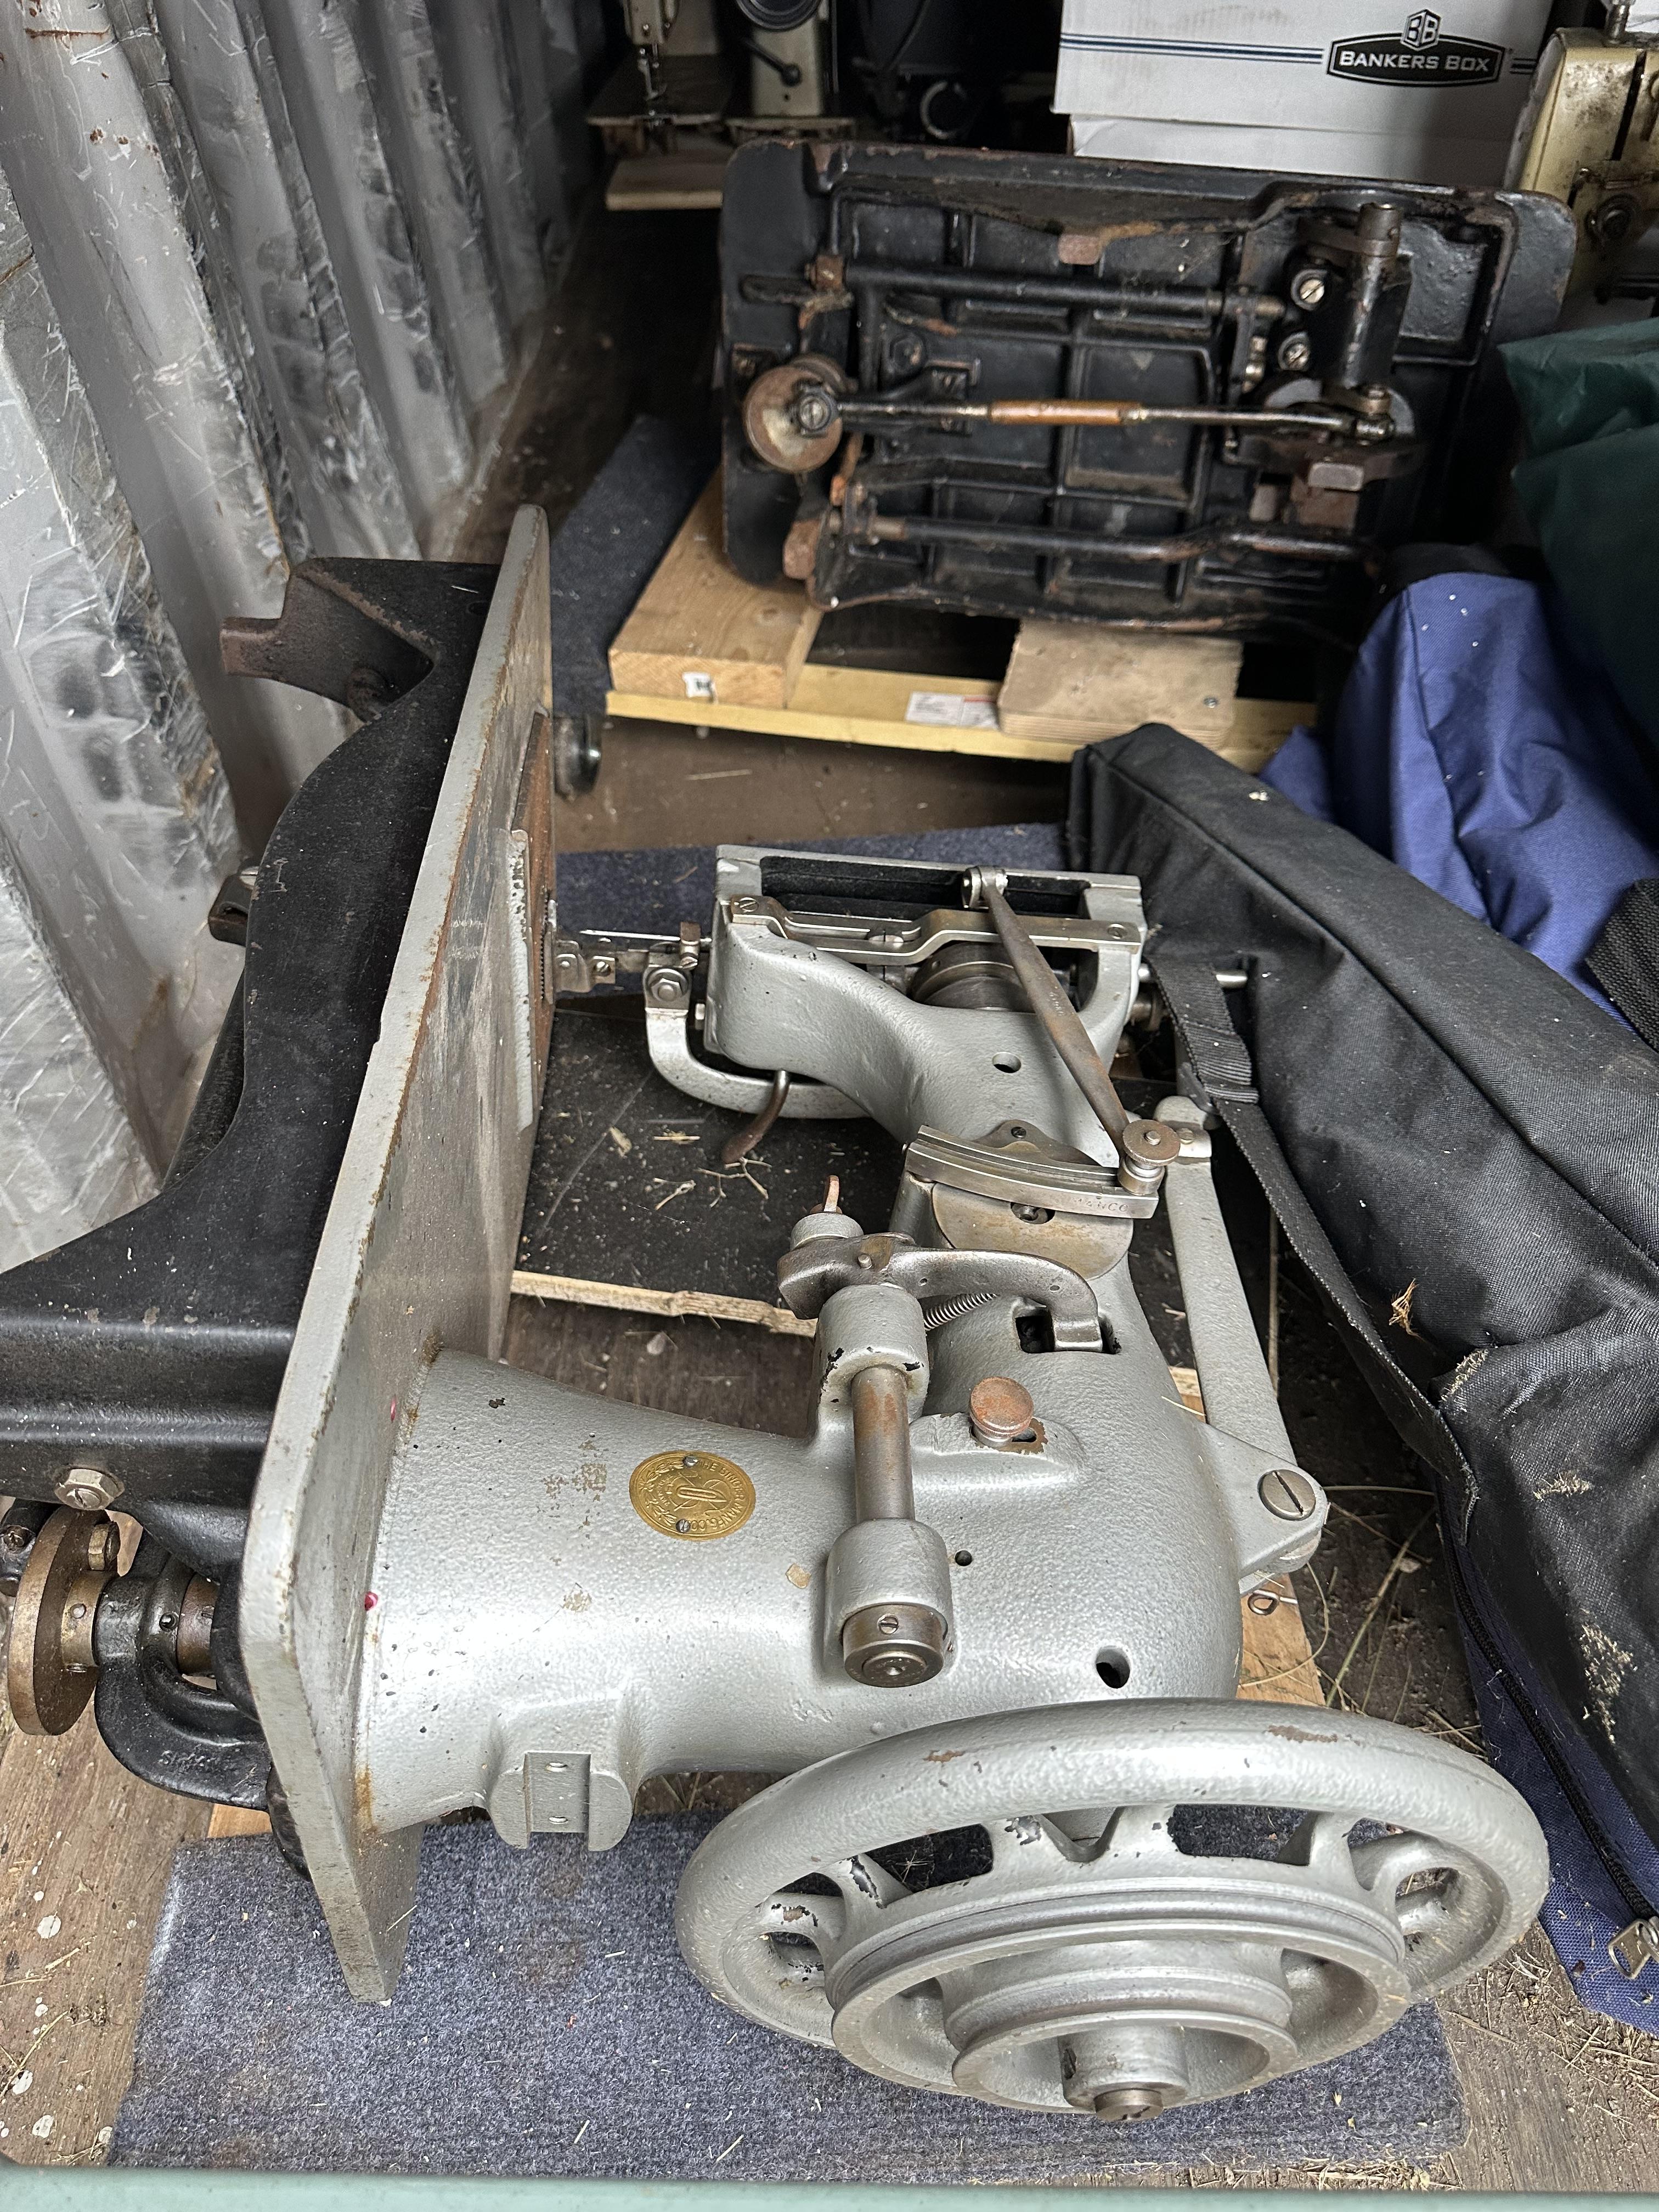
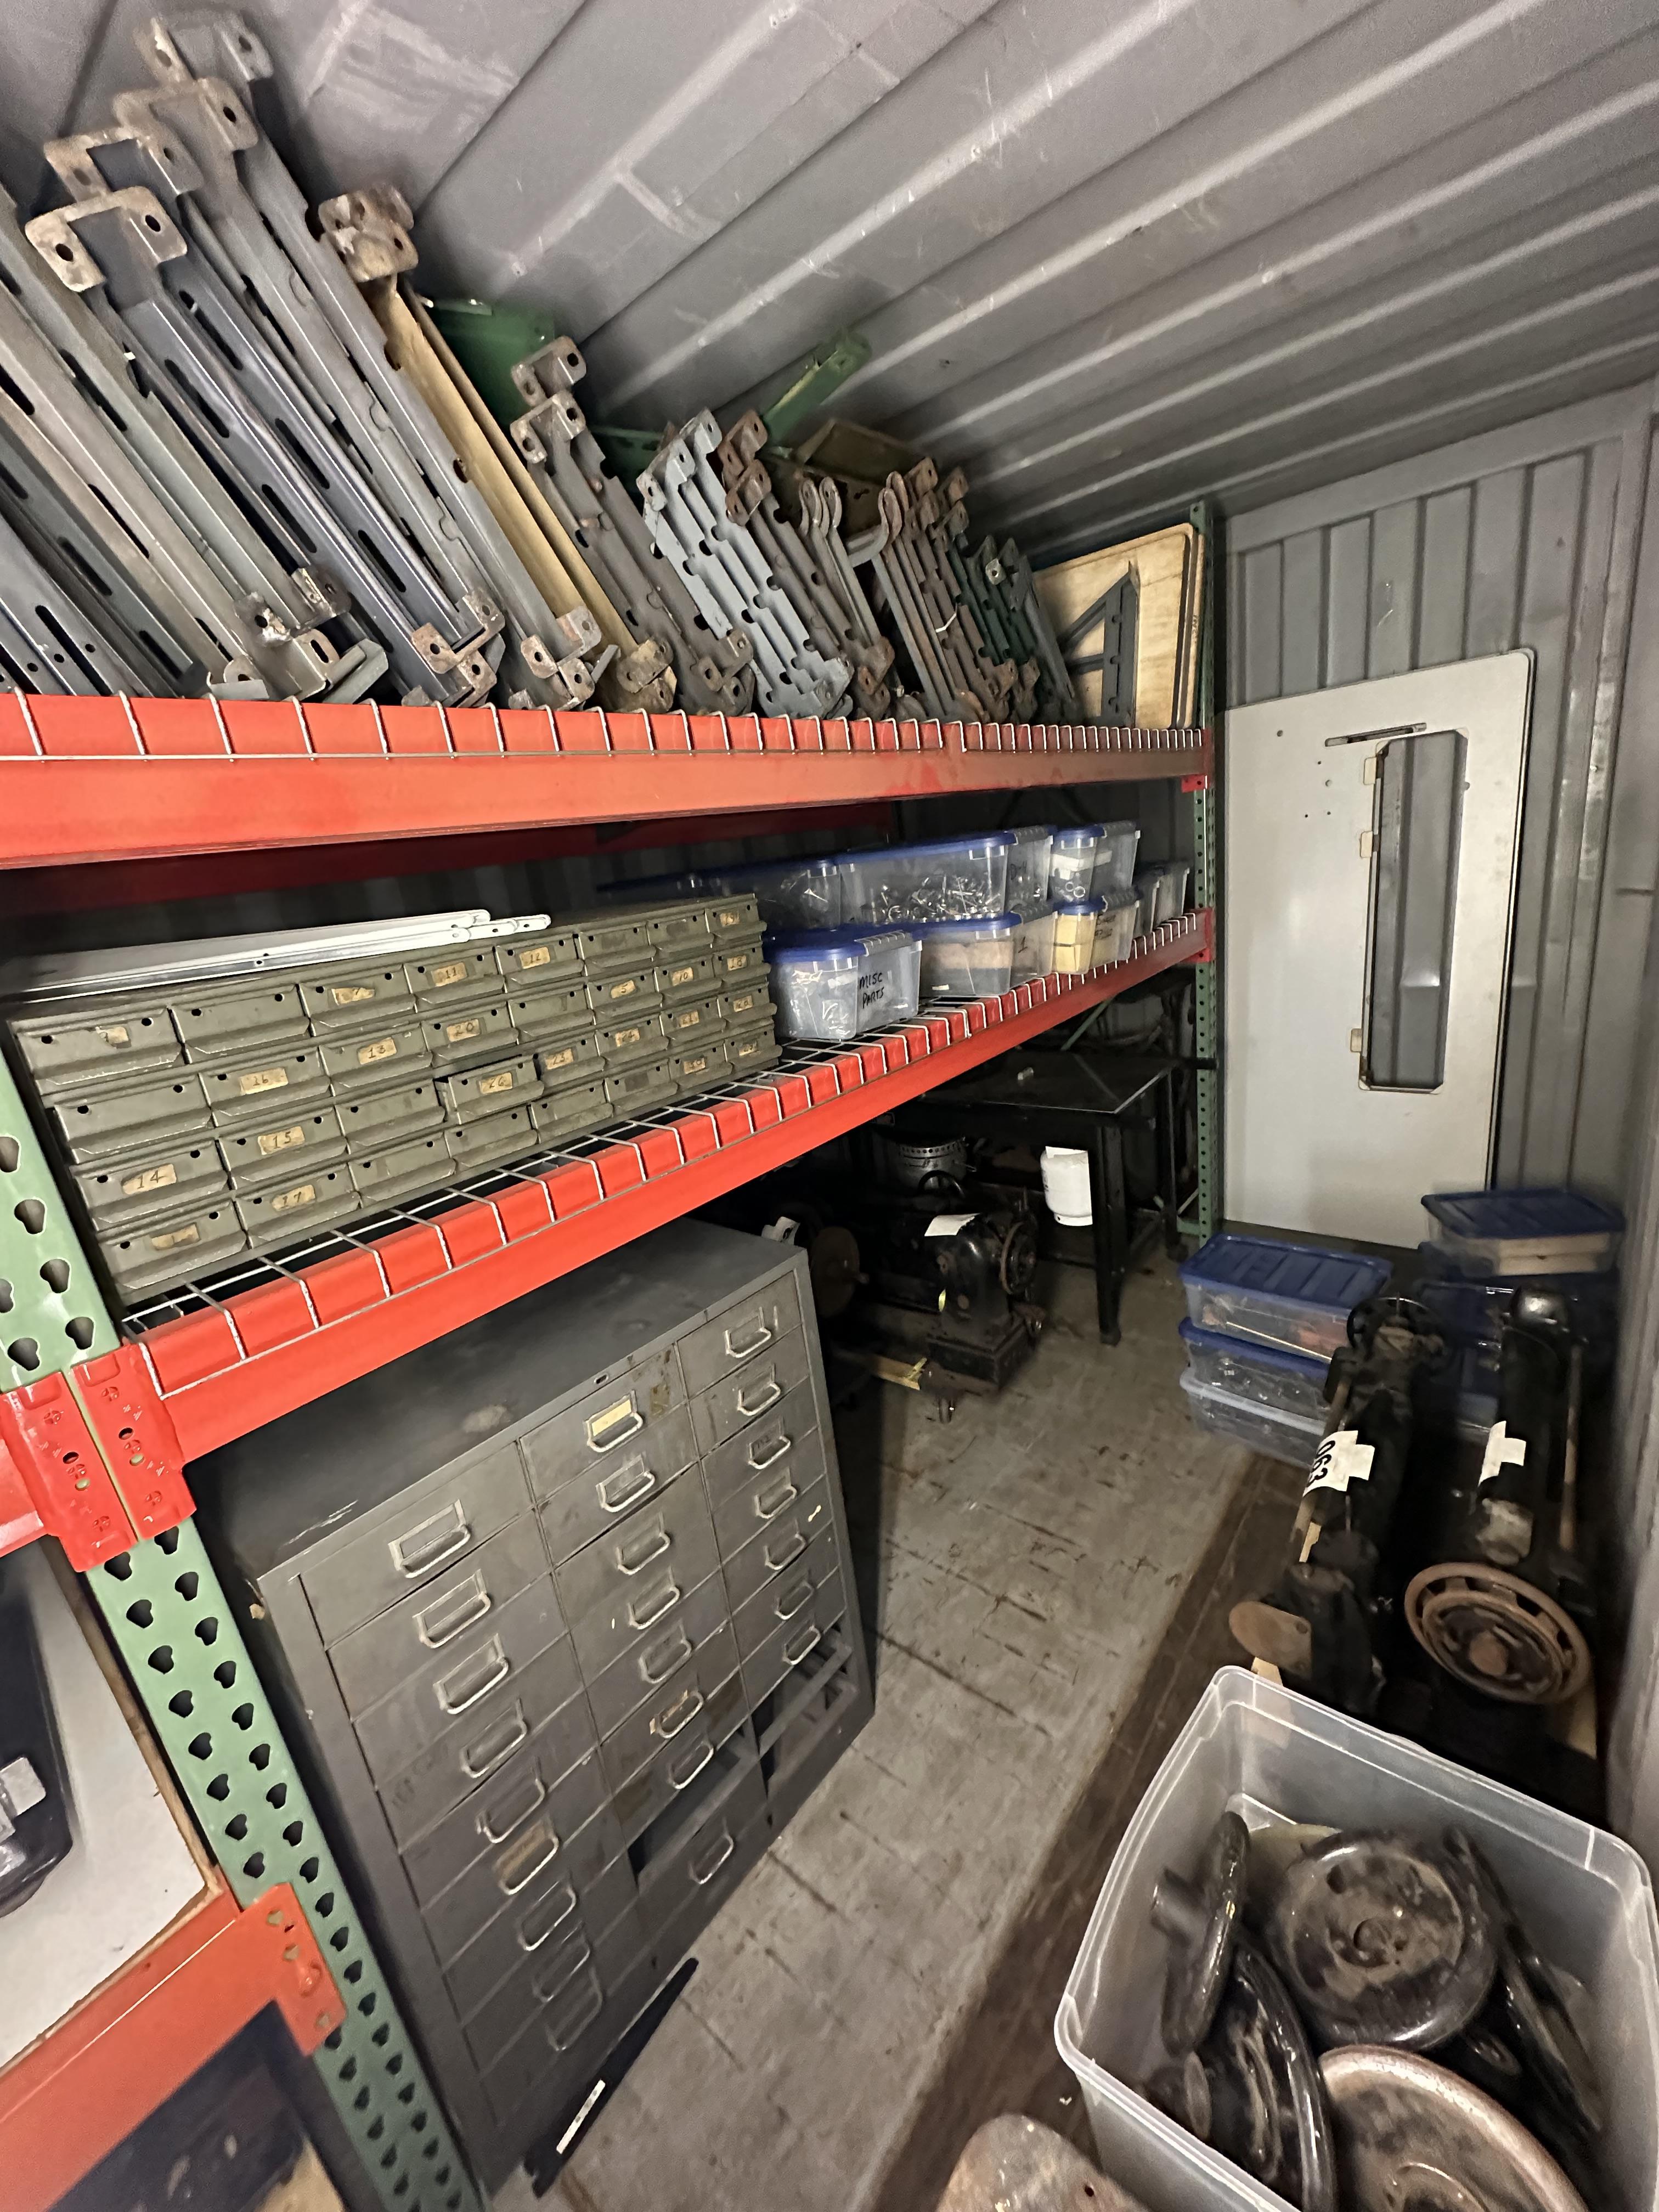
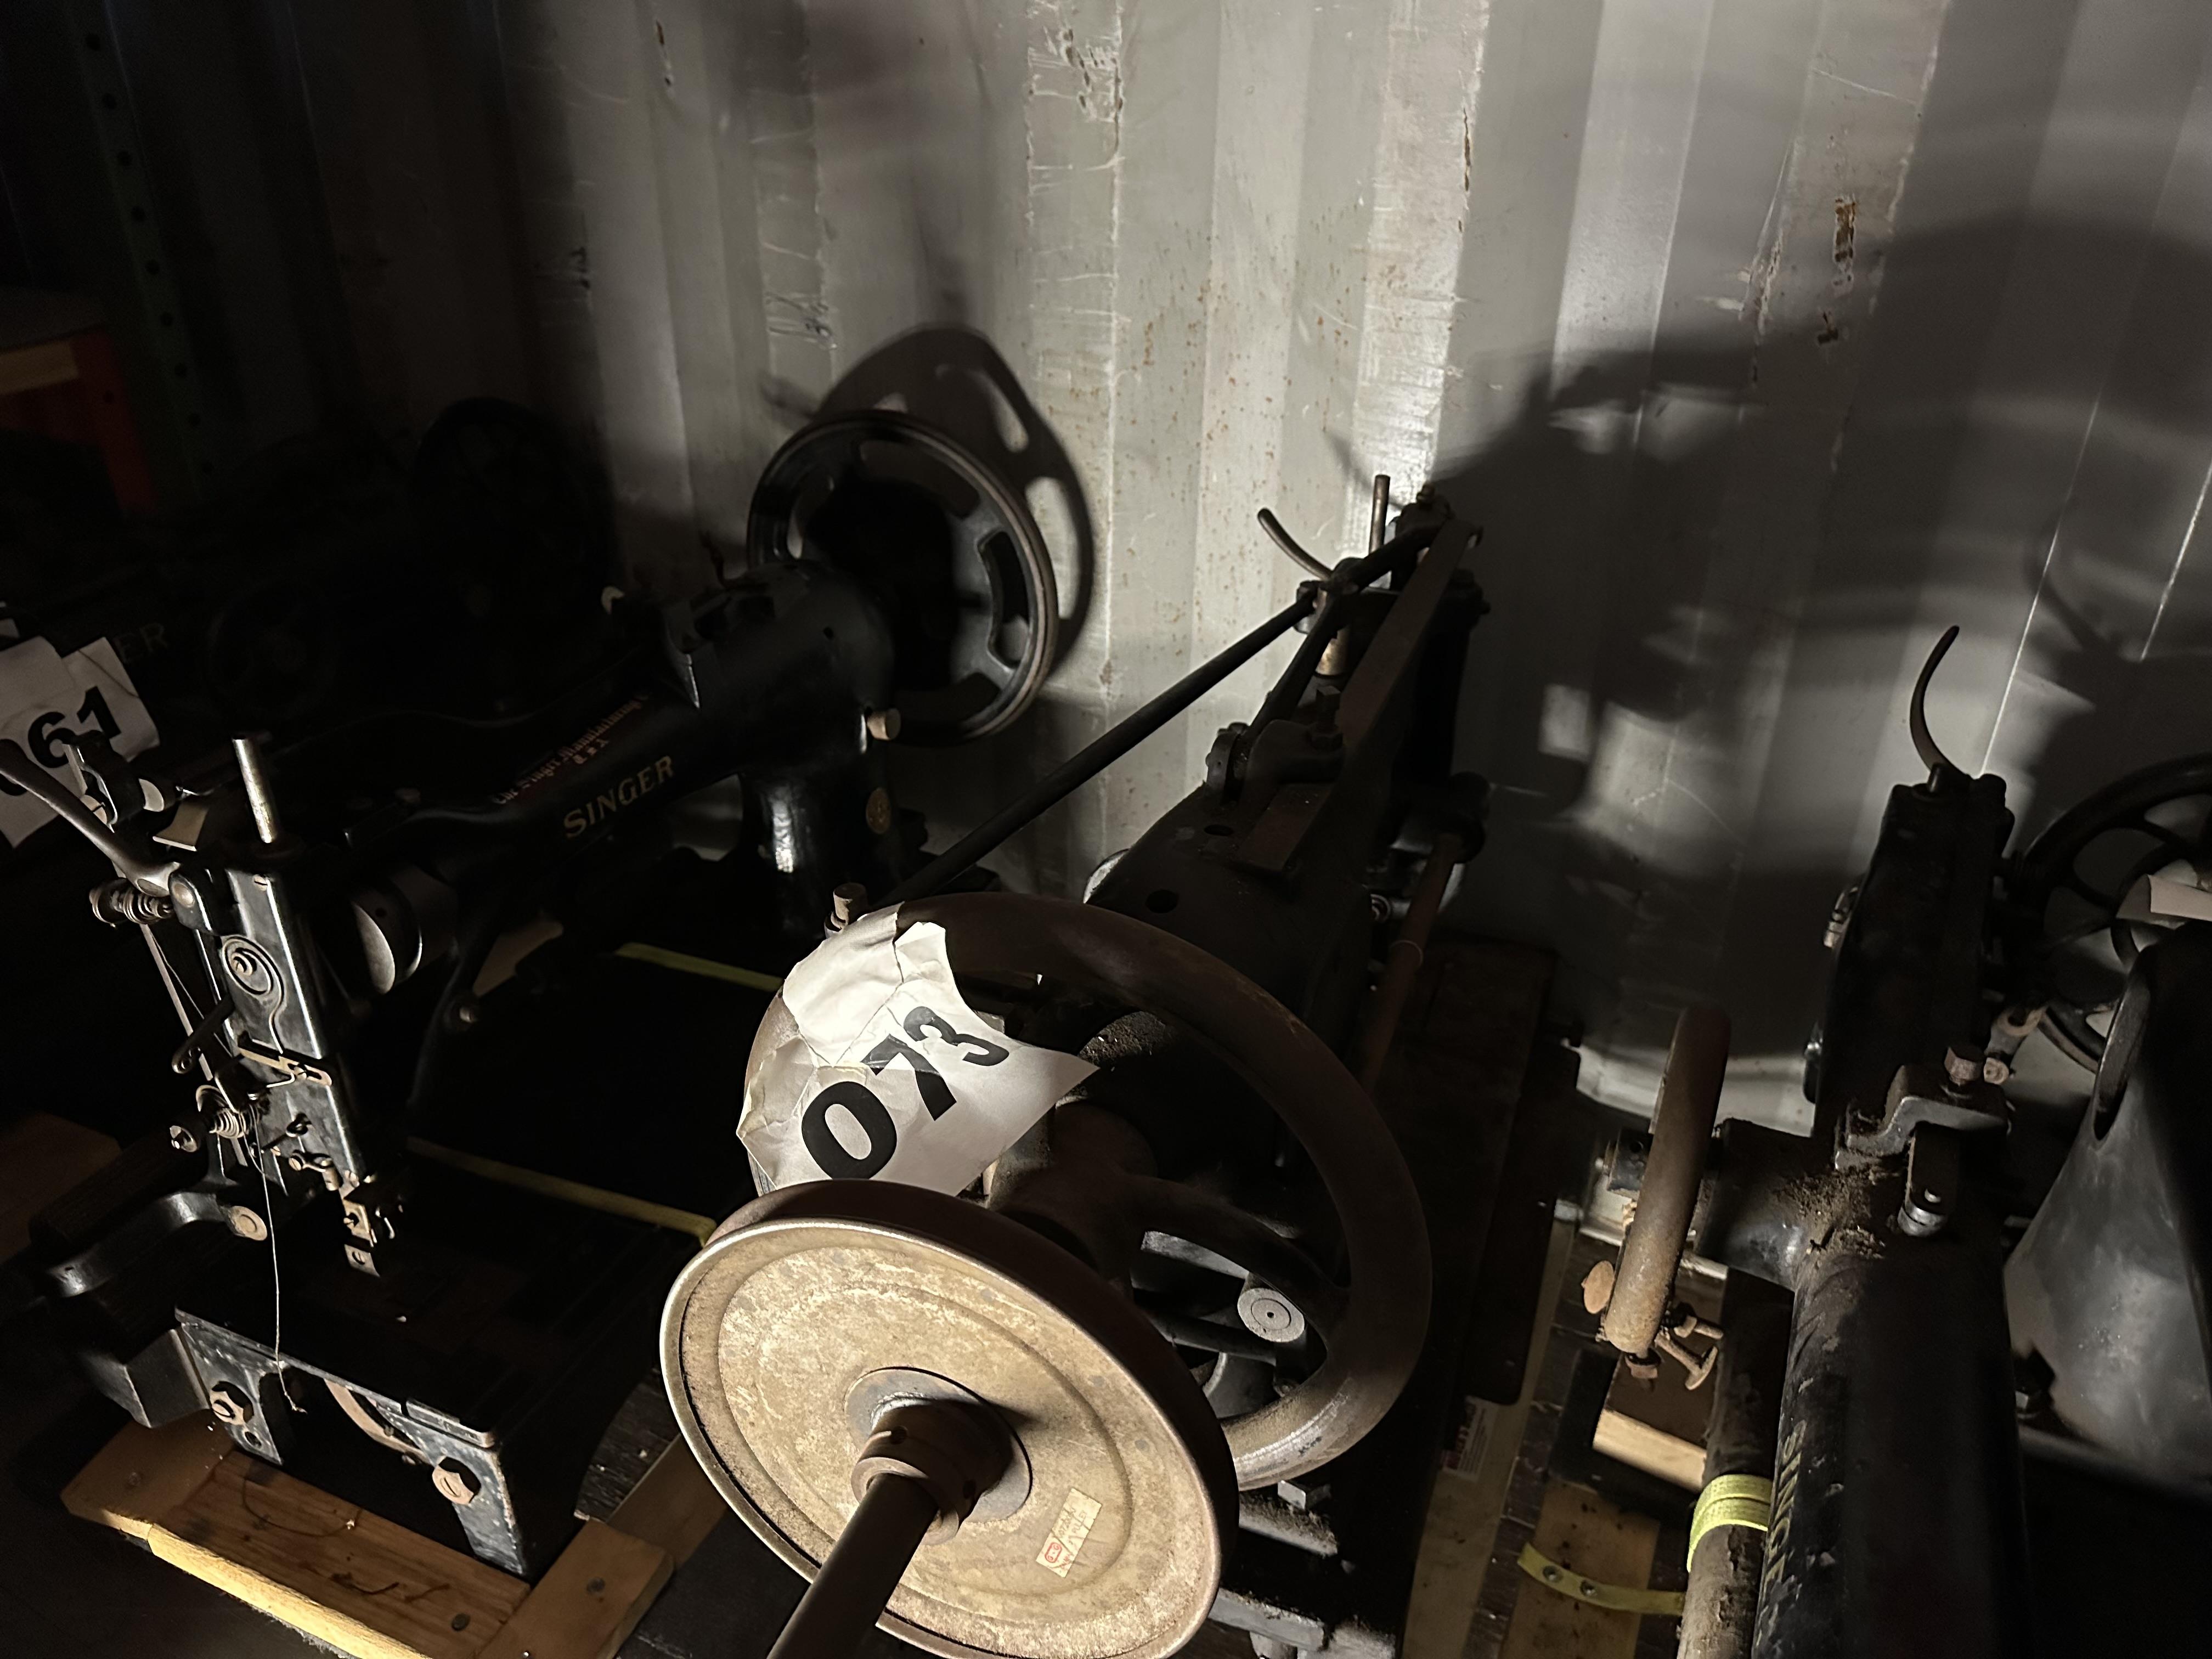
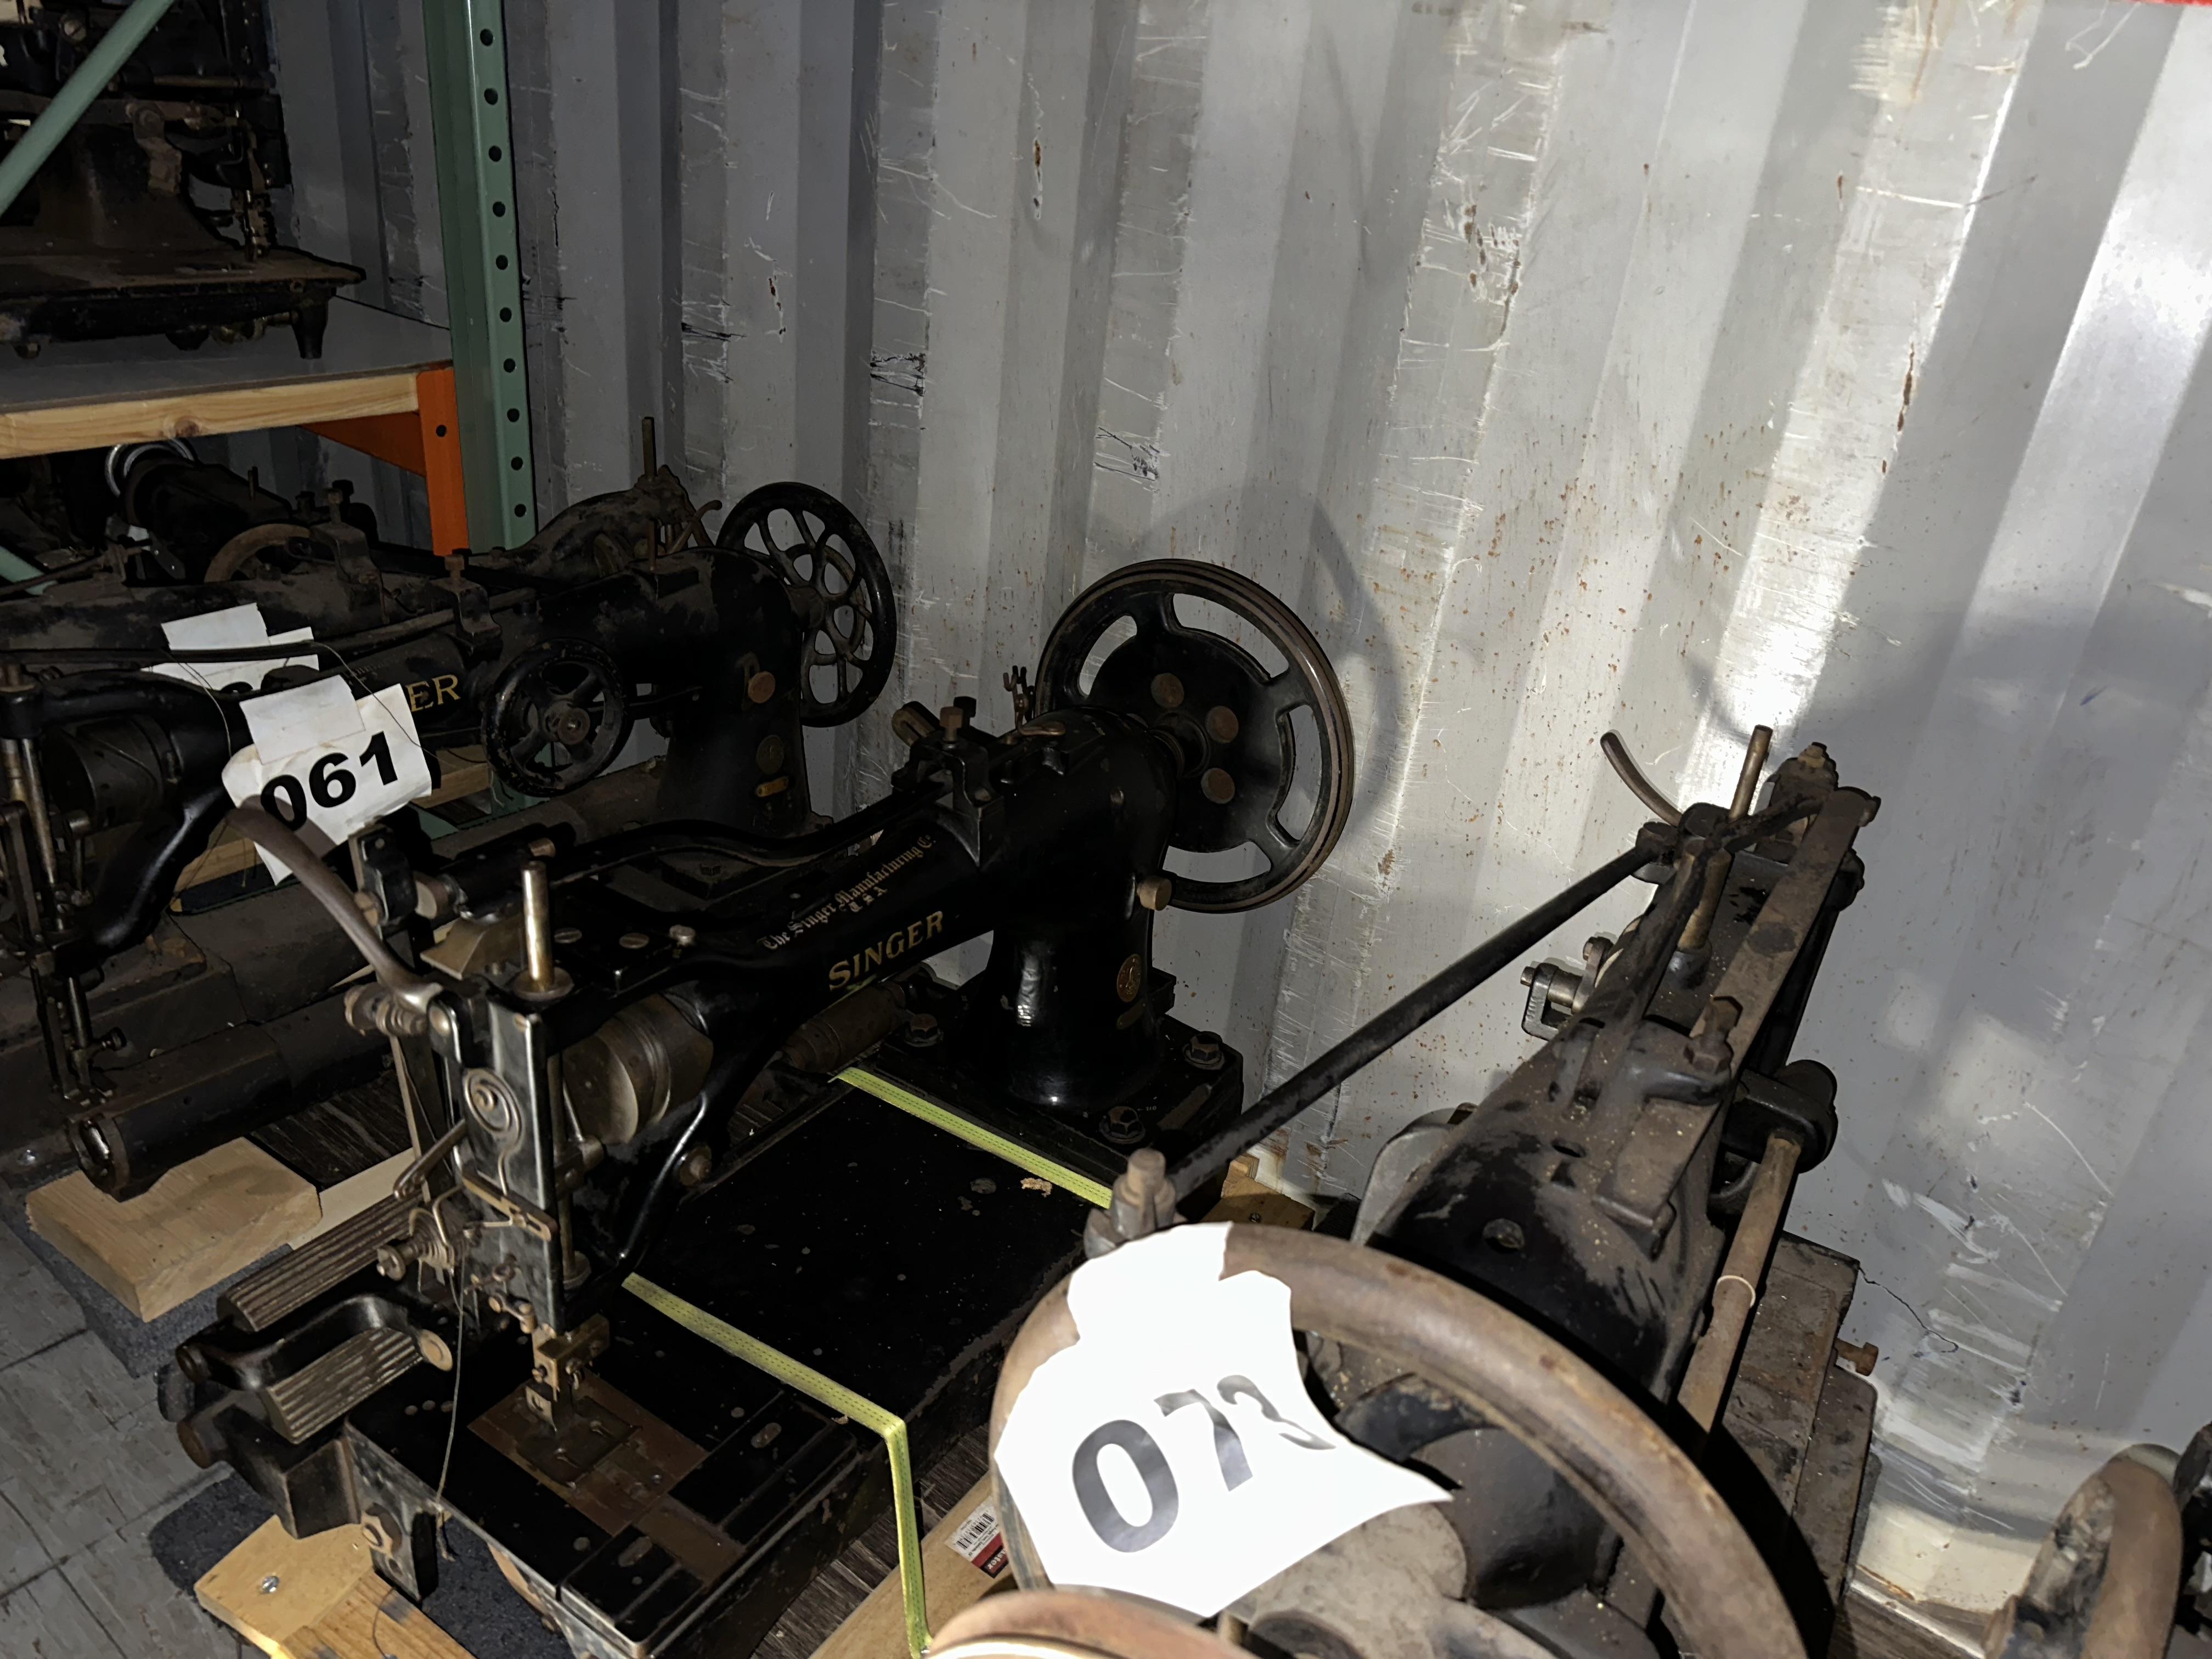
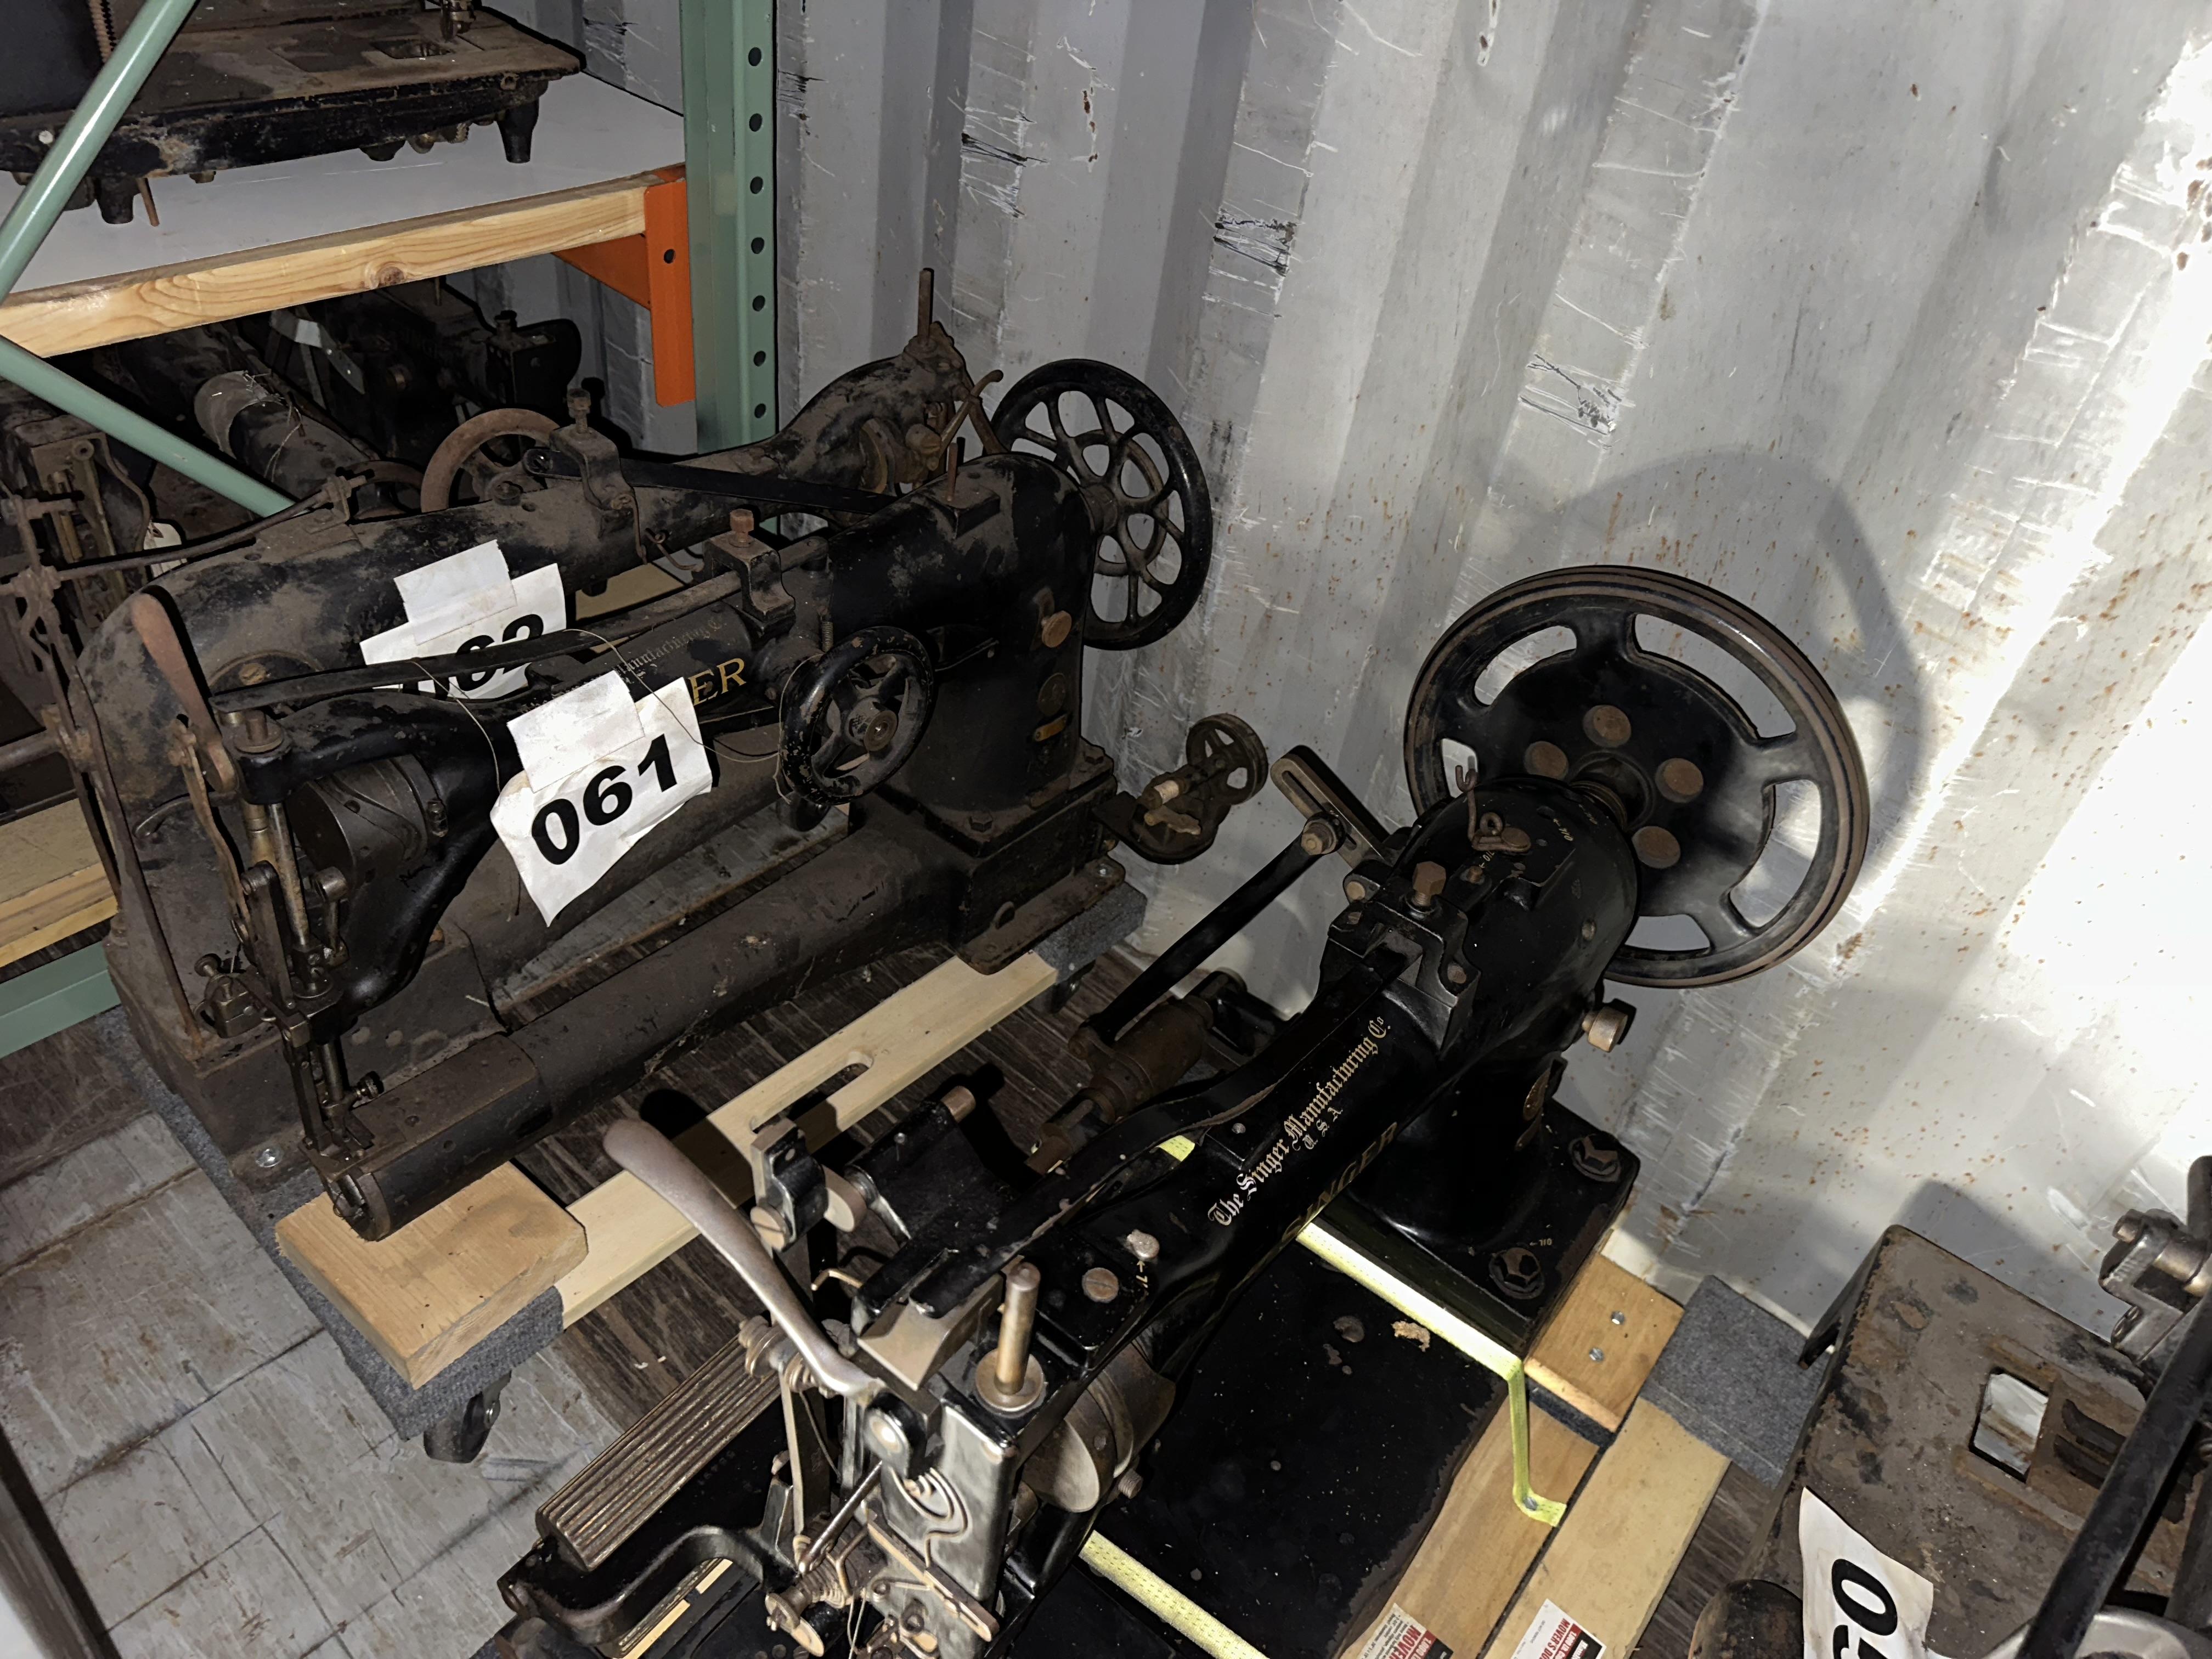
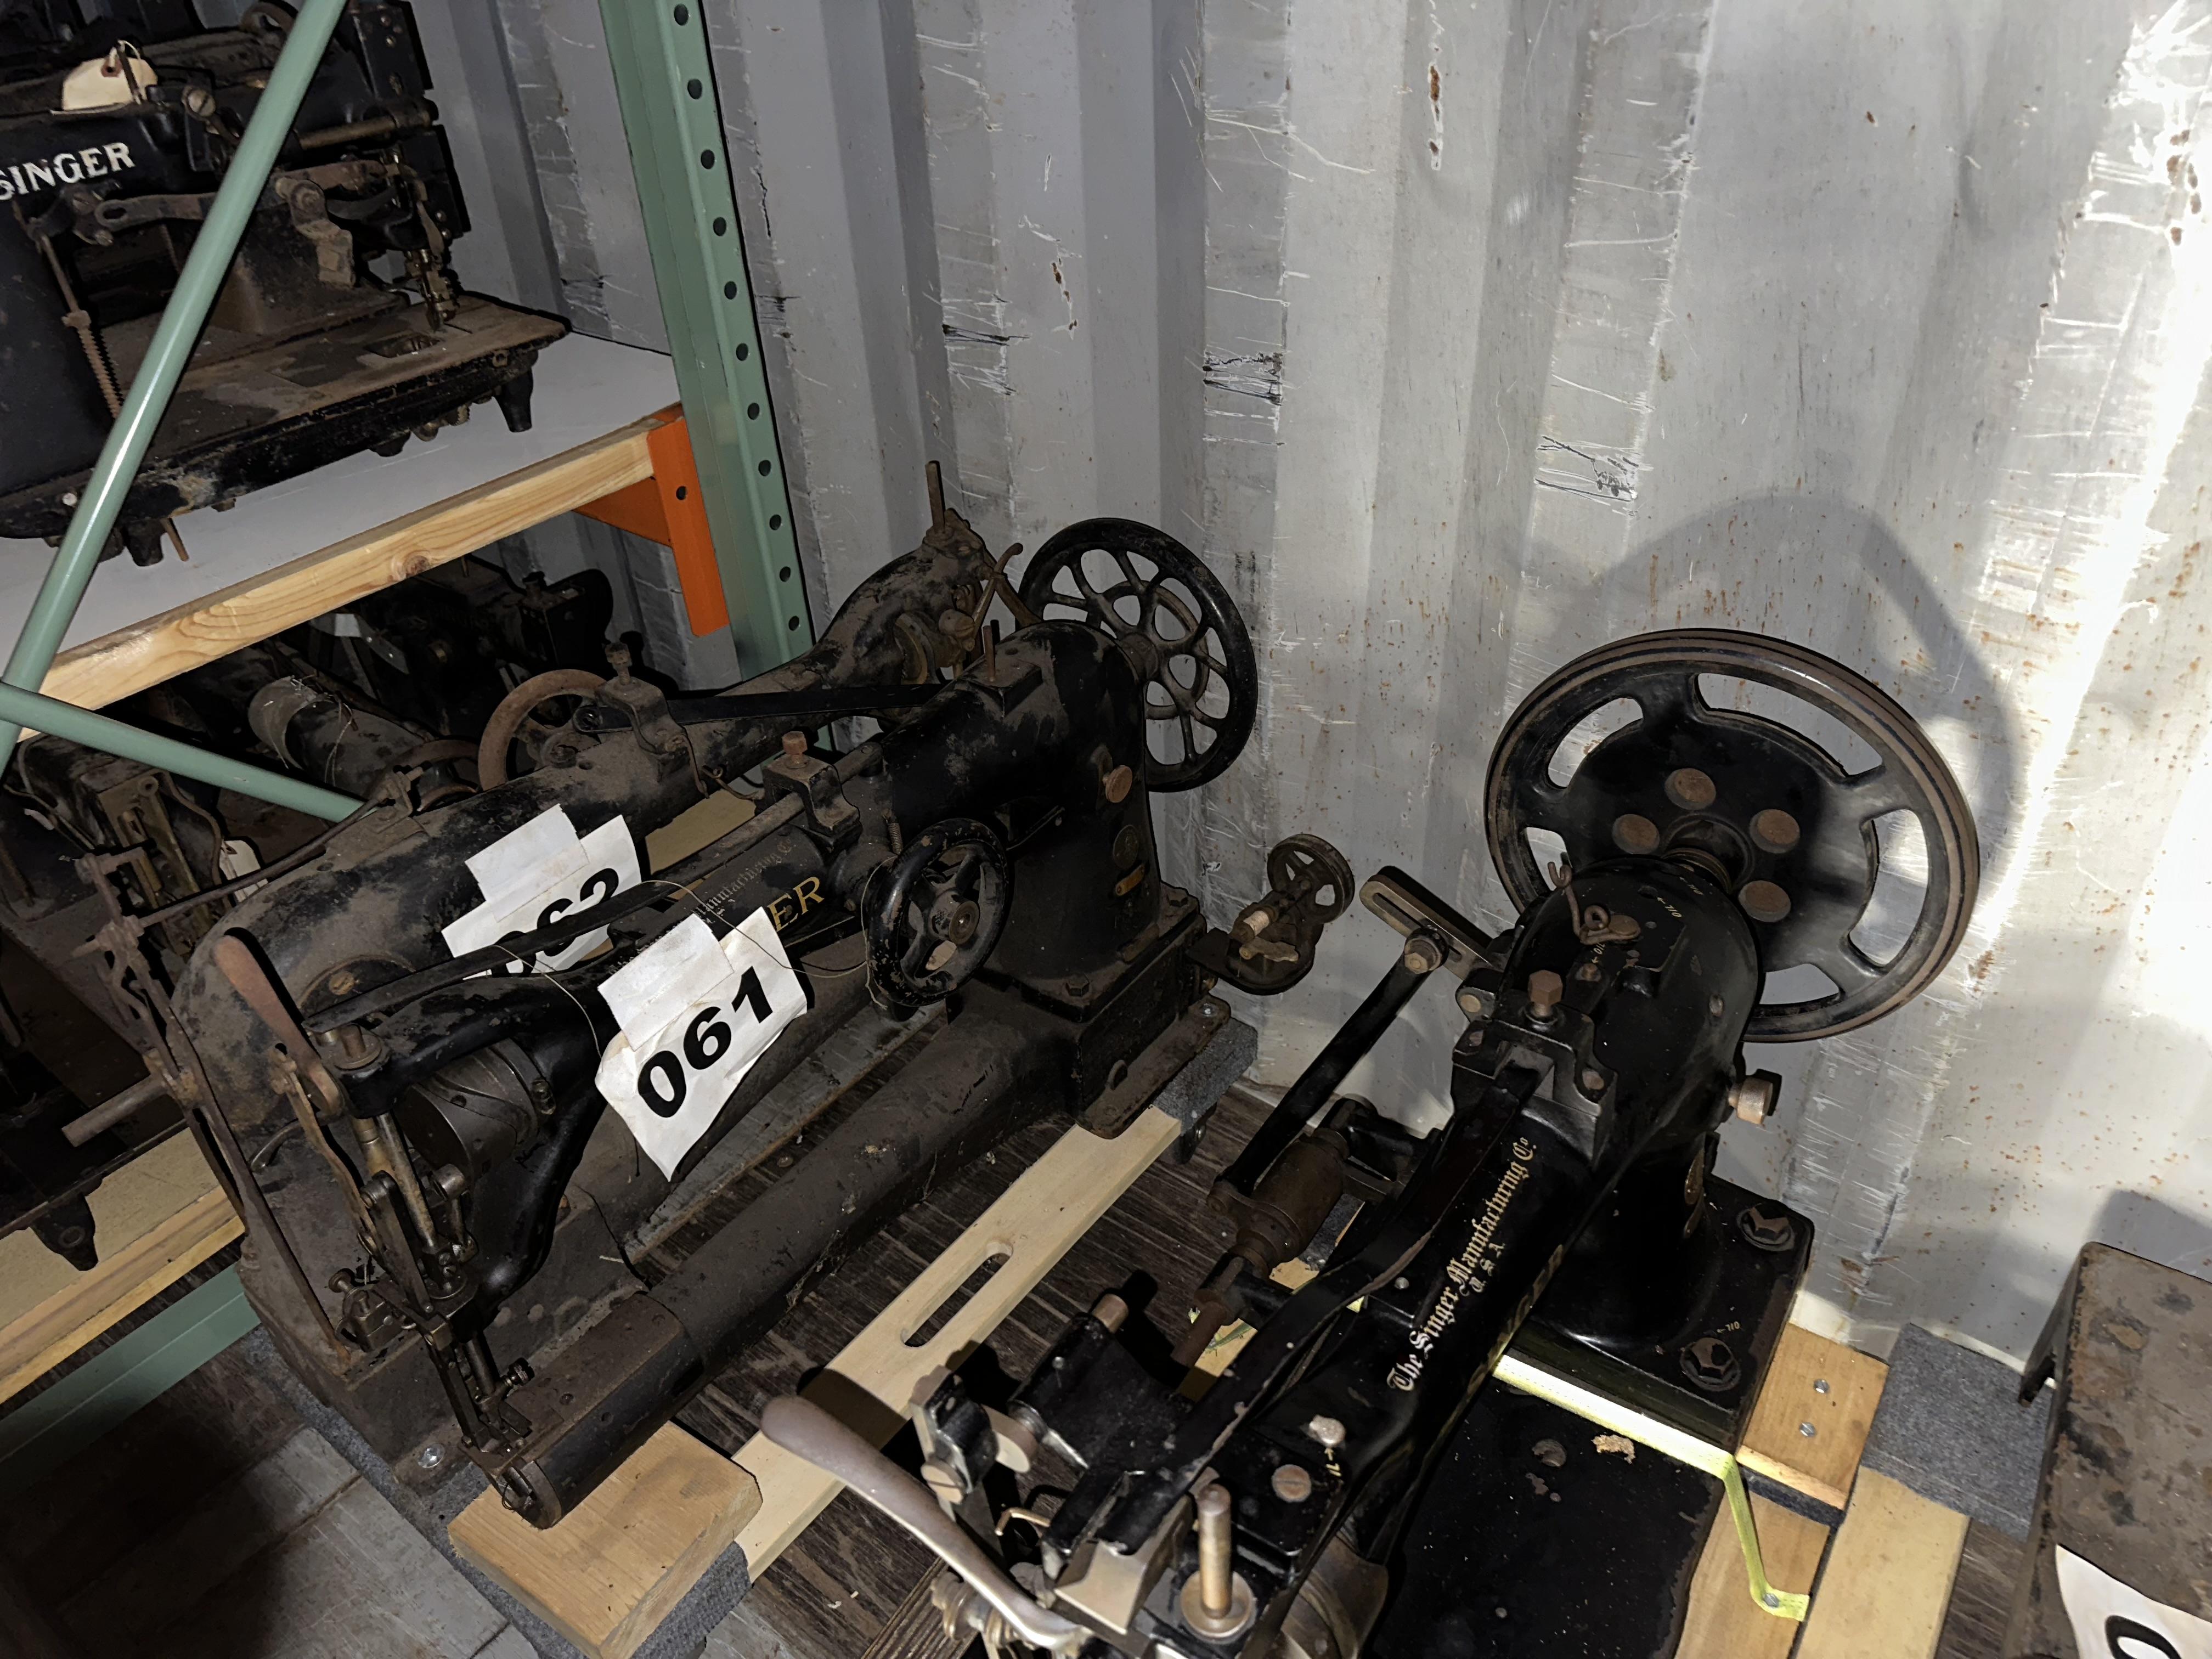
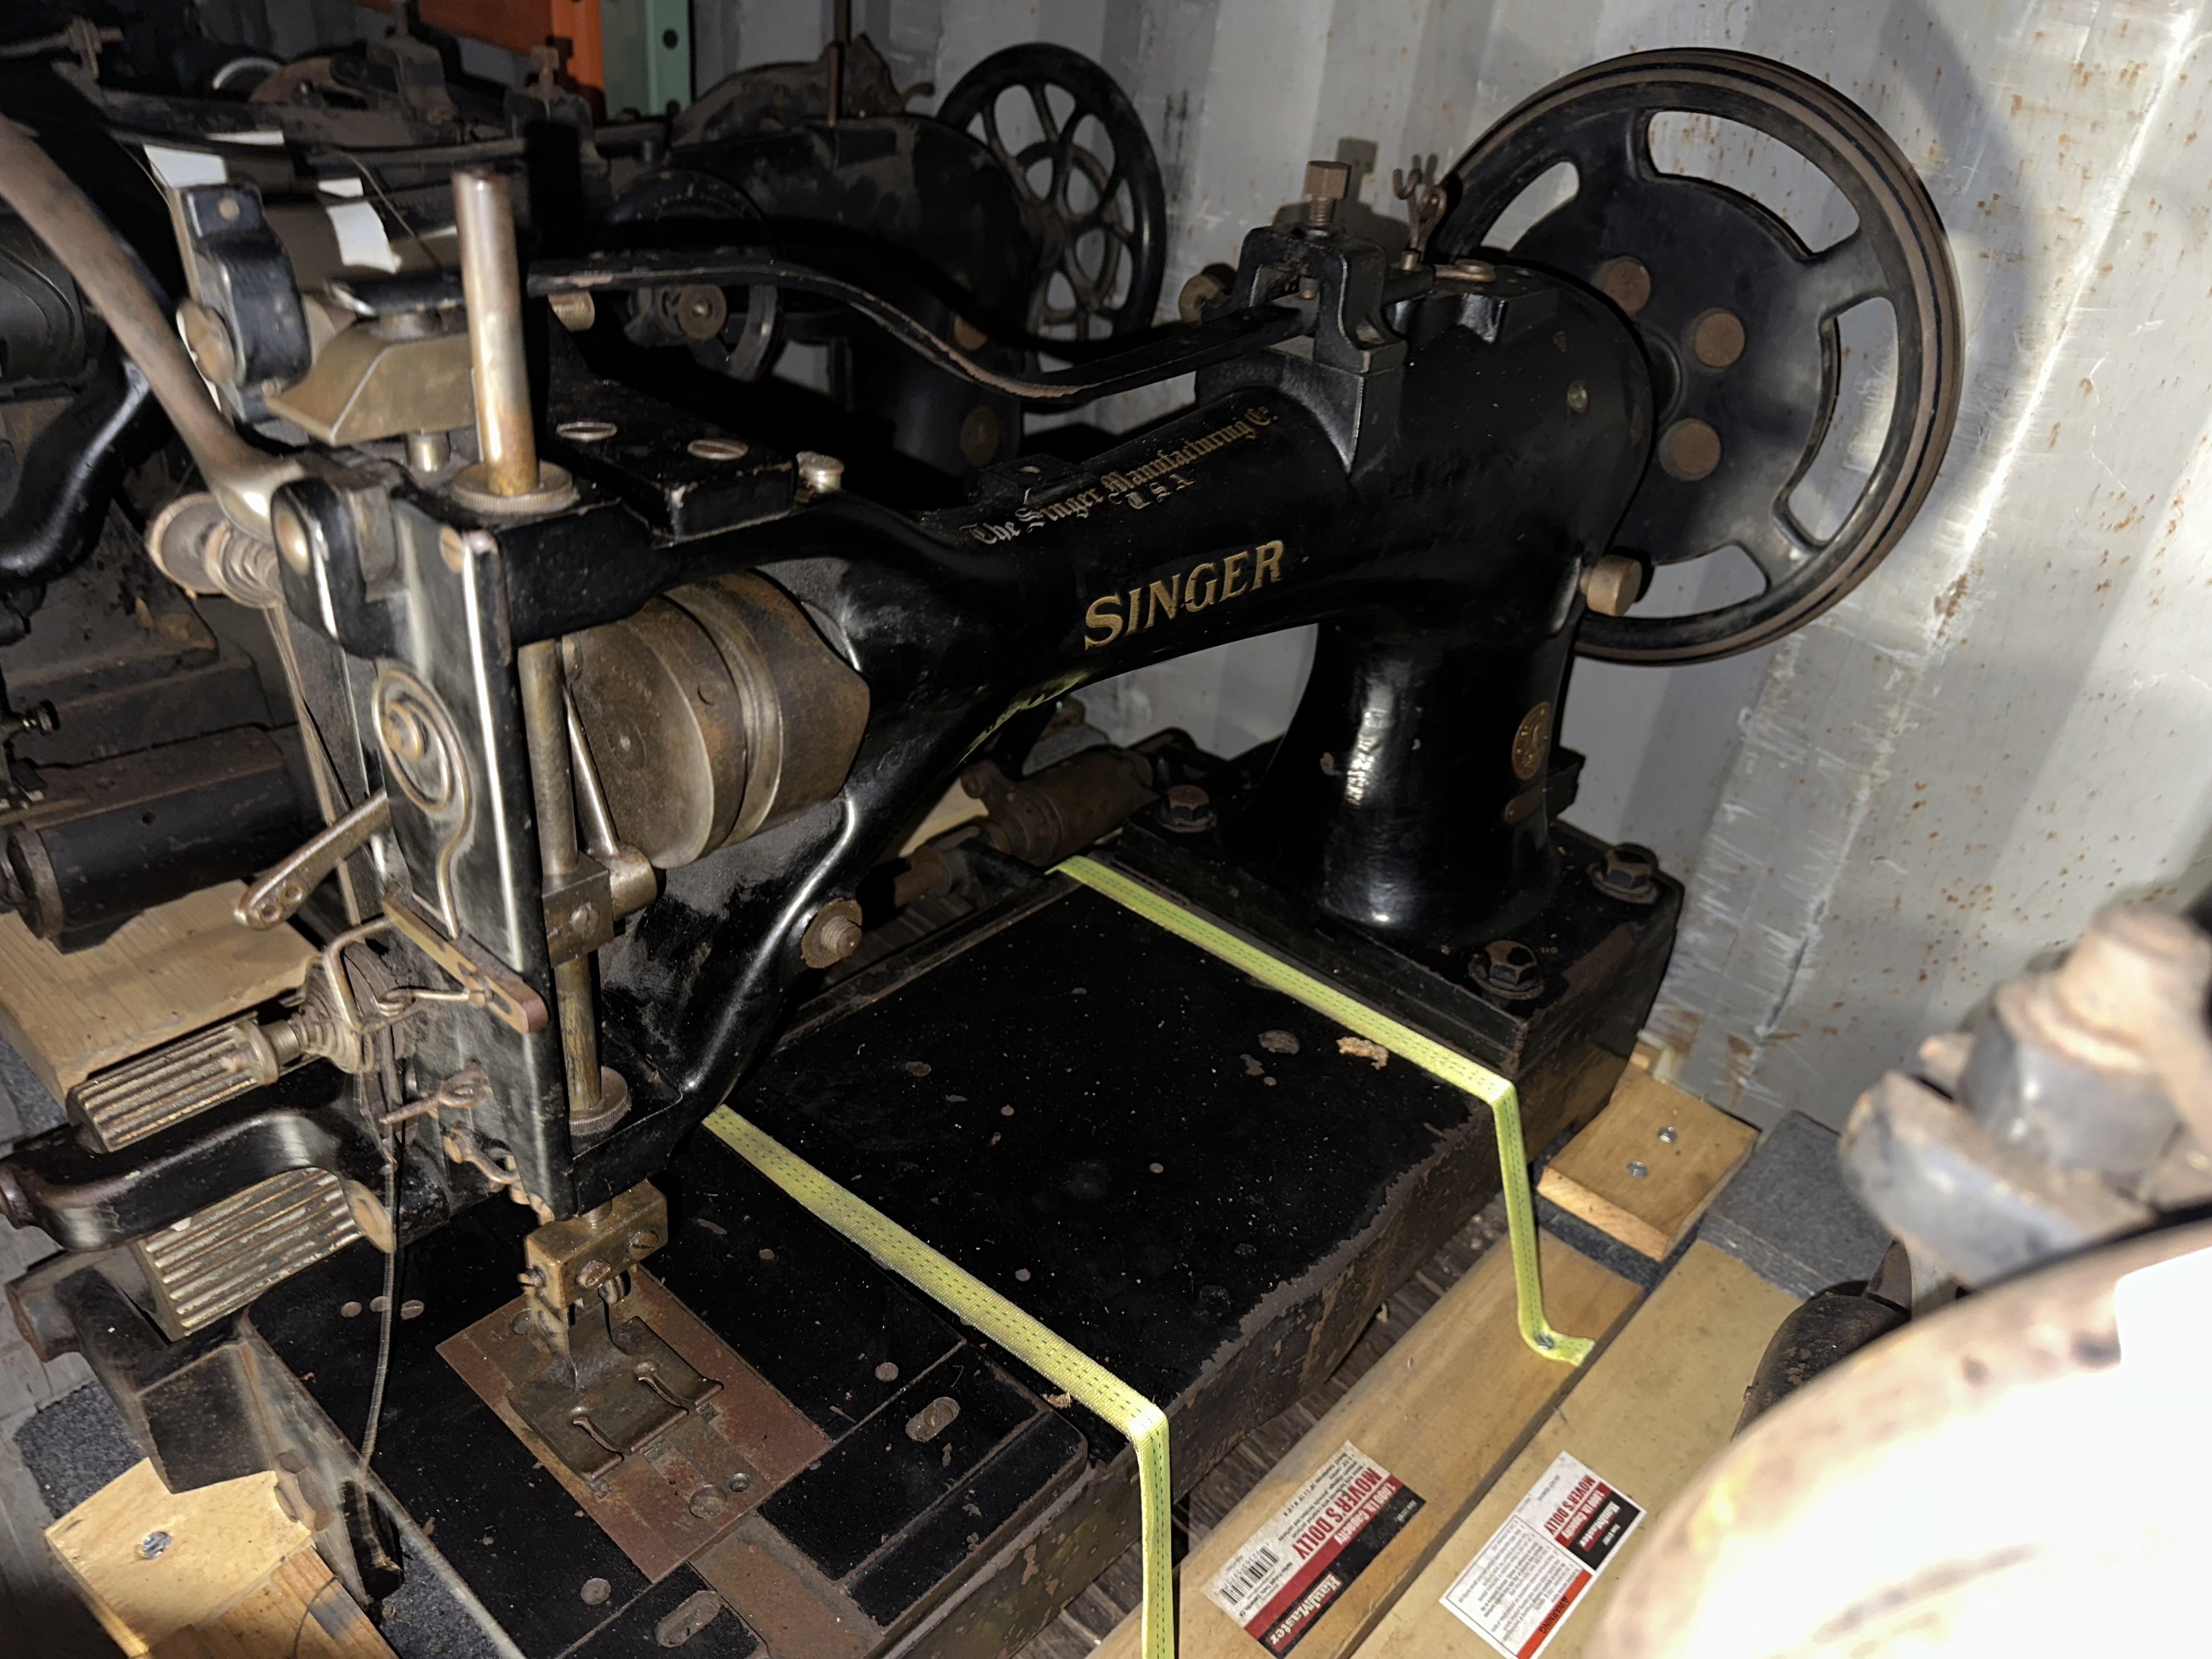
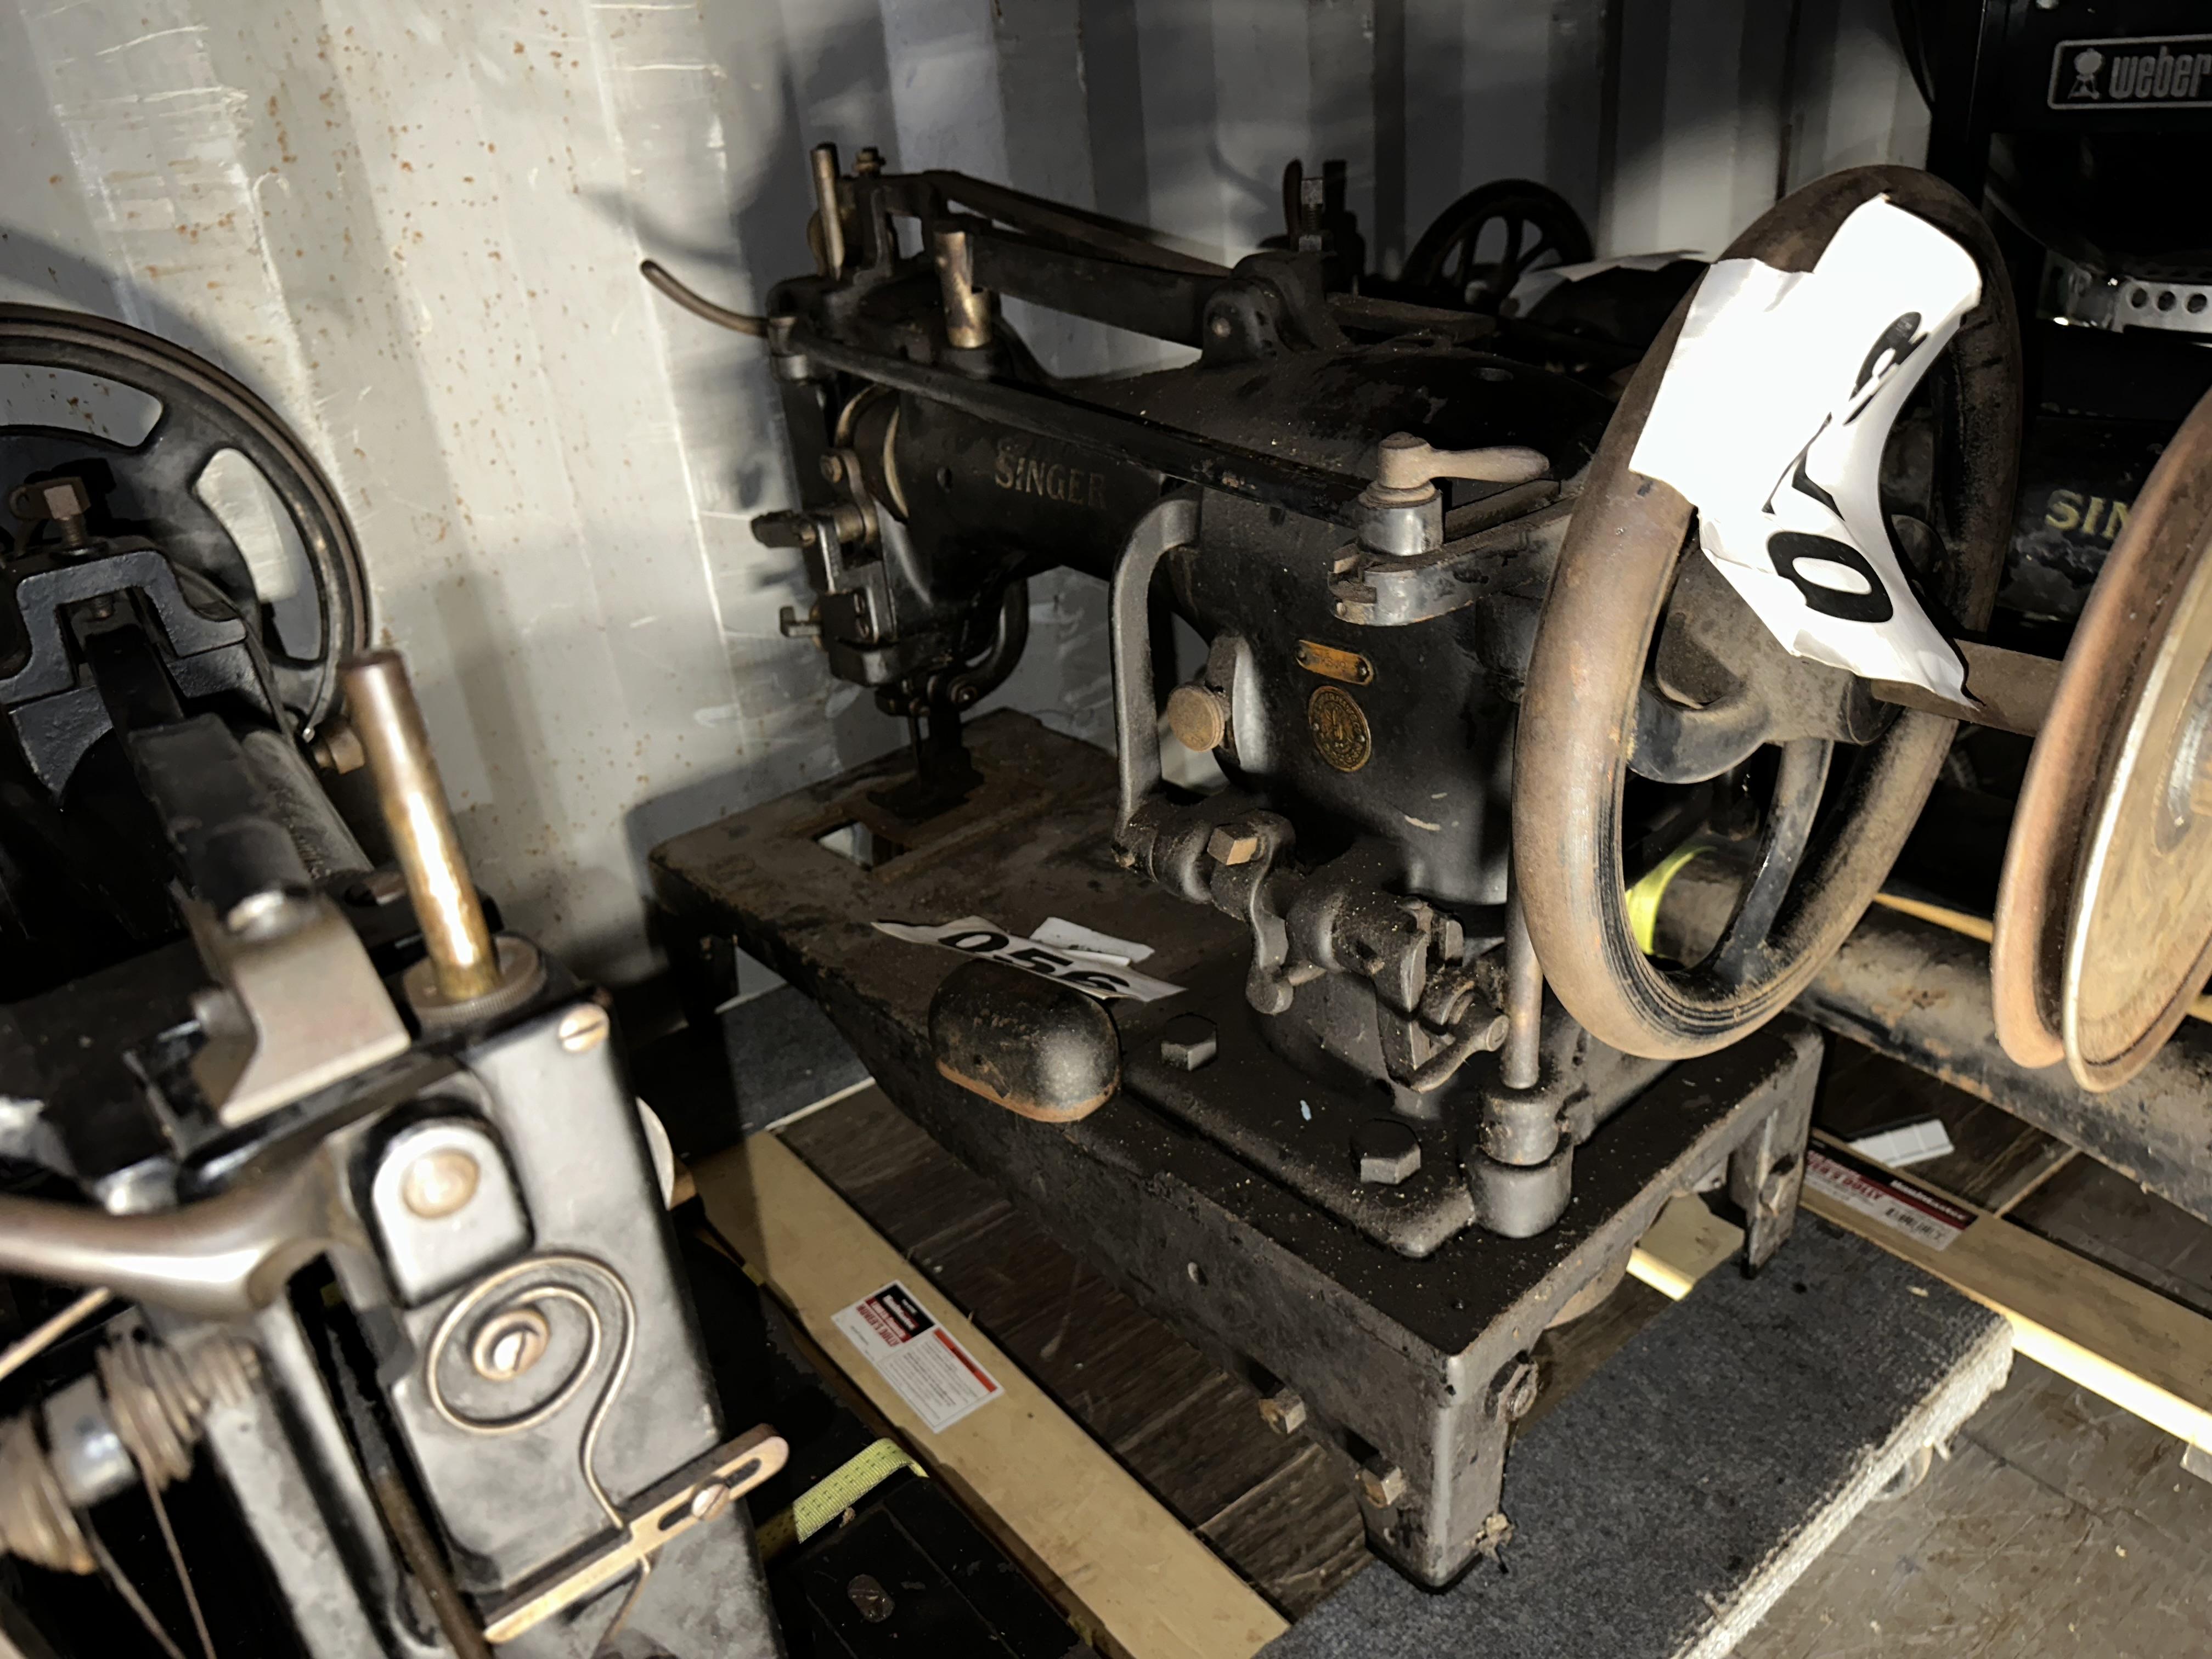
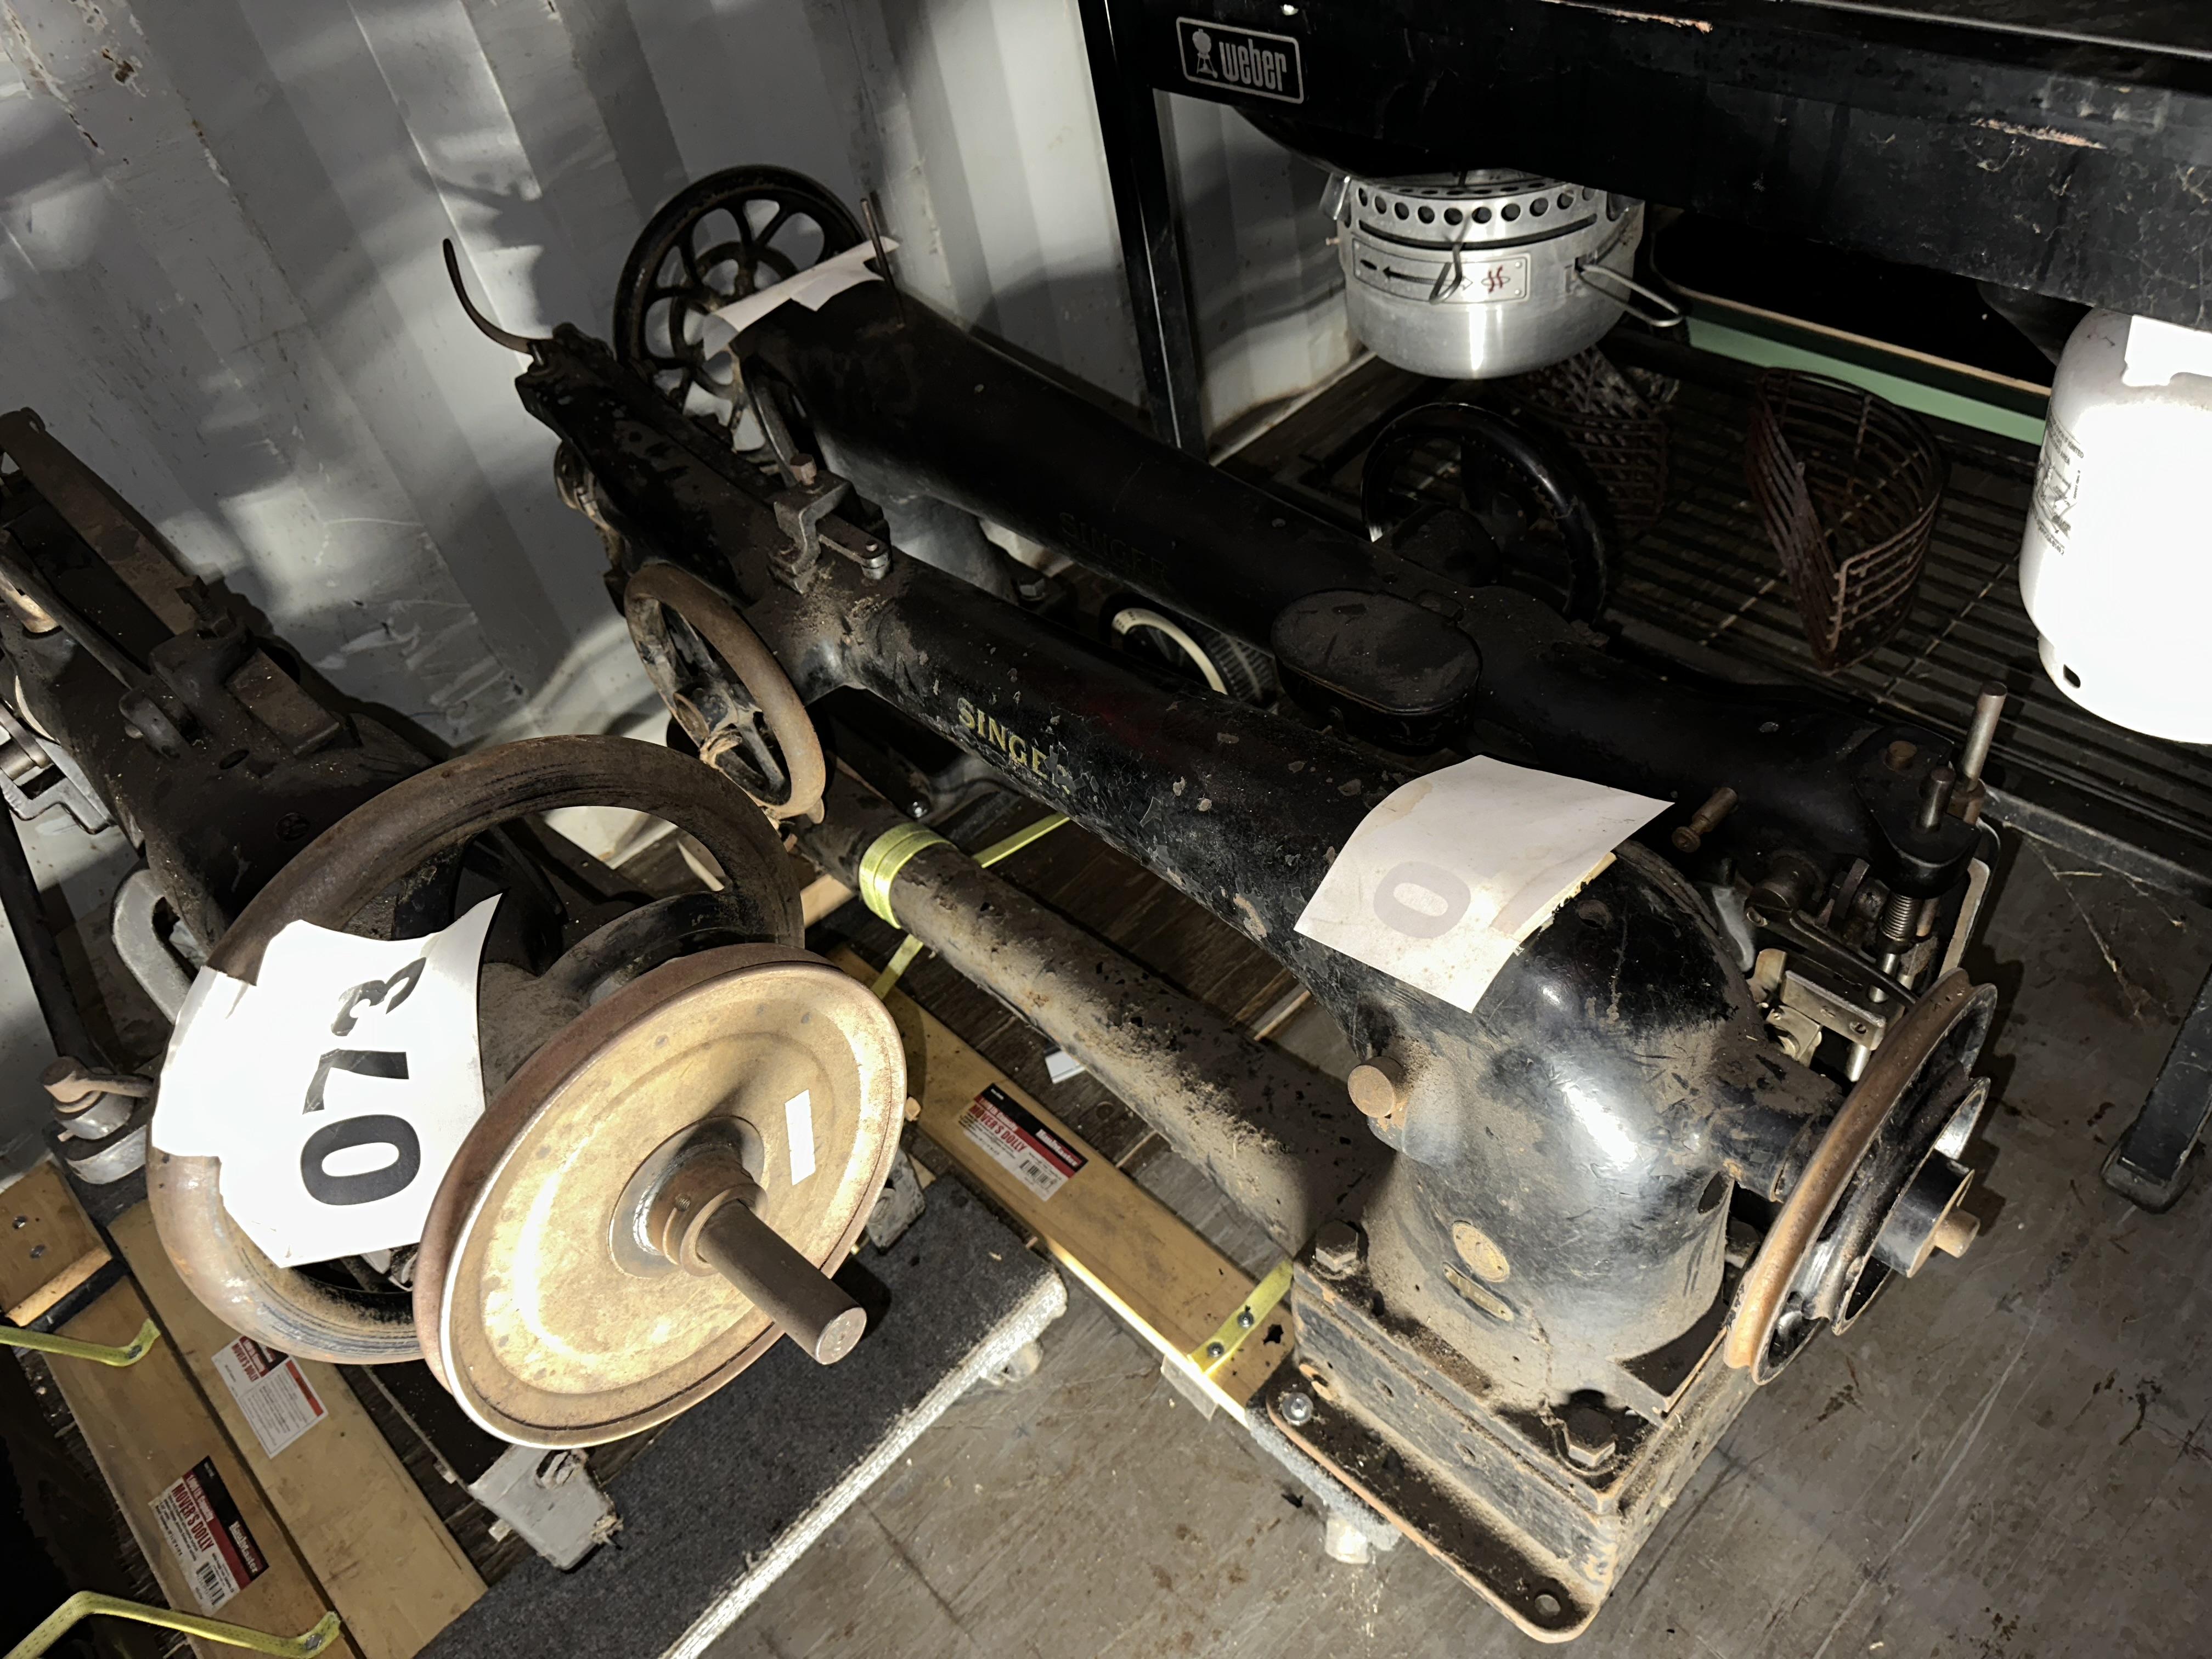
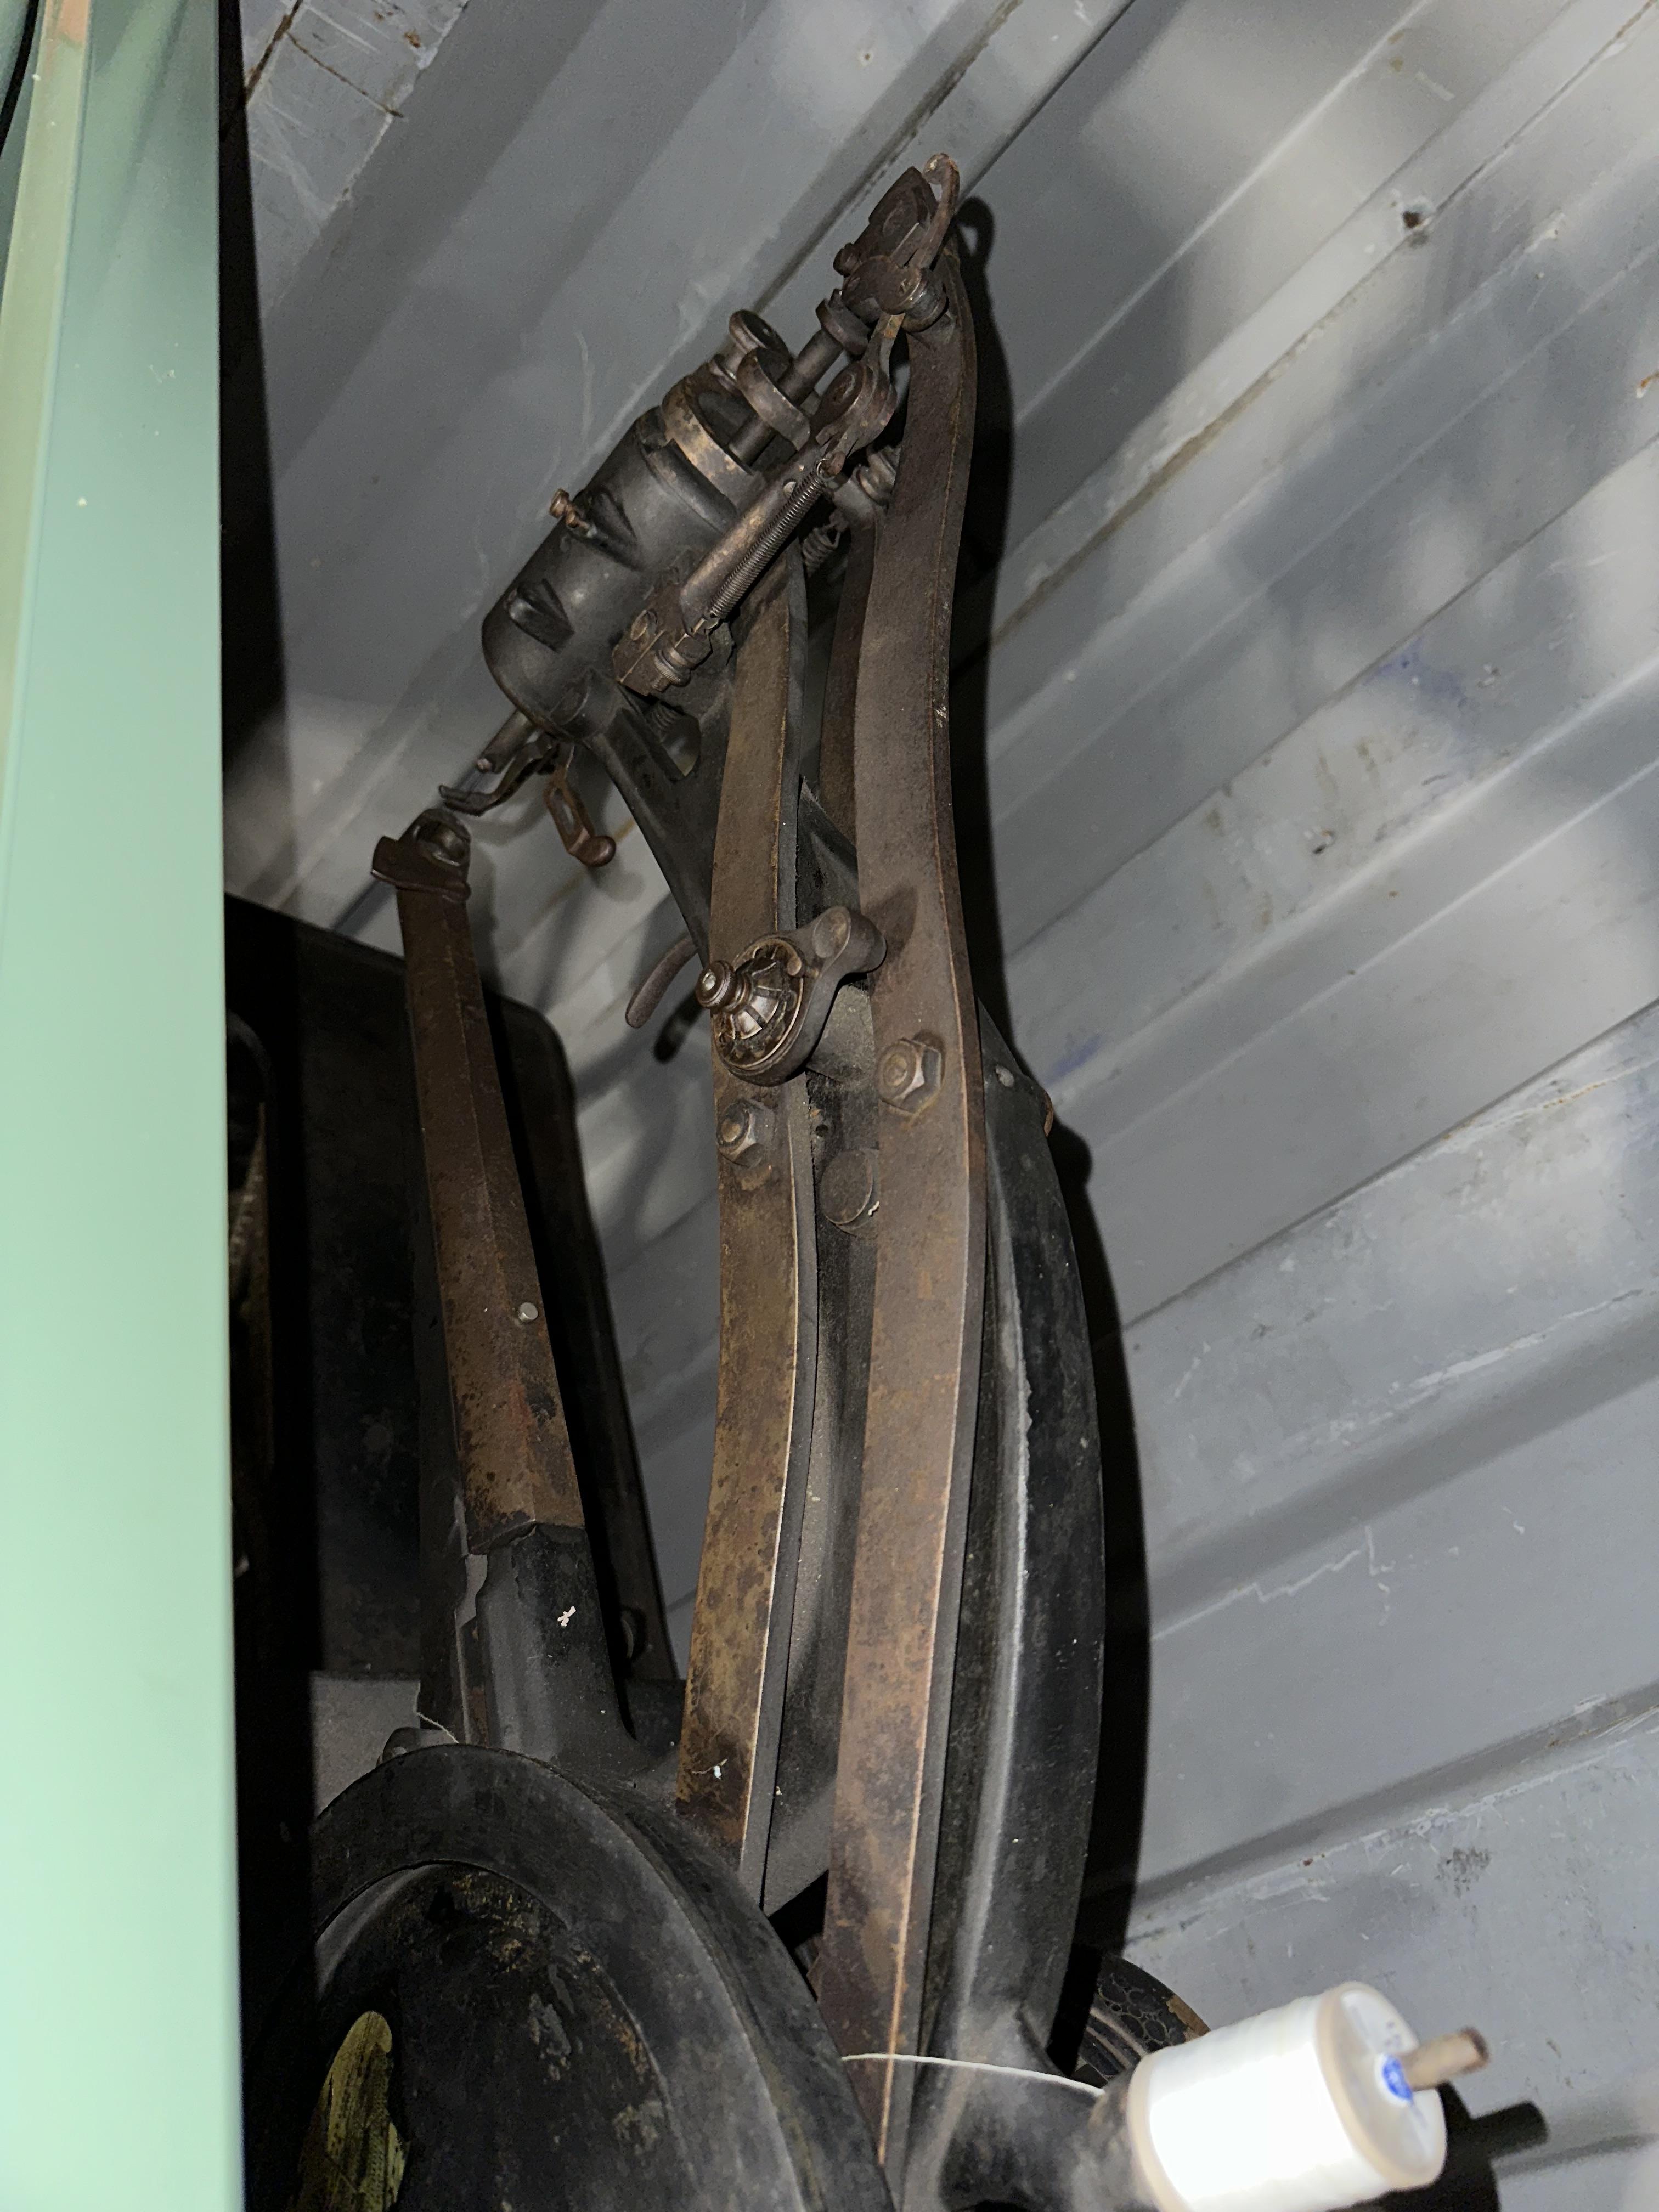
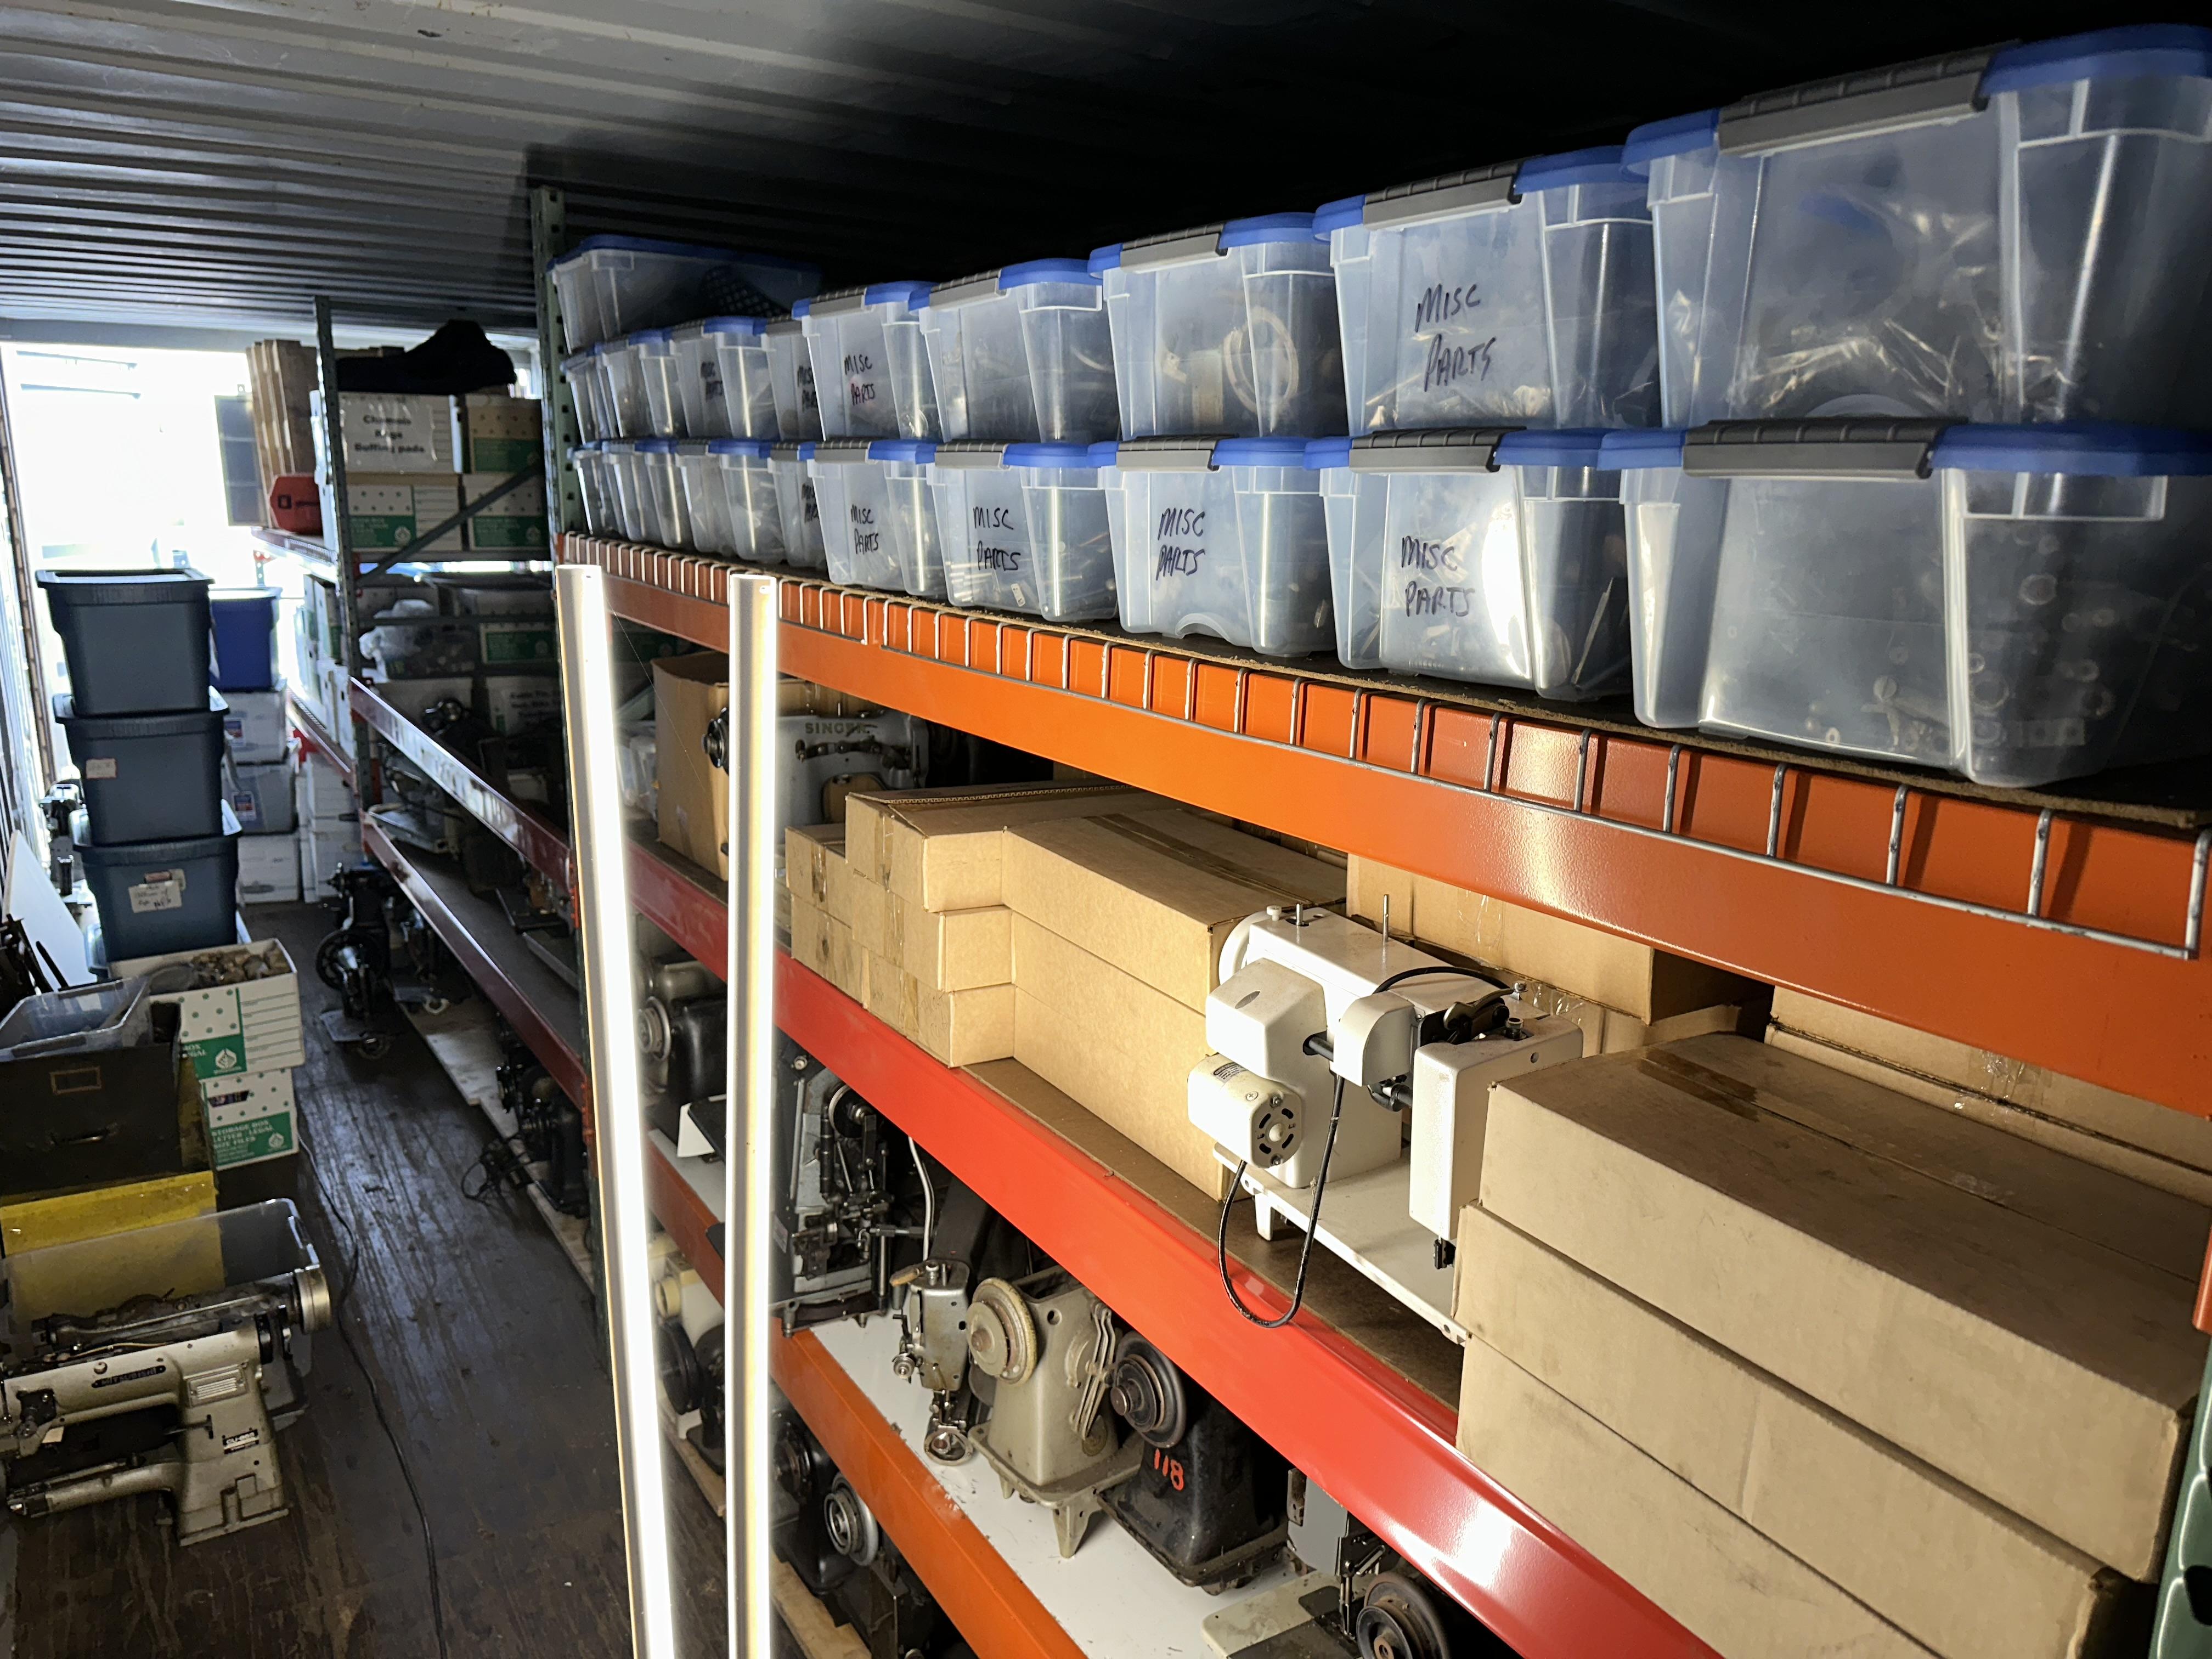
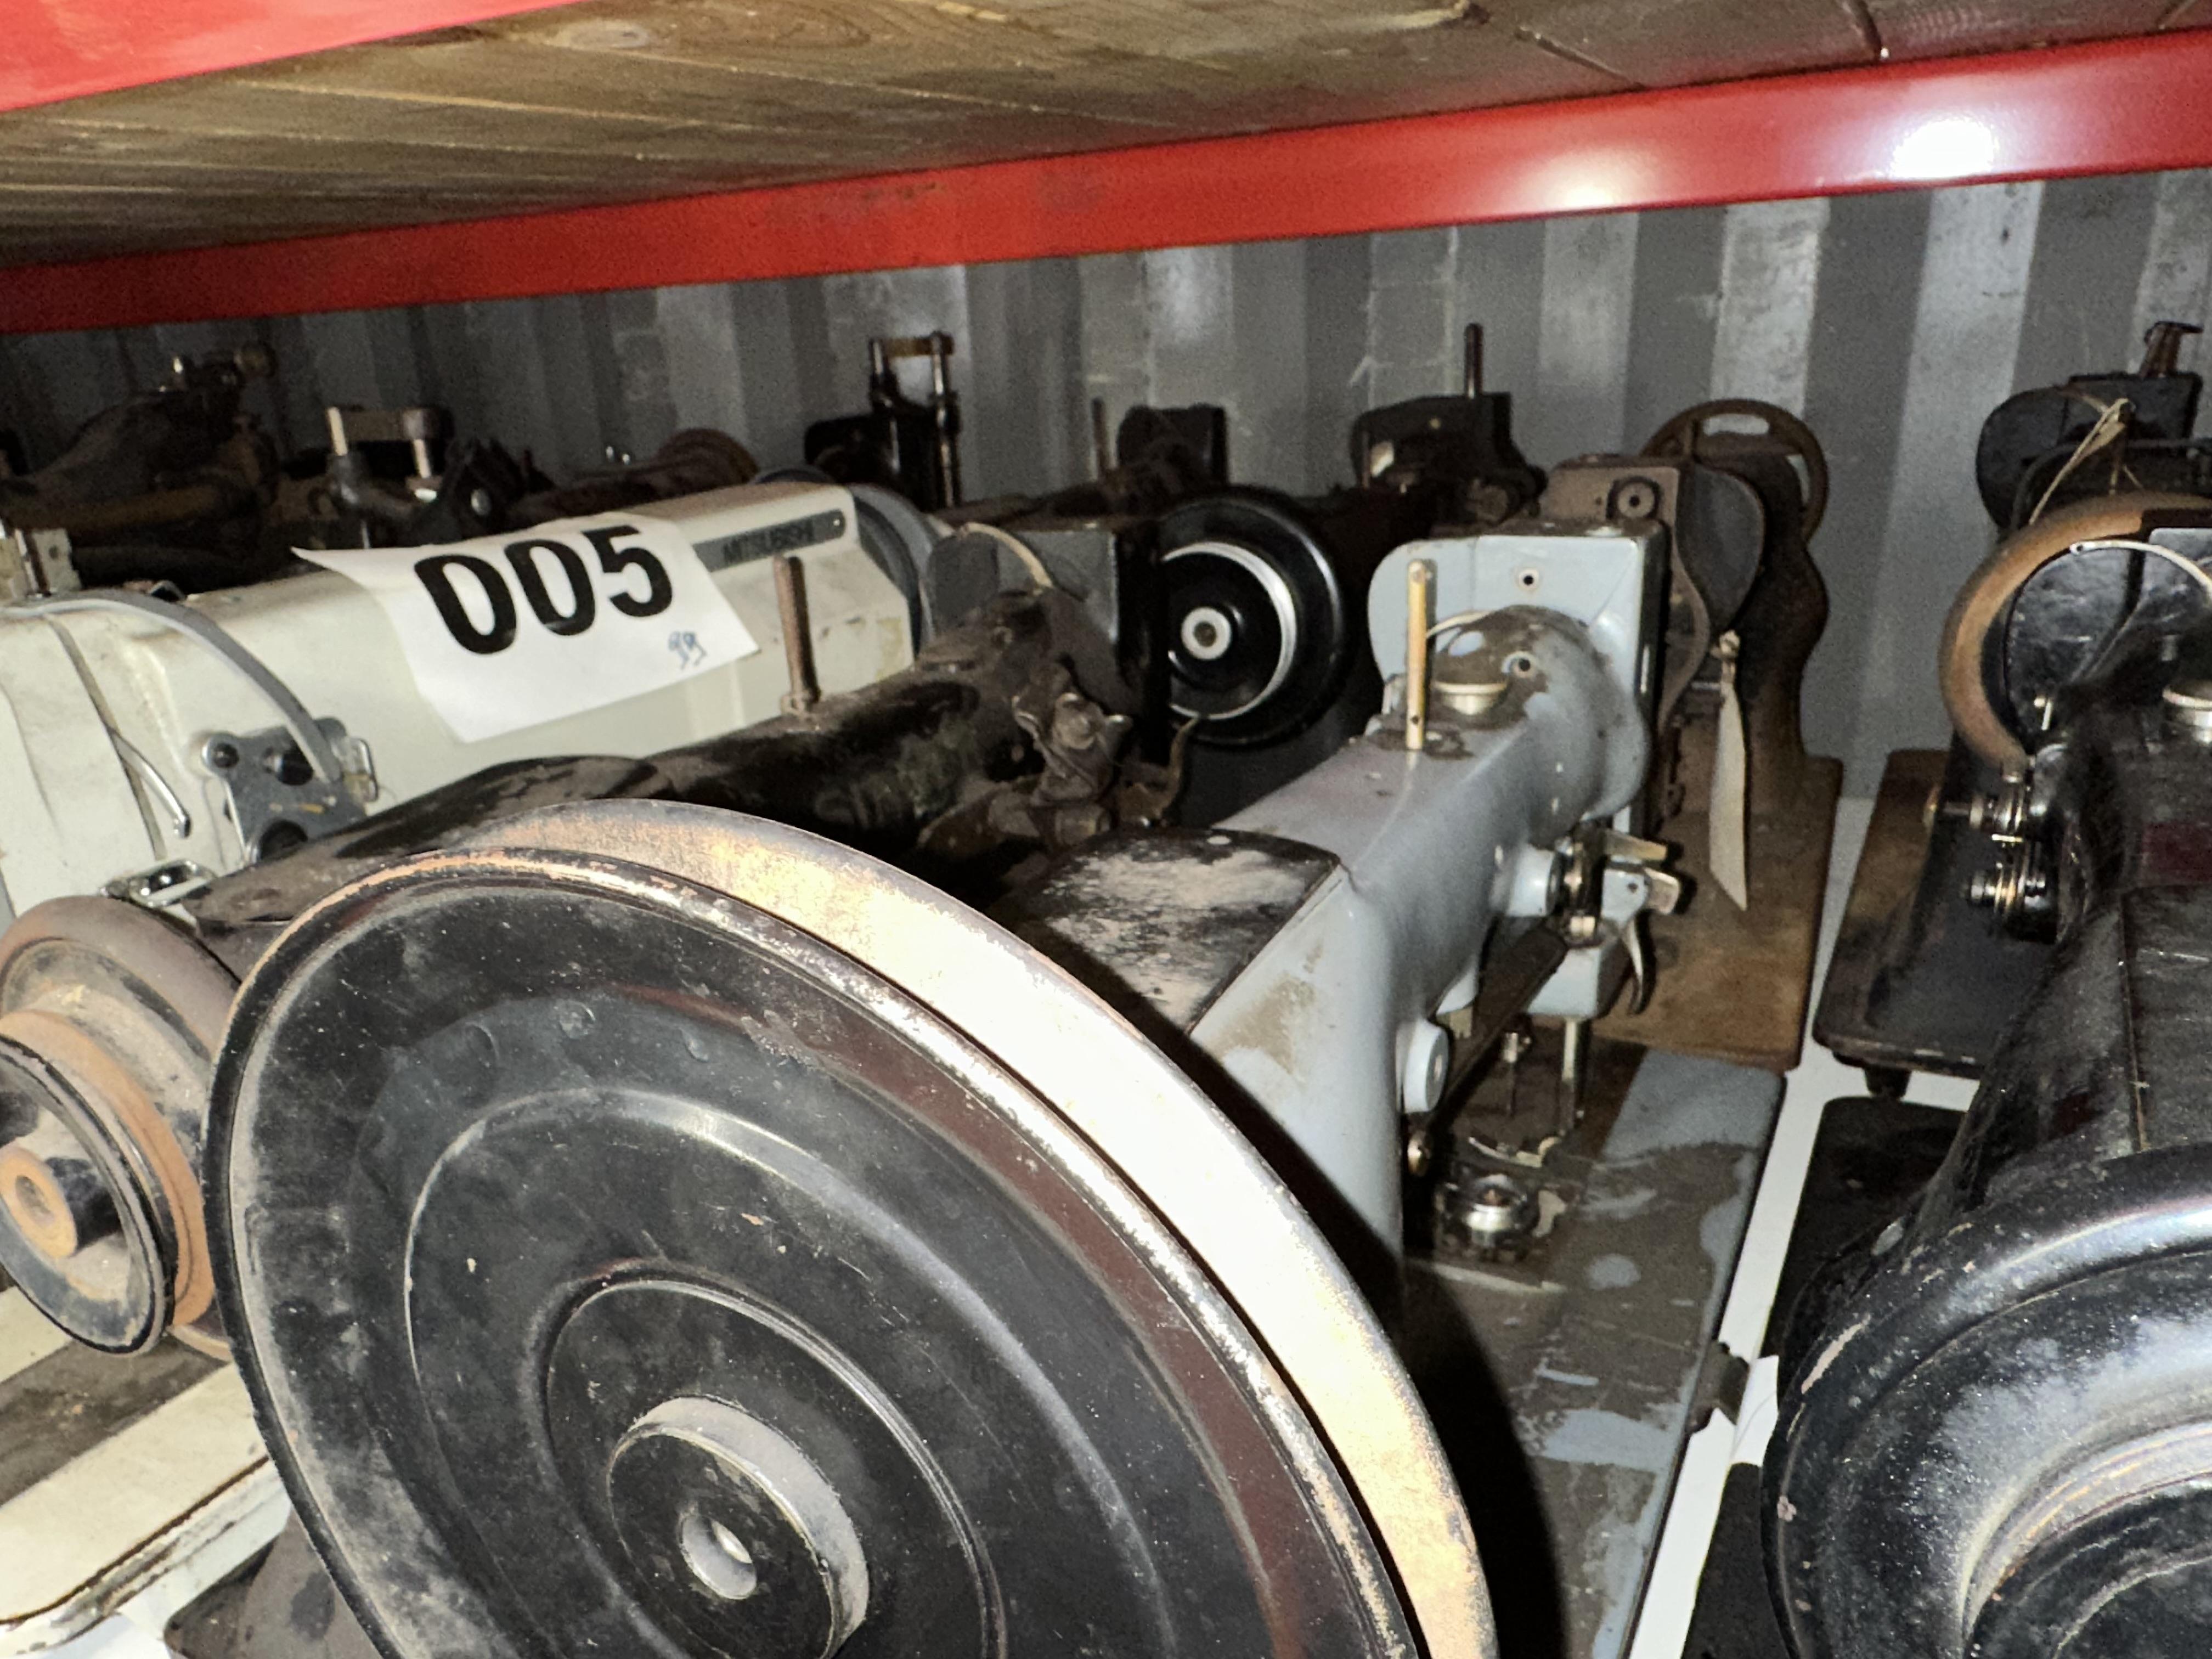
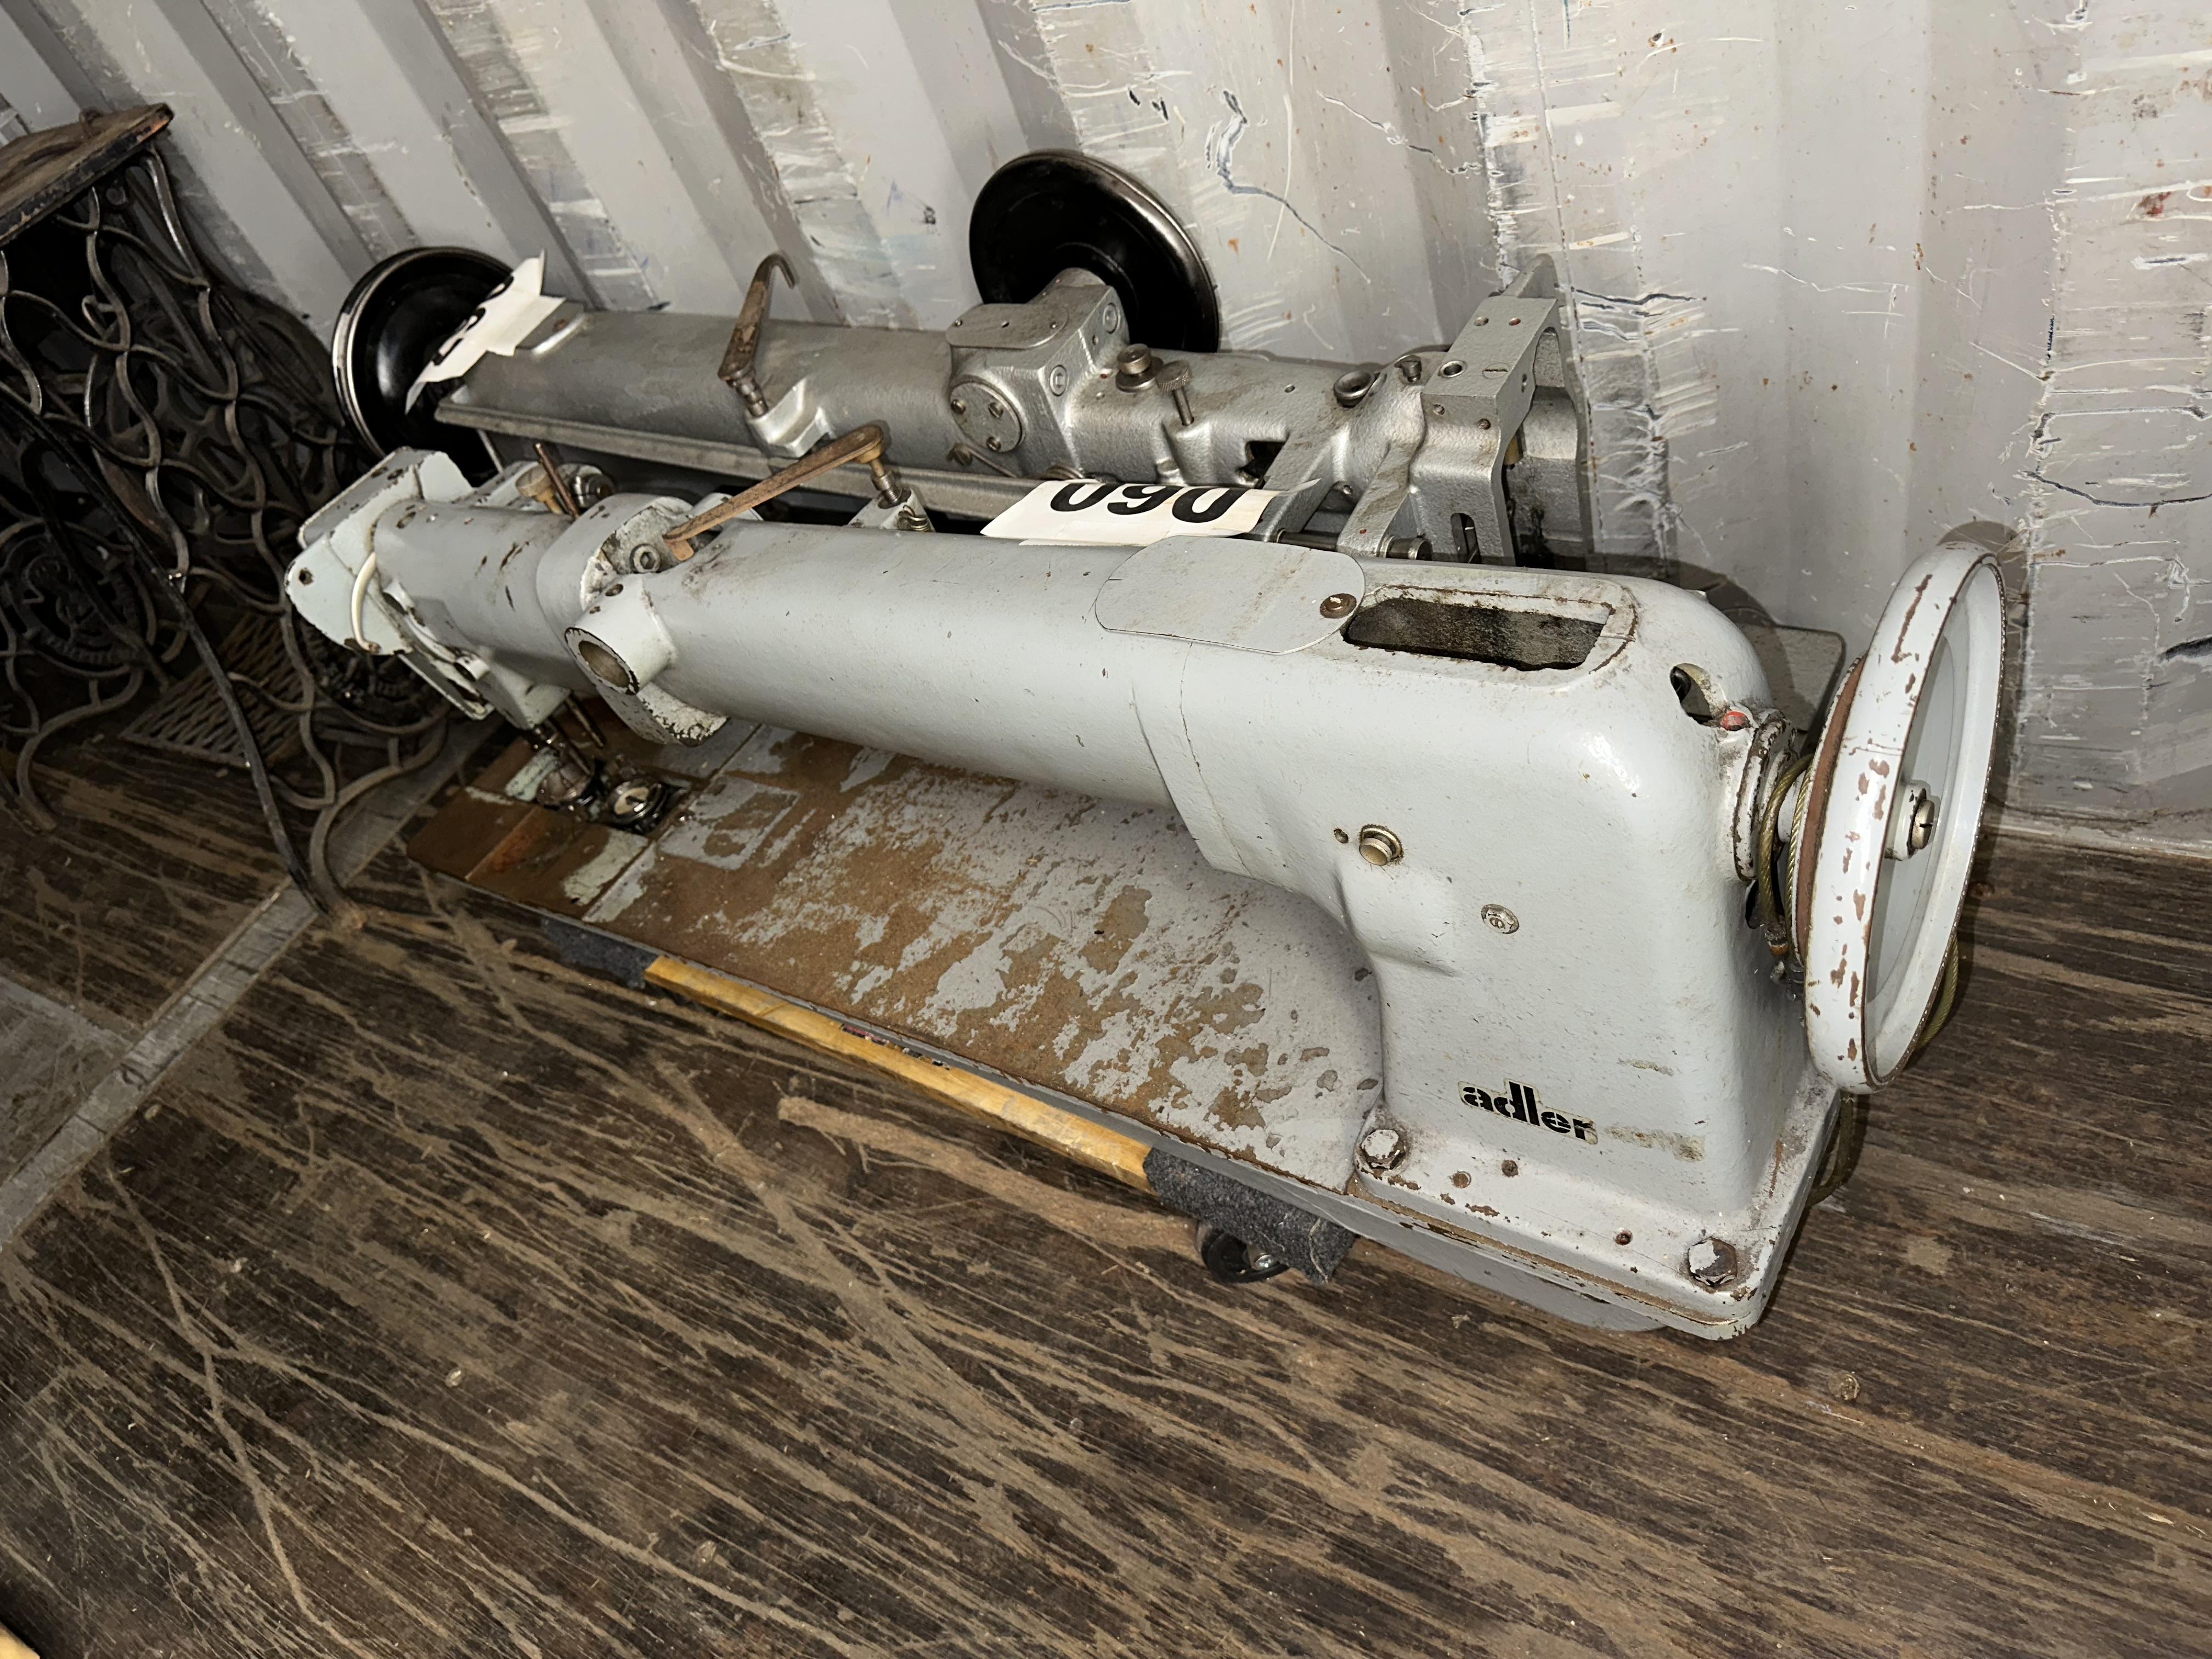
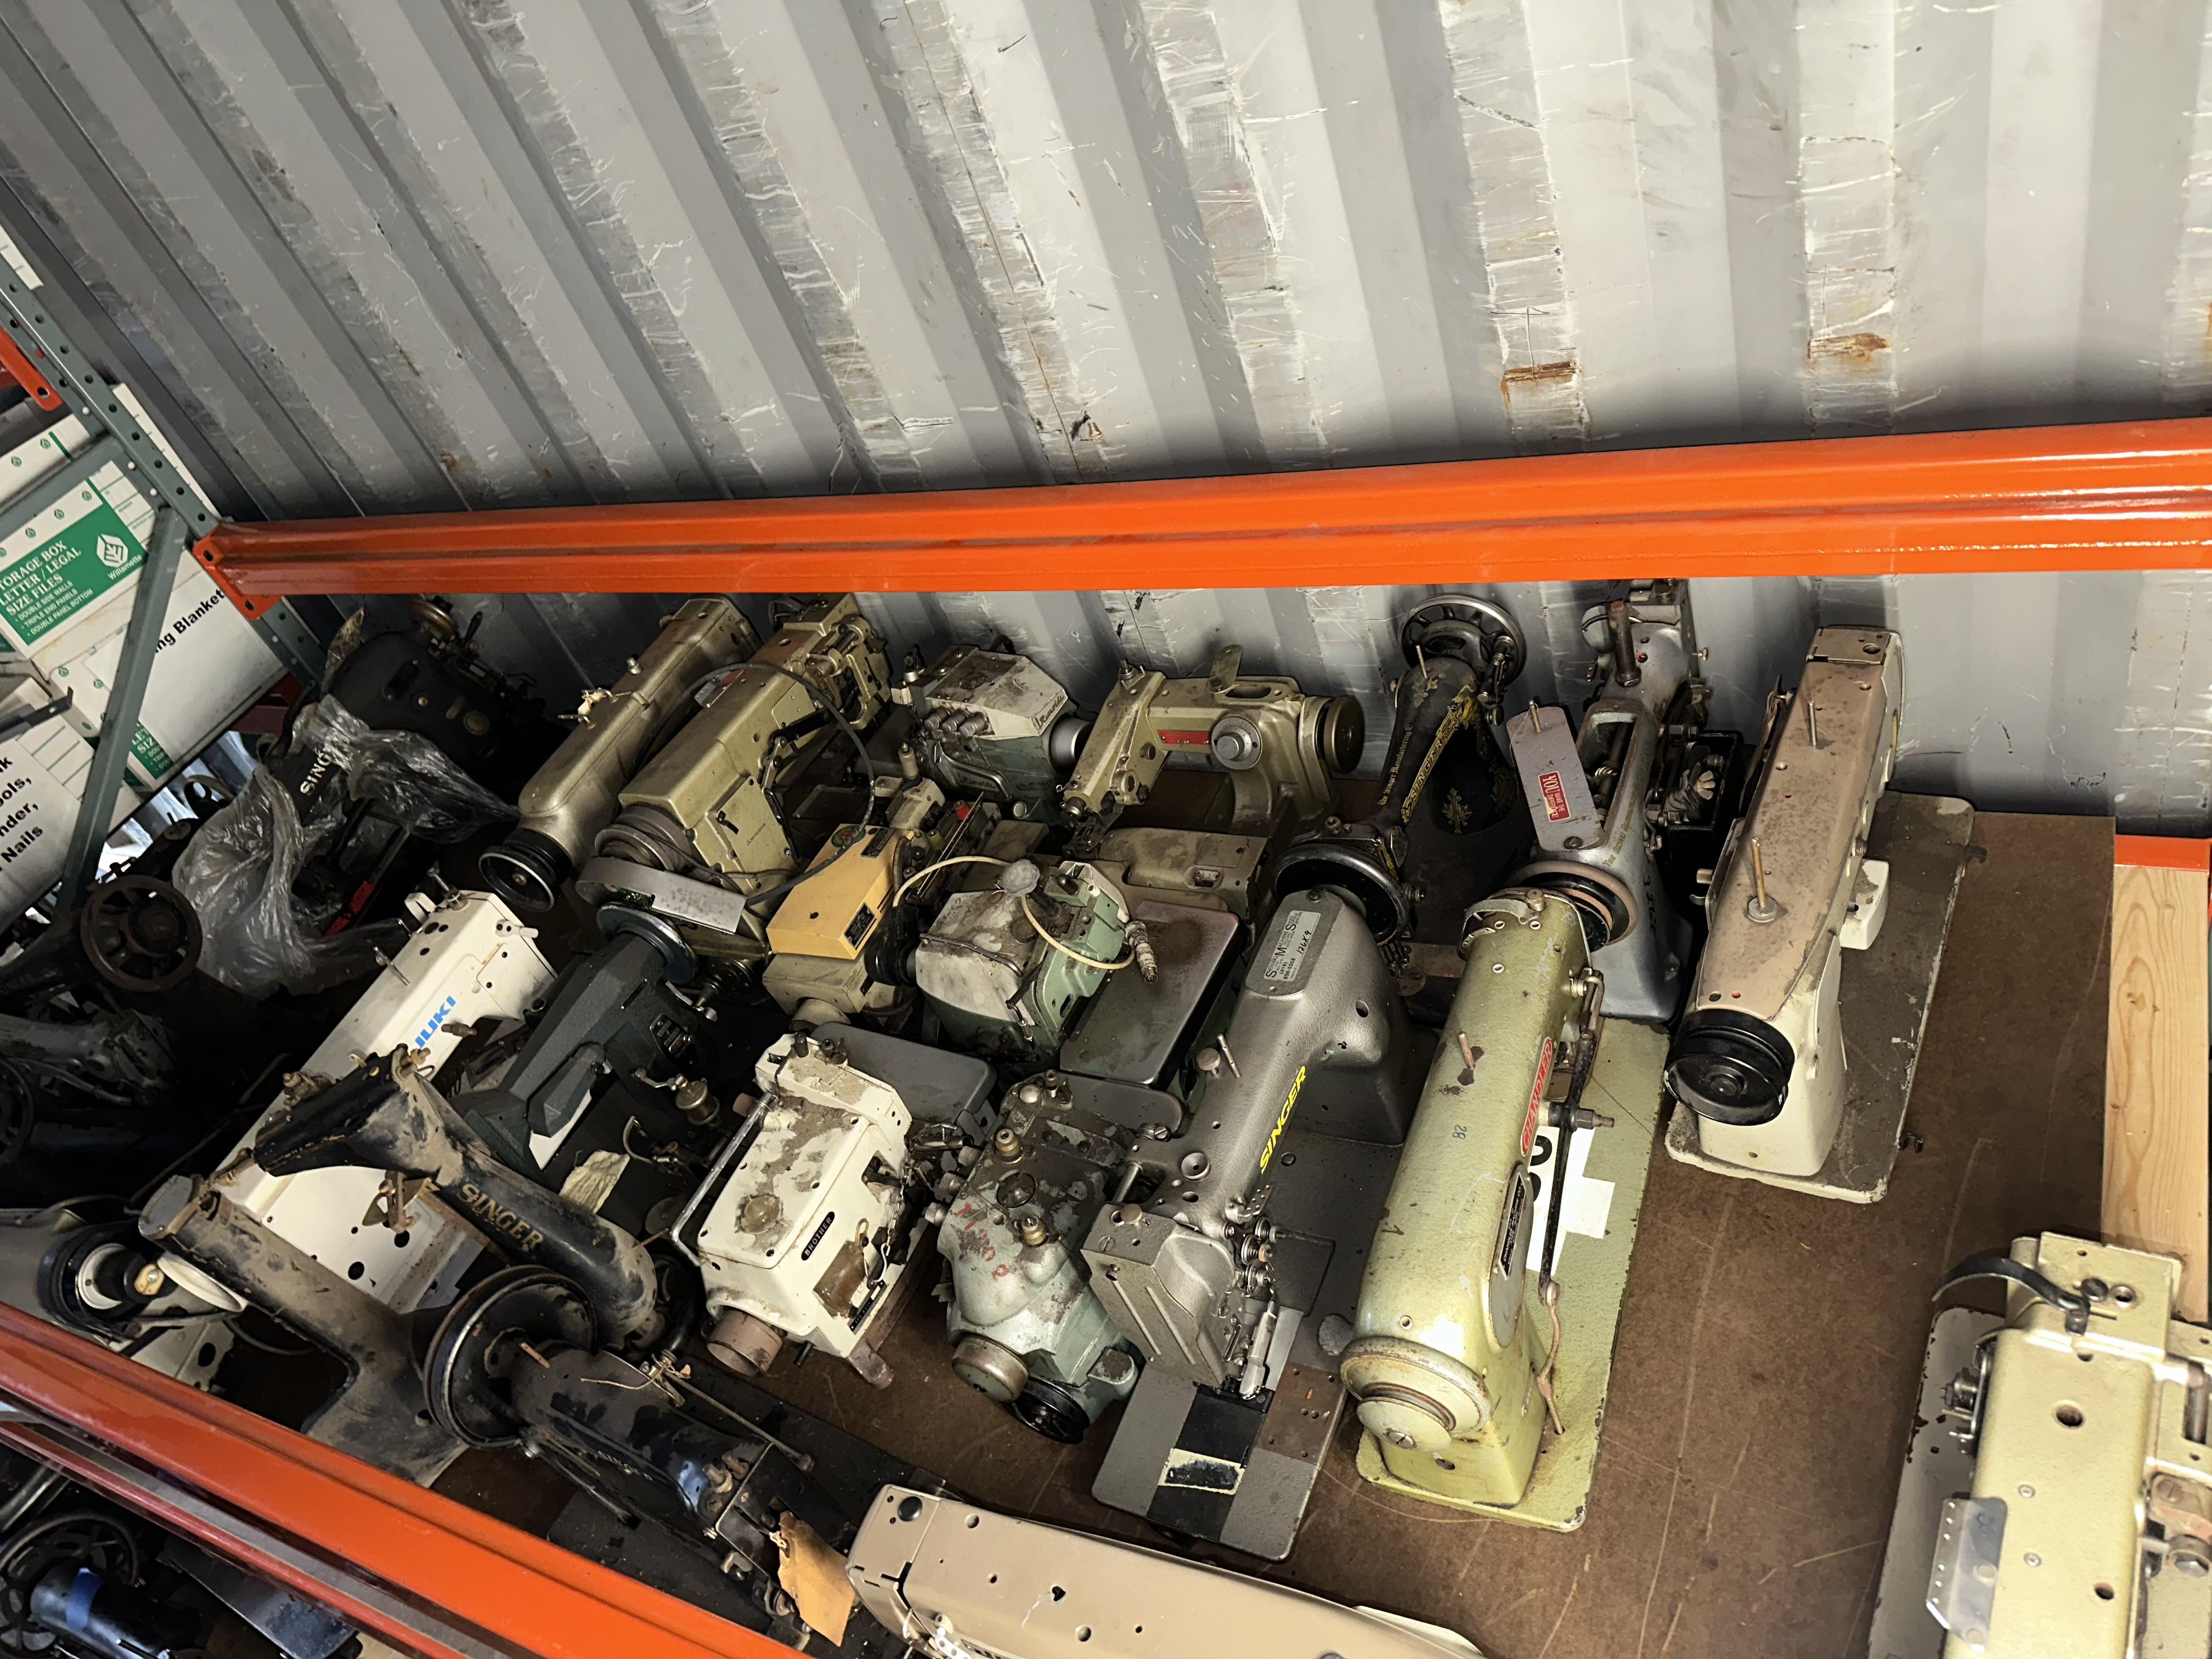
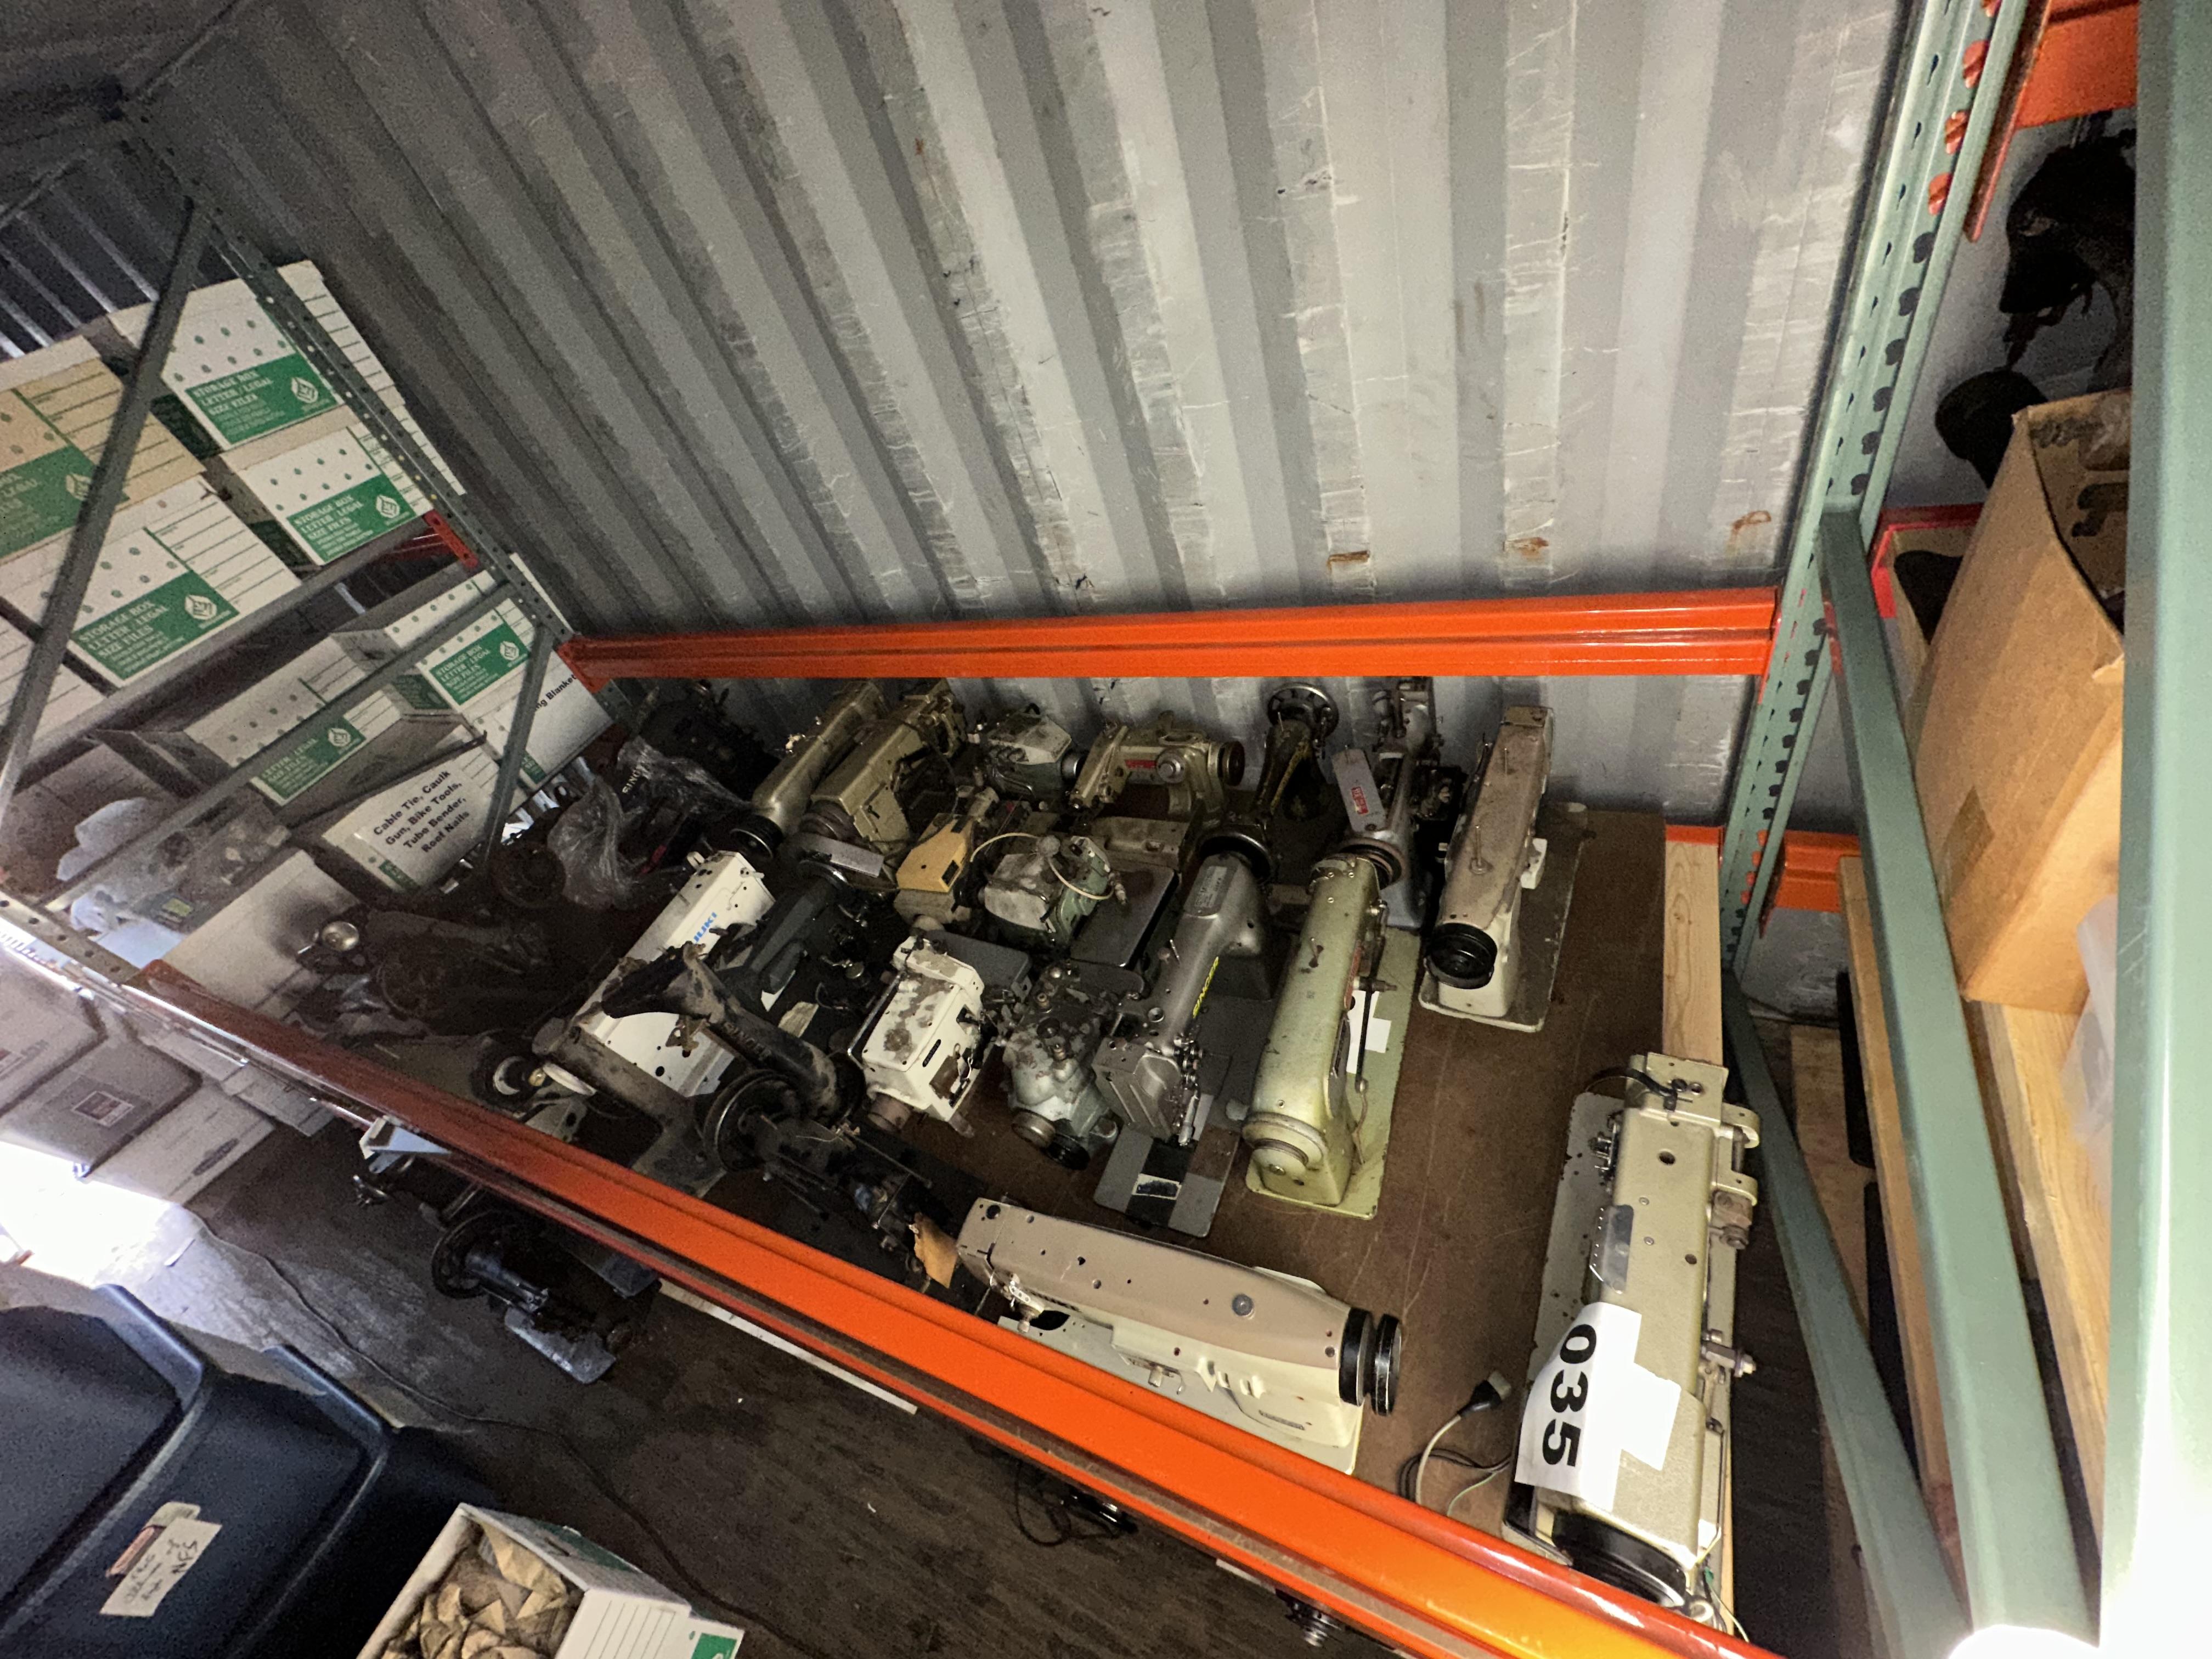
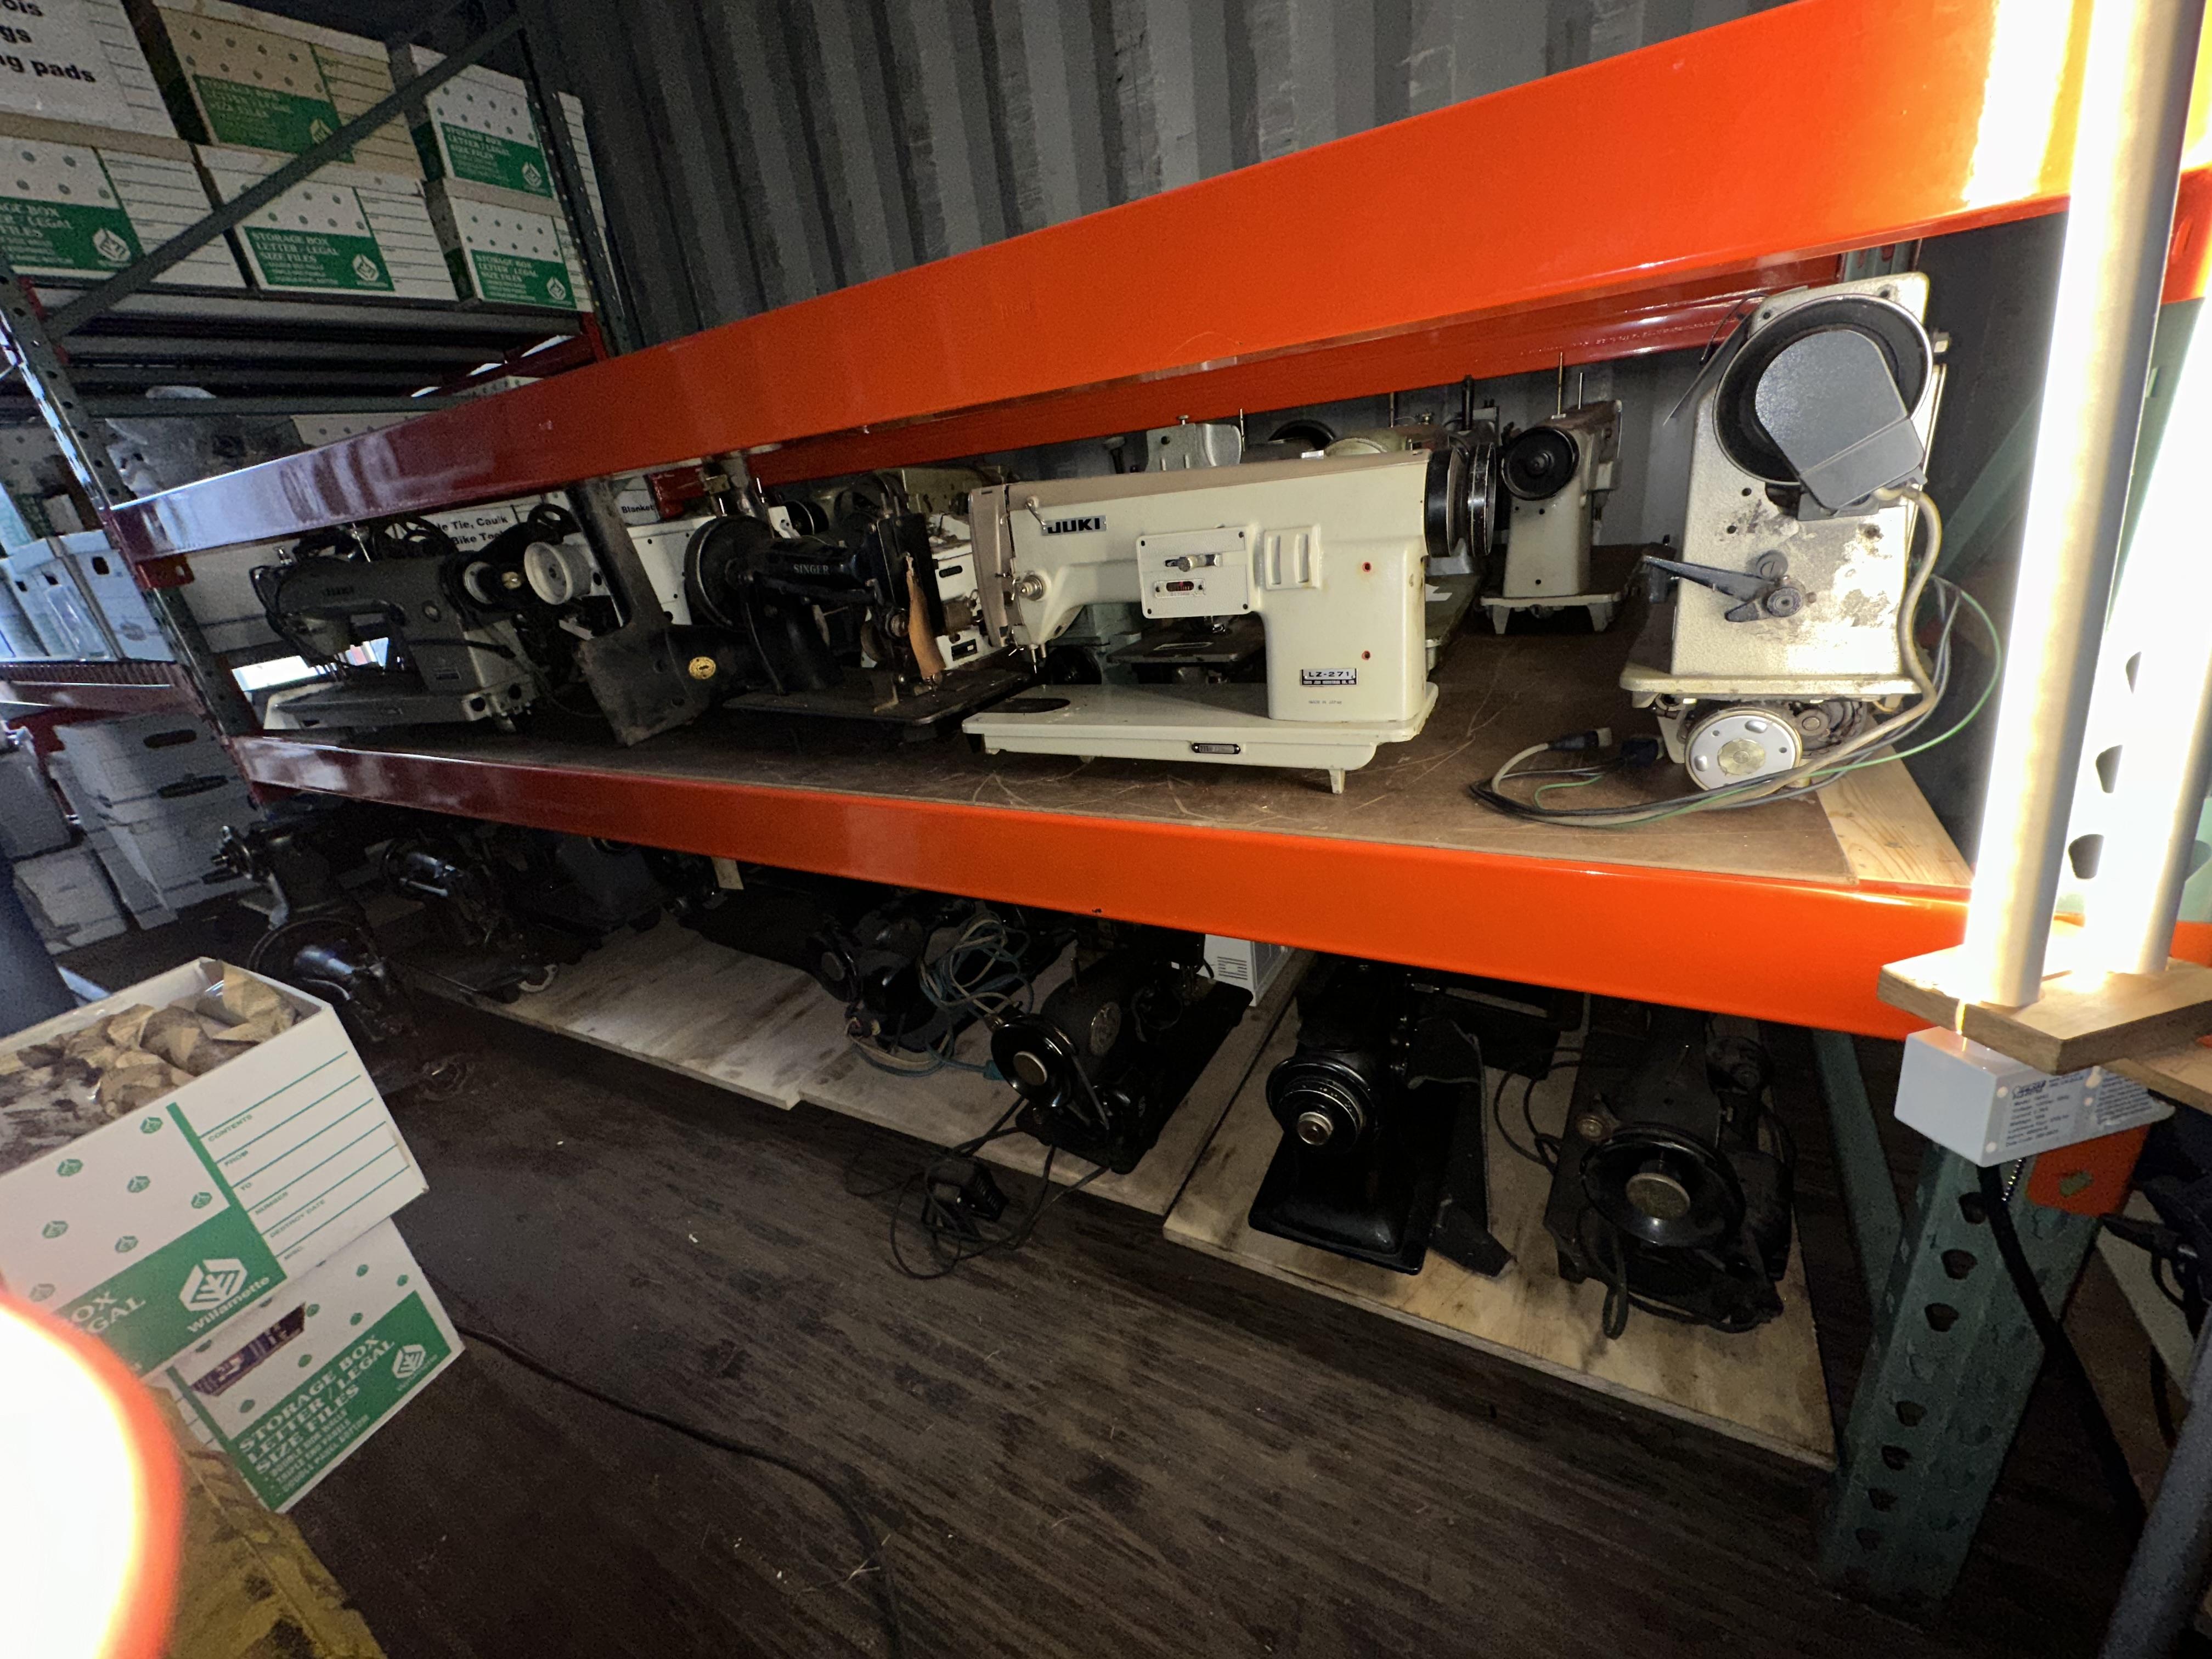
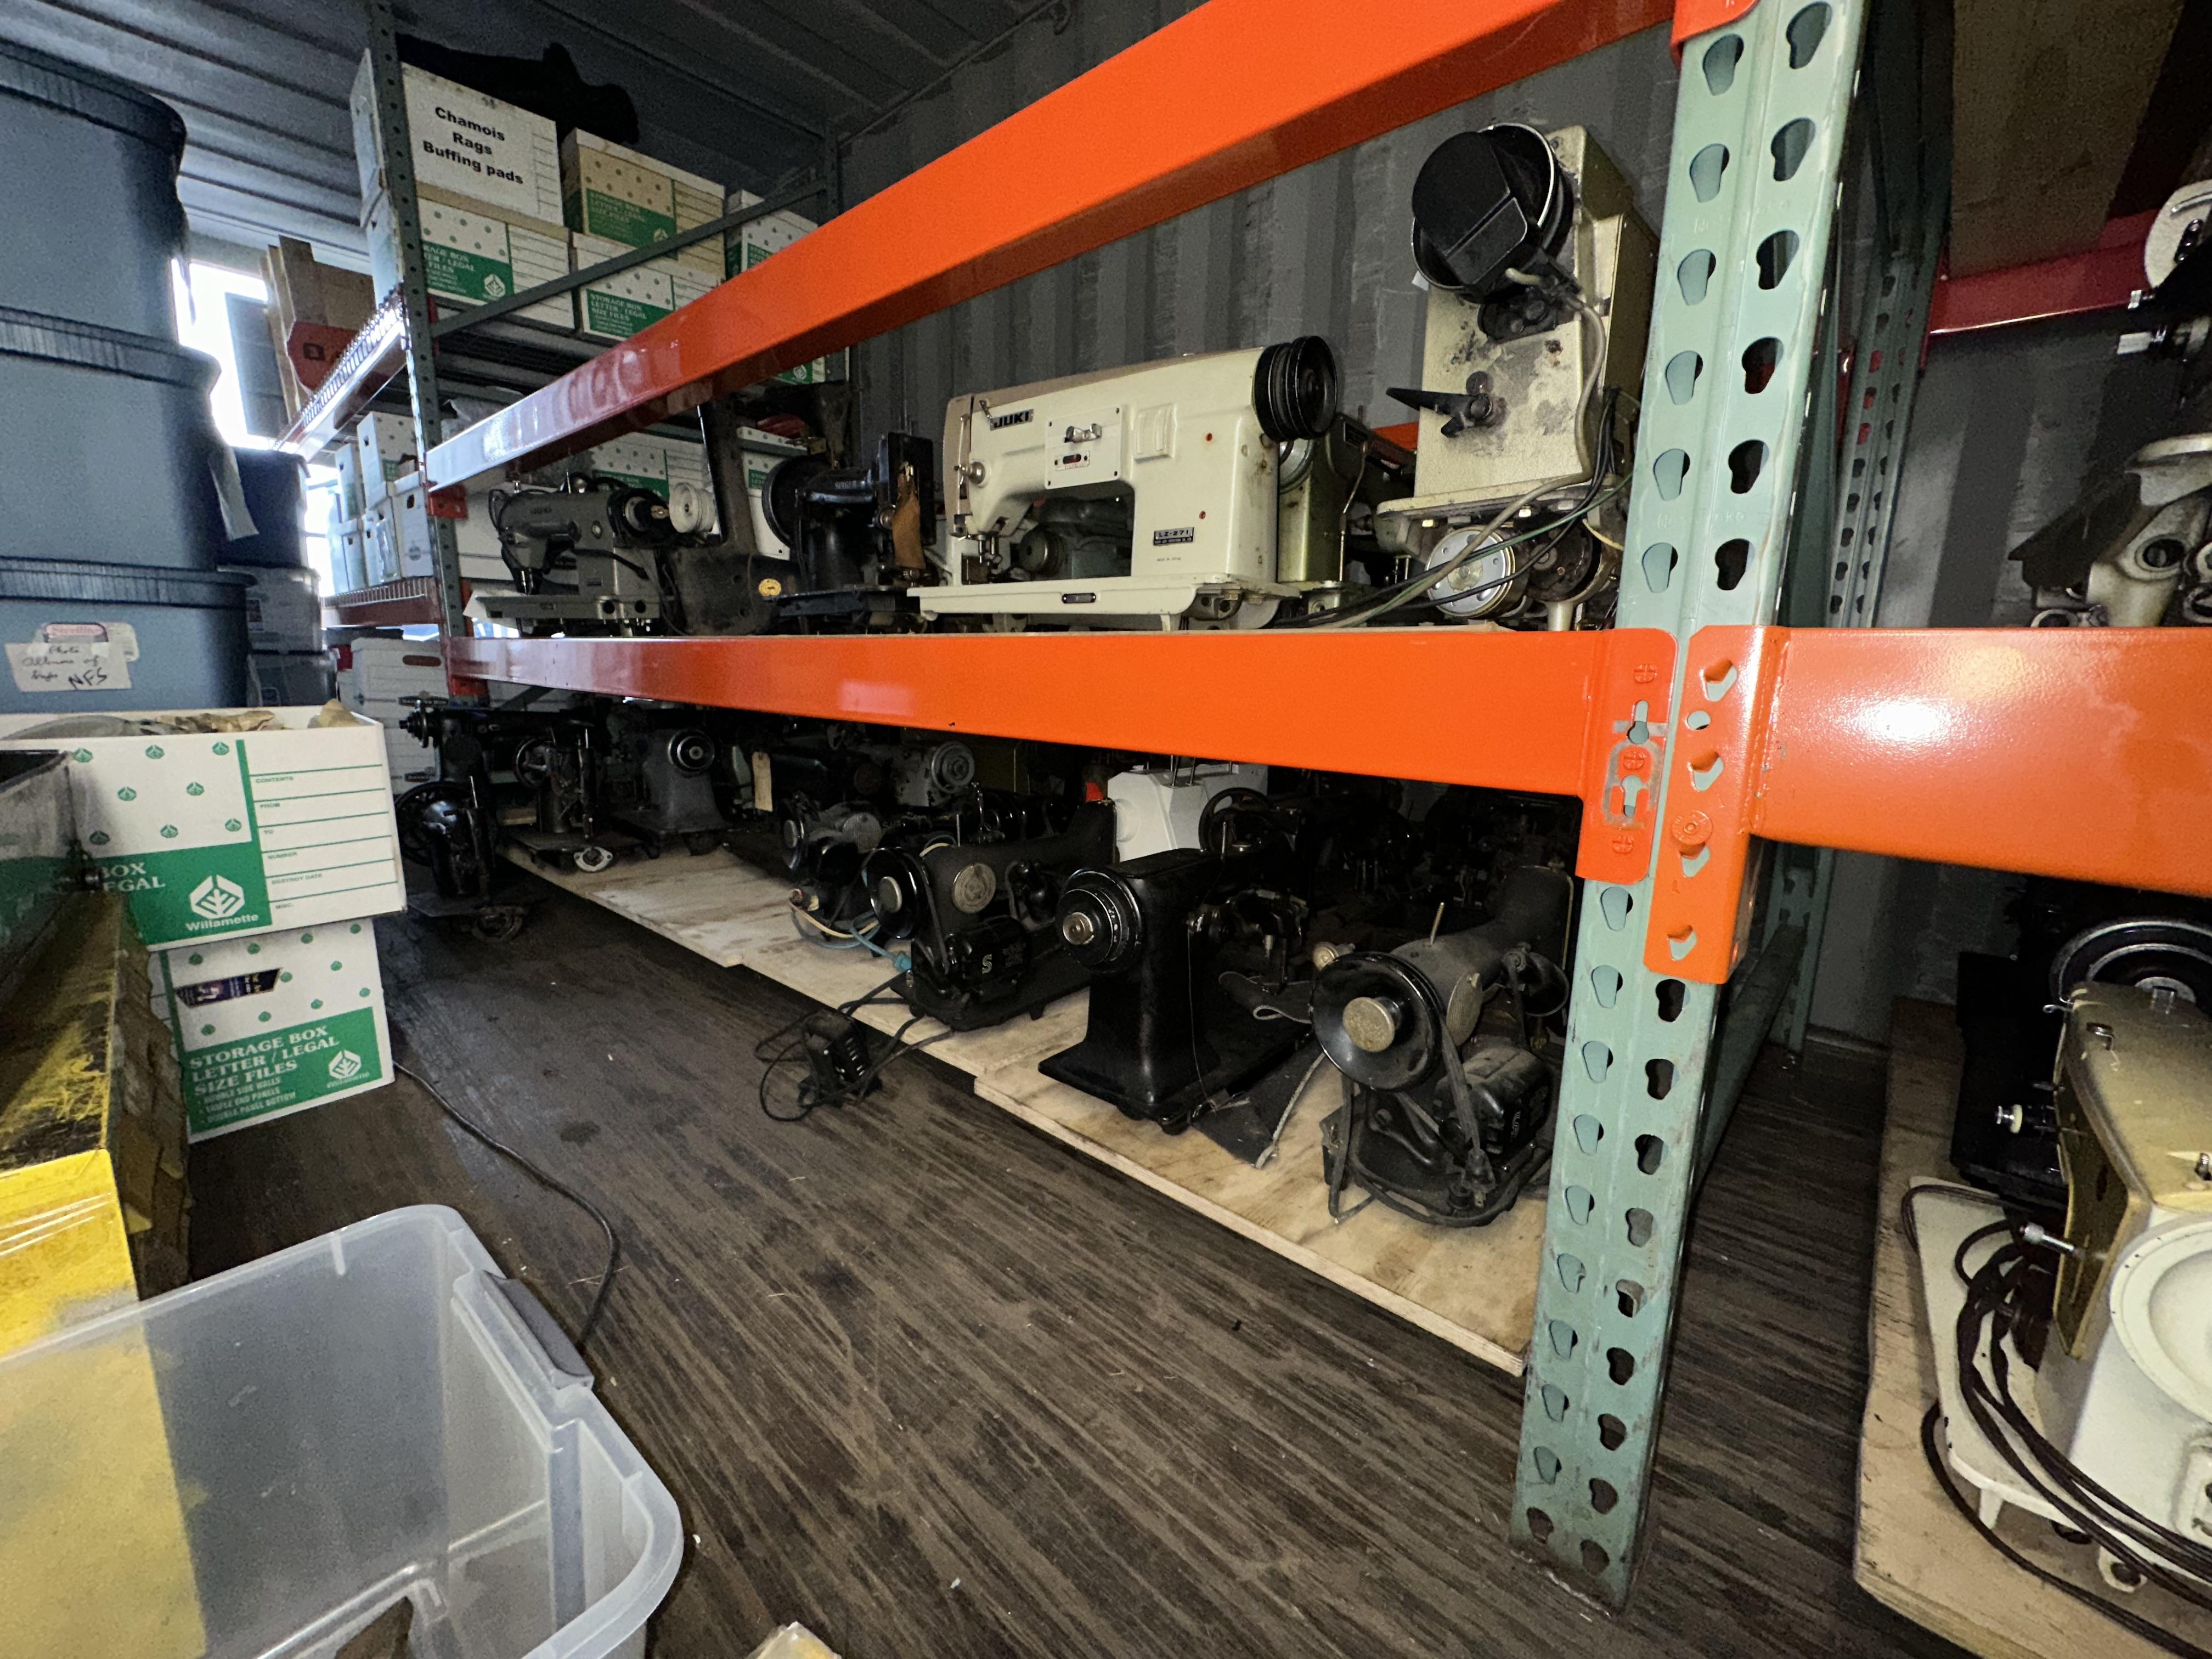
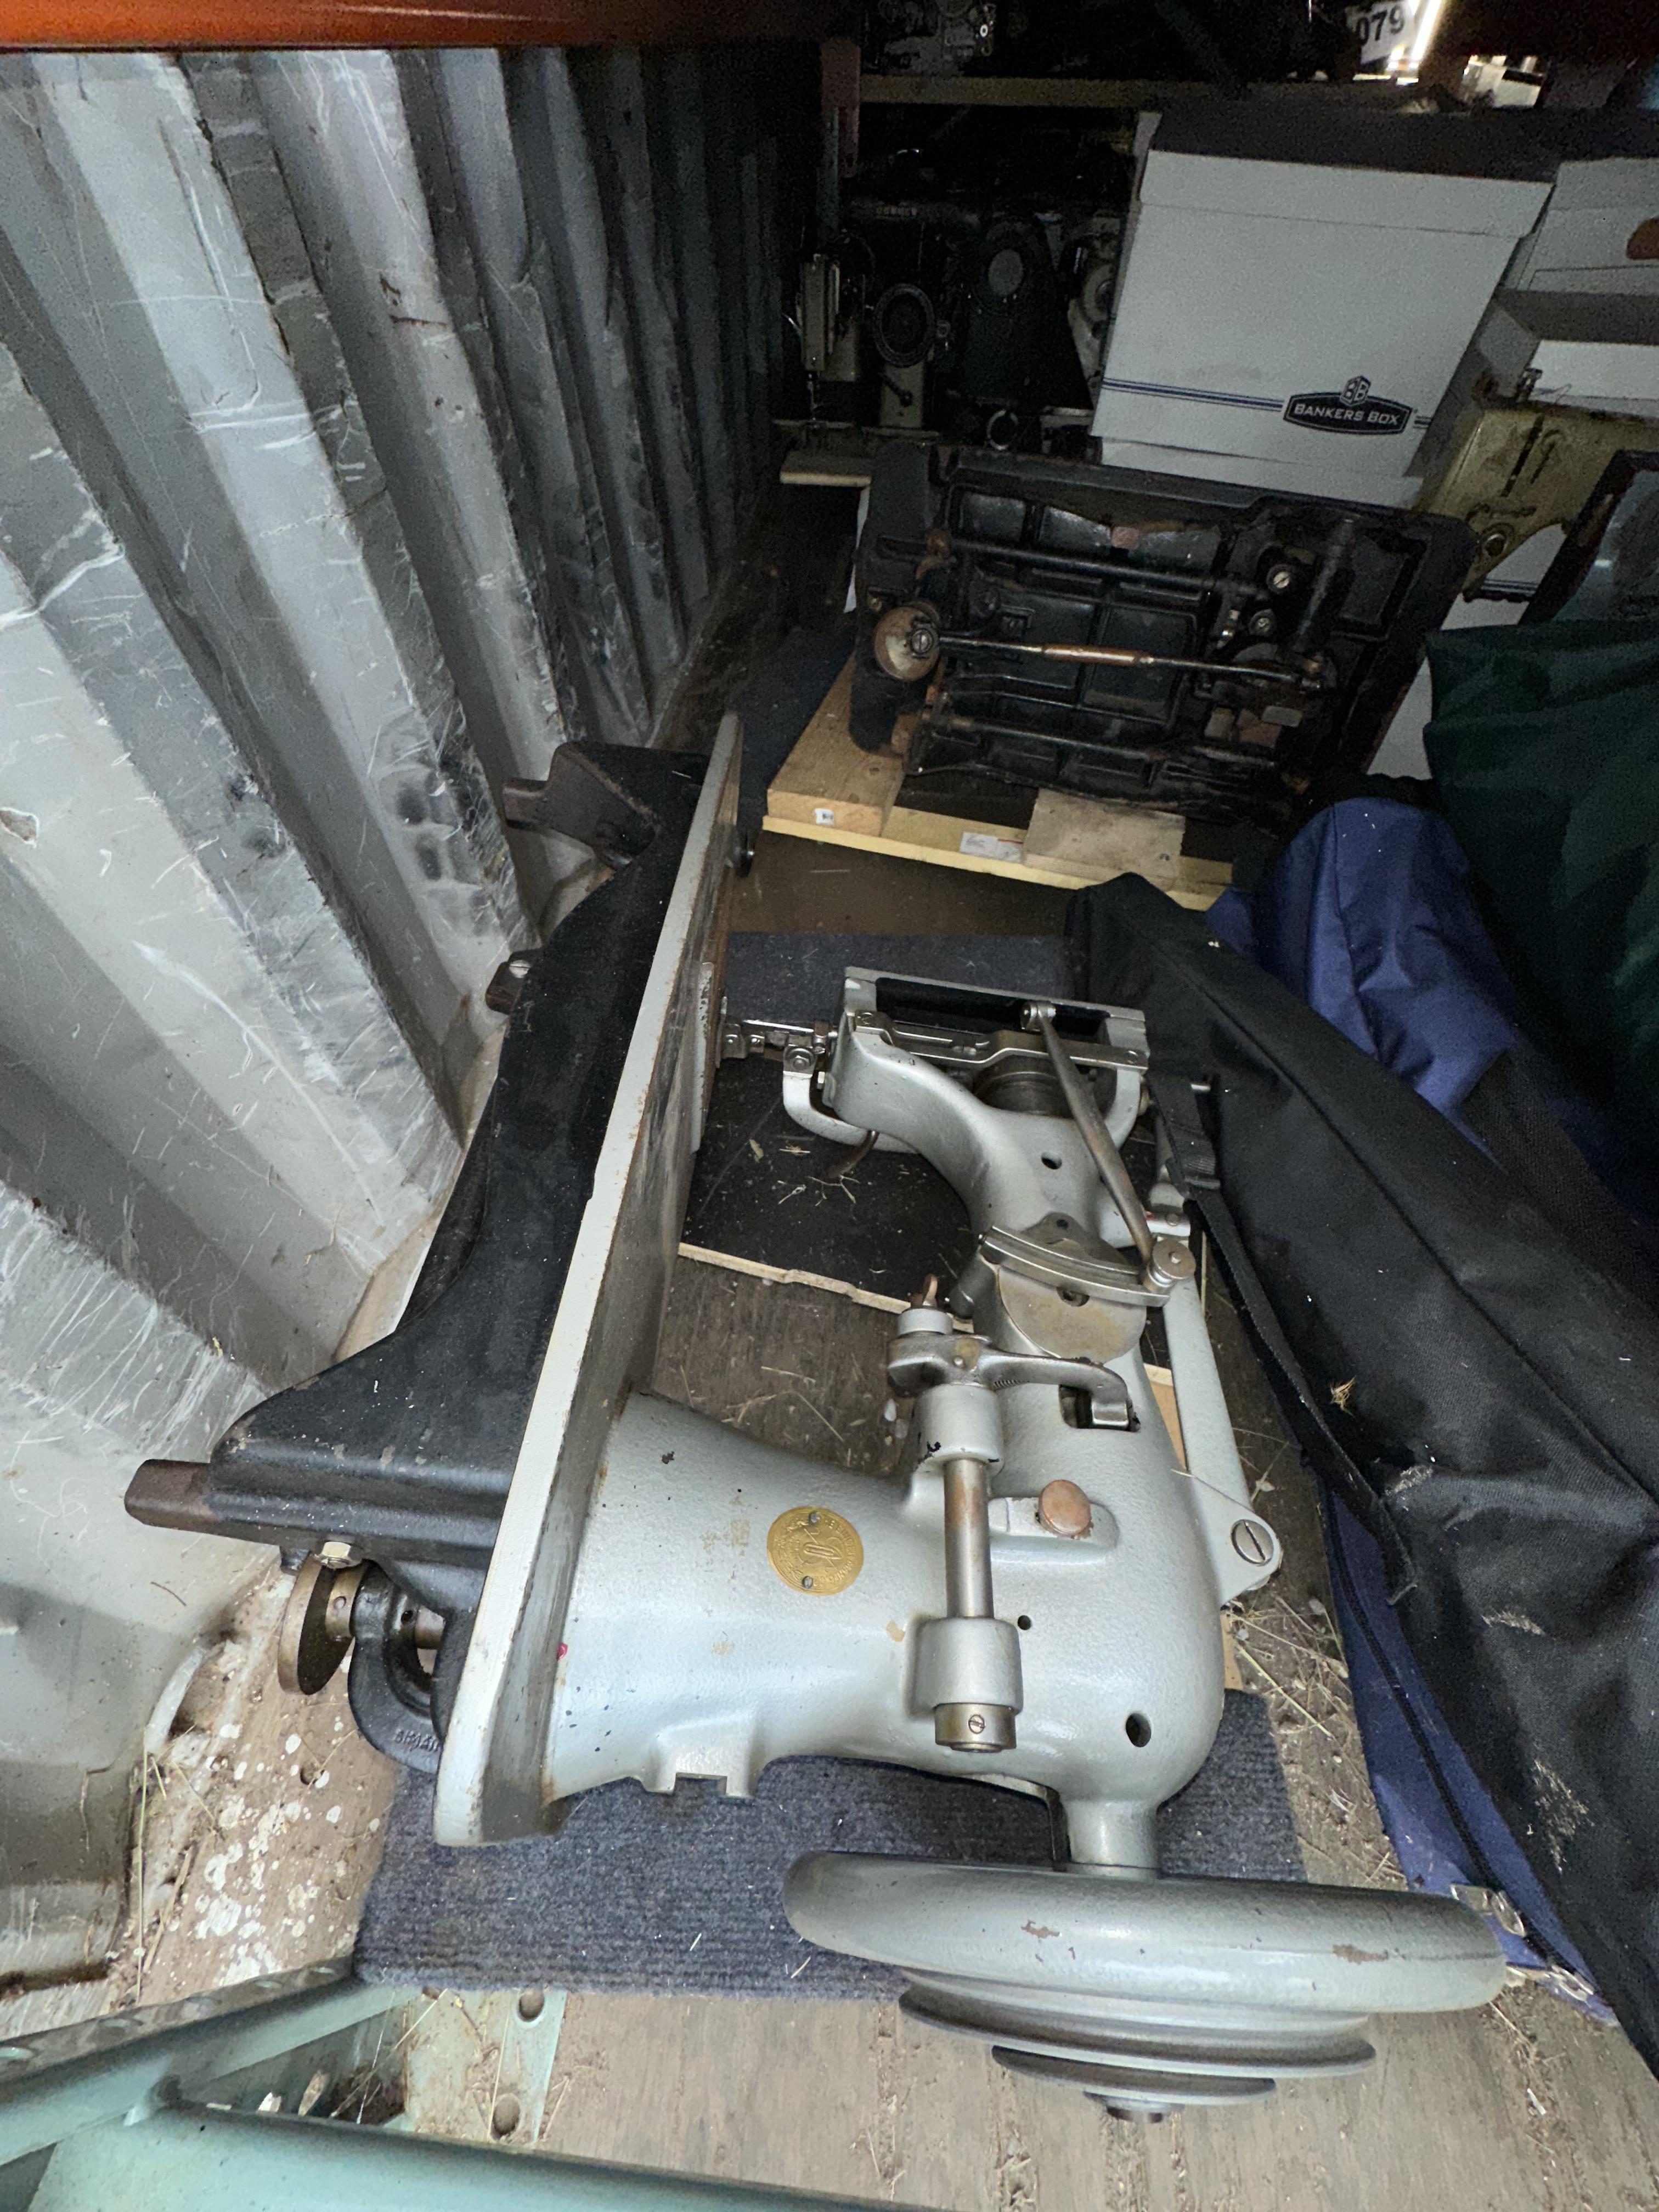
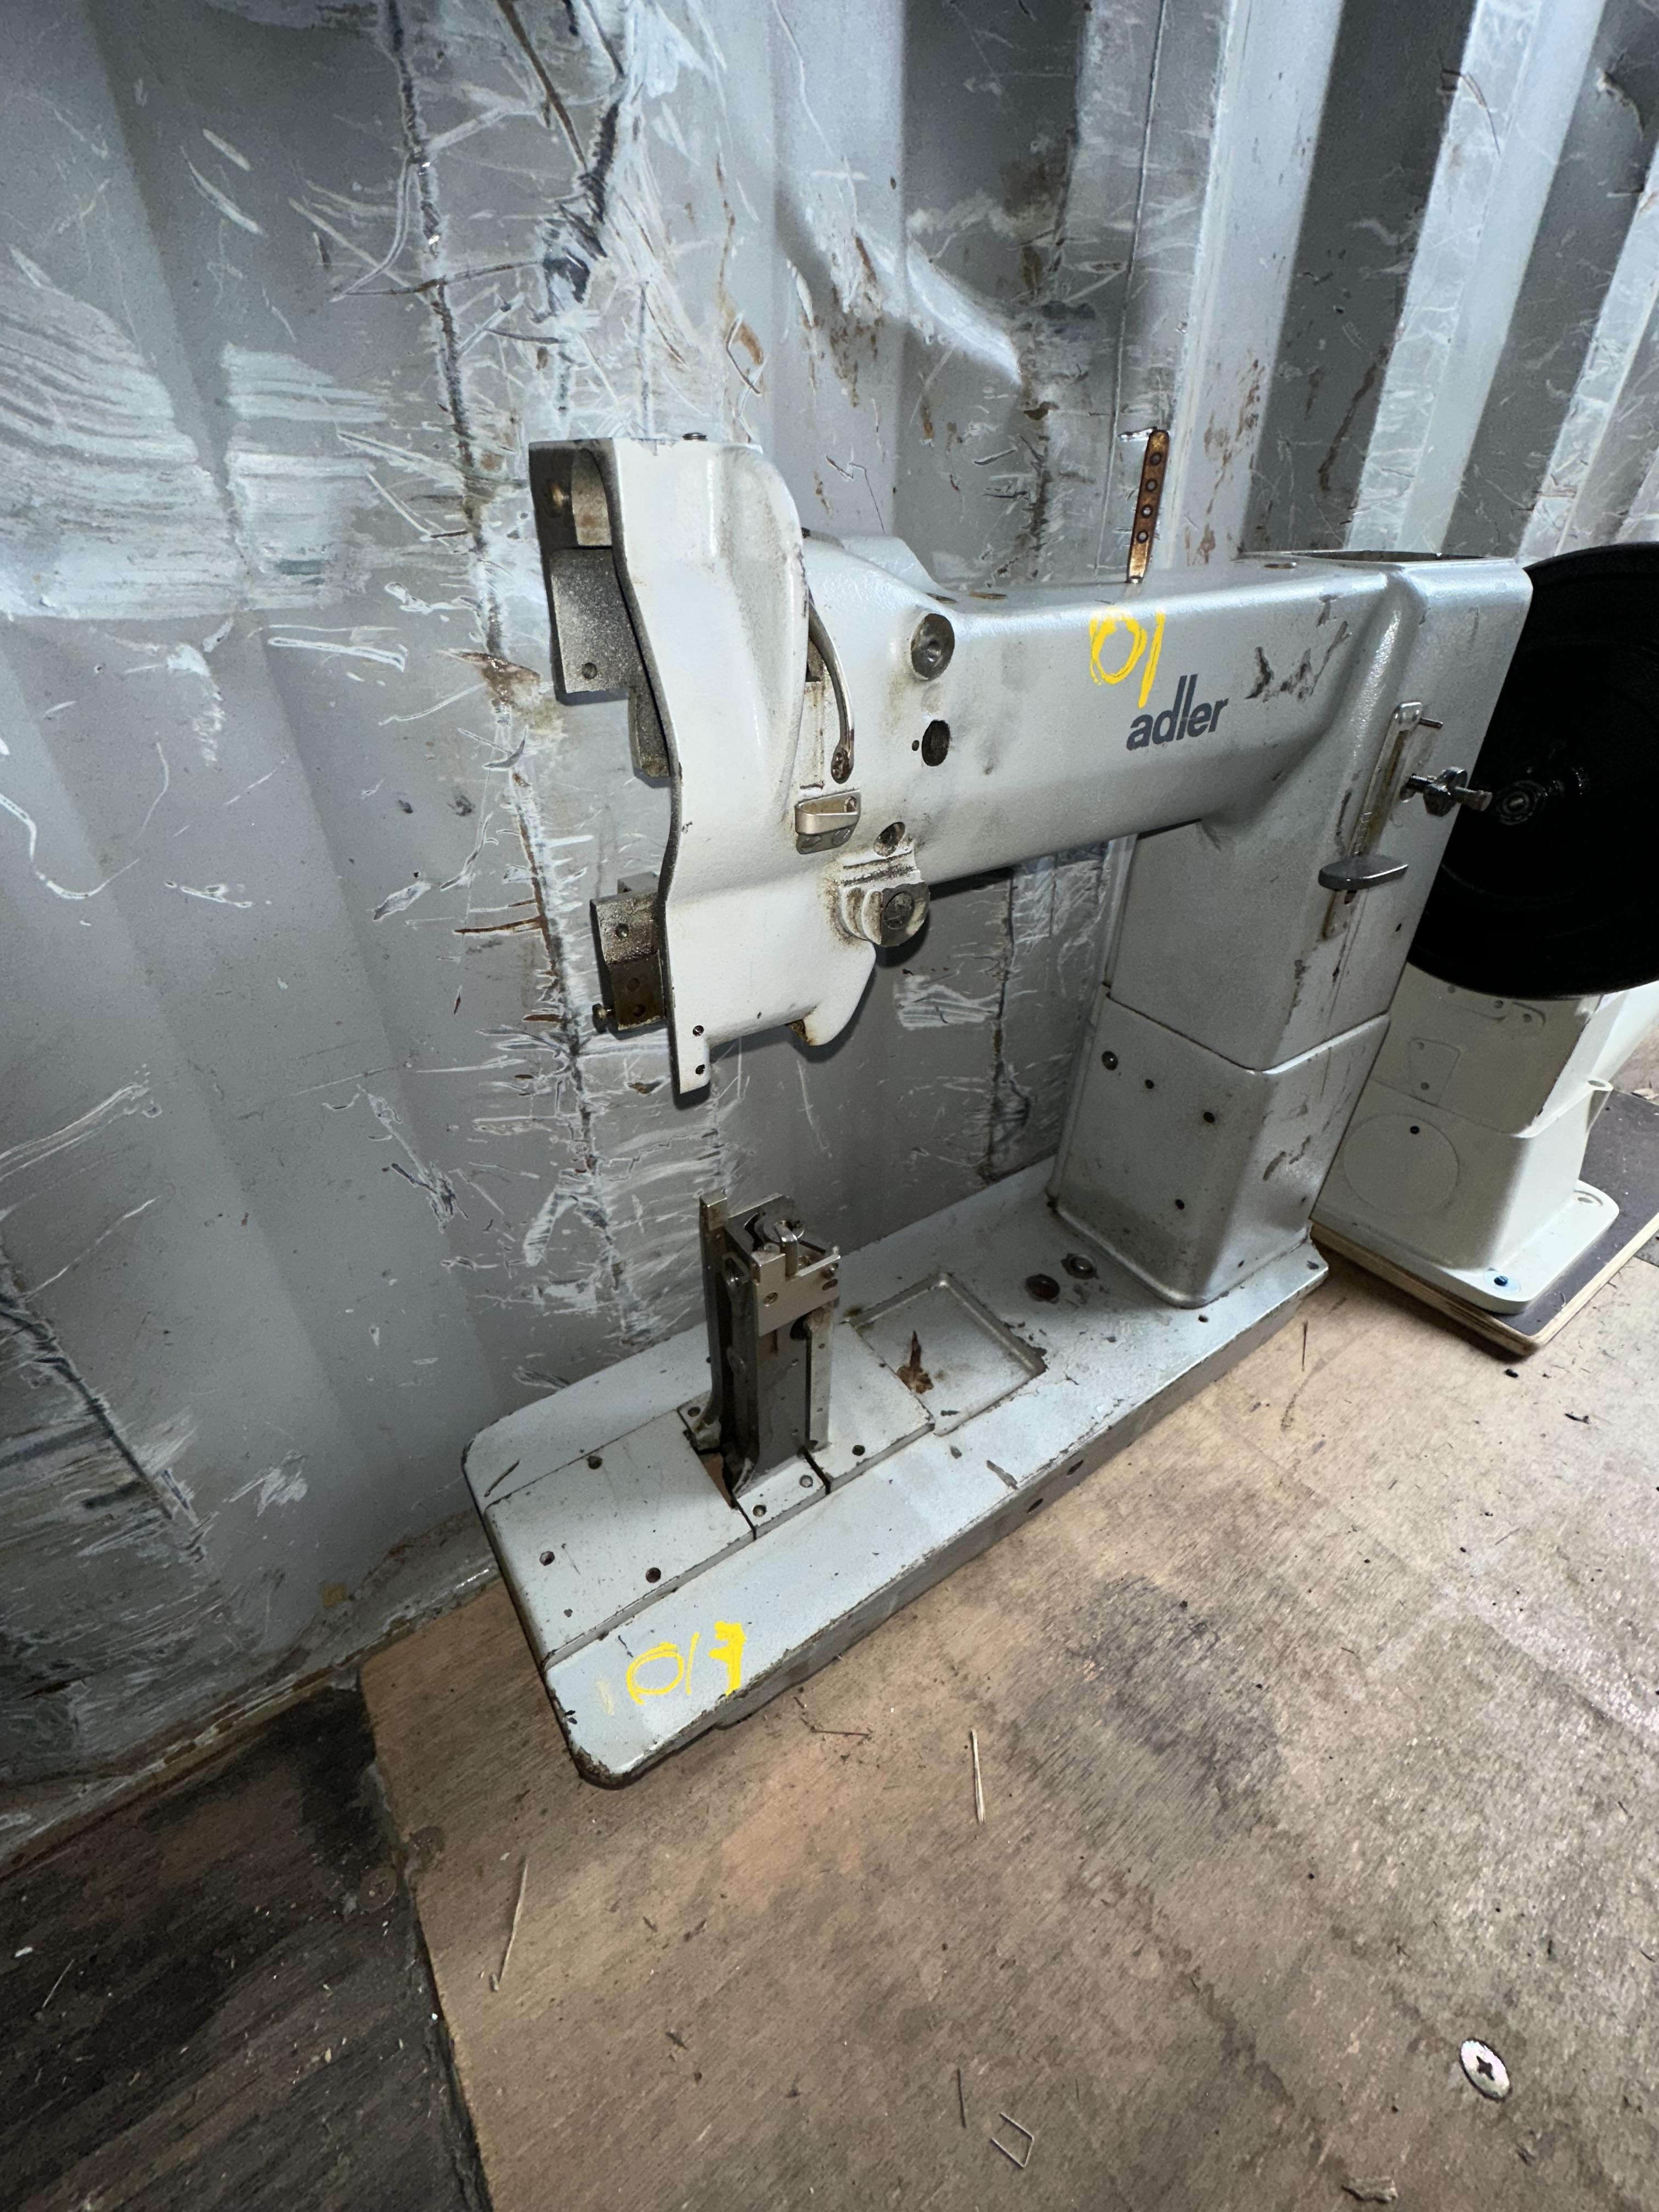
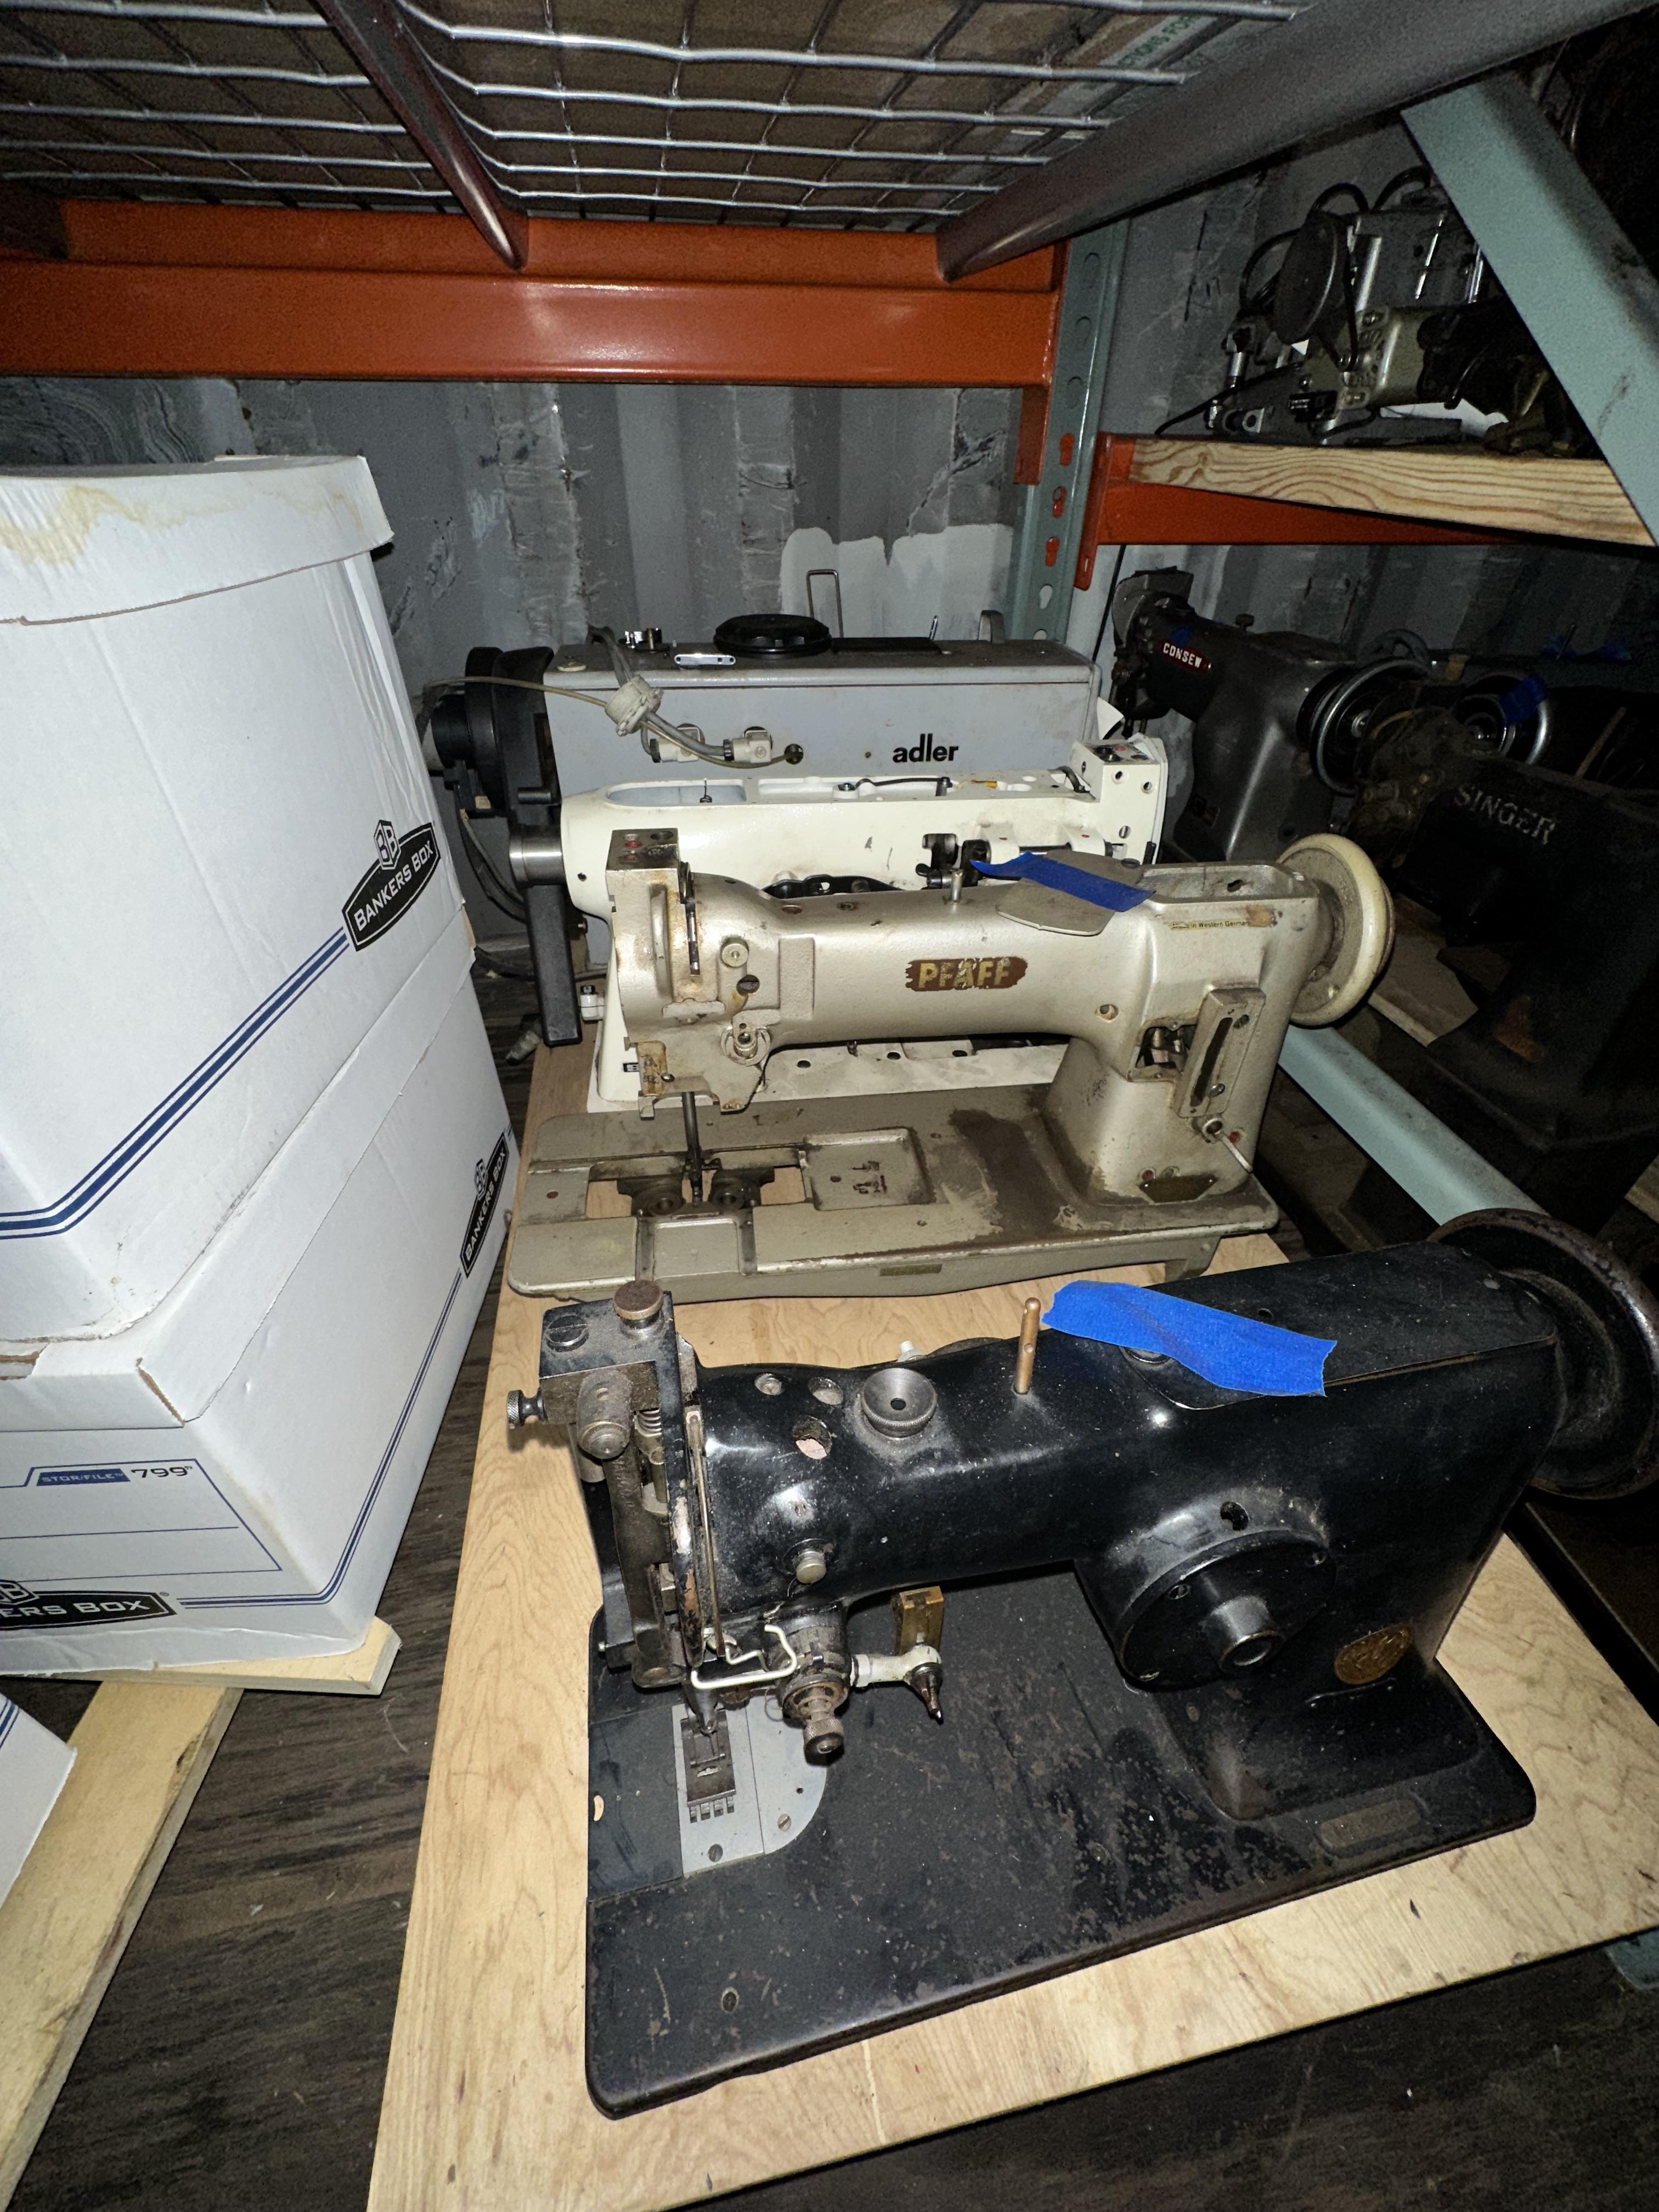
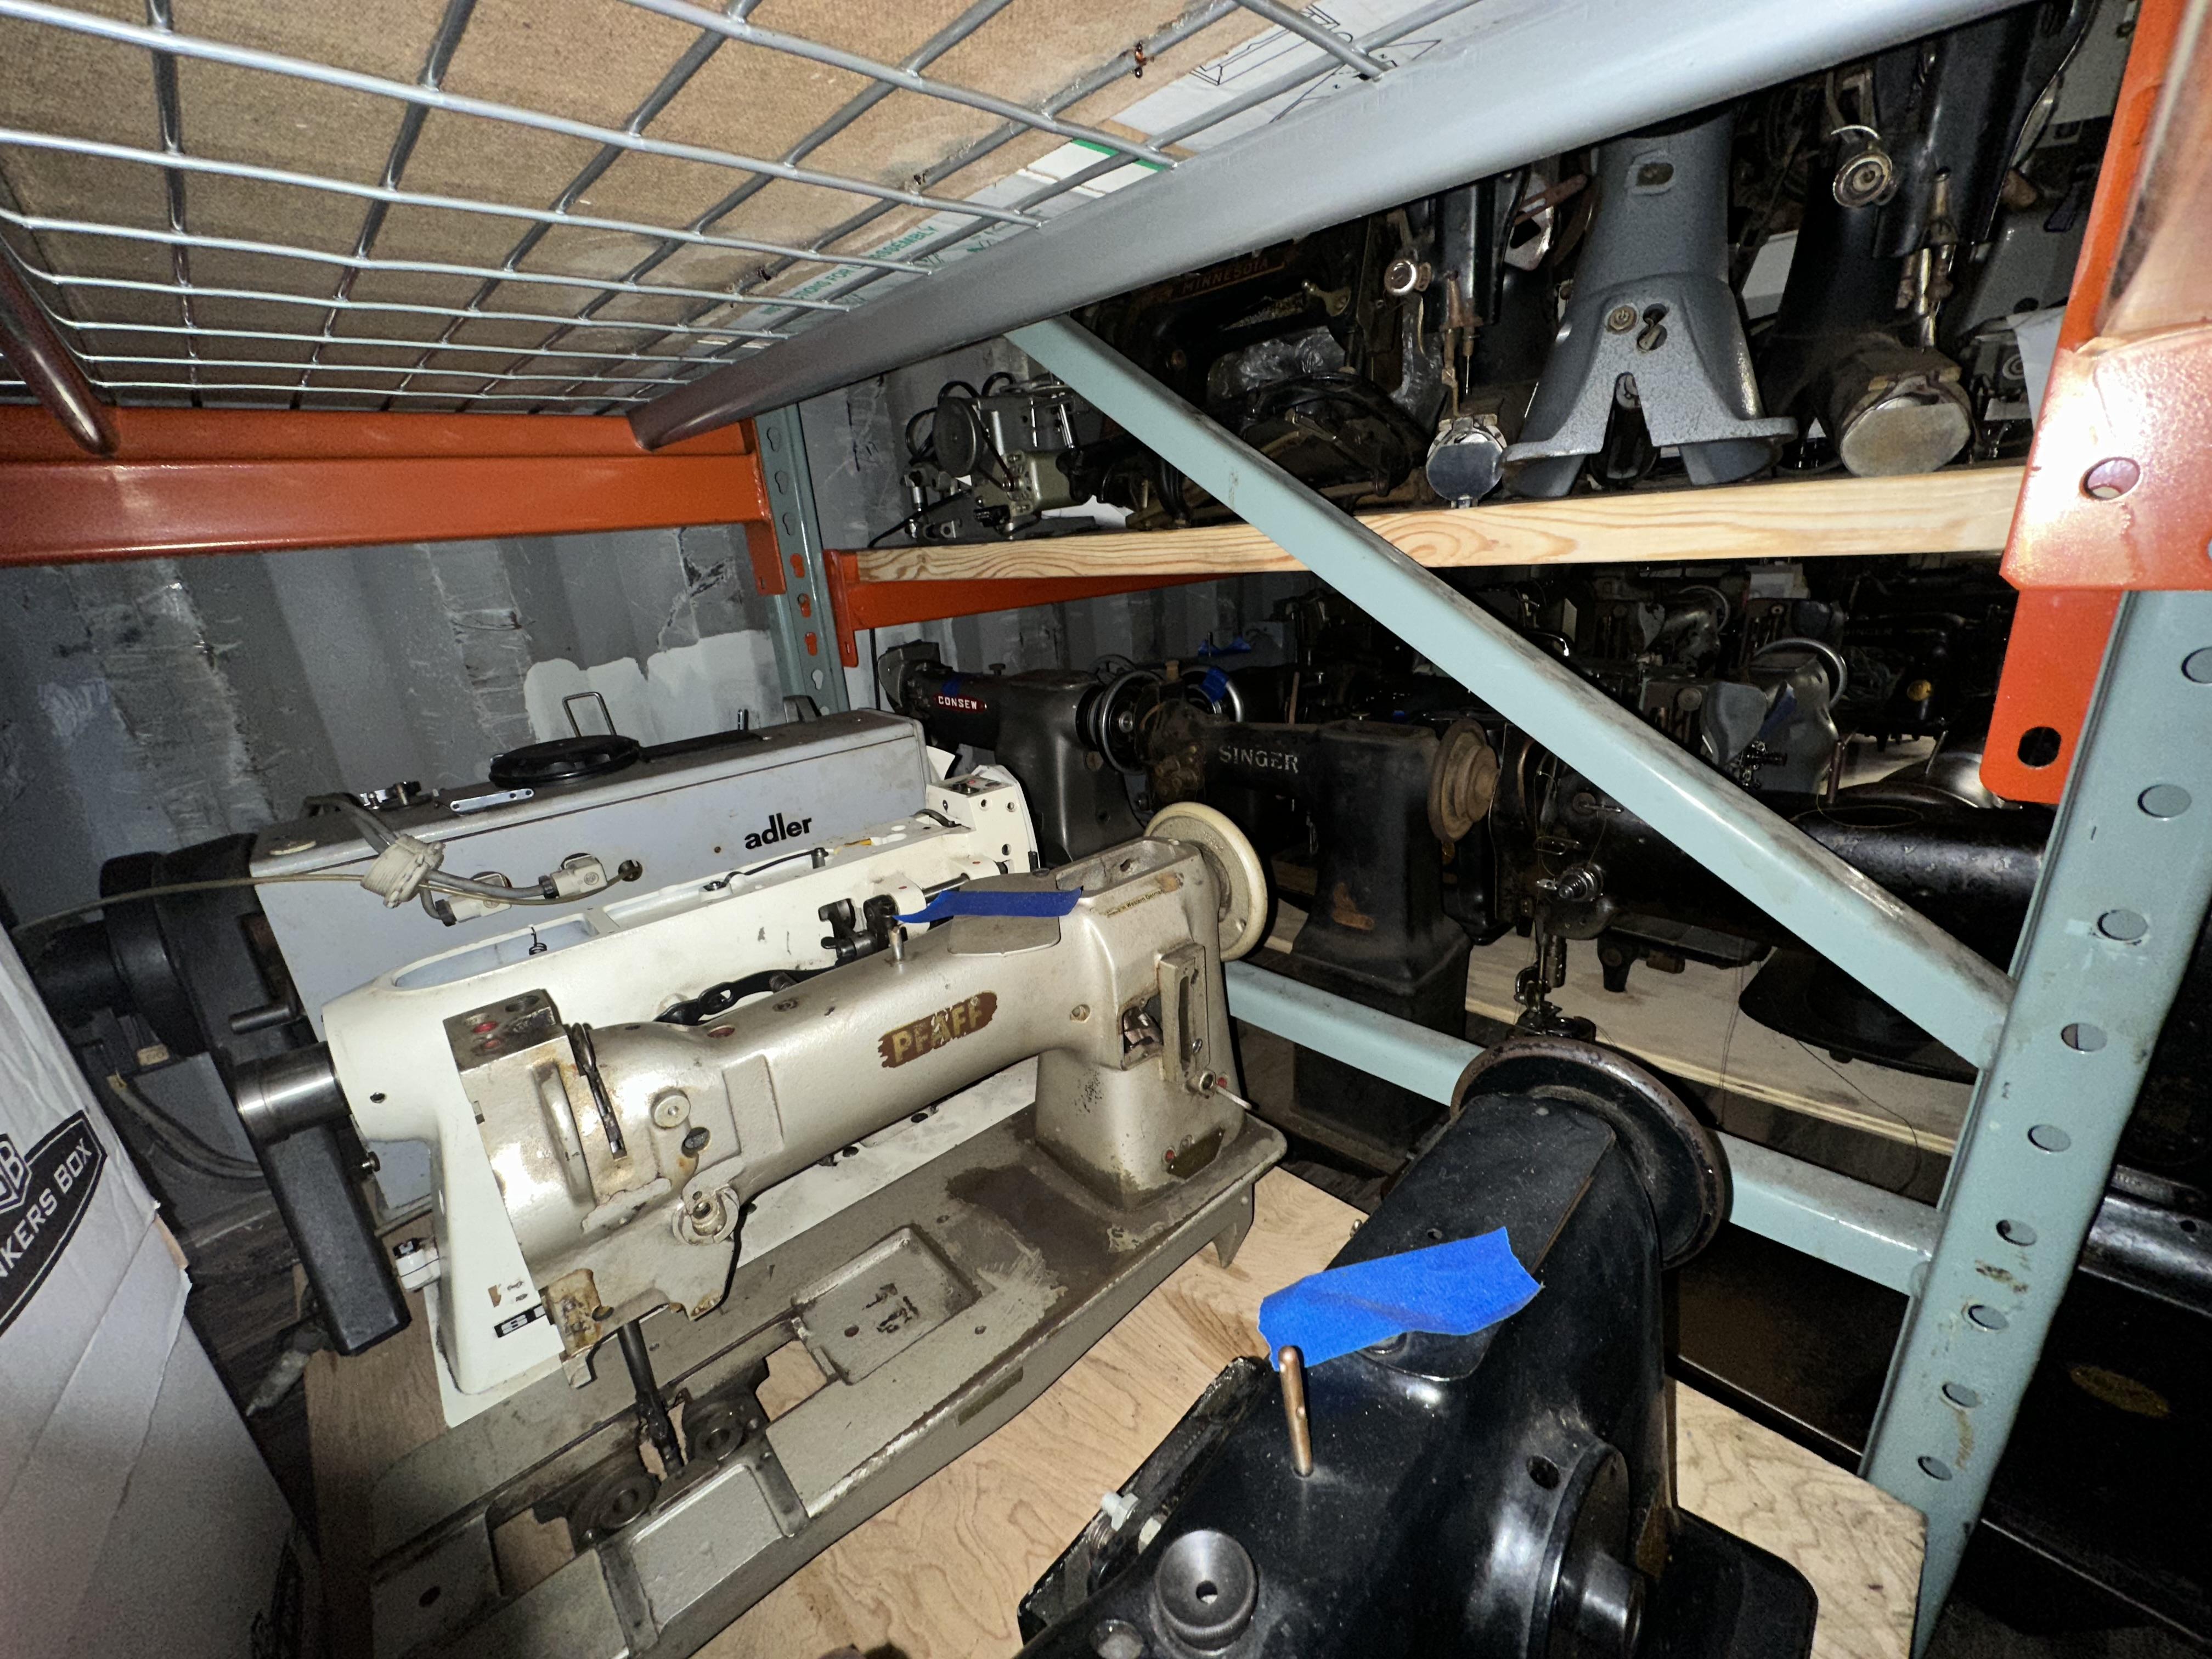
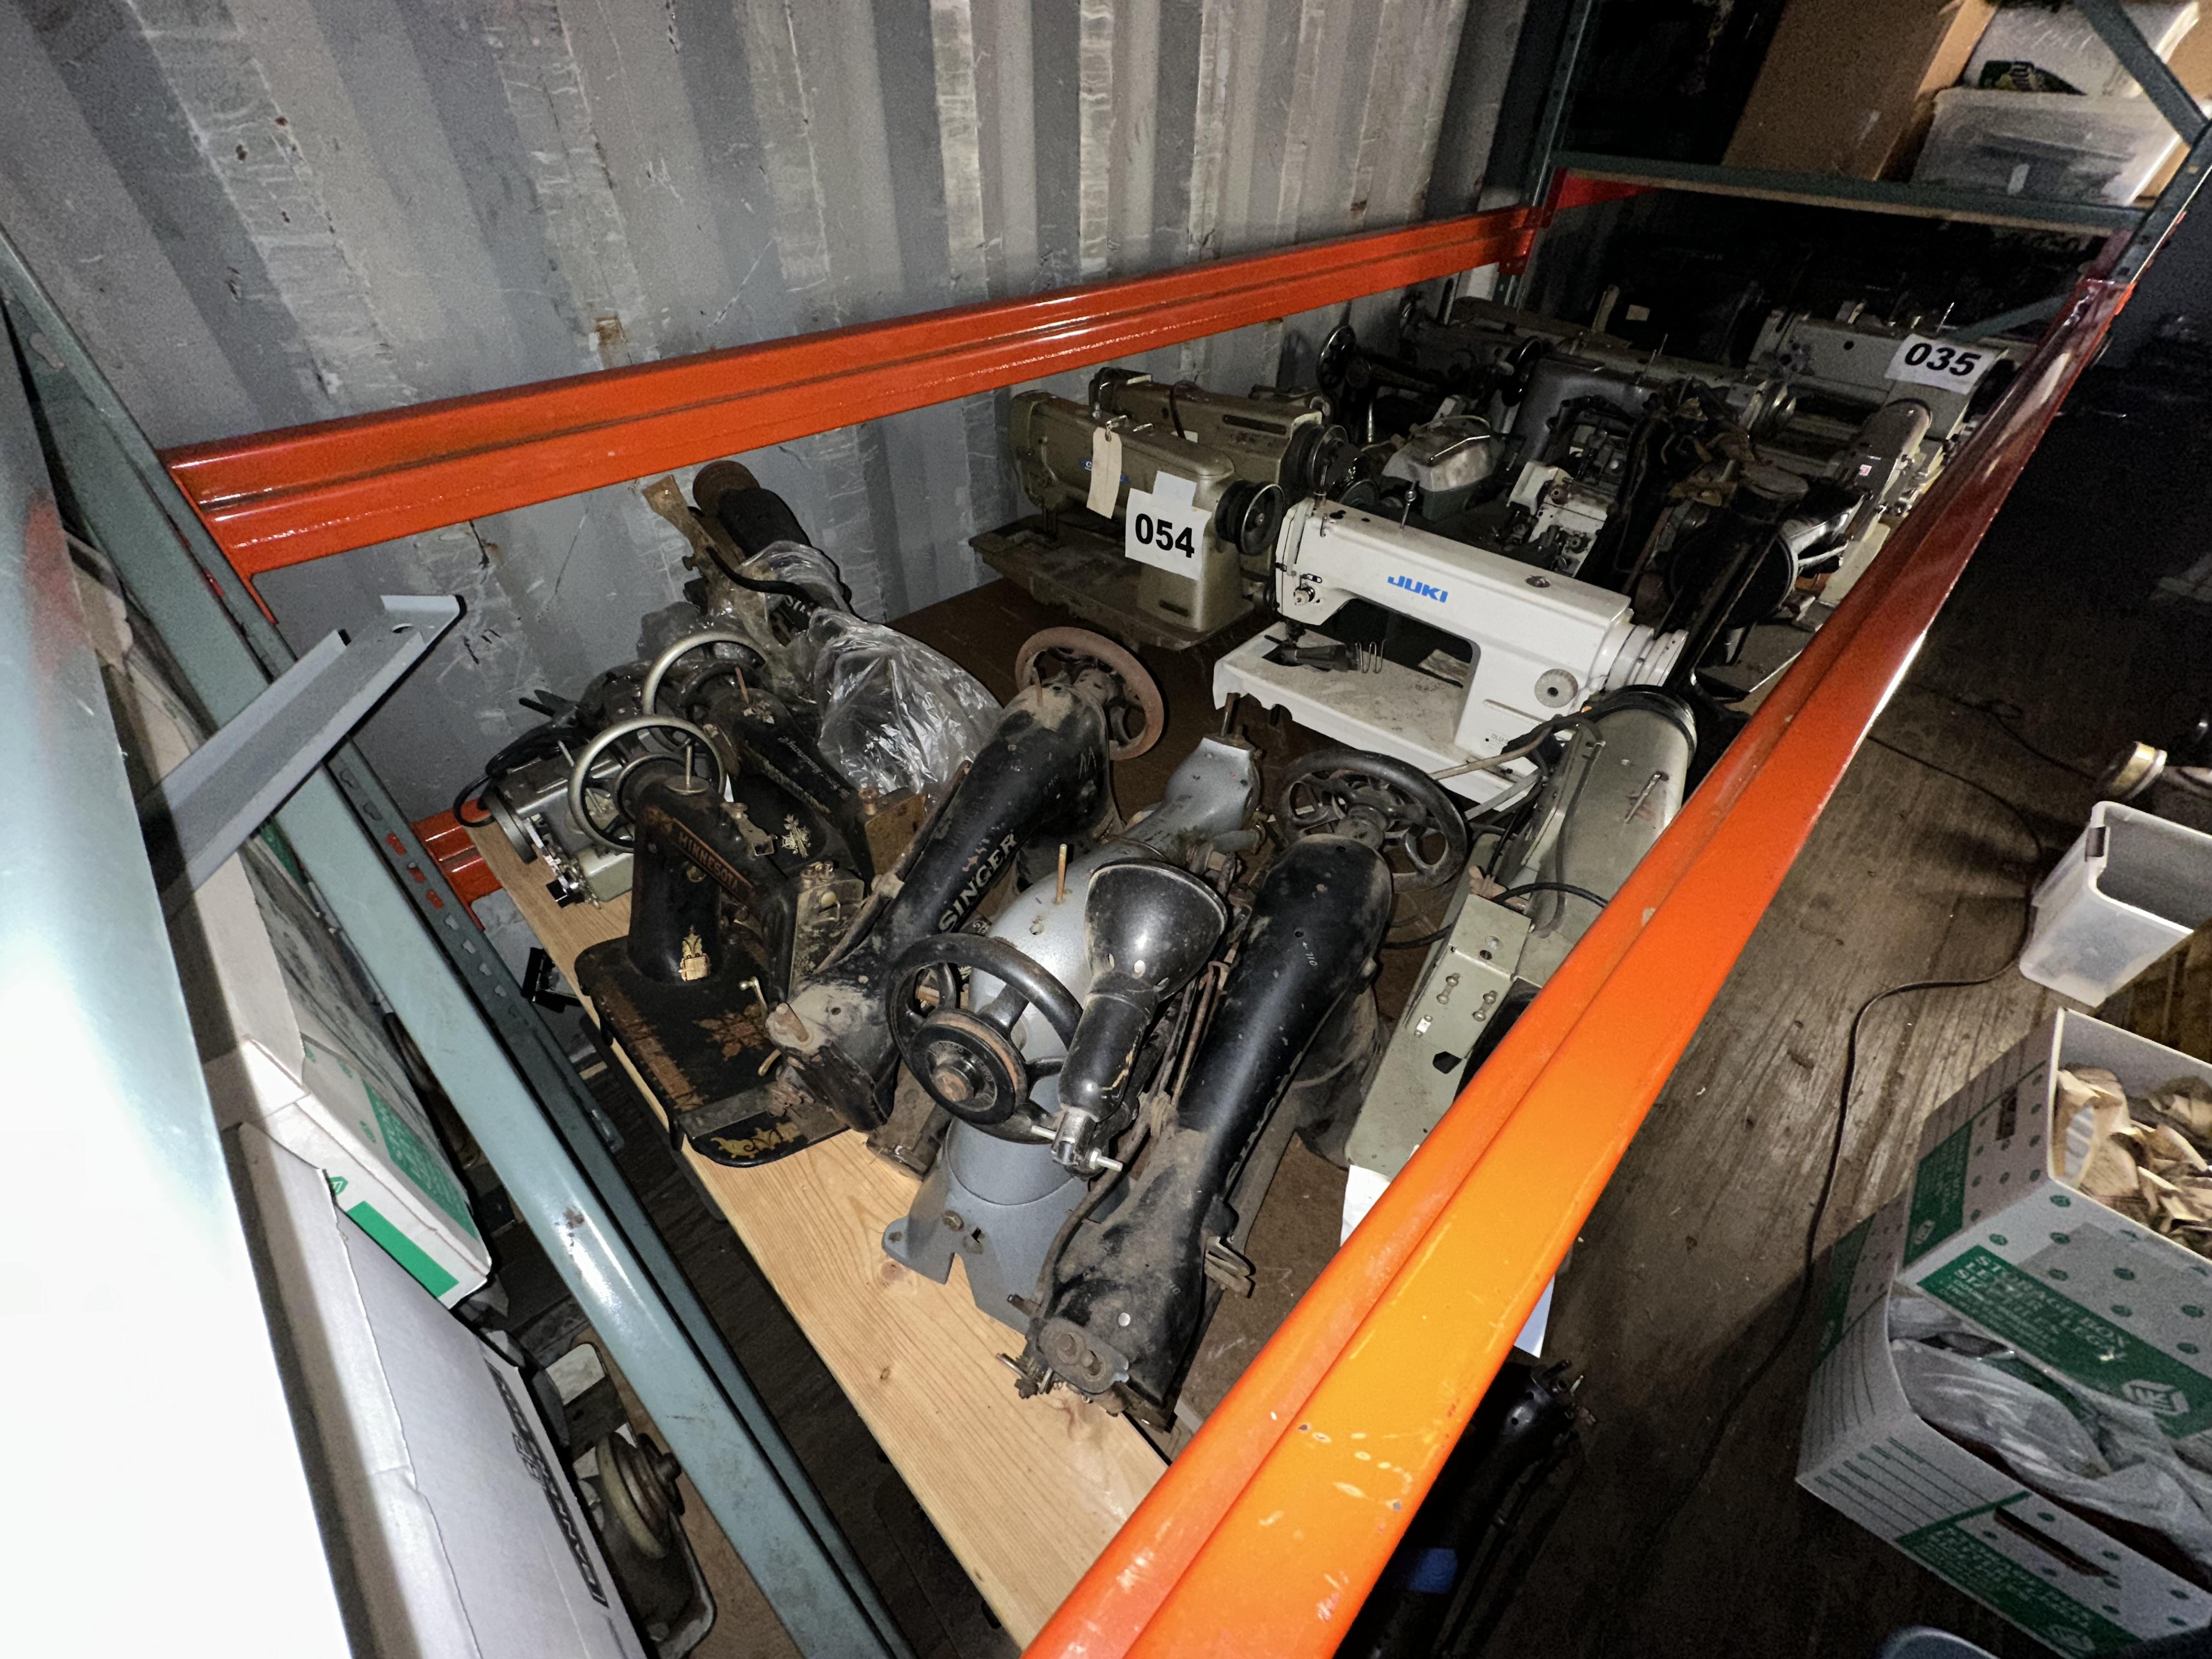
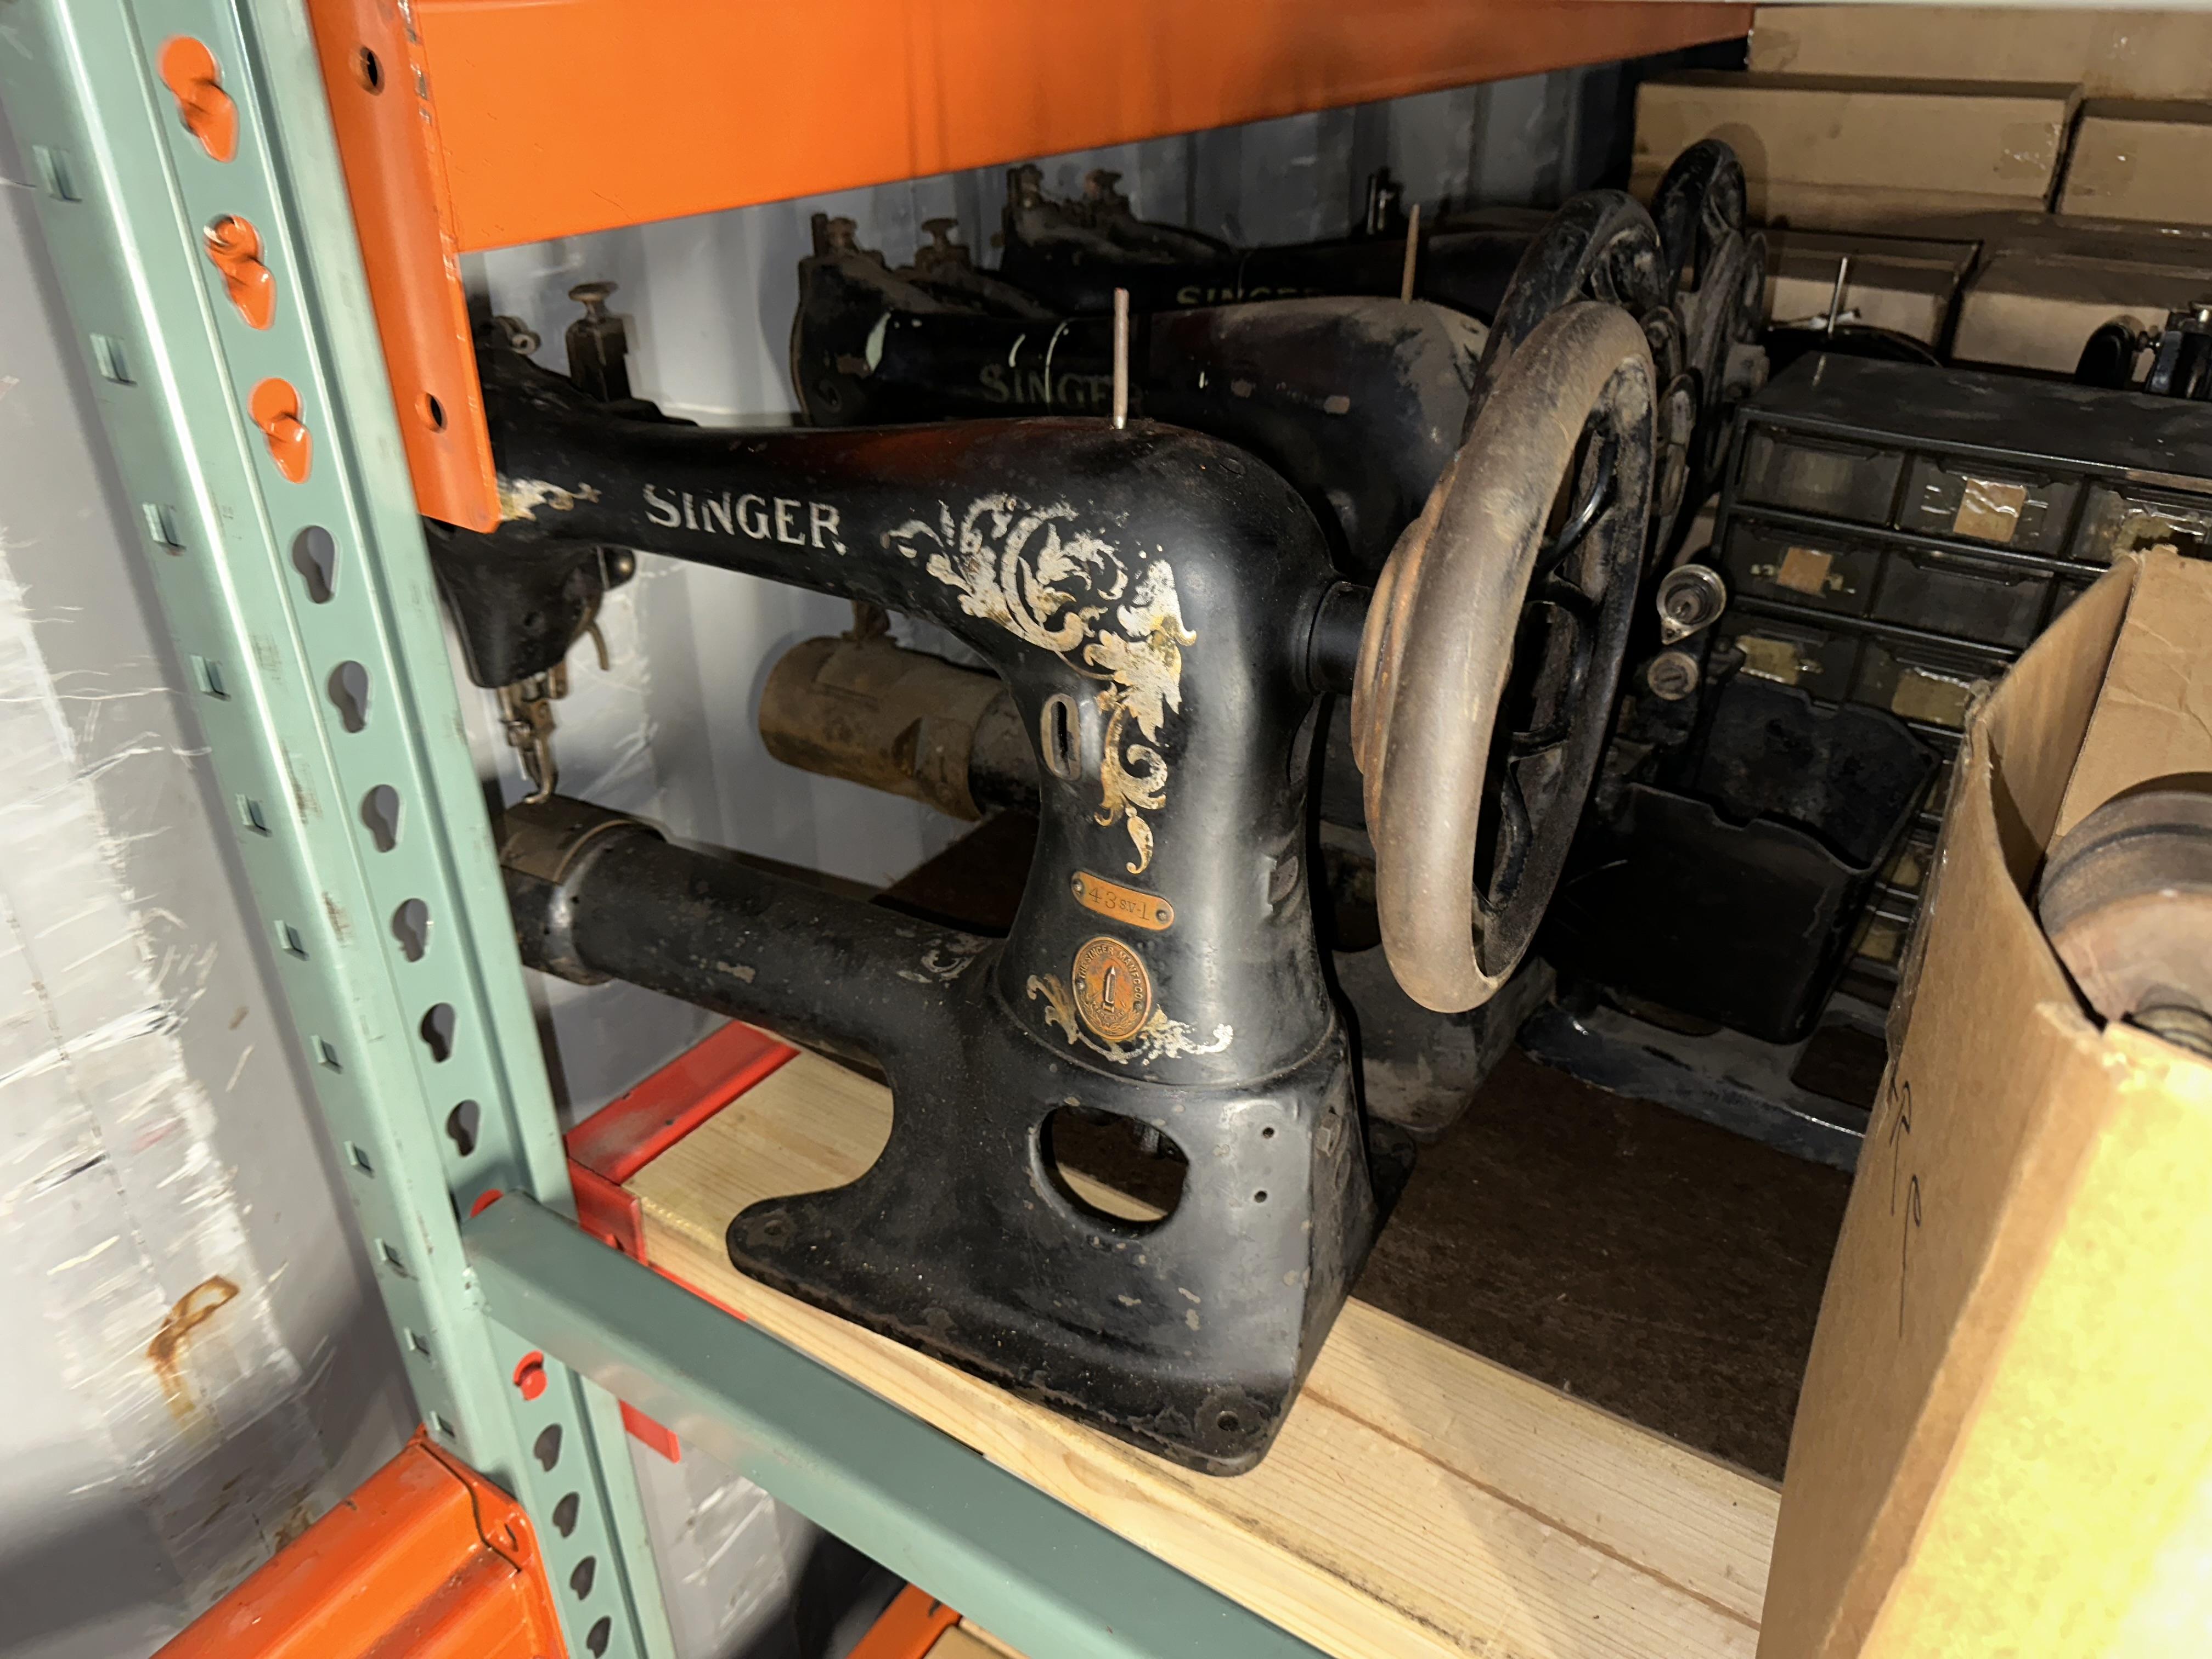
Now accepting applications to take possession of my inventory of industrial sewing machines, all stored in a 40’ shipping container in Taylor, Michigan. Tell me in a DM why I should gift this inventory to you. The pictures give you an idea of what’s in the container. I don’t have an inventory list, sorry! While the sewing machines and parts are FREE, the industrial racking system is $500. If you can’t afford the racking system then you’re not a suitable candidate to take possession of the inventory. I will hand you the key to the container and you have to take over the storage lease for the container ($125/month, prepaid until the end of July.) It’s all or nothing, I’m not trying to get rid of individual machines. I live in Chicago now. I can make the trip to Michigan with a few day’s notice, but only to close the deal and to take over the storage lease, NOT to have a look-see or to browse. If there are no takers by the end of June, I will start calling scrappers, as much as it would pain me to do so. Here are pictures of the inside of the storage container from last summer. (There a few file boxes and plastic tubs with personal estate items, which I will remove.)

-
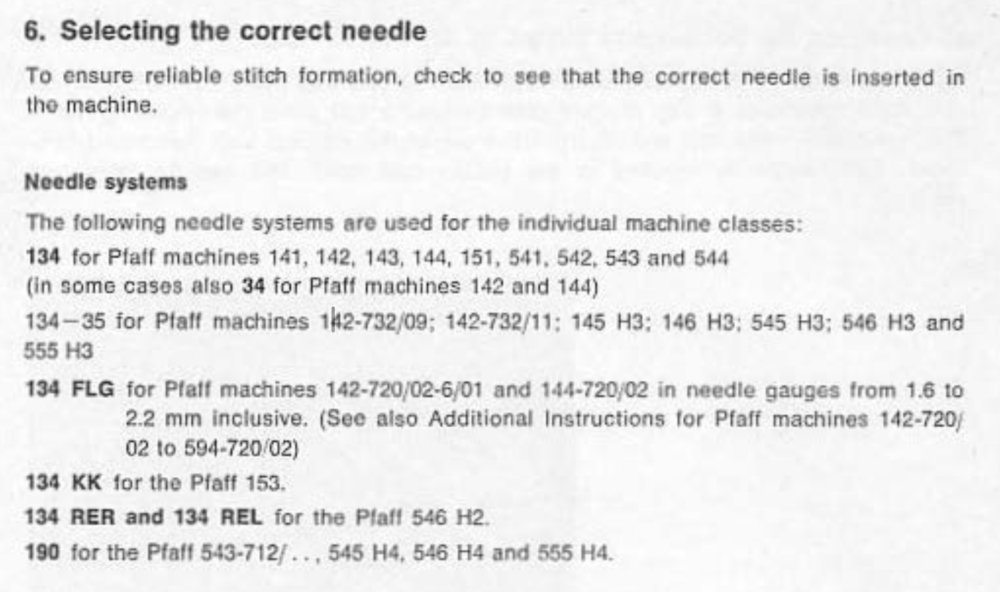
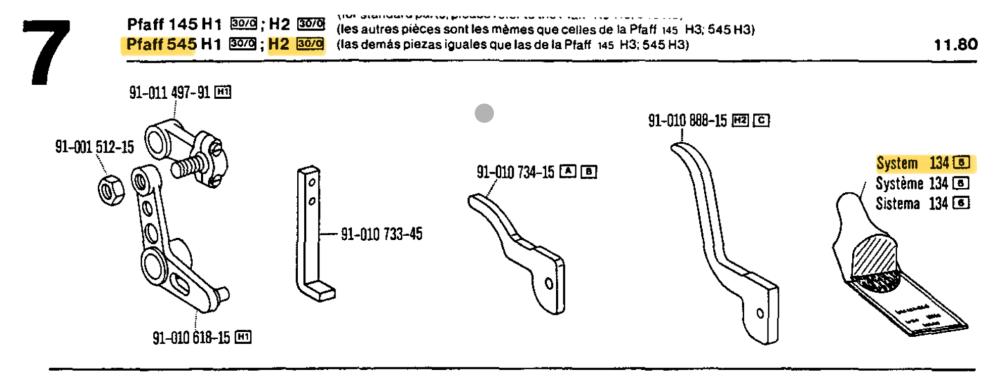
@dakota you may be using the wrong needle system, or you’re using the correct needle system but the previous owner had adjusted the machine for a different needle system. The Pfaff 545 H2 uses needle System 134 by default. (Other subclasses of the Pfaff 545 use different needle systems, e.g H3 uses system 134-35, and H4 uses system 190) Make sure you are using the correct needle system when making adjustments for hook timing, needle bar height, etc.
-
Here are two videos that show how that needle guard is supposed to work. The needle guard is supposed to slightly touch the needle as it goes up. The machines in the video are different, but the needle guards are very similar to your Pfaff.
-
It’s part of the thread tension release mechanism. It looks like your foot lifting bracket sits a little too low on the presser foot bar. The pin inside the machine should not be able to slide out. I made a video once on how to replace the slider assembly. I don’t think you have to replace yours, but you may have to adjust its position on the presser bar a little.
-
troubles with cb3500 threading on upper tension
Uwe replied to TonyGreen3455's topic in Leather Sewing Machines
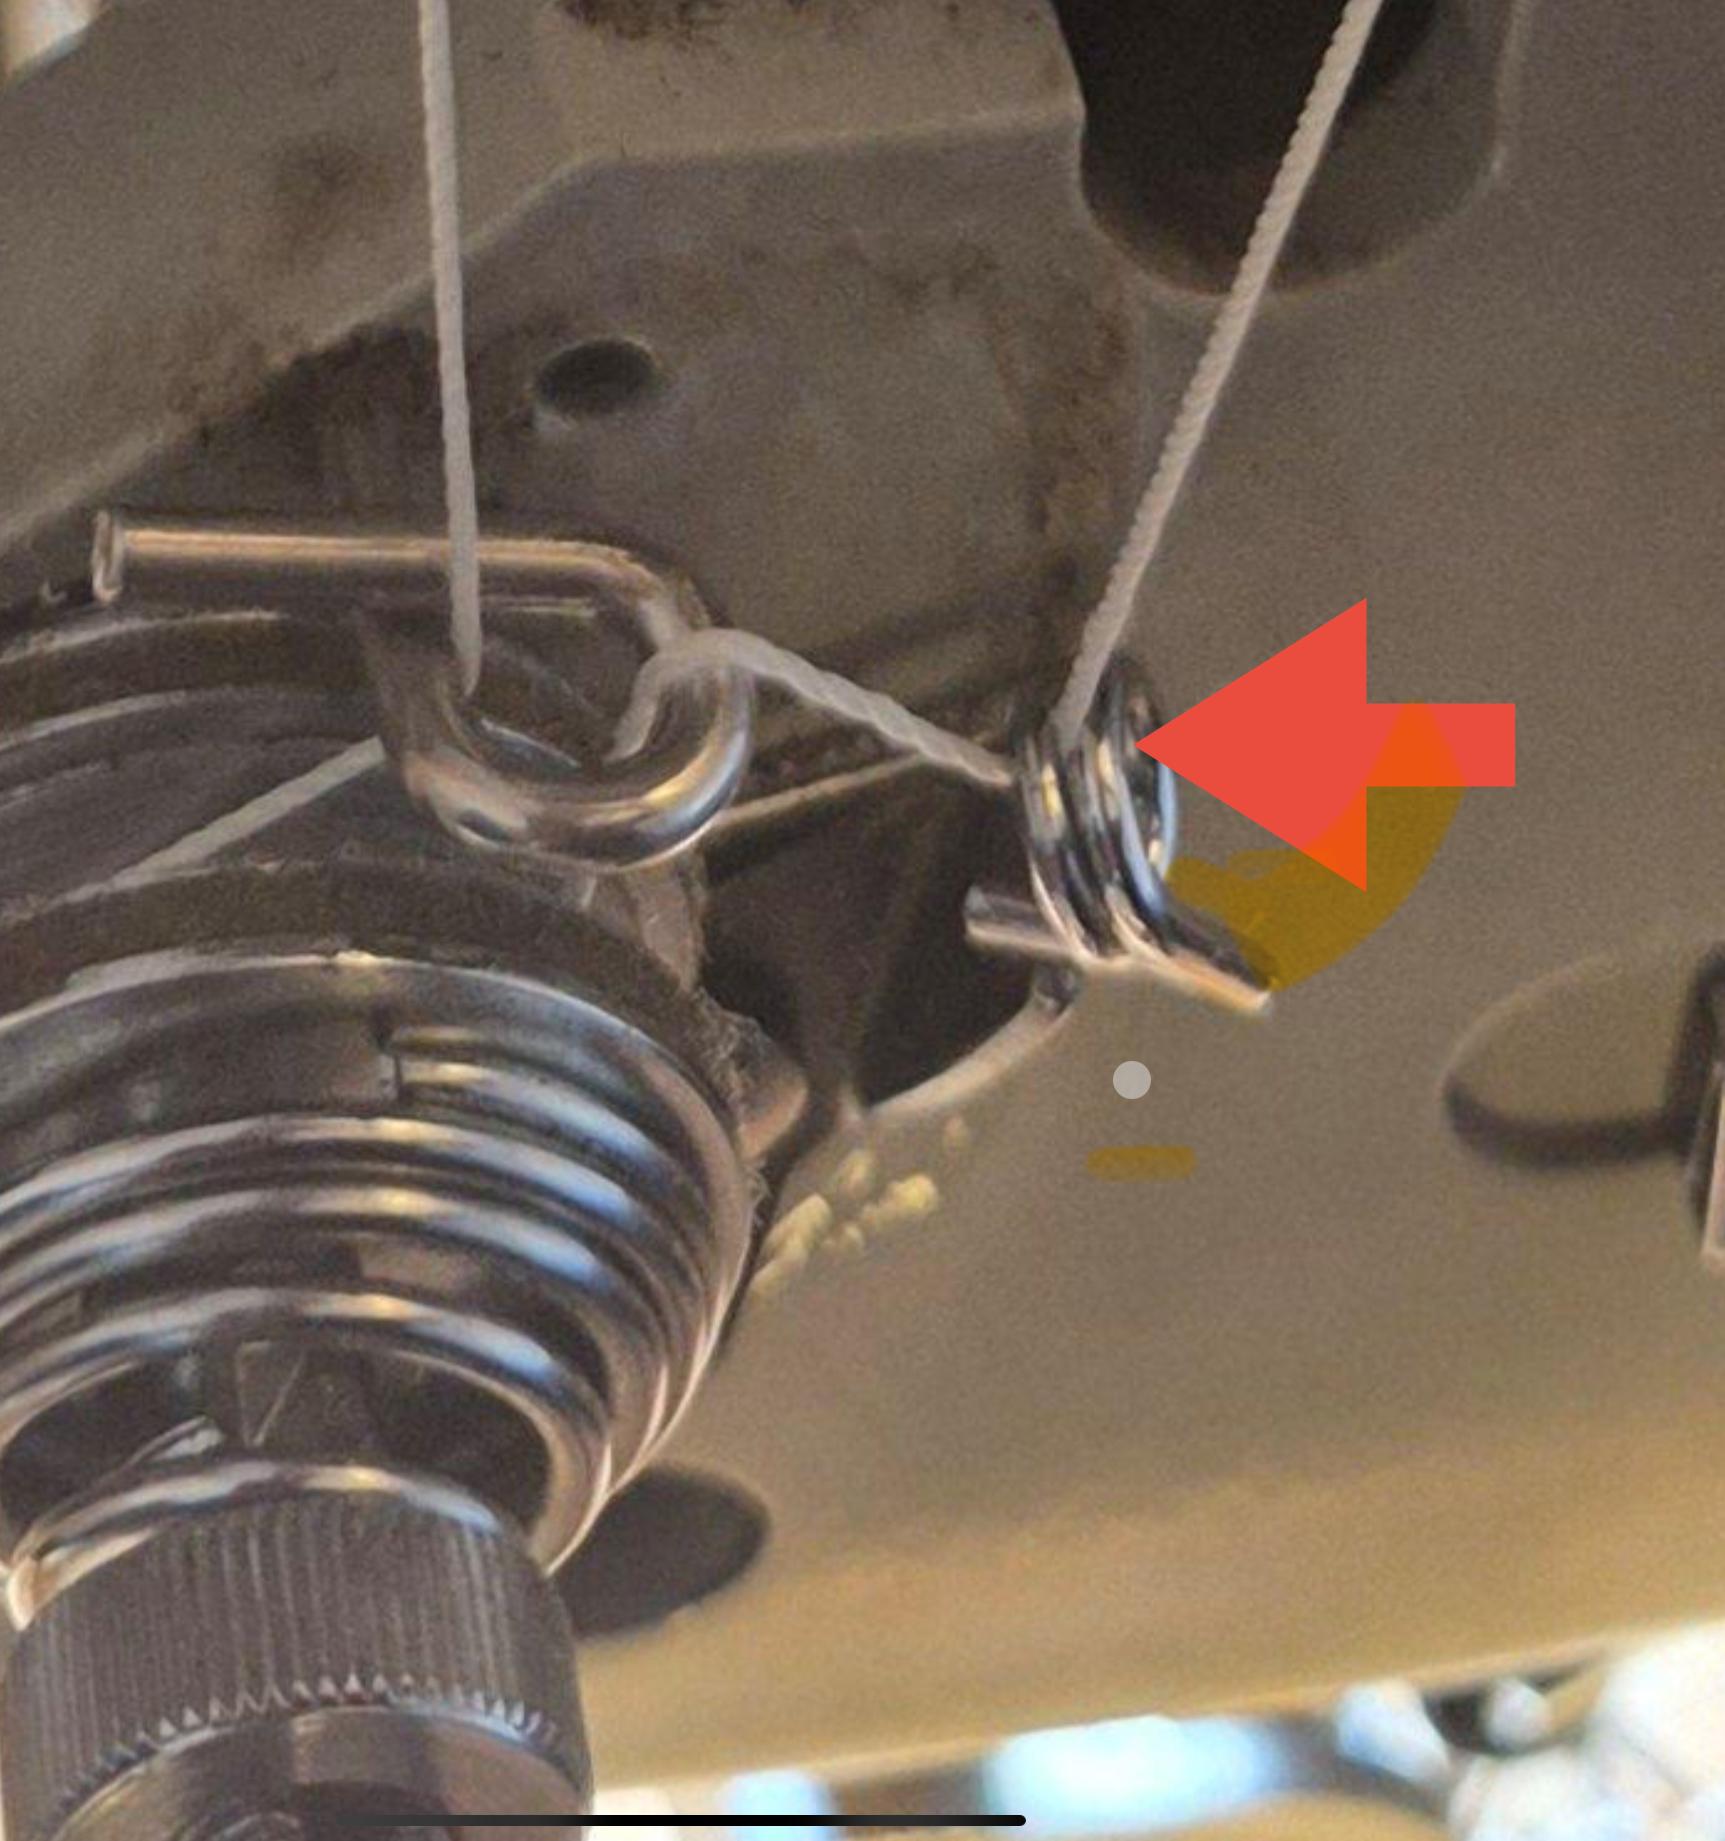
Also this path look suspect. You have the thread caught between the windings of the check spring, which adds tension in a spot where it shouldn’t.
-
I got an aluminum table for my Juki LS-341 from RecentRelics on Etsy. It’s a very nice table and with some upgrade modifications, it’s rock solid and takes seconds to install or remove with a single thumb screw. I was not a fan of the 3D-printed bits that came with the table attachment, so I replaced the one for the thumb screw with a small aluminum plate, and the arm wedges with a custom-molded J.B. Weld SteelStik saddle. The round magnetic tray insert for needles or clips can be found at most hardware stores. J.B. Weld is a steel reinforced epoxy putty for making repairs to metal parts. It’s a miracle in stick form. You tear off a part of the stick and knead it to activate it. You can file, drill, cut just like metal when it’s hardened. I used half a stick on either side of the arm. Here’s how the table attachment arrived, including the 3D printed parts (You can’t see the arm wedges on the underside of the table.) Here are few pics of my modified table attachment: This is the J.B. Weld SteelStik saddle. I wrapped the arm with kitchen plastic cling wrap, then in stalled the table and pressed half a stick of J.B. Weld in the gap on either side of the arm. It sticks really well to the aluminum table (but not the plastic wrap) and it conforms perfectly to the arm, paint/casting dimples and all. I filed some edges down a bit by hand.
-
If your machine doesn’t have a safety clutch , then you’ll have to re-time the hook. The Pfaff safety clutch looks and works differently from other manufacturers. I made this video some time ago:
-
UT3200: Flatbed attachment for the Cowboy CB-3200
Uwe replied to Uwe's topic in Leather Sewing Machines
My table attachments are not available right now, sorry. But I’m in talks with a friend who wants to produce some using my CAD files. If the collaboration works out they might become available again. -
Pfaff 545 Identification and tension issues
Uwe replied to Gryning's topic in Leather Sewing Machines
Thanks for those two videos, it’s really helpful. Your hook timing and bobbin case opener look on point, actually. There must be something else going on.The hook does not look worn to me. One note: You HAVE to hold both thread ends when you start sewing. I can see one of the thread ends getting pulled to the underside. If thread gets pulled into works by the rotating hook you’re off to a bad start, essentially flipping a coin on whether or not you will have a bird’s nest right at the start. From a debugging perspective, the next thing I would do is figure out when in the cycle thread gets pulled through the tension unit (off the spool.) In order to have loops on the bottom, thread must get pulled through the tension unit either: 1. More than once, including once at the wrong time during the stitch cycle 2. Just once, but too much thread gets pulled from the spool due to lack of proper upper thread tension I’ve also seen machines where the threading looked correct, but the tension disks were permanently pushed apart due to a stuck or faulty tension release mechanism. If the tension disks are pushed apart during the stitch cycle, the machine will pull too much thread from the spool, especially at higher sewing speeds. Another popular failure mode is when the thread wasn’t pulled between the tension disks and is simply riding around the tension disks along the outside perimeter of the disks. When threading, make sure the thread gets positively pulled between the tension disks.Your picture above shows it being correct, but it’s an easy detail to miss sometimes. Do a few very slow hand turned stitches, and instead of filming the hook area, show us the thread take-up lever and the thread tension unit with check-spring. Tug on the thread at various points of the cycle to make sure it maintains proper tension. I did a stitch cycle video once on my LS-341, which, aside from demonstrating what’s supposed to happen when, is also a good diagnostic tool. This video shows how the tension release mechanism is supposed to work. The various Pfaff H1/2/3/4 versions have slight differences in the tension release mechanism, so yours may look a little different. In general, the tensions discs are only supposed to be pushed apart when you lift the presser feet past a certain point (to make removal of the material easier). -
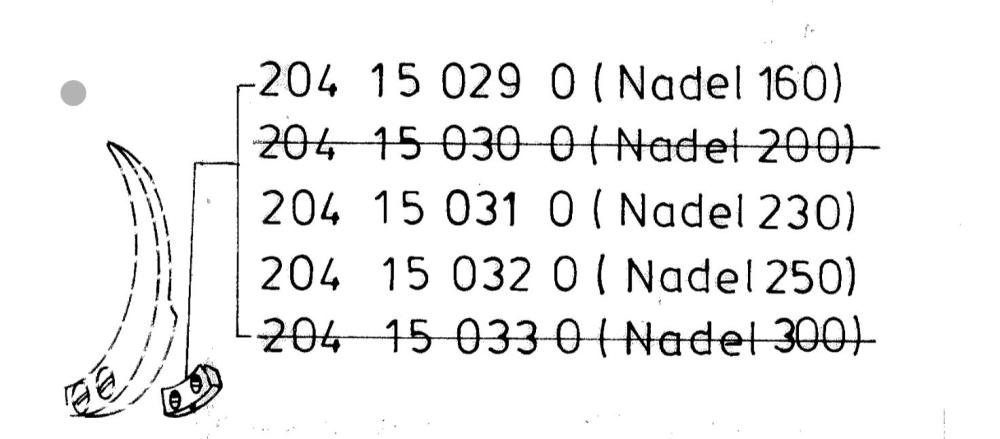
It might be simpler to find some material of the right thickness and cut/file it into the right shape. You might also be overthinking this. A simple solution would be to just remove the needle guide for needles above size 250NM. According to the Dürkopp Adler 205-370 parts diagram, they never made a 280 size shim and the 300 shim was discontinued at some point. While they were making the 300 size shim, I’m pretty sure they advised to just use the 300 shim with needles over size NM250. Then they probably decided the guide (and shim) is not needed at all with needles above size 250NM. When Juki designed the Juki TSC-441, loosely based on and as a competitor to the Adler 205, they simplified things a lot and one of the things they decided to leave out altogether is that needle guide and shim business. Most Juki 441 class machines have been sewing just fine for a long time, without any needle guide and shim. Nothing truly bad will happen if you run the 205 without the needle guard and shim. Worst case scenario the needle will deflect and bend away from the hook and skip a stitch. If you manage to bend a 300NM size needle enough to skip a stitch, I really want to see what you were sewing. I’m picturing an entire horse saddle dangling off the end of the arm, with a bewildered cowboy still in the saddle. I’ve sewn Tex415 size thread using a 250NM needle (with shim&guard) and my Adler 205-370 cooperated quite nicely and made a lovely stitch. I’ve never sewn anything on the 205 that truly required the needle guide to prevent skipped stitches.
-
Pfaff 545 Identification and tension issues
Uwe replied to Gryning's topic in Leather Sewing Machines
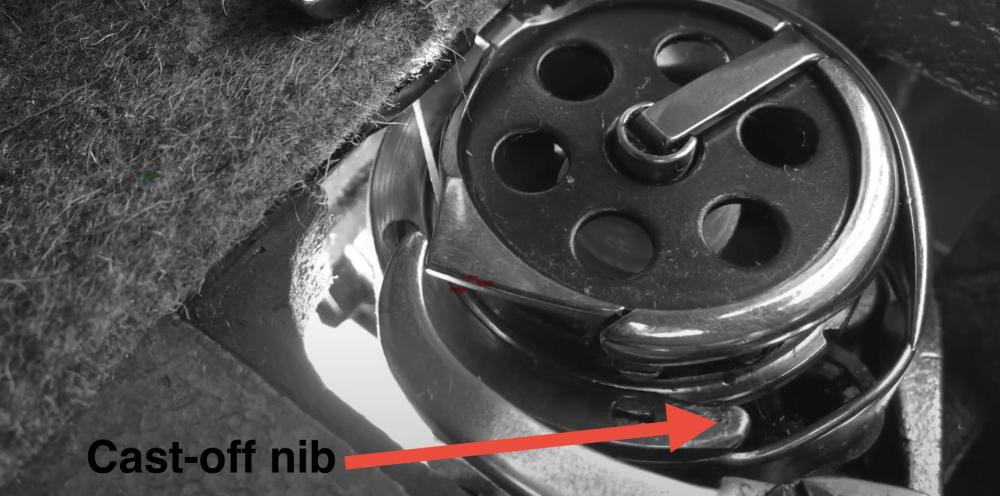
Congrats on your Pfaff 545, those are really nice machines. You missed a thread guide, which shortens the length of the thread path ever so slightly: The loops on the bottom of your material are most likely due to the thread snagging at some point, which pulls more thread off the spool at the wrong time, and the machine never gets a chance to pull the knot tight, leaving loops at the bottom. The two most likely cause for thread snags are: 1: Incorrect hook timing that cause the thread not to be cast off the hook nib at the right time. The cast-off nib is directly below the tip of the hook, at the bottom of the hook. This failure-to-cast-off causes the thread to be held in place while the thread take-up lever is moving up. This in turn may cause more thread to be pulled from the spool through the tension unit at the wrong time. If that happens, chances for a tight knot are near 0% and the odds of a loop is nearly 100%. You should be able to see this happening with a very slow, hand-turned stitch. You will also hear a distinct snapping sounds as you’re sewing.The only time thread is allowed to pulled through the tension unit is when the thread take-up lever is at the very top of its movement. To fix this problem, you very likely have to advance hook timing (make it arrive at the needle earlier), which also causes the thread to be cast off the hook nib earlier. This video show this failure-to-cast-off problem happening on a different machine with a similar vertical axis hook. You can hear that snapping sound at the end. This particular case did not cause loops at the bottom, but I hope you see the problem : Here a picture that shows that cast-off nib: 2. The bobbin case opener may not be properly adjusted and does not allow smooth passage of the thread through the gap around the bobbin case tab.If the thread gets stuck in that passage while the thread take-up lever is moving up, you have the similar result as above. Judging by the chewed-up condition of the adjustment screw on your machine, I’d say somebody was struggling to get this adjusted correctly in the past. This video shows the function and adjustment of the bobbin case opener on a machine with a similar hook and bobbin case opener: