All Activity
- Today
-
Here's a service manual for the 1341 in case you don't already have one. Assuming your machine has a hook safety clutch, you'll need to re-engage it. If the handwheel is hard to turn after engaging the safety clutch, you'll need to look for more clues. Disconnect the motor drive belt and remove the needle so the machine can turn as free as possible. Oil the machine, especially the bushings for the hook driving shaft. Also check that the timing belt is spinning the lower cog. Is the hook stiff to move, or is it colliding with something and coming to an abrupt halt? As for removing the hook from the machine (if you still find the need to do this), after removing the center screw if the hook does not come out easily soak it in a few drops of diesel or other penetrating oil. I broke the first hook on my pfaff 545 trying to pry it out when it had been dry for years. (Some dried up old lubricant seemed to be sticking it together). Eventually I got the broken pieces out with penetrating oil, a kitchen torch, and some light tapping with a small hammer. Bottom line is, hooks are very hard and brittle so be gentle with it. Good news is, you'll never deform one such that it is out of tolerance And yes we do like videos and photos 🤩
-
@revilop Just adding my two-sense since you’ve acquired some of the tools to get you going. Leather working is a life long pursuit for many of us, and growing never stops. Books are fantastic, but which ones you may ask? Here are two: - Leathercraft: Traditional Handcrafted Leatherwork Skills and Projects https://a.co/d/7IBDi6Q -The Leatherworking Handbook: A Practical Illustrated Sourcebook of Techniques and Projects https://a.co/d/g1cVSHy If you need more, say, in the video format I can’t recommend Nigel Armitage enough. https://secretsfromtheworkshop.com After all of that, PRACTICE. And more of that. You’ll shock yourself how far you can get in just a few years with diligent, disciplined practice.
-
 Thank you for the feedback @ClaimedVacancy
 -
 johnrembo joined the community
 - Yesterday
-
@MarshalWill Thank you for the suggestion! I very much so like what you did there. I have experienced some discomfort with the handle at the edge even with it beveled to a #3 beveler. So fortunately i can make the adjustment to it. For the design, it’s fantastic. Once i made all the minor adjustments on the template to account for various lengths of parts, stitching edge distance, etc, it just kinda fell together. The way the Swiss designed this is a huge testament to their craftsmanship. I have three more Swiss bags that I'm working the templates out. All various shapes and designs. I’ll be sure to post once completed.
-
Thanks all. It was a fun project. It's always interesting trying to determine the proper sequence when putting something together: install hardware, attach liner, stitch some finish some edges, stitch some more, finish some more edges ... And invariably I typically manage to do some parts in the wrong order. I guess it just means that I need to do more so that I can stay in practice.
-
 Thanks for the tip. I haven't checked this for some time because of lack of replies. Took out my roll pin and I can adjust mine,too. Thanks again!!!
 -
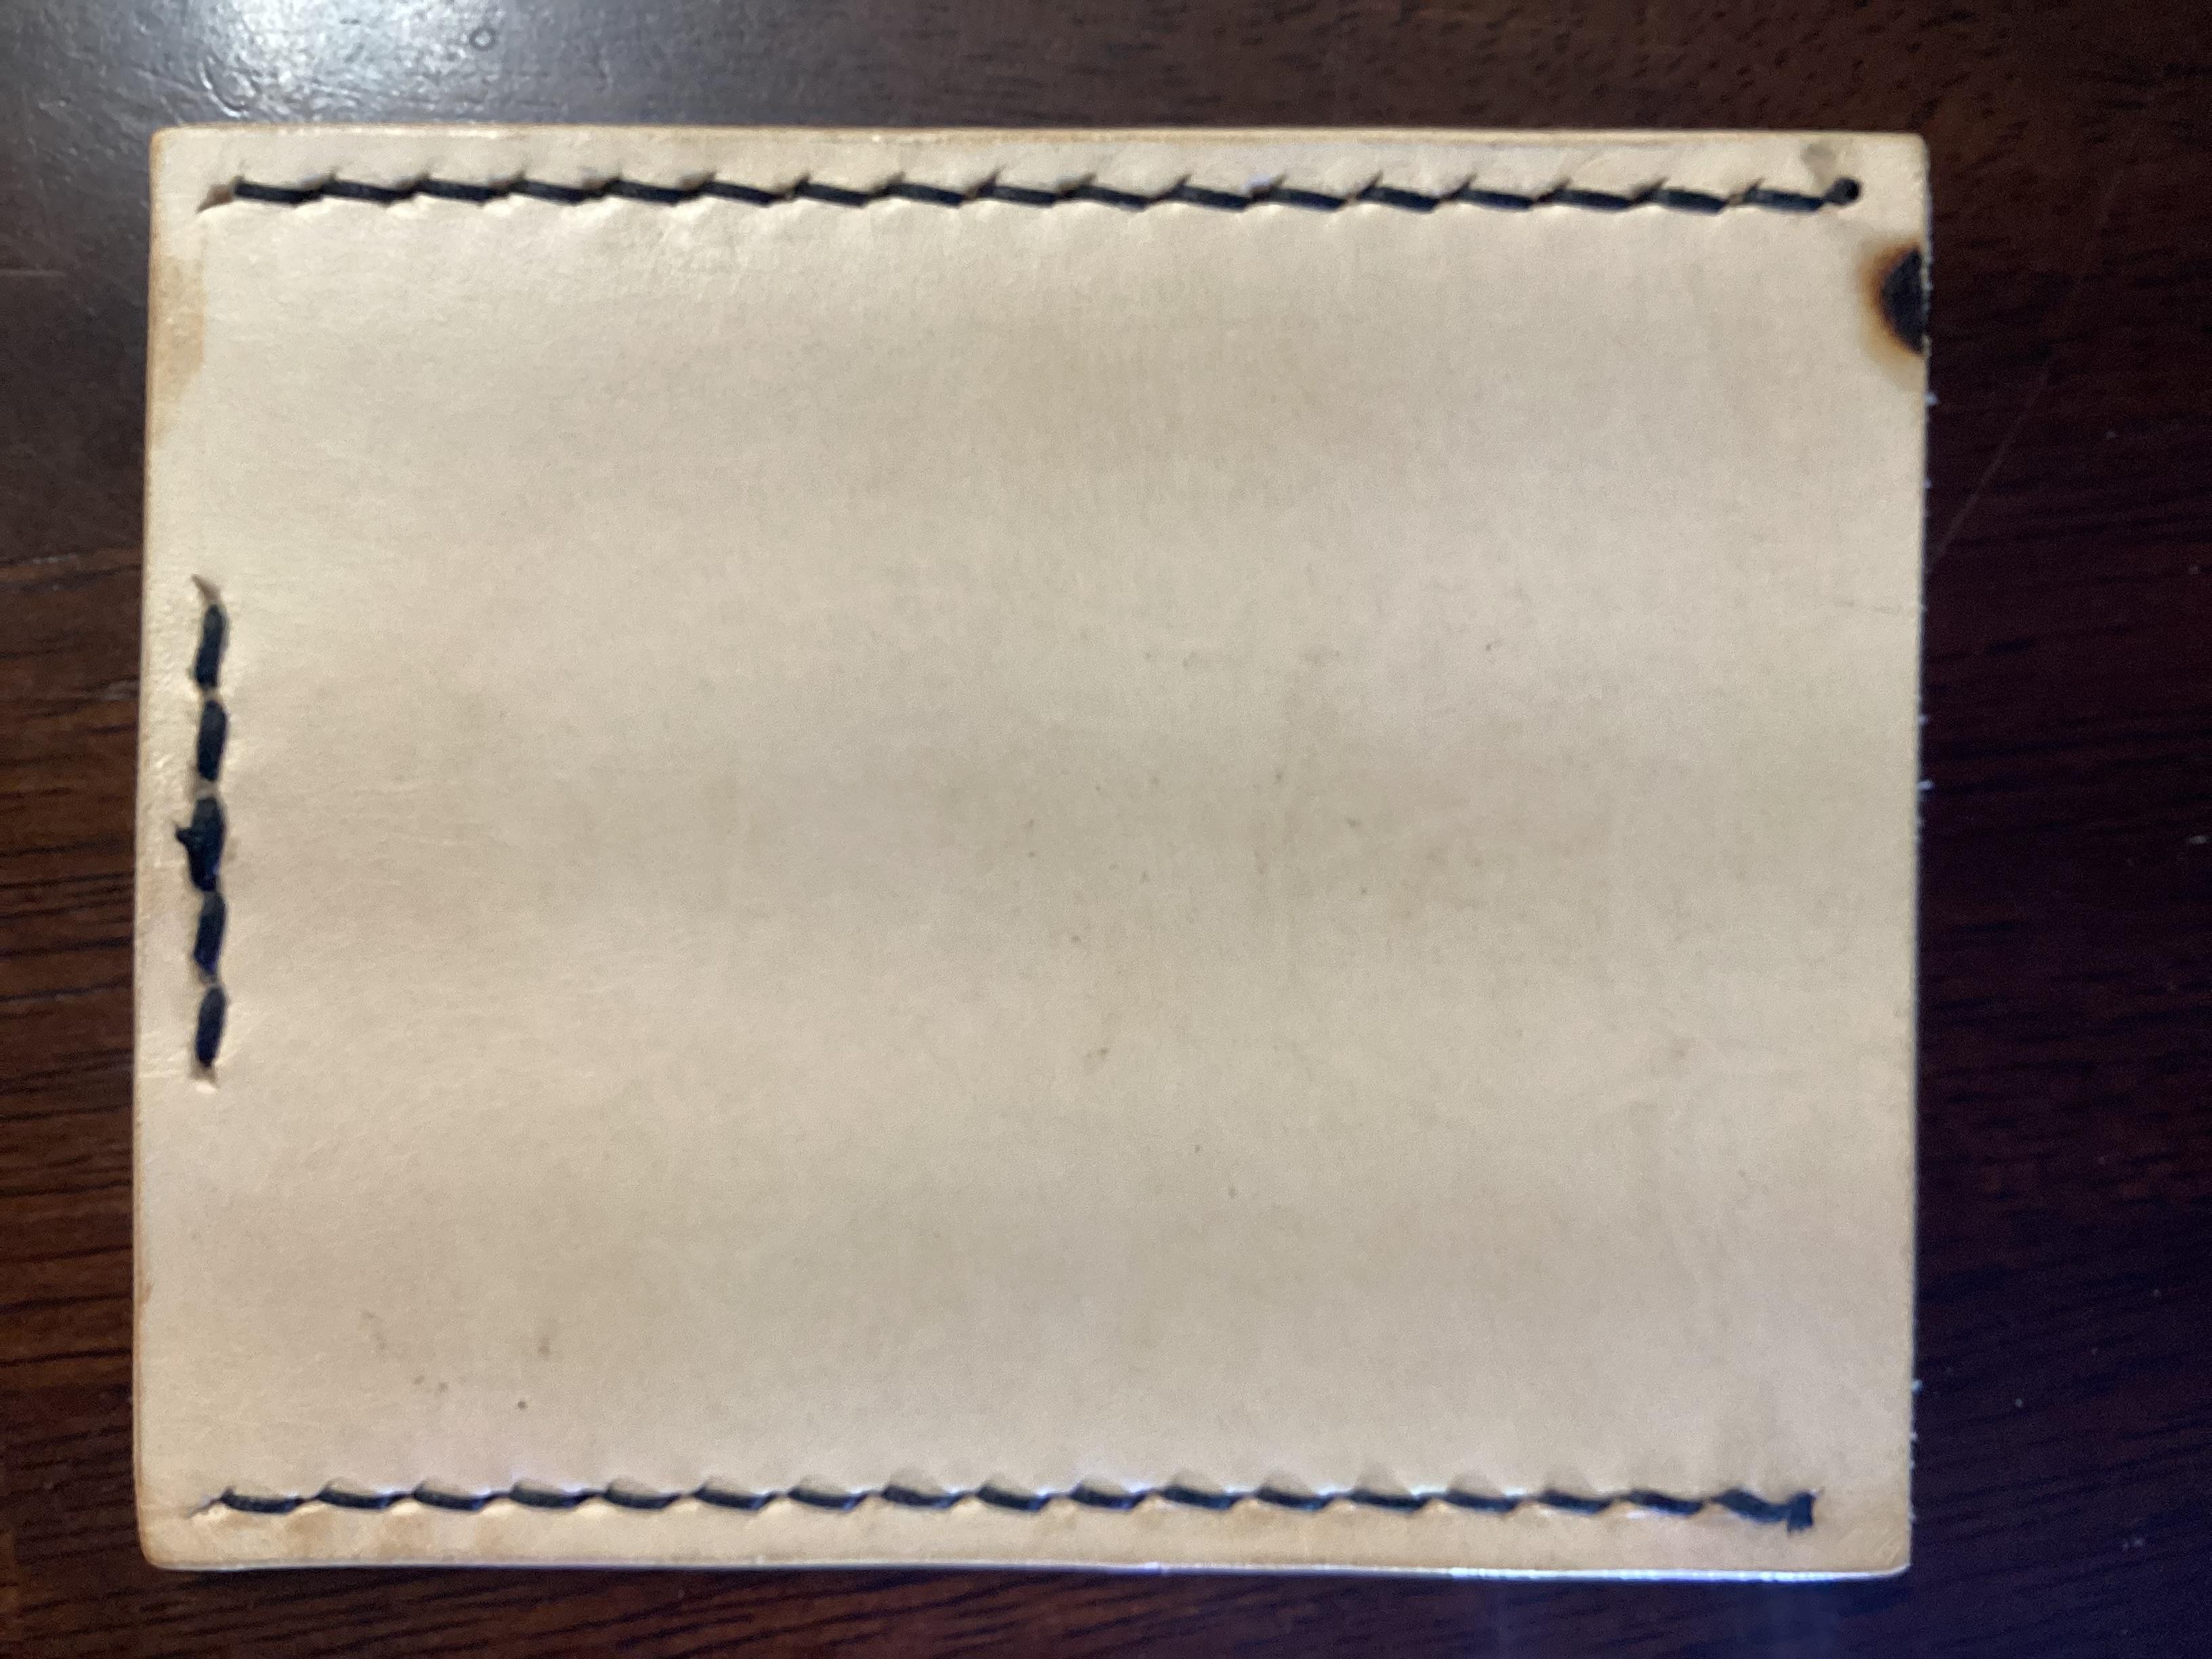
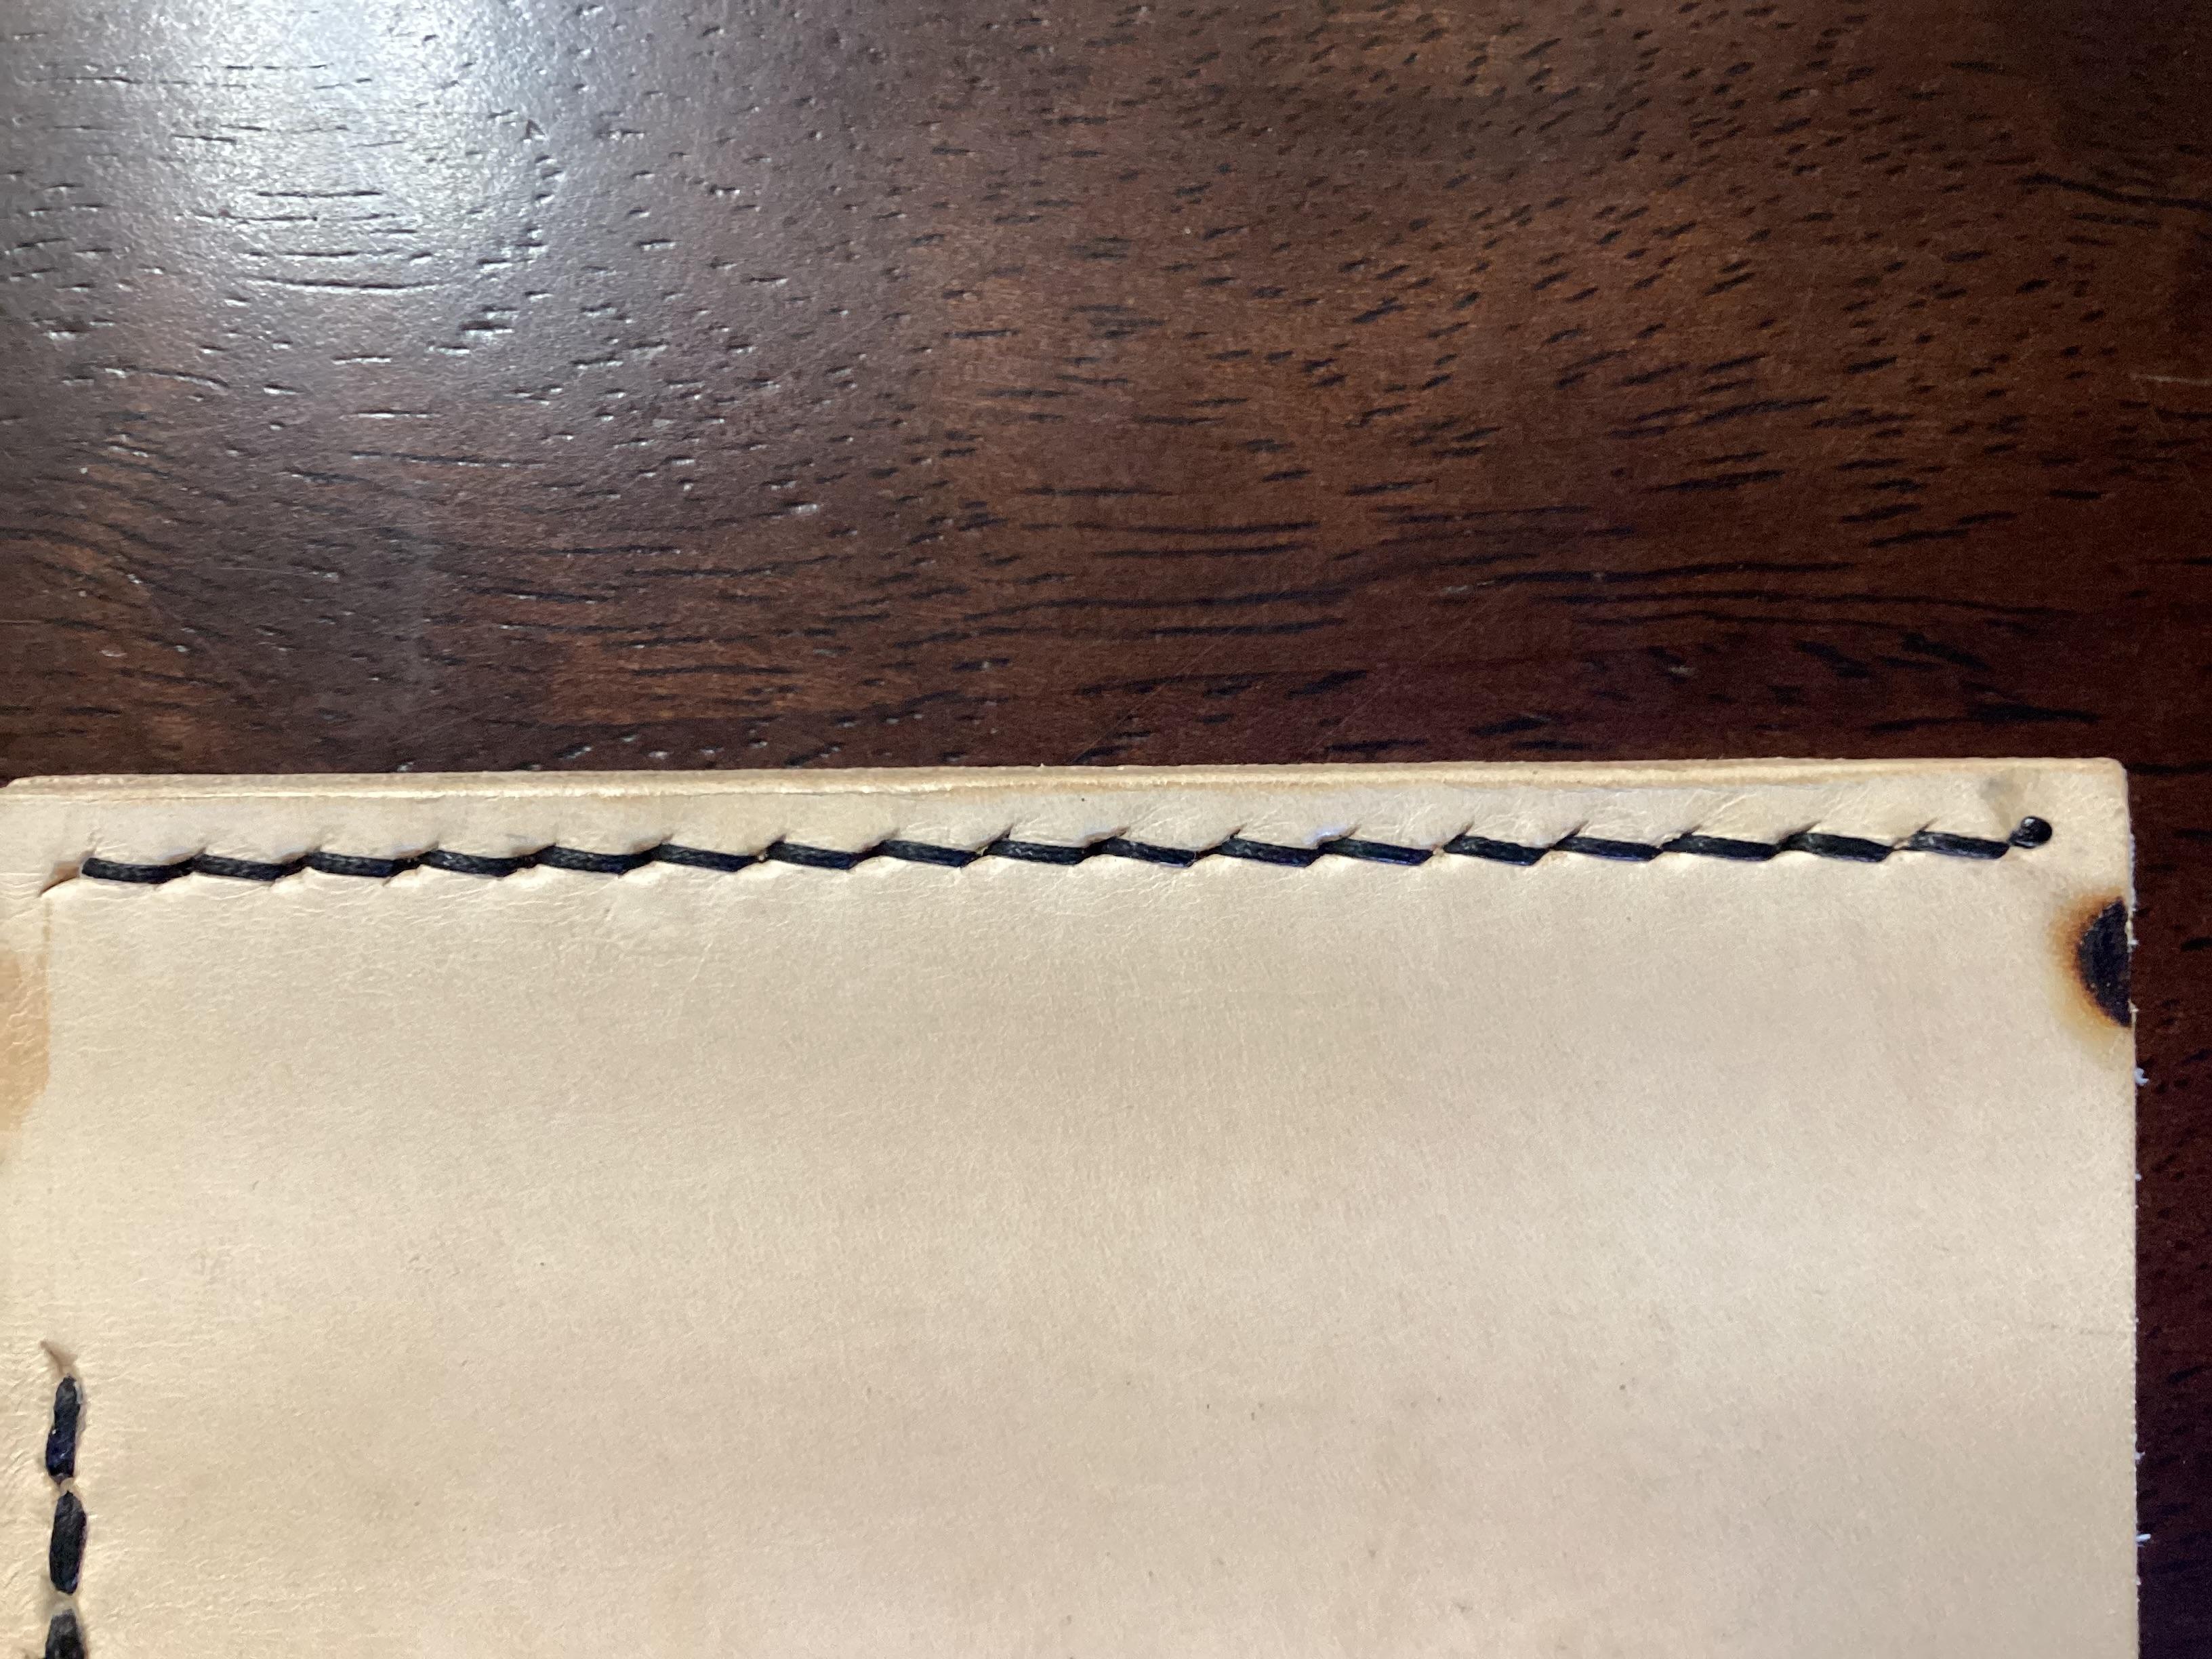
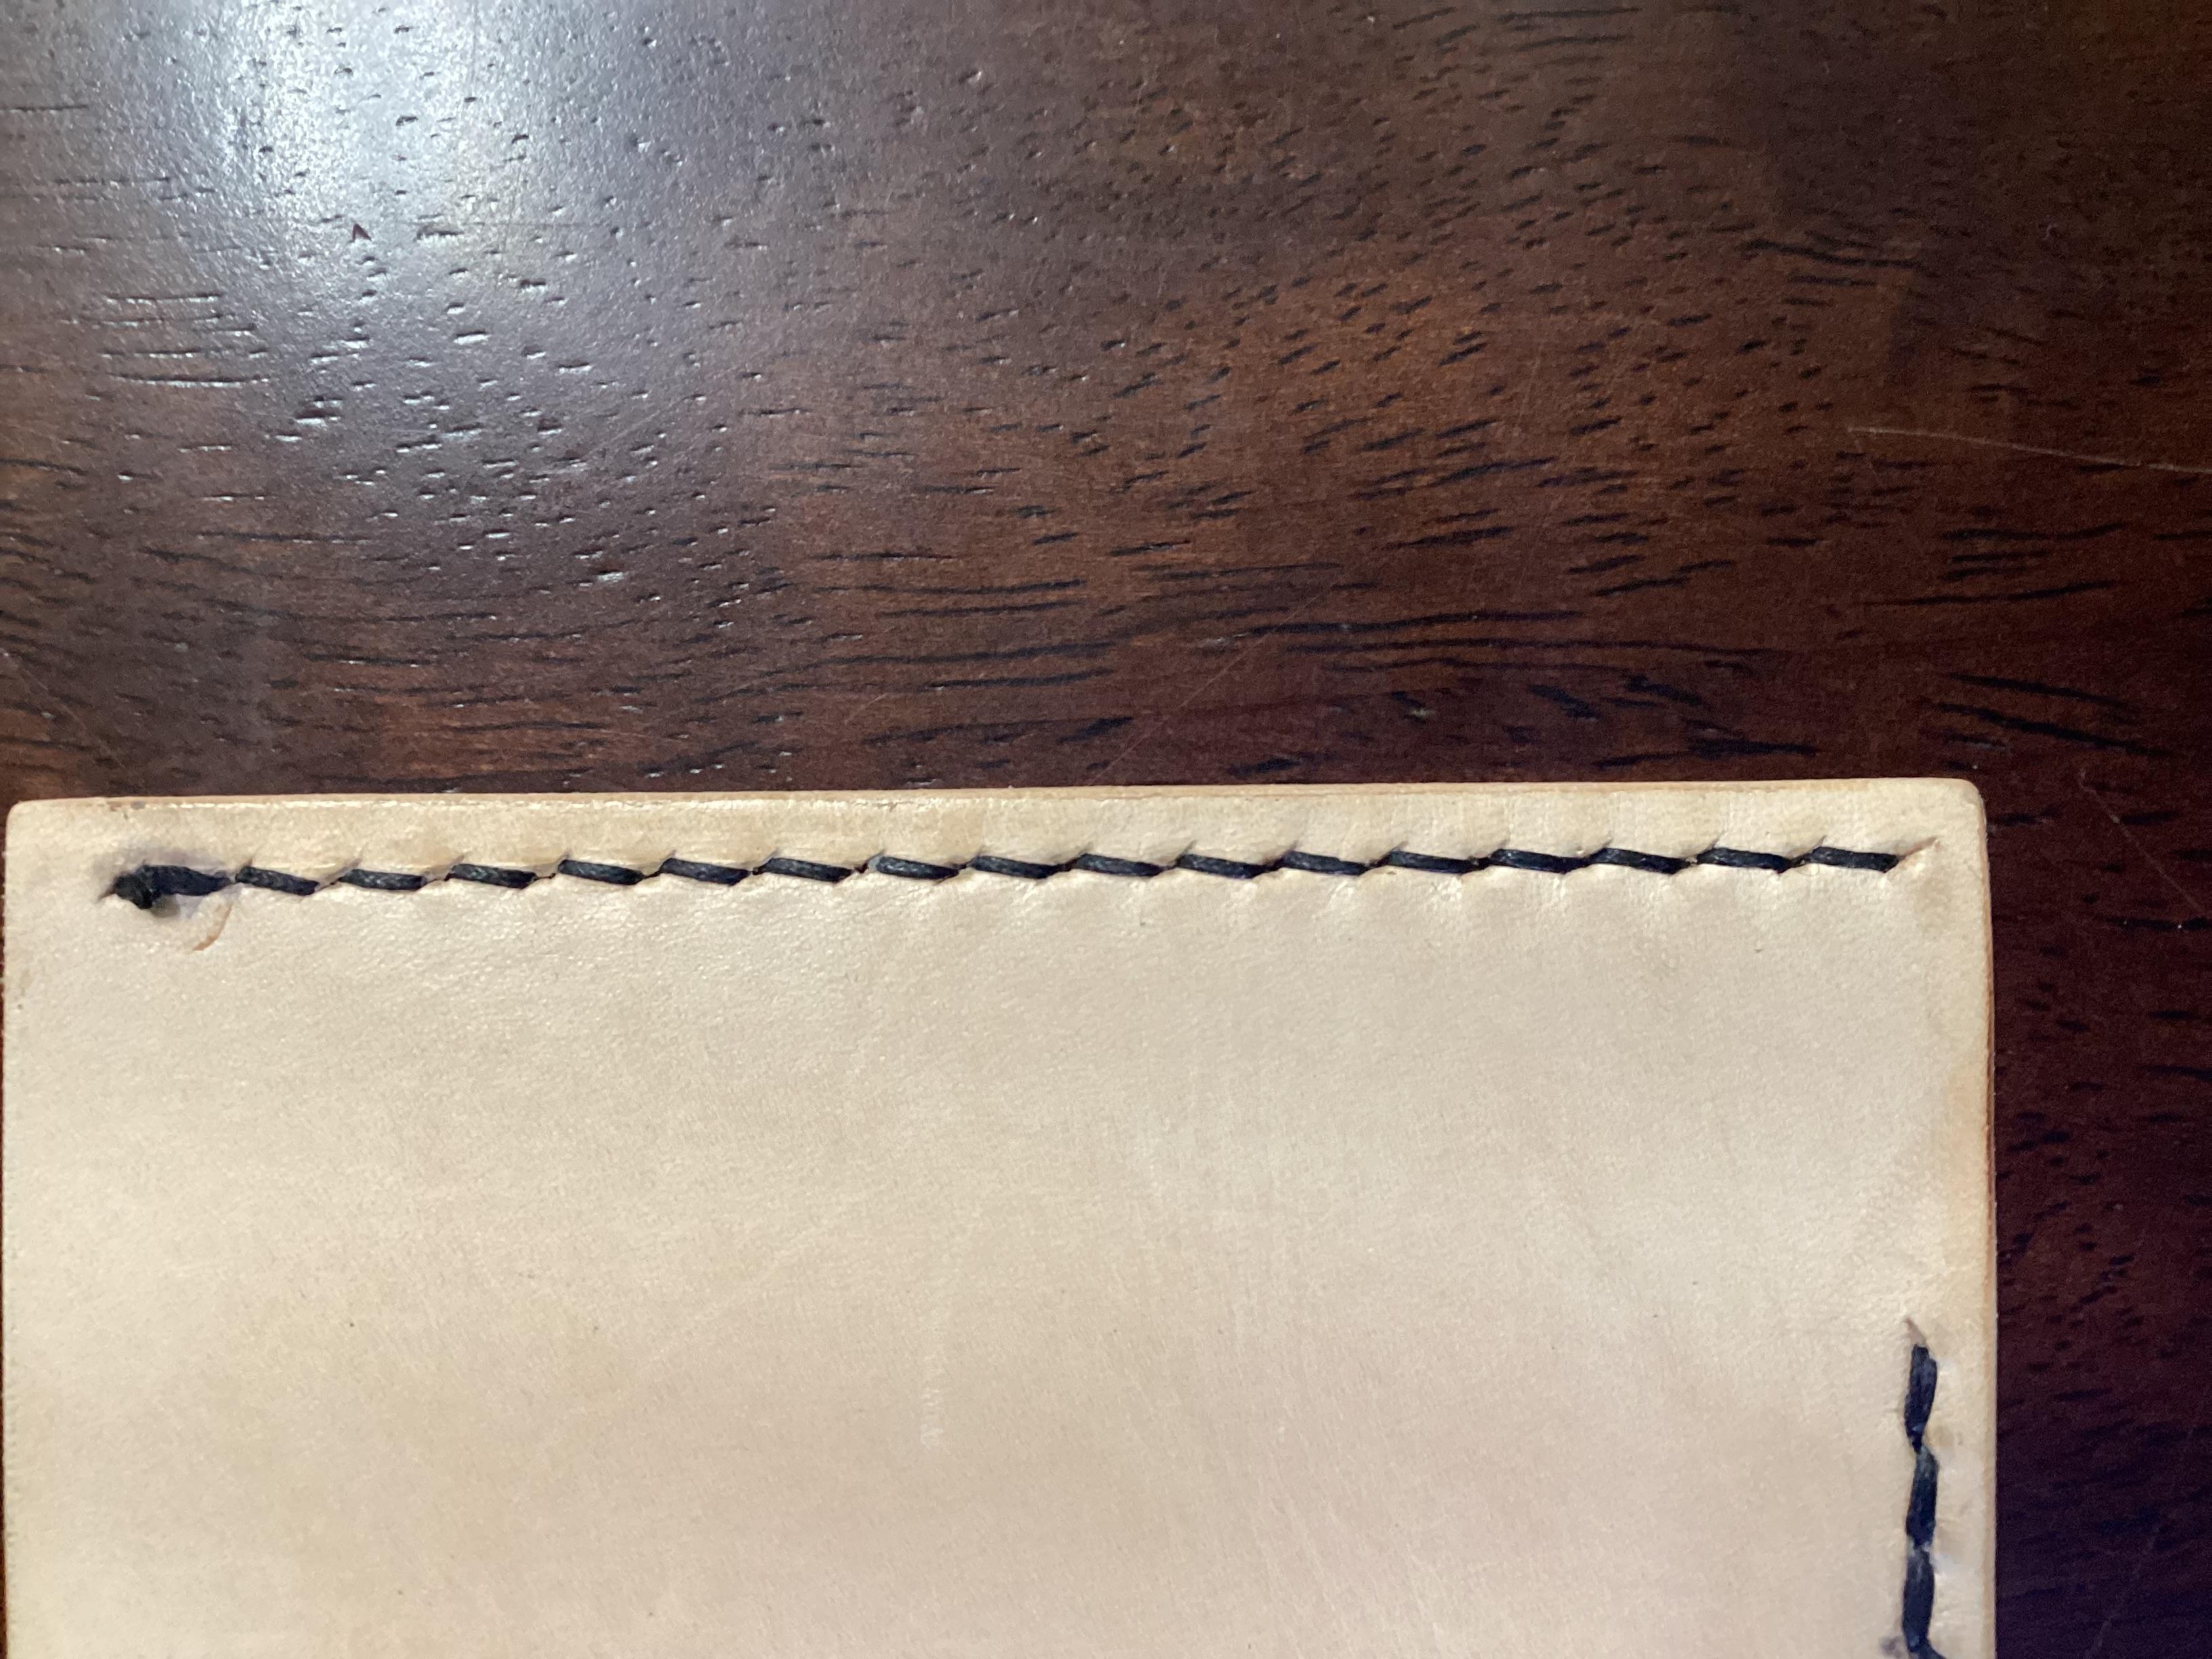
 Very clean, and consistent. I wont comment on thread since its been touched on. Very good and neat edge distance. Your thread slant is correct so you’re stitching appropriately with the slant of the hole slit. Apply the same technique to any (most) items such as bags or belts and it will turn out well!
 -
Internship and maybe a new start
ClaimedVacancy replied to Tove09Tilda's topic in All About Us and Off Topic
I had a very similar experience leaving the military; internship at a wood shop making furniture, while still being paid by the government (legitimate program!). It works great if the company is great to work for, but i was free labor and made a lot of pretty stuff at no cost to them. of course there is wayyy more vetting of companies now than there was then to prevent that. I learned more about what i don’t want versus what i do, and ended back in my original field of expertise post service. And fortunately it worked out very well. But my path was trades first then college. So a bit in reverse. Best of luck out there! There’s an opportunity out there. PS, we’re experiencing the same problem in the US with applying and being rejected in respective fields. Its became a major problem, and hiring appears to be stonewalled out by some entity (AI usage on both ends?). It’s a weird time that i hope will loosen. -
Thank you for the comment @TonyV When you say tie your square knot, do you then just cut the thread flush or near flush before hammering? Thank you very much for the advice.
-
 mikemar428 joined the community
 -
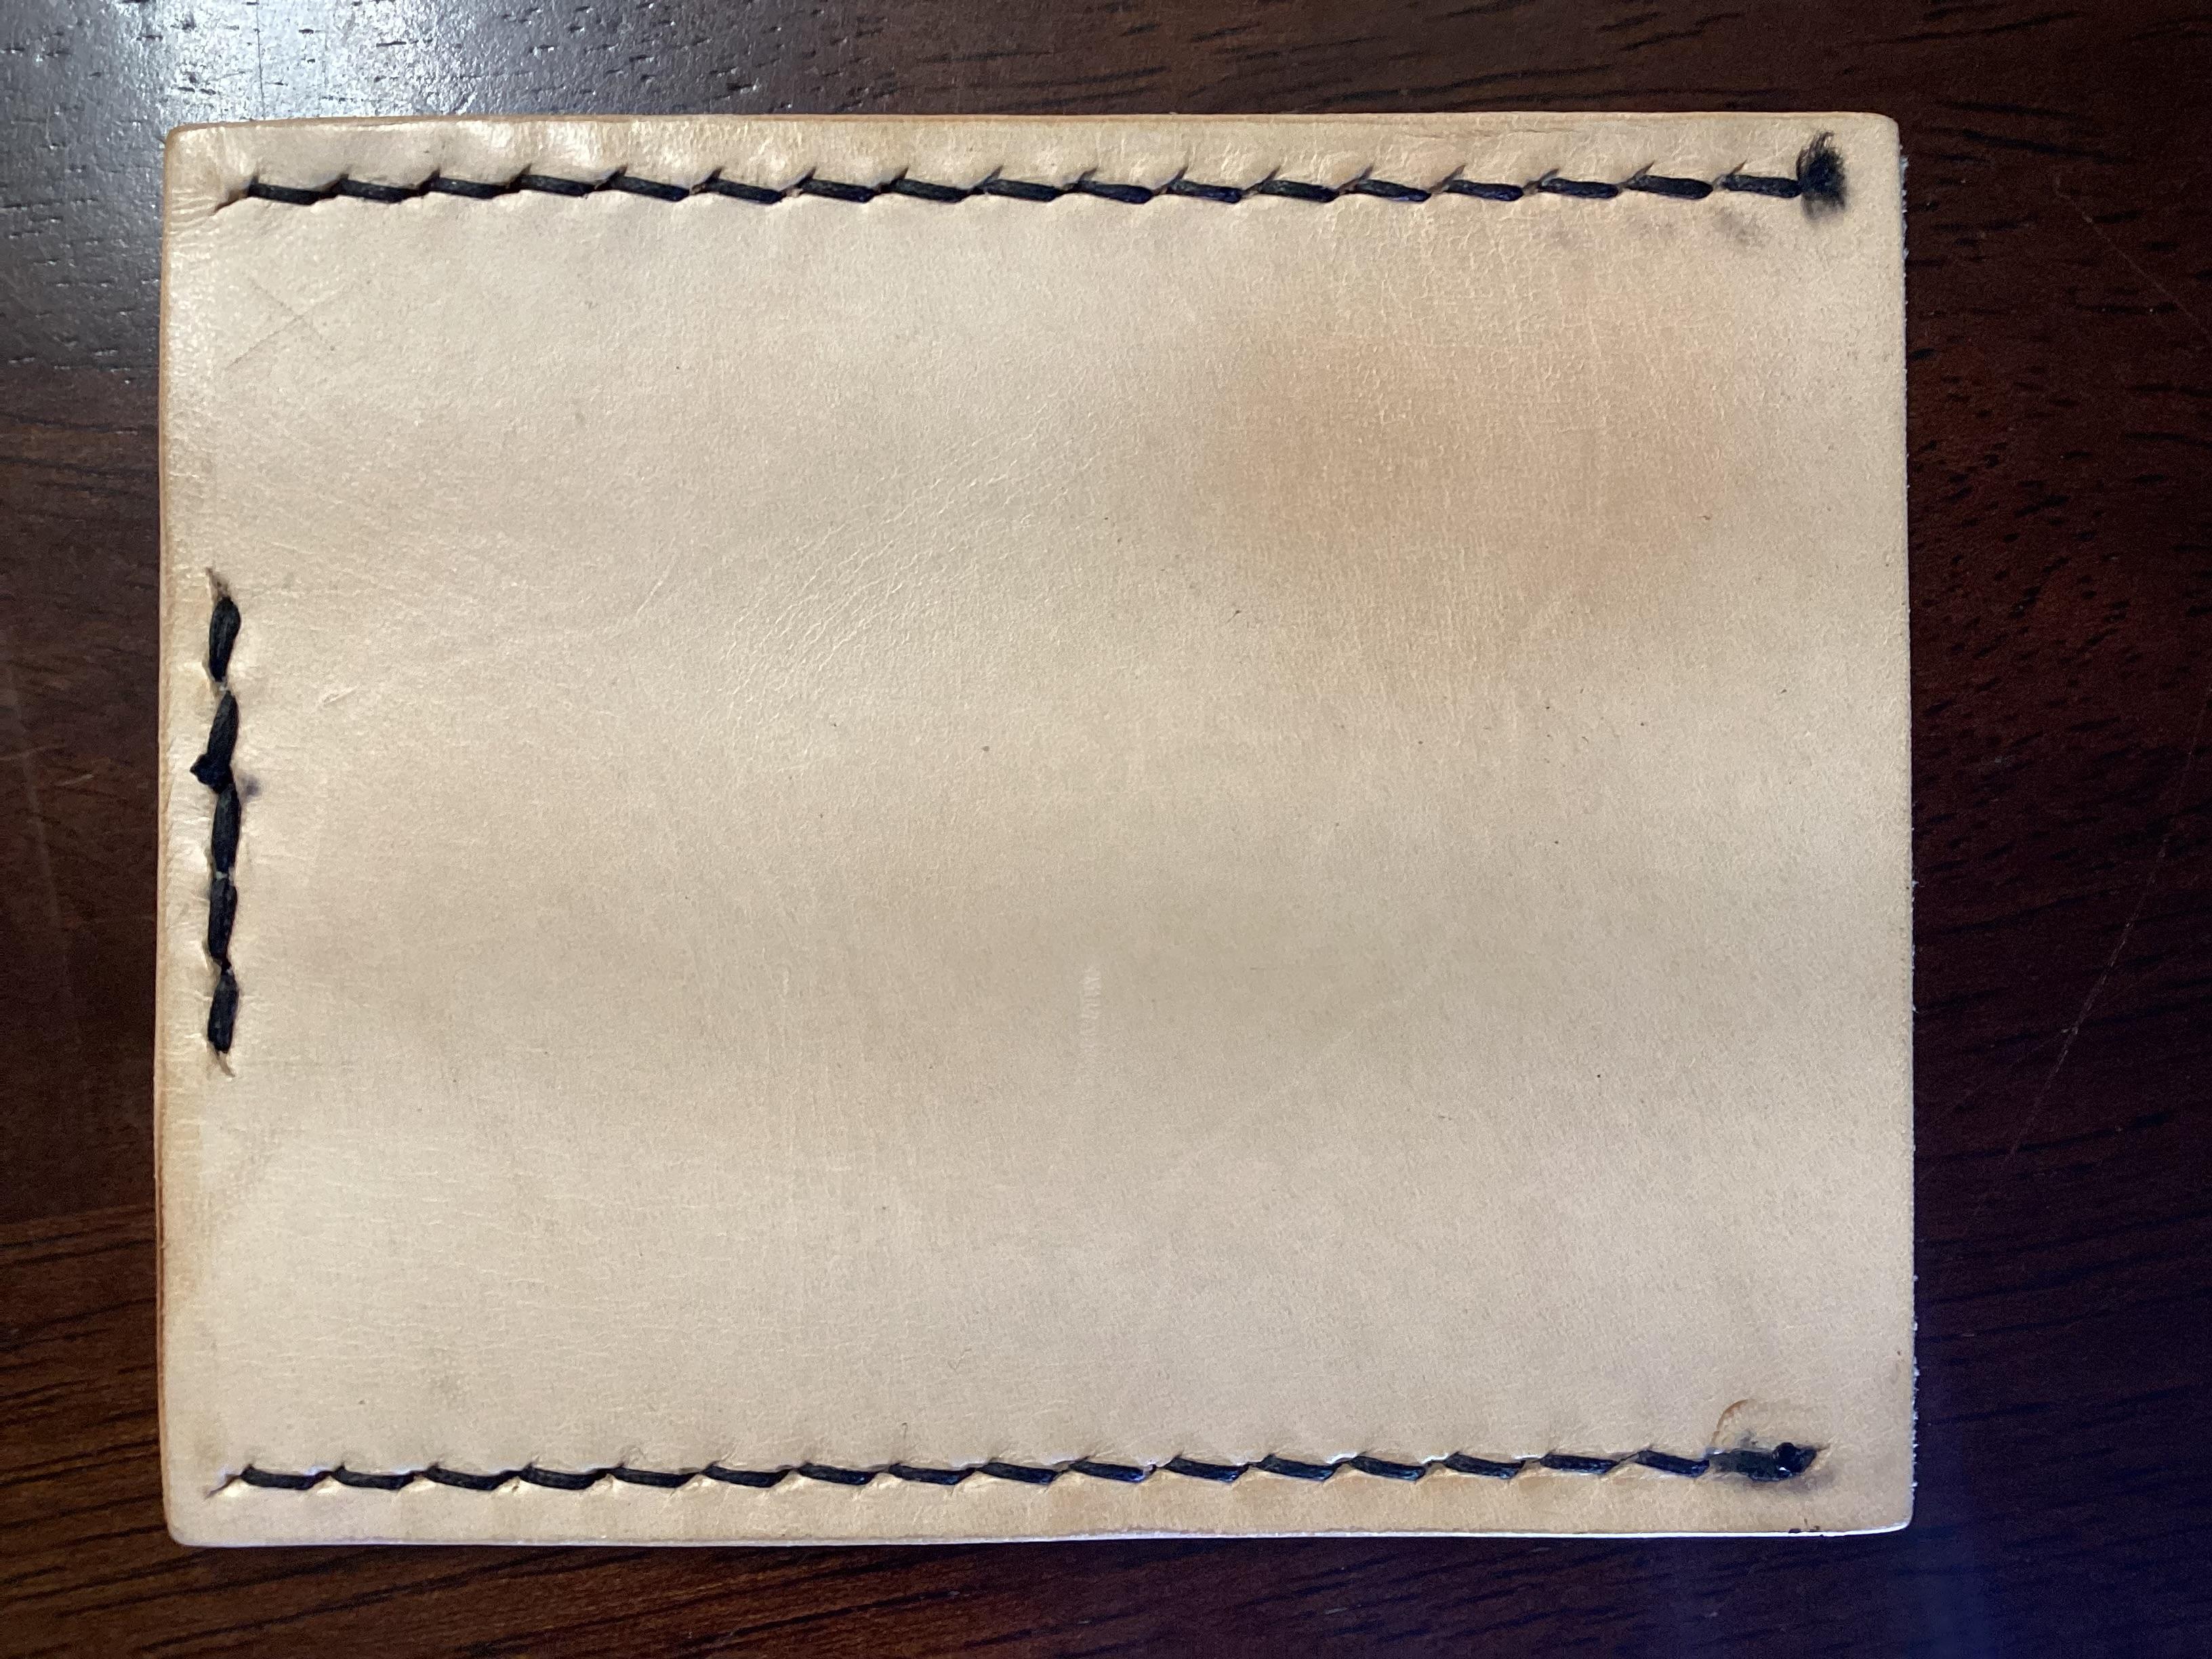
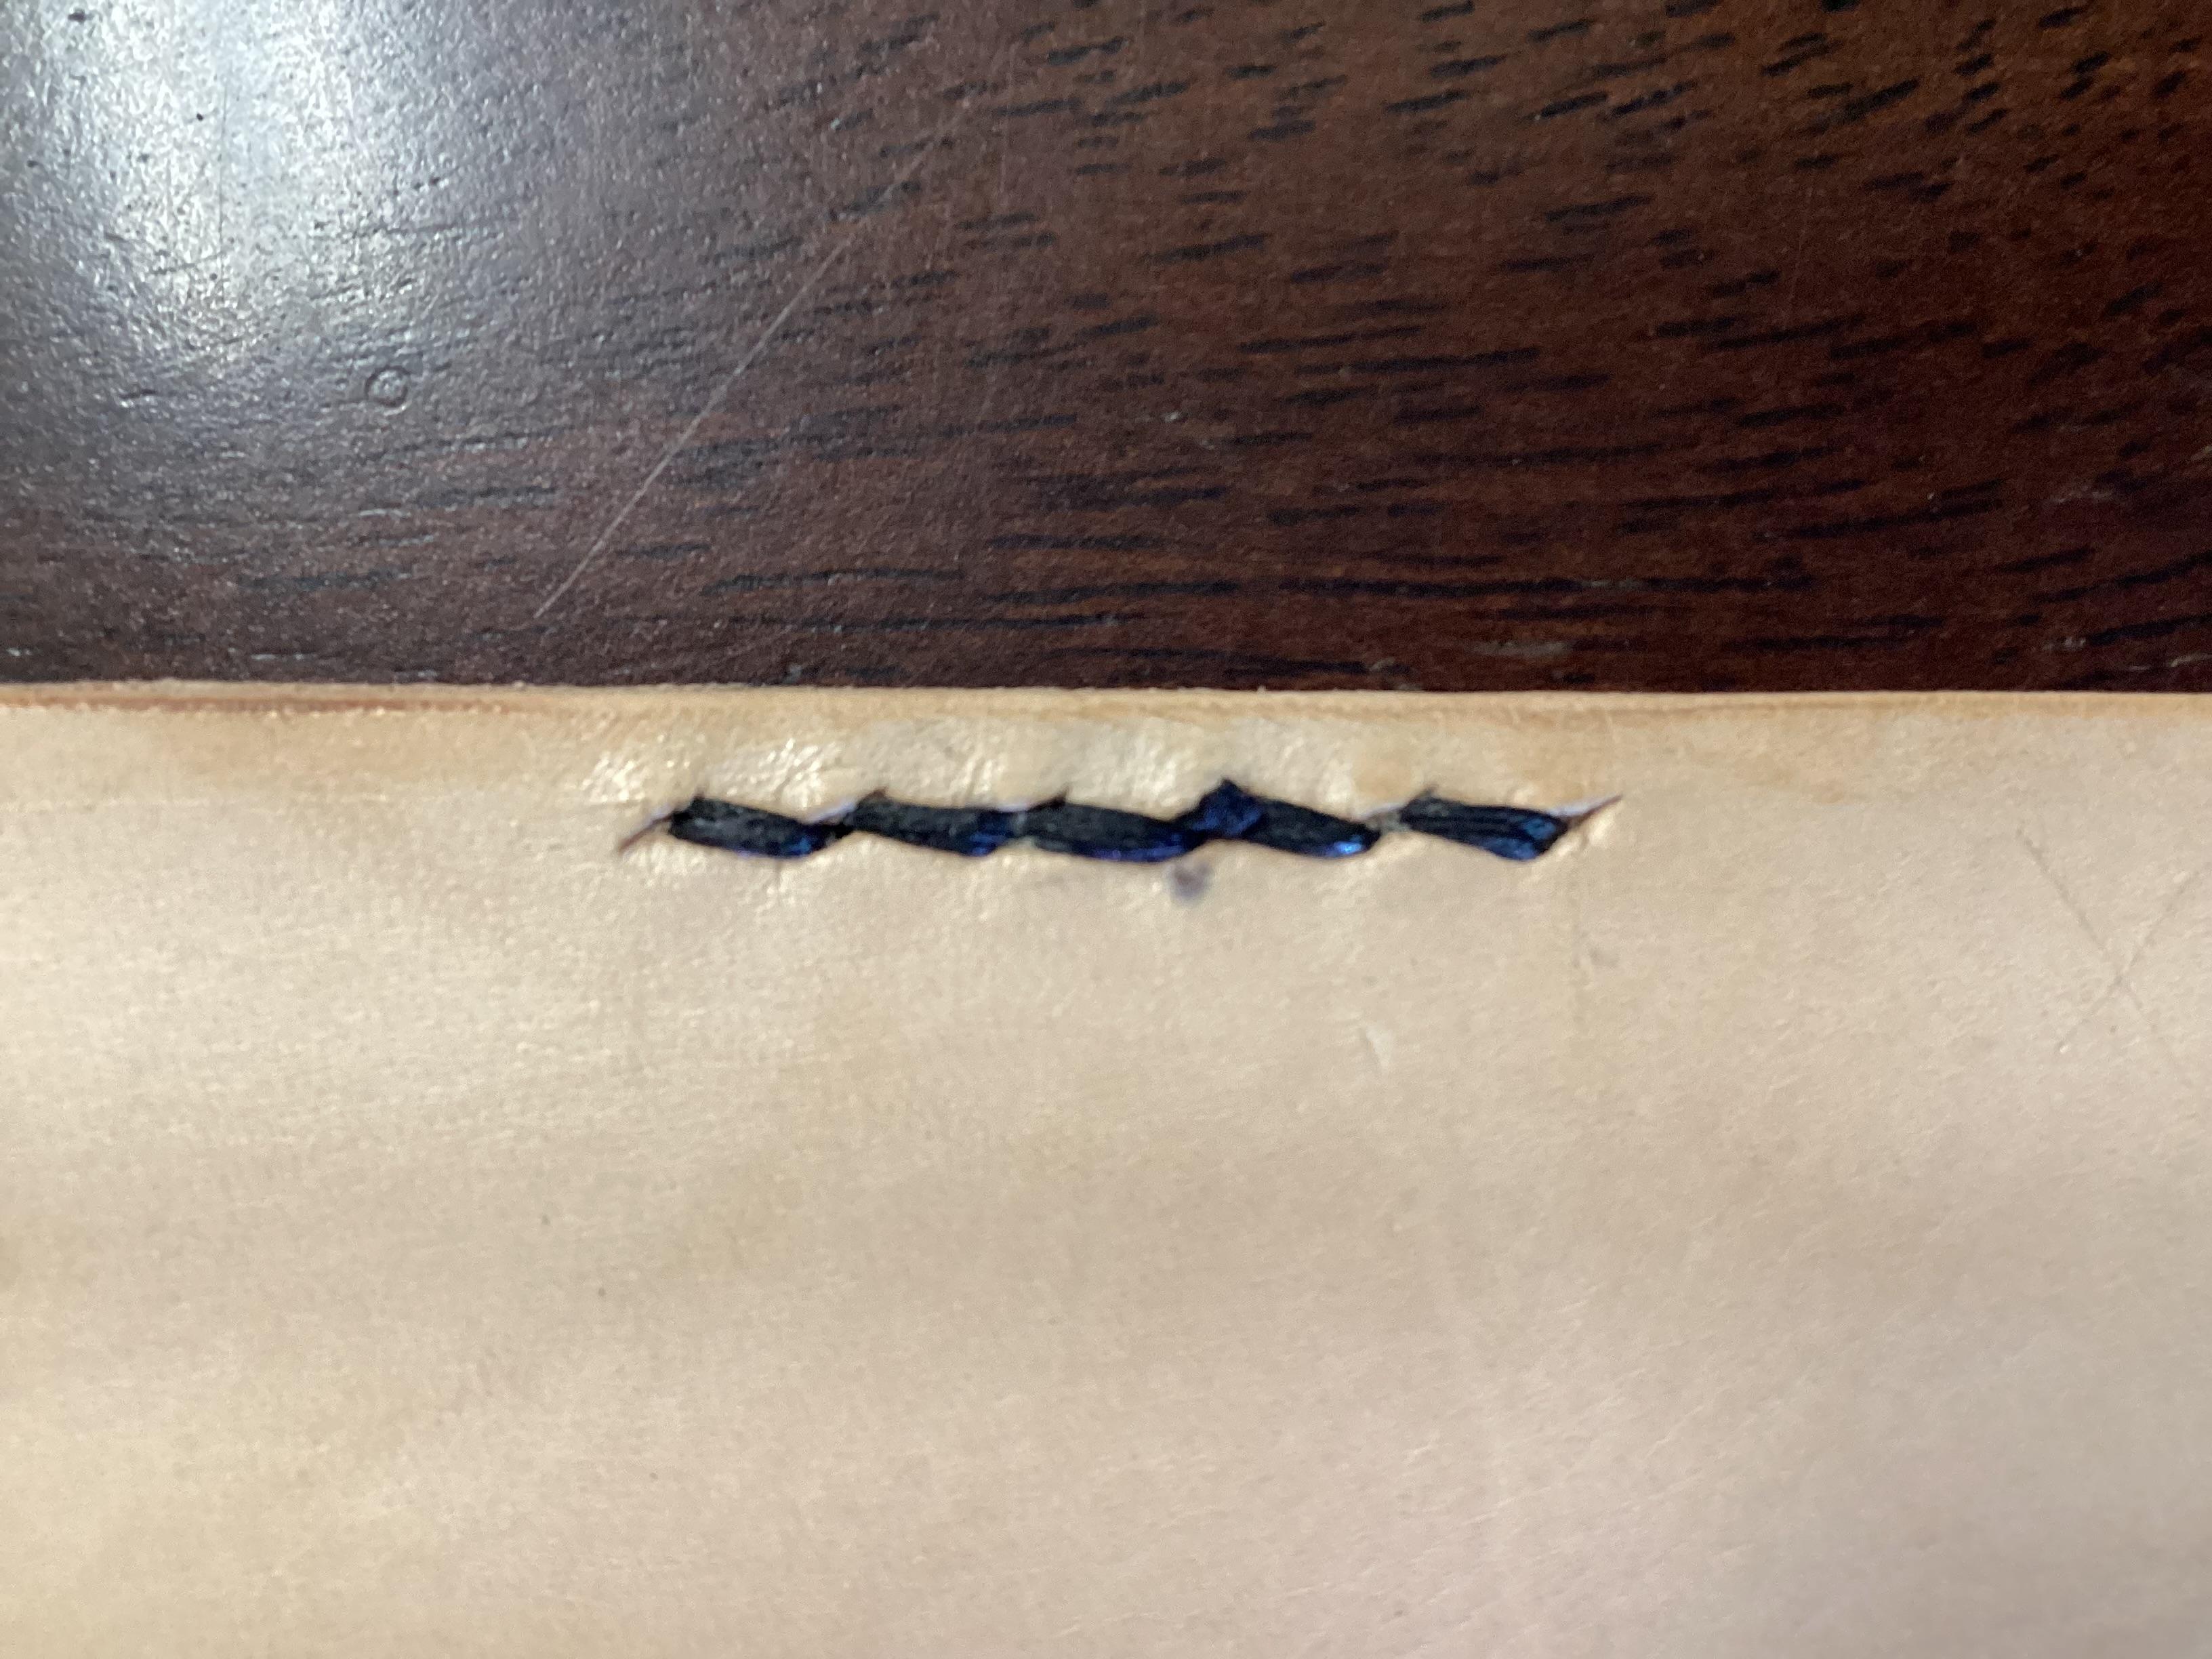
 Your stitches look quite even and tidy. good job. Next, learn how to backstitch. I am not a big fan of burning the thread ends. I think it often looks untidy and unprofessional from soot and burnt leather. In most cases I will backstitch then tie a square knot between the layers, cutting the thread just below the surface. A correctly tied square knot will not come undone and, once the seam is tapped down with the hammer, invisible. In some cases when I can't tie a knot, I'll cut the thread short and use the needle or an awl to tuck it down into the hole on the back side of the project with a small dab of white glue. I will burn the ends occasionally, but not often. If you must burn your ends, remember that you're not lighting a torch! You don't want the thread to flame. Cut short and just melt the ends enough to make a tiny mushroom and use the lighter or something to press it smooth while soft. Make it as invisible as possible.
 -

Review of Jianglong 341 after 4 months
eblanche replied to friquant's topic in Leather Sewing Machines
Well then, talk about a precise and usable reply! I'll see what that looks like, Sounds pretty solid. -
I have eight more hides of this LAMBSKIN leather varying in size from about 6 sq ft to 7.5 sq ft. All same color and thickness. Anyone wish to have more than the three or if you wish to buy only two, I will give you a good deal. Just let me know.
-
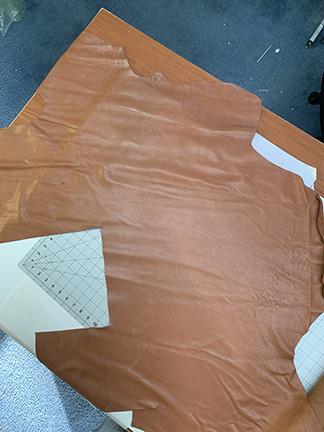
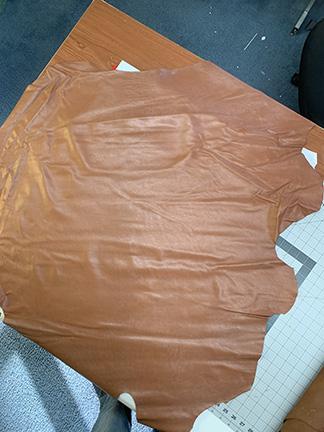
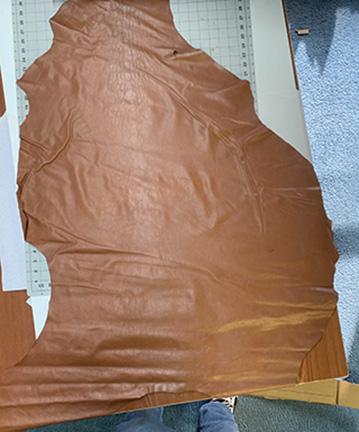
4.5 sq ft x .8mm LAMBSKIN #3 Nice hide the bright streaks in photo are my leather room lights reflecting. I used this leather for lining purses, making pockets for purses, and inside wallets and card holders among other things. I had taken some cuts from this hide $25.00 plus shipping We take PayPal
-
7.5 sq ft x .8mm LAMBSKIN #2 Nice hide the bright streaks in photo are my leather room lights reflecting. I used this leather for lining purses, making pockets for purses, and inside wallets and card holders among other things. $50.00 plus shipping We take PayPal
-
6 sq ft x .8mm LAMBSKIN #1 Nice hide the bright streaks in photo are my leather room lights reflecting. I used this leather for lining purses, making pockets for purses, and inside wallets and card holders among other things. $50.00 plus shipping We take PayPal
-

Review of Jianglong 341 after 4 months
friquant replied to friquant's topic in Leather Sewing Machines
A 10-lb (4kg) weight out at the corner pulls that corner down 5/8-in (16mm). -
 MerrickTNLL joined the community
 -
Hi all, New arrival here having some trouble with a Juki LS1341. The bobbin thread wasnt being picked up so I took the basket out and noticed that the hook wasnt spinning and feels very stiff. The handwheel still turns smoothly but the hook does not turn with it. Ive checked for thread/broken needles, with no luck. I cant actually get the hook out of the machine, it seems to be lodged in pretty tight! Ive watched some fantastic videos by some legendary contributors on the forum (I remember your names from years ago when I first started looking at the machines) but unfortunately havent come to any solid conclusions regarding the issue. For context, I bought the machine in great working order 2 years ago and have had it stored in a safe, clean workshop and then at home for the last year. It is absolutely unused since purchase, and was working perfectly before transit (short 2 hour drive). I contacted the seller who has advised to bring it back for repairs, but if I can solve this myself it would be beneficial to my understanding of the machine and hopefully save me some travelling/money. I can attach some images if that would be helpful, or upload a short video somewhere and link it? Thank you for taking the time to read this. Ill be concise in the future to save time! Cheers, Merrick
-

Fender repair...
BlackDragon replied to Brokenolmarine's topic in Saddle Identification, Restoration & Repair
Best way I've found to straighten leather when it comes in to the shop is to dampen it a little and letting it lay flat. You can cut it while it's slightly damp, the knife will go through it easier too. It's not going to hurt the leather just like when you case it for tooling. I like the tooling options 2, 5, and 7 and would be happy with which ever matched my saddle the closest. -
I put iron to leather for the first time about 2 weeks ago. This is my first attempt at cutting leather to equal sizing, and second time sewing two pieces of leather together. Feedback would be most welcome. (I don't have a suitable beveler). Thank you.


-

Internship and maybe a new start
Tove09Tilda replied to Tove09Tilda's topic in All About Us and Off Topic
Okay, now that my internship is over — one week earlier than planned — I thought I’d give you all an update. I did learn a few things about leather, but by far the biggest lesson was learning what a toxic work environment actually looks like. Not in theory — in real life. I’d heard about it before, but I’d never experienced it firsthand. Now I have, and I can say with 100% certainty: I dodged a bullet. On top of that, the company itself seems to be on rather shaky ground. Reflecting on the experience during the train ride home, I noticed quite a few red flags pointing toward a… let’s call it an uncertain future. That said, here are a few things I learned and can share, as they’re not secrets or company-specific: If you have enough strength, a very sharp cutter knife can be almost as good as a half-moon knife (personally, I’ll still stick to the half-moon). Always apply stain following the growth direction of the fiber — you can check this by rubbing your finger up and down along the edge. Also stain the back of your loops. Piping can easily be done by inserting PVC as a filler, or by skiving the edges and leaving only the center at full thickness. You wouldn’t believe how much of a saddle is made from fat leather. Forget everything you know about maker’s marks — silver pens and fountain pens are widely used instead (though I’ll probably still stick with maker’s marks). Patterns you use frequently should be made from thick cardstock and clearly labeled. For everything else, large craft paper works fine — just weigh it down and trace with a silver pen. Never cut your stitches when you need to undo them. Use a blunt awl and open them one by one. You can trim the edges of rolled pieces with a No. 6 edge tool. Saddle cushions are more often than you’d think backed with thin carpet. Use a round awl when going back into stitches so you don’t cut the thread. Better to have stitch holes slightly too small and use pliers than to make them too large. Always — and I really mean always — expect to use more strength than you initially think. In the end, I was advised to look elsewhere if I truly want to become a saddler — preferably England rather than Germany. And honestly? I can see why. If the German traineeship system doesn’t change significantly in the coming years, I can say this very clearly: I will never, ever let a German-trained saddler work on any of my animals. No training on the animal itself, and an exam consisting of one bridle and hand stitching at the very end? I’m sorry, but that’s a hard no from me. The same goes for saddle fitting, by the way. I’d rather take courses in England whenever possible, combine that with a Saddlefit 4 Life education, and do it myself. This could have been a great experience — but when people look at you strangely for asking “why,” they’re not going to be great teachers. And when most people around you seem unhappy, that tells you everything you need to know. So no new start — but that’s okay. I’ll refocus on business consulting now, especially change management and family business consulting, and pursue that more seriously. I’m currently looking for additional pro bono work, so if you know a small business that could benefit from a short-term external perspective… you know who to recommend 😂 Best, Tove -
Review of Jianglong 341 after 4 months
eblanche replied to friquant's topic in Leather Sewing Machines
Okay great, thanks for the info! I know these are more just to hold your product rather than a table to lean on, but can you comment on the stability of the table when installed? Can you put a reasonable amount of weight on top (~2+lbs) without the table wobbling or tilting? I actually purchased and returned a different table top as I was not satisfied with the stability, I think due to the stock/standard install method. -
Review of Jianglong 341 after 4 months
friquant replied to friquant's topic in Leather Sewing Machines
Mine fits a little high. Meaning the table sits a couple millimeters higher than my throat plate. When I see pictures of other table tops, the table sits maybe 4mm below the throat plate. I filed on mine some to bring it down, but not enough I guess. I don't use the table top much. It's easy to install/remove (two knobs to tighten/loosen), but AFAIK you have to install it BEFORE you start your seam. Sometimes I get into a seam and think "This would be easier on the table top" 😂 -
Review of Jianglong 341 after 4 months
eblanche replied to friquant's topic in Leather Sewing Machines
Hey Folks, I am currently in contact with a rep from JL about their acrylic/alum. table top attachment. I am looking for a table for my juki 246 rather than 341/1341 style but I wanted to ask about the overall quality of the table and the pieces, as well as the clearance to the cylinder arm and throat plates. This style looks to be somewhat common although I have not seen an acrylic version elsewhere. @friquant @Smiche @toxo Do either of you have any feedback for the table top attachment from JiangLong, if you received one? Thanks, any info will be helpful and appreciated! FYI, They are asking for $65 for the table as a separate purchase. Shipping to the the USA approx. the same cost, $65. Depending on duty/tariff, this may or may not be reasonable. I am still awaiting clarification if they handle those costs for US customers. (ugh prob not lol). -
Can you post pictures of your machine (including close-ups), for those of us who don't immediately know what a Techsew Strobel is? Is it lockstitch? Chainstitch? Can you post images of your failed seams so we can speculate as to the cause?
-
Thread has a finite width. So as each thread leaves the lock (in between layers of fabric) it is off-center. This deviation from straight-line gets more noticeable with large thread, thin material, and short stitch lengths.