JDFred
Members-
Posts
151 -
Joined
-
Last visited
Content Type
Profiles
Forums
Events
Blogs
Gallery
Store
Everything posted by JDFred
-
Thanks for the info. I never thought about different alloys reacting in different ways, stuff like that is always good to know. It would seem that their service life is pretty good if they hold up for over a hundred years.
-
To sand the edges or not to sand
JDFred replied to ThisIsMyFirstRodeo's topic in Leatherwork Conversation
I keep two of those rubber sanding blocks around one which 120 grit and the other with 220. I use them to straighten out any wobbles I had cutting something out and to even up multiple layers after they’re glued together. And I if things get really out of hand and I get a profile way wrong then I will use the belt sander. -
Good job, your hummingbird turned out great. I understand the struggle of wallets coming out thick someday I’m going to try some kid skin for lining and pockets. Keep up the good work.
-
Inadequate knife sharpness, or too much moisture. Ugly "drag line"
JDFred replied to LakeOtter's topic in How Do I Do That?
If you’re keeping your blade vertical to the work, which it looks like you are since I don’t see any undercutting, it is probably too much moisture. I’ve never had any success with the fridge method of casing it always comes out too wet for me. -
Thank you. It’s the first time I’ve made anything other than reins out of harness it skives and punch holes in it a lot easier than veg tan. Probably from all the oil and wax in it. Have a Merry Christmas. Thank you. I got the lace idea from the one I was coping measurements from. My mother in law saw that and really liked it also. Have a Merry Christmas.
-
Very nice work. I agree with Tom about the lettering. If the tapering was unintended just claim you designed it like that, it looks really good.
-
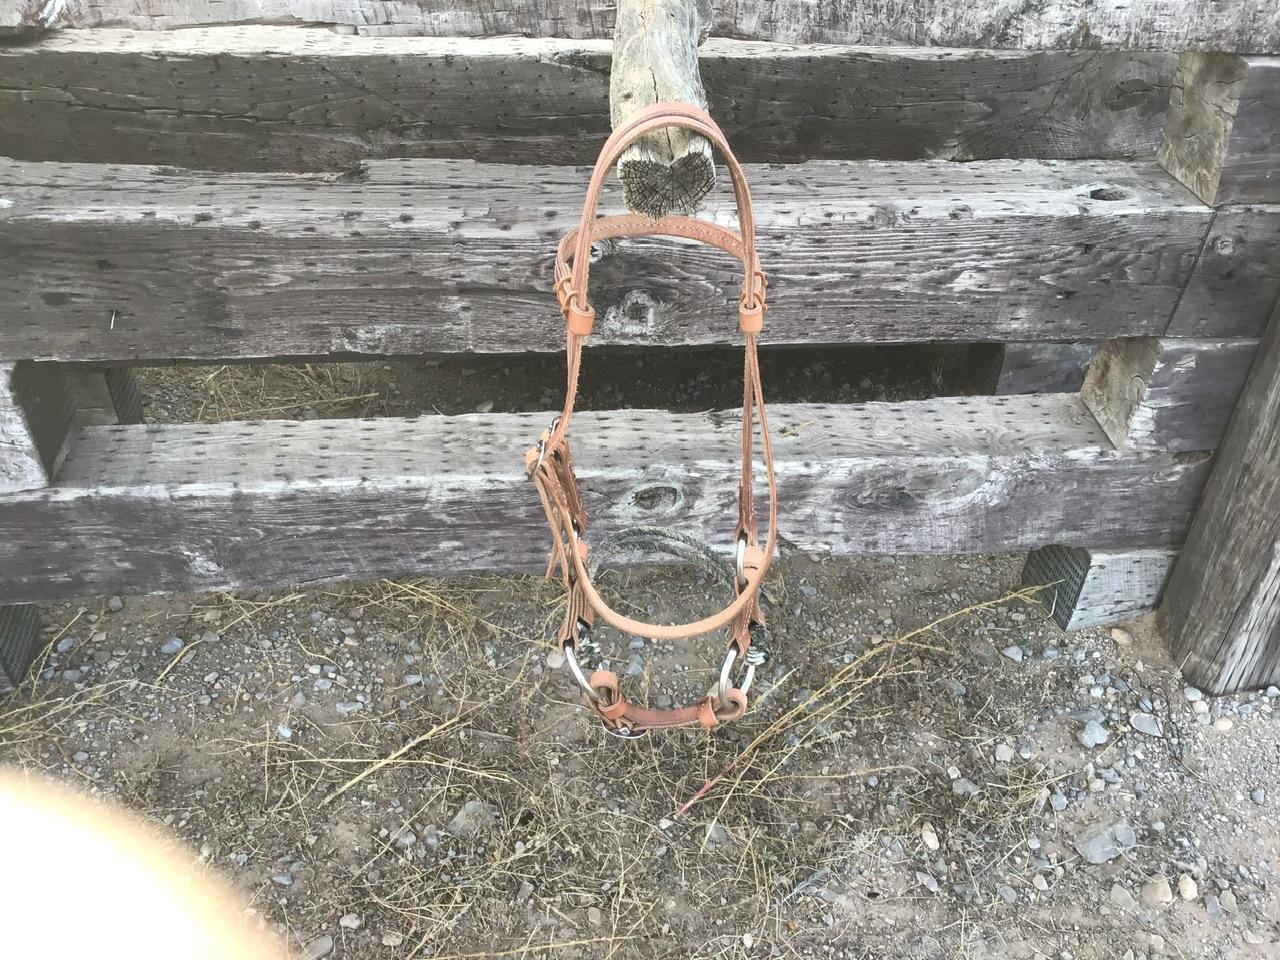
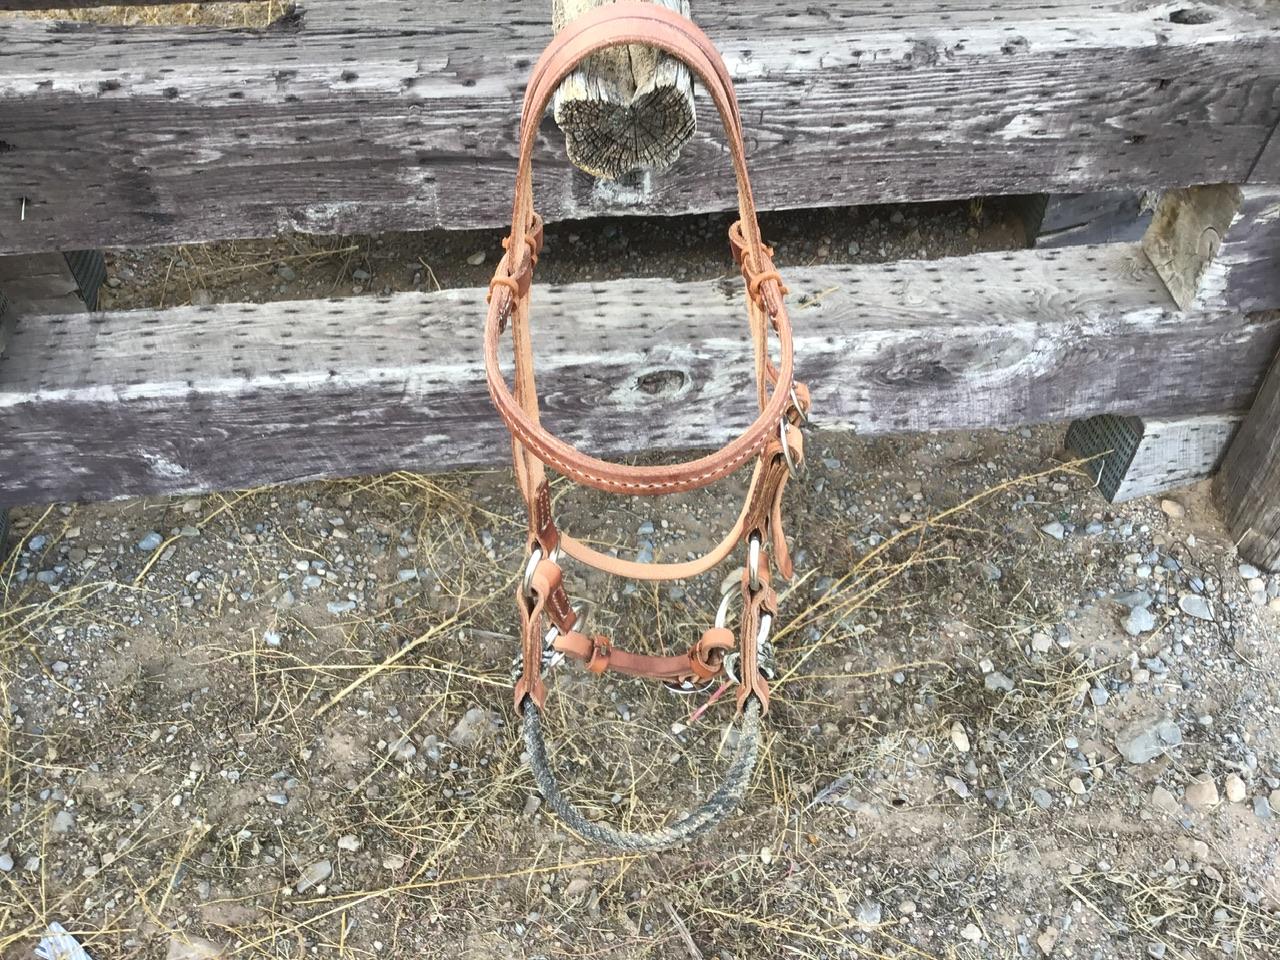
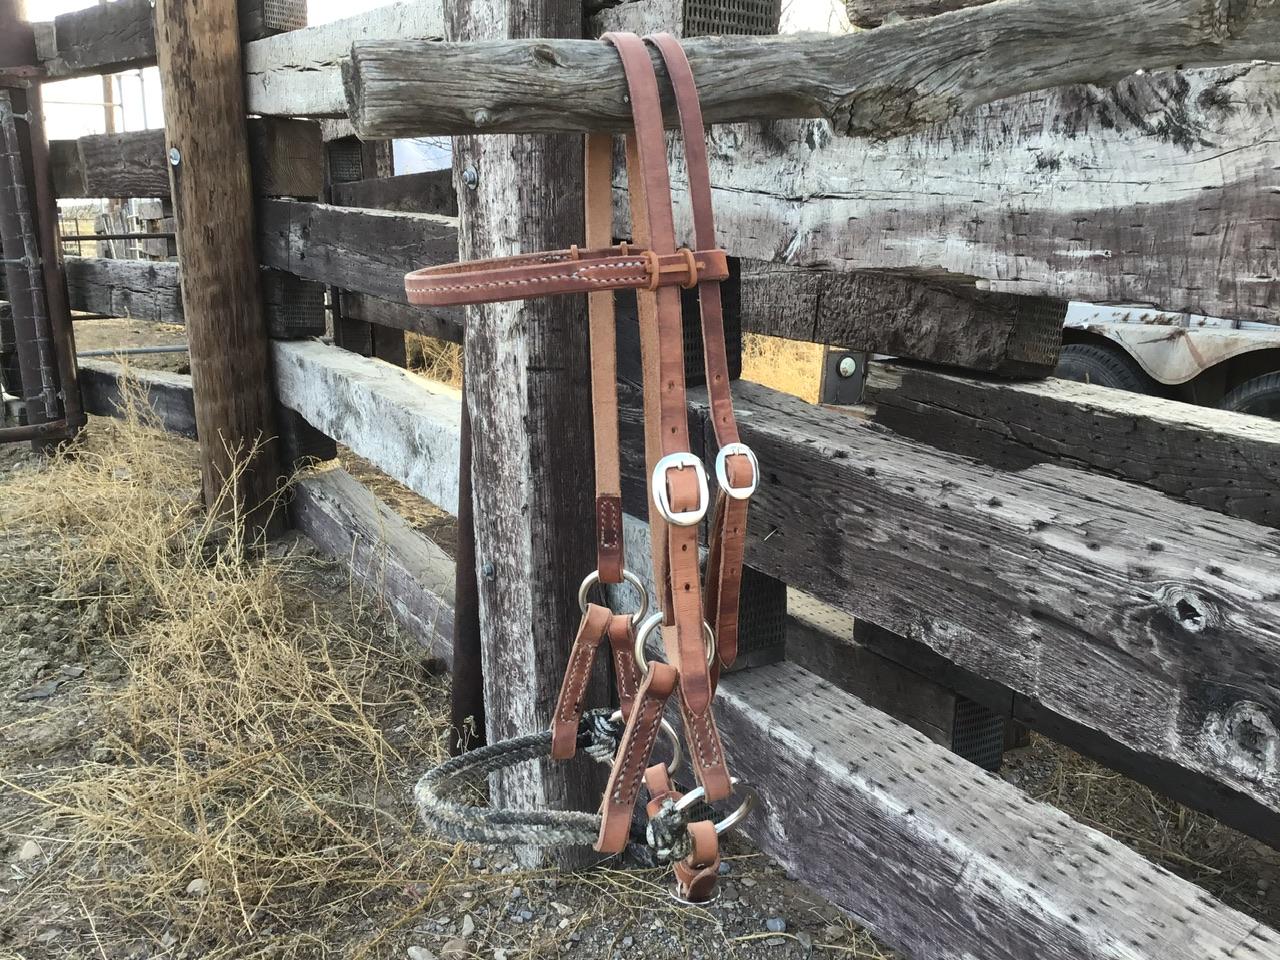
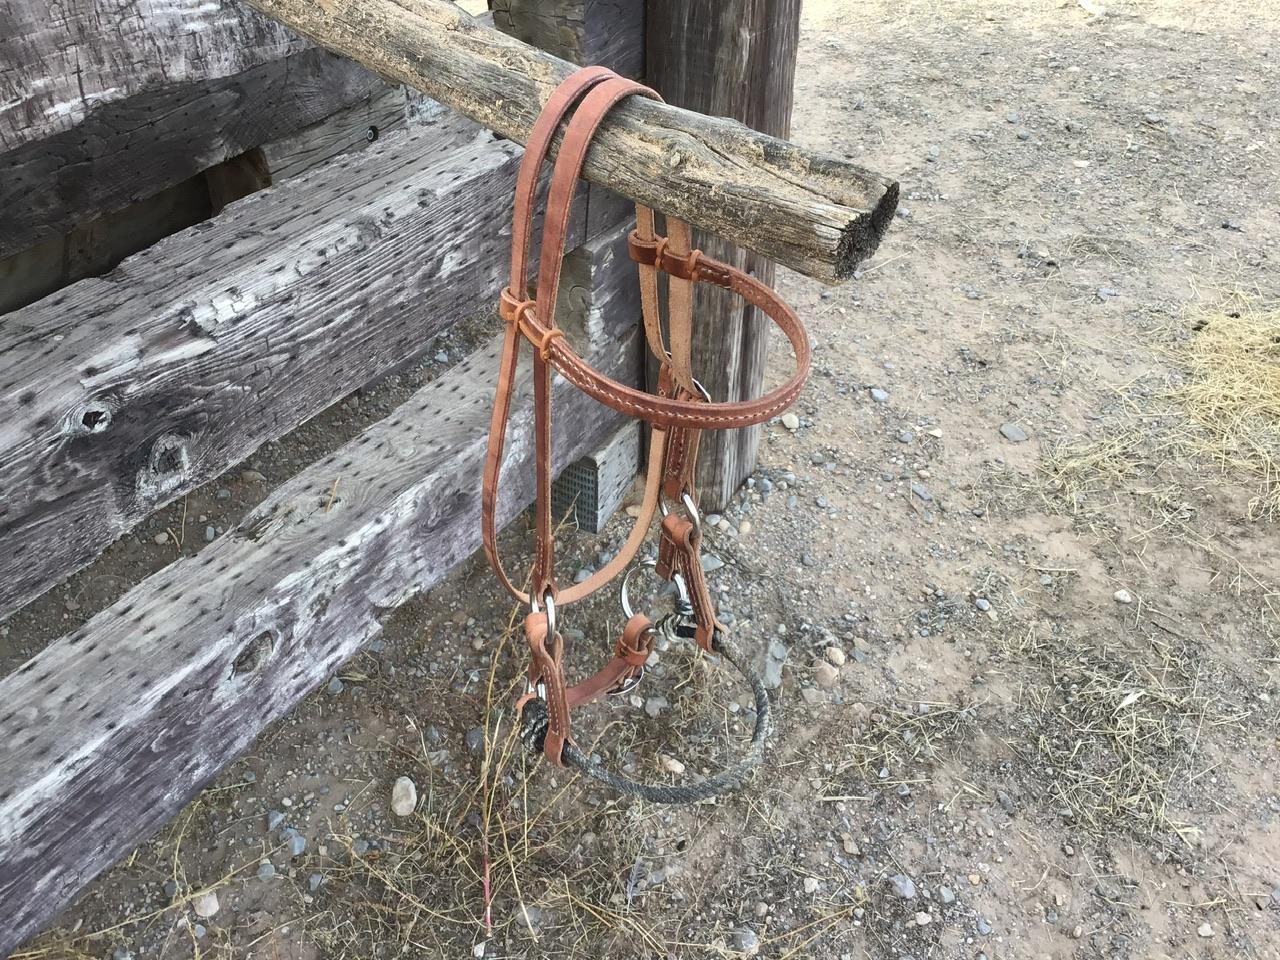
I finished the side pull last night. I ended up using Herman Oak harness leather and hand stitched it with Maine thread. It was a little more involved project than I thought it would be, could be because it was the first time I’ve made something like this. The nose band took a couple of tries to got right. In the end I think it turned out pretty good. Let me know what you guys think about it. Thanks.
-
Thank you for the help. I like the way you have the nose band come through the hardware on your bridle, but I could see where the leather might bite into the hardware and hang up and a rope wouldn’t especially if one was to pull back pretty hard. I’ll have to watch some more of those knot videos I didn’t know Knotty Girlz had a YouTube channel. My wife found their halters and got one it’s really a well built halter. I found a thread on this forum about someone wanting to change the nose band on one of these types of bridles and Bruce Johnson explained the knot pretty well. I’m not sure how to link things but the title of the thread is “Nose Band On Schultz Bros. Hackamore”. Thank you again for the help.
-
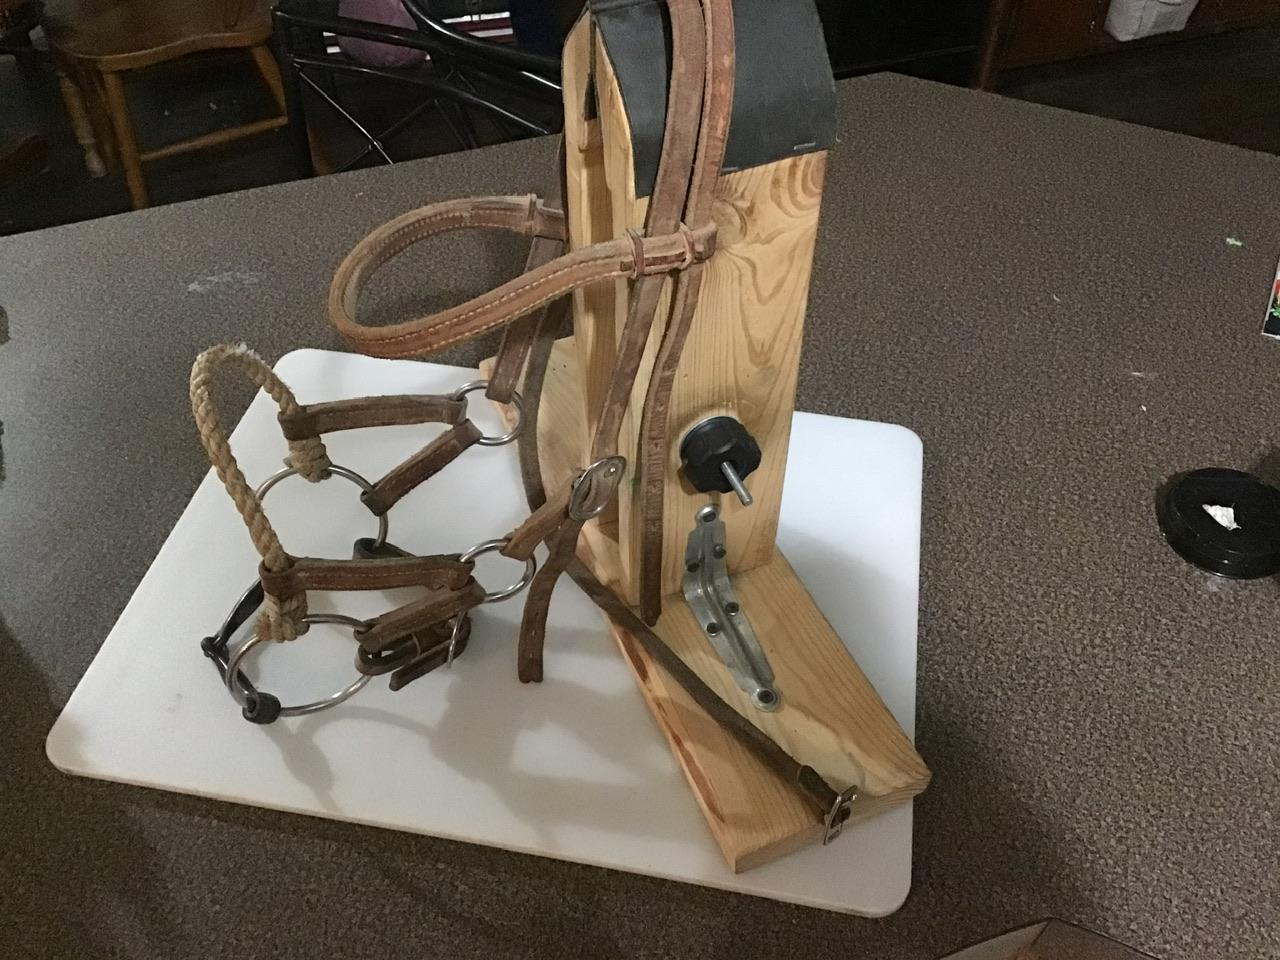
Thank you for the detailed response. I’m not really familiar with English tack so what I’m copying may not be traditional, but I’ve always been told it is a side pull. I’ll include a picture so you can see what I’m looking at. She was wanting the rope because the horse she has got hurt pretty badly about 4-5 months ago and has some nerve damage in her nose so she may require something a little more. But she wanted the double rope so it would spread the pressure on the horse’s out more, she also wants me to make a removable leather cover for the nose band to soften it some more if needed. The brow band is a good idea I always forget about them since most of the headstalls I use don’t have them. I also like your idea of the crown and the throat latch being one piece it would look a lot cleaner if built that way. I may have to look into getting some bridle leather it’s much nicer looking than harness, however I have harness leather and not bridle that was really what was driving my decision there. Thank you again for the help.
-
My mother-in-law wants a bitless side pull for Christmas, so I’m looking for some construction and material pointers. I have a side pull in the barn that has a snaffle bit in it so I should be able to copy most of it from that, however I don’t know how to tie the knots for the rope nose band. She found one from Weaver that has a double rope nose band that she likes. I don’t know if you make that from a single rope or two pieces? My current plan is to build it out of heavy harness leather in 5/8” straps with a 1/2” throat latch and use 2” o-rings for hardware. If any one has some advice or tips I would appreciate the help.
-
Are you wanting to wrap the belt drive to update the drive surface of is this more of for a show cover? If it’s a show cover what you were talking about with a tooled IH emblem and put an end cap on it with Dwight’s tooling idea would look pretty cool. If you’re try to update the drive surface wrapping it might be challenging as the pulley is crowned. Wrapping it will also slightly change the gear ratio when you go to use it, but probably not enough to really affect anything. Yesterdaystractor.com sells parts for old tractors and they also have a forum there. If you’re wanting to rebuild the pulley someone there might be able to guide you along. Good luck and post some pictures when you get it restored.
-
Blevins buckle oxidation
JDFred replied to BlackDragon's topic in Saddle Identification, Restoration & Repair
I’ve never seen aluminum Blevins buckles. All the ones on my saddles are stainless. That is something to look for in buying a used saddle. Blevins buckles are used to adjust stirrup length. -
I agree her use of tools was horrible. Her stitching was equally so, not only was it just a plain running stitch but it was a fairly loose one at that. So even if this would be an acceptable repair the stitching would make it not so. It really just shows her lack of knowledge in horsemanship. Setting a rider up for potential equipment failure not puts the rider in danger but also sets the horse up for failure weather through loss of confidence or through an injury. I’ve was in a horse wreck dragging calves to the fire and had the rope get under my horse which led to equipment failure, my fault for thinking it the reins were ok, I ended up pretty cut up over the deal. I can’t imagine what it could have been if my latigo of off billet had failed.
-
Beautiful work as always. Don’t let the keyboard warriors get you down the bridle is just a tool like any other, in the wrong or inexperienced hands it can cause problems. As you and Jonas already pointed out it is the riders responsibility to ensure proper tack and gear fitment. Keep up the good work.
-
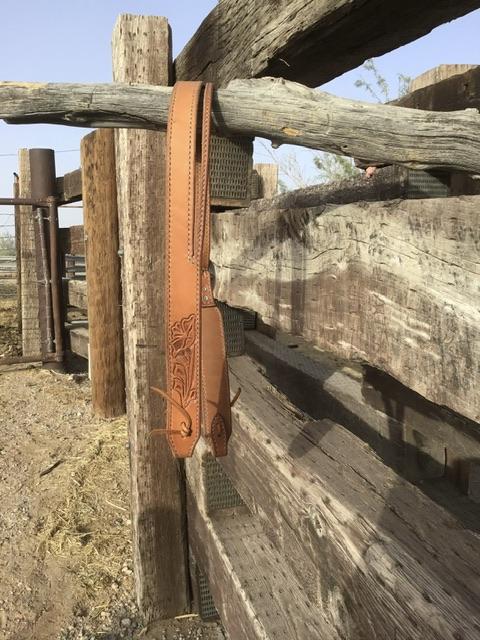
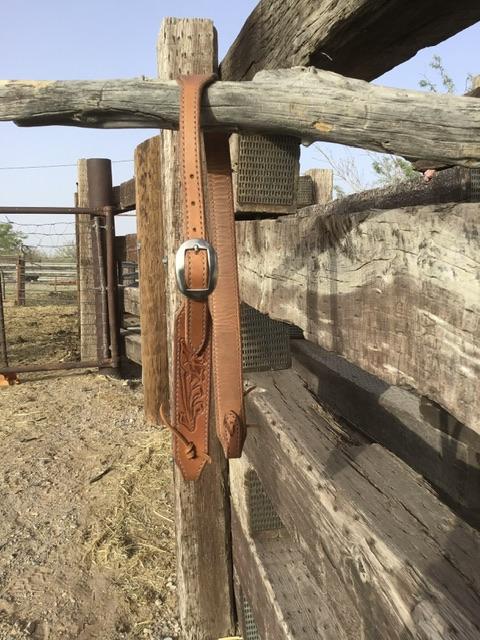
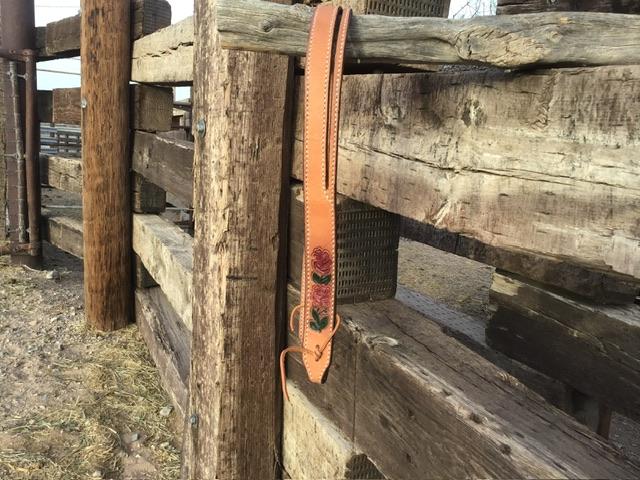
The ones I have been making are 8-9 oz veg tan lined with 2-3 oz veg tan. Then oiled the heck out of the liner and not quite so heavy on the outside. I like split ear head stalls. The leather I’ve been getting from Tandy, but I just ordered some Hermann Oak from Panhandle Leather, I can’t wait to try it out. I also ordered some Latigo to try lining with. Here is a picture of one I built that I’m starting my 3 year old in, and another I built for my daughter to ride her mule in. Hope this helps.
-
Thank you for the tool tip on setting them and also for indulging my random question.
-
What size rivets were you using? Based on yours and TomE’s usages they should be plenty strong. It is interesting that they caused a blue stain on the leather, in my experiences aluminum stains black and oxidizes white it must have something to do with a reaction with the tannins in the leather. Were you using chrome or veg tan on your shields? Maybe the tannin makes a difference? As to moisture causing problems… the only moisture problems we have in far west Texas is there is none. Was there any reason for using brass washers with the rivets instead of aluminum washers? Maybe that could’ve caused the blue staining was a metallurgic reaction from dissimilar metals? Thank you for the help and sorry for the random rambling questions and thoughts.
-
Accurately cutting "stretchy" leather.
JDFred replied to Shadders's topic in Leatherwork Conversation
What Fred said. -
Yes they would be hand set. It is a good point that the post might buckle with a glancing blow with aluminum being soft. If you have used them to hold billets onto a tree it the would probably be strong enough to attach buckles to a head stall. One day I will remember to modify my pattern before I cut it out to accommodate sewing in buckles. I usually remember about the time it is time to attach the buckle. However if I could remember the strength question is voided and I could use them as a solely decorative application. Thanks for the help.
-
I have been using Chicago screws, I always wonder if they are going to back off, so I put glue in them then I wonder if I’ll get them apart if I need to. Which I know is contradictory since rivets are hard to get apart. The other thing I really like the way rivet and burrs look which is what lead to this question.
-
Good thought about corrosion, I kinda forget some places actually have moisture. But sweat may cause problems.
-
Has anyone used aluminum rivet and burrs? I was in Tandy this weekend and saw some for sale, it got me wondering about their strength and durability. They were marketed as decorative which is what sparked the question. I really like using copper rivets they are pretty strong and give a nice look; however when used with stainless hardware it clashes. Aluminum would solve this problem. I know aluminum is a reasonably strong metal so I think they would be fine but anyone with experience using them that has any input would be appreciated. If it helps my intended application for these would be for attaching buckles onto horse headstall or show cattle halters. Thank you for any help.
-
I have never worked with canvas so I don’t know, but I can’t imagine it affecting any edge binding that you do. It might not take edge paint very well if you decide to go that route. There are some pretty good YouTube videos on how to do edge binding, my wife has been working on a purse that she is using a Mexican round braid around the edge. Chrome tanned leathers will also help you with keeping your malleability but it my be pretty floppy if you use it for the cover but an edge braiding will shore it up pretty well.
-
That sir, is a fine piece of work, good job.


