
Beehive
-
Posts
204 -
Joined
-
Last visited
Content Type
Profiles
Forums
Events
Blogs
Gallery
Store
Everything posted by Beehive
-
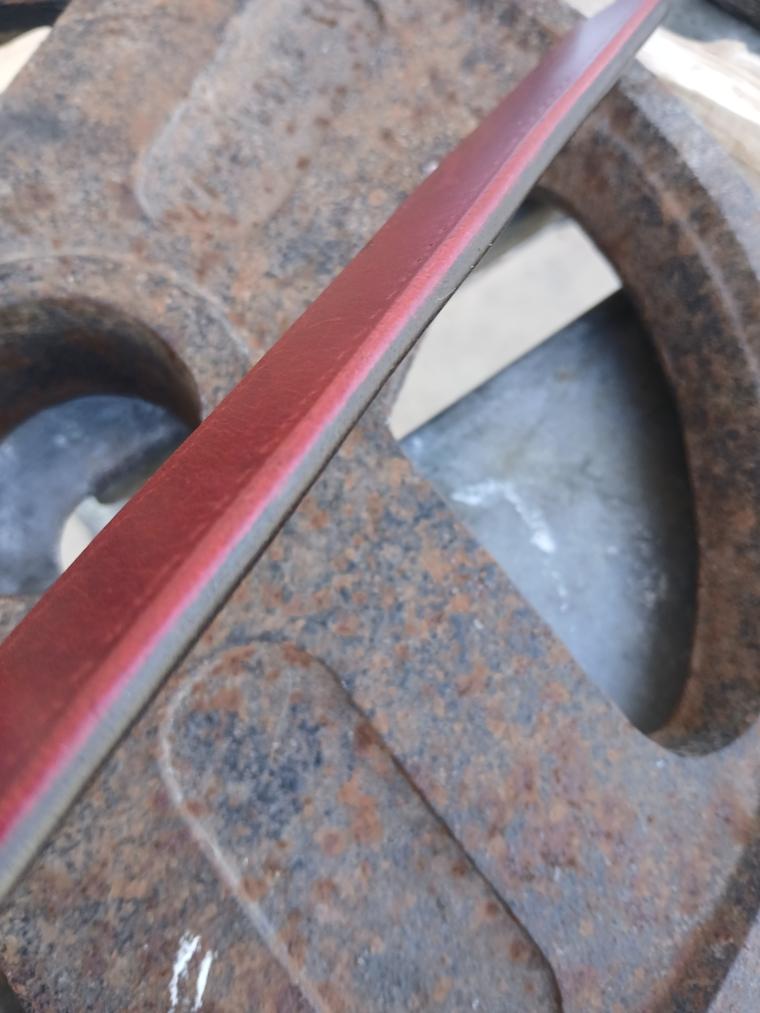
If you wrap a piece of tape at a known depth on a French iron. You can repeat the same size holes. It also helps give a visual on how far in your going or need to go. I'm not kidding. You only need about .50-1.0mm protrusion of the tines on the exit hole. It also helps you from gorilla pounding the irons too deep. Repeated results. The French are some smart craftsman. No wonder Paris fashion is the thing. Anyone saying they don't like French irons because some guy on YouTube doesn't understand them. Is selling themselves short. It's all about the wedge.
-
I learned the hard way. You don't stretch lizard or snake. Ever seen a video of a snake swallowing something? Notice how much the skin can stretch. Stretching reptile leather pulls the scales apart. Making it look sub par. My lesson was learned on hat bands and foot long baby rattlesnakes. You want the scales to look tight and close. Not expanded out. Over stretched.
-
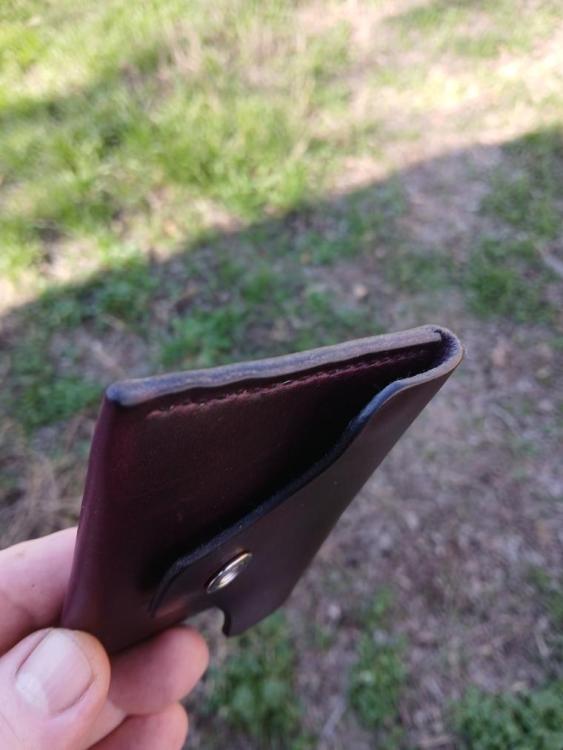
I prefer the thick vinyl laying on top a block of granite. I've used a few various surfaces. I find the Weaver poundo pad to be way too soft. You're not supposed to hammer into poly unless it's a cheapo hole punch. Only issue with the vinyl pads. They come with sharp edges and corners. Leather hanging off the side will and does get gouged. 150grit sandpaper to the rescue. Now, every side and corner is smooth. Stitched one pocket of the book cover. I used cigar color for thread. It goes nicely with the brown. Only took me about an hour and 30minutes to complete the stitch. 3.85mm spacing. .080 mm diameter. 002 needle. I need to take a break and build me another stitching pony. I need one with a deeper throat then the other two I have. I have some ash lumber laying around. I also need to make four conchos. All in good time. No rush at all.
-
Heavy sidearm. I carried one in the military. Big chunk of metal it is. Good job on the edge braid!
-

What am I missing... Or am I missing anything?
Beehive replied to LRBespokeGoods's topic in Floral and Sheridan Carving
The tiny 1-2oz spray pump bottles. The ones that spray a fine mist. They come in handy misting the leather. So if it's a dry hot day or a cold dry day, low humidity. Even if you soaked the piece and let it sit overnight. Being perfectly cased. Then halfway through the tooling you noticed it's dried more then like. Impressions ain't coming out like when you first started. Bust out the pump spray. It sprays so little, you'll feel it'd take the entire bottle but it doesn't. I personally hold the piece under the faucet in the kitchen sink. Wetting both sides. Then I'll lay it on a plastic plate I use just for casing. Some kind of Halloween serving dish. I cover the plate with a cutting board. Not sealing the leather off. Just a cover to slow evaporation. Taken off the plate and let sit for a few minutes. I've done it enough to be able to judge the moisture content. But if a person has difficulty in telling. Include a scrap piece and test your tooling on that before you go off tooling your main piece. My little pump sprayer is kinda old. I lube the pump with a drop of mineral oil. Yes, the oil will get into the water. I rinse it fairly well after lubrication. Yes, a tiny-tiny bit of mineral oil gets on the leather. But not enough to matter. My pump sprayer had fabric softener in it at one time. So it has a light scent of clean clothes. The smell doesn't linger but it is there. -
What am I missing... Or am I missing anything?
Beehive replied to LRBespokeGoods's topic in Floral and Sheridan Carving
It's happens to the best of us. However, look forward to what you've learned. It's something you can't buy. You gotta earn it. Every step forward is a mile to an inch. Keep at it and you'll be rewarded more then you have been. -
Will this help? https://m.youtube.com/watch?v=oI1oJ7ZmGo8
-
I like the conchos. Just this morning I was looking through my stash of Sacagawea Dollars. No worries, not a single one is a Kellogg. Bought some berry conchos off of Esty and I couldn't be more Pee'd off. They're cast. Cast from aluminum or pot metal. There went $30 bucks I could have burned. Looks like I'll dome four Sacagawea Dollars. Soldiering a brass Chicago screw on the back. Anyway, nice job of the psychedelic lizard skin. I'm sure they'll be happy in many ways.
-
I've Alum tanned deer, rattlesnake, bull snake, ground squirrel, tree squirrel, and mice. The tiny pelts my cat would leave behind. Ghia monster? It'd probably take 3 of them to cover one boot.
-
True and I agree. I treat the edge as if I'm painting it. But using Tokonole instead. Apply, buff, apply, buff. Until the chrome has absorbed enough edge compound to, 'look' burnished. We're talking at least 5-8 coats. Working it in and up. Same as edge paint with the last coating being white wax. I've experimented melting beeswax into the edges also. But I suggest Tokonole first.
-
Here's more Horween caviler, 3-4oz lining a billet. Burnished together. Waiting to be stitched. It can be done.

-
Here's what Horween looks like burnished. Tokonole and wax. It just won't get as shiny as veg tanned.
-
How to reduce oxidation of copper rivets?
Beehive replied to RichardJ's topic in Leatherwork Conversation
Have any of you guys nickel plated? You can get pure nickel off of Amazon. Using a phone charger, vinegar. I've plated a few things, mostly gun parts. The home brew electrolyte won't produce the gloss nickel. It'll come out matte. Brownells Electroless Nickel Plating is a product you might consider. They also sell nickel, "brightener". Which produces the bright and shiny nickel. -
How to reduce oxidation of copper rivets?
Beehive replied to RichardJ's topic in Leatherwork Conversation
Anyway you can cut the mushroomed peg without heating up the copper. Copper makes an excellent heat sink. Heat up one side and the temperature will travel through the entire piece. As the green corrosion. Clean it with a tooth brush. Sealing the leather before installing the rivet should help. Using brass is another. However, consider the green corrosion as an indicator of the age of the item. Every copper rivet I've ever set, gets the green corrosion. It's just the nature of copper. -
What an excellent question. I believe the leather receives a treatment before the item is made. Looking up the treatment. Aluminum hydroxide Calcium carbonate Magnesium oxide Then there's the classes of flame retardant. A, B, and C.
-
Look on Amazon and find the absolute cheapest version of that roll. Doesn't matter if it's fake leather. Once you get a hold of it. Rip the stitches and take it apart. Use it, itself, for a pattern. I've performed the same on handcuff cases. My pattern came from one I tore apart. You might need to adjust things but you'll be ahead of the game.
-
Glue does two things. Holds the parts in position and increases the strength of the stitching. That's all it does. Using the two together is subscribing to the idea of longevity. In commercial made products. Sandals being manufactured on an assembly line. To where the stitching might not be what it needs to be. Quality control is sub par. To fix that, instead of hiring a stitching master. Throw in some glue. That way, less people will return their low quality mass produced shoes. You...as the maker. Can perform a stitch stronger then what they use and you don't have to use glue in the way they do. Don't copy their shoddy work.
-
You're Welcome. I've been using blo for as long as I can remember. In between rub downs, polish it with a brown paper bag or the brown paper that comes in boxes. My stitching pony has been treated. Strap cutter also. I can't do unfinished wood.
-
Wood putty will fill the crack. Yes, after the first soak and wiped off. Rub it once every day with a rag dampened with BLO for a week. Solid 7 days worth. To include the steel. After that, feel free to give it a rub any time you like. What would make them wall hangers (unusable) is the condition of the working surface. The face, the area where it contacts leather. It's gotta be smooth. Not rusted with huge pits marking the surface. Nothing beeswax won't fill and nothing that'll snag on the leather surface. If the tips are messed up. They're done without some heavy duty detail metal work.
-
I'd give the handles a boiled linseed application. Soak them for a few minutes. The entire tool. Then following it through with a hand rub of BLO for 7 days. By then it'll be good to go. The curved surface on the face of the shank. I'd mirror polish it. I'd put both of those back into service.
-
Scavenging/Salvaging leather from old Saddles.
Beehive replied to Rallekcm's topic in How Do I Do That?
Thank you for that. He's using all sorts of tack. Not just saddles. How inventive. I love the way he does his holes for collar buttons. -
I'm disappointed. Ugh...
-
Scavenging/Salvaging leather from old Saddles.
Beehive replied to Rallekcm's topic in How Do I Do That?
What ideas do you have planned the leather? -
Stitching to where the hair doesn't get caught up in the stitch?
-
Now that is cool! I'm intrigued on why the hollow handle with a screw top. Someone had to make those threads in both pieces. I'm not sure where y'all stand on patina. Good or bad but those would clean up to looking new.