Josh Ashman
-
Posts
1,183 -
Joined
-
Last visited
Content Type
Profiles
Forums
Events
Blogs
Gallery
Store
Everything posted by Josh Ashman
-
 Thanks Malabar! And the answer is a resounding "no", they aren't needed. The back story is something like this, I built this set for my son who just turned 21. Among other things he's a parachute rigger for the 19th SFG of the UT National Guard and although not fully "5.11 tacticool" he likes his gear with more of a "military" flair than a western flair. Most of what I makes leans more western than military and I'd decided that whatever I built him would have some hardware, even if more for looks than purpose. Anyway, he's happy with it and if it does loosen up a little over it's useful lifespan he could tighten it down. All the best, Josh
 -
Are C.S. Osborne punches good?
Josh Ashman replied to SouthernCross's topic in Gun Holsters, Rifle Slings and Knife Sheathes
I used a Osborne #3 common edger for years. I've since moved on to the cheaper no-name bissonnet edgers that Weaver sells. I also have Osborne western edgers in #3 and #4, but they always seem to scar the edge. It's probably me, not the tool but I never had the problem with the common style, just the western ones. I've used the Osborne 3/4" and 1/2" heavy bag punches for years and been very happy with them. Also use Osborn round punched from 1/8" up to 5/16" and am happy with them. For holster belt slots I punch a round hole at the top and bottom and cut between them with a head knife. I like it because I cam make the slots any width I like that way. Anyway, my 2c is that Osborne tools are good quality and hold up to years of use. Josh -
Thanks gents! Chief, I put them in before I stitched the body up because I had serious doubts that I could get to them once it was put together. I've put them down by the muzzle after sewing and even that's a nuisance if you have everything put in fairly snug. All the best, Josh
-
That's a heck of a rig Chief! Nice job!
-
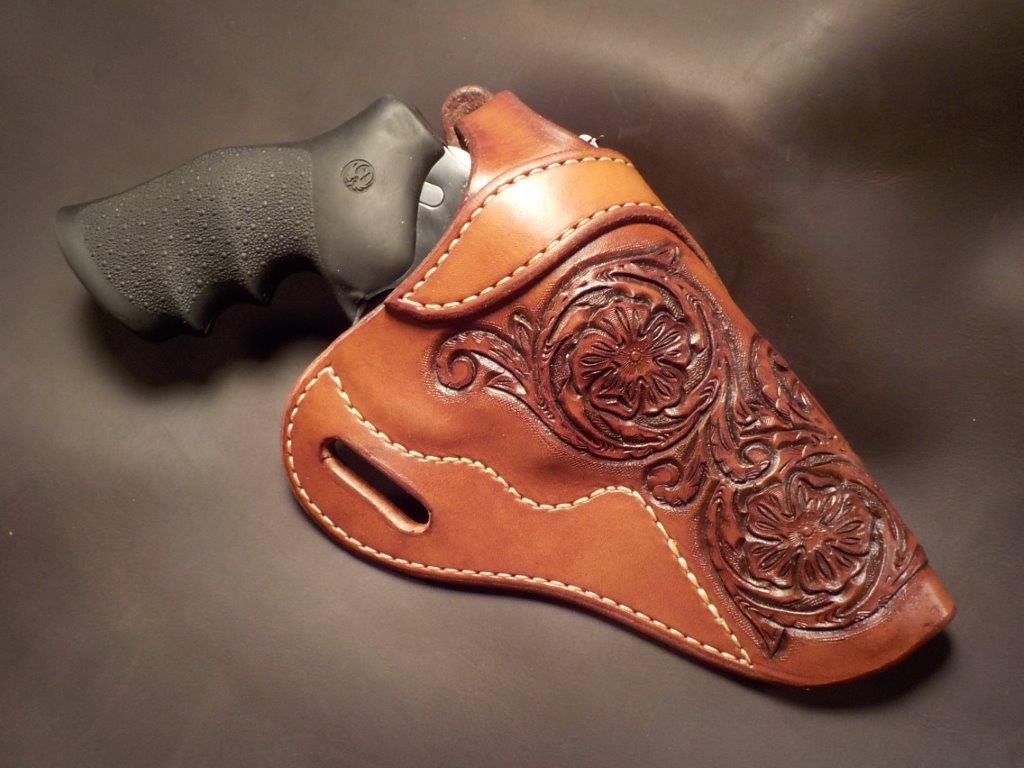
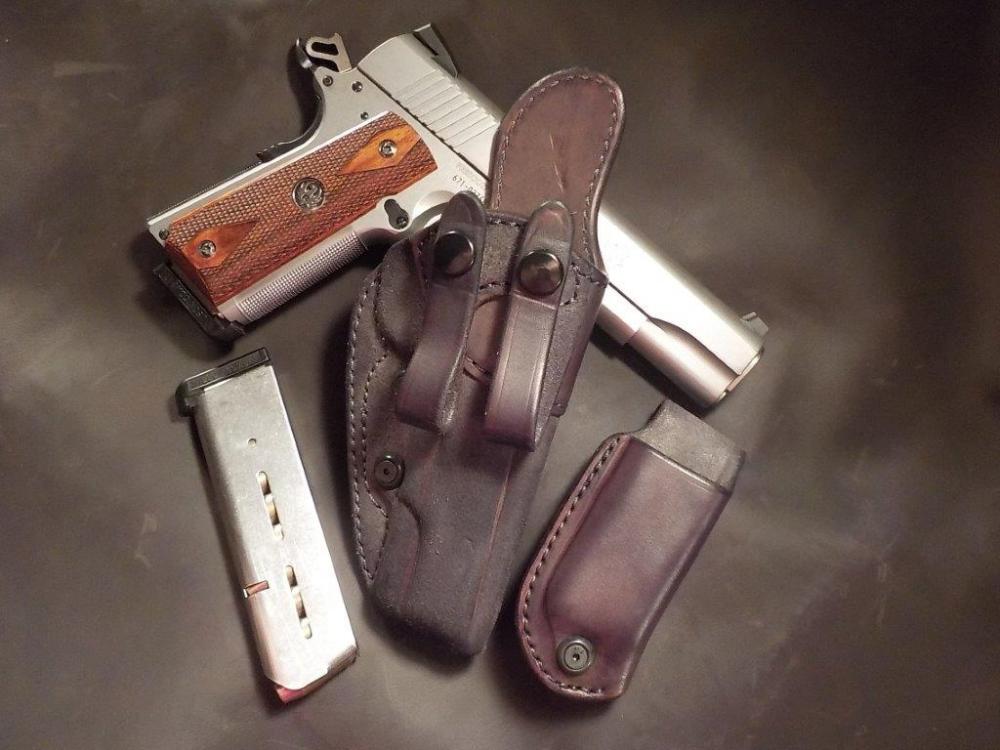
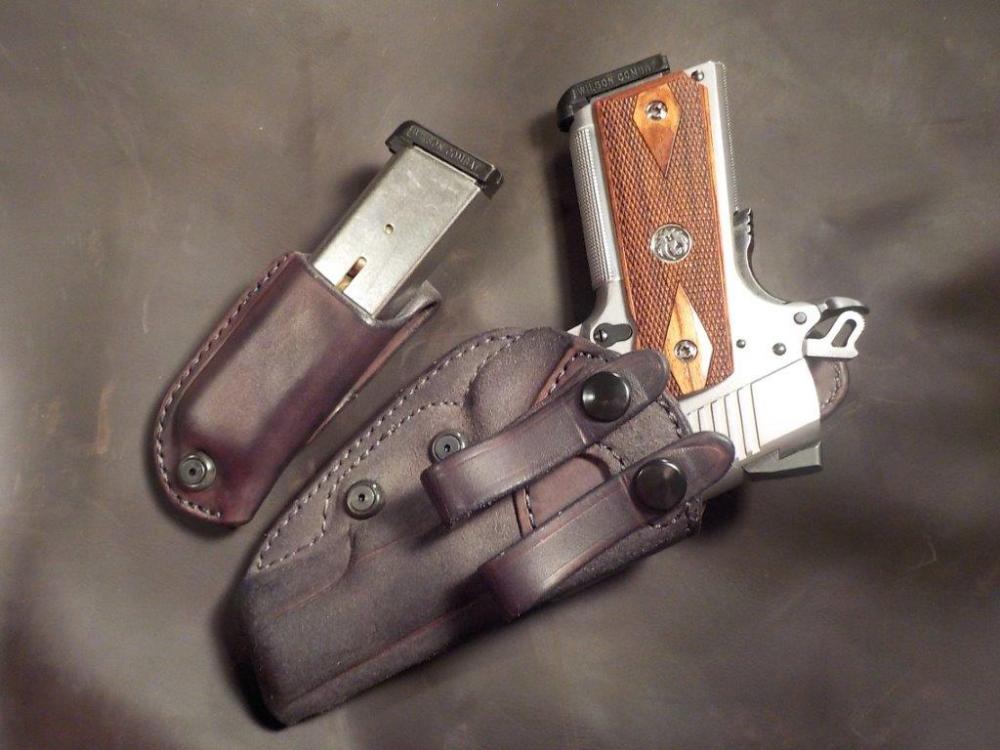
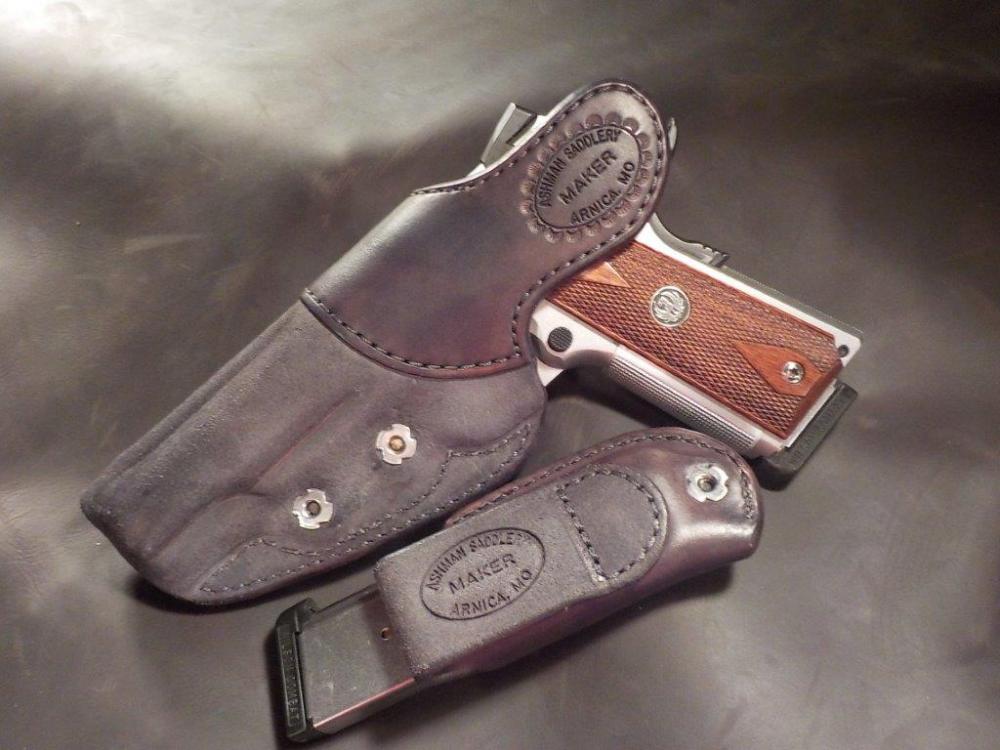
The title pretty much says it all. 8/9 HO for everything except the reinforcement piece which is 5/6. Fiebings cordovan dye diluted with iso alcohol, I forget the amounts buy likely 50/50 since I buy them both by the quart. Finished with 50/50 mix of Mop & Glo and water. The retention screws were something I'd been thinking about doing and could on this since it was a project for me. Not a personal holster for me, but one I made for a gift. Anyway, we'll see how it works out over time. Have a good day folks!
-
Long over due Idea
Josh Ashman replied to Treed's topic in Gun Holsters, Rifle Slings and Knife Sheathes
Great job Bobby! Your tooling on the feathers is amazing! Semper Fi! Josh -
Need GP100 holster pattern.
Josh Ashman replied to TrentonP's topic in Gun Holsters, Rifle Slings and Knife Sheathes
FYI, here's what the avenger looked like when finished.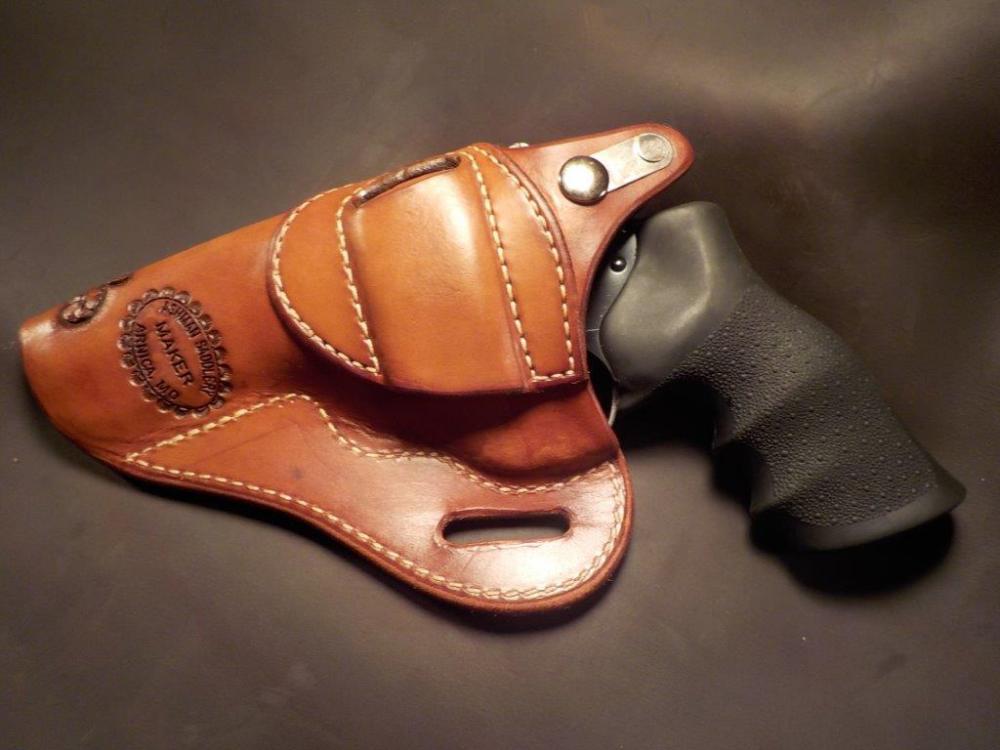

-
Need GP100 holster pattern.
Josh Ashman replied to TrentonP's topic in Gun Holsters, Rifle Slings and Knife Sheathes
TrentonP, Here is an Avenger style pattern for a 4" GP-100. The corner on the back side didn't fit on the scan but if you fold it down the middle you can use the front to fill that in. Make your outside cut line 3/16 away from the stitch line and extend the top of the back piece for your belt loop and you're in business. Good luck with your project. Josh 4 GP100 Avenger.pdf -
Most popular gun and holster?
Josh Ashman replied to SouthernCross's topic in Gun Holsters, Rifle Slings and Knife Sheathes
That's a good one to specialize in! -
Flat backed for a GP-100
Josh Ashman replied to Josh Ashman's topic in Gun Holsters, Rifle Slings and Knife Sheathes
Thanks Wes! Looking more and more like I need to change dye brands! Have a great day! -
Flat backed for a GP-100
Josh Ashman replied to Josh Ashman's topic in Gun Holsters, Rifle Slings and Knife Sheathes
Thanks Double Daddy! Good info on spraying on your dye Southern Cross! -
Most popular gun and holster?
Josh Ashman replied to SouthernCross's topic in Gun Holsters, Rifle Slings and Knife Sheathes
Nice! Good job working around an issue! -
Flat backed for a GP-100
Josh Ashman replied to Josh Ashman's topic in Gun Holsters, Rifle Slings and Knife Sheathes
Sometimes I dip and sometimes I apply with a scrap of sheepskin. I've also recently started using the little foam "brushes". I used one of those (foam brushes) for this holster. I've never tried to spray it on but I know some folks really like that way. -
Most popular gun and holster?
Josh Ashman replied to SouthernCross's topic in Gun Holsters, Rifle Slings and Knife Sheathes
I'm not sure if this happens to others but I find that I tend to build holsters for guns in phases. It also applies to tooling and colors. My guess is that it's because that's what people see and then they want something similar. For instance, you built a black 1911 holster and it gets shown on a 1911 forum then you get a bunch of orders for black 1911 holsters. Build a Hi Power holster and then you have a run of them for a while, and so forth. Mostly I get orders for 1911's, Glock 17's and 19's and SAA western rigs. I haven't had any orders for 1911's with a rail and I don't mind using a longer gun/mold to make a holster for a shorter version of the same gun. That being the case, if I was just getting started I'd get a 5" 1911 mold, a G17 mold and I'be get an Uberti SAA clone or newer model Ruger Vaquero. Sure, you could get a mold for the SAA, but why not just have one instead ! That's my 2 cents. All the best, Josh -
Flat backed for a GP-100
Josh Ashman replied to Josh Ashman's topic in Gun Holsters, Rifle Slings and Knife Sheathes
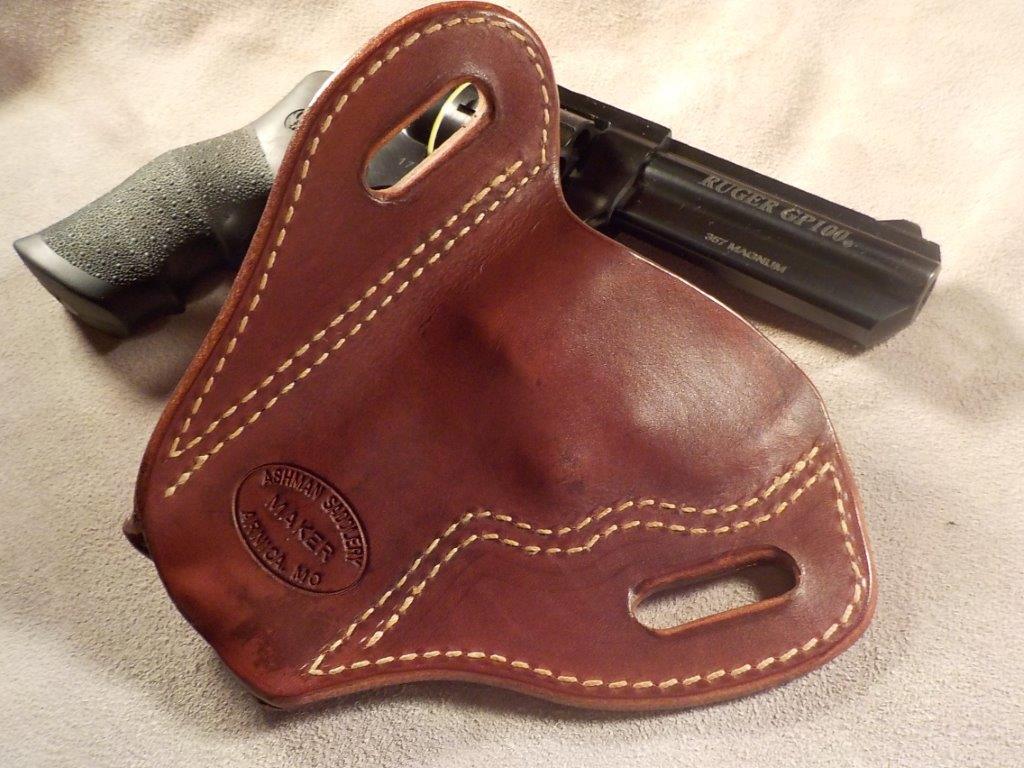
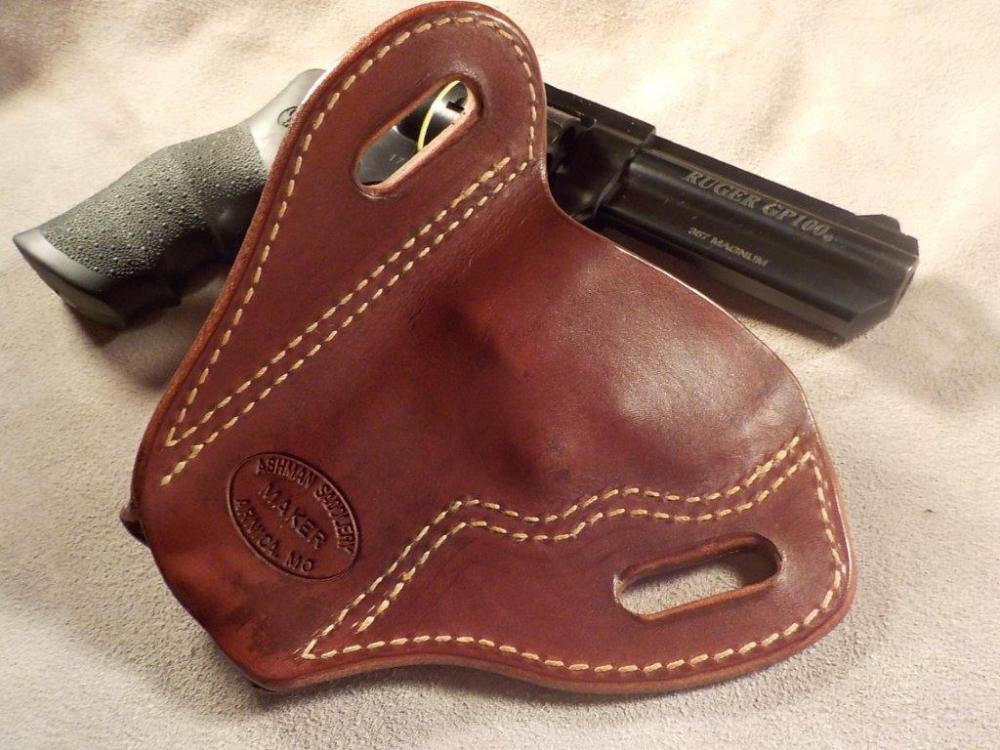
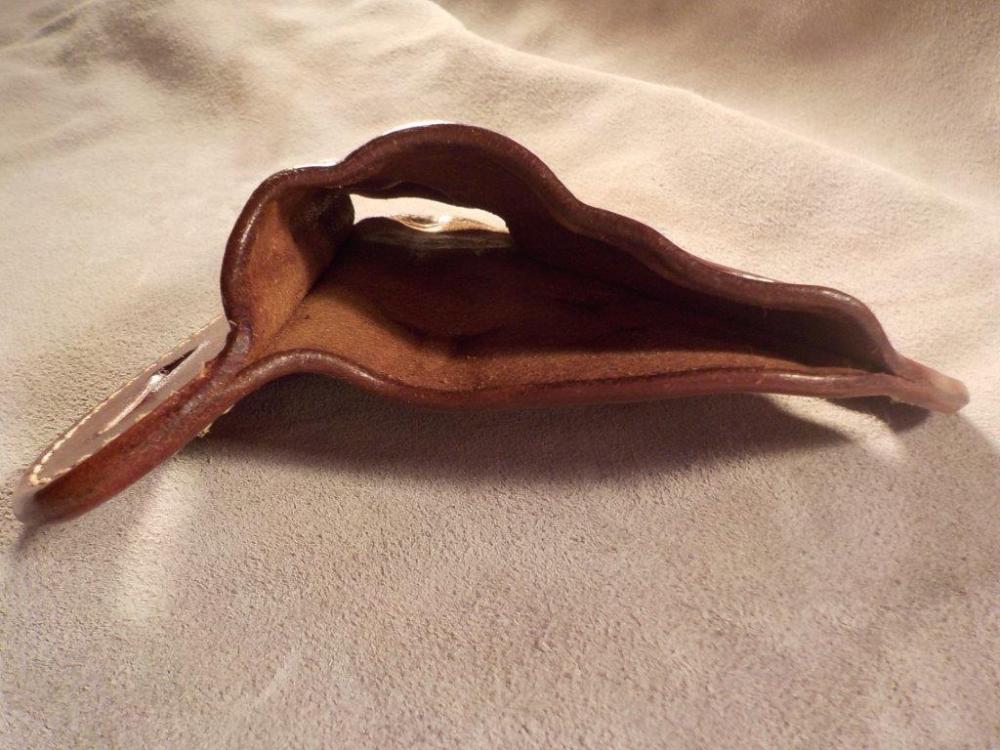
Thanks gents! This was my first flat backed holster for a revolver and the first one I've built since I started sewing with a machine, so I had a few things to figure out. I ended up making a pattern for the back and a rough pattern/best guess for the front. Then I glued the front portion and rough formed the the front around the gun to figure out where it needed to be stitched. I glued that and let it dry then stitched it all up. I should have let it dry a little more as I left presser feet marks that I couldn't quite hammer out. They're not bad, but would be better without them. Anyway, once it was stitched up I put in the slots, burnished the edges, did the finial forming, let it dry then put on the top coat. I was up front with my customer about the issues I had with it (splotchy and presser feet marks that bugged me) and offered it to him at a bit of a discount. He was happy and so am I. I am curious how it'll hold up and asked him to keep me posted. If I hear anything unexpected back I'll pass it along. Bolt, I'm about out of my Fiebings tan, I might not get anymore. I can't seem to figure out why it will sometimes splotch out and other times not. Like you I've tried dying first, drying later. I've also added extra days of drying and sometimes it does and sometimes it doesn't. If I dye after it's stitched and formed it doesn't go splotchy but it dyes the stitching. Anyway, I've read on here that some guys switch to the Angelus and don't look back. Maybe I'll have to give it a try. Chief, I may not be a full convert yet, but we'll see! Thanks again and have a great day! -
Flat backed for a GP-100
Josh Ashman posted a topic in Gun Holsters, Rifle Slings and Knife Sheathes
Flat backed GP-100 pancake for a customer. I've been clear to say a number of times on this forum that I believe that 50/50 formed holsters are as good as flat backed ones. I stand by this, so far in my personal use I believe this to be true. I also carry 1911's which are relatively "thin", if I carried a revolver I might want a flat backed holster myself. Anyway, generally I like to get the customer what they want. Or at least as close as I can get it to what they want. 8/9 HO, Fiebings tan dye, which went splotchy (someday I'll learn) and M&G cut 50/50 with water as a top coat. It's for a 3" GP-100 and mine is a 4" so no pictures with the gun in the holster. I molded it then pulled it up the 1" and molded the toe closed.
-
Thank you Bob! I appreciate your comments! Have a great Friday afternoon and weekend folks!
-
Thanks Randy! Also a great tip! All the best, Josh
-
Thanks Grey!
-
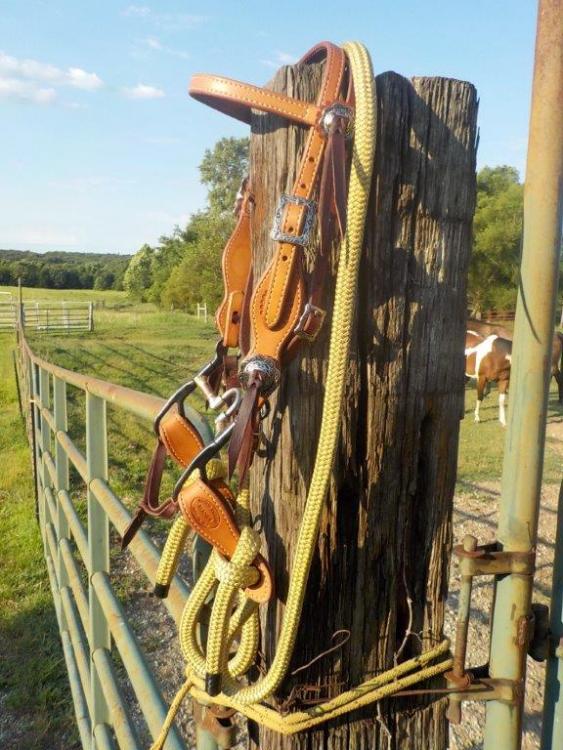
Finished up this bridle this morning. It's doubled HO strap and I should have stopped the liner short of the buckle on the cheek pieces, or at least skived them down. I ran them full and by the time it was all put together it's pretty chunky. I don't foresee it being an issue, just something to do better on the next one. Have a great Friday folks! Josh
-
I'd missed commenting on these when you first posted them DakotaWolf, but they do look really nice. Good job! Josh
-
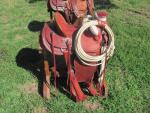
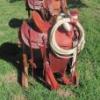
That's a great looking saddle Randy, nice job! This might not be much of a "tip", but for burnishing edges I use a piece of cordura nylon. I bought a yard or so from Weaver years ago and cut it into about 6" to 8" squares. Anyway, if the edges have been wetted down it seems to slick it up quicker than canvas or old denim. After slicking them with the cordura I'll re-wet them and rub them with a block of glycerin saddle soap then hit them with the cordura again. It sounds like a long process to type it out but it goes pretty fast. Anyway, that works pretty well for me, I'm not sure what your process is, maybe it's even better ! Edges are definitely something that always seem to take too much time and mine are nothing special for sure. The saddle itself looks well balanced and appealing to me. The tooling is nicely done! I'm curious how that rope strap set up will work with a rope on it, seems like it will want to place the rope between your thigh and the swell if you have it very snug. Of course, if it's what the customer wanted I'd have done it that way too. All the best! If the weather lady here was right this morning it looks like you all will be getting some rain the next few days. Hopefully you do and then it makes it way up here! Josh
-
Buckaroo Breast Collar
Josh Ashman replied to Josh Ashman's topic in Saddle and Tack Accessory Items
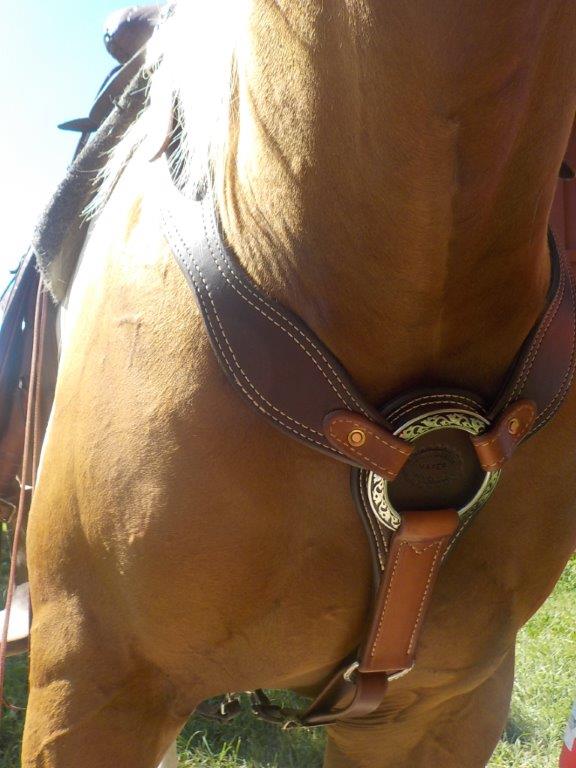
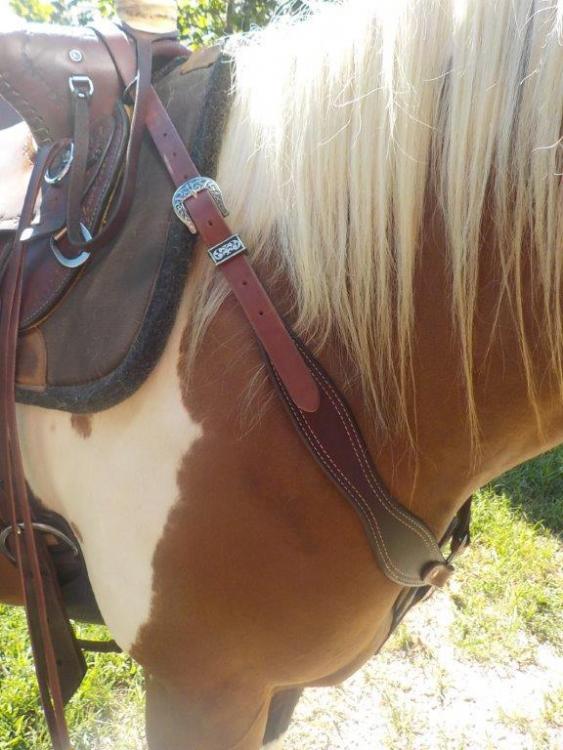
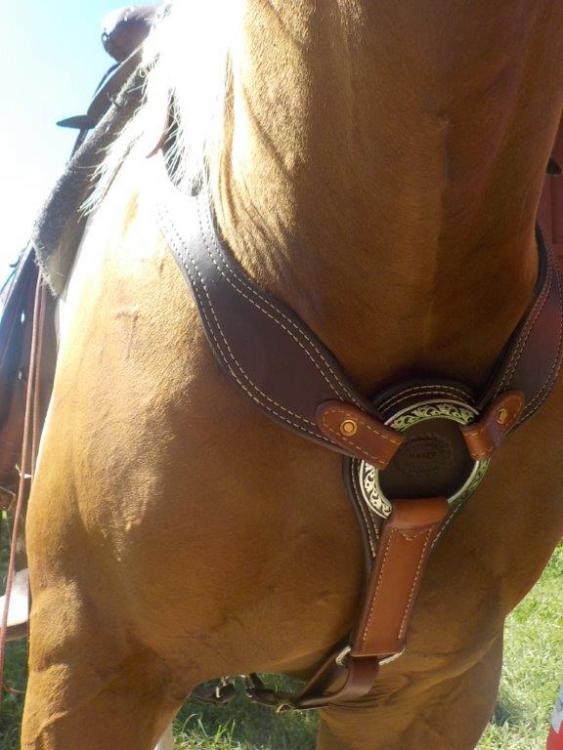
Thanks Randy! I think the side pieces would be a little too long if it were hooked up to the dees. My paint gelding in the pictures is pretty small, around 14.5 hands (he's young and still growing) but even on a 16 hand good sized horse I think they'd be a little too long. I put a little curve to their shape and I think that it's slight enough that they would fit fine if they were just 3 or 4 inches shorter. All the best! -
Recently finished up. Doubled HO veg tan for the main body, bridle leather for the straps and JWP hardware. It's a new pattern so I was happy to see that it fit well. All the best, Josh
-
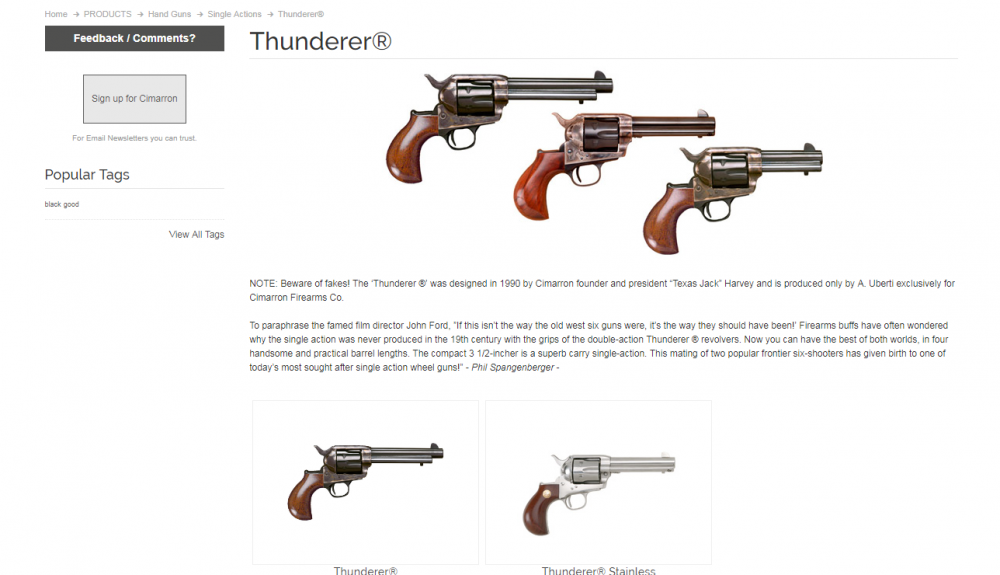
The Cimarron Thunderer is a single action identical to a SAA with the exception of the grip, which is shaped like the double action Colt Thunderer. A holster made to fit a Colt SAA or clone will work fine for the Cimarron Thunderer. The Colt Thunderer is an altogether different pistol. Good luck with your holster Oldnslow!