-
Posts
1,183 -
Joined
-
Last visited
Content Type
Profiles
Forums
Events
Blogs
Gallery
Store
Everything posted by Josh Ashman
-
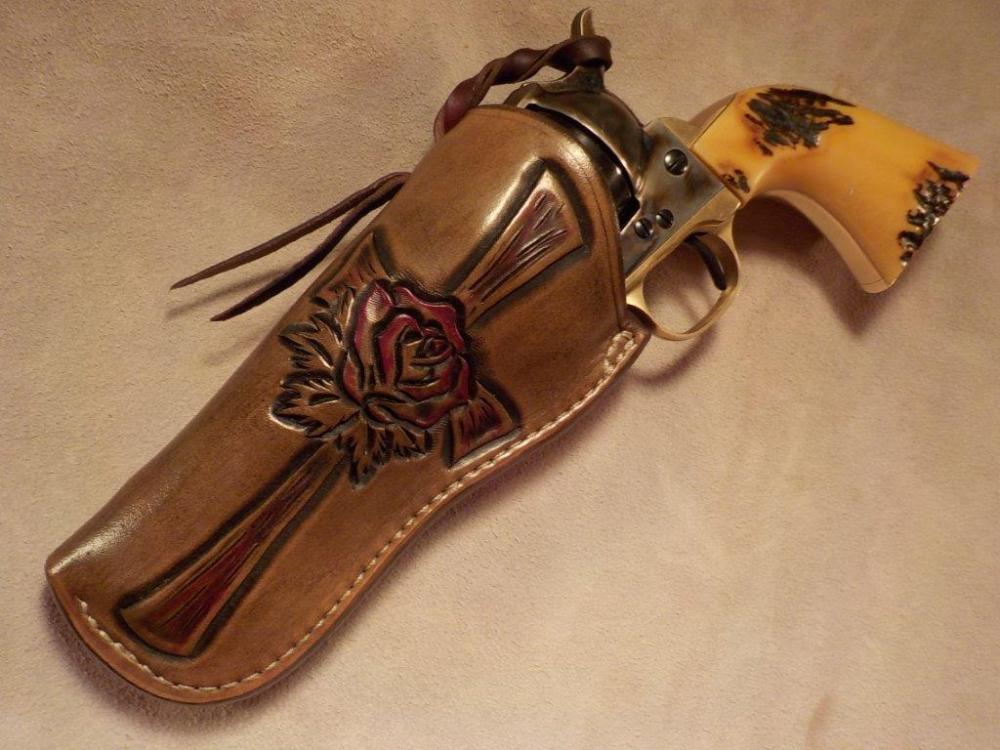
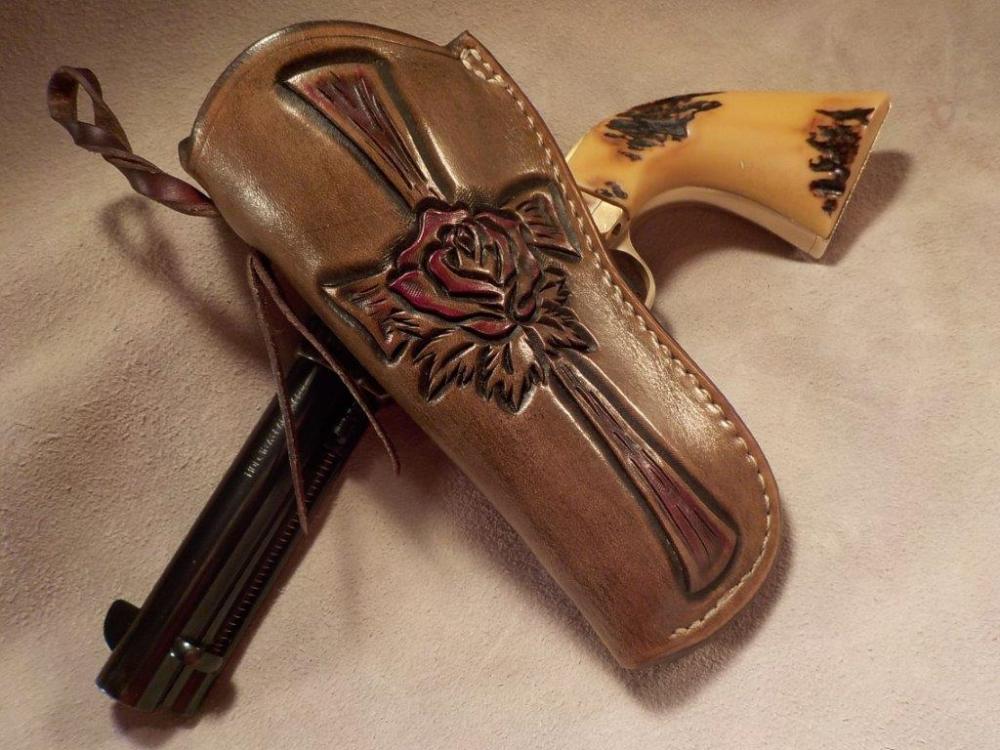
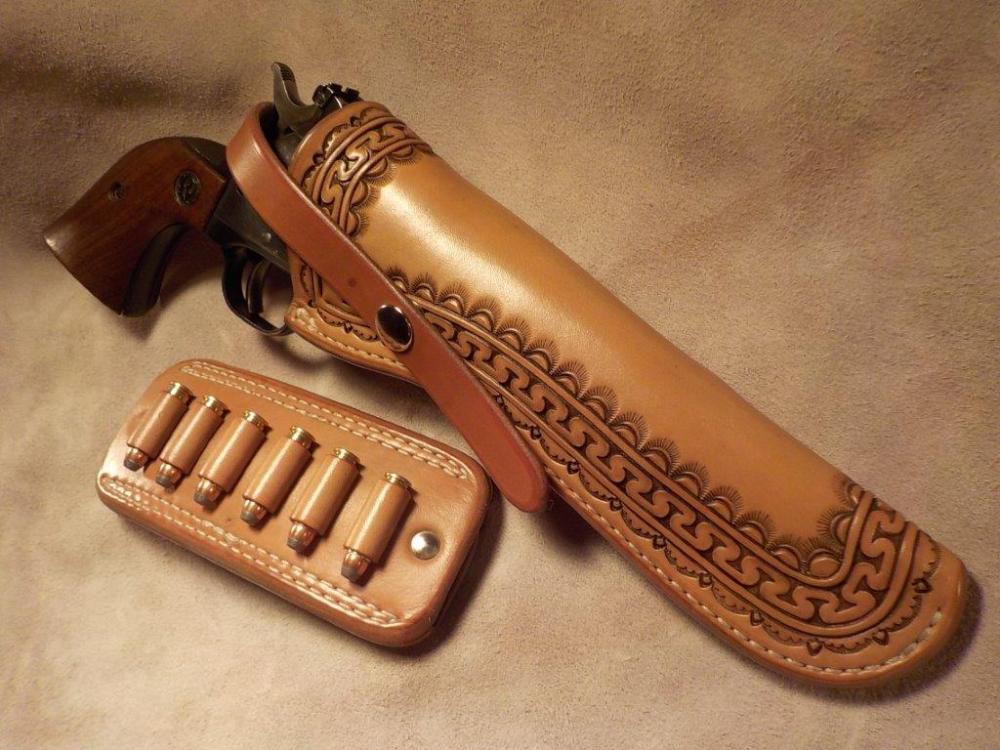
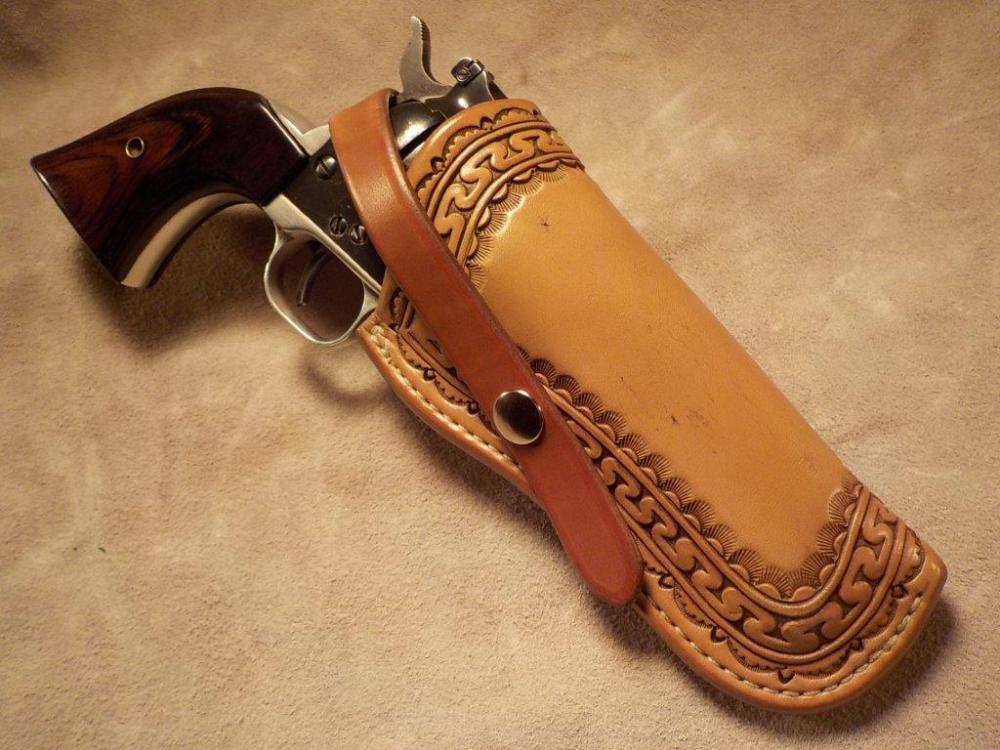
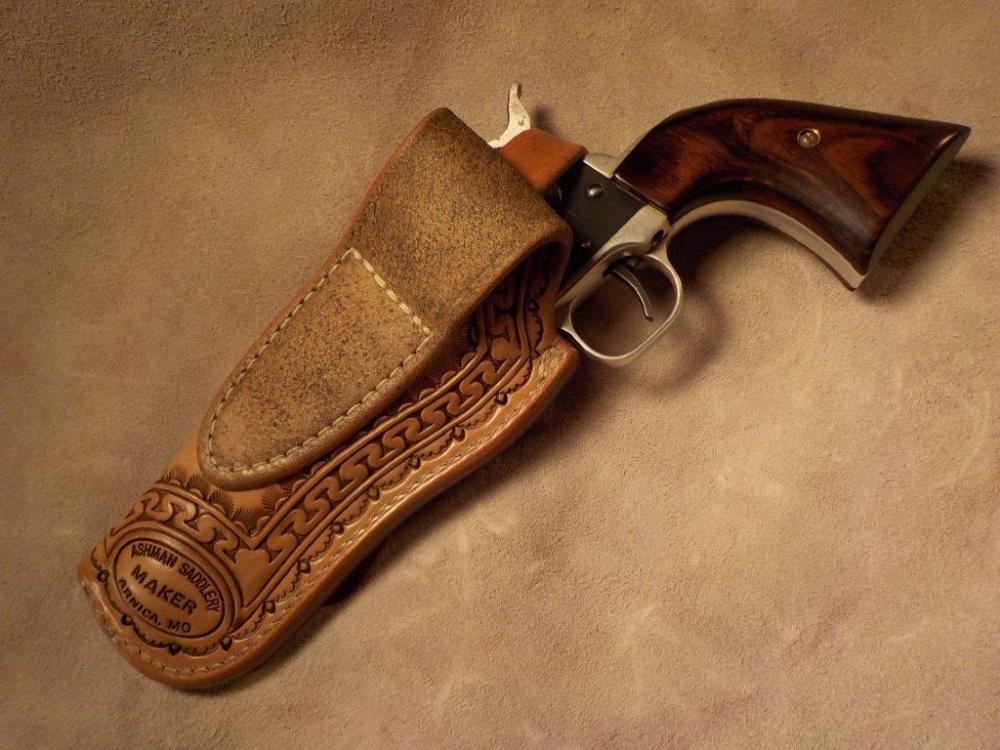
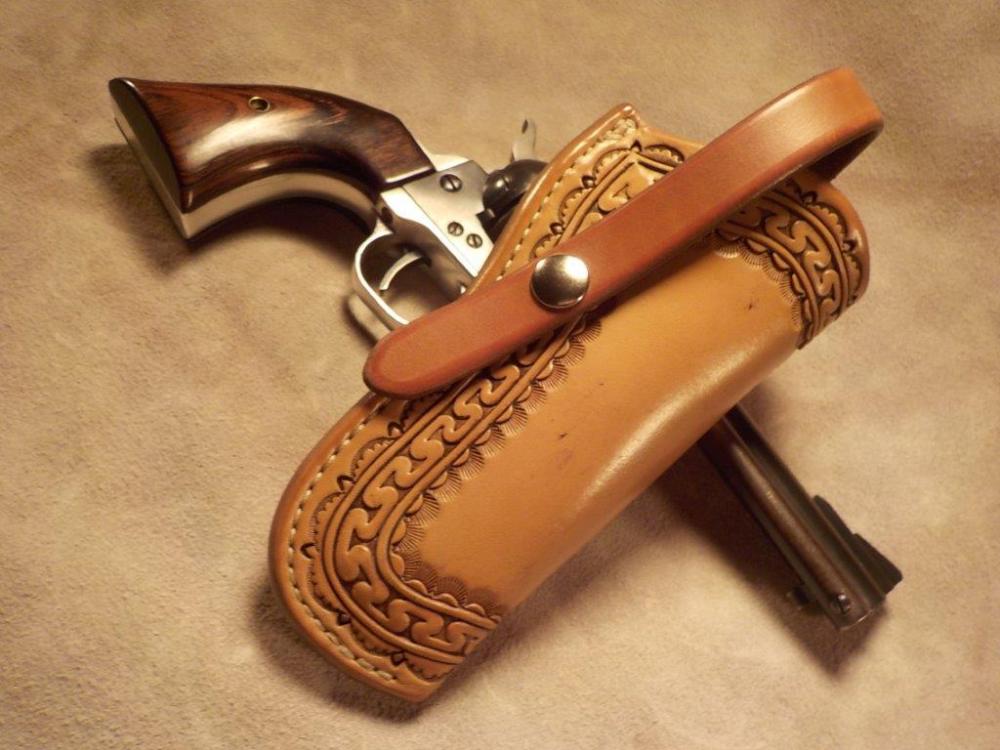
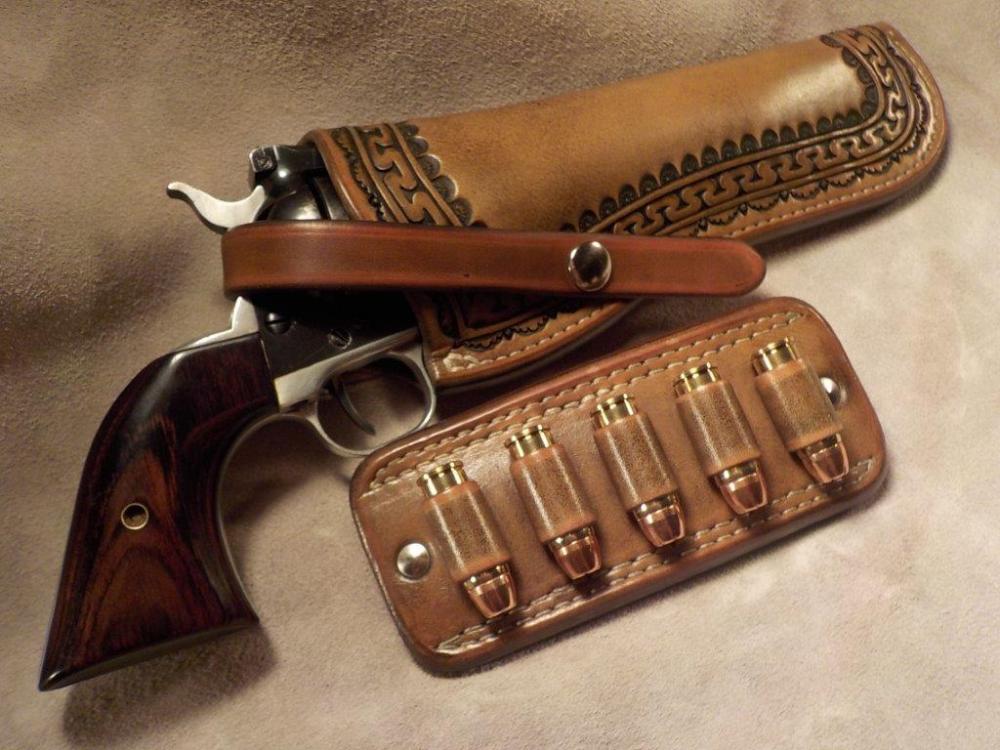
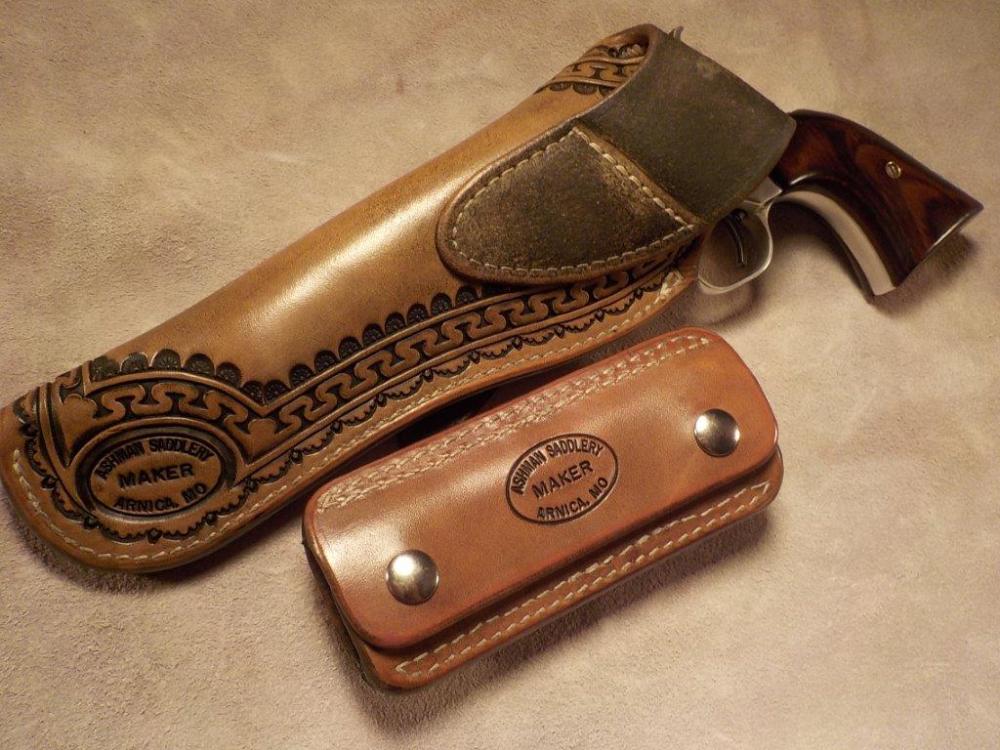
Thanks everybody! I was just playing around with the oxblood dye, I hadn't done that before but I thought it turned out nice. The grips came from Buffalo Brothers, their website is www.buffalobrothers.net and they were easy to order from. These are their "old ivory" color with an "antique" finish. The pistol came with a nice enough set of wood grips but they had "NRA" laser carved on the side. I'm an NRA life member and fine to support them, but not the right thing at all for the grips on a SAA Have a great day everybody!
-
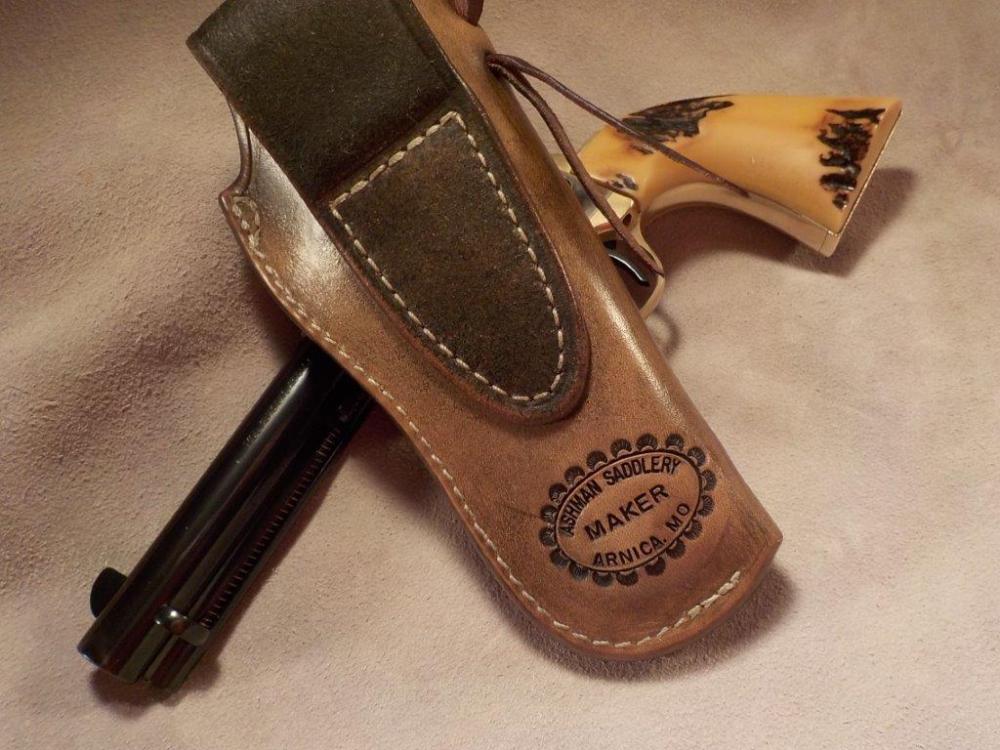
My lovely wife is a lefty so when I accidentally cut a Threepersons holster out backwards a few weeks ago I wasn't too worried. It came out pretty good for what would have otherwise been a mistake. 10/11 HO, Fiebings Oxblood dye on the ends of the petals and cross, Fiebings antique black top coat of M&G cut 50%. Thanks for looking and have a great day!
-
Looks like a good time Ron! I must be getting old and soft, I pulled our horses shoes a few weeks back and don't plan on re-shoeing them until September. It's been HOT down here! Again, that's a great looking saddle! Even better looking sitting horseback! All the best! Josh
- 26 replies
-
Great looking saddle Ron! It looks to have a nice seat. Also a really nice job on the taps. I'm impressed (jealous might be a better word ) of your horn and cantle binding, the stitching came out really nice. Thanks for sharing! All the best, Josh
- 26 replies
-
Threepersons Done!
Josh Ashman replied to Josh Ashman's topic in Gun Holsters, Rifle Slings and Knife Sheathes
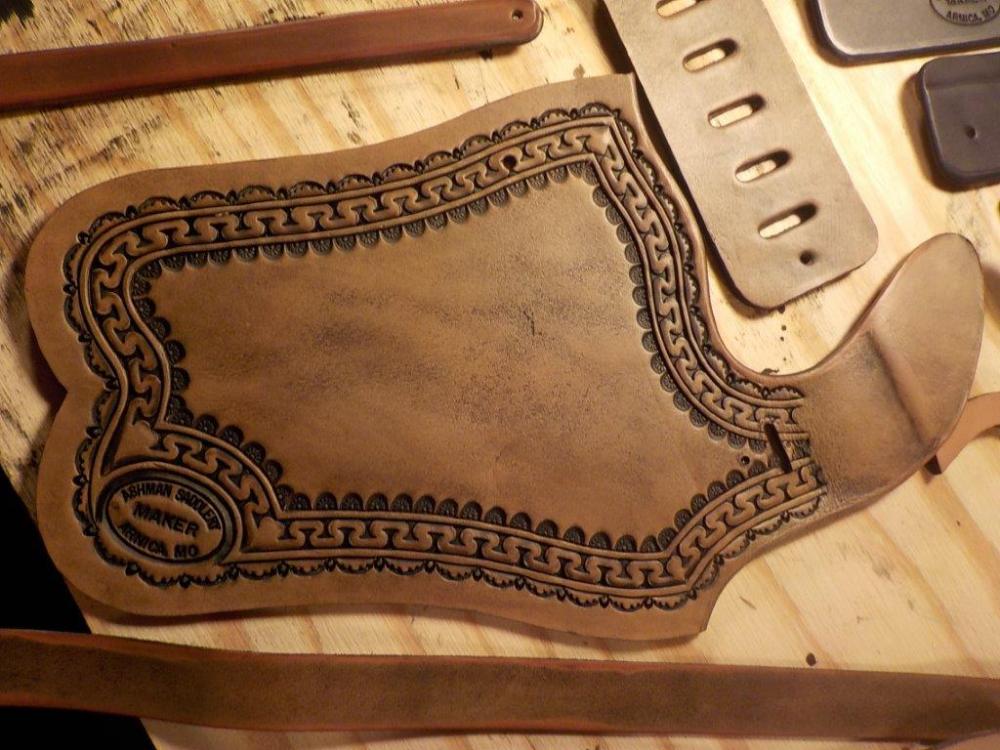
Thanks Ron! The antique and Hi-Liter were both applied with a scrap of shearling then wiped off with a damp paper towel. I do apply a light coat of NF oil prior to that and then after the antique/Hi-Liter is dry I'll give it a wipedown with liquid saddle soap, again with a shearling scrap. Then a coat of Mop & Glo cut 50% with water for a top coat and finally I'll rub a little neutral Kiwi boot polish on them and buff them off. In fairness it takes longer to type out than do do ! You're absolutely welcome Humbug! All the best! Josh -

Threepersons Done!
Josh Ashman replied to Josh Ashman's topic in Gun Holsters, Rifle Slings and Knife Sheathes
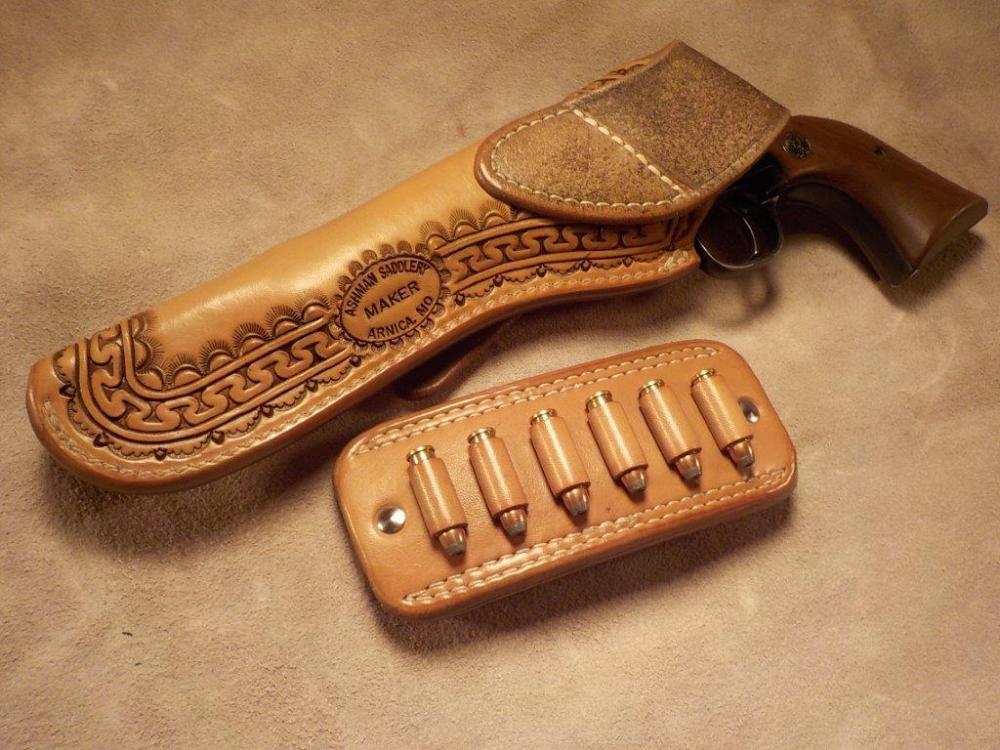
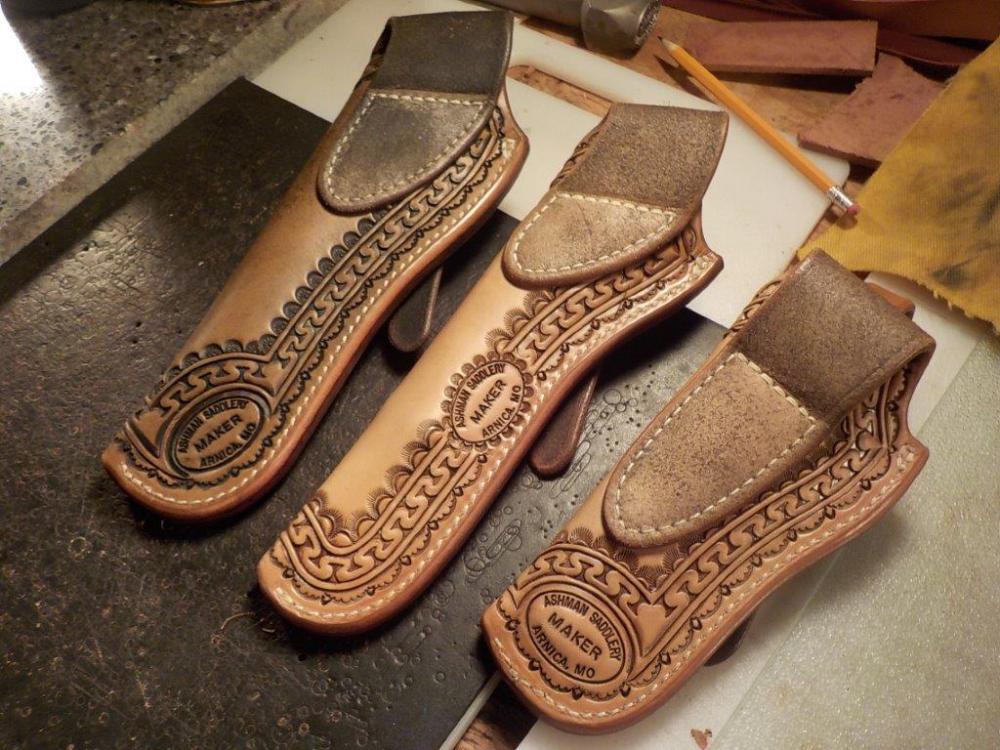
Thanks again Humbug! As for my maker's mark, I got it from Infinity Stamps Inc. (https://www.infinitystamps.com/collections/leather-collection/products/custom-leather-hand-stamp). They aren't cheap by any means, but it is a quality stamp that will outlast me. Mine is roughly 1" tall x 1-1/2" wide. If I ordered one again I'd likely have it made slightly smaller so I could use it on 3/4" wide strap goods. I use a maul to stamp it. It's large enough that I had to get the hang of it to avoid getting a little bounce which lead to a double impression. All the best, Josh -

Threepersons Done!
Josh Ashman replied to Josh Ashman's topic in Gun Holsters, Rifle Slings and Knife Sheathes
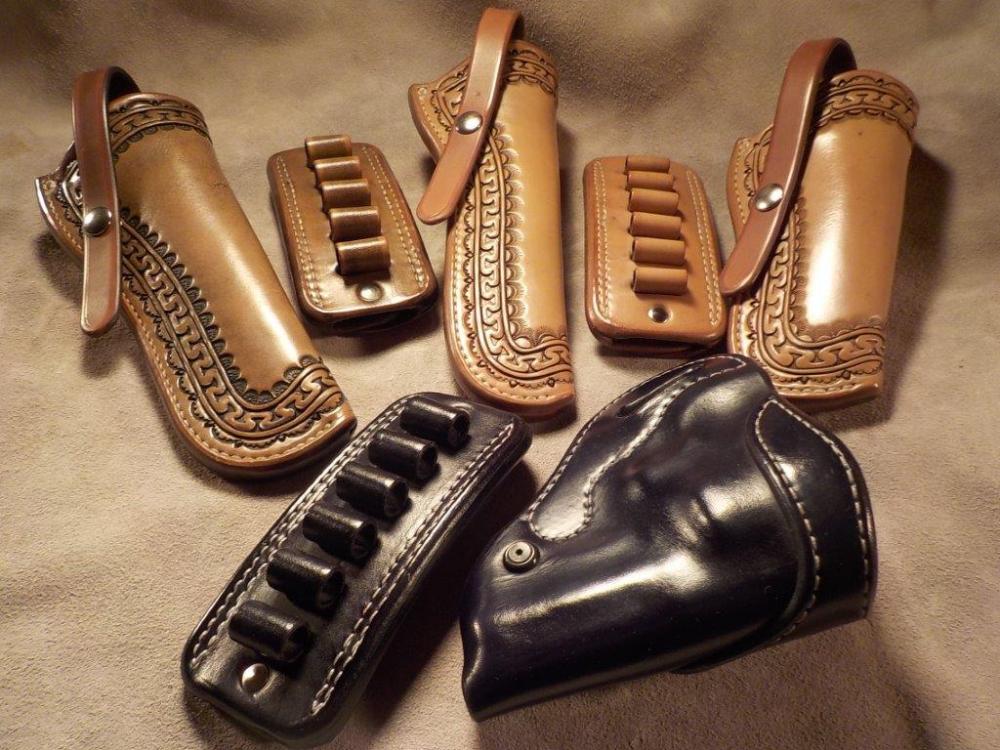
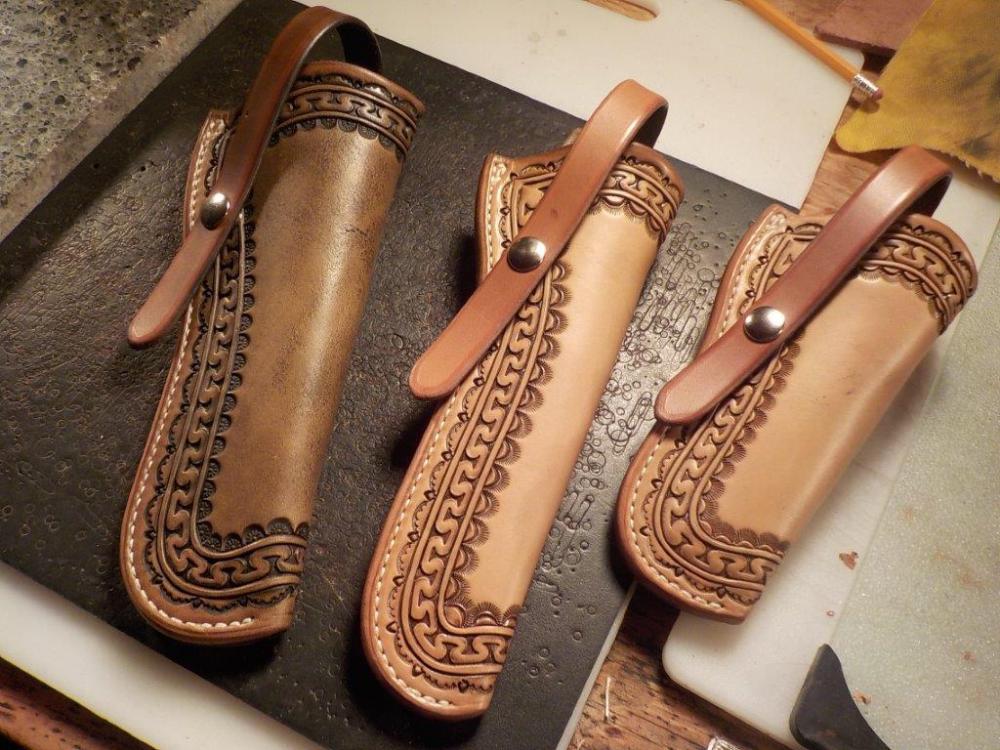
Thanks Ray! Thanks BullMoose! You are correct, the holster on the left was finished with Fiebings liquid black antique and the other two were finished with Fiebings Hi-Liter. Thanks Forester! Have a great day folks! Josh -

Threepersons Done!
Josh Ashman replied to Josh Ashman's topic in Gun Holsters, Rifle Slings and Knife Sheathes
Thanks everybody, you are all very kind! Really, too kind, it's easy to pick my work apart and find the flaws if you look enough and that's what you wanted to do. I do strive to make good, solid, working gear that looks nice as well. Sometimes I hit the mark fairly well and sometimes I strike out. I'm sure you all know just what I mean ! I do appreciate the kind words and I was happy to show some of my process for building a Threepersons holster and give some insight to my "fancy" border and how I tool them. Hope you all have a great day! Josh -

Threepersons Done!
Josh Ashman replied to Josh Ashman's topic in Gun Holsters, Rifle Slings and Knife Sheathes
Thank you Chris, you're very kind! All the best, Josh -

Threepersons Done!
Josh Ashman replied to Josh Ashman's topic in Gun Holsters, Rifle Slings and Knife Sheathes
Thank you ma'am, I appreciate that!! My next order is a breast collar, after a steady diet of holsters for the last few projects the change will be nice! All the best! Josh -

Threepersons Done!
Josh Ashman replied to Josh Ashman's topic in Gun Holsters, Rifle Slings and Knife Sheathes
-
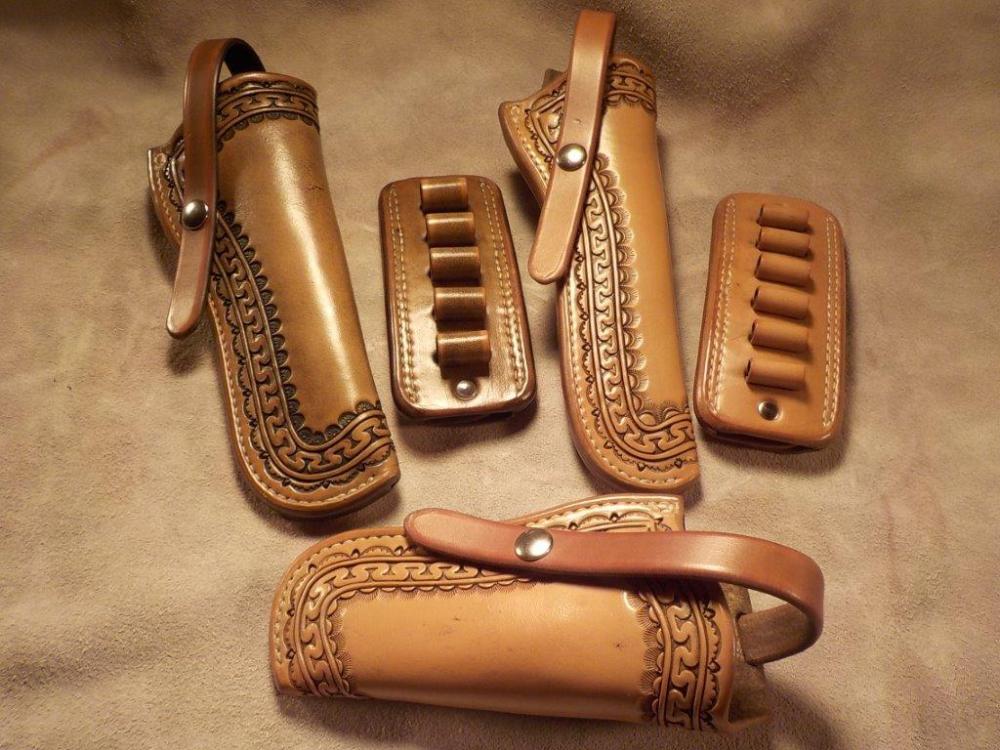
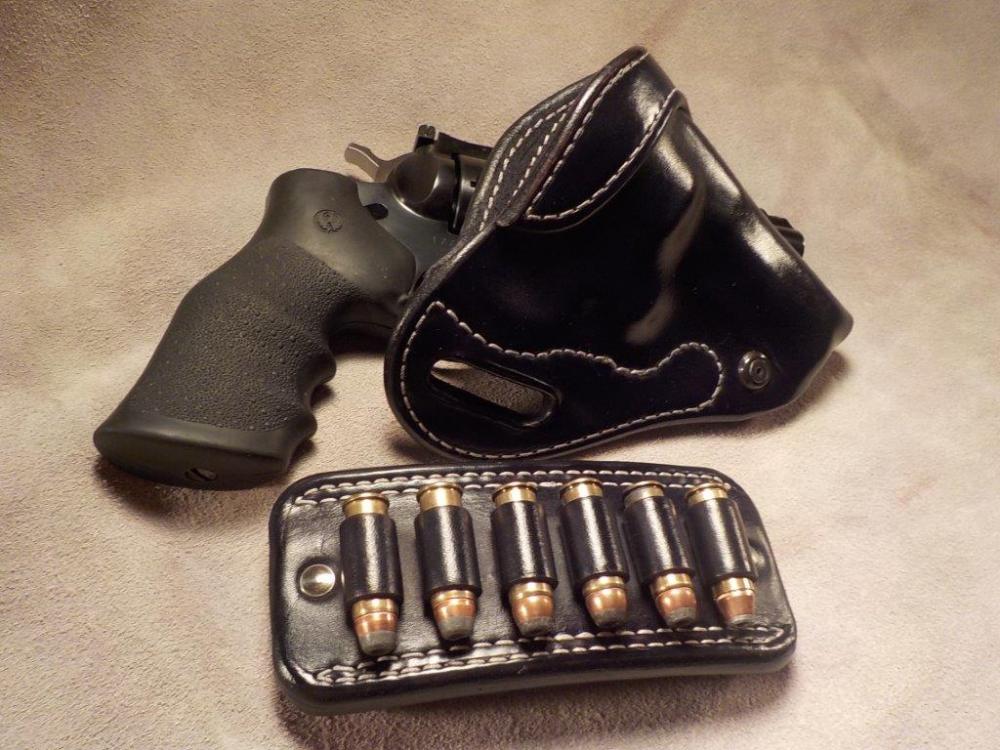
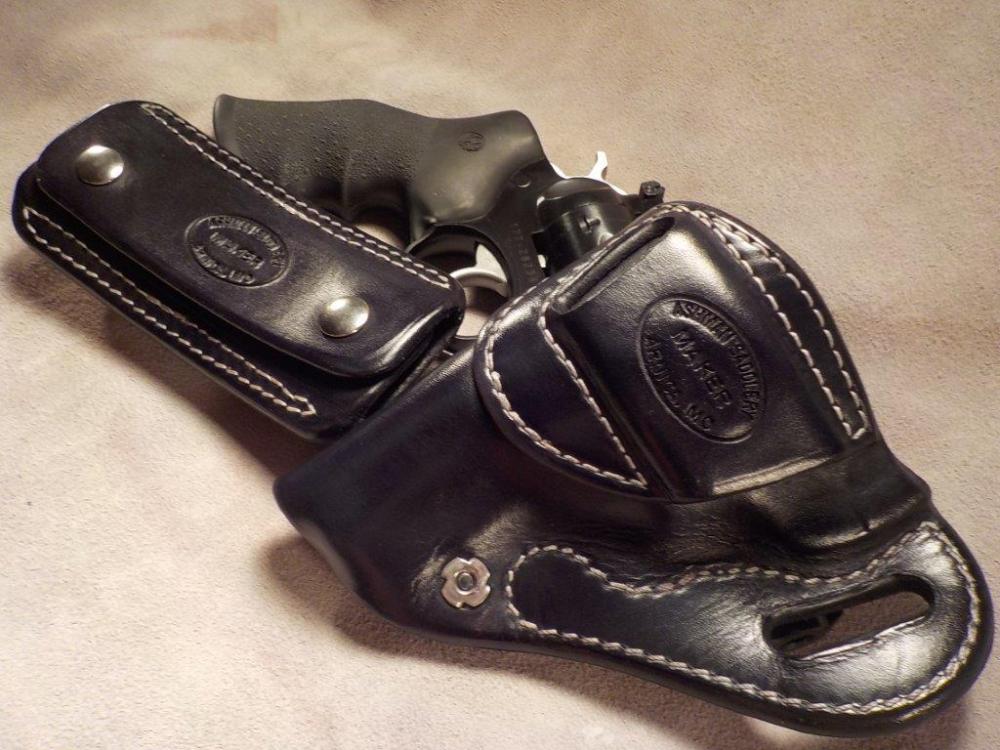
I finally finished up the order with the Threeperson holsters that I made the progress thread about. Here they are, all buttoned up and ready to ship along with some ammo slides and an Avenger for a GP100. All the holsters are 10/11 HO and the ammo slides are a combo of 10/11 and 8/9 HO. Finishes are all by Fiebings including black Pro Oil, black liquid acrylic antique and Hi-Liter. Thanks for looking and have a great day! Josh
-

P226 (railed)
Josh Ashman replied to JLSleather's topic in Gun Holsters, Rifle Slings and Knife Sheathes
Not really a Sig guy at all but those are sure some clean looking holsters for them. Nice work Jeff! -

A Fun Holster to Make
Josh Ashman replied to Dwight's topic in Gun Holsters, Rifle Slings and Knife Sheathes
Nice job Dwight! -
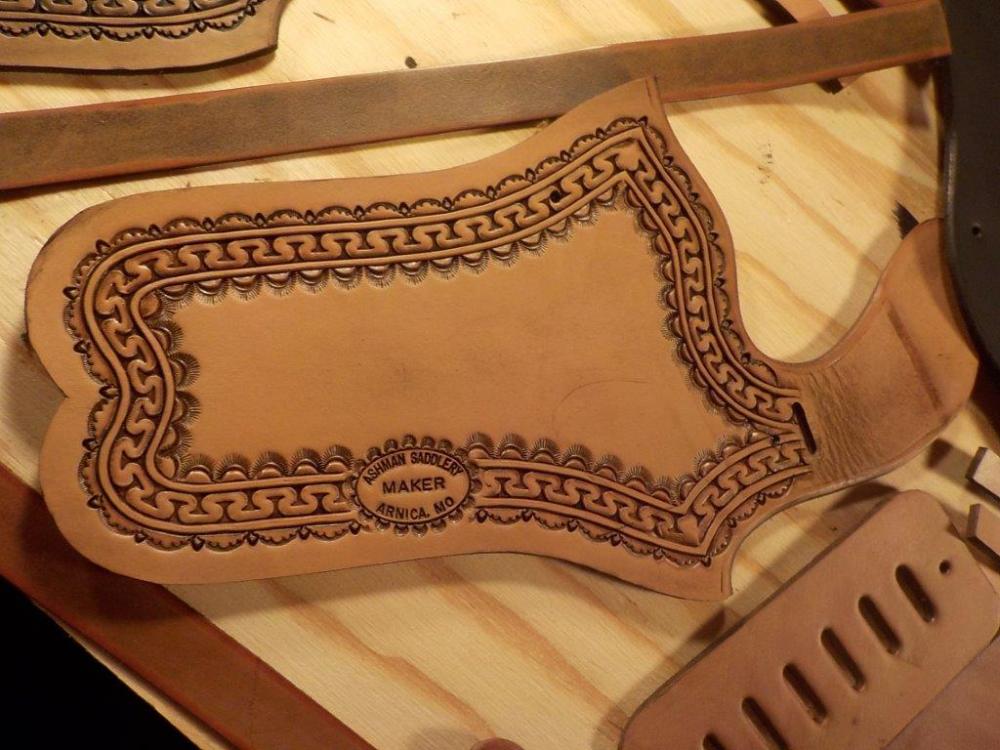
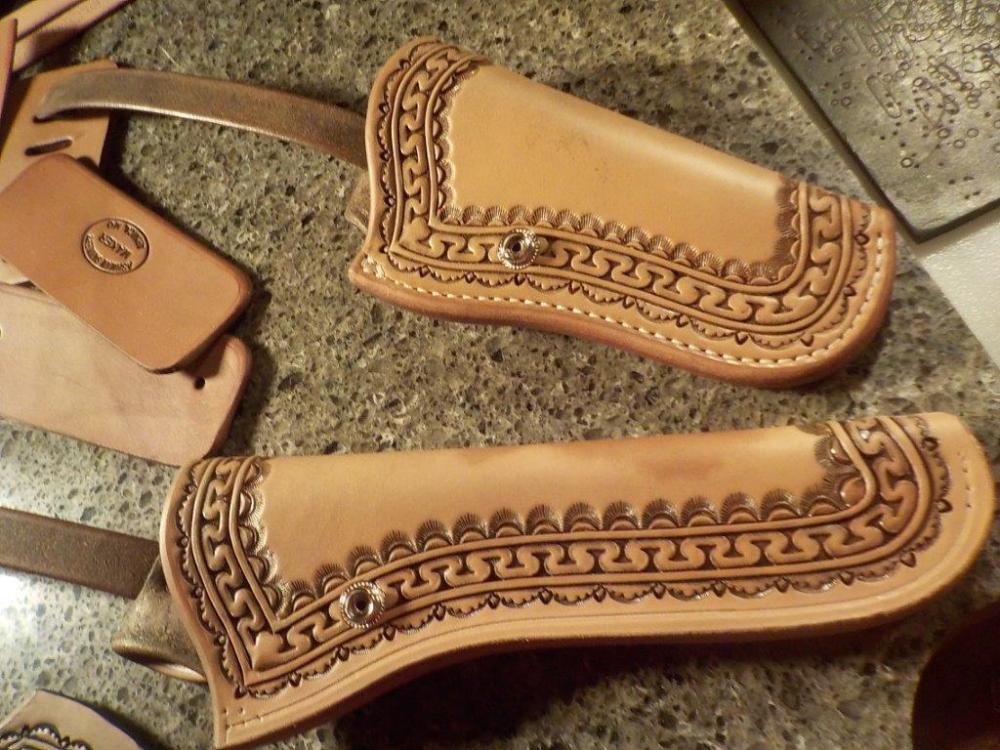
Thanks Dikman! Thanks Humbug! I use a compass to lay out the lines and then cut them with a swivel knife. I start by laying out the line closest to the edge of the leather and use the leather edge as my guide. Once that line is lightly marked I cut it and then use that cut line to layout the next line. Different people do this in all manner of different ways and there are many specialty tools that a person can get, this is the method that seems to work for me. Practice makes you better, I still have tons of room to improve but when I first started trying it my borders were rough! I usually make my first line in 5/8" from the outside edge of a stitched line and 1/2" from an edge that isn't stitched. I aim for the next space to be 3/32", 1/16 is impossible for me to cut and have look OK and 1/8" looks too wide to me. The next space, which is the center is determined by what you're putting down the middle, with the "San Carlos" stamp I use it's just under 3/8". then the last line is spaced at 3/32" again. Hopefully that makes sense and answers your question. The first round of pictures shows the compass I use, it's a relatively cheap one I picked up from Tandy about 10 years ago. The finish you asked about is Fiebings Hi-Liter, here's a link https://www.amazon.com/Fiebings-Hi-Liter-Finish-Carved-Leather/dp/B00DTVHHT4 although I get it by the quart. I apply it with a piece of scrap shearling making sure to get it worked into the tooling and not leave any "voids", let it sit a minute or two, then wipe the top of the leather off with a damp paper towel trying to avoid washing out the tooling too much. FYI, when I put on an antique finish it's this same process and Fiebings liquid acrylic antique. Have a great Friday and weekend folks! Josh
-
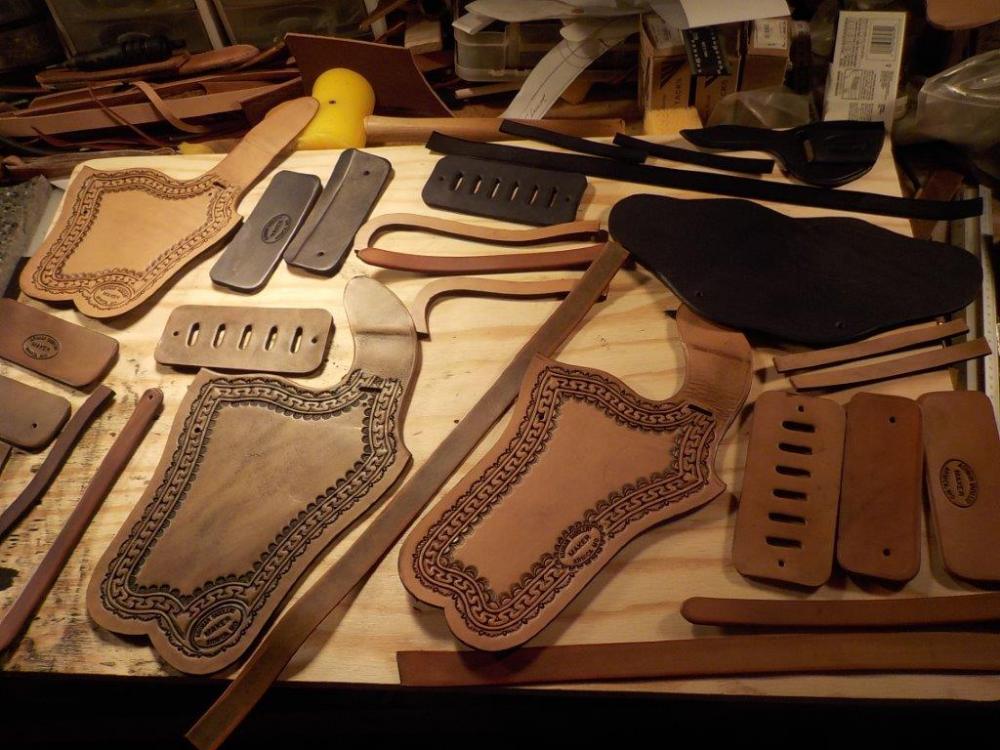
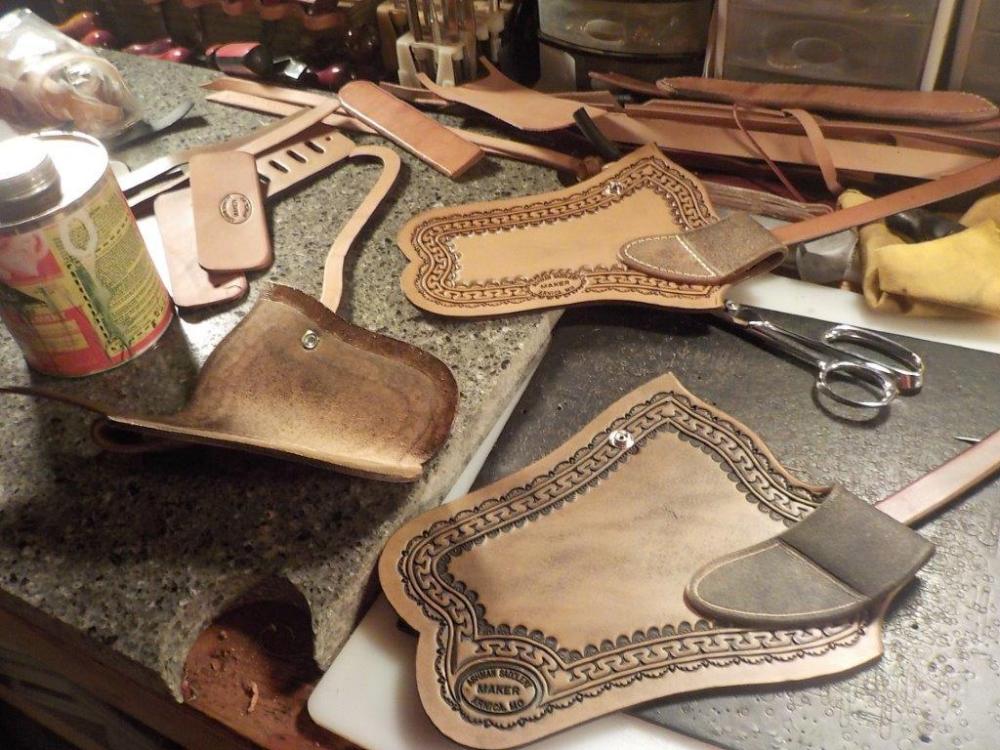
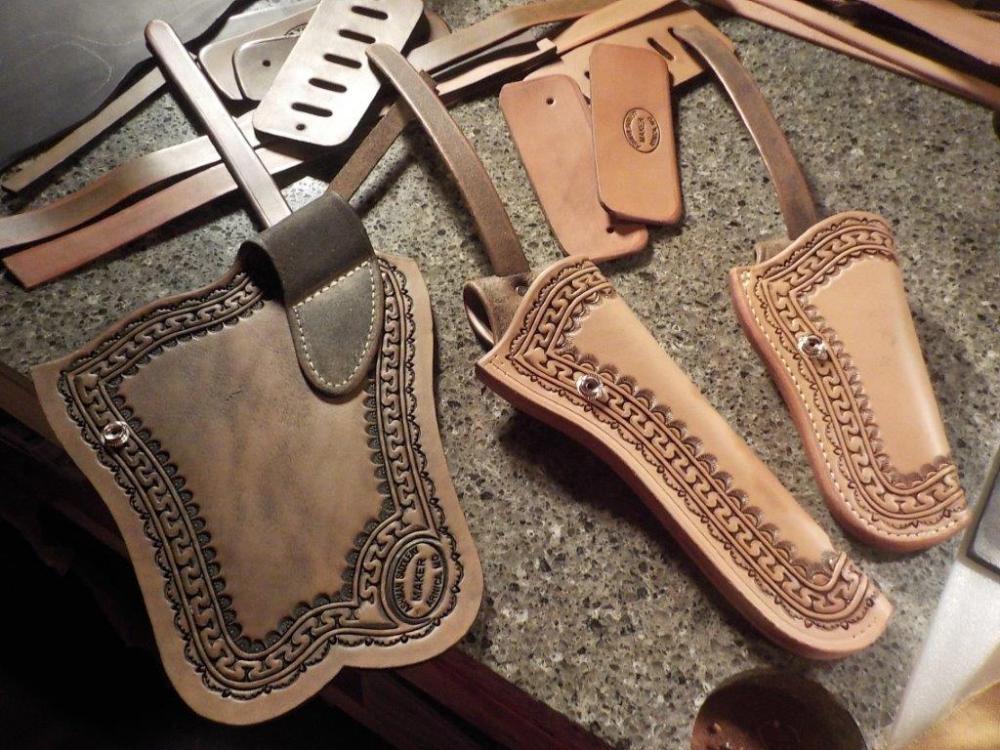
This is a pretty big order for me and I've had a few other things come up that have kept me away from the bench the last week, but it's still moving along OK. All the pieces and parts are built and everything is dyed and ready to start assembling! 3 - Threepersons holsters, an Avenger type holster and 3 ammo slides. I'll post some more pics once they're all done. Have a great Friday and weekend folks! Josh
-
Hello Brad, I make a few of these types of holsters for this same gun (as well as similar types) and there are a few things you can do. Depending on the finish I'll often dunk the holster in water for a few seconds after it's stitched up and insert the pistol. I understand that you don't want to detail mold it, but you can twist it a little and lightly pinch along the sight channel. Work the pistol in and out a few times and try to "pre-shape" the entire holster a little. Focus on the sight channel as much as you feel necessary. You can also take a bone folder (mine's plastic) and work it from the toe of the holster to shape in a bit of a sight channel, again not detail molding it, just rough shaping it by stretching the leather a little. FYI, I don't do this for heavily tooled holsters with an antique finish. In my experience doing so "washes out" some of the detailing and it causes the antique to "streak" both of which I find undesirable. Instead of dunking these types of holsters I wet the inside with a sponge, trying to get it wet enough to accomplish the same basic thing but not so wet as to bleed through to the front. Another thing you can do is to adjust your pattern a little to give you some more room. It sounds like you had everything else just like you liked it so an 1/8" or so should be plenty. When I make these types of holsters a little more room typically isn't an issue. And finally, since this holster is built, I'd just use it. The more you use it the more the sight will work in its own channel. Worst case is you wear a little of the finish off the front sight and dig a little into the holster. I've had a few personal holsters that did the same thing you mentioned and it wasn't a problem for me. The guns involved weren't "safe queens" and the holsters stopped wearing on the sight channel long before it compromised the holster. That said, if a customer ever came back and reported the same issue I'd build them a new one if that's what they wanted. Different people place varying levels of importance on these things which is understandable and to be expected. Good luck moving forward! Josh


.thumb.jpg.0bed88e2b87e65d8e8e23a4611f54dc3.jpg)
