Josh Ashman
-
Posts
1,183 -
Joined
-
Last visited
Content Type
Profiles
Forums
Events
Blogs
Gallery
Store
Everything posted by Josh Ashman
-
Odd stitch line on Cross Draw
Josh Ashman replied to Viking's topic in Gun Holsters, Rifle Slings and Knife Sheathes
Hello Viking, I personally don't like to have stitching run through the tooling, although sometimes when I see it done the item still looks good. If it were me I'd go ahead and sew your "top" line then mold it to form the "bottom" stitch line and see how it falls. Maybe try to have the bulk of the molding on the front to see if you can get the stitch line to keep from crossing the tooling. With the thumb break the pistol will stay in the holster but if the stitch line is very loose you could end up with a loose fit. Good luck with it! Josh -
First Holster Template (Sig 1911)
Josh Ashman replied to superpacker's topic in Gun Holsters, Rifle Slings and Knife Sheathes
Hey SuperPacker, Sig 1911's are known for having slightly different slide profiles than other manufacturers, but for the type of holster you're looking to build it won't matter. So, if you have any 1911 you should be good to use it to make your pattern. Or, if you don't have a 1911 of your own you can have your friend trace his and send you the tracing to use to make your pattern. I have done that a fair amount with good success each time. And another option, if you didn't want to design your own pattern is that you could buy Will Ghormley's excellent 1911 holster pattern pack. It's available here "http://www.willghormley-maker.com/OWC2.html". Good luck with your holster! Josh -
Fancy Scabbard
Josh Ashman replied to Josh Ashman's topic in Gun Holsters, Rifle Slings and Knife Sheathes
Thanks Ray! Hope retirement is treating you well sir! All the best, Josh -
Forward cant Western holster?
Josh Ashman replied to dikman's topic in Gun Holsters, Rifle Slings and Knife Sheathes
I'm no SASS shooter, but from what I've seen many of their holsters are built with a forward cant. As I recall they have a rule saying just how much cant they allow but I have no idea how much that amount is. A member that went by "Red Cent" used to post a bunch on here with SASS rigs. You might search for his old posts or see if you can message him for info. All the best, Josh -
Very nice! Thanks for sharing! All the best, Josh
-
Buscadero Belt Buckle Question
Josh Ashman replied to noobleather's topic in Gun Holsters, Rifle Slings and Knife Sheathes
Good morning Noob, There's no reason you couldn't use your SSAA buckle. You could attache the chape with chicago screws and make it so you could change buckles if you wanted as well. Good luck with your project! Best, Josh -
Thanks Noob! Best, Josh
-
Fancy Scabbard
Josh Ashman replied to Josh Ashman's topic in Gun Holsters, Rifle Slings and Knife Sheathes
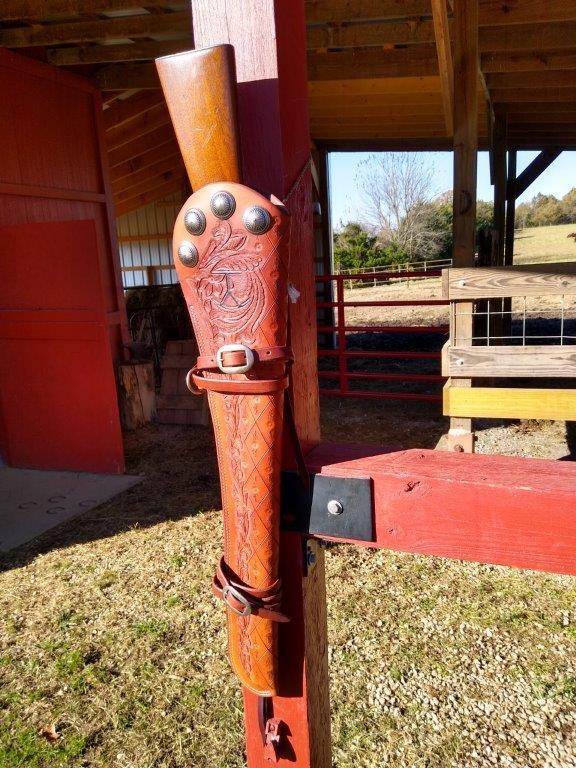
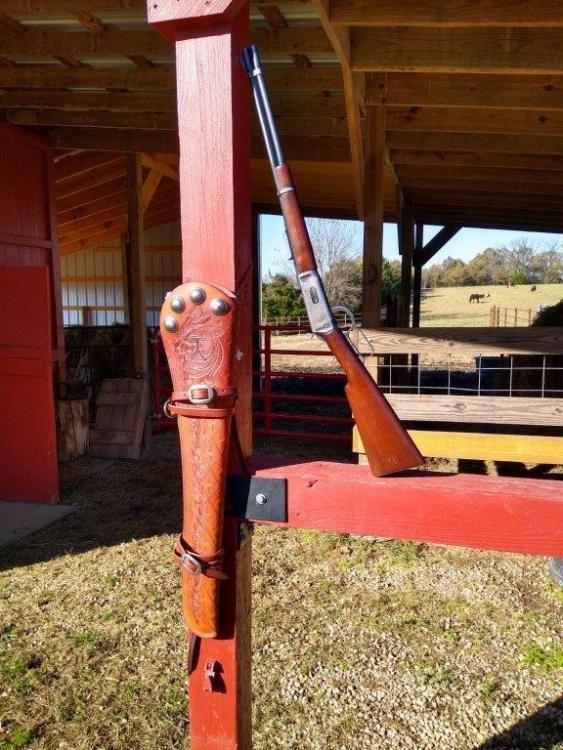
Thanks again everybody! Noob, Sorry I'm not at my bench now or I'd get you a measurement on that. Here are some pics of another similar scabbard I built earlier in the fall with a 20" barrel length Model 94 Winchester in in. Seeing it may give you an idea of the length. FYI, the cutting pattern for both scabbards was the same. All the best, Josh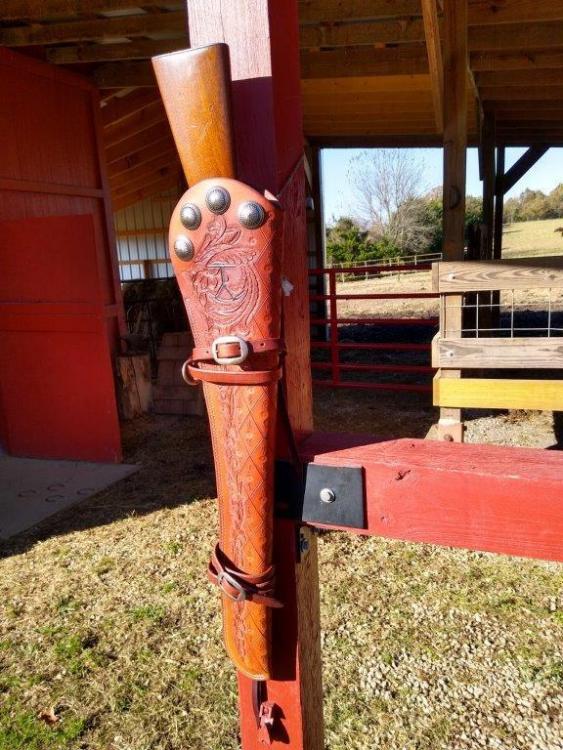
-
Hello Sbrown, my honest answer to your question above is that I would change my way of thinking. I don't need, or expect the backside of my stitching to look the same as the front. Anyone who has ever seen the cantle binding on one of my saddles knows just to what extremes I'll take this line of thinking! In fairness to my saddle building skills, I use rawhide binders and stabbing an awl through 2 layers of rawhide and 3 layers of skirting leather and having it come out perfect on the backside is not that easy. There are people who are remarkably good at it, I'm just not one of those people. At any rate, if for some reason I thought the backside had to be better than my machine could sew I'd probably use my machine without thread to make the holes then hand stitch. The other option would be to stab the holes with an awl and then hand stitch. Back before I had a machine my awl skills were much higher and I could get a pretty nice stitch line on the back side, however I seriously doubt I could do so now. I suppose a person could try a modified version of the Stohlman method for stabbing the holes on a cantle binding and stab halfway through from each side, he says the awl blade will find the hole fromt he other side assuming your layout is all perfect. I've never put this tot he test but I'm 100% positive it requires skills I don't have. I admire your pursuit of backside stitching perfection even if I don't happen to share it. Good luck in your endeavors! All the best, Josh
-
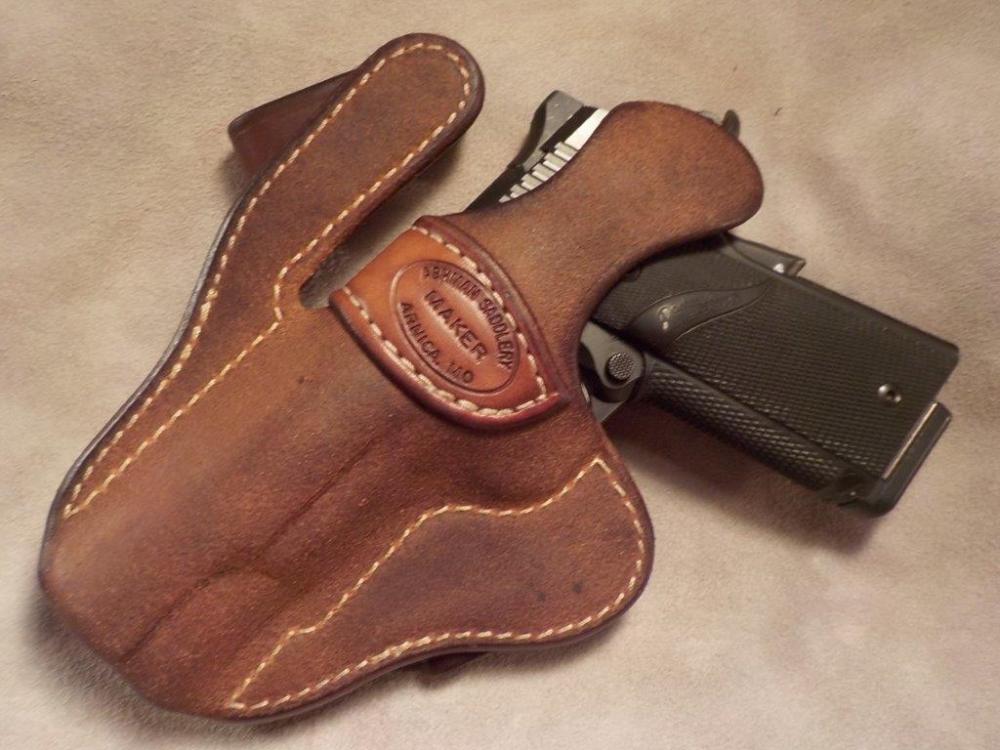
This rig was shipped out last week so no backside pics for it. I do happen to have this picture that shows the backside of an IWB holster I made a while ago. No particular reason I picked it other than it was on my computer and it shows the backside stitching. In my opinion my Cobra does a fine job on the backside unless you go over about 5/8" thick and then it gets a little wonky. Not real bad, but enough that You want to be careful and not be too surprised if it throws a stitch out of line. At around 3/4" thick my machine will also occasionally skip pocking up the bobbin thread. these issues may be caused by my machine being a little out of adjustment. I've had it for a good long while, I think 4 or 5 years and have never done anything but sew on it and oil it each time I refill the bobbin. All the best, Josh
-
1911 shoulder holster
Josh Ashman replied to chuck123wapati's topic in Gun Holsters, Rifle Slings and Knife Sheathes
Nice job Chuck! -
Thanks Paul! I appreciate that and I have to agree that the Cobra sure has been great for me! All the best, Josh
-
1911 holster
Josh Ashman replied to chuck123wapati's topic in Gun Holsters, Rifle Slings and Knife Sheathes
I totally understand! I do my leather work in the loft of our house and my wife is sometimes less than thrilled with early morning hole punching or dremel sanding of edges. Shoot me a PM if/when you have a set of full size 1911 elk antler grips up for sale. I'd be very happy to get them! All the best, Josh -
Thanks Eric! I appreciate that! All the best! Josh
-
Thanks Vikefan! I use a Cobra Class 4 I picked up from Springfield Leather. I don't have a single bad thing to say about it. At the same rime I will admit that it's the only leather sewing machine I've ever used, so there may be better ones out there and I just don't know what I'm missing. Best, Josh
-
Thanks FallGuy! I just use a Tandy wing divider. I've had it a little over 10 years, so it's certainly "older" but no so old as to be a different quality than the ones they sell today. At least I doubt it is any different. I've bought Osborne creasers and what Weaver says is a nice beader as well as a fancier Horse Shoe Brand divider but I don't seem to use any of them as well as the simple Tandy dividers. I set them to whatever width I want for the 1st crease and run one side along the edge of the leather, then adjust and do it again. I make the creases while the leather is still fairly wet from casing. Wetter than you would have it for stamping but not by much. Best, Josh
-
1911 holster
Josh Ashman replied to chuck123wapati's topic in Gun Holsters, Rifle Slings and Knife Sheathes
I'd wondered if they were elk! I picked up a nice pair of elk 1911 grips from Lobo a few years ago, he hadn't made them or anything, just some he was selling. If you ever feel like selling a set of those shoot me a message All the best, Josh -
Thanks Chris! I'm afraid "chaos" is entirely too descriptive of my dying process and sadly, my work area lately! Someday I'll clean up my mess. Not this day, but someday All the best! Josh
-
1911 holster
Josh Ashman replied to chuck123wapati's topic in Gun Holsters, Rifle Slings and Knife Sheathes
Very nice Chuck! That's a nice rick color you got on your holster and I'm jealous of those stag grips on your 1911! Congratulations on making your own design and carrying it through to a working holster! I like mine to ride a little higher, but that's nothing more than a preference call. All the best, Josh -
Thanks Professor & Forester! As for the color of the Fiebings, I may cause concern for some by admitting that its really a mix of various things and years of adding what I had on hand. I had an empty Folgers coffee can that started as a 50/50 mix of plain old iso alcohol and Fiebings pro oil, probably in dark brown, but to be honest I don't 100% recall, it could have been light brown too. After it was nearly empty I dumped it and all the other half empty "brownish" dye containers I had on hand into an empty gallon ice cream pail. Then I dumped all the half empty bottles of iso alcohol I had sitting around into that. I know there was some walnut and some medium brown, there were several other bottles as well. I have a separate tub that has a similar mixture of British Tan in it, so I don't think there is any of that in my "brown" tub. Anyway, I'm about to the bottom of my "brown" ice cream pail of dye mix now and plan on a fresh start soon. sorry I can't give a "repeatable" mix. If I could I certainly would! All the best, Josh
-
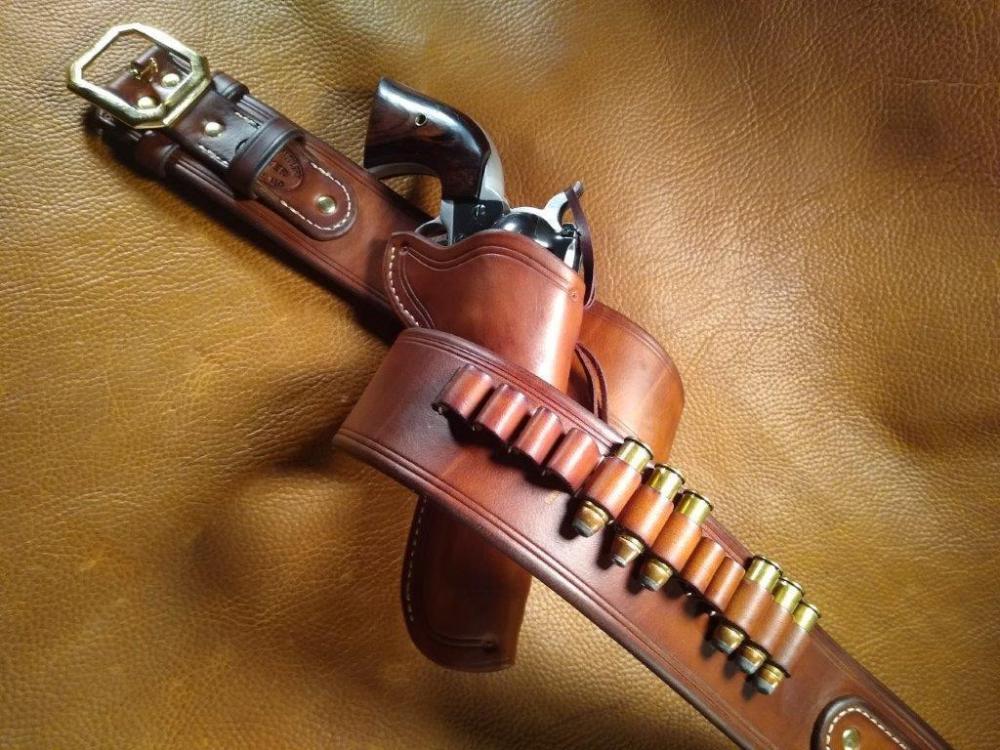
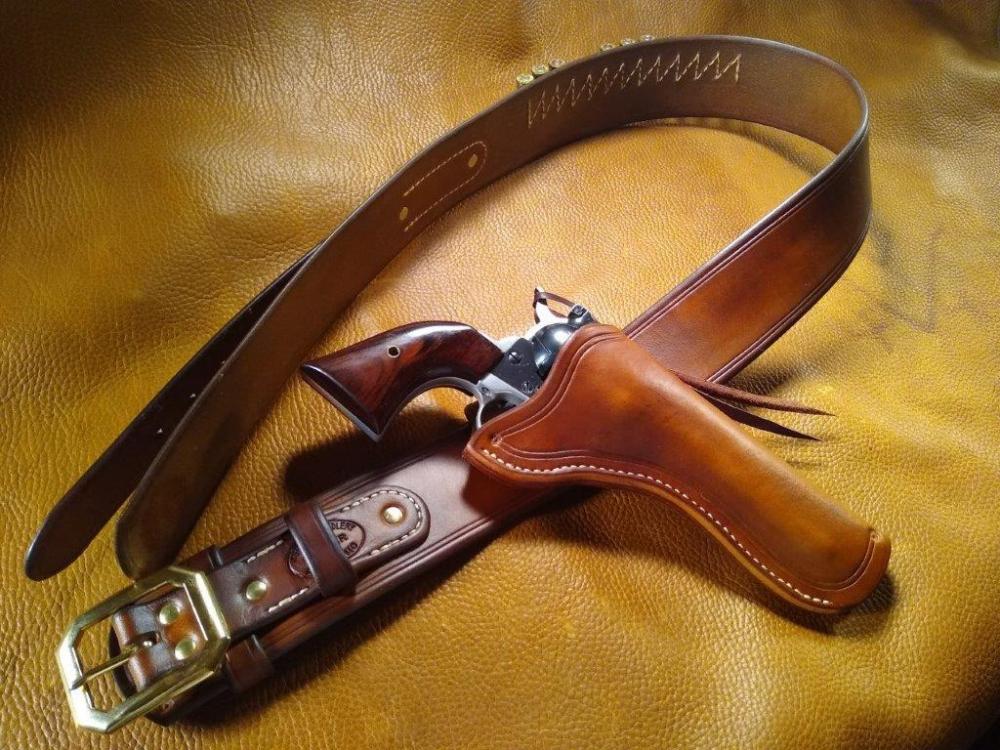
Thanks again guys! The guy wanted plain, so I made it plain! Its funny, but I swear it almost seems harder to pull off plain and clean than tooled up fancy. There is certainly more time investment in tooled, but there is also more to pull your eye away from the little mistakes that always come up. Remington, I do sometimes line both belts and holsters although not that often. Back before I had a sewing machine I purposefully avoided lined belts as they were so time consuming to stitch up. But, now that I have a machine I don't rally try top avoid them that I'm aware of. On my own stuff and the items I make for gifts I rarely, maybe even never, line cartridge belts, I'm not sure why. I do however always line belts for concealed carry use. Have a great day folks! Josh
-
Thanks guys! I appreciate the kind words. Best, Josh
-
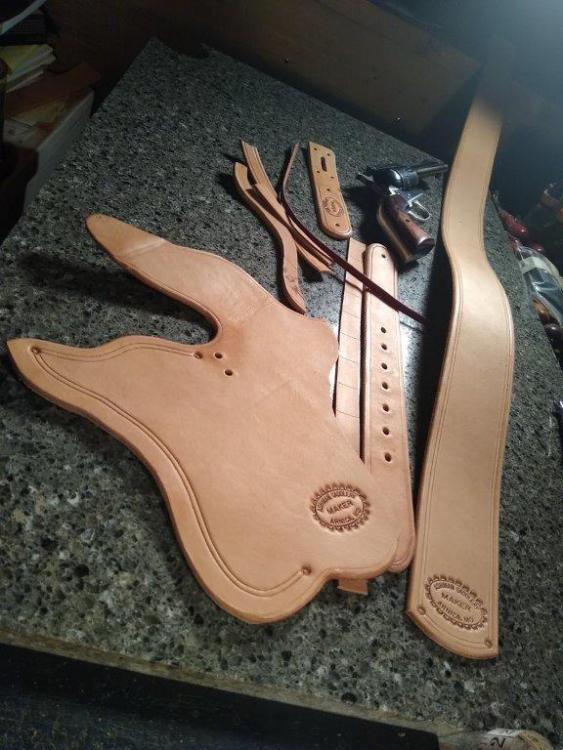
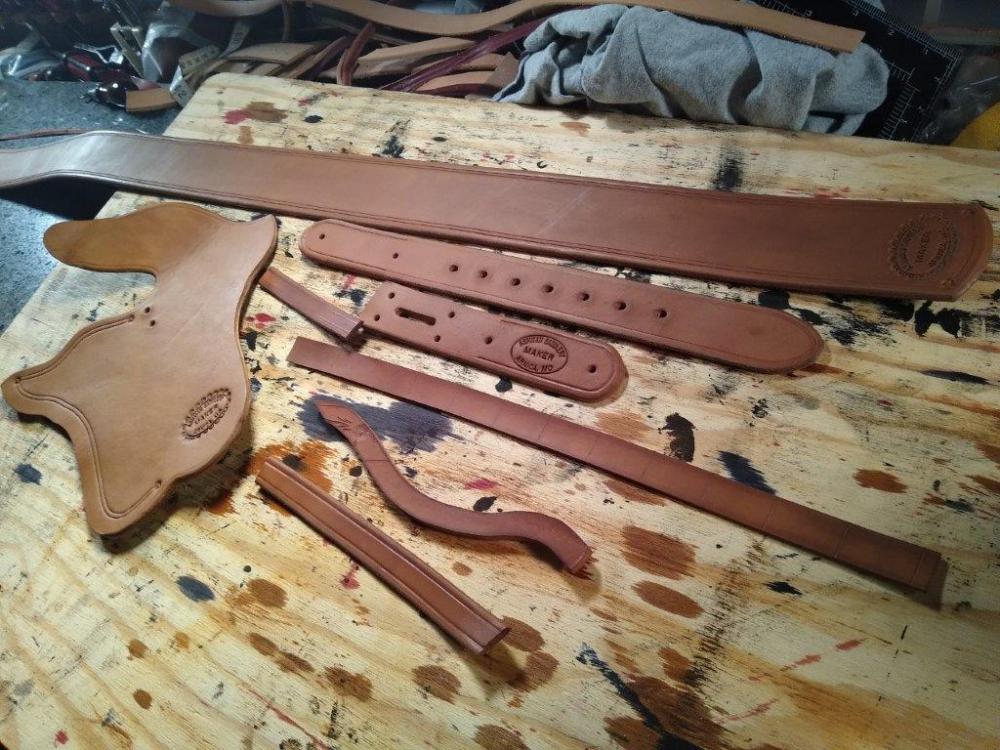
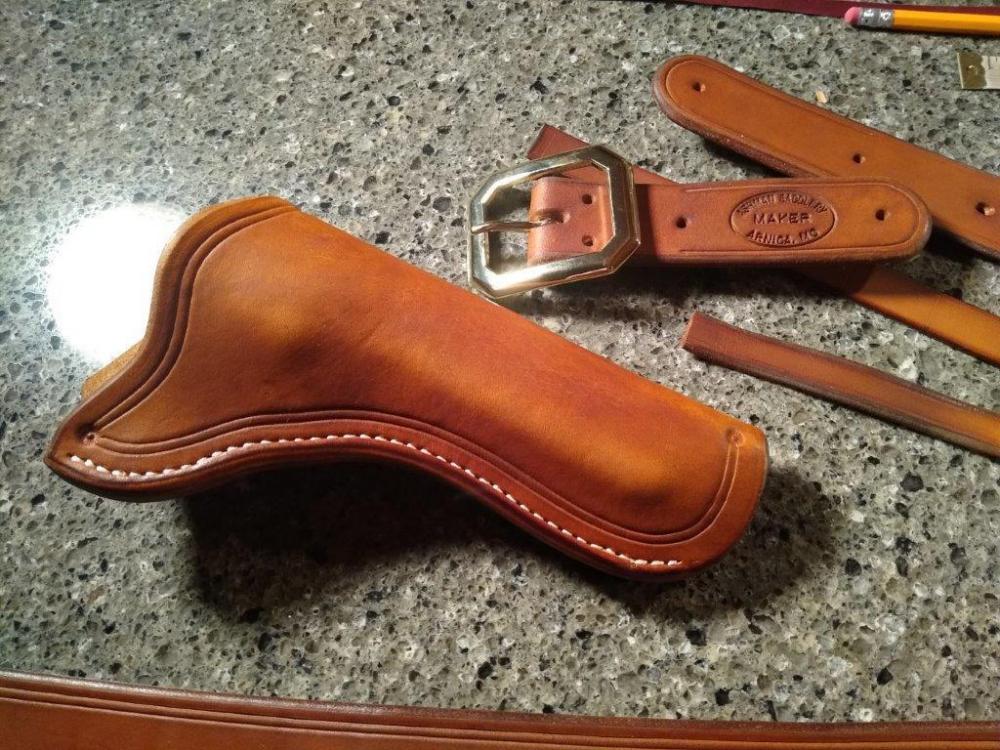
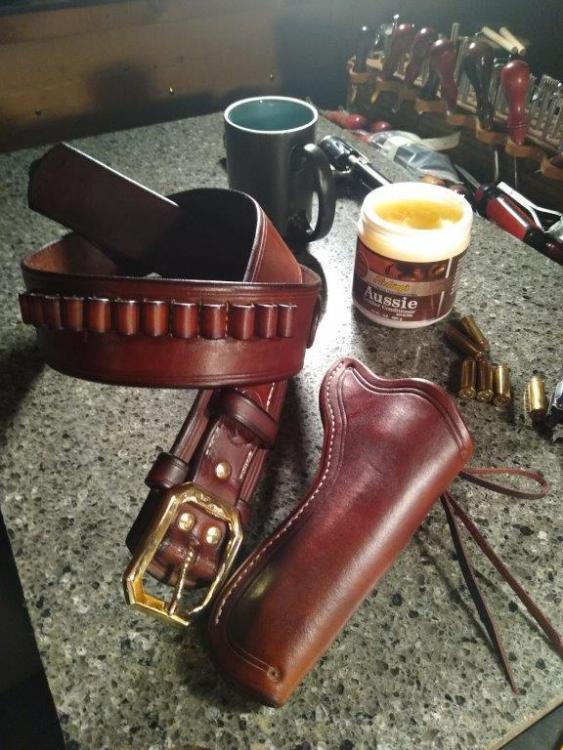
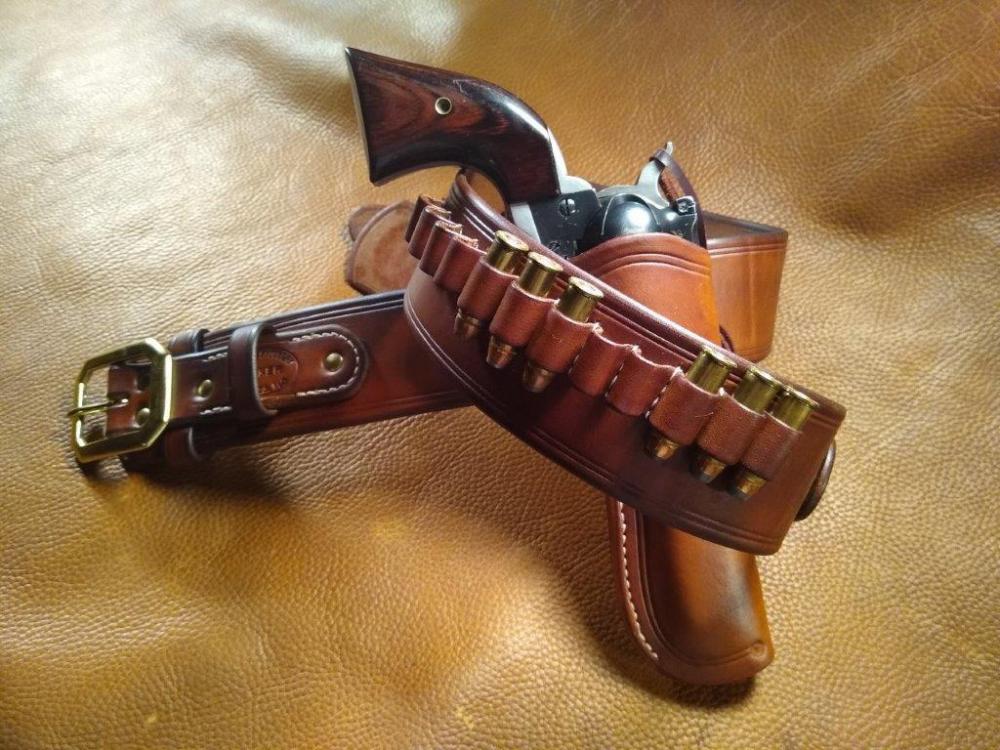
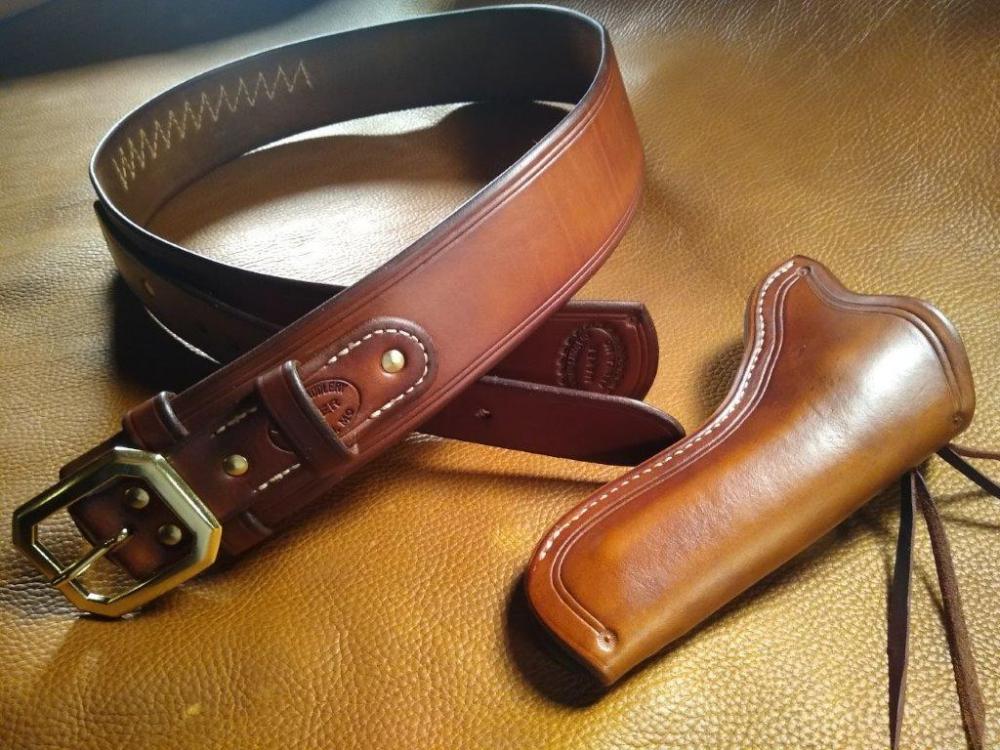
Just for fun, a few progress pics; Parts built; Dyed; Edges finished, and holster assembled; All assembled, oiled and freshly greased;
-
10/11 HO craftsman for everything but the bullet loops (4/5) and keepers (7/8). Fiebings dye, healthy amounts of NF oil, some Aussie Wax and a little glycerin saddle soap to shine it up a little. Thanks for looking and have a good day folks! Josh
-
Bullet loop jig 44mag shown
Josh Ashman replied to Samalan's topic in Gun Holsters, Rifle Slings and Knife Sheathes
Very nice! I use paper templates and a scratch awl. They work but after seeing your Plexiglas template and awesome center punch I'm feeling like I really need to step up my game. All the best, Josh