WScott
-
Posts
1,010 -
Joined
-
Last visited
Content Type
Profiles
Forums
Events
Blogs
Gallery
Store
Everything posted by WScott
-
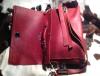
From the album: computer bag
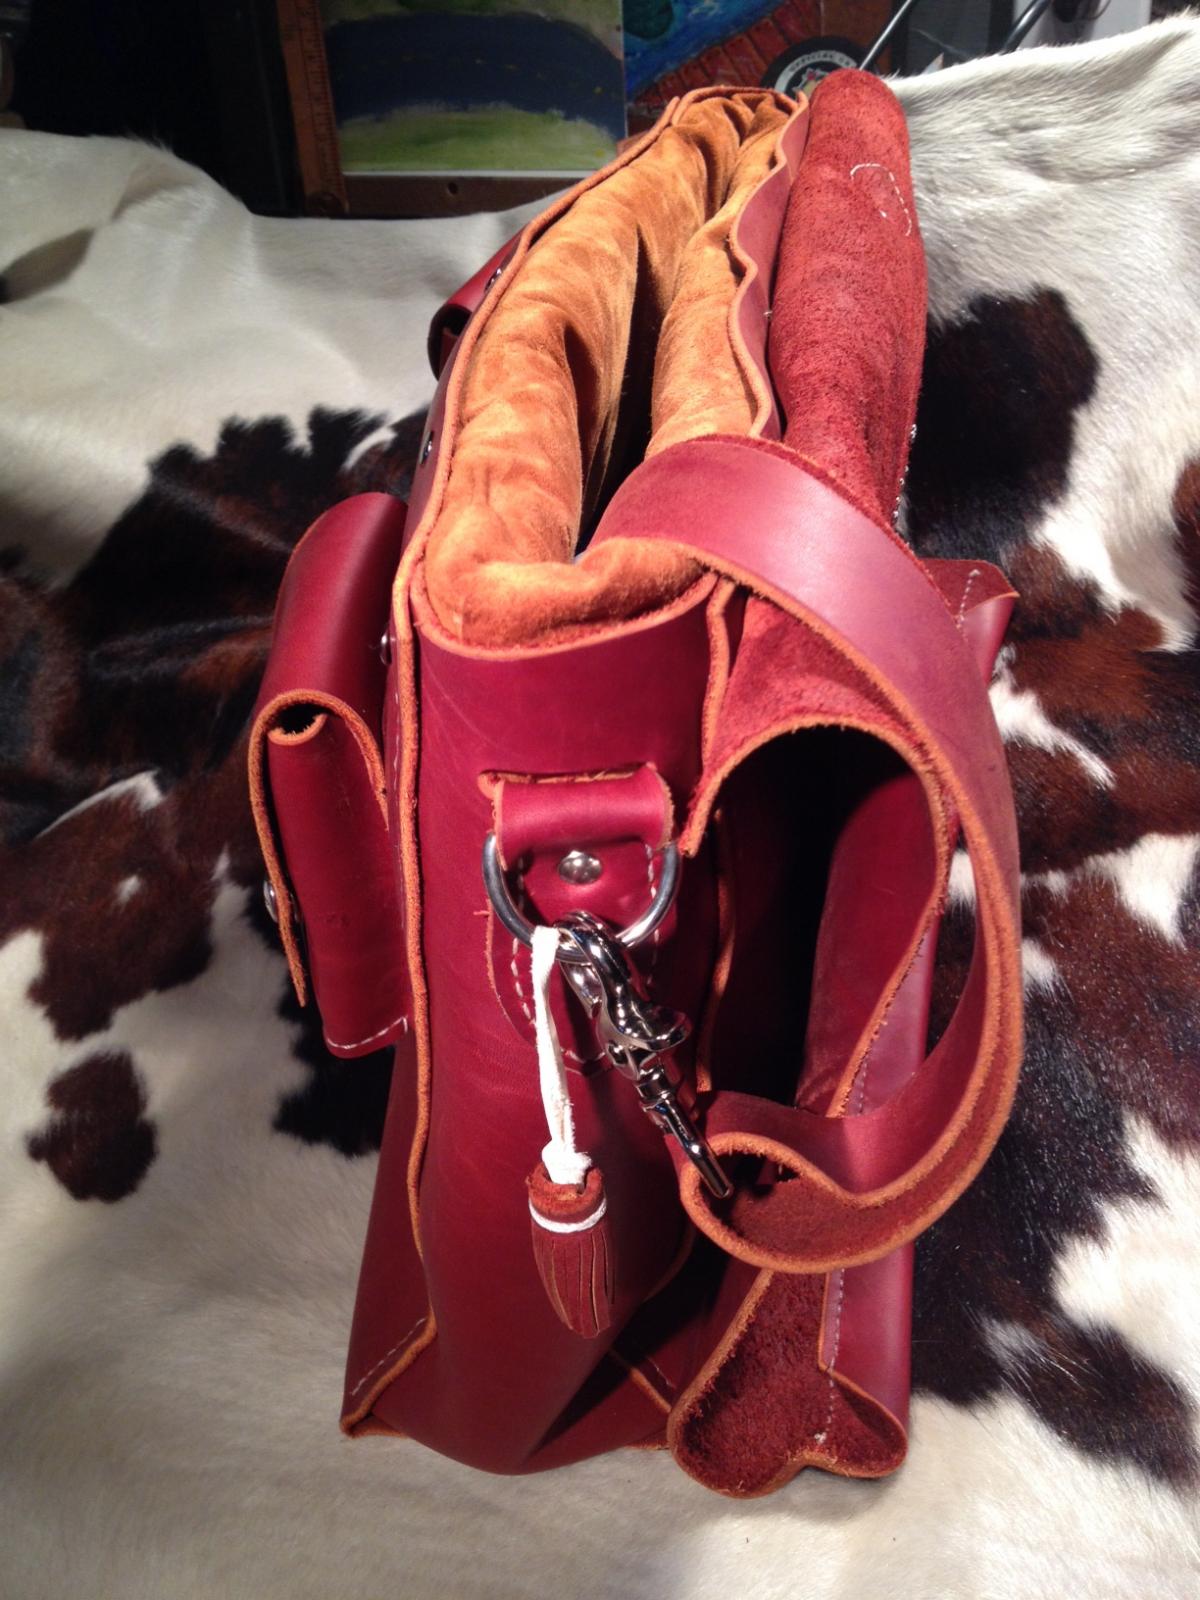
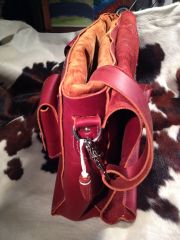
strap to be sewn up see how bulky the lining/foam looks -
From the album: computer bag
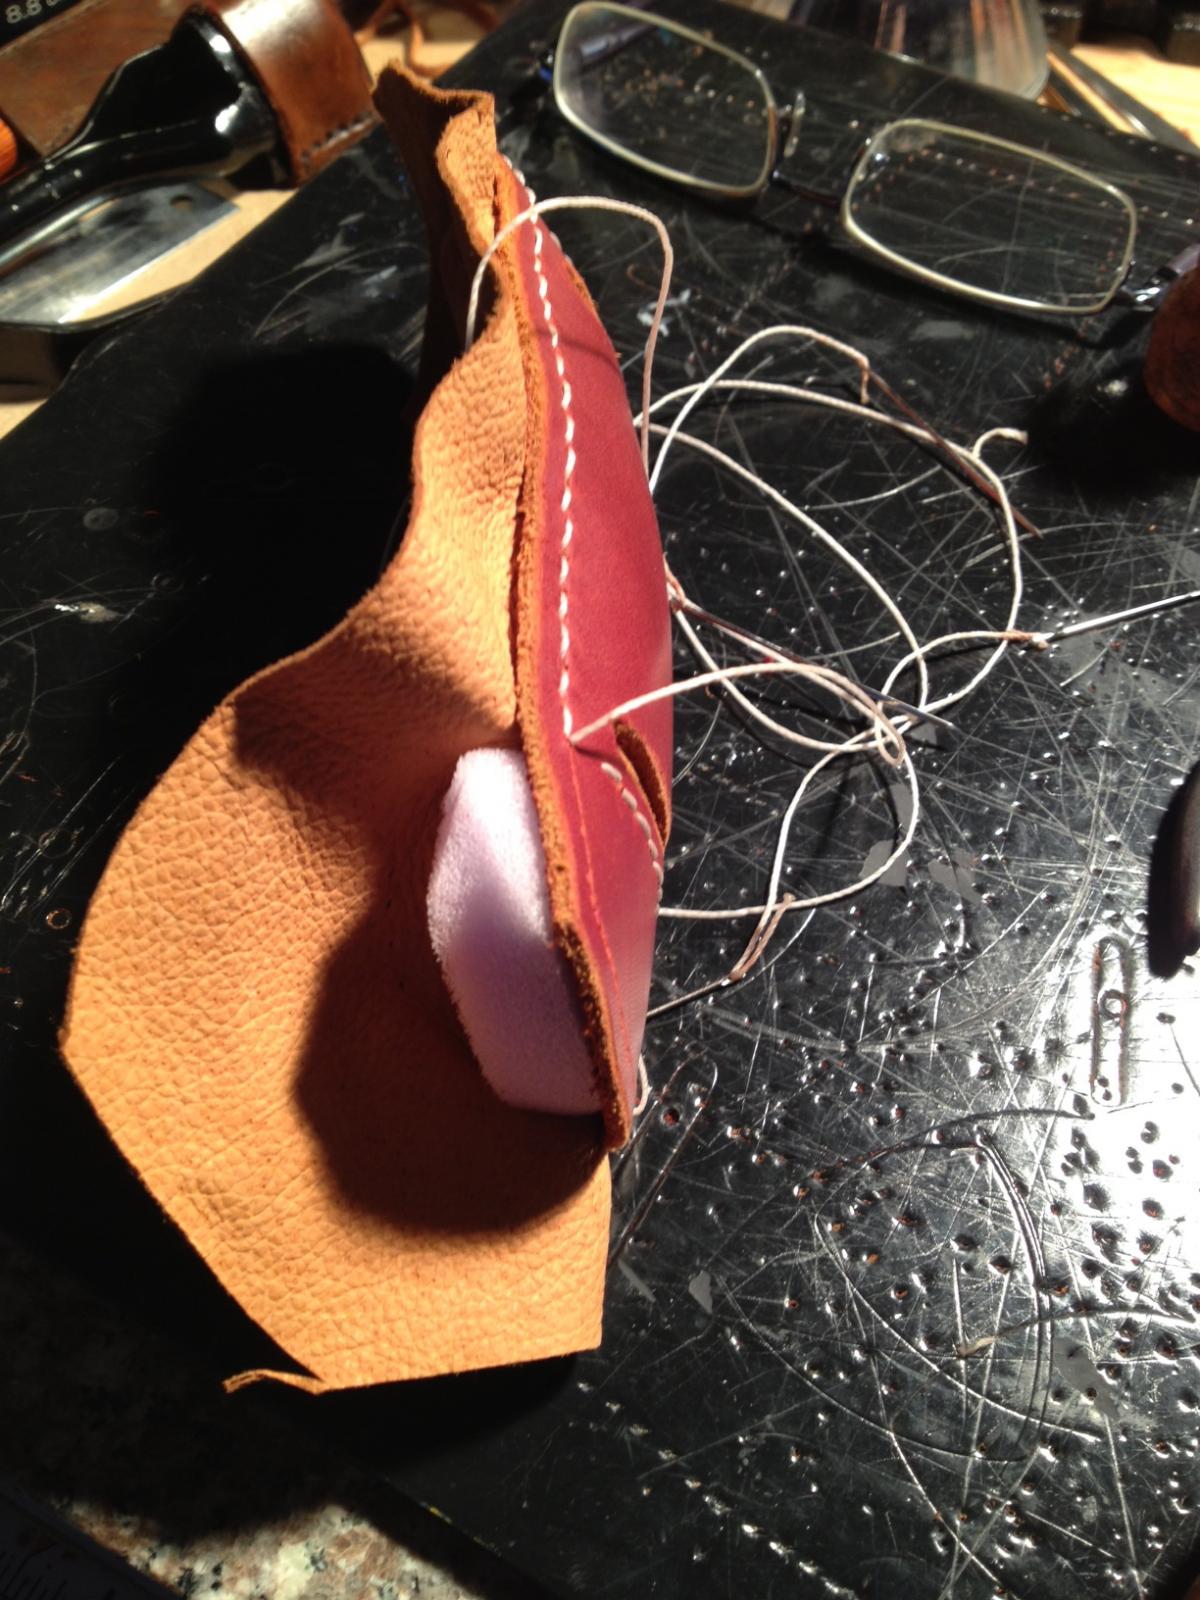
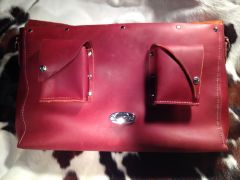
Front pockets are way too small! attach these before stitching sides up..would be easier do a template, don't just wing it -
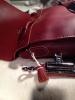
From the album: computer bag
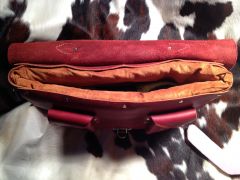
Lining was hard to attach and still retain removability it is uneven l to r in height and too folded in the back Chicago screws may loosen up -

From the album: computer bag
-
From the album: computer bag
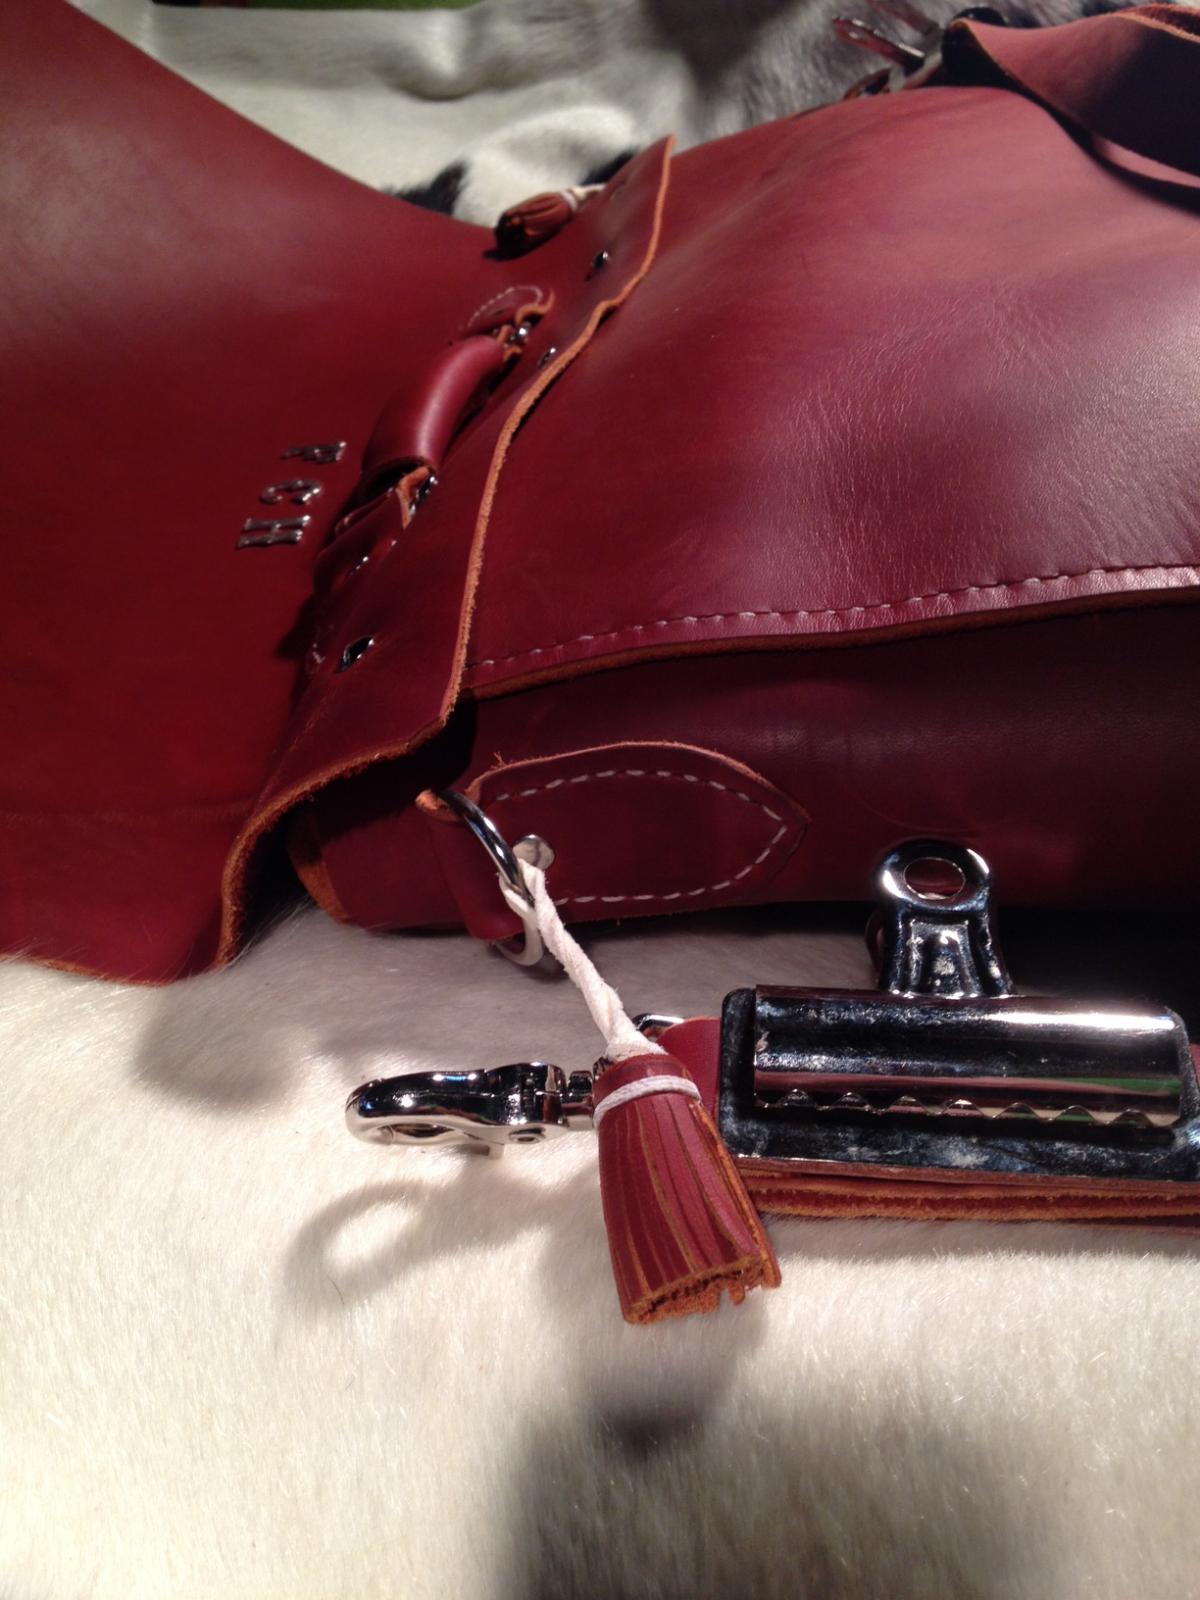
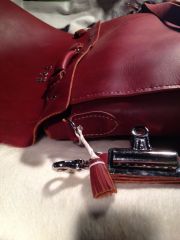
A tassel would make the attachment thicker next time should have stitched the flap to the back for more strength and to stop the bulging...done BEFORE stitching up the sides never vary the stitch method partway through...front is awl only, back diamond punch used small length of threads to try and keep it as white as possible -

From the album: computer bag
Almost done, glamor picture on hair-on cow skin The LHS has some marks on the hide that should have been left off when doing the cutting plan; ESPECIALLY on the front show side. -

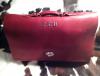
From the album: computer bag
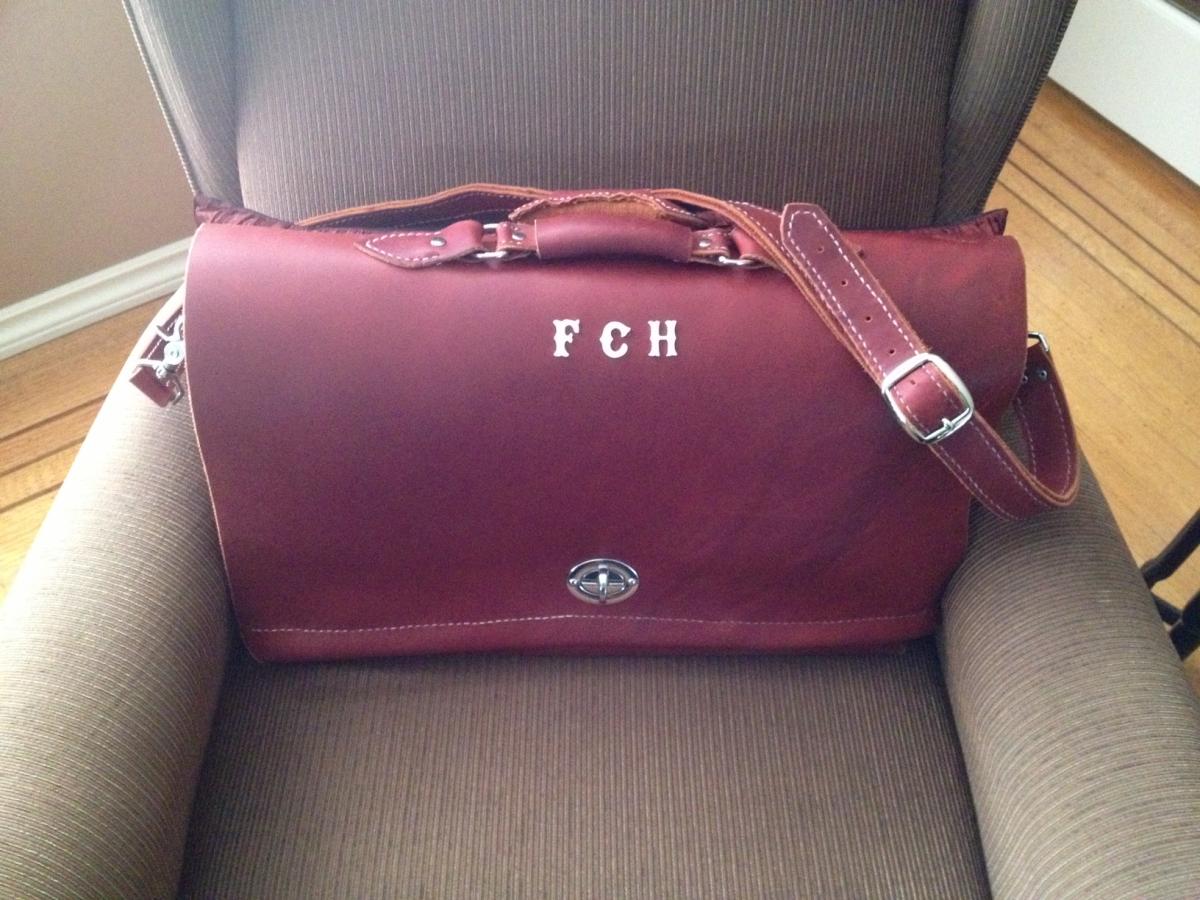
Bag done and strap finished -
Oh my god shoot me now, I finally finished this Christmas present. It is far from perfect, but a good learning experience so next one can be better. My wife has a HUGE PC laptop that does not fit any store bought computer bag. So stupidly I decided to make one. In late November I purchased a gorgeous oil tanned red/burgundy colored leather from a small local supplier...they laid some out and let me fondle through some hides before purchasing. It is lovely soft stuff, but you cannot burnish the edges and every mark shows up. Still I love it. I made a paper pattern and sized things up. The internal guts are a layer of foam tightly wrapped with fabric and then covered with pigskin. This was done to hold the laptop in tightly and cushion it. When the computer dies I will take out the rivets and remove the lining so it can be used as a normal bag. Would like to hear what you think and what you see; I have some things I will do differently next time. The only machine I used was a hand press for some rivets.


-
April's Tikki Madness Challange
Images added to a gallery album owned by WScott in Our Leatherwork Galleries
-
-
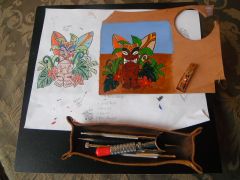
From the album: April's Tikki Madness Challange
-
Both look beautiful, almost too good to use! Great work....slick and professional
-
WOW! You blow me away with your work!
-
Is There A Need To Use An Awl After Punching With Chisel?
WScott replied to Chit's topic in Leatherwork Conversation
Short version..... the leather closes over the holes use awl to regain the space for needle/thread -
Gorgeous colors, construction and details
-
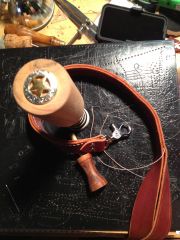
From the album: Burnishers and Mallet
I think this is Blood wood...was a scrap of exotic I had We turned it into a small thimble for drill press or hand drill to burnish edges -
From the album: Burnishers and Mallet
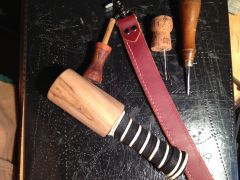
Maple mallet with pigskin and white deer lace handle -
From the album: Burnishers and Mallet
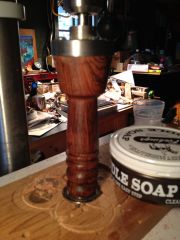
Chucked in drill press, ready to burnish -
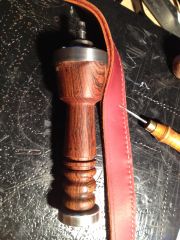
From the album: Burnishers and Mallet
Burnisher for drill press. My buddy machined the mandrel and had a bearing for me too Smells like chocolate when you turn it (but be careful with the allegenic dust!) -
Is There A Need To Use An Awl After Punching With Chisel?
WScott replied to Chit's topic in Leatherwork Conversation
Hello and welcome This is not a silly question and there are so many opinions and methods out there. I have saddle stitched for only a couple years so this is only my short experience. I read the Al Stohlman stitching book and started his way. I started with making a groove with a groover, use a wheel to mark the hole locations for the entire length then use a round or diamond awl to get holes just ahead of where I am working so they don't close up too fast. Often I make holes seven or so stitches ahead of my needles so I can be faster. The wheel is hard to keep in the line and often drifts so stitching becomes not as straight as I would like. Ok, so then I bought set of diamond chisels from Japan goods and use them to punch holes in a grooved or scratched line. This punches out a small hunk of leather so the hole stays open...mostly. BUT on some leathers it closes up an I use the diamond awl to open them up as I go. I like the diamond punches as the holes are really easy to see and you can get some nice straight lines. Watching other videos by some pros, they use a pricking iron to mark their stitch locations and then the awl to get the holes. Pricking iron will be my next tool purchase. This method does not remove the leather like a punch would so the leather will close up around the thread. It looks really good. For my kid's work we actually punch out round holes with a small punch (Tandy has it and we use the same one in Dentistry for the beloved rubber dam). That allows my son (11 yrs old ) to saddle stitch easily and safely BUT the stitch hole will not close over around the thread. I do weird things like melt the end of my thread into a small mushroom to stop it from coming out of the eyelet of the needle rather than traditional method of threading the needle. Quicker for me and fewer dangling threads around. Sorry to ramble on, hope something helps I wrote Scott -
first art work
WScott replied to ironarmknives's topic in Gun Holsters, Rifle Slings and Knife Sheathes
Looks really cool to me, I like it a lot! -
 Thanks Bluesman Nothing better than making one's kids happy She LOVES this
 -
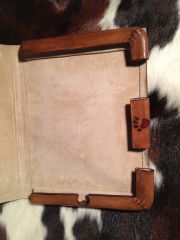
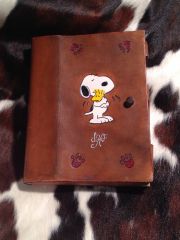
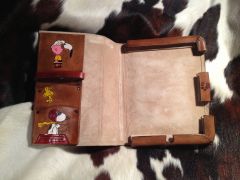
From the album: Snoopy I pad case
The IPad slides in from the left -
From the album: Snoopy I pad case
-
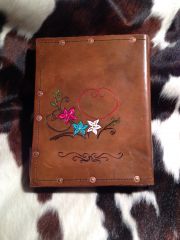
From the album: Snoopy I pad case
-
From the album: Snoopy I pad case
Acrylic painted the images