


immiketoo
-
Posts
2,372 -
Joined
-
Last visited
Content Type
Profiles
Forums
Events
Blogs
Gallery
Posts posted by immiketoo
-
-
If you choose that route, upholstery leather is the way to go. You can sew a circle of carved veg tan on top of that for a cool look.
-
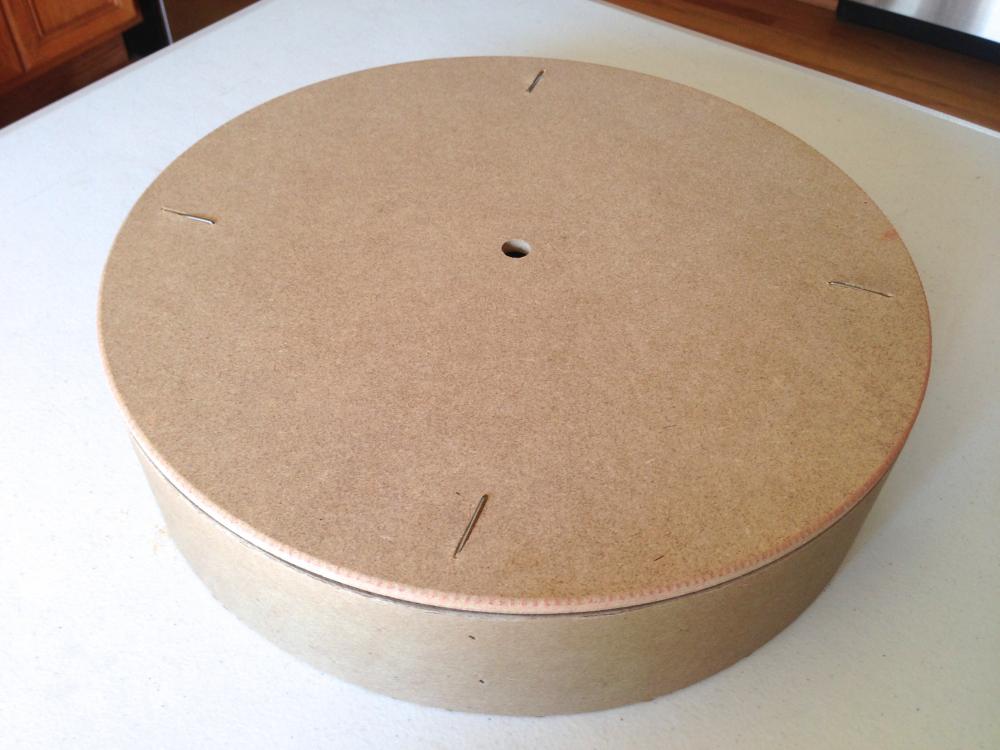
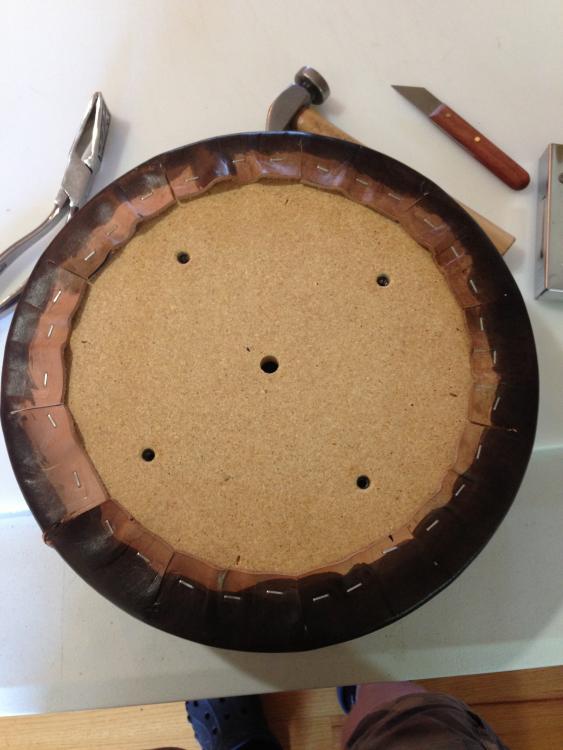
Well, the Taylor stool is mine, and the problem you're having is the kind of stool you are starting with. I used a stool with a swivel seat and it has an internal core that I upholstered. You will need to create a physical stand off of the height you want, then add a 2 inch foam disc on top and then upholster appropriately. Otherwise, what you end up with is a short seat with no sides to work with. It can still look good but it wont look like mine.
-
I have different sized awls for different sized thread. The smaller the thread, the smaller your awl needs to be. I like Leder Louis awls. He makes several sizes, reasonably priced. Best awls Ive used too
-
Thanks everyone.
-
Hopefully soon, Bob. We shall see.
-
The problem is that the color is transparent and it allows the color of the leather to show. Its combining with the blue to create blue with brown in it, thus darkening it. The only real way to get that light color you want is to us nearly white leather or use acrylic paint. Some aniline dyes are more vibrant, but they're hard to get in the states due to the toxicity.
-
I am a huge proponent of trade shows, especially as they relate to leather work. You can meet some amazing people, see leatherwork that will blow your mind and of course, you can take classes. Taking a class from someone live is by far the best way to learn at a rapid pace, learn something you may never have picked up on your own and forge friendships along the way.
This year, ELWATS has some seriously excellent instructors and I'd invite you to check out the list of classes. If you see something you're interested in, why not come to the show ant take a class. Some of these are filling quickly so if you want to come, start planning now.
Here is a time-lapse of the class I'll be teaching. The class will cover facial features, tooling techniques and embossing with a hybrid plug. I'd love to see you there.
http://leathercraftersjournal.com/store/product.cfm?product=1232
-
Not sure how I missed this thread, but thanks for the mention @Rockoboy! There are so many people that have inspired me over the years, its difficult to mention them all, but I find inspiration in unusual places. Some of my main mentors have been Bob Beard, Peter Main and Serge Volken, but early on, guys like TwinOaks, Katsass and JLS were inspiring. Heck, those guys are still inspiring if for different reasons than when I originally started. One thing I find continuous inspiration from is noobs who have the fire and the same insatiable thirst for knowledge that I have. Especially those who take what they learn and do something with it right away. It's good to see someone get it and move forward. So, to all of you, keep it up!
-
Nylon webbing of the sort used in upholstery would probably do the trick. Or any other synthetic material that doesn't stretch?
-
Those are for creating borders. They can be handy, but they can be a bitch to run. There are easier and more reliable ways to create borders, but if the price is right, go for it. You might like them!
-
The only water proof finish are any of the lacquer products. And even then, water can still leech in through the edges. Aniline dyes have the most vivid colors in my experience.
-
Fantastic work!
-
8 minutes ago, CowboyBob said:

LOL... why haven't I thought of that before!
-
@Johanna
I wasn't sure to put this here or in leather history, but here goes! As you probably know, Johanna is the boss here at leatherworker.net, and today is her birthday. I know that what she has created here has changed the lives of many people, myself included. Without her and this website, I wouldn't be where I am today, and I mean that both literally and figuratively.
Please chime in on how much the forum means to you and wish her a happy day!Thank you Johanna and I hope you have a lovely day, doing whatever it is you want to do. Happy birthday!
Mike

-
2 hours ago, fredk said:
I'm contrary to you mike. I always use a sponge for the reasons you advise using a spray bottle. With a sponge I can control how much moisture to put on and just where. Its all in how you use it; a sopping wet sponge is not good, a damp sponge wiped over the working area delivers just the right amount of moisture
I use sponges bought in a discount store, 10 for £1 or so. They are about 3 inches by 4 inches by 3/4 inch thick. I use them for applying dye and top finish as well.
1 hour ago, ABHandmade said:I use a cosmetic finely-porous sponge instead of a kitchen sponge. It better retains water and allows more accurate dosage of the amount of water applied.
That's ok. You guys can use whatever works for you. Having terrible luck with the sponge technique, Peter Main suggested I try a fine mist sprayer. I can control moisture far better with a bottle. Since then, I haven't had any issues with too much moisture. I agree with you about the sopping wet sponge, though. Most people don't realize that too much water causes a ton of problems.
-
I would recommend against using a sponge, at least for re-wettin leather in the middle of a project. Initially its fine, but when adding moisture, a sponge has the tendency to allow too much into the cuts and then causes those cuts to open up and show the core. I recommend getting a spray bottle for adding water to leather.
-
I know a LOT of people who do leather and none of them sharpen their stamps, ever. Link me on the video and I'll try and decipher for you.
-
Don't use bellies for straps. Too stretchy. I use backs for belts and straps. Minimum 6 oz unless its for something really lightweight. I don't like the look of anything too thin though.
-
Ok cool. Here’s where we’re going with this.


-
You'll have trouble with the draw of the pistol from that due to it sitting too deeply in the holster. You should be able to get your whole hand on the weapon in a combat grip, meaning no adjustment to grip from draw to presentation.
-
33 minutes ago, Sheilajeanne said:
What is a swivel bevel? Never heard of it!
-
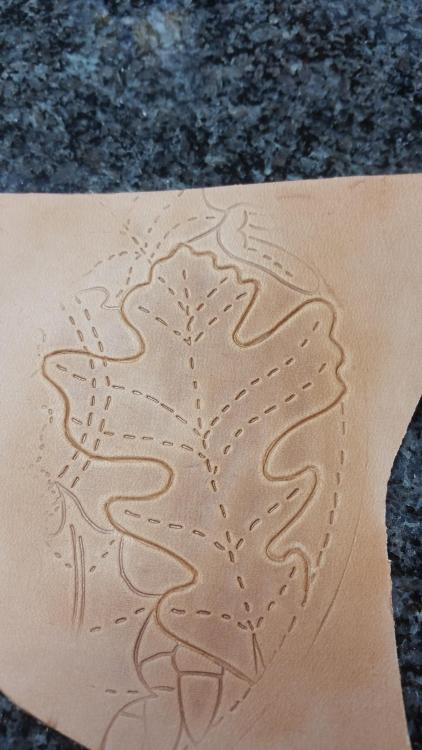
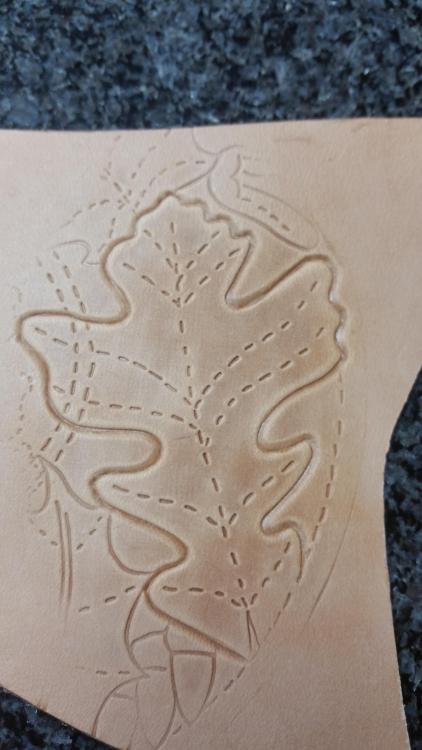
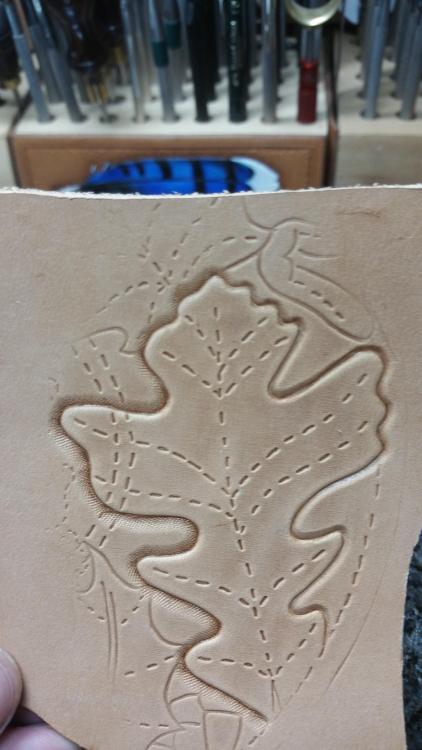
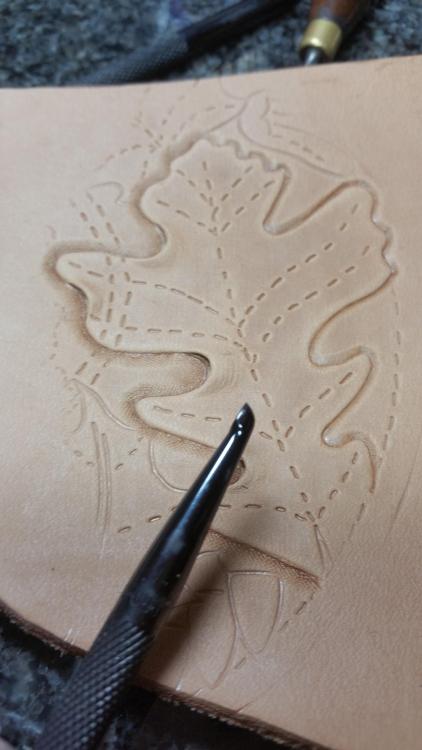
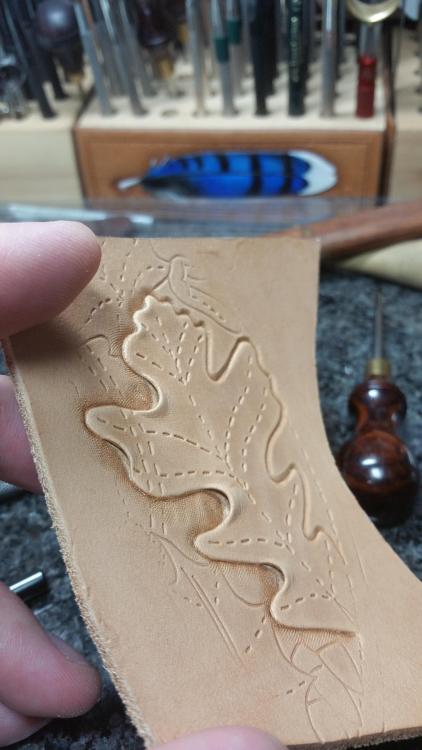
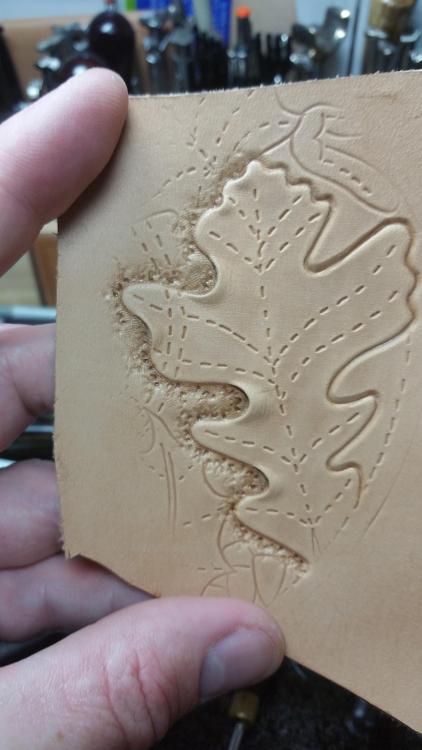
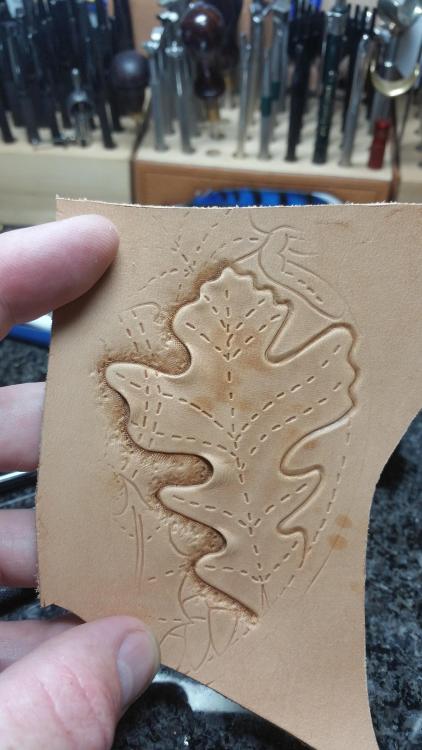
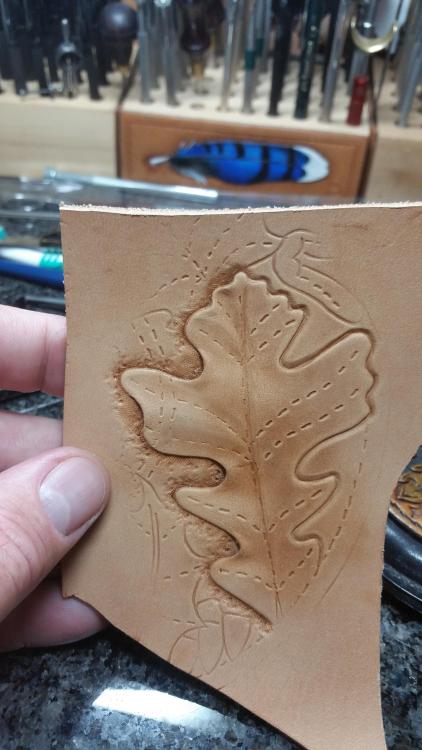
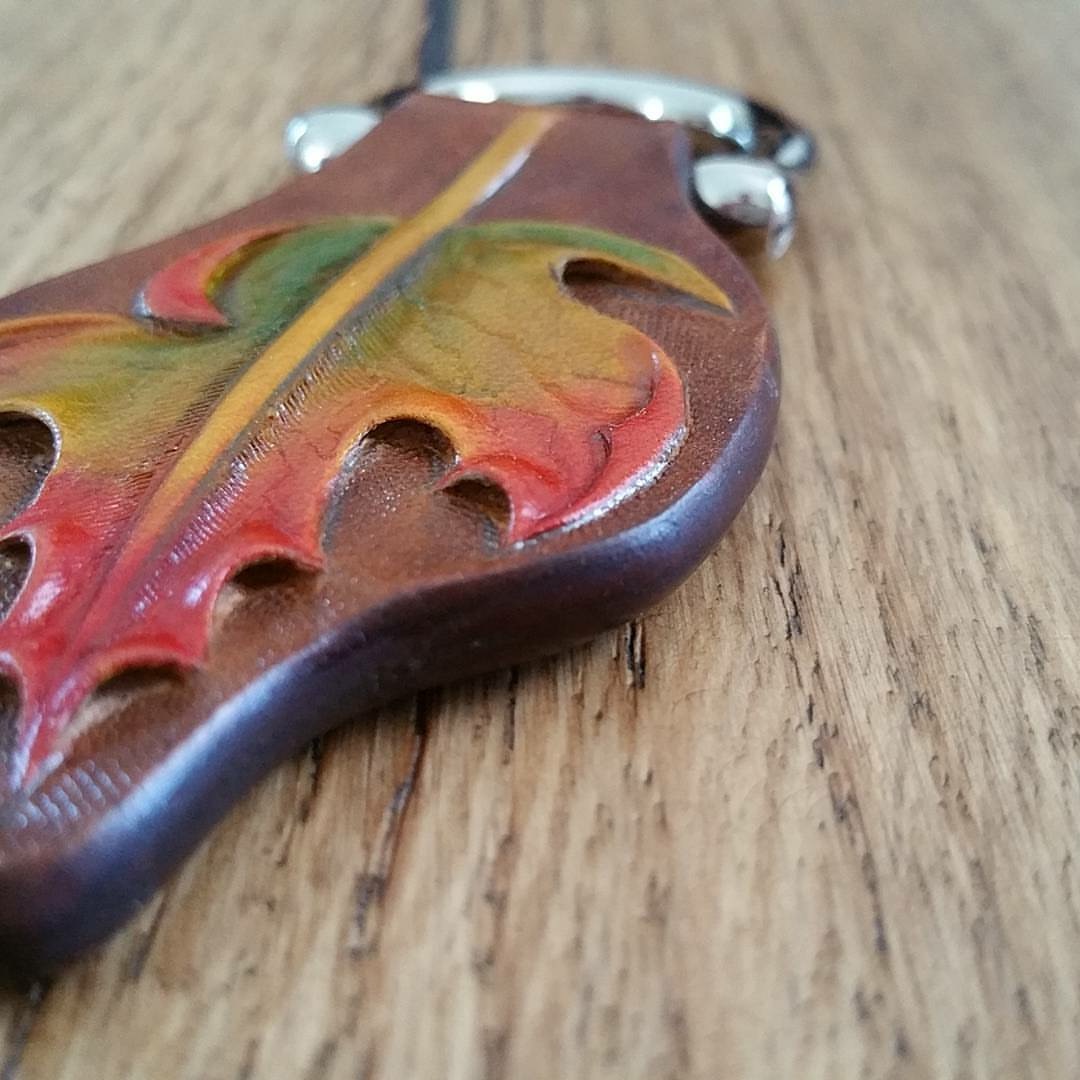
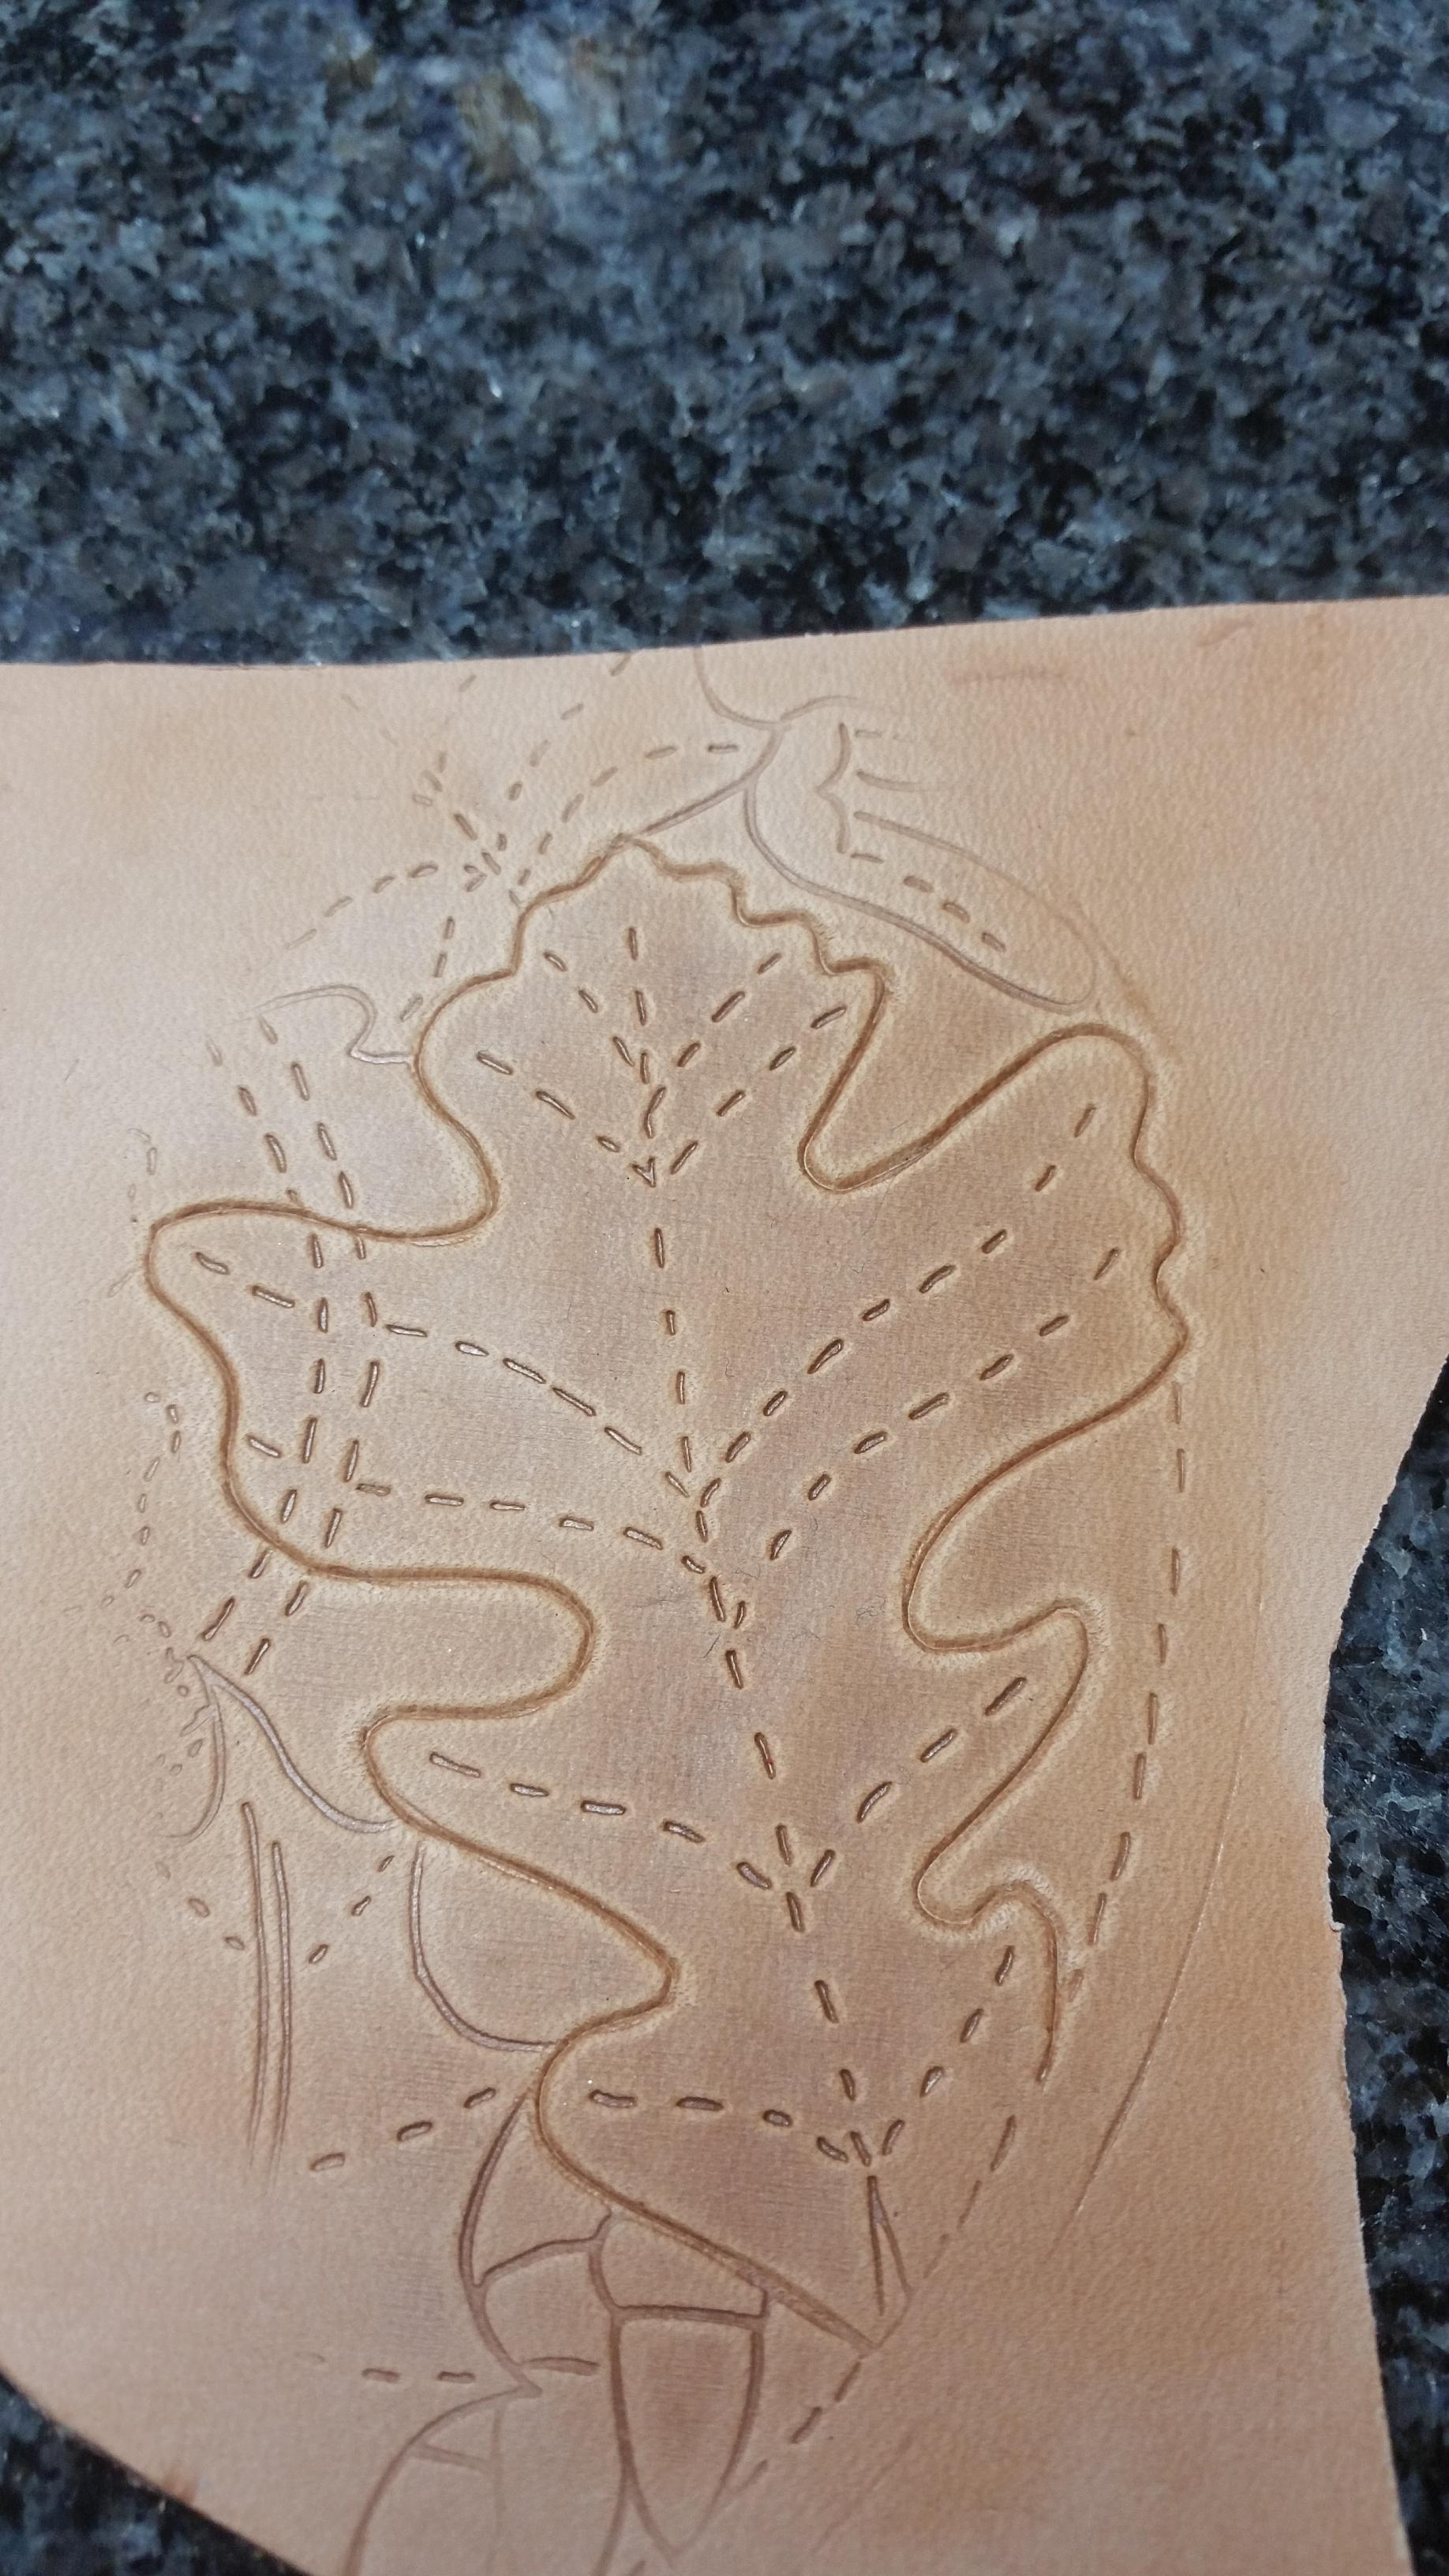
Here is a brief picture tutorial I did for a friend about how to bevel and lift carved leaves.
Steps:1. Cut
2. swivel bevel
3. Steep checkered bevel
4. Checkered matting and lift. I use pro lifters.
5. Background
6. Enhance lifts with modeling spoon
7. Make certain lifts flow into non-lifted parts
8. Using a modeling spoon, I begin creating the negative impressions and smoothing out the lines from the craftaid.
If you'd like me to do the rest of the tutorial, let me know and I'd be happy to oblige. This was only for beveling, so I didn't go into the rest.
-
@Riem, You have exactly the experience needed to weigh in on this topic. Great reply.
-
Danny stopped making leather knives, but they are still available for sale privately.


Vegtan Bar Stool
in How Do I Do That?
Posted
Give me a shout if you have any questions.