Kevin King
-
Posts
701 -
Joined
-
Last visited
Content Type
Profiles
Forums
Events
Blogs
Gallery
Store
Everything posted by Kevin King
-
 I don't think this is the right place to post this, but I was afraid if I posted in the help wanted section, it wouldn't be seen by the right people soon enough. I need to find someone in Colorado Springs that can install a 1/4" grommet in a wallet I have sent to a customer already. I completely forgot to do it and am trying to help him out without him having to send it back to me just for the grommet. He has an event on Sunday that he would like to take the wallet to, so it would need to be installed quickly. I can give him your info so he can contact you to make the arrangements. If anyone is from, or knows of someone in the area, please shoot me an email to kkingleather@gmail.com, or give me a call at 417-621-1083. Thanks in advance! KK
 -
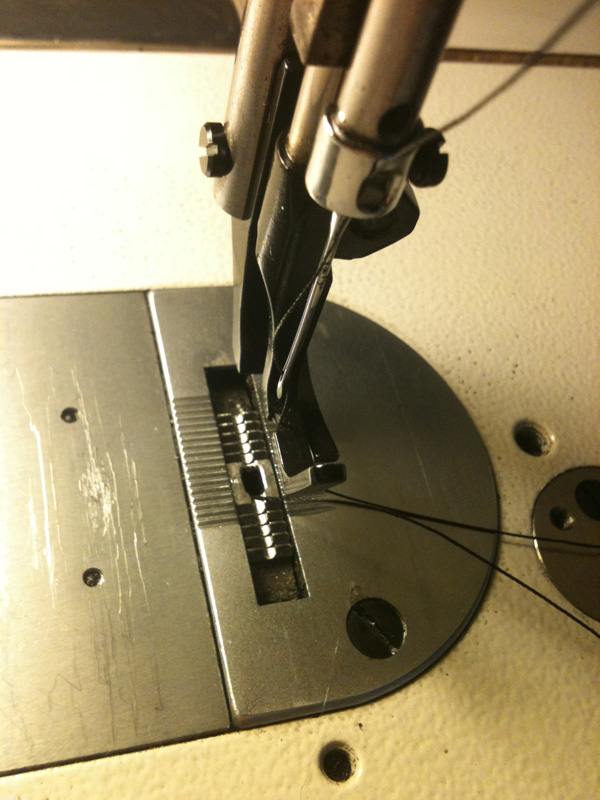
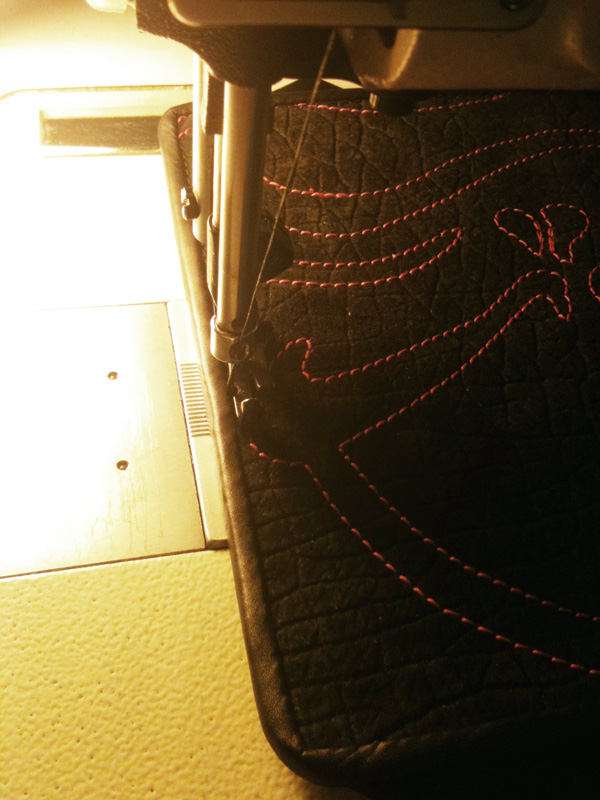
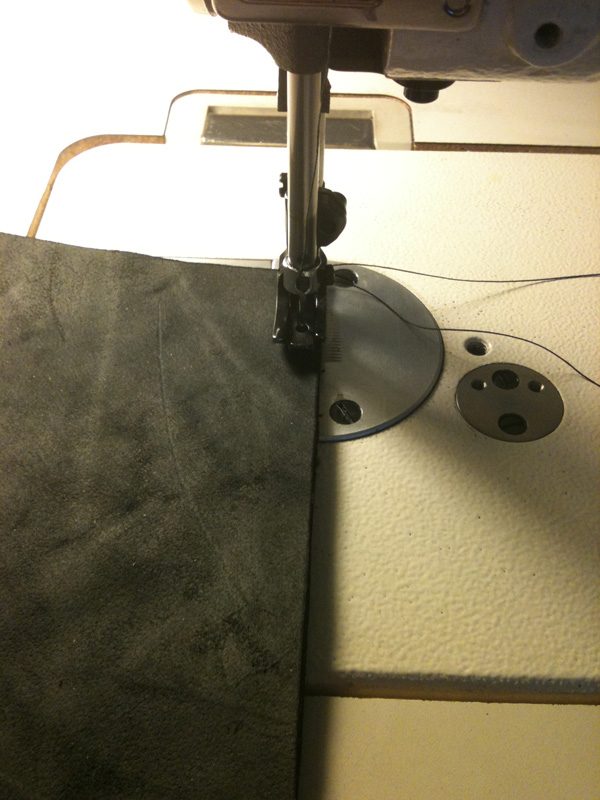
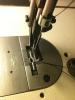
Thanks for the compliment. I use a Juki flatbed machine. I use 69 thread. This one was pretty straight forward, although I do have projects that do hurt my head when I try to figure out which layers to lay down first to get the look I am going for. Then add to that, thread color and leather color/skins. When the options are endless, it's sometimes difficult to come up with the perfect combo. I have found that when I am having a hard time trying to figure out how i'm going to do something, it's best when I just start it. Not really knowing what I'm going to do. Then the project kind of just makes itself...i'm just there to help it along.
-
Thank you for all the compliments! Thanks! All machine sewn. Didn't cover the white. Not sure I'd know how to do that while sewing the overlays/inlays on top of it. Thanks! I must be missing something, because I don't really do anything different when working with patent leather than I do with any other leather.
-
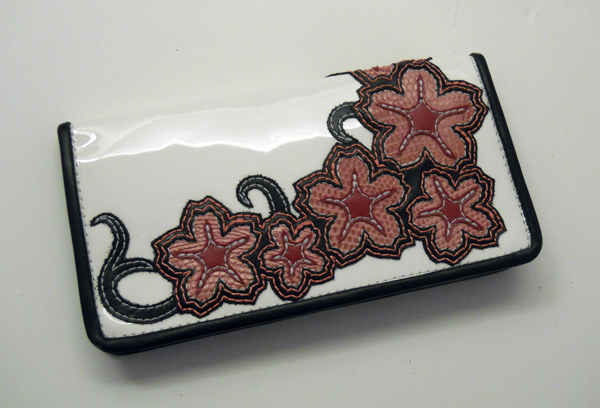
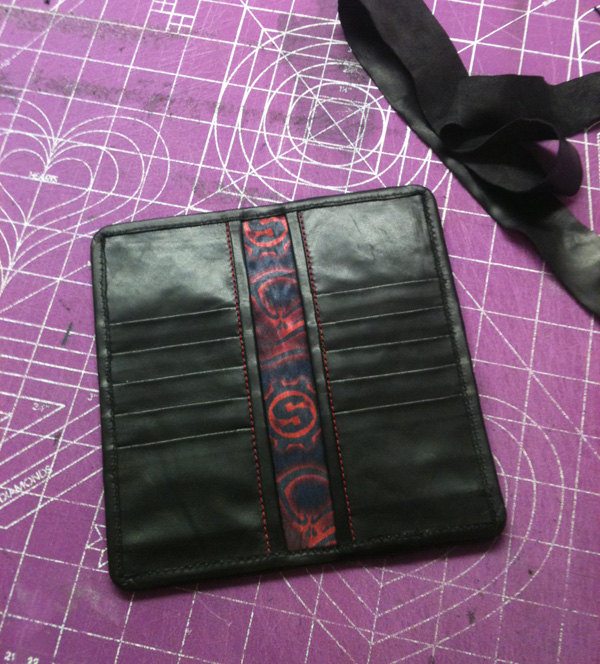
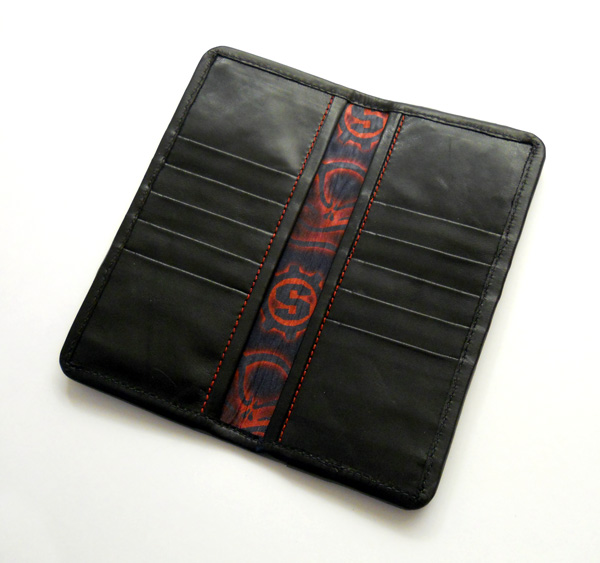
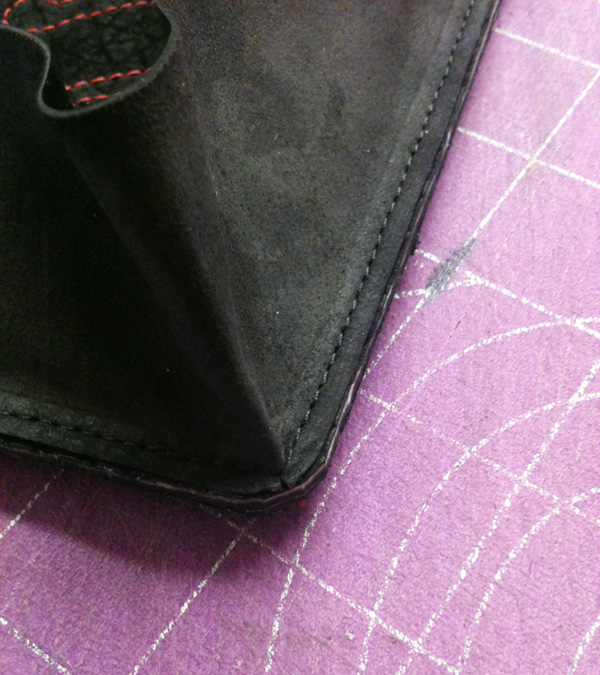
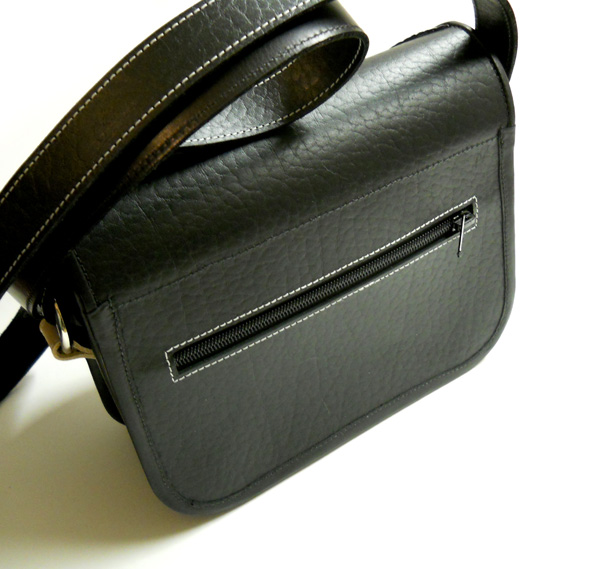
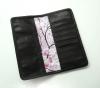
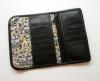
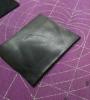
It's been a while since I posted anything here. Thought I'd share this one because I really like it. Thanks for looking. Checkbook made for a client to give as a Christmas gift. I love it when people give my work as a gift. White patent leather, pink lizard inlayed in black cowhide. Pink cowhide accents.....and a ton of stitching.
-
Looks real nice. I also like the welting. Good job, my friend. KK
-
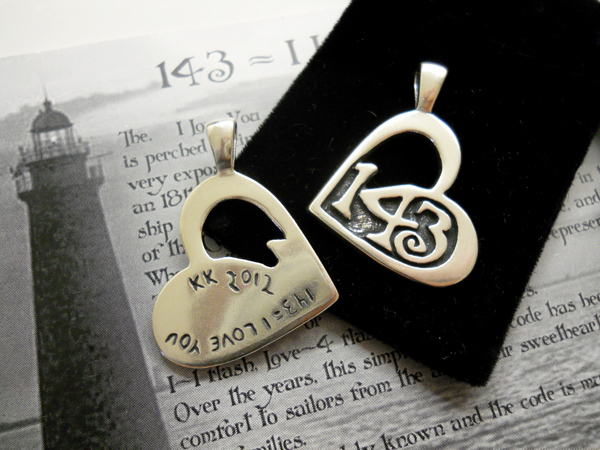
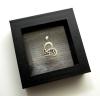
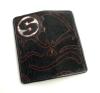
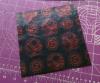
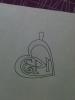
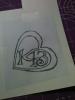
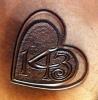
143= I Love You. The, ‘I Love You’ or ‘I Miss You’, lighthouse is perched facing out into the Atlantic, on the very exposed Minot’s Ledge named after George Minot an 18th Century Boston Merchant, who lost a valuable ship on the rocks prior to the lighthouse. The ledge is part of the Cohasset Rocks, off Massachusetts, USA. When in 1894 a new flashing lantern was installed in the 34 year old lighthouse it had a 1-4-3 sequence and very soon the number sequence was taken to represent ‘I Love You’ or ‘I Miss You’ (I /1 flash, Love /4 flashes, You /3 flashes). Over the years this simple lighthouse code has been a comfort to sailors from the area, their sweethearts and families. The story is now widely known and the code is much loved for itself. The newest addition to my hand-carved silver pieces and '143' line of products. Each pendant is cast in .925 sterling silver 1 inch wide X 1 1/4 inch tall Bail will accomodate up to a 2.5mm chain Each piece is enscribed on back and is accompanied by signed description card of the '143' Legend. Comes in a Black Suspension 3-D Gift/Display Box
-
Lucky..how It Went Down.
Kevin King replied to Kevin King's topic in Purses, Wallets, Belts and Miscellaneous Pocket Items
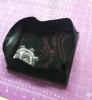
The finished product. -
Happy St. Patty's Day!
Kevin King replied to Kevin King's topic in Purses, Wallets, Belts and Miscellaneous Pocket Items
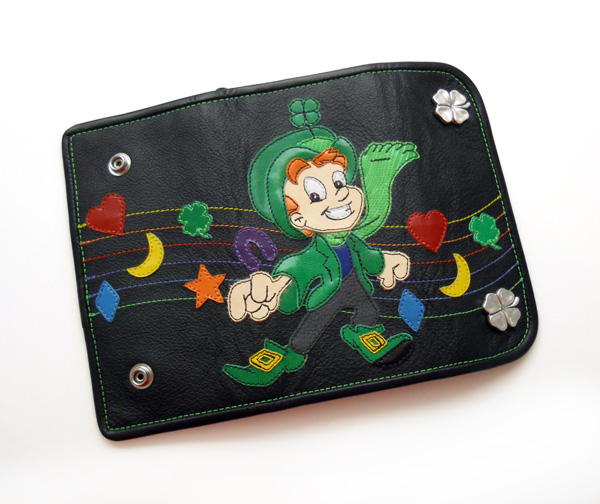
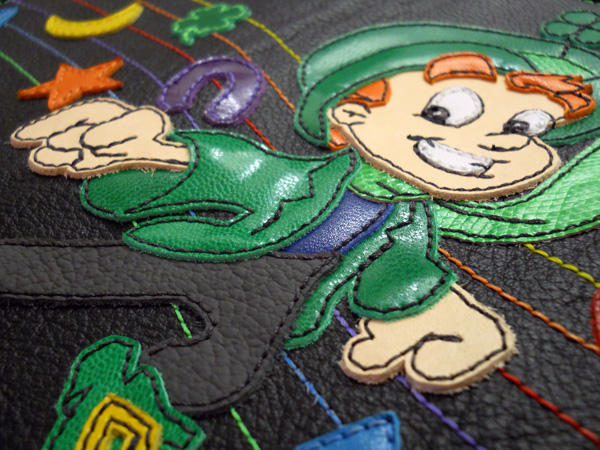
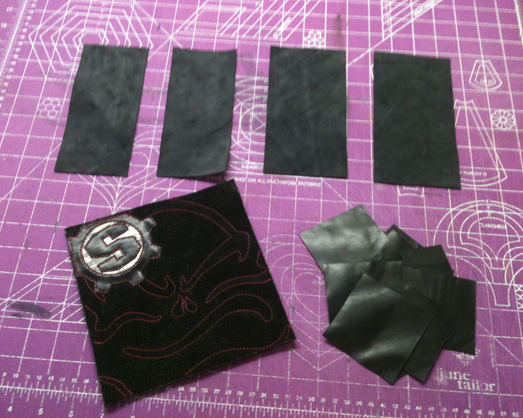
Here's a link to how the layers went down. Lucky -
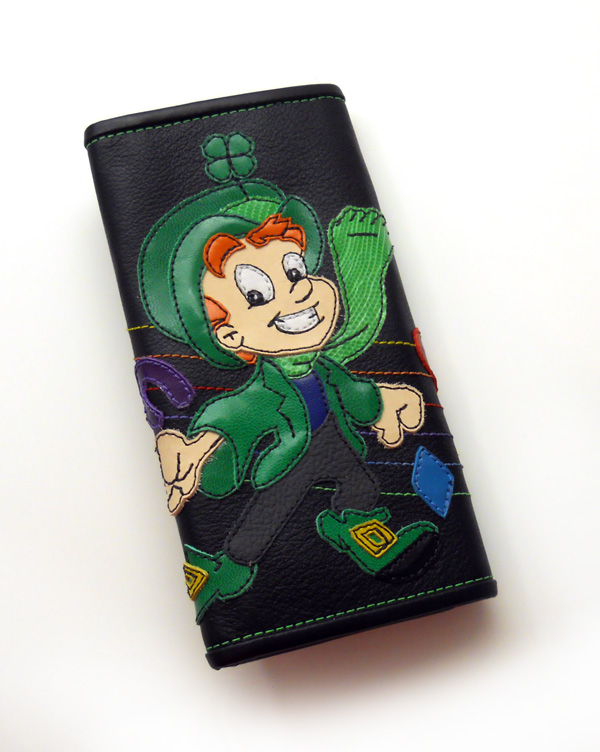
Trying out my animated gif skills. Lucky in 13 trips to the sewing machine.
-
Happy St. Patty's Day!
Kevin King replied to Kevin King's topic in Purses, Wallets, Belts and Miscellaneous Pocket Items
Oh ya. I've seen that stuff. Been meaning to give it a try. I carve my pieces in wax and send to a caster. -
Happy St. Patty's Day!
Kevin King replied to Kevin King's topic in Purses, Wallets, Belts and Miscellaneous Pocket Items
Thanks! What is PMC? I'll add the zipper tut when I can find the chance. -
Happy St. Patty's Day!
Kevin King replied to Kevin King's topic in Purses, Wallets, Belts and Miscellaneous Pocket Items
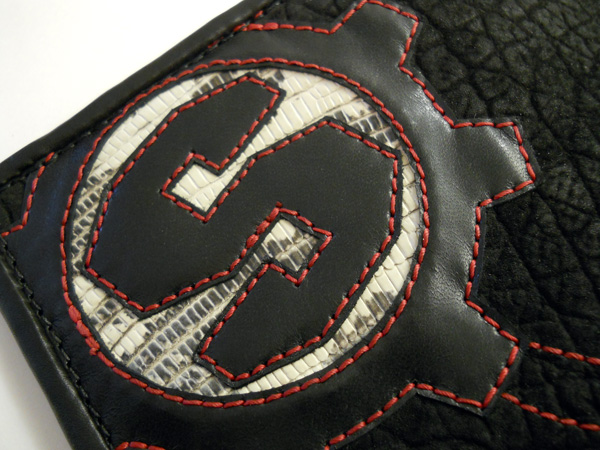
Thanks. I carved the snaps. -
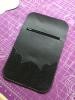
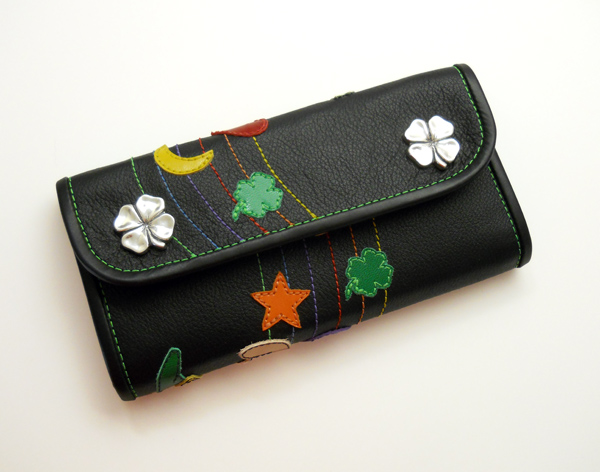
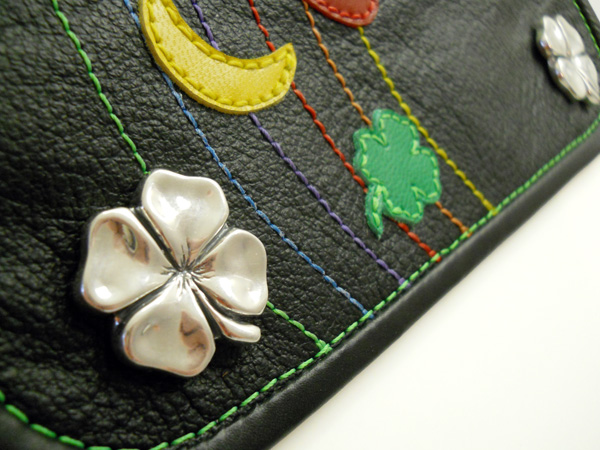
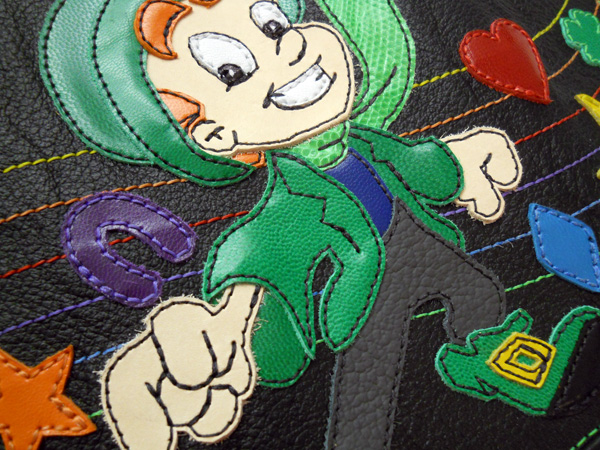
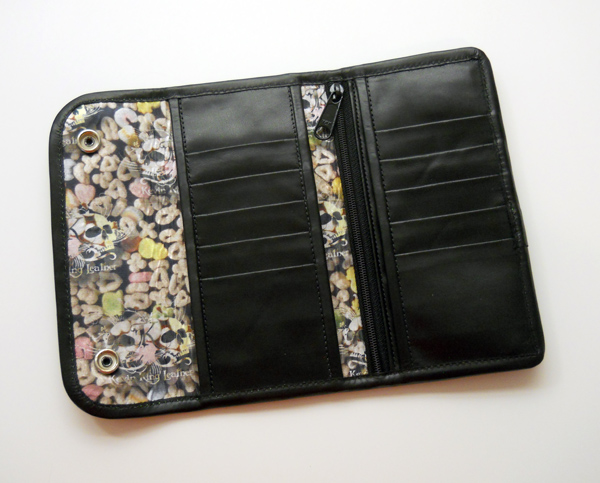
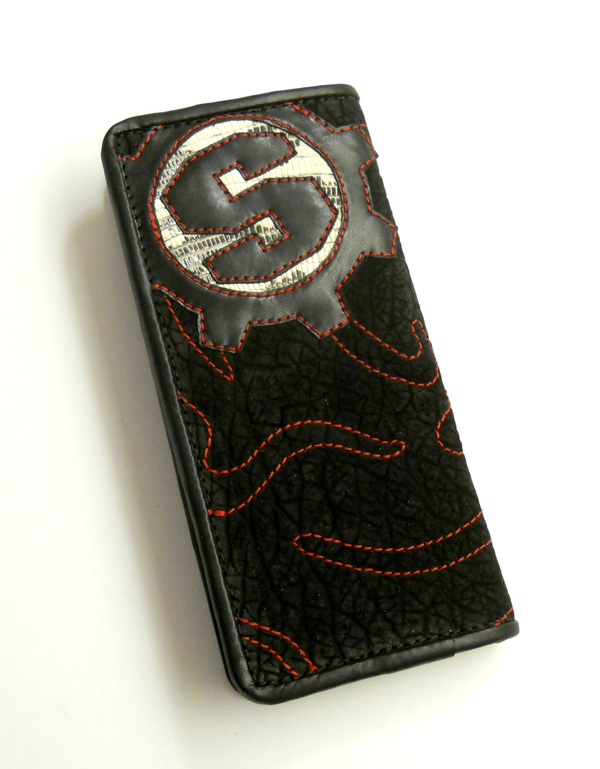
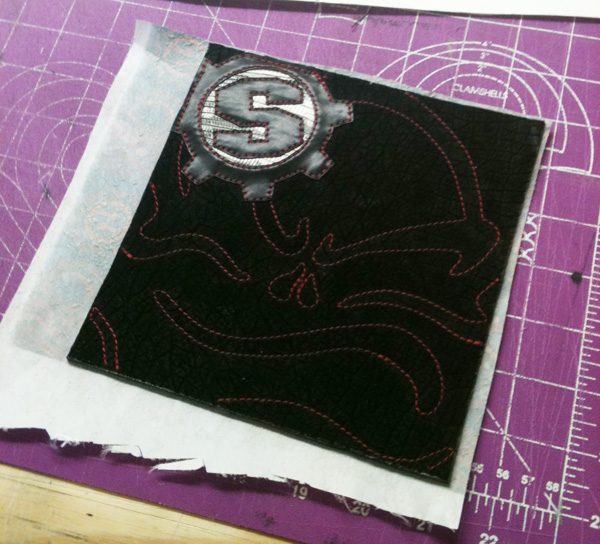
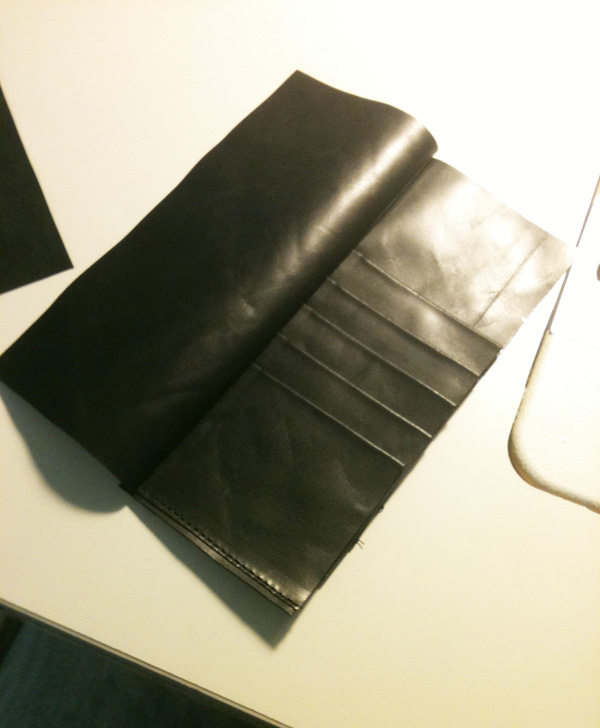
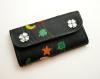
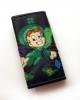
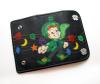
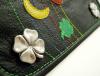
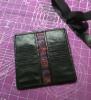
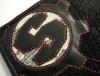
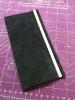
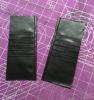
Just in time for St. Patricks Day! I present "Lucky". Many many layers of various skins on top of black pebble grain cowhide. 10 card pockets, three cash/long pockets, one zipper pocket. Custom one-off lucky charms lining. Custom hand-carved silver shamrock snaps keeps it shut.


-
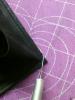
I use an exacto knife.
-
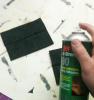
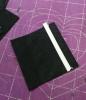
It should look like this. Trim. I can use what I trimmed away for another wallet. And the finished product. Thanks for looking, and I hope this helps.

-
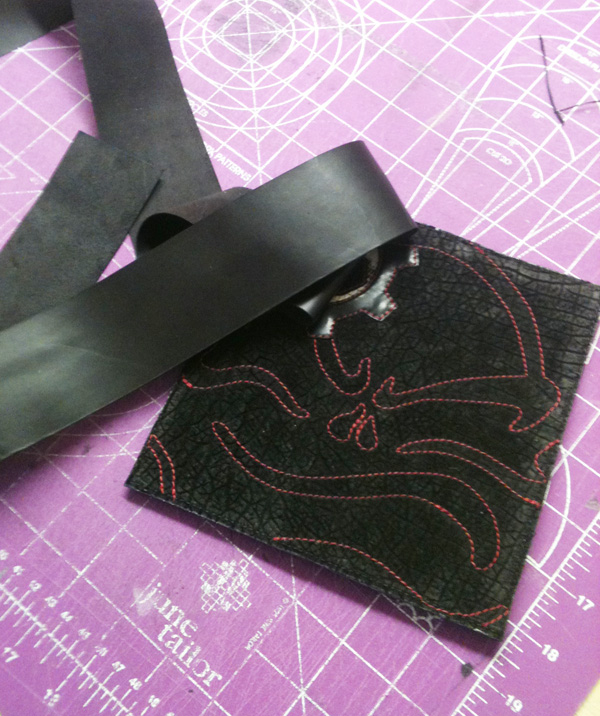
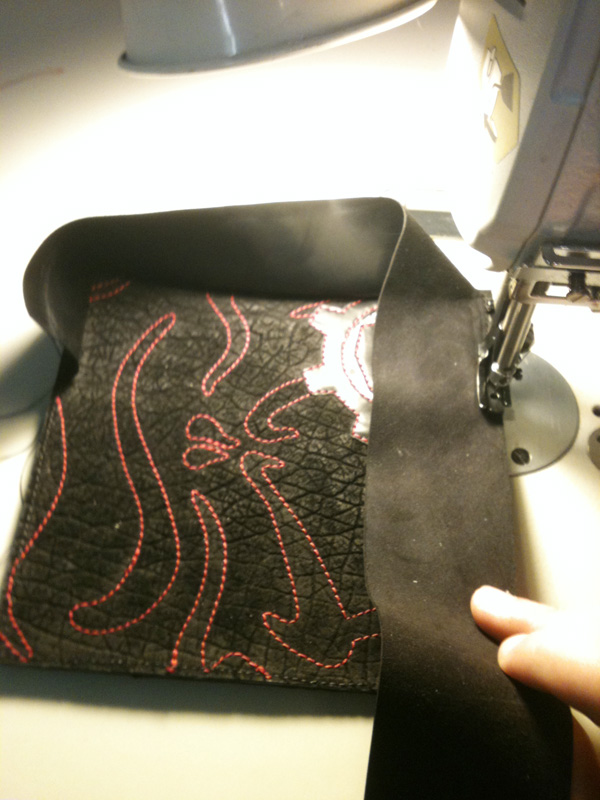
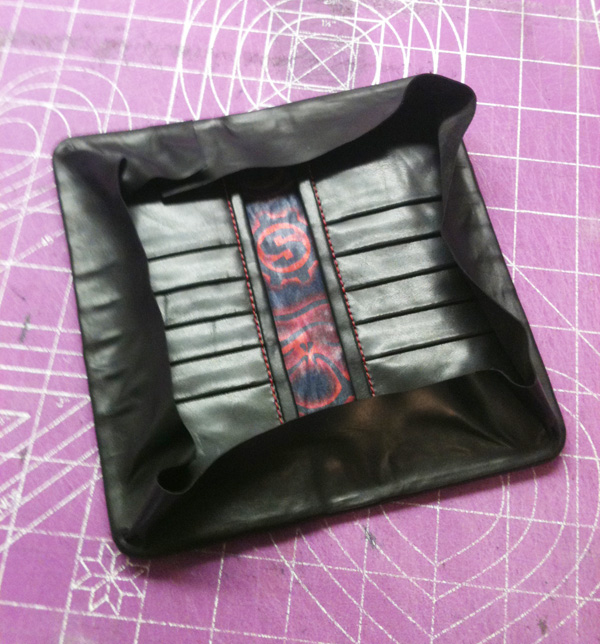
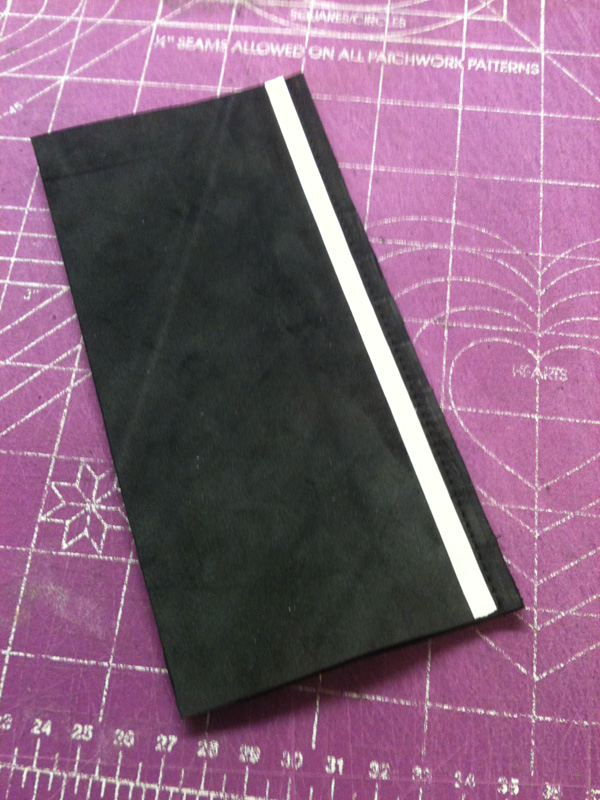
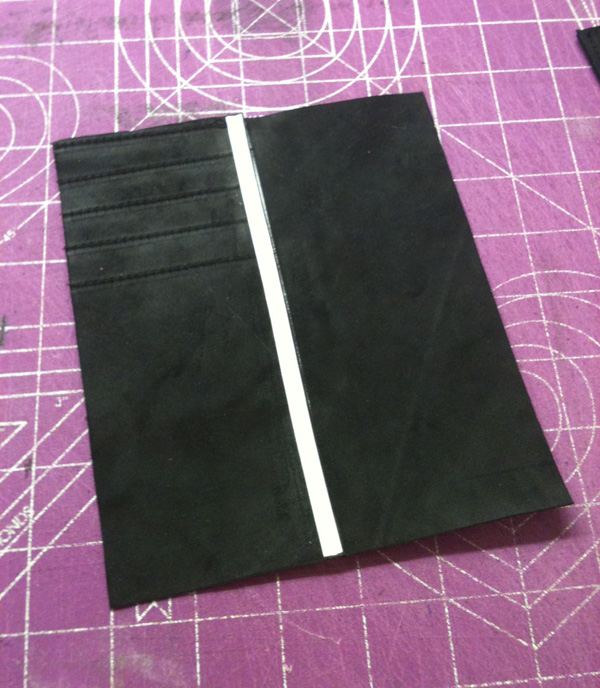
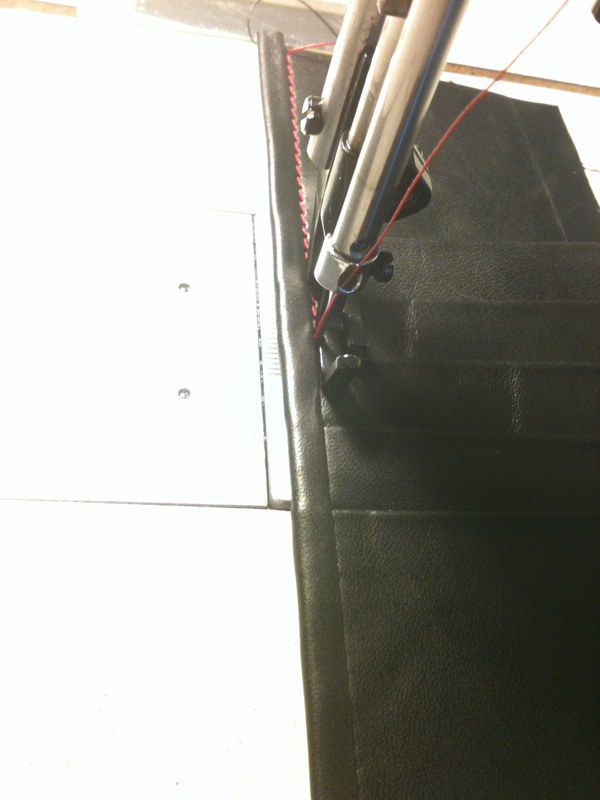
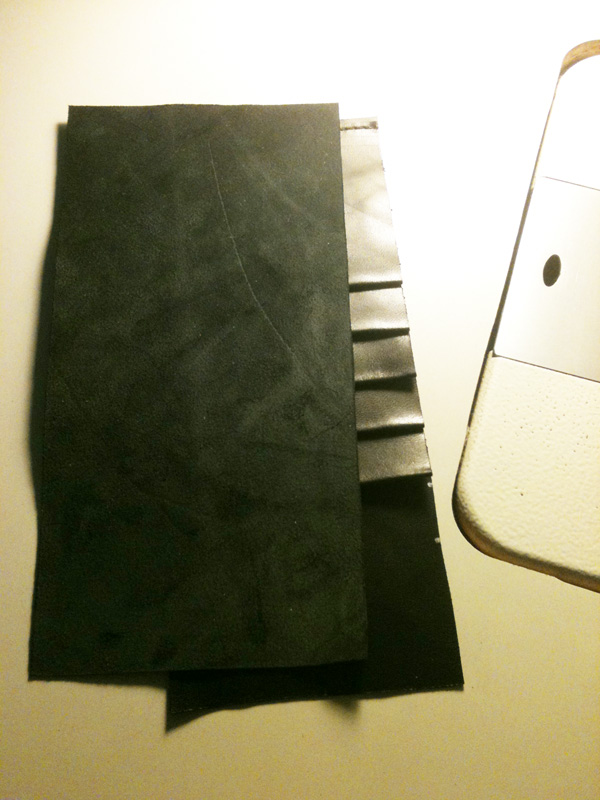
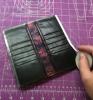
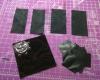
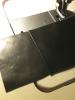
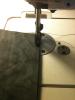
Sew pockets on wallet. Time to bind it. I use a two inch wide piece of garment cowhide. Sew along the edges. Trim corners. Seam tape and fold over. Sew along outer edge.


-
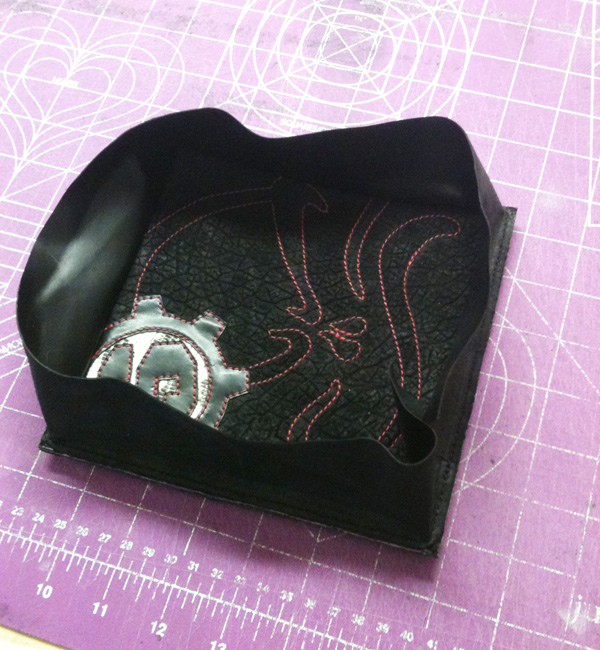
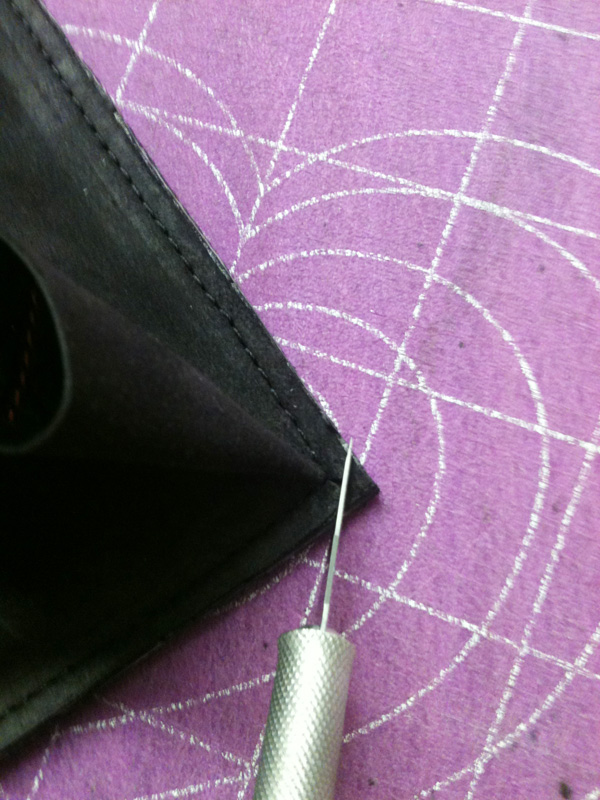
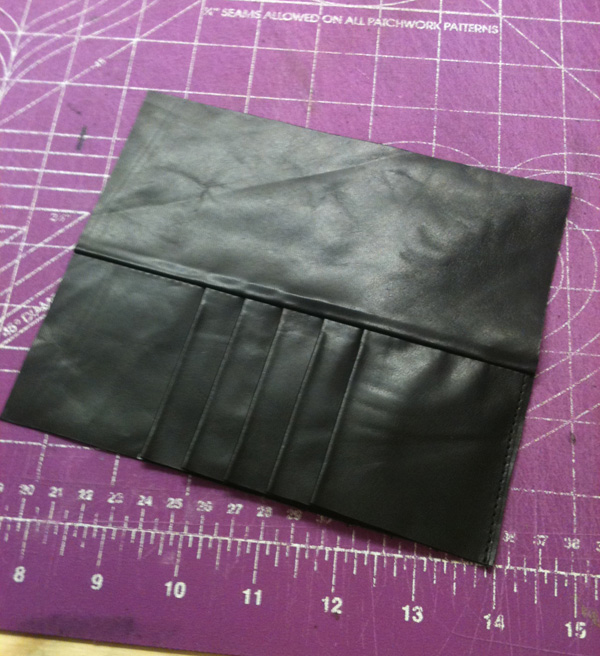
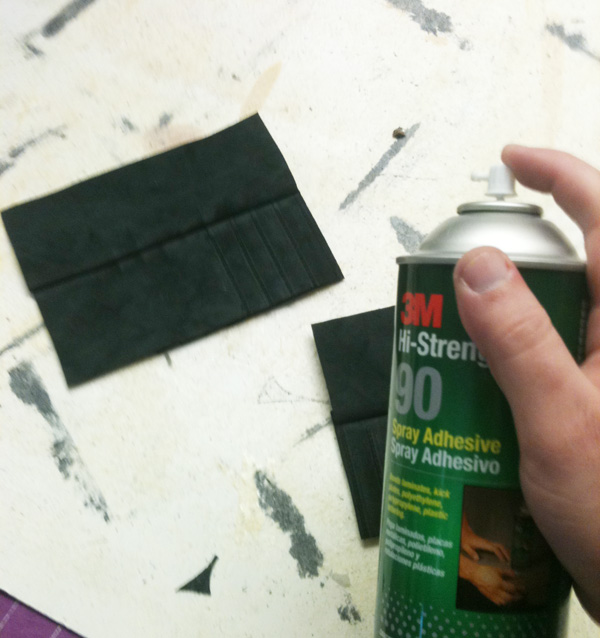
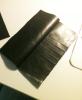
They should look like this. Seam tape and fold over. Then more seam tape and fold around to back of pockets. Stitch along edge to secure. Then glue. Pockets ready to go. Glue in lining and trim.


-
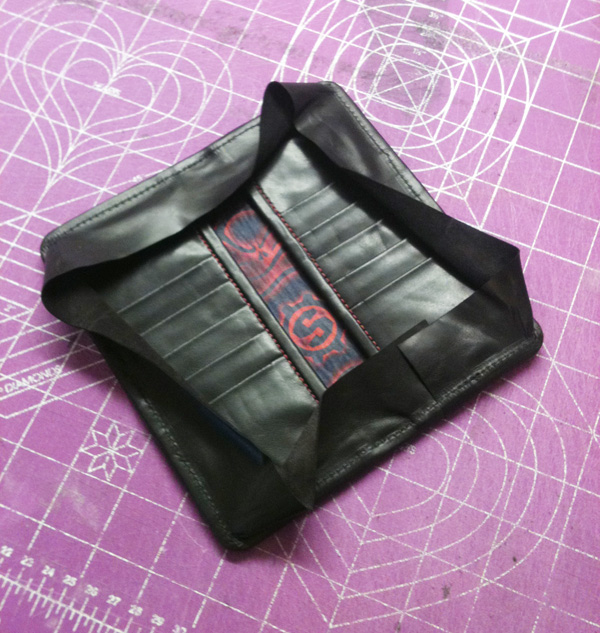
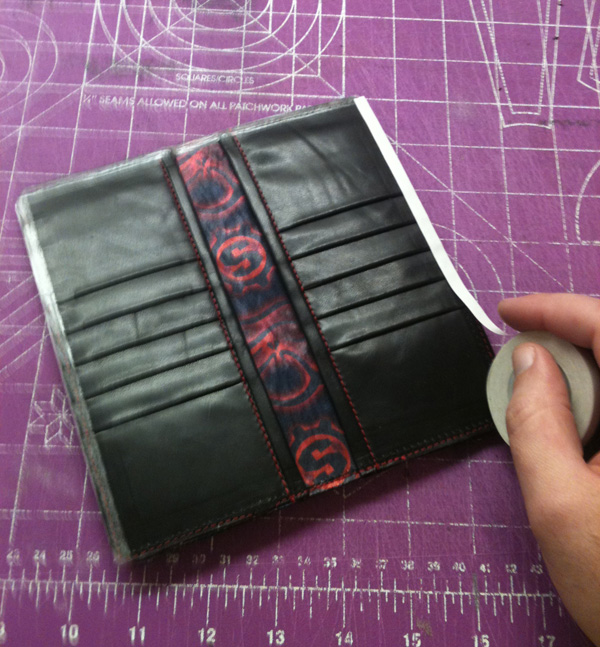
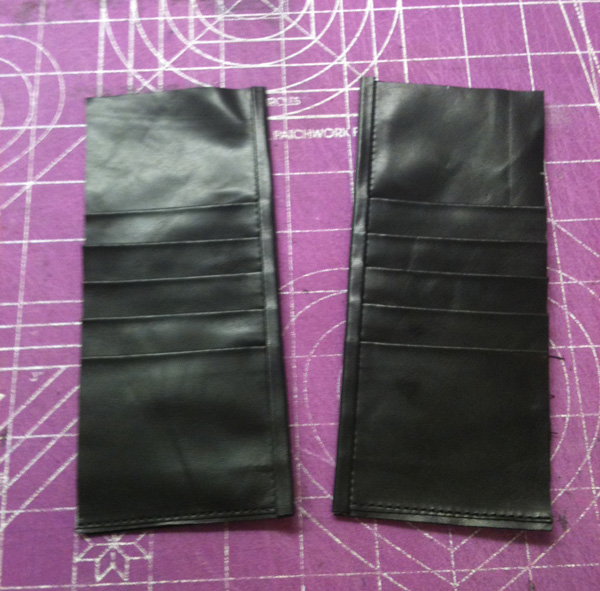
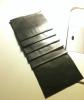
I have changed up a few things and honed my skills since my last wallet tutorial, so I thought i'd make a new one. This is going to be a mid-size long wallet. I have already done the custom work on the outside of the wallet, so this is for the construction only. Start with the pieces cut out. Seam tape on pockets and fold over. I mark the placement of the tops of the pockets with a silver sharpie. Then sew starting with the top pocket. Sew the binding leather face down over edge of pockets. It's important to do opposite sides so you'll have a left and a right pocket.

-
Biker Gal Purse/waistbag
Kevin King replied to Spinner's topic in Purses, Wallets, Belts and Miscellaneous Pocket Items
Very pro looking. Nice work. -
Tooling Custom Design Transfer Tutorial
Kevin King replied to Kevin King's topic in Patterns and Templates
Those are both good suggestion. The only problem with your statement is that anything would be "the wrong way" to do anything. In leatherwork, there is no "wrong way". You just have to find a way that works for you. As I have already said a couple of time in this thread. I don't have any issues with lining up anything, as I print the design on a template the same size as my work. There's really no room for error in my technique. -
Tooling Custom Design Transfer Tutorial
Kevin King replied to Kevin King's topic in Patterns and Templates
^^what Suicide said.^^ I don't know about you, but I press prety hard to get a good line. Regular paper, (and even card stock) tears. If you're having luck with regular paper, then more power to you. This is not the only way to do it. Just how I do it. You've gotta find the best way that works for you. -
Tooling Custom Design Transfer Tutorial
Kevin King replied to Kevin King's topic in Patterns and Templates
Ya gotta do whatever works best for you. I like to try to eliminate as many steps as I can. I'd print directly to the posterboard if my printer would handle it. -
Thanks, Dave. Ya, inkjet. Click Here for the answer to that question. Thanks. I use CorelDraw. I have used the Wacoms in the past, but found it easier for me to use a mouse. CorelDraw.
-
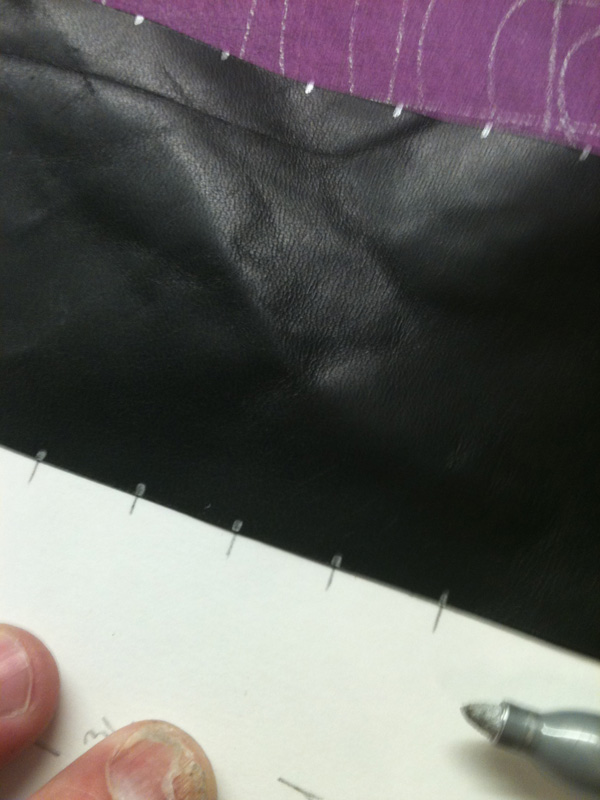
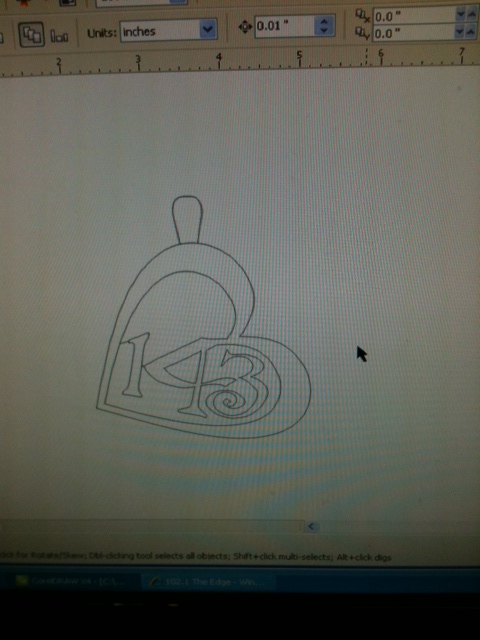
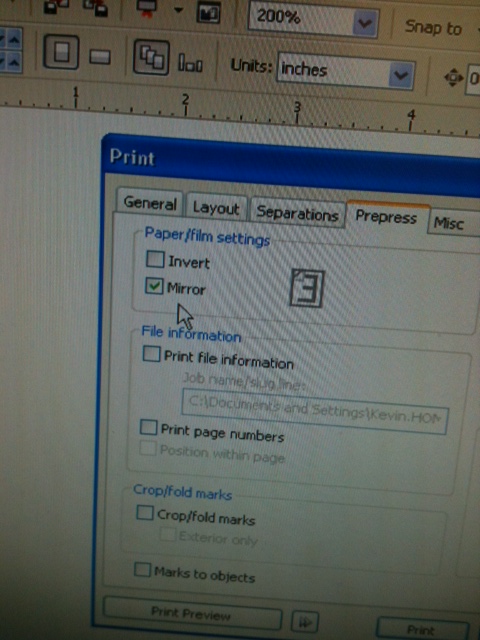
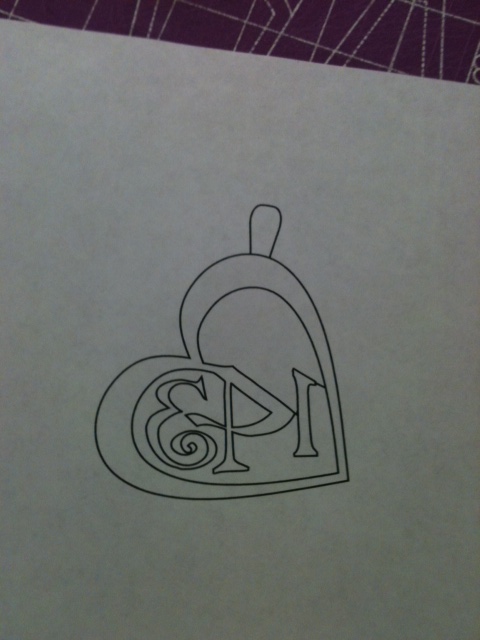
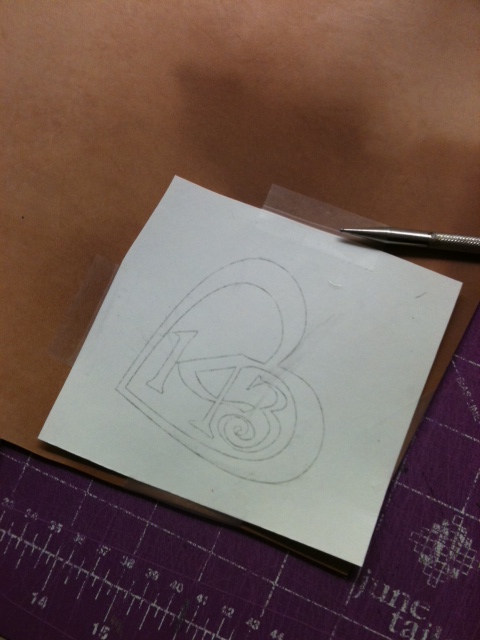
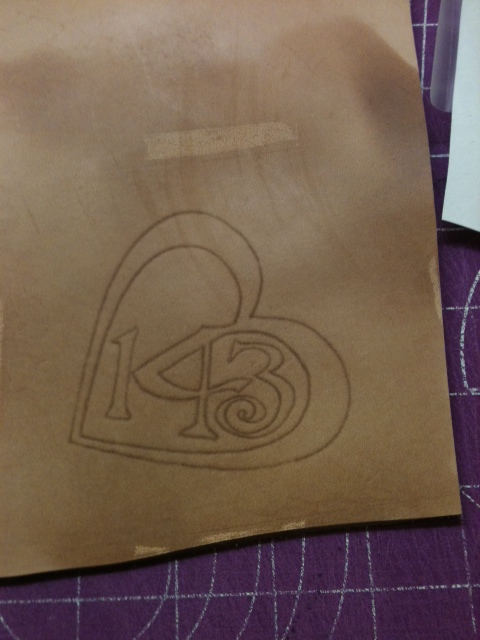
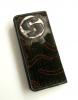
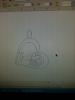
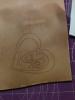
Again, I am not sure where to put this. Please feel free to move to the appropriate section. I did a tutorial on transfering a pattern that can be found by clicking HERE. I mentioned that I use the same technique when transfering designs for tooling. Here is the response to that question. I grabbed whatever design I had up on my computer at the time, which happens to be my 143 logo. Be sure to print in mirror image because you're going to be turning it over to transfer to posterboard. Print a pretty thick black line so it'll transfer well. Tape face down on posterboard. Burnish image. I use a pencil so I can see where i've been. Image transfered. Tape to leather, use stylus or pen to transfer to leather. Tool and finish however you see fit.


-
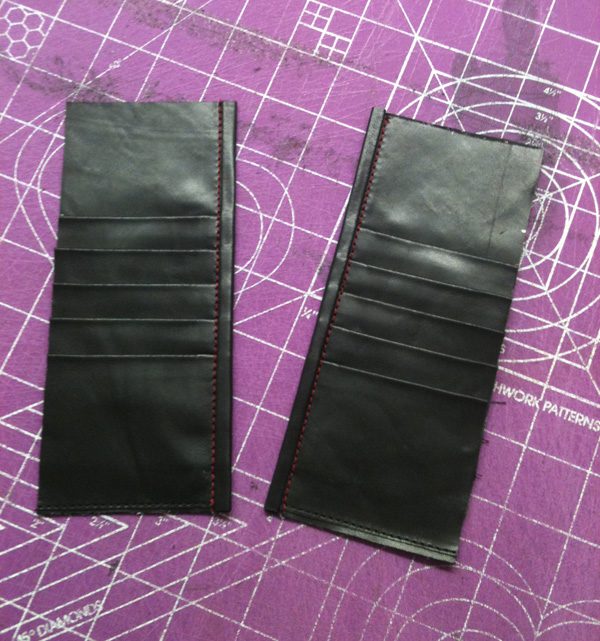
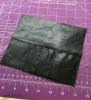
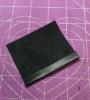
Sewn down. The finished product.