supercub
-
Posts
135 -
Joined
-
Last visited
Content Type
Profiles
Forums
Events
Blogs
Gallery
Store
Everything posted by supercub
-
Holster Plate
supercub replied to SooperJake's topic in Gun Holsters, Rifle Slings and Knife Sheathes
I've used mine a few times with the thought that I would be able to get closer to a molded pancake (on the back). You can, but the issue with re setting tension to get a good knot is too time consuming for the benefit. Most of my current holsters are flat backed, so I don't use the plate. I could see some advantage for stitching stirups, but I don't do saddles. -
Best Way To Attach Iwb Straps
supercub replied to glockanator's topic in Gun Holsters, Rifle Slings and Knife Sheathes
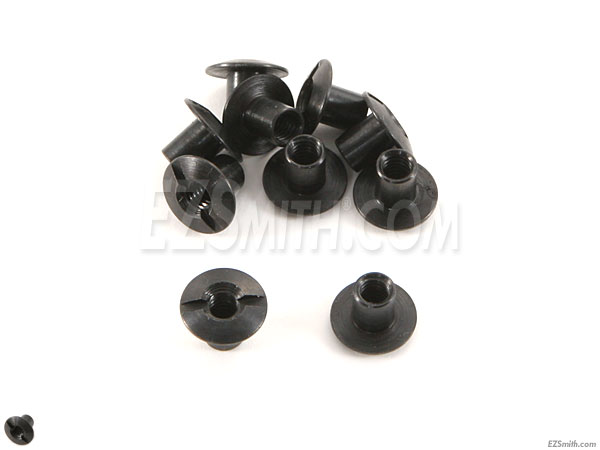
Another option instead of t nuts might be a slotted post - like an open ended Chicago screw. Knife kits sells them in black oxide in 8/32. I haven't yet found them in 6/32. They are easy to replace and fairly unobtrusive.
-
Flat Back Pancake
supercub replied to chiefjason's topic in Gun Holsters, Rifle Slings and Knife Sheathes
It's actually pretty easy to stitch along the molded portion with a machine IF you use the correct presser foot. Rather than using the normal double presser foot that comes with the machine, I use a left or right foot that allows you to get right up to the molded edge. Makes it a lot easier. Most machines have the option for different feet. Replacement feet for both the Boss and the various Juki clones are readily available. Now if somebody would just design a functional French box stitcher fixture that works on the Boss or Juki....... -
Finish For Rough Out Holster
supercub replied to supercub's topic in Gun Holsters, Rifle Slings and Knife Sheathes
Good suggestions, thanks guys. -
As another project made from remnants from the scrap bin, I recently put together an IWB with the rough side out. On most other projects I usually finish with Neetsfoot oil and Mop N Glo topcoat or dye and Neat lac. I'm not sure how to finish the rough out portion of this holster to retain the outer texture while still protecting the leather- any suggestions?
-
Tuckable Pancake
supercub replied to supercub's topic in Gun Holsters, Rifle Slings and Knife Sheathes
Exactly. The only downside is having to wait for the front to dry sufficently so you can sew without leaving too many marks.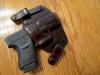
-
Tuckable Pancake
supercub replied to supercub's topic in Gun Holsters, Rifle Slings and Knife Sheathes
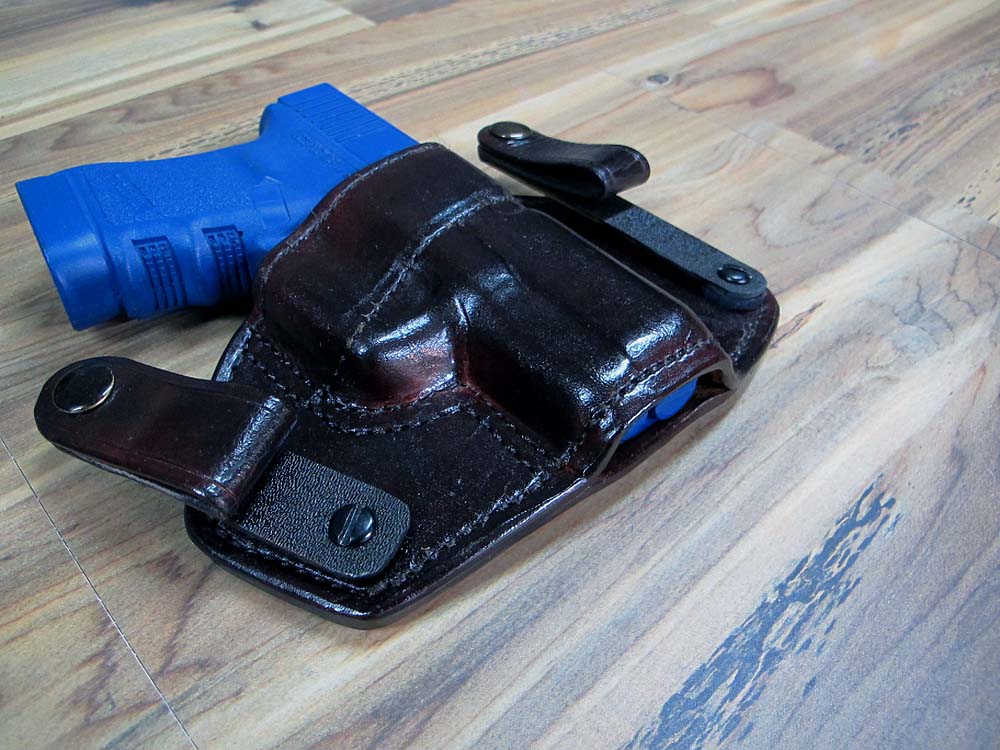
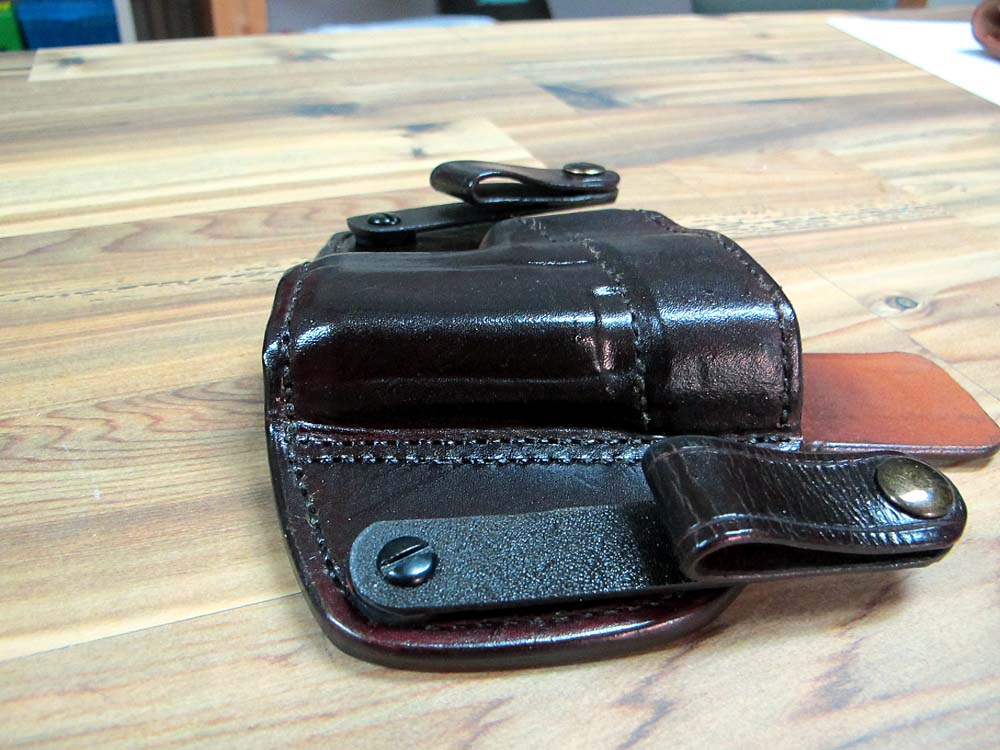
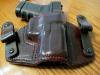
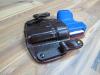
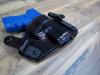
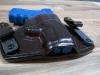
The retention is almost too good. The trigger guard and the ejection port mold very well internally. I like the flat back better than the conventional pancake. The double layer of 4/5 coupled with the steel strip ( while a little more work to build) makes all the difference in comfort and the ability to re holster. The next one will be an OWB pancake built the same way. -
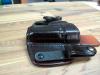
I had a notion to put together a new IWB holster for a Glock 30. I wanted it to be comfortable and capable of being very concealable. I like the performance of the tuckable hybrid type holsters made by Galco and others, but I'm not all that fond of kydex. Like the kydex holsters, I wanted it to be rigid with the ability to re holster easily. I also wanted it to be fairly thin in profile since the Glock 30 is already pretty chunky. Finally, I wanted to try out a few construction techniques I hadn't done before. What I ended up with was a prototype of a tuckable pancake with an integral steel reinforcing band. It is quite comfortable and nearly as rigid as a kydex holster. Since this is a prototype, there are lots of things I will adjust on subsequent models. I sandwiched a strip of 20 ga galvanized steel between two layers of 4/5 oz for the front. The result was a very rigid throat with very little extra thickness over a non reinforced throat. It seems to work well and I will keep trying it on future holsters. I molded the front and then attached it to a 9oz back so the back of the holster would remain relatively flat. I found that detail boning of the laminated front was a lot more difficult than for a conventional single thickness piece. Some of this might be due to the poor quality piece of scrap leather I used, but it is probably not all that important from a functional standpoint since it is a concealed holster. I also will adjust the wings and belt loops for better grip clearance next time. I had planned for this effort to pretty much just test the utility of the steel throat reinforcement and the two layer front. Internally, the molding gives excellent retention and the gun "snaps "right in. The belt loops are attached to a piece of kydex with a pull the dot snap stud that is just a little too fragile for my tastes. I may use 6/32 machine screws to attach the snaps next time. That will also allow changing out the belt loops to use on different size belts. The next loops will also be attached to leather covered steel tabs and attached to the holster with buried T nuts instead of the kydex strips currently used. Anyhow, this one was fun and I learned a lot during the construction.

-
Projects From The Scrap Bin
supercub replied to supercub's topic in Gun Holsters, Rifle Slings and Knife Sheathes
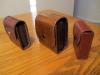
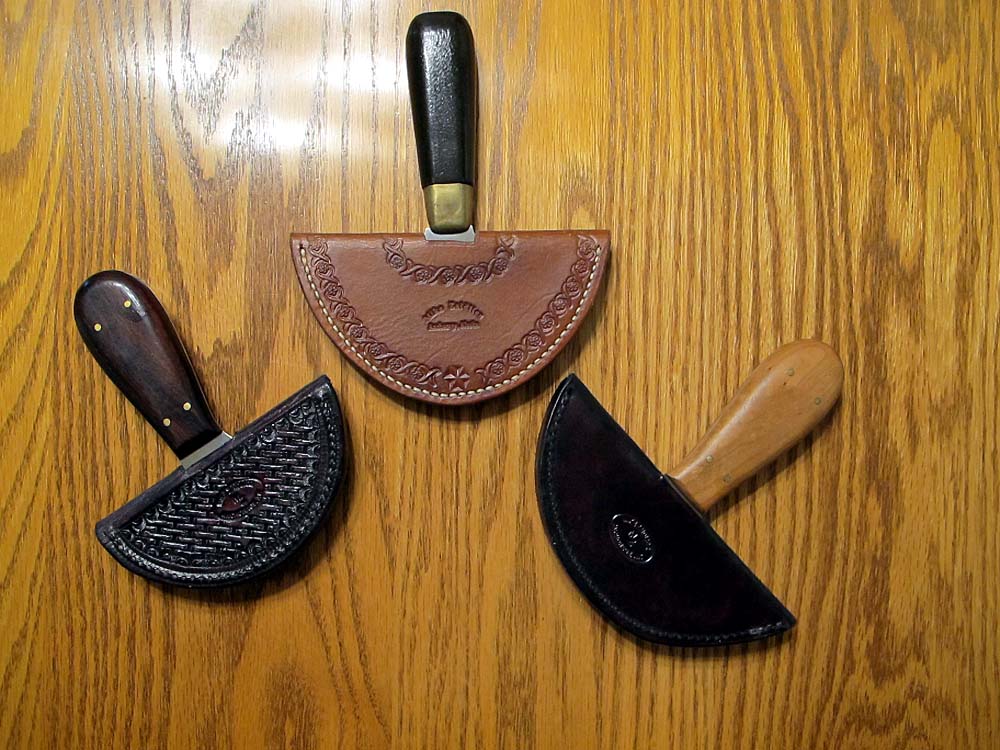
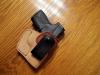
Thanks for the welcome. Attached are a couple more pics of scrap bin projects. Got tired of getting the head and round knives dulled in the tool chest so I made some sheaths for them.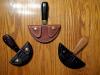

-
Projects From The Scrap Bin
supercub posted a topic in Gun Holsters, Rifle Slings and Knife Sheathes
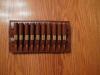
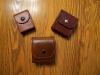
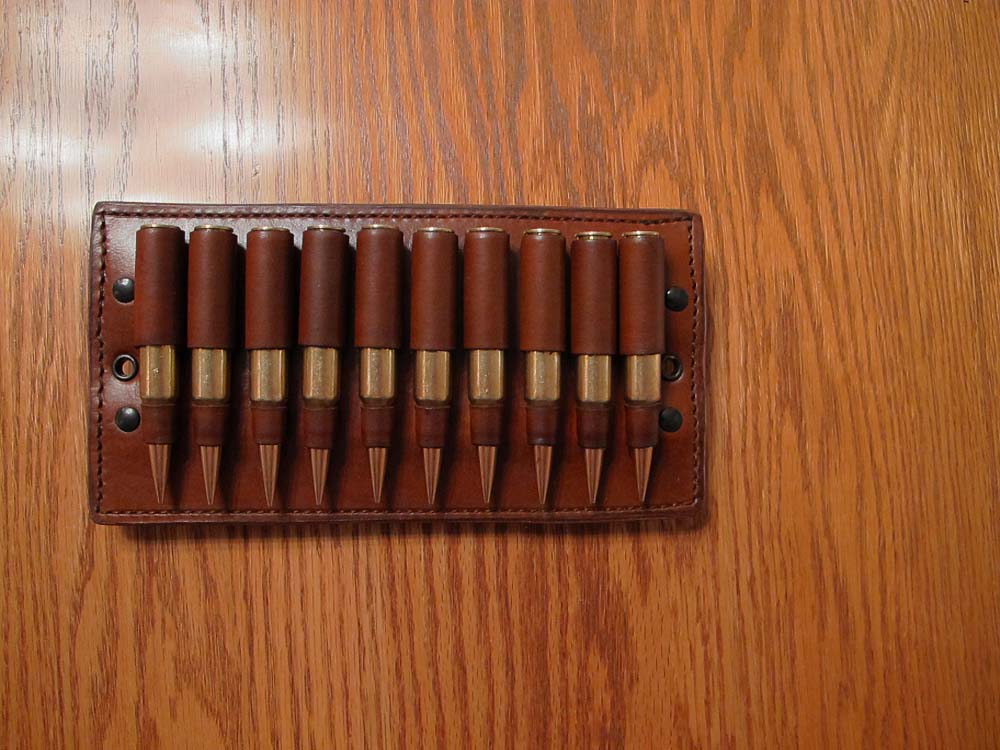
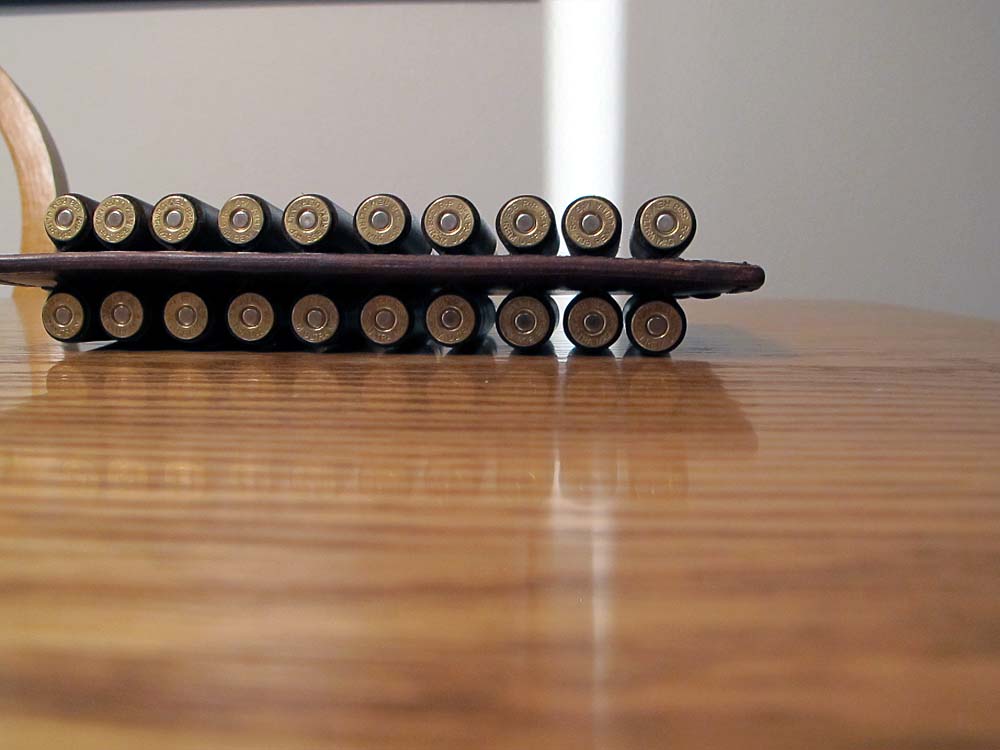
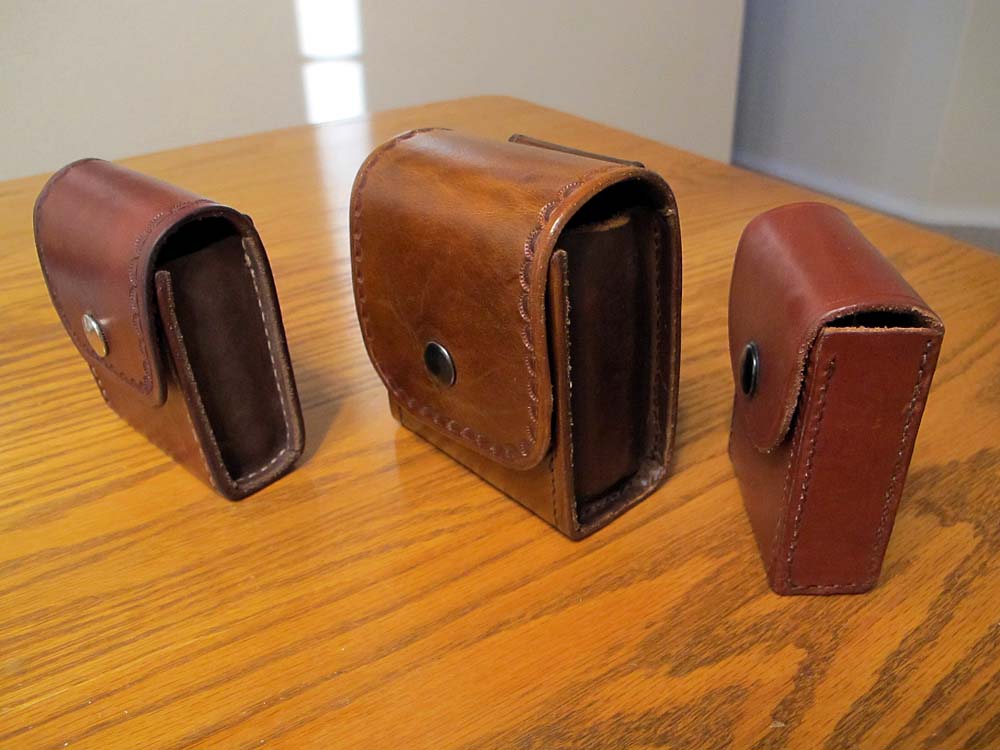
I recently started visiting this web site and have been really impressed with the quality of the leatherwork produced, but also with the quality of the information that has been posted. I learn something new everytime I visit the site. Anyhow, I had the need for an ammo card to carry very long cartridges (over 4") and wasn't able to find a commercial carrier that wasn't made of green plastic or nylon. I usually carry spare ammo in a day pack, so belt carry was not a priority. I decided I'd make a 20 round card and a cartridge box or two. All of the project material came from the box of scrap leather that was leftover from other projects. Lots of errors - still trying to figure out how to make gussets and French edge corners as well as mastering the sewing machine (goes too fast). Too much oil on the boxes and poor edges - any suggestions for burnishing when veg tan edges are joined to latigo?