


supercub
-
Posts
135 -
Joined
-
Last visited
Recent Profile Visitors
14,146 profile views


supercub's Achievements
Member (2/4)
-
I bought a Boss when they first came out. It took awhile to get it (and me) adjusted to it's quirks. Once I did, it worked fine. I eventually upgraded to a (then) new Ferdco Pro 2000. It too is a great machine, but wayyy more $$. As I recall the Boss was then around $800 and the Pro 2000 was over $5k. I still keep the Boss around for small jobs and specialty products. About 85% of the stuff I make is sewn on the Pro 2000. Nowadays the Cowboy and other Juki 441 clones are a lot more reasonable in price than the Ferdco. If I had to do it again with current machine availability, I'd probably just bite the bullet and get a good electric needle feed machine with a wide throat and reverse. The Boss can be a good machine, but it will never be practical as a production tool. It is a whole lot faster than hand stitching though.
-
Hydro/ vacuum formed knife sheath
supercub replied to ComputerDoctor's topic in Gun Holsters, Rifle Slings and Knife Sheathes
Lots of very good suggestions on this thread. I first used vacuum bags for knife sheaths almost 20 years ago and see a lot of the same issues I encountered. First, you really need to use heavier leather and a welt. Second, put the smooth side of vacuum the bag against the finished side of the leather and use a smooth piece of cardstock against the bag's hatch pattern to prevent unwanted marks on your sheath. Third, be careful with high detailed molding since it is easy to make a sheath that is too tight. A final suggestion that worked for me when vacuum molding with food saver bags - put the sealed bag/knife/sheath in the freezer until the leather is hard. Remove the bag from the frozen sheath and leave it in the freezer for a few hours so it can "freeze dry" (works best with a frost free freezer). It won't dry completely, but it will evaporate a lot of the moisture and retain its shape so that it can air dry without loosing detail. Looks like you've got a good start. A little tweaking and it ought to work out well. -
Stitching through Kydex and leather with a Shapeoko CNC
supercub replied to joshhartung's topic in 3D Printers and Lasers
Several years ago I got an order for a hybrid kydex holster and mag pouch. The customer wanted the kydex fronts stitched to a 10 oz. leather back. I sewed them together with my Ferdco Pro 2000 (Juki 441) using 277 top thread and 207 bottom. It worked just fine. I did a minor adjustment to thread tension and the results were good. I didn't like working with kydex, so that was my only experience with it. Sewing it was no problem with that machine. Sorry, have no pictures of that project. I would expect any of the comparable heavy stitchers would work as well. -
They do make line 20 anvils as well as “pull the dot” snap setters. If I could have only one snap setter the Pess-N-Snap would be it. I’ve used mine for years with no complaints.
-
Interesting. My pro 2000 uses the Juki style O ring. Any idea which machines (by serial number) uses which tire? I guess the only real way to tell, is to measure the old one and order accordingly.
-
It’s been awhile since I found the O ring, and I looked for it at just about every local place I thought might have one. I went to every auto parts shop and industrial equipment supplier in my area. I finally found one that would work at a vacuum cleaner repair shop. It wasn’t an exact fit, but it was close enough to work. Mine uses an O ring that is approximately 1 7/16” OD and 1 1/8” ID and 3/16” thick. I later found the “right “ O-ring , but darned if I can remember where. I think it was at one of the machine vendors on this site who handle the CB machines. Seems like the rings were only a couple of bucks. The juki parts manual I have doesn’t show this part and I wonder if it wasn’t one of Ferd’s mods.
-
Had a similar issue on mine awhile back. Replaced the rubber "tire" on the winder with a new O-ring. seemed to solve the problem. It was a lot less than $80.
-
Have you talked to Bob at the Hickman Saddle shop in Post Falls? He may know of someone who can help you. Another one to ask is Dick's Upholstery in Hayden. Not sure what they use for machines, but they may know of a good repair tech.
-
I bought one of the original cast iron Boss stitchers when they first came out. There was a bit of a learning curve with getting thread tension and a couple of other minor quirks. After I figured it out, it worked well and did pretty much what I wanted it to do. It paid for itself quickly and was a whole lot faster than hand stitching. I eventually upgraded to a Juki/Ferdco pro 2000, but I still use the Boss for small projects. One comment about Tippmann customer service. It is first rate! I needed a new center presser foot for the machine. Called the factory and they shipped one right out. Only problem was that it didn't work. It was made for their newer machines - which had subtle changes from my old model. Long story short - they machined a new part for me that fit perfectly. Too many other outfits will just say, "sorry your machine is no longer made and parts are not available".
-
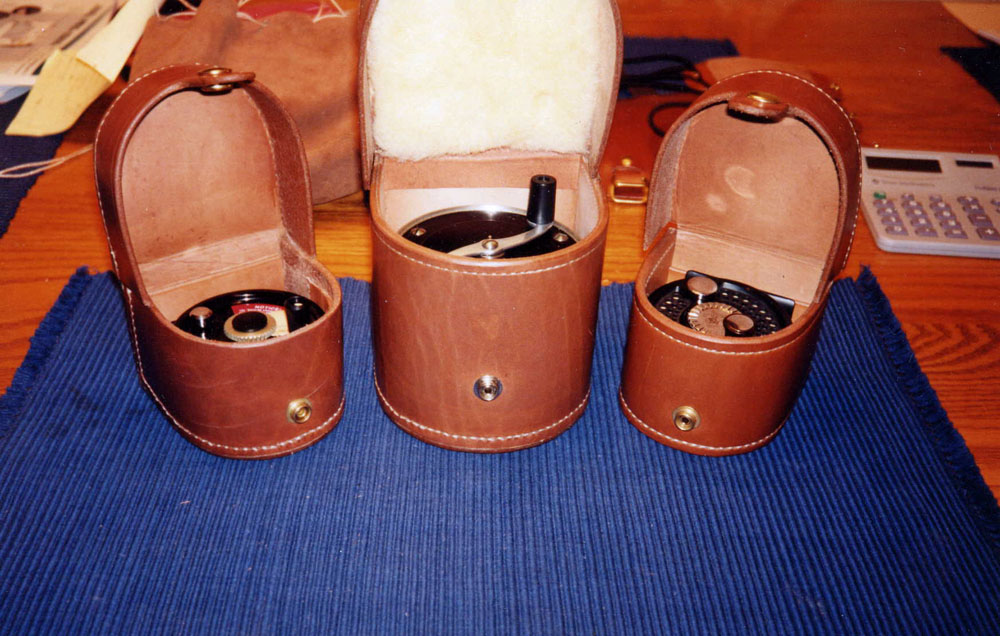
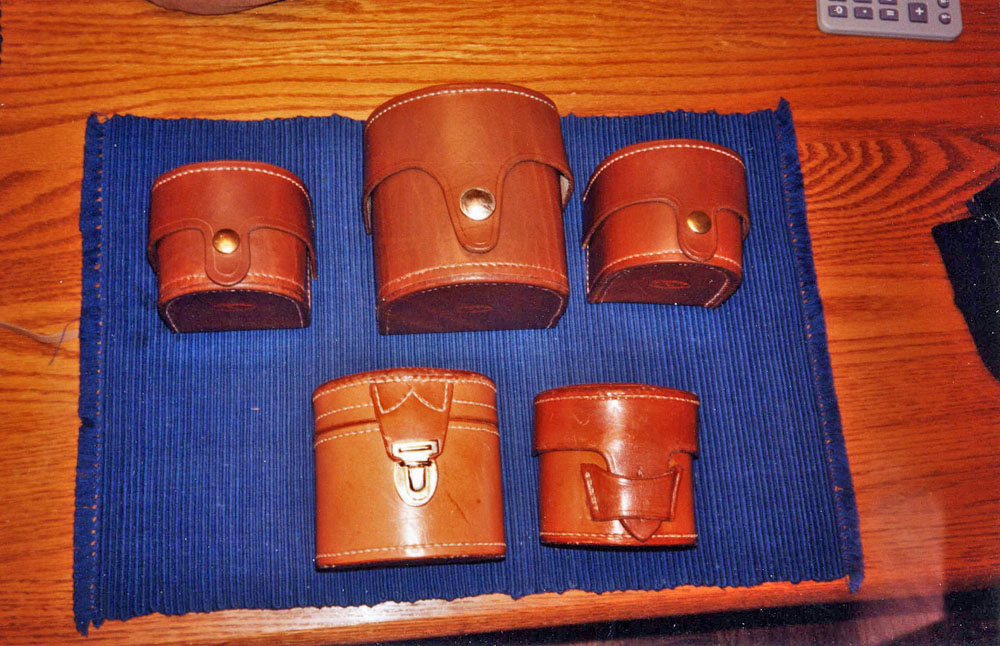
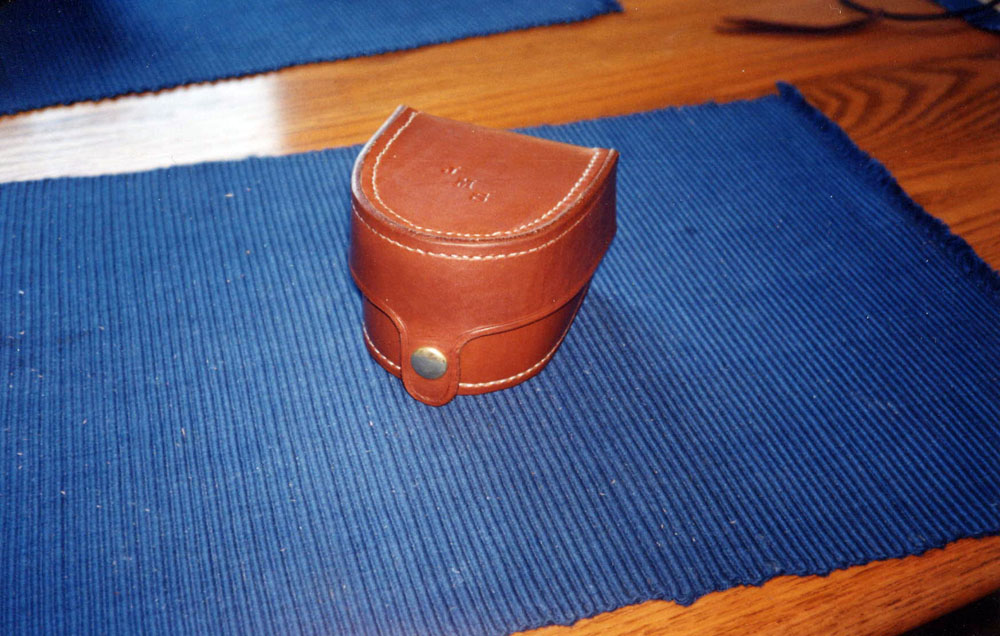
Yep, the mat cutter does a great job (if you keep the blade sharp). I started using one a few years ago - wish I had thought of it when I made these reel cases. Minor correction re: the reels. The small cases were for Billy Pate reels and the large one was for a Bogdan saltwater.
-
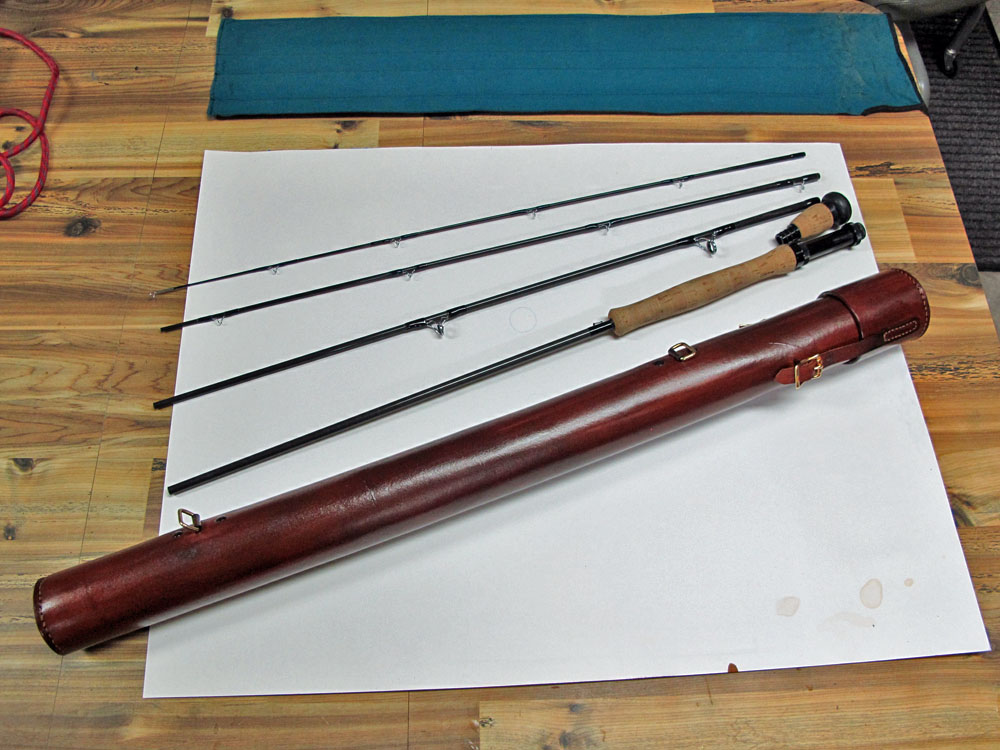
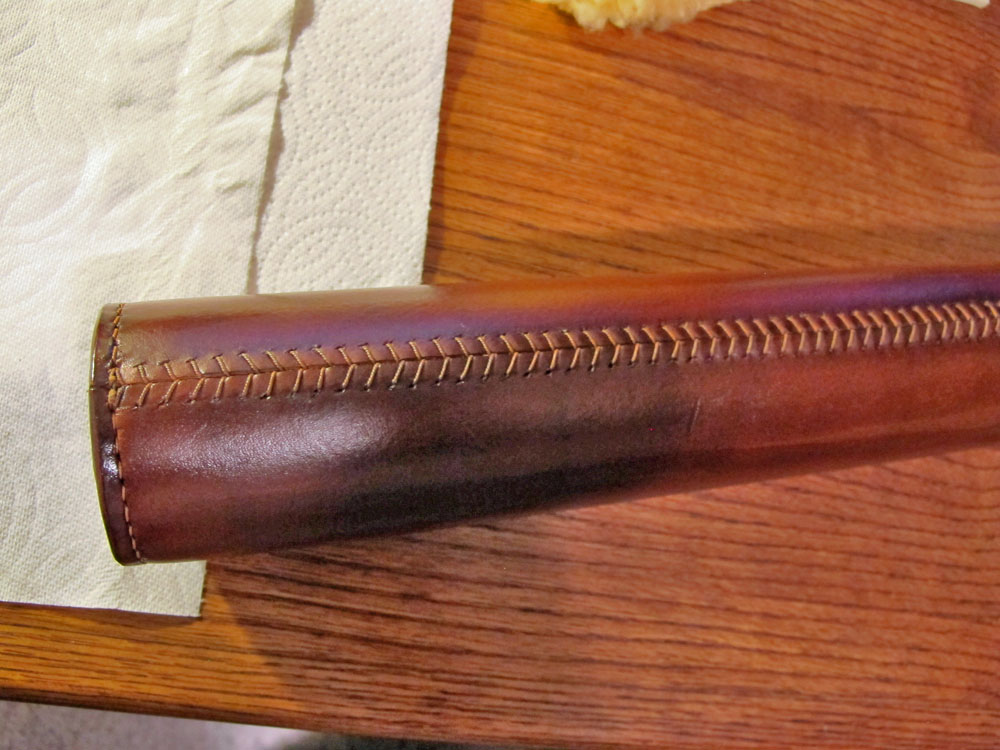
Its been 20+ years since I made those cases and my memory isn't what it used to be. As I recall, most of the smaller cases are for Ross reels and the interior of the cases are inletted to fit each reel. The owners did not want shearling lining to avoid trapping moisture against the stored reel. The larger case was lined with shearling per that customer's request. As for building them, I made a wooden "plug" to approximate the exterior dimensions of the reel. I then cut out a cardboard pattern and fit it to the plug. Once I had the pattern perfected (lots of cutting and scotch tape) I cut out the leather pieces and started stitching. I looked for a box stitching attachment for my harness stitchers, but the ones I found just didn't work very well. The old fashioned awl and harness needle method seemed to work best. If I ever do them again, I'll spend more time on a 45 degree mitre for all the corners. These corners are all butt jointed. The rod case end caps are sewed with a similar corner stitch - though mitred. I had originally planned to sew the long seam with a curved awl and needles with a "hidden stitch", but I wasn't satisfied with the quality of my stitching and ended up with the baseball stitch. If you plan to do one of these, you'll certainly get lots of stitching practice.
-
I agree that the Stohlman case making books are a very good guide. A number of years ago I had a request for several fly reel cases for high end fly reels. I had only a vague idea of how to build one, so I tried to copy a design that Stohlman had for a camera lens case in' Making Leather Cases - Vol One'. They turned out okay, but they were an awful lot of effort. I sure didn't make any money off them. At least I was able to practice lots of corner stitching. Later, I made a rod case with leather covered PVC tube. I used the baseball stitch since I hadn't tried that before. Next time I might do something a little different.
-
I bought one of these years ago after messing up many snaps with the old hammer and anvil setters. It was money well spent. They also make a die set for "pull the dot" snaps which works well.
-
Thanks for the suggestions guys. Years ago I tried some "oil darkening" additive available from one of the large leather supply vendors. It didn't work as well as I had hoped - color was blotchy and the smell was objectionable. I'll try the Fiebings dye mix on the next project. The sun lamp is another option - I had forgotten about Bianchi's suggestion in the gunleather video.
-
I'm looking for a way to darken my oil finished holsters without dye. Ordinarily, I rub on a couple of coats of pure neatsfoot oil with a shearling pad onto the completed holster and let the oil migrate through the leather for a day or so. If it was summer, I'd set out in the sun to "tan" for awhile. This time of year, the sun isn't too bright and it is often overcast or raining. I was wondering if exposure to a UV tanning type lamp or full spectrum light would help to darken the finish? Anybody try this?