-
Posts
80 -
Joined
-
Last visited
Content Type
Profiles
Forums
Events
Blogs
Gallery
Store
Everything posted by Ski
-
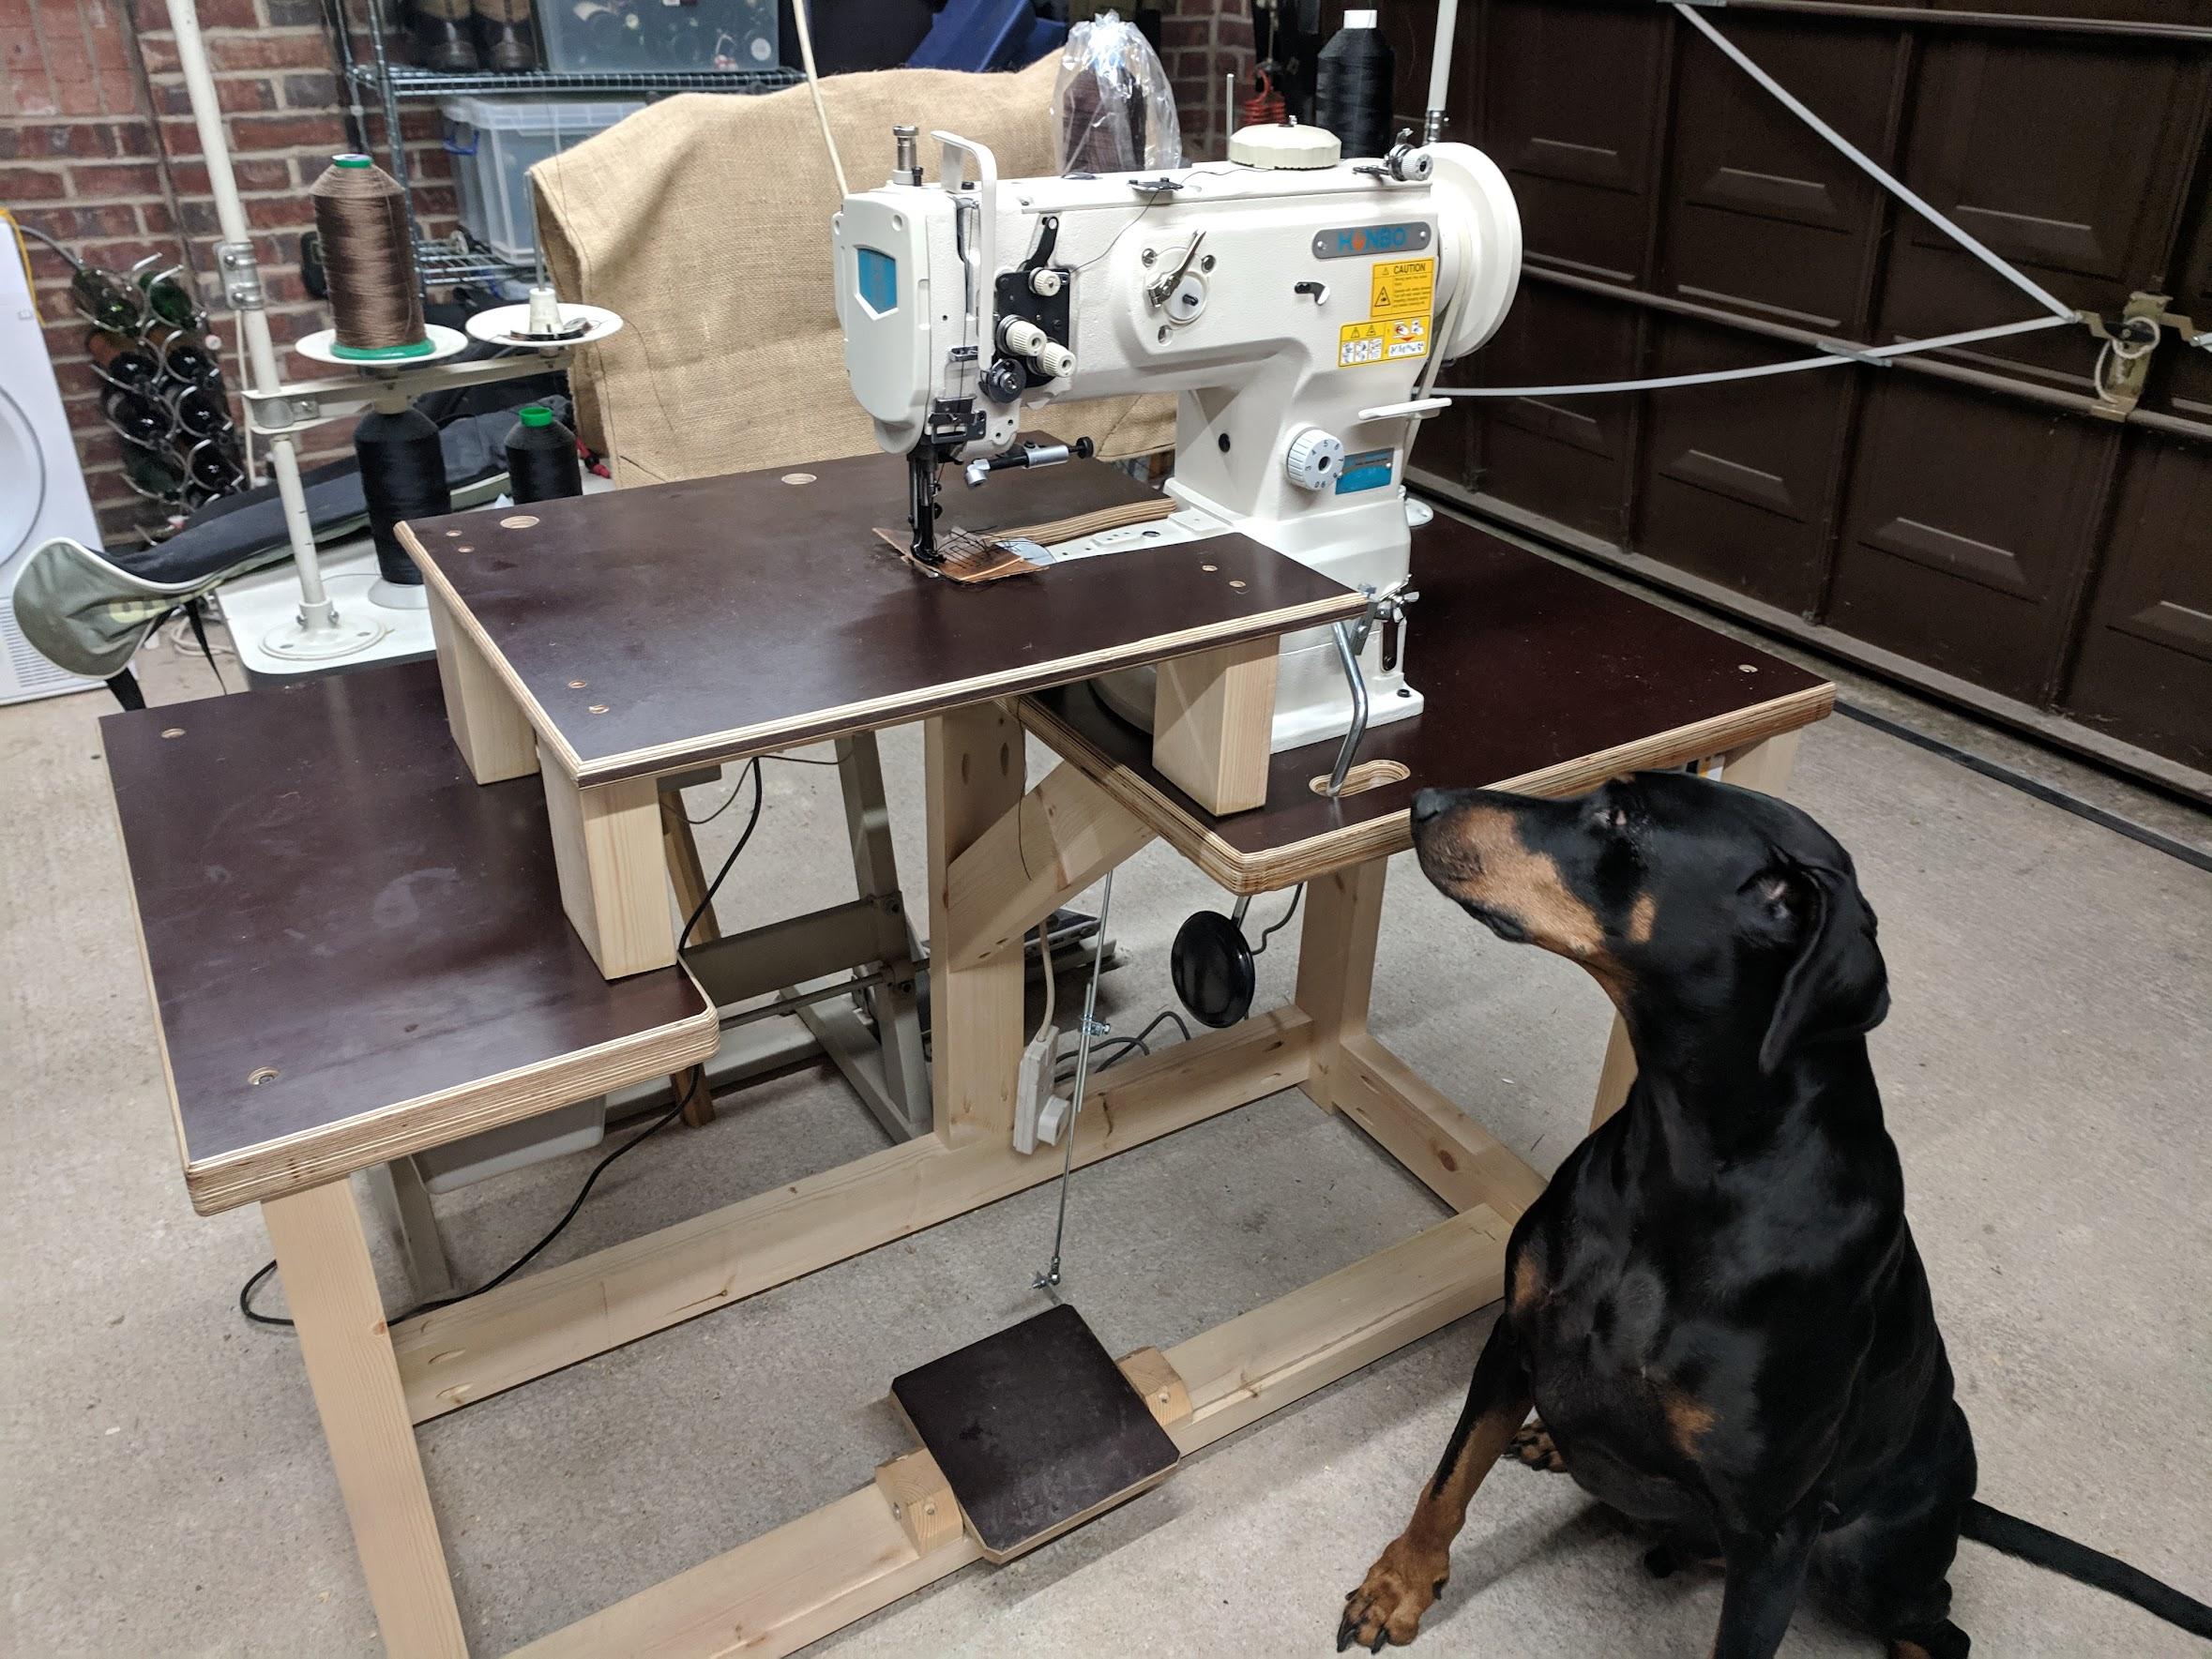
Hello fellow Leatherworkers. I purchased this Honbo LS-1341 Clone new - imported it and build a table for it (converts to allow flatbed and cylinder arm). It's all solid as I went to town on the woodwork. My Leatherwork garage hobby business never called for it as by hobby business closed pretty much once it was built. Total work time for this machine is around 3-6 hours use - so I would say its pretty new - perhaps not even worn in yet. Does anyone know - in the UK - what sort of price I should ask for this? Thank you in advance.
-
Recommendation - Jack Jk-561A-1 Servo Motor
Ski replied to Constabulary's topic in Leather Sewing Machines
Has anyone found a way to run this motor + NPS with a reducer? Maybe even 2:1 ? Or maybe with just a smaller motor pulley? Im trying to find the limit of the NPS without spending too much money on pulleys experimenting. -
Thanks Matt. I cant see any LCW-8 for sale and never looked into Seiko's, but having a search for Seiko I found this : https://www.ebay.co.uk/itm/Industrial-Seiko-Cylinder-Arm-Needle-Feed-Walking-Foot-Sewing-Machine-Servo/292866438870?hash=item44303336d6:g:A80AAOSwrQxcEpUH:rk:2:pf:0 No model number or anything so its guess work for me.
-
Hi Gang, My Adler 69 is fantastic and I would like to buy something very similar, just one notch up on the leather thickness. I require a cylinder arm for making handbags out of veg tan, able to sew up to 6mm with 20s thread. The Adler 69 can do it, but it struggles a little. What would you buy? (that is available in the UK)
-
Thank you all, I will give it a go.
-
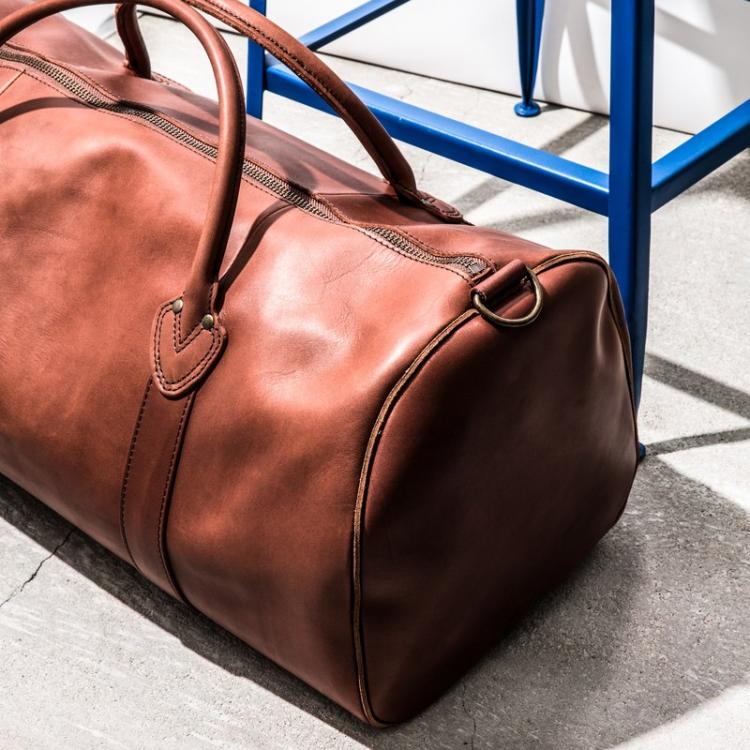
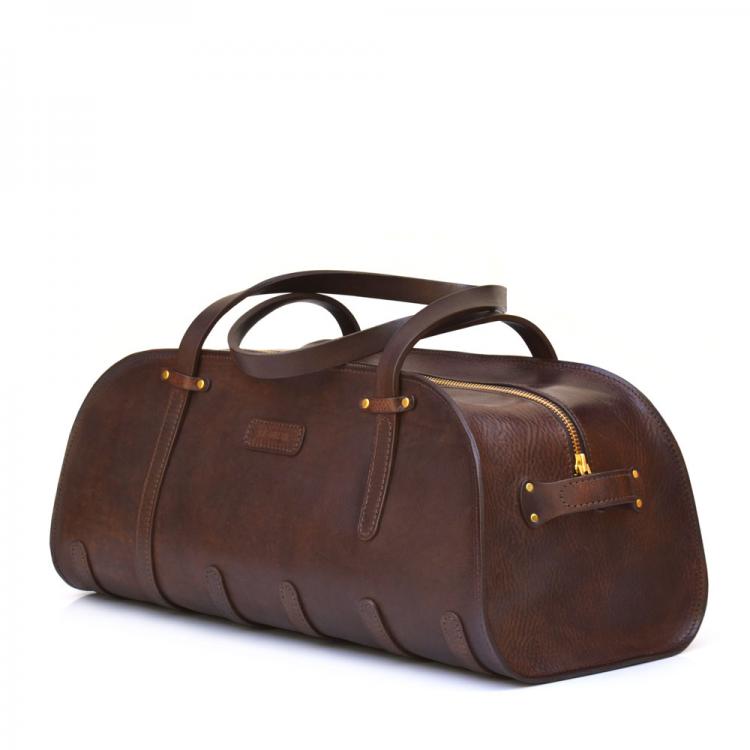
Hi All, I hope you can help me. Is there a formula, or a process in which to calculate how big a gusset should be? When I attempt a bag Im always left with extra/less length which ruins the process. Please see an example picture from the internet, followed by an even more complicated example from De Bruir. If the bag is one long leather all the way around with a zipper, how does one calculate or work out the size of the other bit (gusset?). Is there a trick?
-
Thank you all for your input, Ive taken everything on board. Ive raised the feed dog with a shimmy and ordered a KH69R replacement set.
-
Hi Jimi. I bought the machine a week ago so its possible previous owner put the wrong combination on. I will look into finding the correct one to replace it with.
-
-
Hi Bert. Yes it looks straight to the eye. I will double check with a straight edge.
-
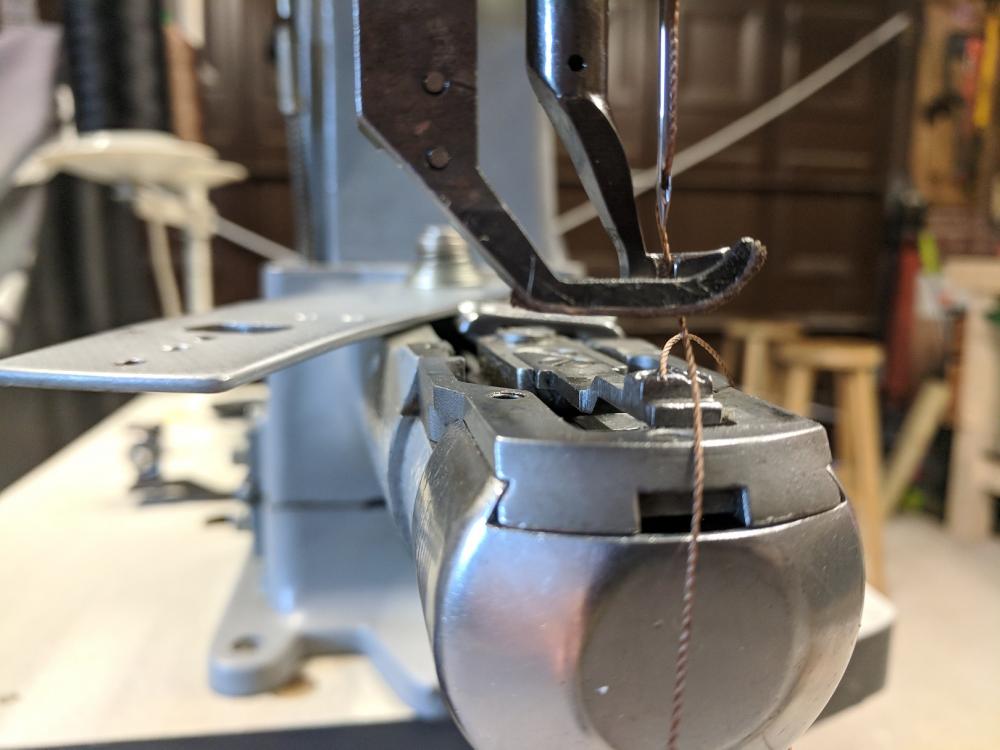
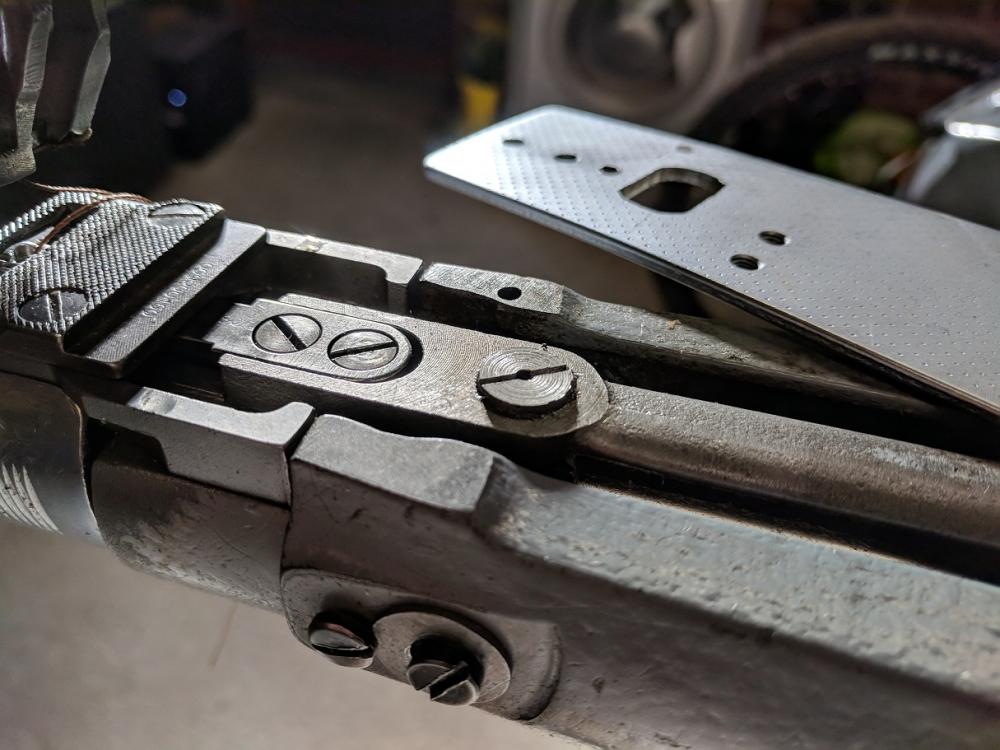
Hello, My Adler 69-72 is marking my leather. Not so much from the top side, but from the bottom where the presser foot pushed the leather into throat plate. Is there any way to raise the bottom feed dog so its flush with the throat plate? I've unscrewed the inner and outer spring tension screws as far as they will go. I have a spare spring on order to experiment with (cutting it down) but that may be weeks away. The bottom feed dog seems to be 2mm below the throat plate, I think this may be my issue and I'm not sure how to solve it, other than grinding 2 mm from the throat plate. I've also noticed the upper feed dog holder has vertical play, around 1mm. In theory, I could put some cushioning under it which will raise the bottom feed dog to the correct level but I'm unsure if its wise and Im positive there is another way that I cannot see. The 69-72's bottom feed dog only moved horizontally, and maybe only lifts 0.2 mm during a stitch. I believe this is by design on these models. Please see picture attached, showing on the far left; how far down the bottom feed dog is, and centre; the feed dog holder. Any advise is greatly appreciated.
-
I bought what looks like the same machine a week ago. My first industrial! Exciting right?
-
Very interesting Glenn, any more information on the 69-72? I'm having a lot of fun playing around with it as its my first industrial machine. Reverse spacing is now sorted, however the reverse leaver cover is staying off as it limits reverse stitch length, as other above have found.
-
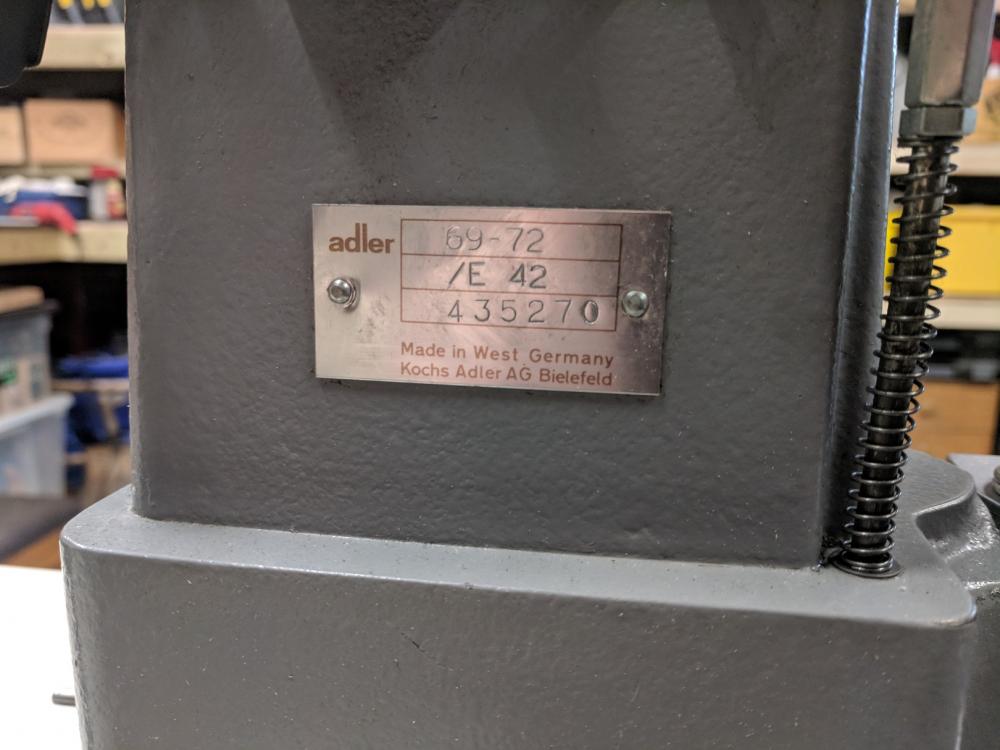
Hello Adler 69 owners. I have joined your club and also experience reverse stitch problems. I know this is an old thread but does anyone have any more information? Did removing the cover plate result in any issues? Did anyone fix this issue? It says on my machine : Adler 69 - 72 (is this a 372?) /E 42 435270 With the reverse cover plate removed, i get around 6mm forward 5mm back. With cover plate in place, i get 5.5mm forward 3mm back. Before I take the plate to the grinder how are you guys getting on with it?
-
Hello, My first attempt at a bag. I usually do belts, wallets etc.. Never anything this big. I made a few mistakes but I don't mind. Its a prototype, its for me, and its specifically to be slung over a Bergen / shoulder to carry bug out stuff like first aid kit, fire starting kit, knife, phone, car keys etc.. for when I'm camping out. I had a lot of fun with this one and really love how the leather is scarred / stretched to show its story. I thought I should share with you guys what I have been working on. Merry Christmas to you all, and have a happy new year!
-

Major Cracks...
Ski replied to PirateWolf's topic in Dyes, Antiques, Stains, Glues, Waxes, Finishes and Conditioners.
Yes Cyberthrasher that's what I do. No idea about super sheen never used it but I hear its very similar, hence why I mentioned it may be the cause of the cracks in above picture. -

Fishing Bag With Class
Ski replied to GamberLeathercrafter's topic in Gun Holsters, Rifle Slings and Knife Sheathes
That worm just made me smile. Looks ace! -

Major Cracks...
Ski replied to PirateWolf's topic in Dyes, Antiques, Stains, Glues, Waxes, Finishes and Conditioners.
I always bend the leather while its wet, before I dye. Resolene (aka super sheen?) is like plastic to me, and does not like to be bent to excess. As mentioned above, I then apply carnauba crème, neatsfoot oil, and if needed seal it with resolene. Hope this helps -

How To Chose The Proper Thread And Needles For Hand Stitching.
Ski replied to Talfuchre's topic in How Do I Do That?
Always wondered why America measures the size of thread and leather by weight.. Breaking strain maybe? Anyway, This is only my opinion, and you will find your own favourite thread, but for upto 4 - 5mm leather I use 1mm braided polyester thread. 0.8mm for thinner stuff. Rule of thumb is the bigger/thicker the item, the wider the stitching, the thicker the thread, but I encourage you to break the rules now and then Also note it depends on how wide your stitching is, for 4 per inch a very thin thread may look out of place. -
To me it looks like braided polyester tigre thread but Nigel can confirm better than me. if it is, Ive seen people import it into the US via Abbey England
-
Hi All, I think I know the answer to this question, but you never know someone might have a tip for me. I love carnauba crème, apply it to everything, sometimes once its set and dry apply a couple of coats of neatsfoot oil on top. Problem I have is, if the item gets wet (rained on for example) the carnauba crème leaks out and the item becomes a sticky mess. No problem I let it dry and buff and back to normal. But should the item get touched while in this state, the dye is marked. Other than resolene, anyone have any tips how to prevent this?
-
We wanna see more of the dog!! and ofc his/her collar!
-
Thank you Nige. I will keep an eye out for a sample of this leather next time Im buying.
-
Always a fan of your video's, every vid I pickup a tip. On this vid I picked up a tip about the beeswax on the edges, must try that on my next project. As Matt asked, what type of leather are you using? and can it be tooled / logo stamped ?
-

Biker Wallets
Ski replied to F bomb leather's topic in Purses, Wallets, Belts and Miscellaneous Pocket Items
Very nice!! What is spooky is that your tool box / holder is identical to mine, even the light burn on top!!


