-
Posts
961 -
Joined
-
Last visited
Content Type
Profiles
Forums
Events
Blogs
Gallery
Store
Everything posted by BDAZ
-
I was able to successfully laminate the graphic to the vachetta. I skived the flap down around 50% using a belt sander and then washed the surface a few times with acetone and allowed it to dry before using thermal adhesive to to bond the fabric to the leather. I would never buy this leather again. Great for making Gucci bag clones.. Bob
-
The flap is around 6 inches wide and that's essentially what I had after the first failure. The heat activated adhesive holds until the leather is bent. Maybe I can find a sealer that would penetrate enough, after an acetone wash, that would block any additional incursion by the waxes. Bob It's the flesh side so it's not the texture, it's that the waxes impregnating the leather seem to return after a few days and break the bond. Thanks, Bob
-
I make cases for wind instruments. I use Wicket and Craig drum dyed veg tan for all my products. A current client has ordered 10 highly customized cases for export and one had to be red. I purchased a 1x2 panel of: Valdibrana Conceria, Tarano, Italian Vachetta Leather from the Buckle Guy: https://www.buckleguy.com/valdibrana-concerie-tarano-italian-vachetta-leather-panel-candy-apple-red/ I use HTV vinyl for some decoration on the grain side of the flap and the flap is laminated with a custom dye sublimation print on polyester fabric using a thermal adhesive sheet. I do something similar on all my Wickett and Craig products with no issue and have been doing so for years. The heat transfer worked perfectly on the grain side of the Valdibrana but after completing the case I folded the flap and there was absolutely NO adhesion on the flesh side, held in place only by the stitching. I had to disassemble the case and there was no trace of the adhesive on the flesh side of leather, it had completely adhered to the fabric. I realized there was probably some form of wax on the flesh side . I did some tests on scrap and used acetone to remove the wax. I tested lamination on scraps with the heat activated adhesive, Tandy Eco Flo, which I have found to be exceptional for demanding projects, and a few solvent based craft adhesives as well as Tanner's Bond. All seemed to adhere well to the acetone treated leather. I gave it 24 hours to cure and adhesion was good. I reassembled the case, laminated a new graphic (170 lbs @ 270F for 30 seconds) and adhesion seemed excellent. A few days later I returned to mount the hard ware and when I folded the flap it was clear that the adhesive had failed. I easily pulled up the fabric and injected a solvent based adhesive underneath and used a roller to spread the adhesive across the entire fabric covered area. I covered with a piece of flat granite with 10 lbs of additional weight and left for 24 hours to cure. The I left it uncovered for a few hours to allow the solvent to evaporate. The adhesion was minimal and immediately produce a failure at the fold. Does anyone have a suggestion of a flexible, bullet proof adhesive? Clearly the leather is loaded with waxes, especially the flesh side. I am willing to try any kind of adhesive, including construction adhesive. Plan C is to make another case and dye it red, but quite frankly, the finish of this Italian leather is fantastic..would not be out of place on a Gucci bag: https://poshmark.com/listing/Gucci-Soho-Red-Cellarius-GG-Logo-Leather-Chain-Tote-665df009d4b237570c0de87b?srsltid=AfmBOopRltHNRbM-wYsUmdGbLFBTBmDy9cWbp4lhx-eQ63TaTtKj24krs18&gQT=1#utm_source=gdm_unpaid Thanks! Bob
-
There are two reasons to sue for intellectual property infringement and AFAIK, this is a trade mark not an image, that can be or should be "circle C" I have to renew my trademarks every few years or risk losing them. The first reason is to prevent fiscal damage to the company by utilizing their trade mark on a copy or even counterfeit product. The second is the responsibility of the holder of intellectual property protection to prosecute any serious infractions or risk losing the protection. I wouldn't worry in the least! I did a quick search of Garmin trade marks and they hold over 7,000. Many are dead (abandoned) and ona quick search I couldn't find any any trademarks resembling your design.. Good luck! bob
-
There are a lot of different applications for this graphic, including municipal signs and other companies. There's better reasons to stay away from the US than Garmin!
-
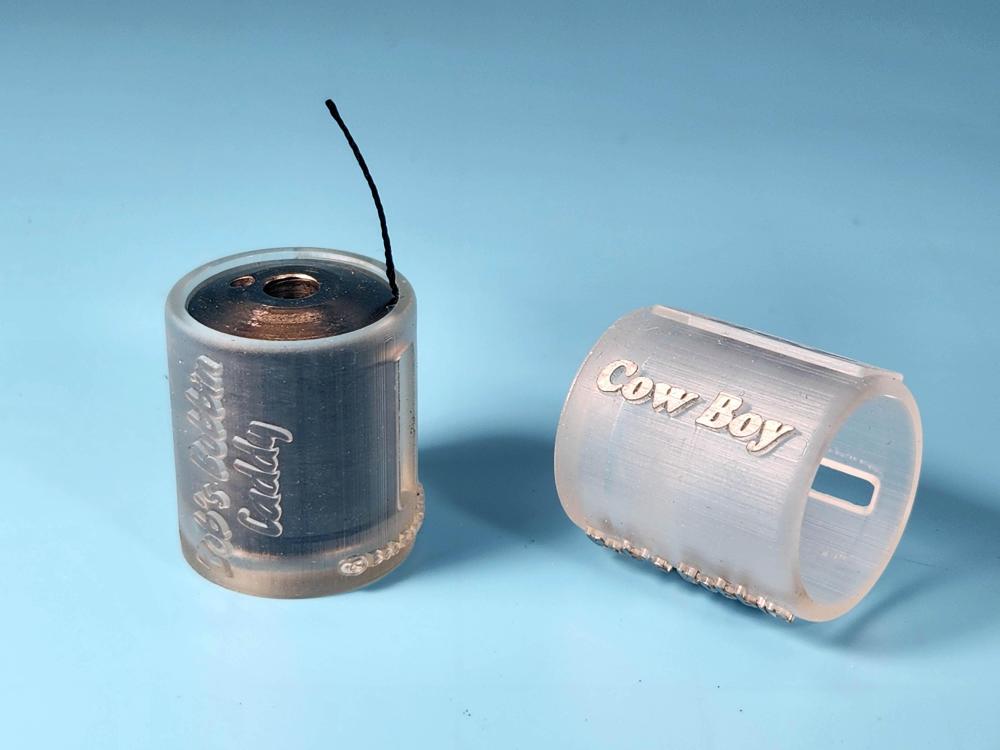
Here is the final version. There is a flat panel to write the thread weight with a Sharpie, transparent, so one can get an idea of the amount of thread on the bobbin, a slot to see the actual thread color, and the fit (at least on my bobbins) is snug enough to invert the caddy while retaining the bobbin in place. The resin is top of the line and should last for years. I have worked up pricing for folks on the forum: 6 Bob's Bobbin Caddys including packaging, USPS shipping and PayPal fees: $20 12 Bob's Bobbin Caddys including packaging, USPS shipping and PayPal fees: $30 Please PayPal to bob@sinkthestink.com (my day job: Gulf Stream International) Thanks for your interest! Bob Wiz: As promised, a box is on the way as a thank you for all the help I received from you when I was starting out!
-
Great. As soon as I have the first dozen finished, later tonight, I'll be able to work up shipping costs. Bob
-
Excellent! I have started printing Bob's Bobbin Caddy production versions made from transparent resin and with a slightly (.025mm) smaller for a snug fit. They have certainly cleaned up my thread drawer on my 3200 from the bird's nest it used to be. You can write on the flat panel with a sharpie with thread size, etc and remove it with IPA. Take care, Bob
-
Wonderful! That's where I got mine, 10 years ago! I have just received some transparent resin and I will do a test print tomorrow to make sure it works well and probably post the results tomorrow. At the same time I'll finalize the pricing. I'll work up a dozen price as well as singles. Thanks! Bob
-
Haven't a clue. These fit 23.77 x 30.36. Size is easily adjustable Bob
-
Yes indeed, using an 8K resin printer Pretty close. Just deciding on what color for the production run. Possibly white or yellow.
-
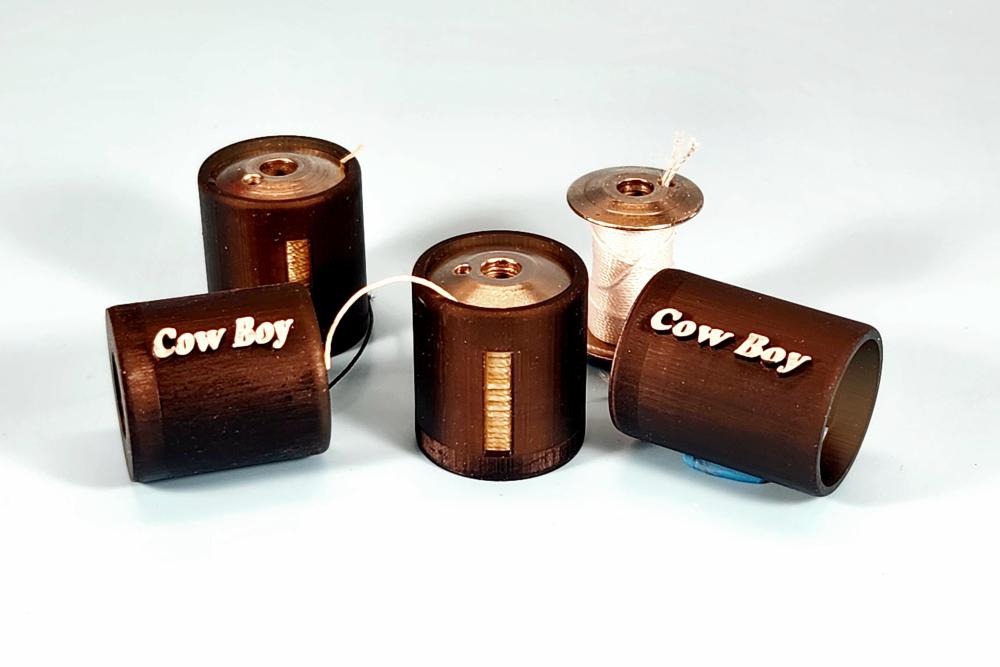
My 3200 is one of the best things I have ever bought. Hasn't dropped a stitch in 10 years. Mine must be an early one, as it doesn't even have a Cow Boy sticker! Somehow, it seems to work perfectly, even without one... I'll fire off a few of the final holders for you to have a look at. I am assuming they fit current spools..mine are all 10 years old as well. Bob
-
Nice but these are only for the bobbins. The larger spools are a different and simpler problem. I just use a wide rubber band.
-
I'm just doing some final tweaking so I have some extras. If you'd like to play with a couple and want to pay for postage (+-$5) let me know. Bob
-
Nor sure if anyone else will find these useful, but the drawer where I tossed my bobbins when changing thread, after filling, etc was a bird's nest of unravelling thread, broken rubber bands and unsticking painters tape. . I am sure there are other solutions, but these are prototypes that have made a huge difference in the sewing machine drawer. Not a nest to be fond now. I may add a textured flat panel to write thread info, and use white resin which will accept pencil marking. The spools are a snug but comfortable fit. Comments? Bob
-
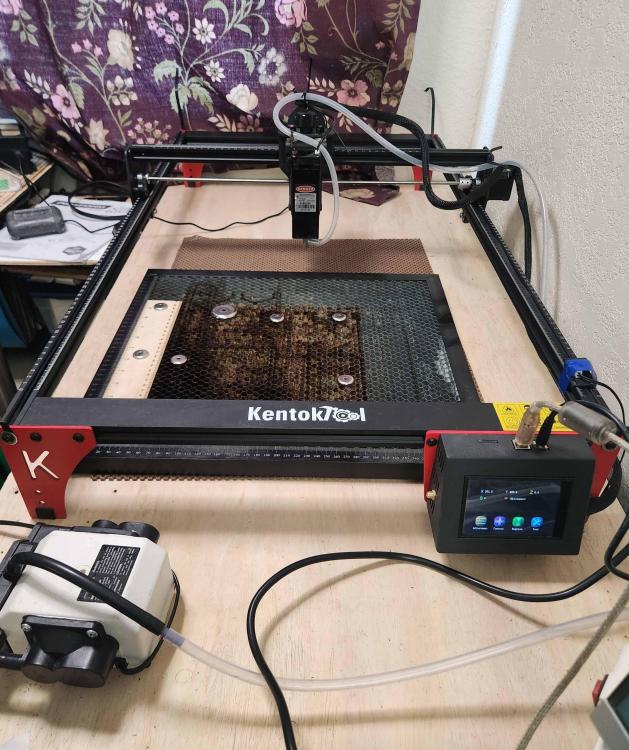
My magnets are 7mm thick and very powerful. I often just have room for maybe 1.5mm of the magnet overhanging the edge which is enough to keep my leather from shifting. If I have a really warped piece of ply, I can double them up. I looked at 3D printing some cutsie magnet holders but I simply use one magnet to pick up another..easy peasey. Just designing a belt for a very old and expensive Navaho belt which i could never have done freehand. When I am cutting tops an bottoms of items that then have to be wet formed, the registration is perfect and I no longer have to do any trimming of the edges ..just turn on the burnisher! I just noticed the kentok pic shows the original bed. Shortly after making the extension, I purchased a full sized bed. The other thing i find critical is the registration of the bed with the laser. I am <mm So I can repeat cuts or add to already cut items with perfect registration. Better hit the rack. I have an irish gig tomorrow from 2-4 and an Appalachian gig from 6-8, both on restaurant patios. Weather is perfect! Cheers! Bob
-
-
The beam doesn't significantly increase with power. Wouldn't be noticeable for cutting. I also engrave all my stitch lines and no longer use a groover. I engrave glue pads for belt loops using a crosshatch fill and holes for my snaps and other decorations all at the same time. Magic! The only leather I would like to have more power with, is heavy bison. It takes multiple passes. I also apply water directly to the edge after cutting and run the cocobolo burnisher, which seems to solidify the carbon and produces a hard, glaze. I did a test with the remains of my 2mm chip and made a tiny Celtic knot and it worked a champ on the black Perspex. I have a few sheets arriving tomorrow. Bob
-
You can do very well with a 3D printer with the right resin but for fine detail, the resin doesn't hold up. I use a 6 ton press and have no issues with the Russian lucite plates, but the same design in resin would pulverise. Rocky's design would be marginal but the signature would not hold up unless twice the size. Where inKY? I used to work in Nicholasville. Bob
-
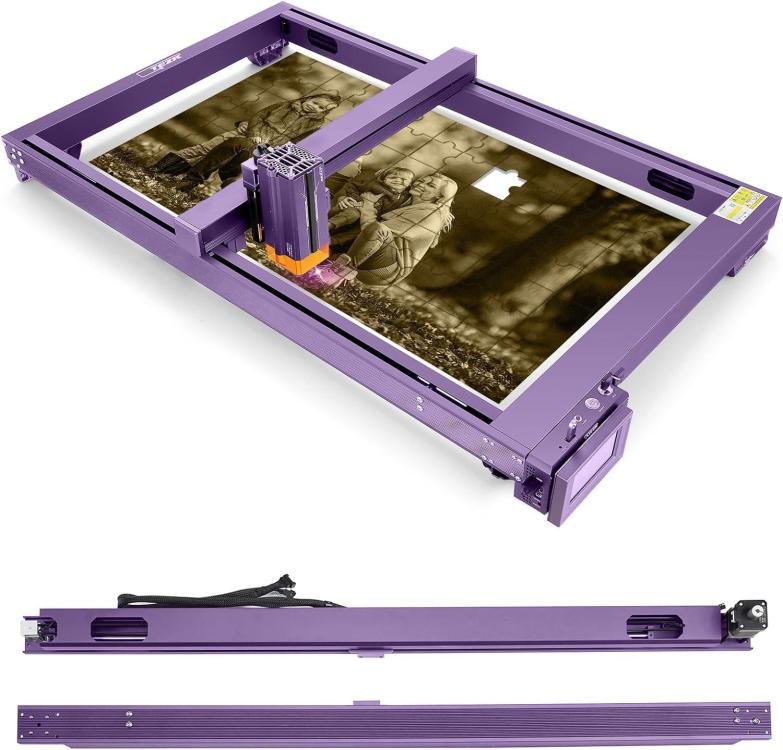
Actually Rocky, it's probably Brilliant! Actually Rocky, it's worth the price of a CO2 Laser! I was planning on testing black acrylic. I had a small piece of 2mm black and my laser punched right through it. I have a 24 watt extended bed that I have been transitioning to for all my cutting. I am reducing production times by 75%. I can go as large as 850 x 650. Those acrylic cuts look fantastic! The plates from Russia were made by a CO2 laser but I'll bet I can do as well with my diode, I'm going to order some black acrylic tonight! Thanks! Bob
-
Thanks everyone for the response. I have no problem creating quite detailed embossing plates on my 3D printers but I can't get the super fine detail of these Russian ones. Also I am not sure I can recreated the line art from the plates I have, one unused. I may try, I have laboriously copied fine engravings in the past on Photoshop. My Avatar, which is a pearl engraving from a 1909 banjo peg head, took weeks of meticulous work to produce a T-shirt sized graphic. Anything is possible. If I can then I'll purchase a CO2 laser for engraving lucite. Thanks again, Bob
-
That's why I love Ireland! Spoiled for choice, both North and South!
-
Thanks very much. That's what I figured was a possibility, but wasn't sure if he was a Ruskie or Ukrainian. Pity... Btw I played a gig in a bluegrass band in a pub located between Bangor and Donaghadee. Also spent time in Mayo Bridge in the 70s. All the Best! Bob
-
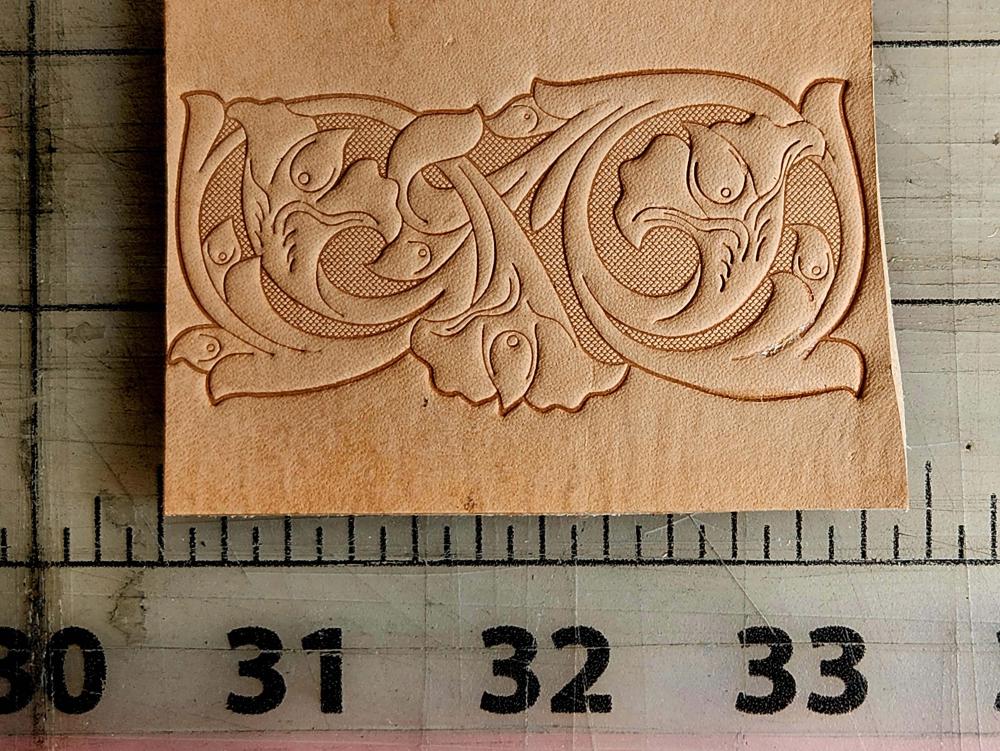
over the years I have purchased highly detailed embossing plates for my commercial work from a guy overseas. They are laser engraved 5mm acrylic and incredibly detailed. I have produced hundreds and hundreds of wholesale items with these plates but they are starting to wear out and time to reorder... That's the problem. It's been a number of years and seems like I purchased these on Ebay. I remember he was either in Russia or Ukraine, because the package arrived with cyrillic on it. It's not only the craftsmanship of the embossing plates but also the actual graphics he uses that are excellent. If anyone has an contact information I would be very grateful. I can make my own 3D stamps which I have been doing for years, but these are far beyond my capabilities. The increments below are in inches. Thanks, Bob
-
Customer gave me some lame excuses why he wants to "wait" on the belt... Never trust any music producers from Nashville. Ask me how I know! Bob (former WEA recording artist)


