-
Posts
961 -
Joined
-
Last visited
Content Type
Profiles
Forums
Events
Blogs
Gallery
Store
Everything posted by BDAZ
-
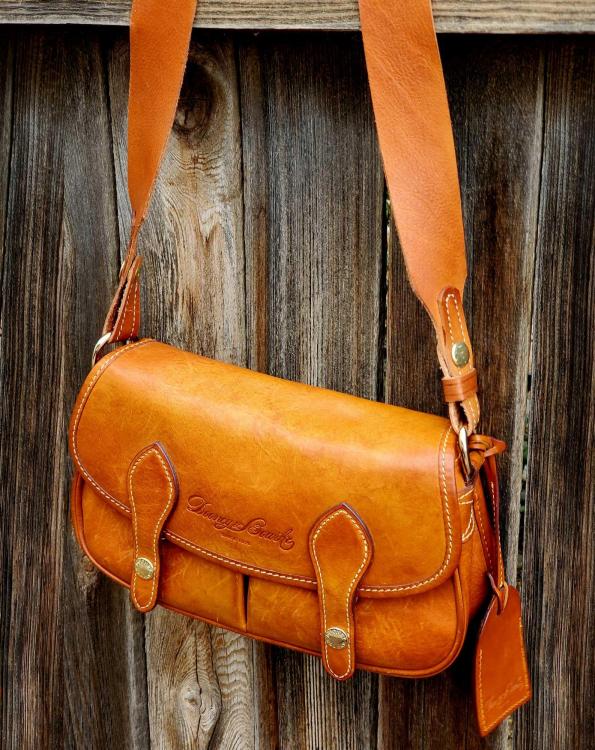
This is the D&B bag that I made the leather strap for. Would not have been possible with out Rocky's gear! This was a shot take before I had finished edging the strap and making the 2nd keeper. Not my cup of tea but I like to help out when the locals are quited rip off prices. I am now resoring and relacing a 60s vintage base ball glove....last time I touched one was in the 60s..The customer was quoted $150 by the local sporting goods shop. Bob
-
Good news! I usually allow around 1/4" for stitching but now I'm going for 1/8" with the new setup. Works a treat! I have also purchased some 92 thread and 19 needles to expand the work I can take on. I just had a job to replace the canvas strap on an expensive Dooney and Burke shoulder bag with leather. I was able to almost exactly match the stitching with the new setup and the new strap looked OEM. Customer was thrilled! Thanks Rocky!!
-
Just installed my n arrow plate and feed dog and will be running it on #92 thread for an order for some narrow woman's and children's belts. I am very pleased with the test stitching. Are there any down sides of leaving the narrow plate in place when switch back to 138 thread with a 23 needle? I can't see why not but welcome comments. Great job on this item!! Well made and easy to install. I was having trouble when I first tested it. I realized I had forgotten to thread the needle!! Bob
-

Resin Printer for making embossing plates and stamps
BDAZ replied to BDAZ's topic in 3D Printers and Lasers
I did try adding a line for the groove but it is extremely fragile and difficult to align perfectly. The actual groover make for a good alignment tool for the plate and adds a bit of wiggle room. If the groove is not aligned, it's noticeable, the knots..not so much. Just got back from 9 days in London. Need a decent pint and a full English. Been a while. We flew over the North coming in as the flight was direct San Francisco to Heathrow. Way home was via Houston and we did the usual route over the Republic. I have a bisexual banjo that converts from an Irish Tenor to an Appalachian Clawhammer. (My avatar is a photoshop recreation of the pearl engraving on a 1909 banjo). Over 40 Irish sessions a month in greater London and 10 or 12 bluegrass and Appalachian. I made it to 7! Remind me where in the North are you? Bob -

Resin Printer for making embossing plates and stamps
BDAZ replied to BDAZ's topic in 3D Printers and Lasers
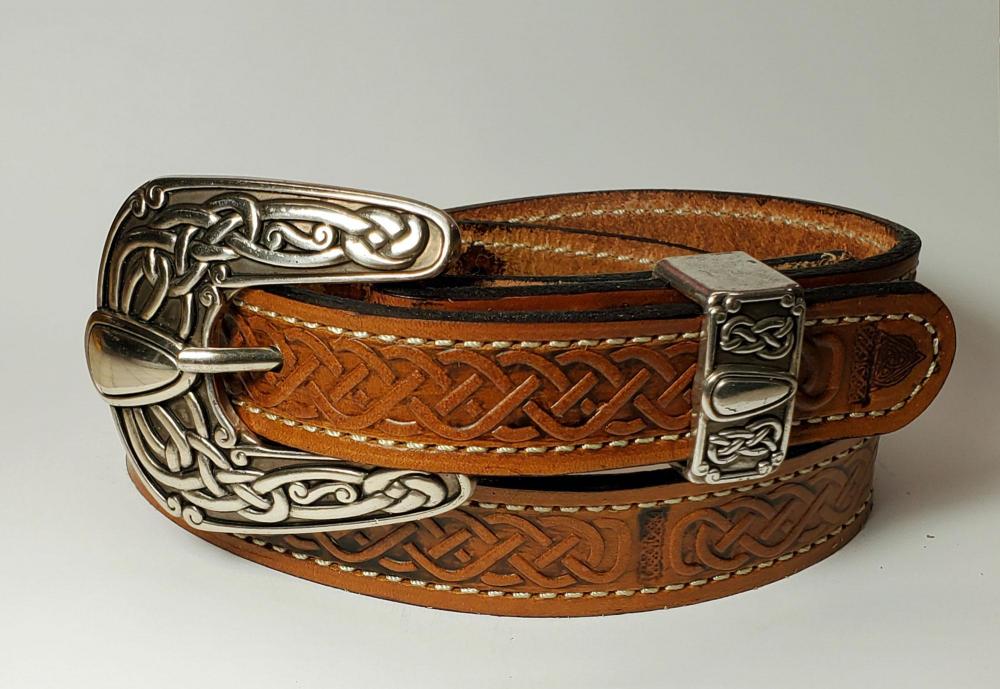
Just had a request for a 1" Celtic belt w/o lining. I realized I didn't have anything narrow enough to leave room for stitching so I made a few .6" x5" plates. From downloading the graphic to curing the plates took 15 minutes. In addition I laser engraved my Maker's Mark on the back because the stamp wouldn't fit, and it is significantly more legible! The antiquing wasn't great but the customer was thrilled. Last week I had a commission to carve and tool a complex design on the front of a S22 Ultra phone case. I pulled the hand drawn off the net, retraced it in photoshop to produce a sharp digital pattern and scaled it up to the side of the case from the original belt dimensions. Then I laser engraved it at the absolute minimum settings which produces a fine light brown pattern on the leather. Got to love the technology! Bob -
Did Tandy change their Line 24 snaps? I always use a concho screwed into the male Tandy Line 24 snap but have used my Goldstar reliably for many years to set the female. I do have to grind a bit off the posts to make for a better fit. Yesterday I had to set a standard male snap cover and I crushed half a dozen male snaps on the Goldstar before I realized that it is the wrong length for the Tandy snap! The Tandy is 4.55 mm and the snaps I have purchased elsewhere are 4.22!! I guess the extra length makes fitting the screws a bit easier (I grind my own down to the correct size but the die crushes the snap before the die post reaches the snap post. Thanks! Bob
-

Resin Printer for making embossing plates and stamps
BDAZ replied to BDAZ's topic in 3D Printers and Lasers
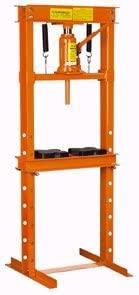
Nice video! I have been making leather stamps for around 9 months with great success. I have a very similar methodology and the same printer, Elegoo Mars 2, which I recommend wholeheartedly. The Monochrome version is much faster than the original and has a significantly longer MTBF on the LCD. I only do commercial work and most of it is wholesale so typically time is money and I am generally making doezens or hundreds of products at a time. If someone wants a custom stamp I charge for it. In addition I often have to get hundreds of impressions out of a stamp and I can't afford the luxury of breaking a stamp and ruining $30 or more worth of leather in addition to lost fabrication time. A few comments on the video: 1. I have been using the same methodology as the video however, I use Photoshop and /or Illustrator but 95% of the time it's Photoshop. I then use the online converter https://www.online-convert.com/ to convert a jpg or .tif to an SVG which I dump into Tinkercad. If the file produced is too large, simply import it at 50% or 25%. The I use a thicker base, usually 1/2 inch to prevent any possible cracking of the stamp. It also tends to produce a more even impression. Any flexing or movement during pressing can crack fine details on the stamp. Time is money. 2. I have found the cheap 1 ton arbor presses useless even for Tandy Stamps. Some of my plates are 4 inches or better. I want to be able to use 1 impression per item and I use a 3/4" steel plate which completely covers the stamp and the Harbor Freight 12 ton press. The 6 ton also is OK for smaller plates. Be careful when applying pressure so you don't shatter the plate. I use a 1" thick piece of steel as the pressure plate under the work. 3. There are two options for resins, water washable and standard (requires washing in alcohol) In the video he is using water washable in an alcohol washing station? Waste of time and money IMHO. Time is money. I use water washable for typical plates as a stamping plate is very easy to wash out. I use a 5 gallon pail in my sink and the sprayer to quickly clean away excess resin. I spray with ammonia free window cleaner and then rinse again in the sink. Standard resin is easily washed with a spray bottle of 100% IPA over the 5 gallon pail in the sink to remove excess resin and then I spray with the window cleaner over the bucket, rinse off with water over the bucket and then cure. There is a lot of obsolete videos about the dangerous odors of standard resins. DO wear gloves but the days of respirators and extraction fans are long past. I use the Elegoo water washable resins for most plates but fine detail I will use the Elegoo ABS ABS like resins for fine detail. If I have any doubt, I will go for the standard resins. A mistake can cost more than the price of a bottle of resin! Another tip is to always use transparent or translucent resins. You can always see through the stamp for perfect placement. Another tip is to heat shrink wrap the stamp in plastic wrap. It makes for a clean release. 5. I then cure in a curing station made from a 2.5 gallon bucket sprayed inside with chrome paint with a uv lamp mounted in the lid. I typically cure all plates while immersed in water and revolving on a turntable: https://www.amazon.com/Turntable-360°Rotating-Solidify-Photosensitive-Enclosure/dp/B083ZFH24H/ref=sr_1_7?crid=1TUATGSUHBXPR&keywords=3D+printing+uv+resin+curing+lamp&qid=1636216548&sprefix=3d+printing+uv+resin+curing+lamp%2Caps%2C117&sr=8-7 Usually 15 minutes is what I use and I have the lamp on a timer. 6. Years ago I tried to make stamps with a filament printer. I gave up! The filament printers can't produce smooth surfaces and crush easily. It may be possible to paint the surface with resin and cure it but why bother?! Time is money! I have tested 5 different brands of resin printers and for this application, the Elegoo Mars is both the best bang for the buck and foolproof. In addition make sure to purchase the magnetic plate! I cringed when the guy was prying the stamp off the build plate and scratching up the surface permanently. Those scratches will also appear on the back of the plate or other prints where you want a perfectly smooth surface. You simply pull the magnetic plate off the build plate, flex it and the print just pops off. I use the scraper that came with my printer for removing paint as it was designed. Bob -
I have completed the laser engraving of the backs and my workshop no longer smells like dead dogs. The new engraver held up well and was not even breaking a sweat and will hopefully have many more to do for phase two of the project. The small, activated charcoal fan filter did significantly reduce the smoke and odor. https://www.amazon.com/gp/product/B08HYZYZZX/ref=ppx_yo_dt_b_asin_title_o00_s00?ie=UTF8&psc=1 Bonus I can use it for my RC Battery Business. The BOFA would be serious overkill! Thanks, Bob
-
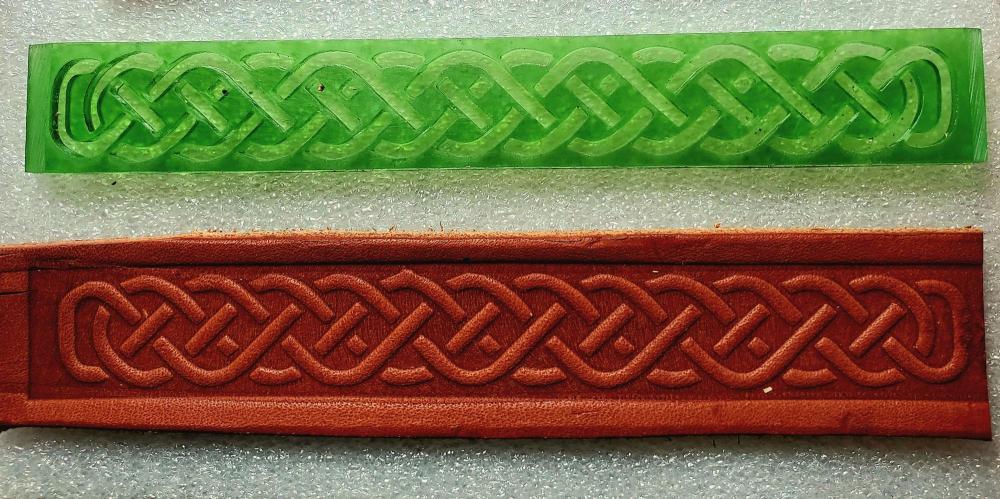
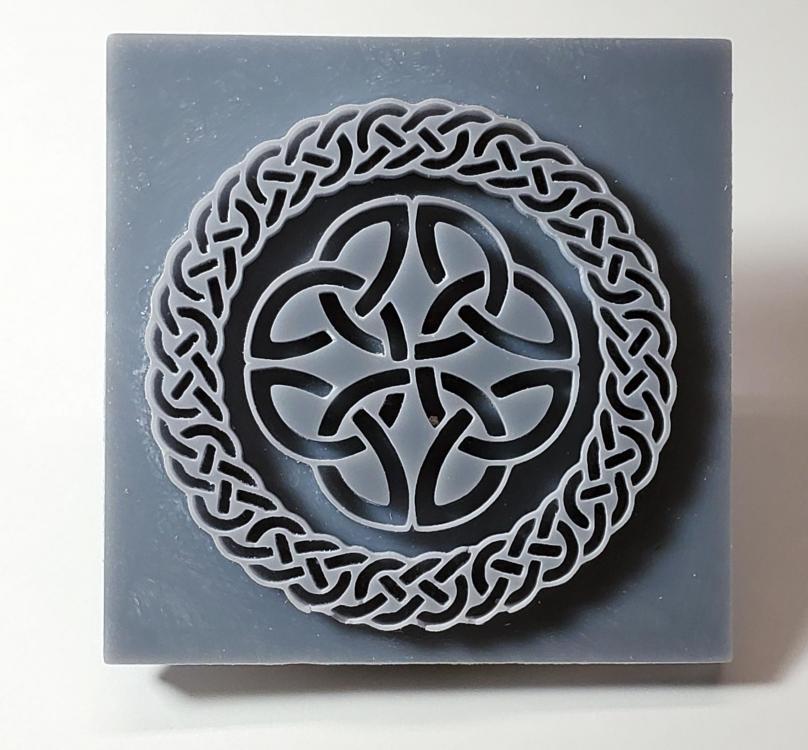
I have purchased plates from the Russian. He does wonderful work and I use them often. I 3D printed my own plates for this project (an example attached) . The plates are 3" in diameter on a 4" coaster. I did test placing the still cased coasters under a scrap piece of kitchen granite with an additional 10 lbs of scuba weights on a stack of 20 and allowed to dry for a few days and that seems to have done the trick. Thanks all for the suggestions!
-
Anyone have tips on flattening 4" leather coasters after casing and stamping? I have many hundreds to produce.. Possibly just drying under weight? I also have a 20" heat press I use for laminating linings. But don't want to hurt the embossed image. Thanks! Bob
-
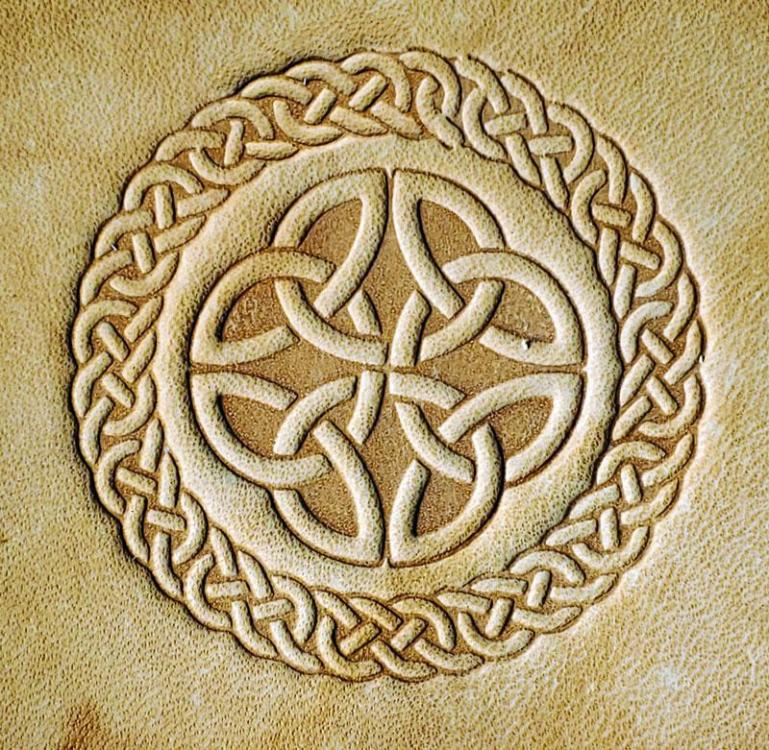
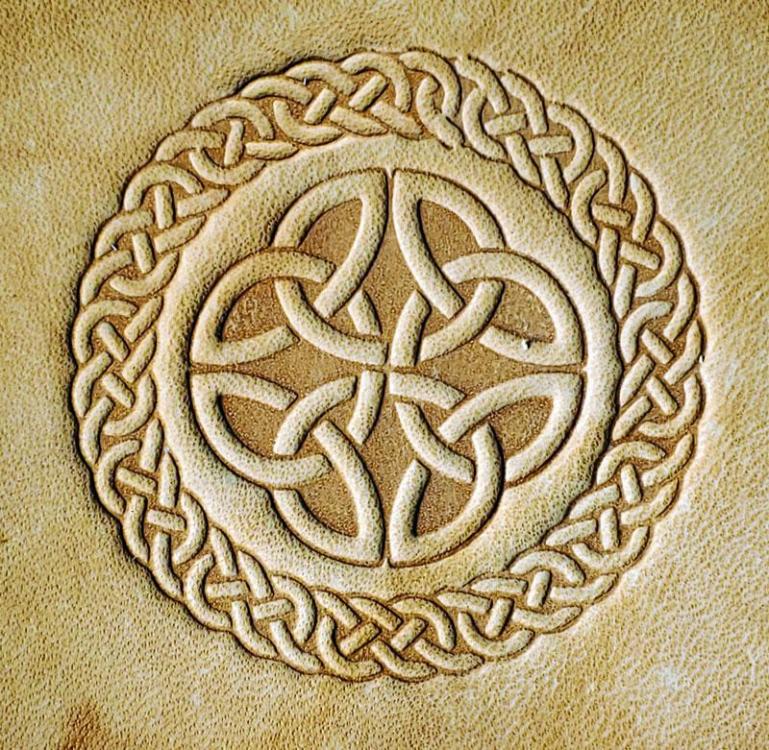
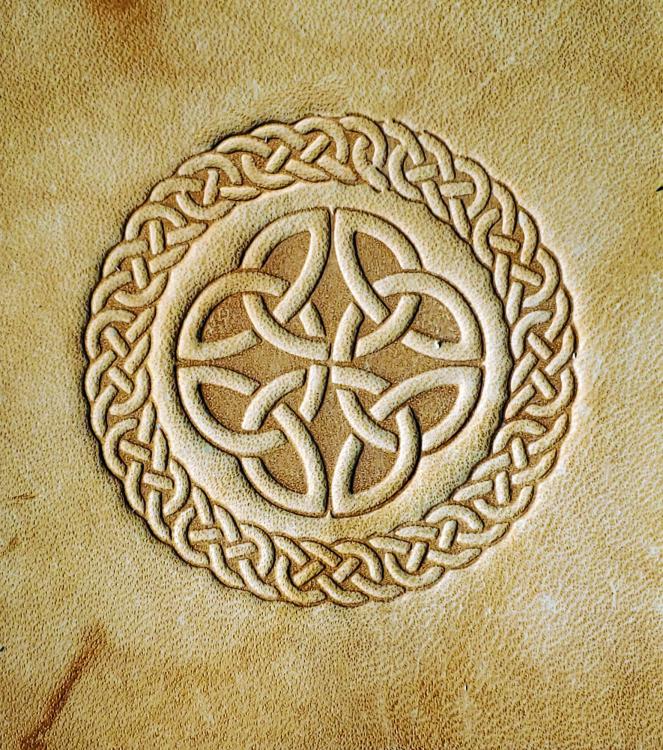
This is the embossed leather. The whole process to create and print the stamp from the artwork took around 45 minutes.
-
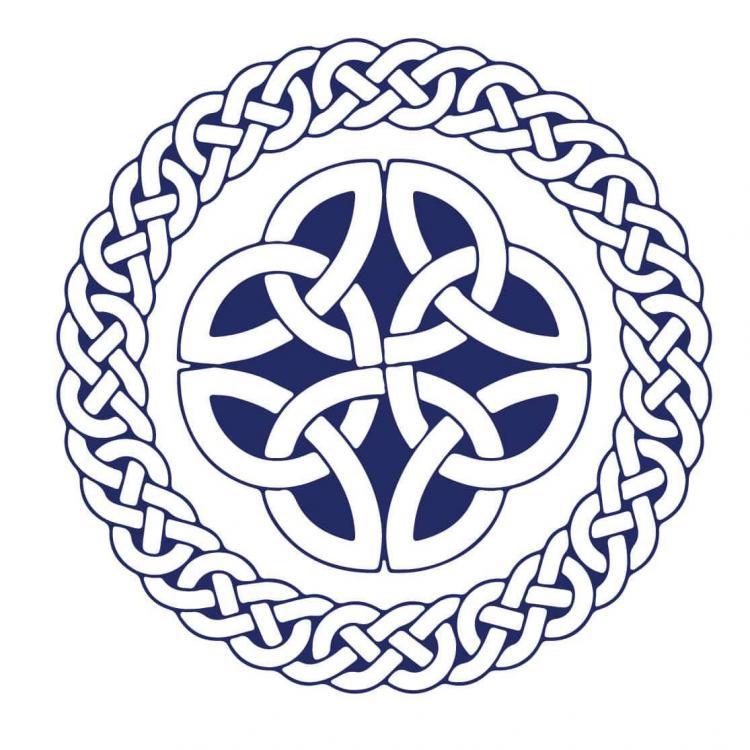
Simple. I 3D Print my own stamps almost daily. Paid for the printer the first week! I simply take a 2D Line graphic and then convert to an SVG file here: https://image.online-convert.com/convert-to-svg Then I read the SVG file in Tinkercad www.tinkercad.com Size as required and drop onto a "puck" of around 1/2" thick. Usually takes around 20 minutes to print: This is my printer: https://www.amazon.com/ELEGOO-Photocuring-Monochrome-Off-Line-5-1x3-1x5-9in/dp/B08L9JM11J/ref=sr_1_4?crid=XH1CJZBEE38F&dchild=1&keywords=elegoo+mars+2&qid=1624454347&sprefix=elegoo%2Caps%2C214&sr=8-4 Currently on sale at <$200. The resin for the stamp costs +-$2
-
Thanks! I sent back the little unit, which I doubt would have got me through the project and purchased an NEJE 20Watt 160mm x 160mm unit. Both much more robust and I can do 4 coasters at a time. Only running 5ms burn time and @ 10%. I also invested in a small exhaust fan with activated carbon filter which seems to reduce to smoke and odor in the workshop. Had planned to do the production outside but the weather is supposed to hit 114 this week... Great for wet forming engraving..not so much! Bob
-
I was quite happy with it for the original scope of the project, but as a former boss said (paraphrased) , only cheapskates can afford to buy things twice. A bigger order means a bigger budget and a better laser engraver
-
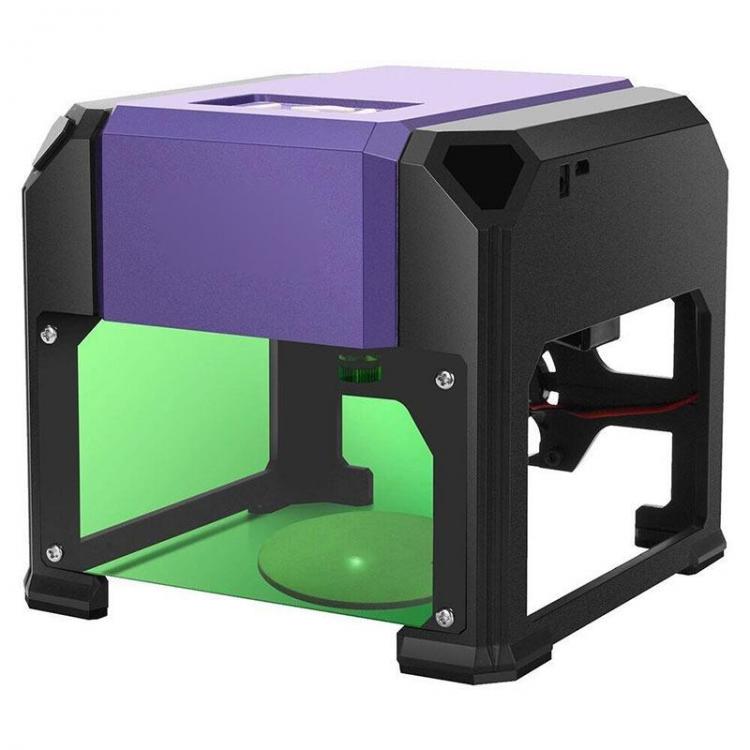
I decided to send the laser printer (attached) back to Amazon. I was not comfortable with the build quality as the scope of my project has increased and may require many hundreds of prints. Does anyone have a recommendation for a plotter style engraver with larger than a 3x3" print area and at least 3W, preferably 5W. Would the extra 2W make a noticeable difference for engraving leather? I have been looking at this one as an option: It would be great to do multiple prints at the same time and have the print downloaded or on a thumb drive so I wouldn't have to be connected to the computer and could run this outside. https://www.amazon.com/Desktop-Engraver-Upgraded-41x40cm-Engraving/dp/B08R9Q7HHY/ref=pd_di_sccai_5?pd_rd_w=8ydSS&pf_rd_p=c9443270-b914-4430-a90b-72e3e7e784e0&pf_rd_r=C433XH5GD378WR3N5GE2&pd_rd_r=1764e376-a52a-4f45-8d23-84fc707d003a&pd_rd_wg=U1EpQ&pd_rd_i=B08R9Q7HHY&psc=1 Thanks! Bob
-

Resin Printer for making embossing plates and stamps
BDAZ replied to BDAZ's topic in 3D Printers and Lasers
Thanks for the tips. That was my 3rd print and subsequently discovered I have to crank the power down to 30% to prevent that. In fact, the client wants a very light print which is even faster and cleaner. The build area on this unit is only 3" x 3" and I have a small USB fan that does the job. I did play with the masking tape mask on wood to allow painting but that has given me the idea of using the laser JUST to cut the mask for stamped letters that I often paint, and this could cut the time to a fraction! Just have to get the depth correct and of course, only the outlines of the stamps. Thanks for that! The burn below is around 2" -

Resin Printer for making embossing plates and stamps
BDAZ replied to BDAZ's topic in 3D Printers and Lasers
I just installed a flexible built plate and it's BRILLIANT! I print w/o supports whenever possible. Cheers! Bob -

Resin Printer for making embossing plates and stamps
BDAZ replied to BDAZ's topic in 3D Printers and Lasers
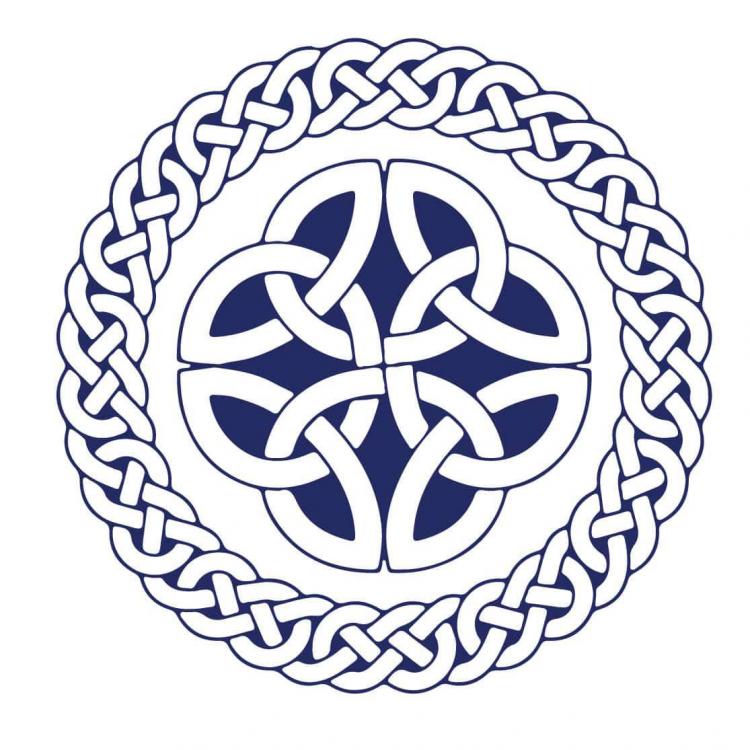
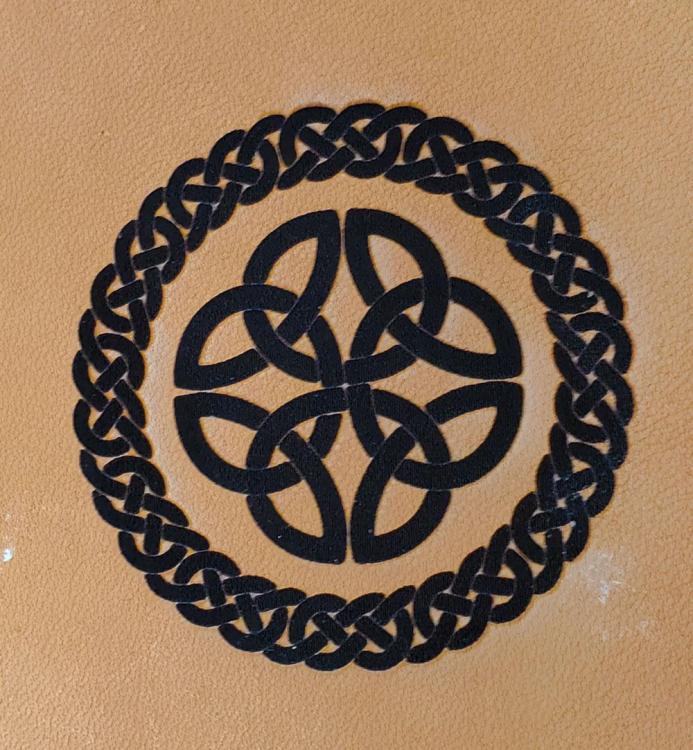
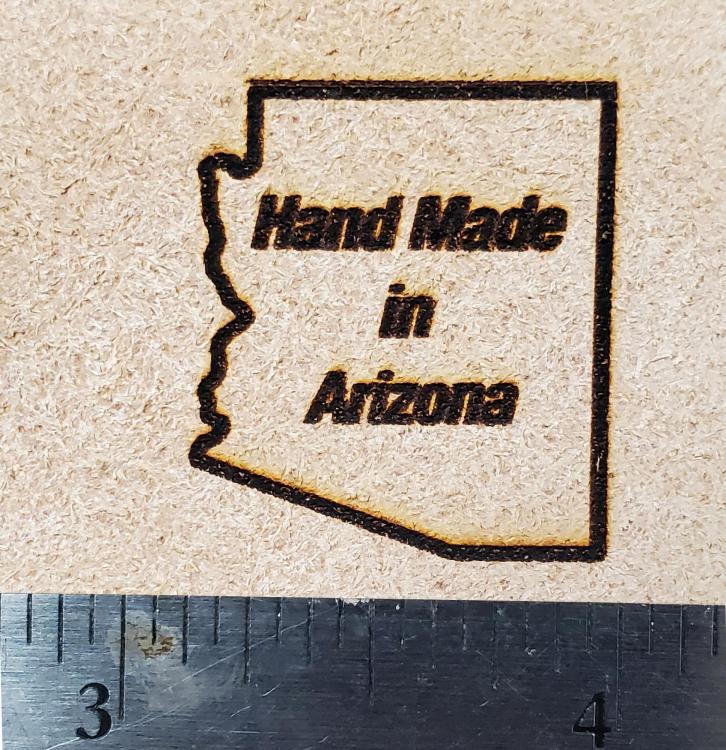
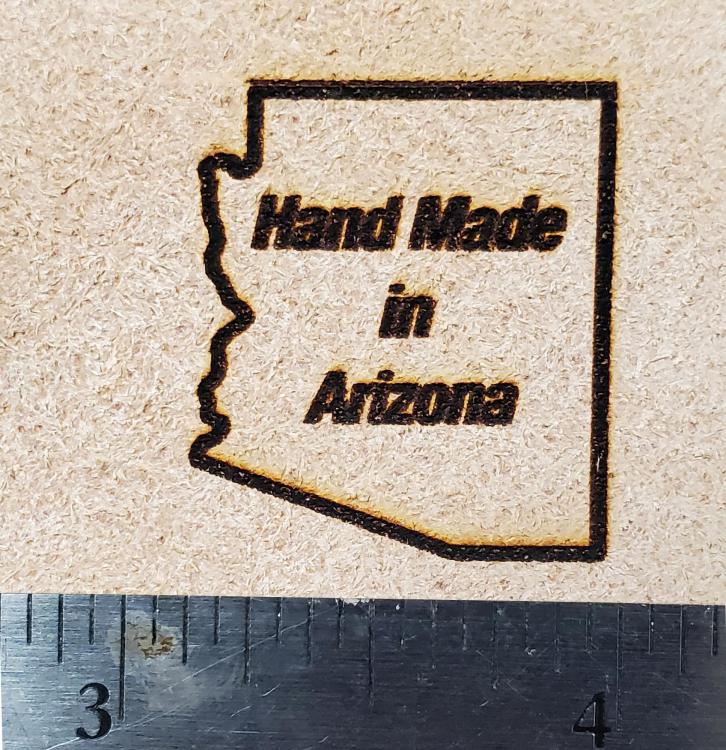
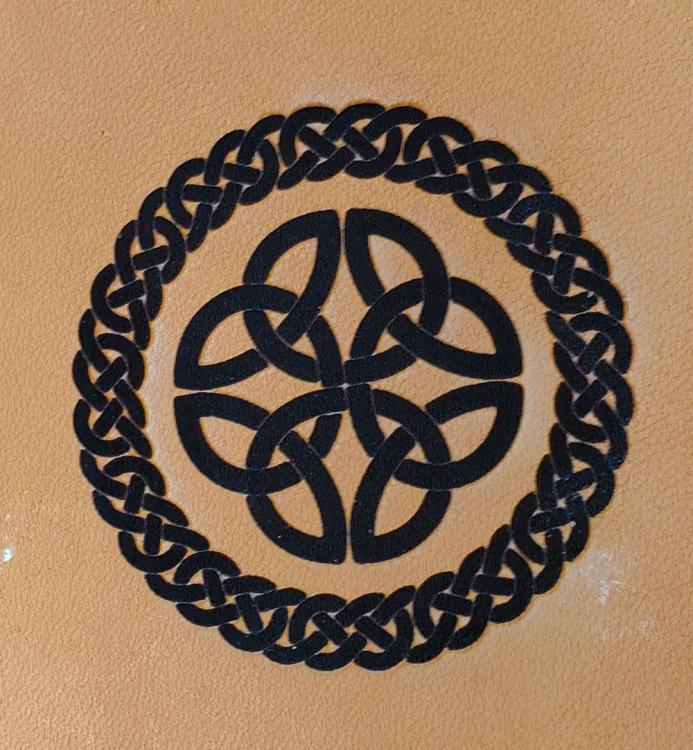
A customer needed "Hand Made in Arizona printed small on the FLESH side of a large run of decorated coasters. Wet stamping didn't work, print through, a branding Iron was really expensive with long lead times and a rubber stamp would look crappy. So I bought a small laser engraver for $158, which arrived today, and I am as impressed as I was with the resin printer.. The Hand Made in AZ was maybe the 3rd print and a bit over exposed. But it's fine for the flesh side. The Celtic print is the same size as the stamp pictured above, on the grain side. -
These are the first few prints off the new laser. I still need to fine tune the power which is now at 25%. The Made in AZ took 4 minutes, and it's the size the customer wants. The Celtic rondel is around 3" in diameter and took around 30 minutes on the grain side. It was just a test but I'd knock off a few percent on the power setting. It was truly plug and play (Once you figure out how to convert the software from Chinese) and has absolutely solved the problem for +- $150. My workshop now smells like a dog crematorium, but the beauty of this engraver is that you can download the print to the unit, then disconnect from the PC and print anywhere there's an outlet. You could even place it in the middle of a hide. I intend to do my production work outside, and who knows, may keep the coyotes away (or attract them?!). I may even incorporate the laser for adding a "custom made for Fred Jones" which I have had requests for in the past. Average print times around 5 minutes for text. Bob
-
Not following, but I just tested stamping the flesh side and it will bleed through on the 5-6 oz leather the customer wants to use. I think the only option is the laser. Bob
-
The problem is that I am stamping the grain side and customer doesn't want anything else on the grain. I doubt that I can stamp the flesh side and not have a print through. I am stamping some samples now. I'll test it. Thanks! Bob
-
Not enough margin to make it feasible, and it's a 1" x 2" text that just has to be legible, so not looking for the Mona Lisa. Just a quick and dirty imprint. All the hard work is on the grain side, custom stamp, etc. Used to worki in the wine industry in Santa Cruz and had many happy weekends in the Santa Rosa area checking out the competition. Engraver arriving tomorrow... Bob
-
I have a large project where the customer wants to print some stuff on the flesh side of a custom stamped coaster. Clearly stamping the back won't work as it will probably print through, a branding iron with custom stamp costs as much as some of the cheaper lasers. A rubber stamp would look crappy and silk screening would also look crappy. I'm thinking this would do the job. https://www.amazon.com/Engraving-Machine-Desktop-Printer-Engraver/dp/B07Q8V4XV8/ref=sr_1_7?dchild=1&keywords=laser+engraver&qid=1617410988&sr=8-7 And suggestions or recommendations. I have lost work because the customer wanted an inscription so this may find occasional use later. I will probably end up making +- 1000 of these. Will the laser hold up and what is a typical print time for a 2 x 1 print? Thanks! Bob
-

Resin Printer for making embossing plates and stamps
BDAZ replied to BDAZ's topic in 3D Printers and Lasers
Around 3" and a total of 3/4" deep. I have had 5 projects using resin printed stamps to date which would have been impossible and unprofitable if I had to have the stamps made out of house. Best toy I have purchased in a long time! -

Resin Printer for making embossing plates and stamps
BDAZ replied to BDAZ's topic in 3D Printers and Lasers


