Randyc
-
Posts
496 -
Joined
-
Last visited
Content Type
Profiles
Forums
Events
Blogs
Gallery
Store
Everything posted by Randyc
-
New On Duty Holster
Randyc replied to Randyc's topic in Gun Holsters, Rifle Slings and Knife Sheathes
Thanks for the crtique guys, I photographed the holster after I already wore the holster for a few days. I wear western belts on duty with large/thick belt tips. I don't have a round punch large enough for the 2 hole method of making belt slots. I use the largest belt punch made then have to widen both sides from there. When I used to wear regular belts, my belt slots were clean. I will possibly have a custom belt punch made in the future. Randy -
Steven You can get those brass studs through Tandy/Leatherfactory. I bought a set there. I'm not sure where to get the holster hangers, but I know the same hangers were also used to attach canteens, ammo pouches and everything else on a GI's belt. I suggest you check military surplus stores. Randy
-
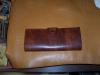
Thanks guys, your comments and critique are appreciated. No Jordan, this case doesnt attach to a belt. I built this one to replace the nylon case I was using. A leather guy wouldn't be caught dead in nylon you know. Ken, I did a cell phone case in that color combination for my girlfriend and a couple of belt bags for a customer at Christmas. Randy
-
Nice start on making holsters. Stick with it and you may very well be off to a very addicting hobby and or business if you choose. Now get busy, build your daughter a purse, then back to the holster bench. Please post more photos so we can all learn something. The only advise I have is don't go crazy on tools. Buy what you need at Tandy and if you really get into this you can always upgrade to better tools. Randy
-
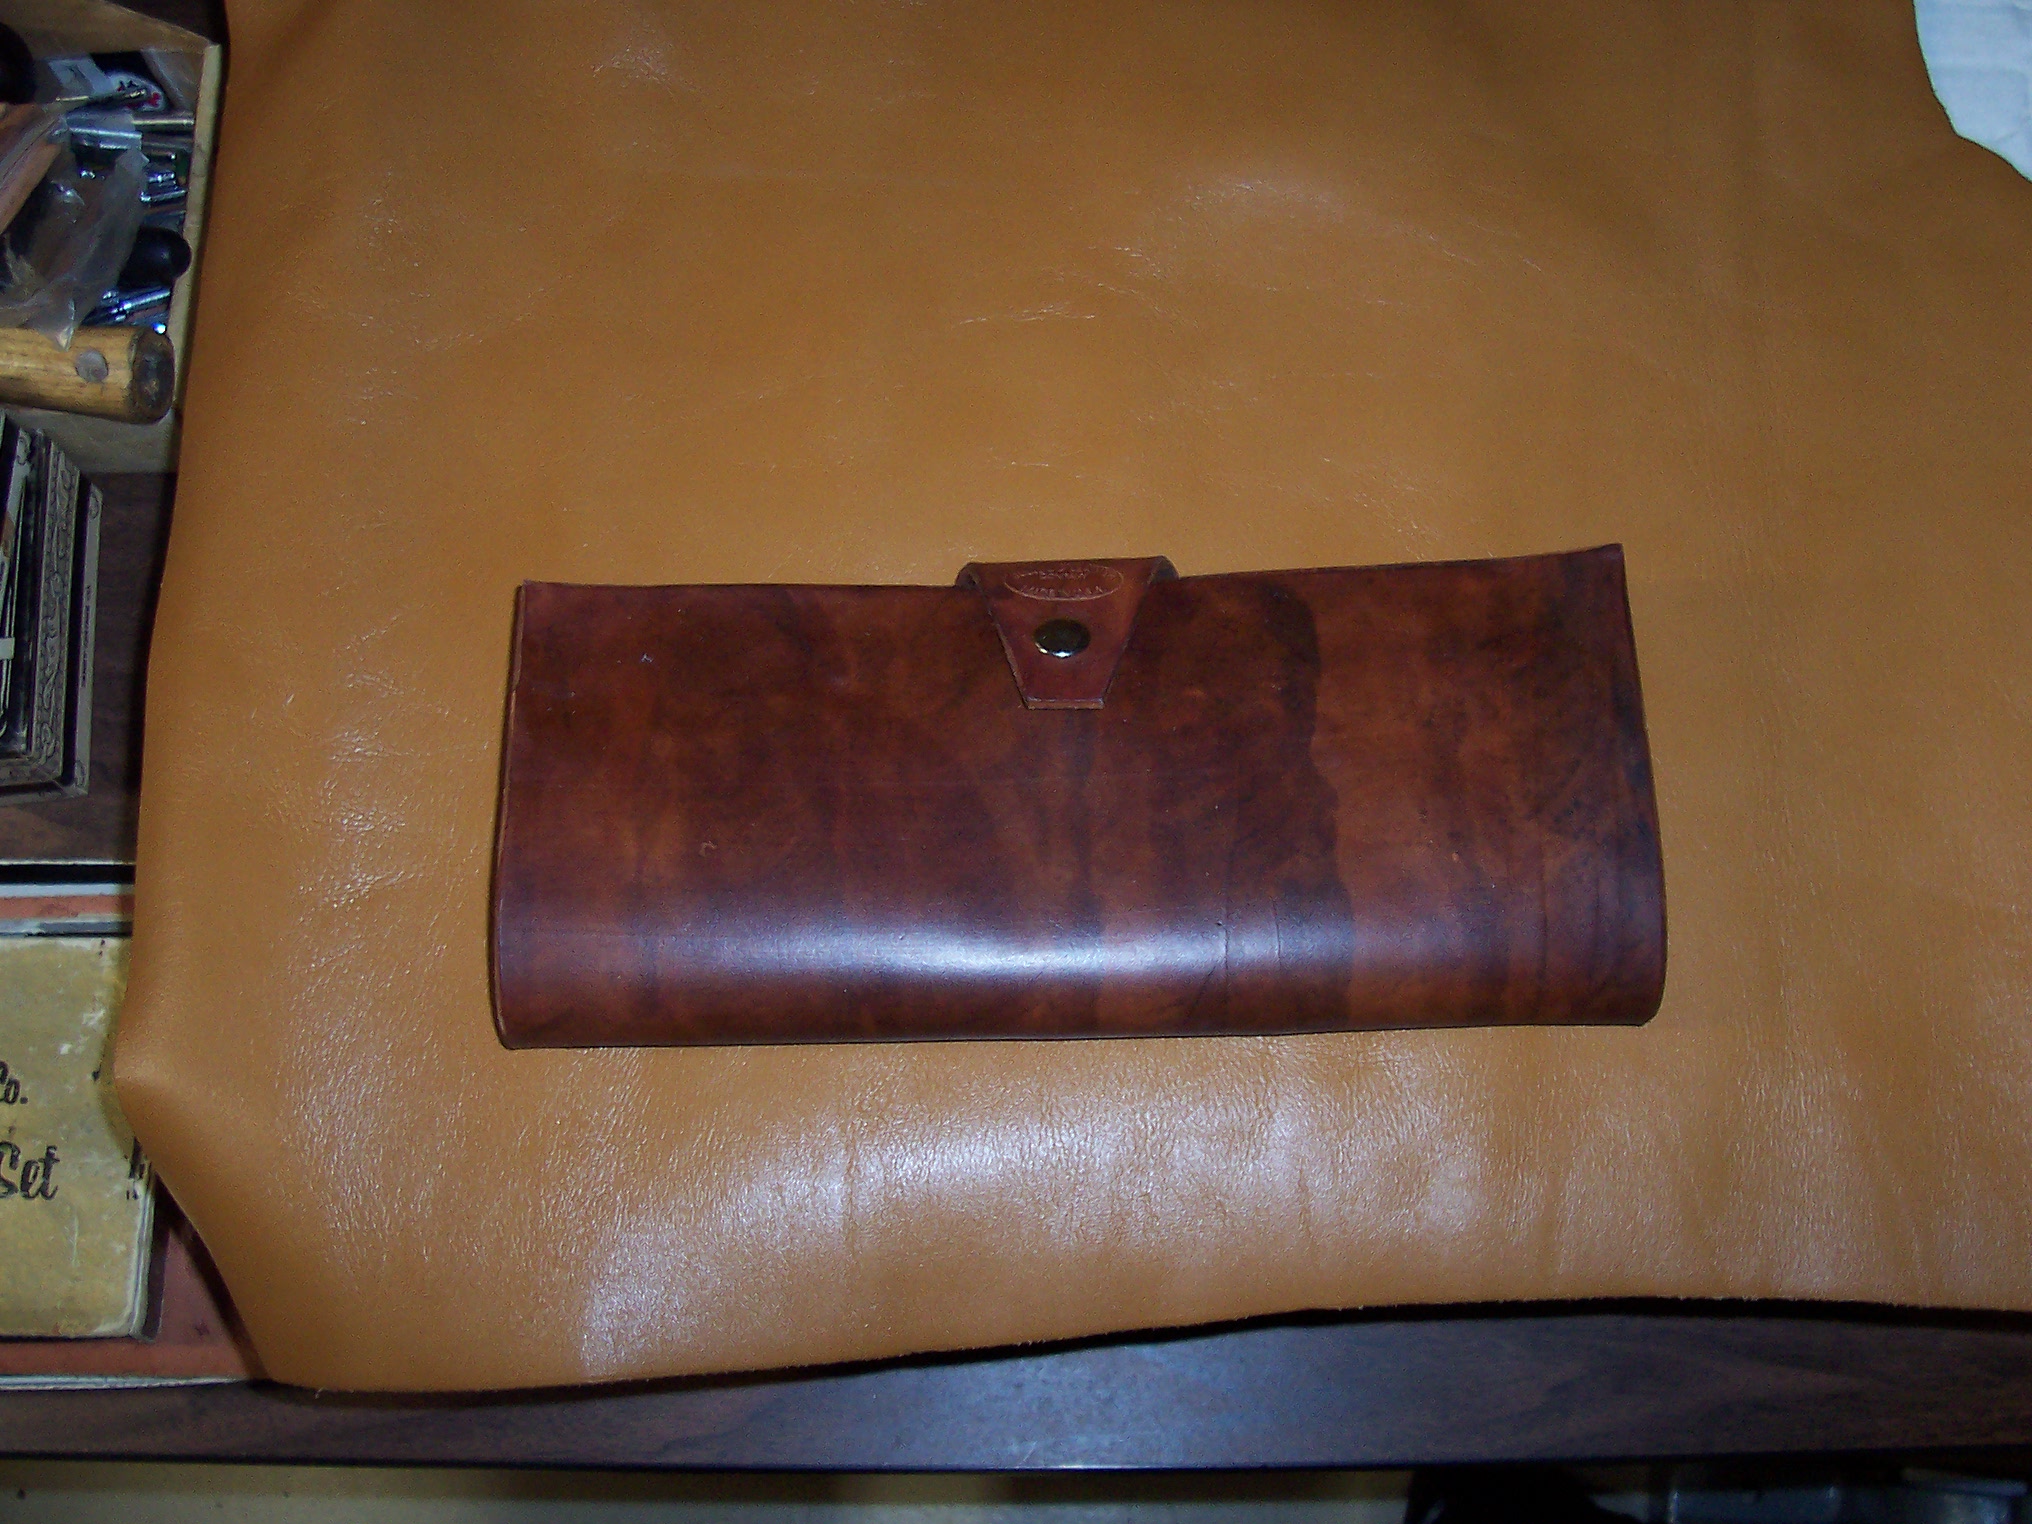
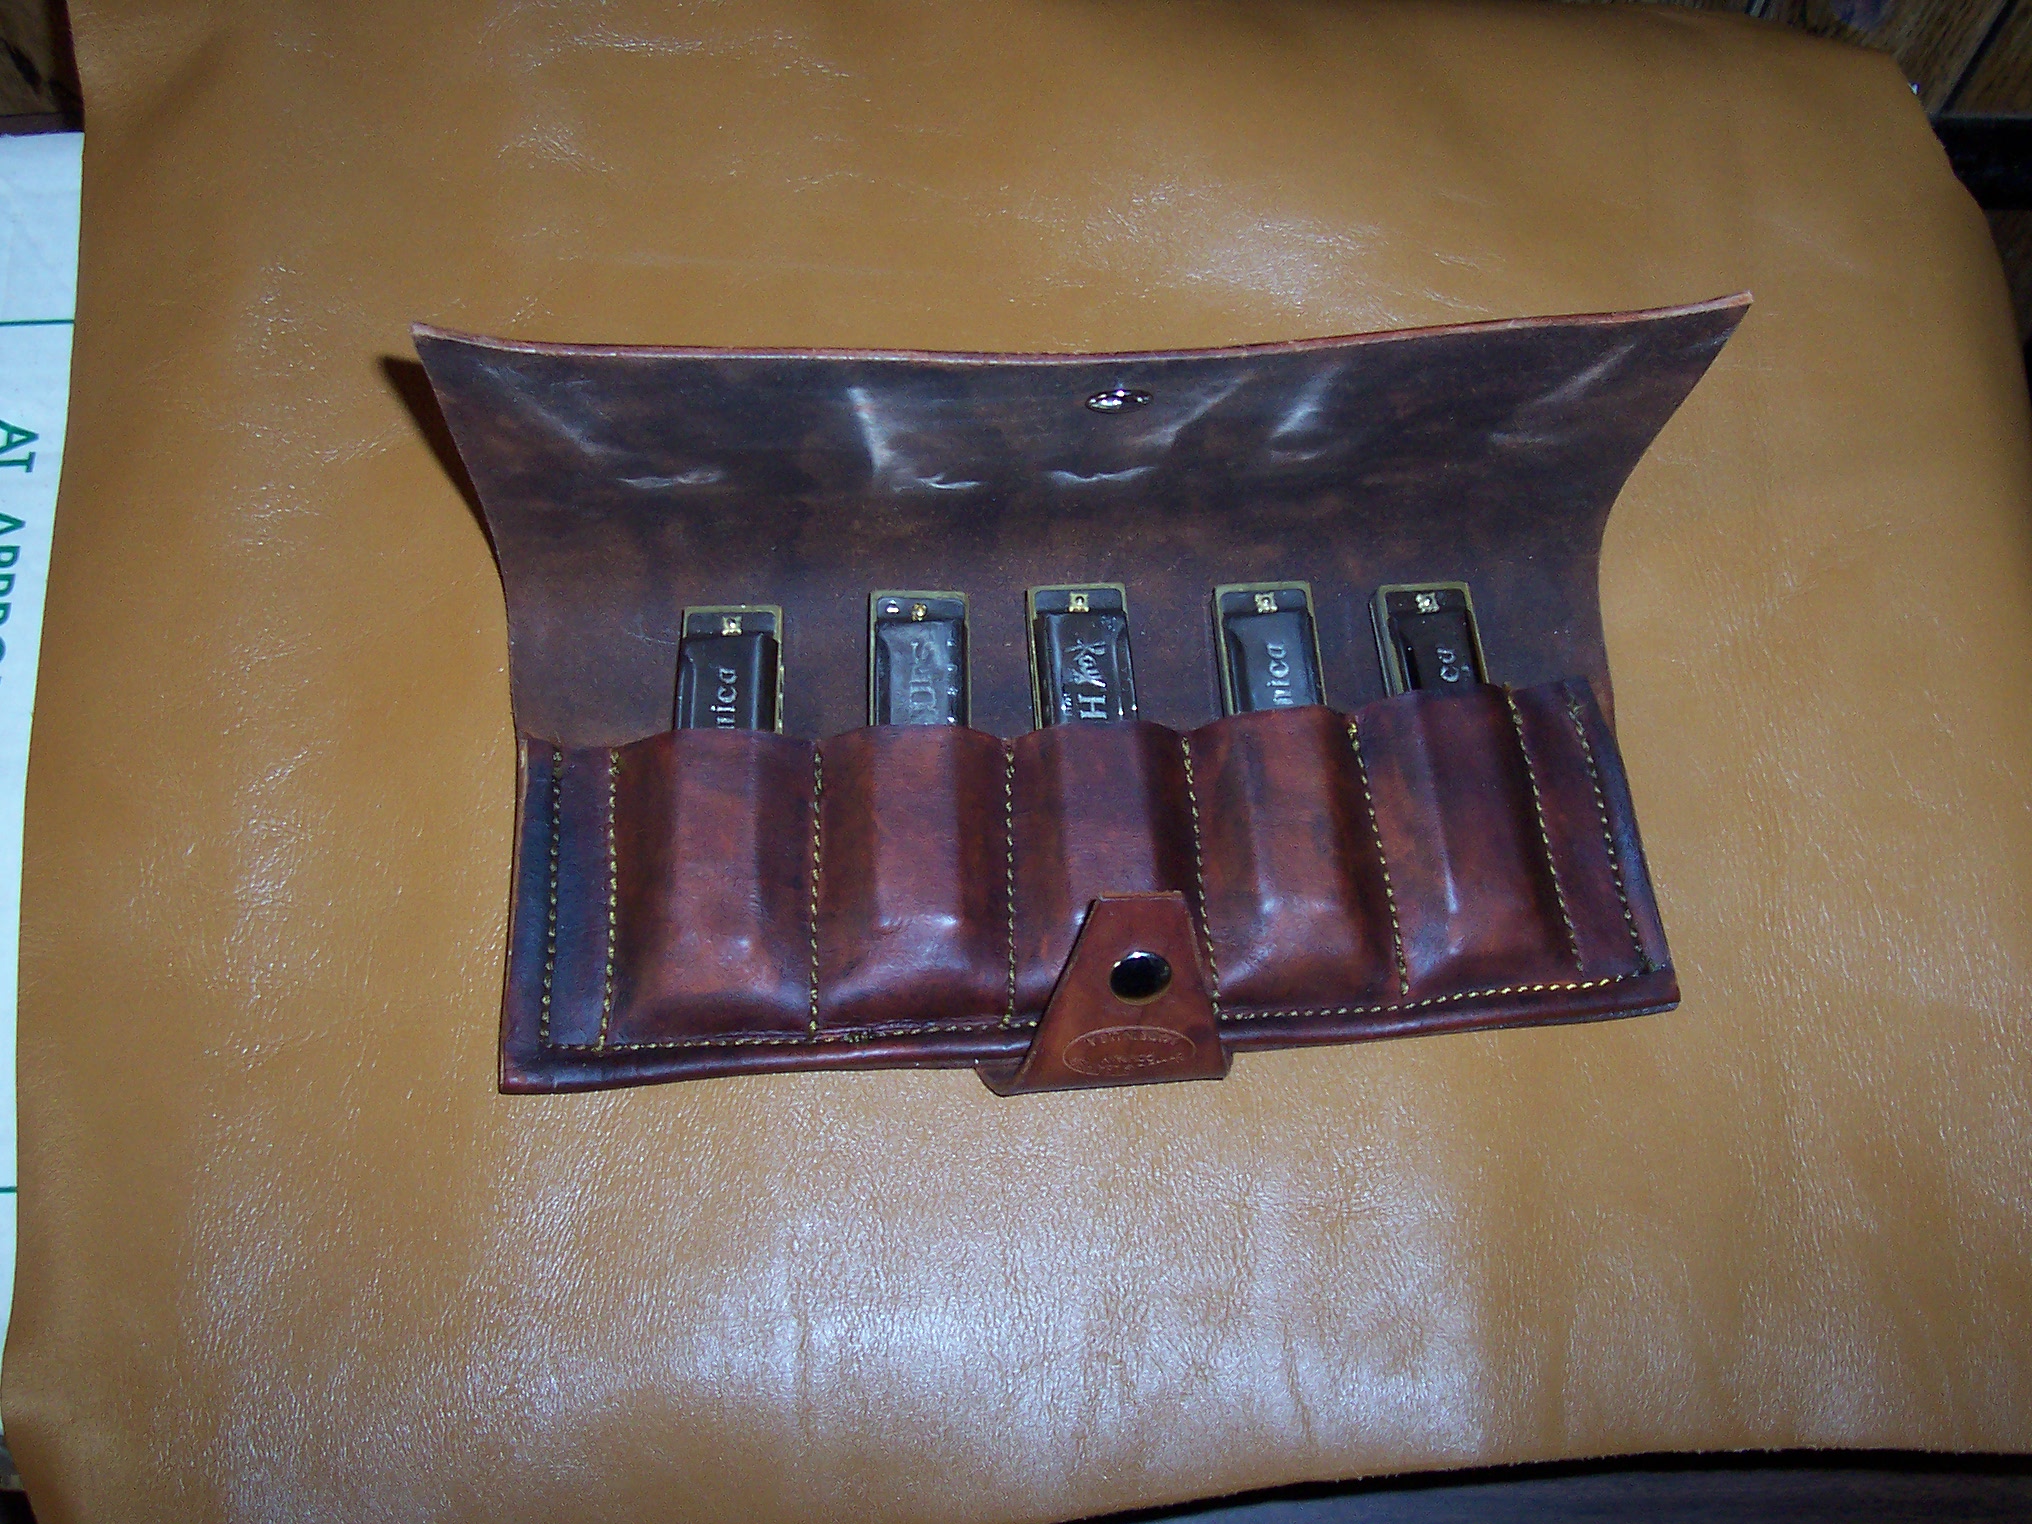
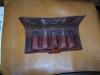
I made this Harmonica Case for myself. The outside of the case is made from 8-9 oz. vegatable tan cowhide. The interior is made from 5-6 oz. vegatable tan cowhide. I used a combination of Fieblings medium brown dye and Fieblings antique stain. Randy

-
Jordan, Very Cool! What year Beemer? Randy
-
New On Duty Holster
Randyc replied to Randyc's topic in Gun Holsters, Rifle Slings and Knife Sheathes
Wolvie, Ken, and Jordan, Thanks for your critiques guys. Wolvie, looking at the holster from a right handers perspective would leave you to believe that I had my belt slot angle reversed. The butt of the weapon does cant forward when worn on the left side. Ken and Jordan, I used the largest bag punch I own. The problem lies with the 1.5" belt I always wear. It's a western style belt with a western buckle and almost 1/4" thick belt tip. After I used my bag punch, I used a round punch at each end to lengthen the belt slot. Lastly, I use the bag punch again to widen the lelt slots on each side. If I choose to wear a standard non-tipped belt, I wouldn't have such funky looking belt slots. I wore that holster for a few days before photographing and posting the photo. Removing the holster from my belt sure didn't help the looks of the belt slot either nor does routinely banging the holster off of the door jam while getting in and out of my squad car help the overall looks. I need to start photographing my stuff before I destroy it Randy -
John, Very nice shotgun shell bag. Holds 8 boxes of shells, that should be enough for a fun filled day at the skeet/trap range!! It's nice to see older work that has been proudly used. It gives folks some idea of the craftsmenship and durabilty of well built custom leather goods. Randy
-
New On Duty Holster
Randyc replied to Randyc's topic in Gun Holsters, Rifle Slings and Knife Sheathes
Hi Guys, Thus far over 60 of you have viewed this holster. This is my first pancake holster. Because it's my first holster of this design, I used scrap leather. This is also my first attempt at using a molding press. My other holsters have been pocket style holsters. The leather I used for this project had a few dings and dents to start with. Being left handed, I tend to ding up my holsters just getting in and out of a squad car. This one just started out pre-dinged :D . Let me know what you guys think. I've got broad shoulders, so please critique Randy -
Mr. Leather, Welcome to the forum. You will find alot of knowledge here and nice folks who share it. Randy
-
Ken, Thanks for the kind words. I made that pair while studying under master bootmaker Carl Chappell. Like other leather craftsmen, the ranks of bootmakers seem to be getting smaller as years go by. Randy
-
A couple of our holsters
Randyc replied to JohnsCustomLeather's topic in Gun Holsters, Rifle Slings and Knife Sheathes
John, Nice work on your holsters. I like your overlay work. Did you skive your overlay edges to smooth them out? Randy -
Florida Bound
Randyc replied to sheathmaker's topic in Gun Holsters, Rifle Slings and Knife Sheathes
Pail, Very nice job on the sheaths. I really admire your inlay work. Randy -
Ken, This piece of Lizard was part of a box of scraps obtained in an Ebay auction. I'm not sure, but it's possibly Caiman Lizard (?) Thanks, Randy
-
Cellphone case
Randyc replied to Rawhide's topic in Purses, Wallets, Belts and Miscellaneous Pocket Items
Marlon, Very nice job on the case. Any "traveling man" would be proud to own it! Randy -
Don't sell yourself short. I think it's a good looking holster. Your stitching will improve with practice. So get busy and make some more holsters Randy
-
Kayak, I use regular file folders available in any office supply store. I picked up a box of 100 today for under 7 dollors. Any way, I stand the weapon up with the front site on the center crease of the file folder and the rear site centered on the center crease. I carefully lay the weapon on it's side and trace around the weapon onto the folder. I then move the weapon back to the front and rear sites on the center crease position and carefully lay the weapon onto it's other side and trace around the weapon. I now draw out my holster style over the tracing I just made and allowing additions for leather thickness and stitch lines. I then cut my pattern out, following my trace lines but cutting out side of the trace lines making the pattern a little larger then needed. You can always trim your leather down, but once you have removed too much, it's gone. The next part is more trial and error. You need to lay out your pattern onto your leather. I use a silver pen for this part. I always trace a little outside of the pattern to be sure I have enough leather for the holster. Hope this helped. It's easier to do then to explain. Randy
-
Thanks Roo! I have some other smaller pieces of lizard, snake and shark. I might do some lizard inlays in a pair of western boots. Randy
-
Pocket Sharkskin Back Up Gun Holster
Randyc replied to Randyc's topic in Gun Holsters, Rifle Slings and Knife Sheathes
Brian, Thanks for the kind words. I used "Tanners Bond" from The Leather Factory (Tandy) I also sometimes use "Barge Cement" when I'm planning on wet molding a holster. The barge cement still holds when wet. Semper Fi Randy -
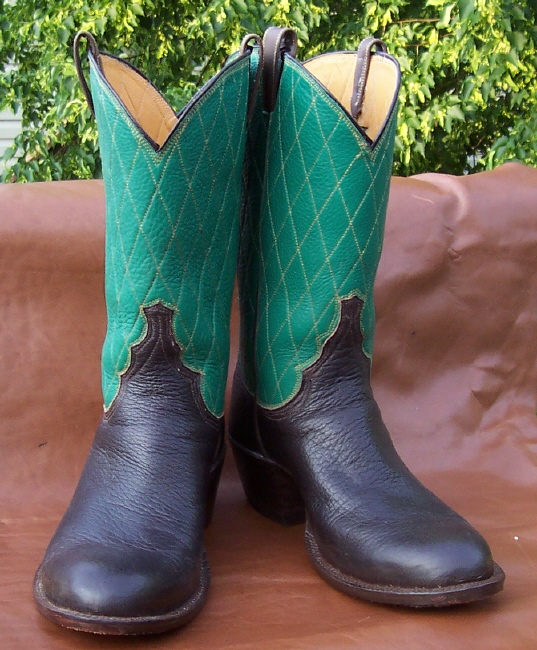
I built this pair of western boots. The tops are made of cowhide. The vamps and counter covers are made from American bison. The 2" heels are stacked and I added a spur shelf. The boots are lined with calf skin. The soles are pegged with lemmonwood pegs. The only nails used are the tacks attaching the rubber heels caps to the stacked heels. Randy

-
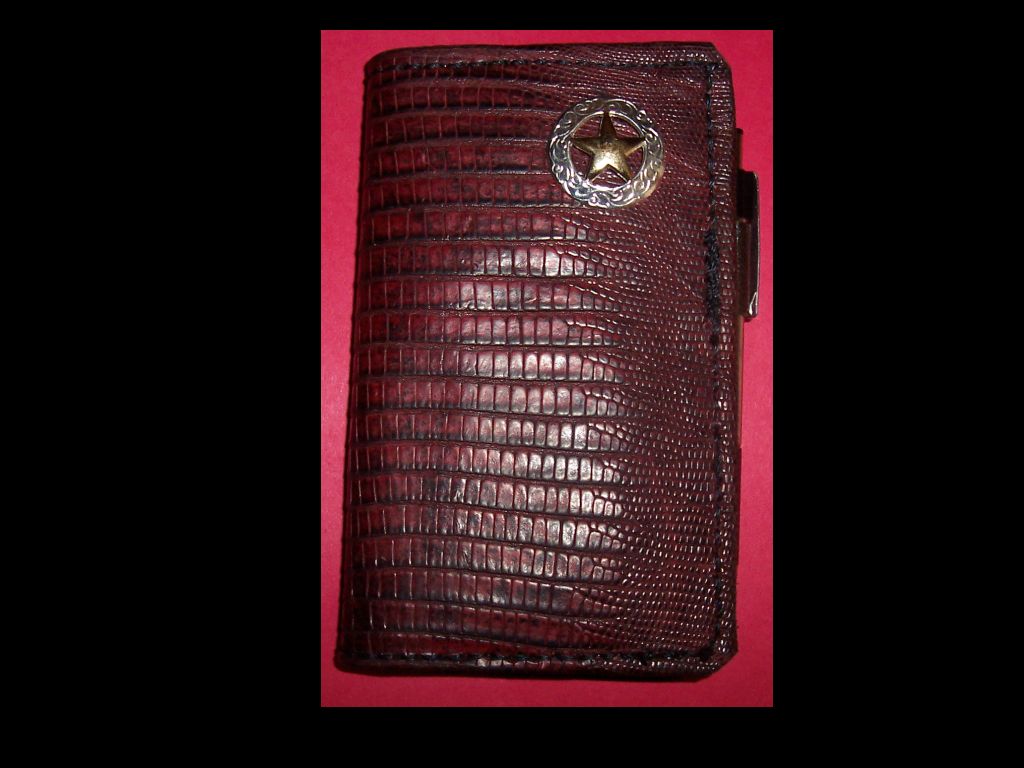
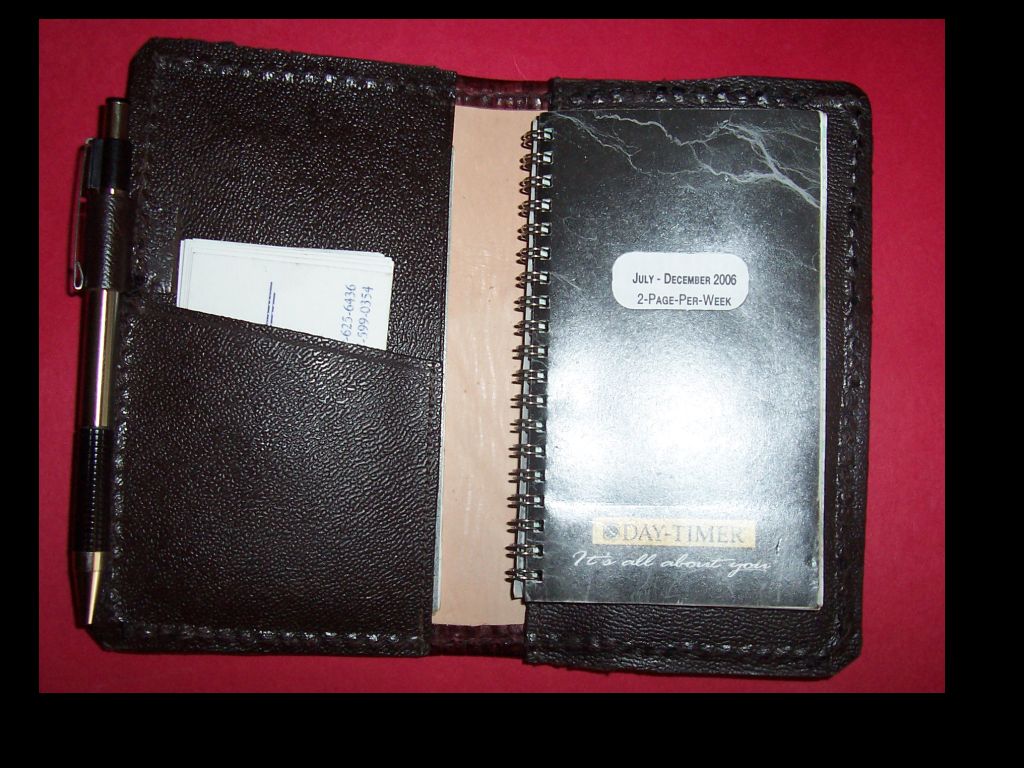
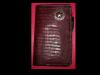
I made this pocket planner cover from 5-6 oz cowhide backing then glued and stitched a lizzard skin cover. The concho was added to give the planner more of a roper wallet look. I made this one a couple of years ago and the lizzard skin has held up quite well. Randy

-
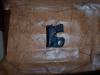
I made this pocket holster for my backup weapon. The holster is made out of 6-7 oz. cowhide and covered with sharkskin. The sharkskin was first glued to the cowhide, then machine stitched.
-
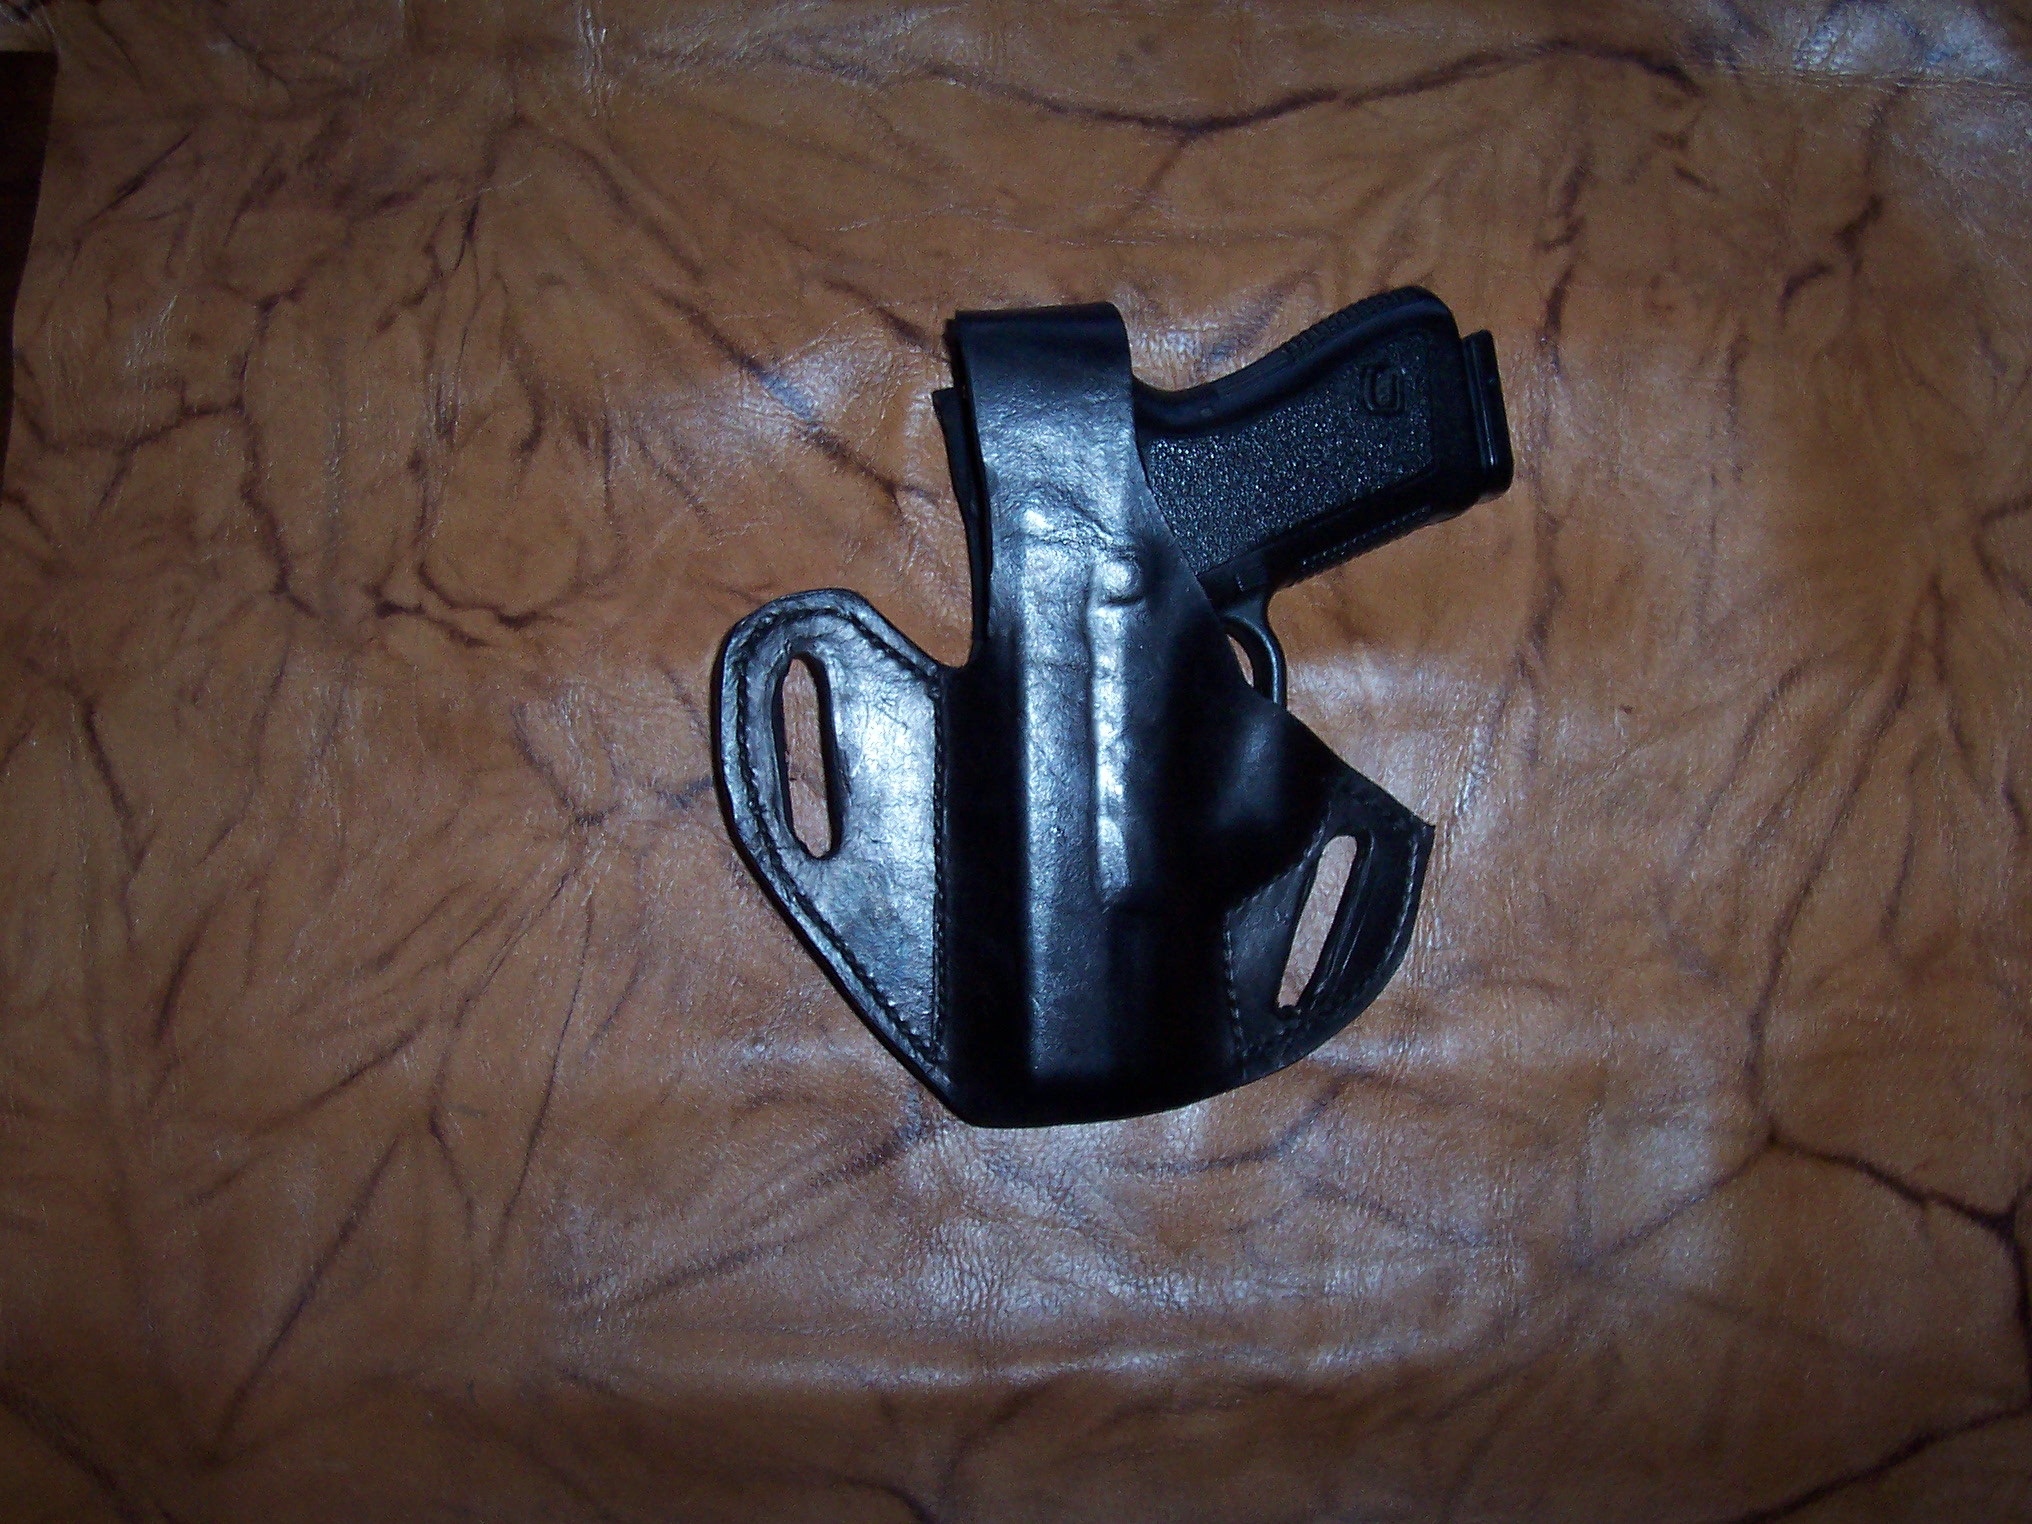
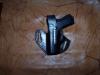
I made this holster for daily on duty use to carry my Glock Model 23. As you can probably tell, I'm a lefty. Sometimes it's pretty tough finding good left hand leather gear. The holster is made out of 8-9 ounce cow hide and machine stitched. The holster rides high and close in to my body.
-
Hey All, I'm real glad we got our forum back. While we were off line, I found myself checking for updates a little to often and not doing enough leather work. Now life is again worth living thanks to Johanna and her I.T. Crew. Randy
-
Ed, Once you get your Jerry Stripper, I and I'm sure a few others would like to know how it works out for you. Randy