Uwe
-
Posts
2,221 -
Joined
-
Last visited


Recent Profile Visitors
28,143 profile views


Uwe's Achievements
Leatherworker.net Regular (4/4)
-

Flatbed Table Attachment For Adler 69 Machines
Uwe replied to Uwe's topic in Leather Sewing Machines
Yes, it is :-) -
The file’s still there and I can download it. Maybe copy/paste that link into a new browser window or use a different browser.
-
Juki LU-563 stitch length eccentric play
Uwe replied to Helifixer's topic in Leather Sewing Machines
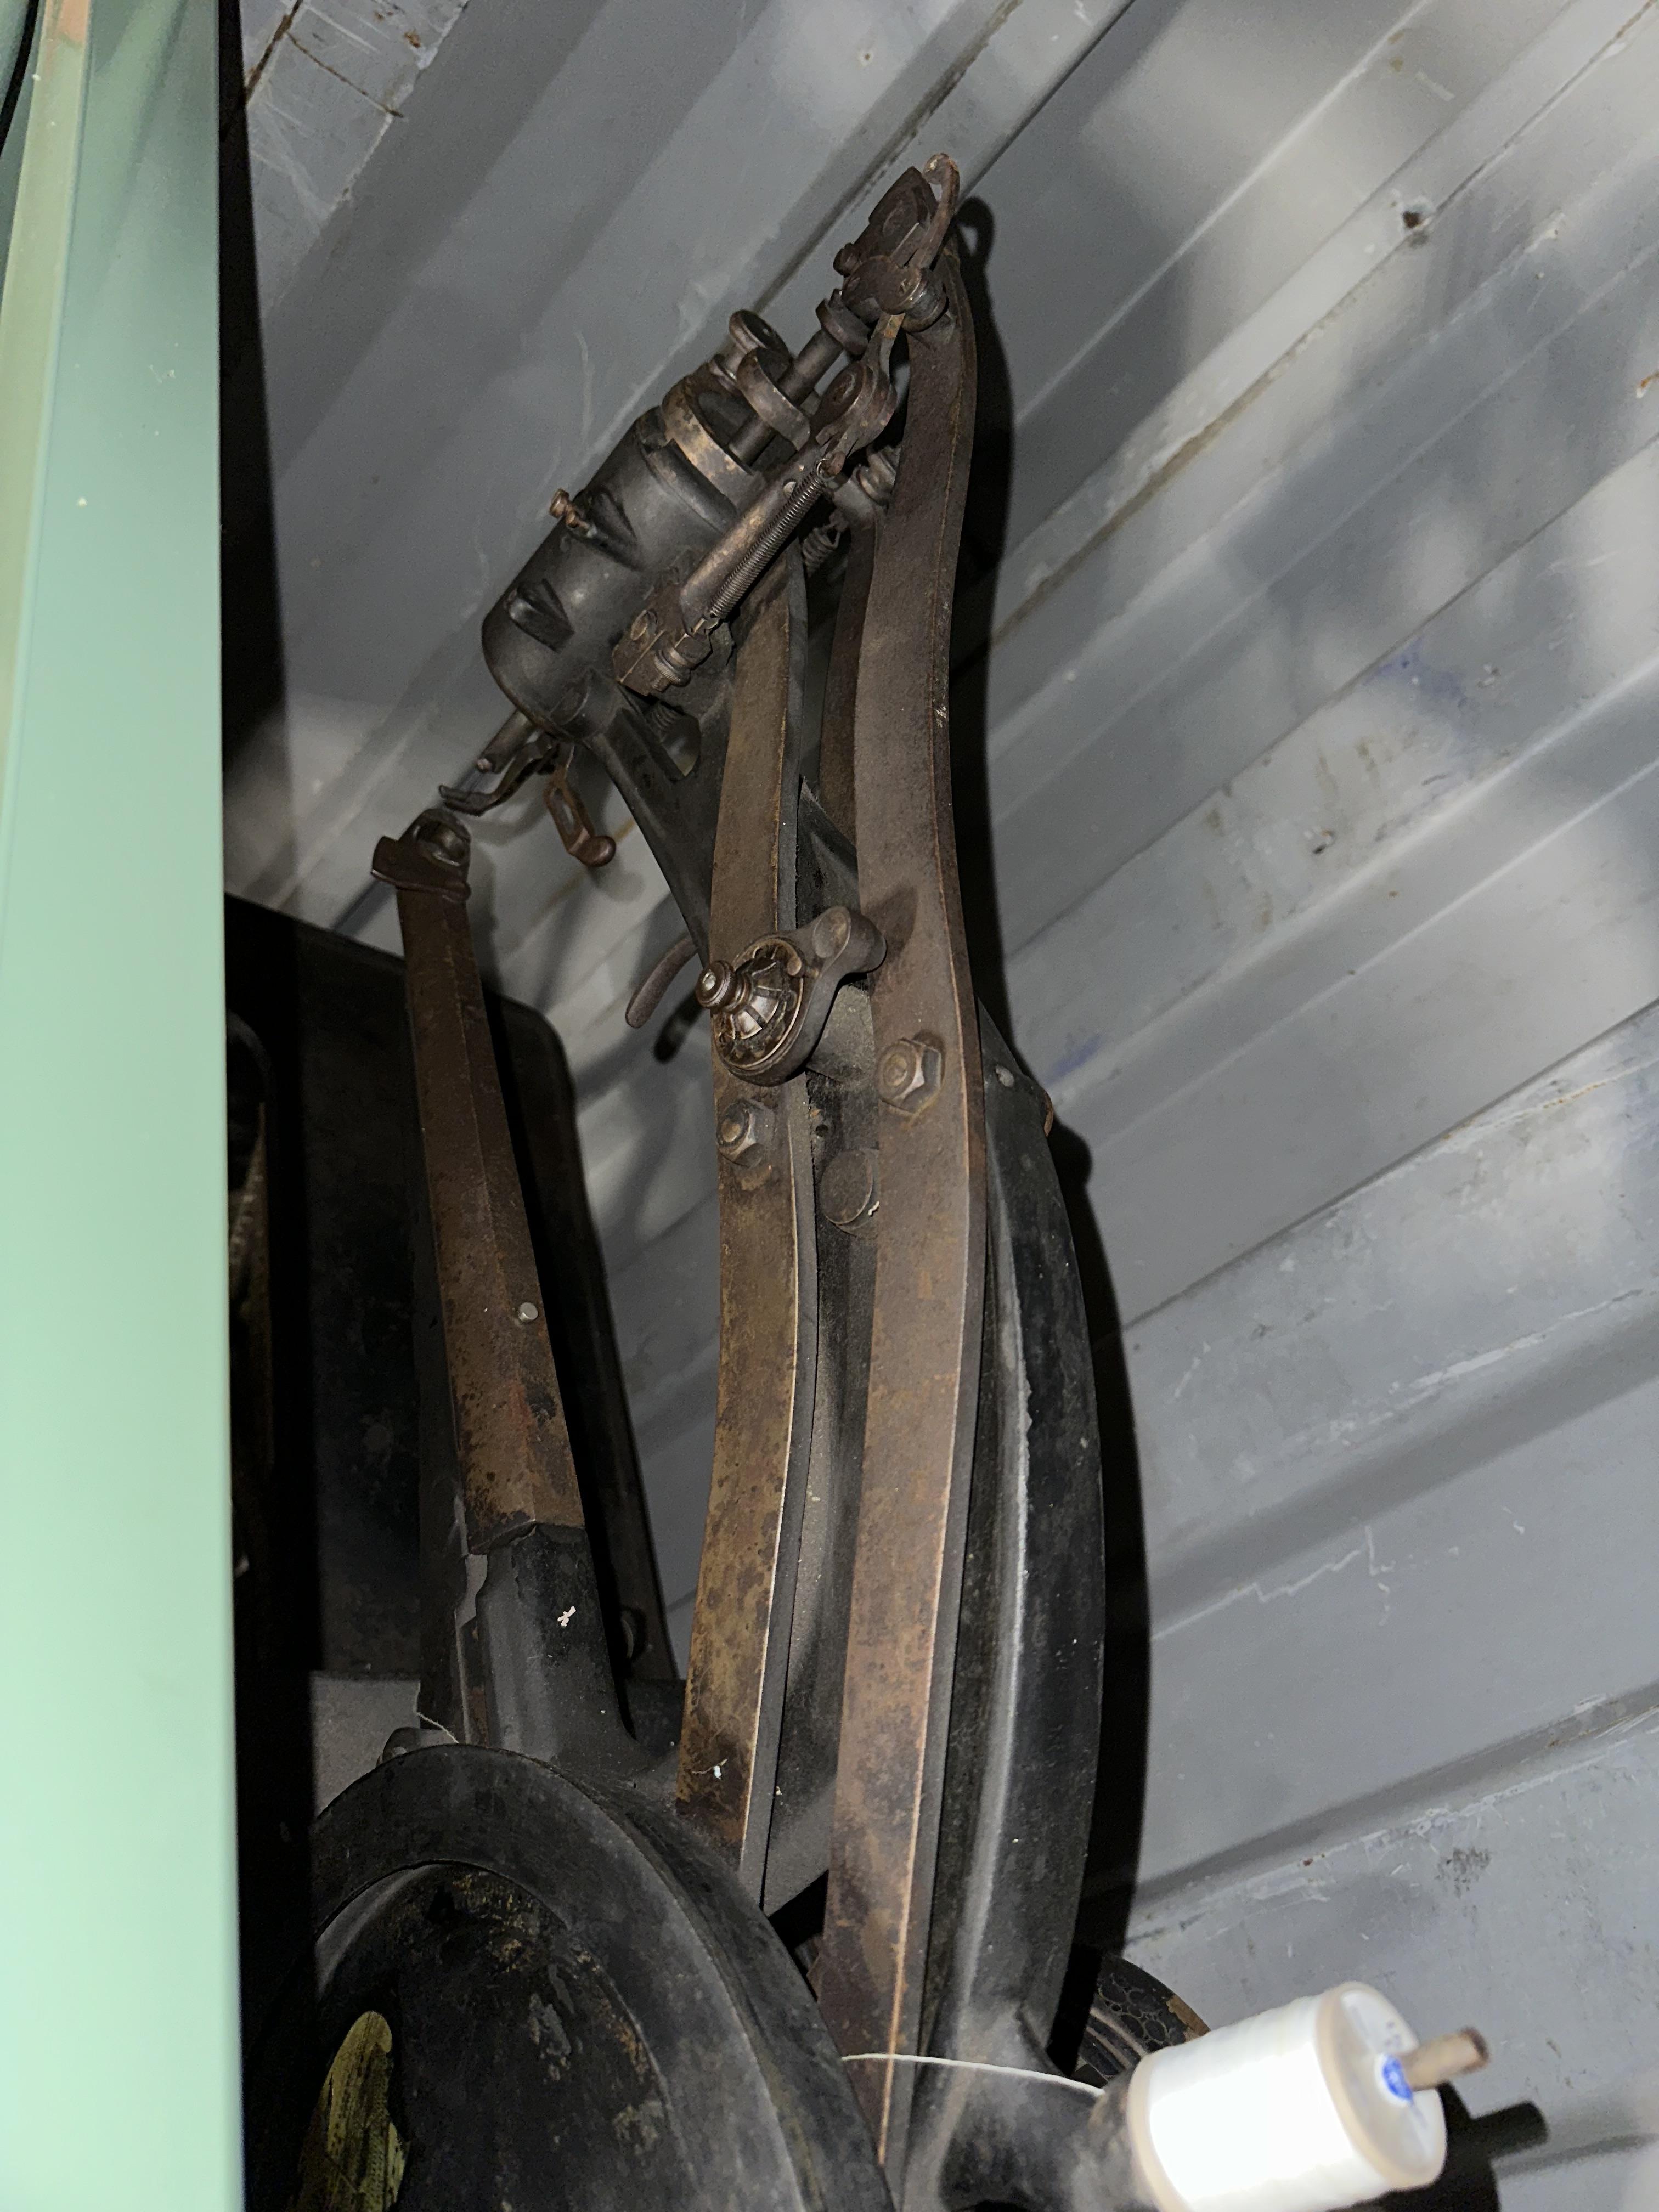
That video is helpful. It looks to me like the pin that rides inside the spiral slot is loose. If that’s the case, you most likely have to replace that slider, or the whole eccentric. Unfortunately that’s a bit of an operation because you have to remove bunch of parts to remove the eccentric. Sometimes that pin is a press fit, which is not really repairable unless you can weld it in place. If it’s a thread pin like the one in the picture, you might be able to tighten it . This could perhaps be done by disassembling the eccentric and separating the parts to gain access to that pin, without removing it from the shaft.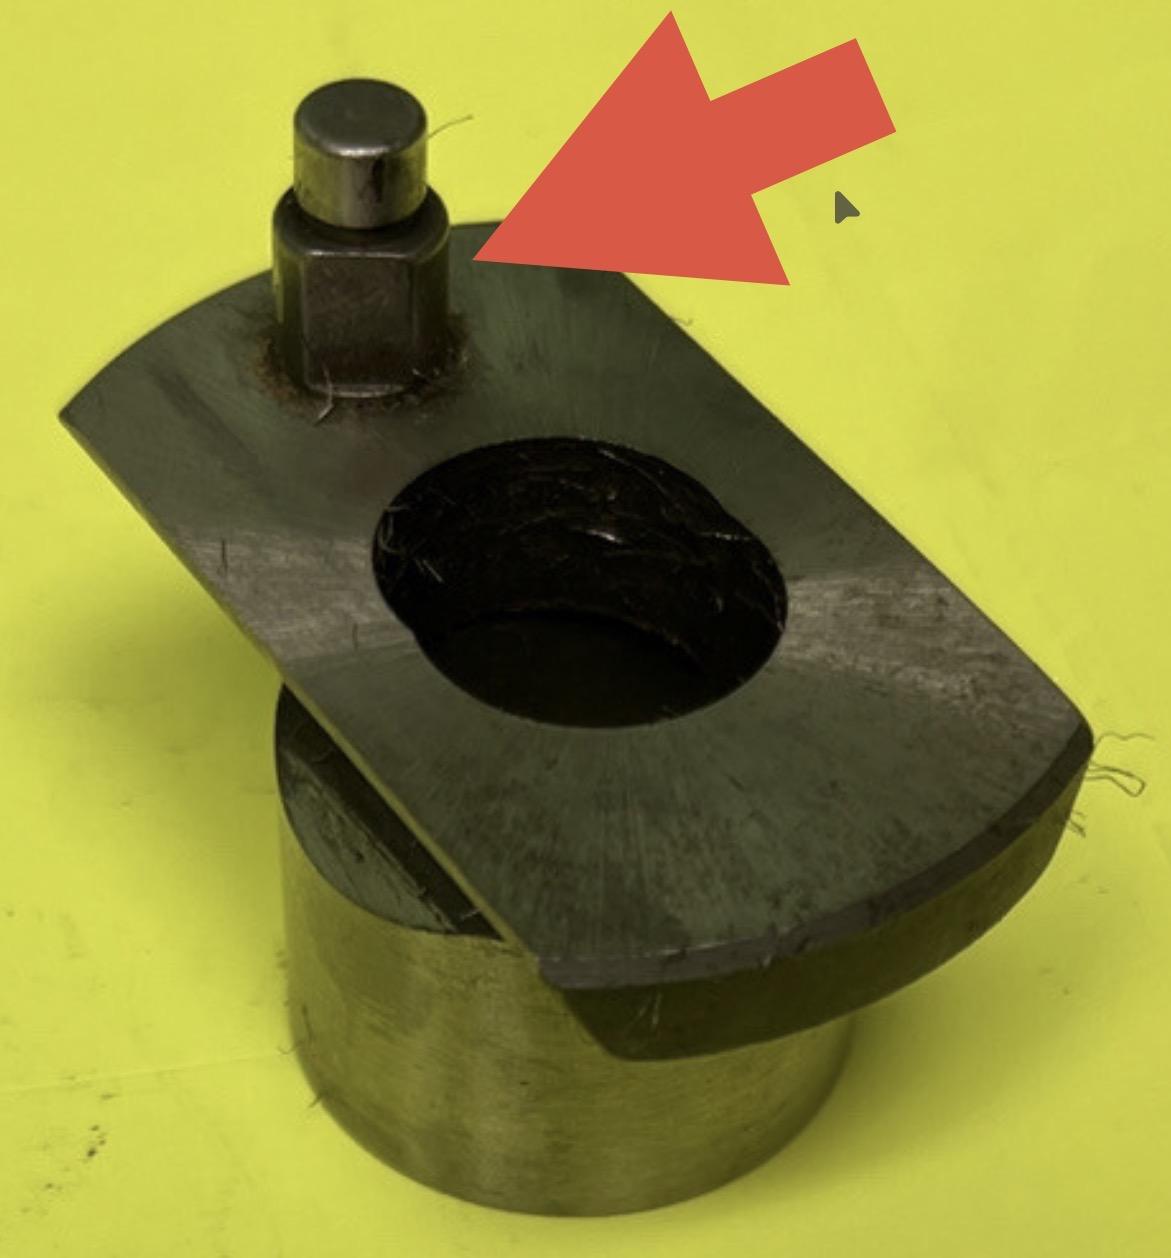
-
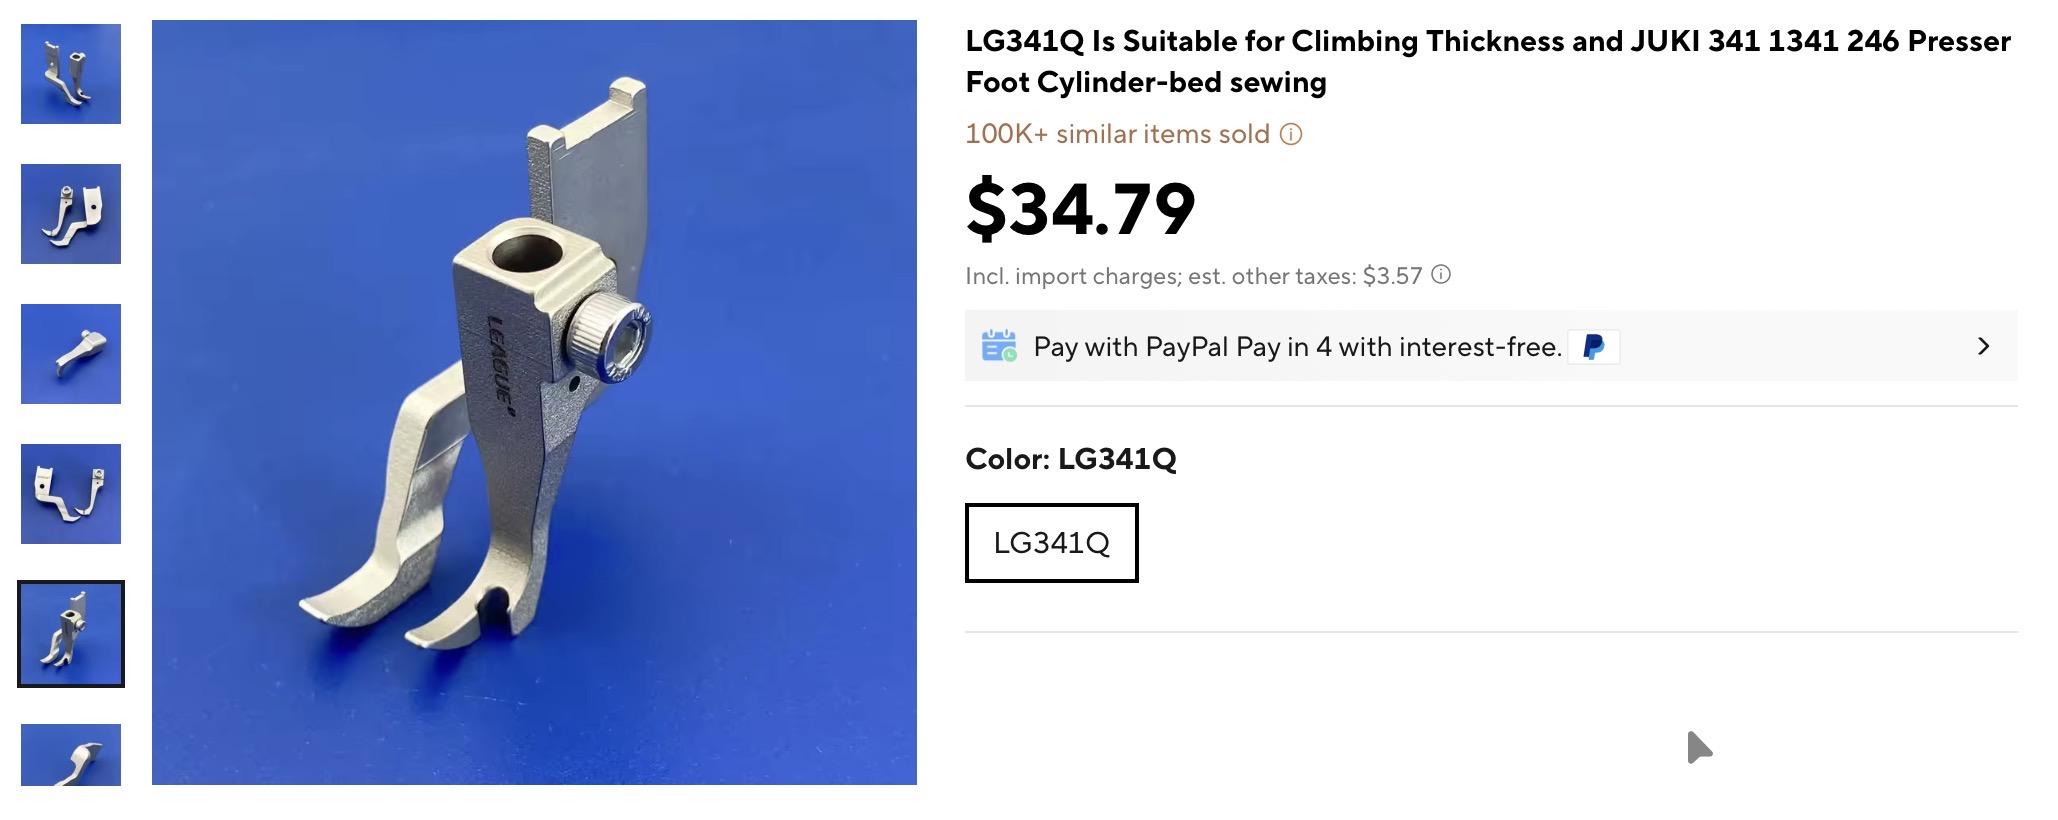
And of course the algorithm presented me with yet another, more expensive but nice looking option specifically for the 341/1341 class of machines. This appears to allow really close encounters with an edge guide on the right. https://www.aliexpress.us/item/3256809214267059.html
-
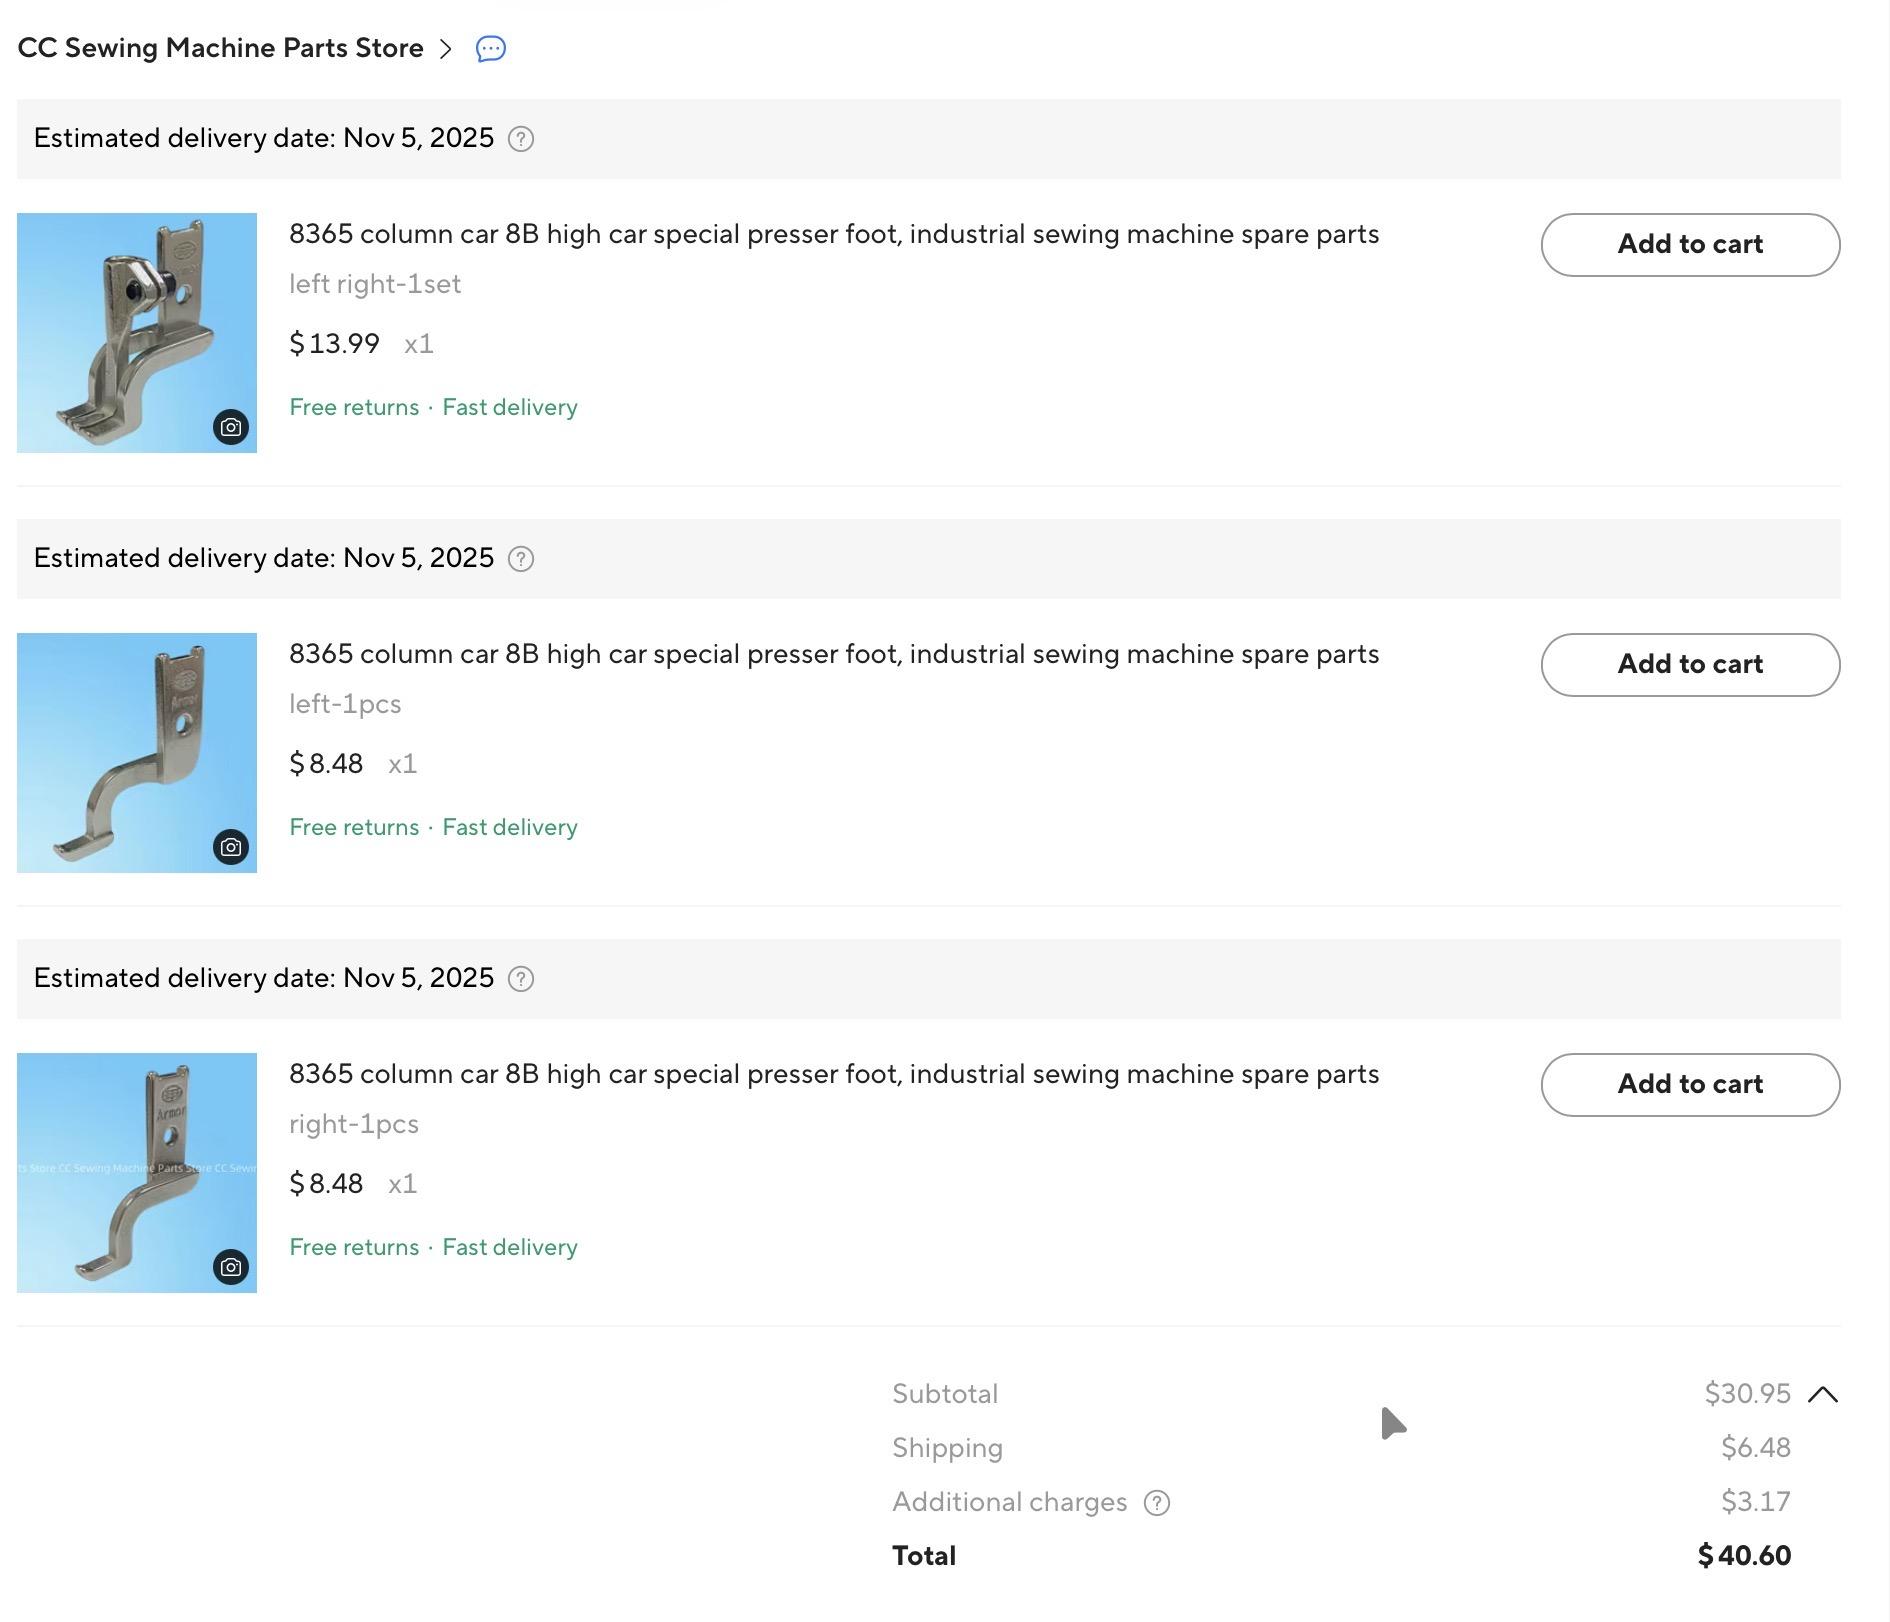
My US based order:
-
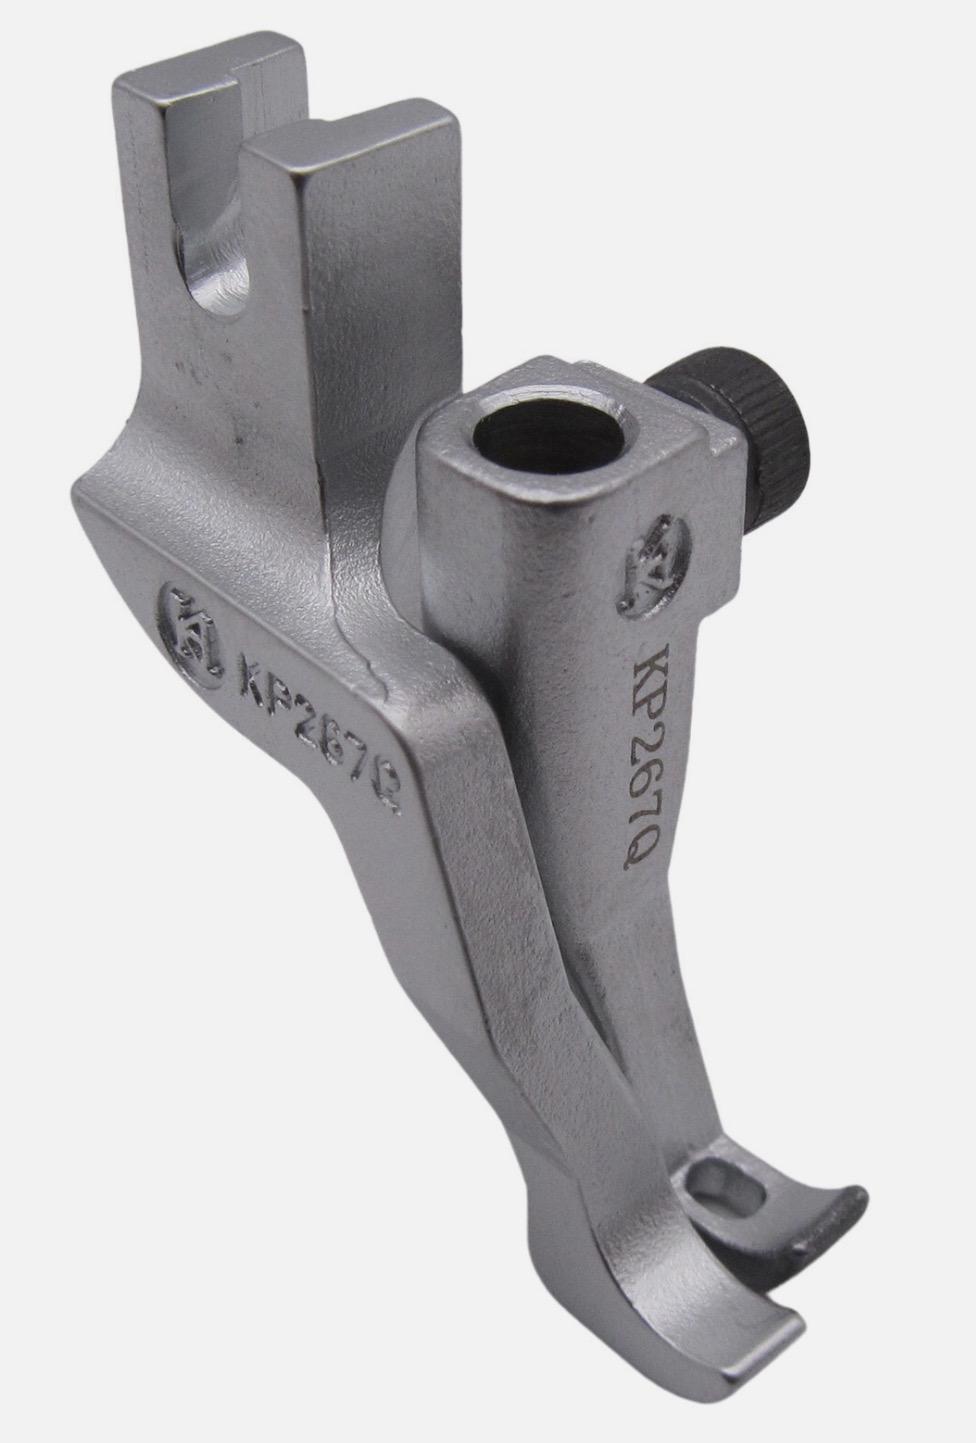
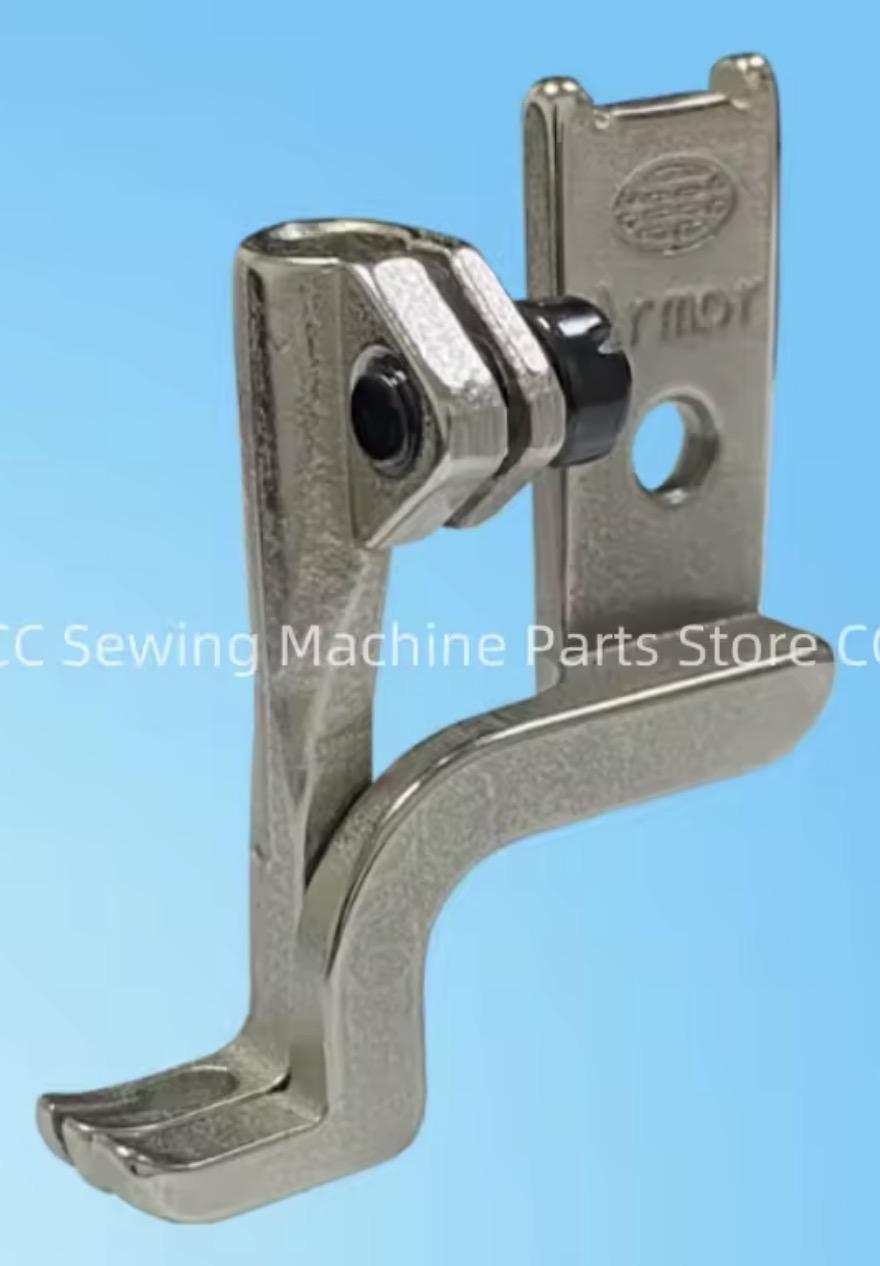
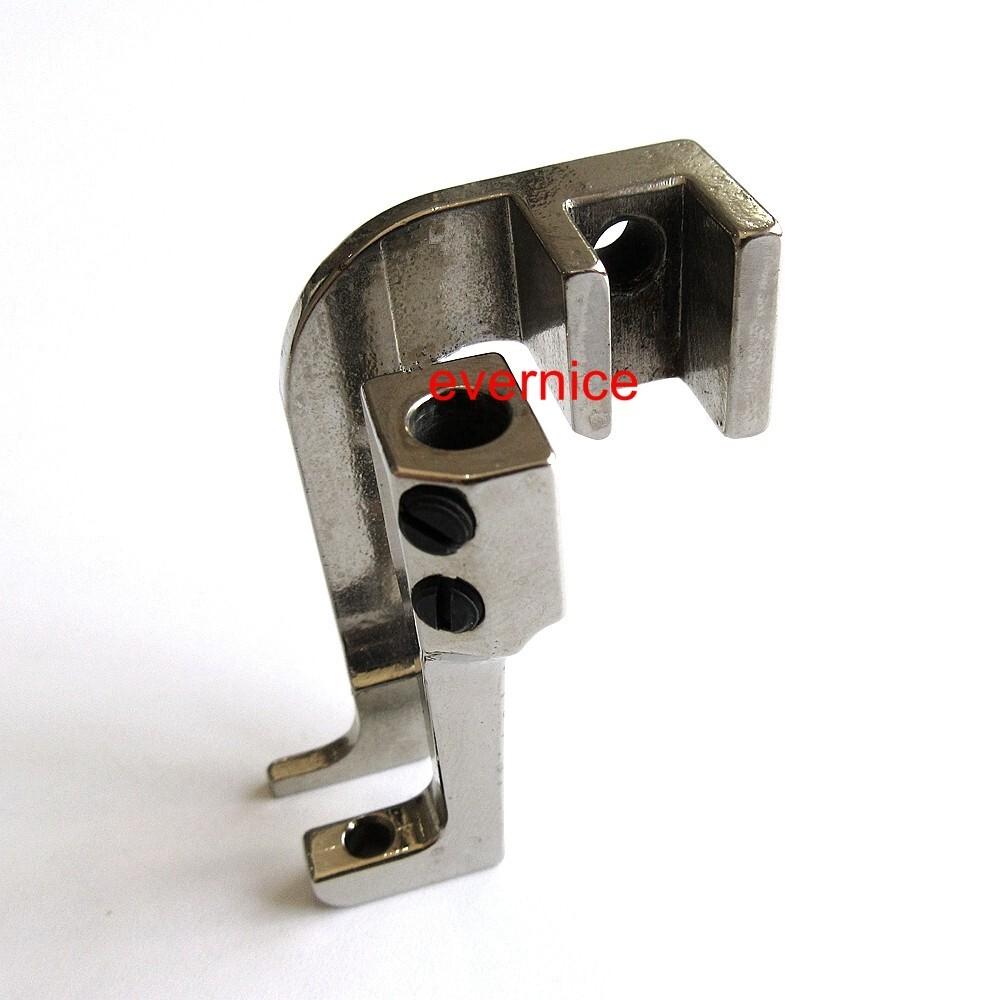
Nice find indeed! I just ordered a set. A picture for archival purposes in case AE listing disappears: I’ve been looking for that style presser feet with a Singer mount since I used the KP267Q feet on the Adler 267: And just for completeness sake, a picture of the 441 version:
-
The thread should definitely be sitting in that “shoulder”, as in the second picture. If the thread misses that shoulder in long stitch reverse, then something is not aligned quite right. This may also happen if you stop in precisely the wrong position and the hook has a little backlash in its movement as you stop. A slow motion hand turned stitch with a close-up video snippet of that area would be of great help in debugging. (See sample video below) It may be that your needle/feed dog are adjusted too far back in the throat plate opening. Ideally, the feed dog movement should be nicely centered in that opening front-to-back. The video below shows how that basket opener and the thread pickup works on my machine (before I upgraded it to the 341N hook with a cap.) Perhaps compare timing with your machine.
-
I’m happy to report that the inventory has found a new owner and is in good hands. Thanks to all who had expressed interest! Cheers, Uwe
-
Sneak peek: Acrylic flatbed attachment for Juki LS-341 class machines
Uwe replied to Uwe's topic in Leather Sewing Machines
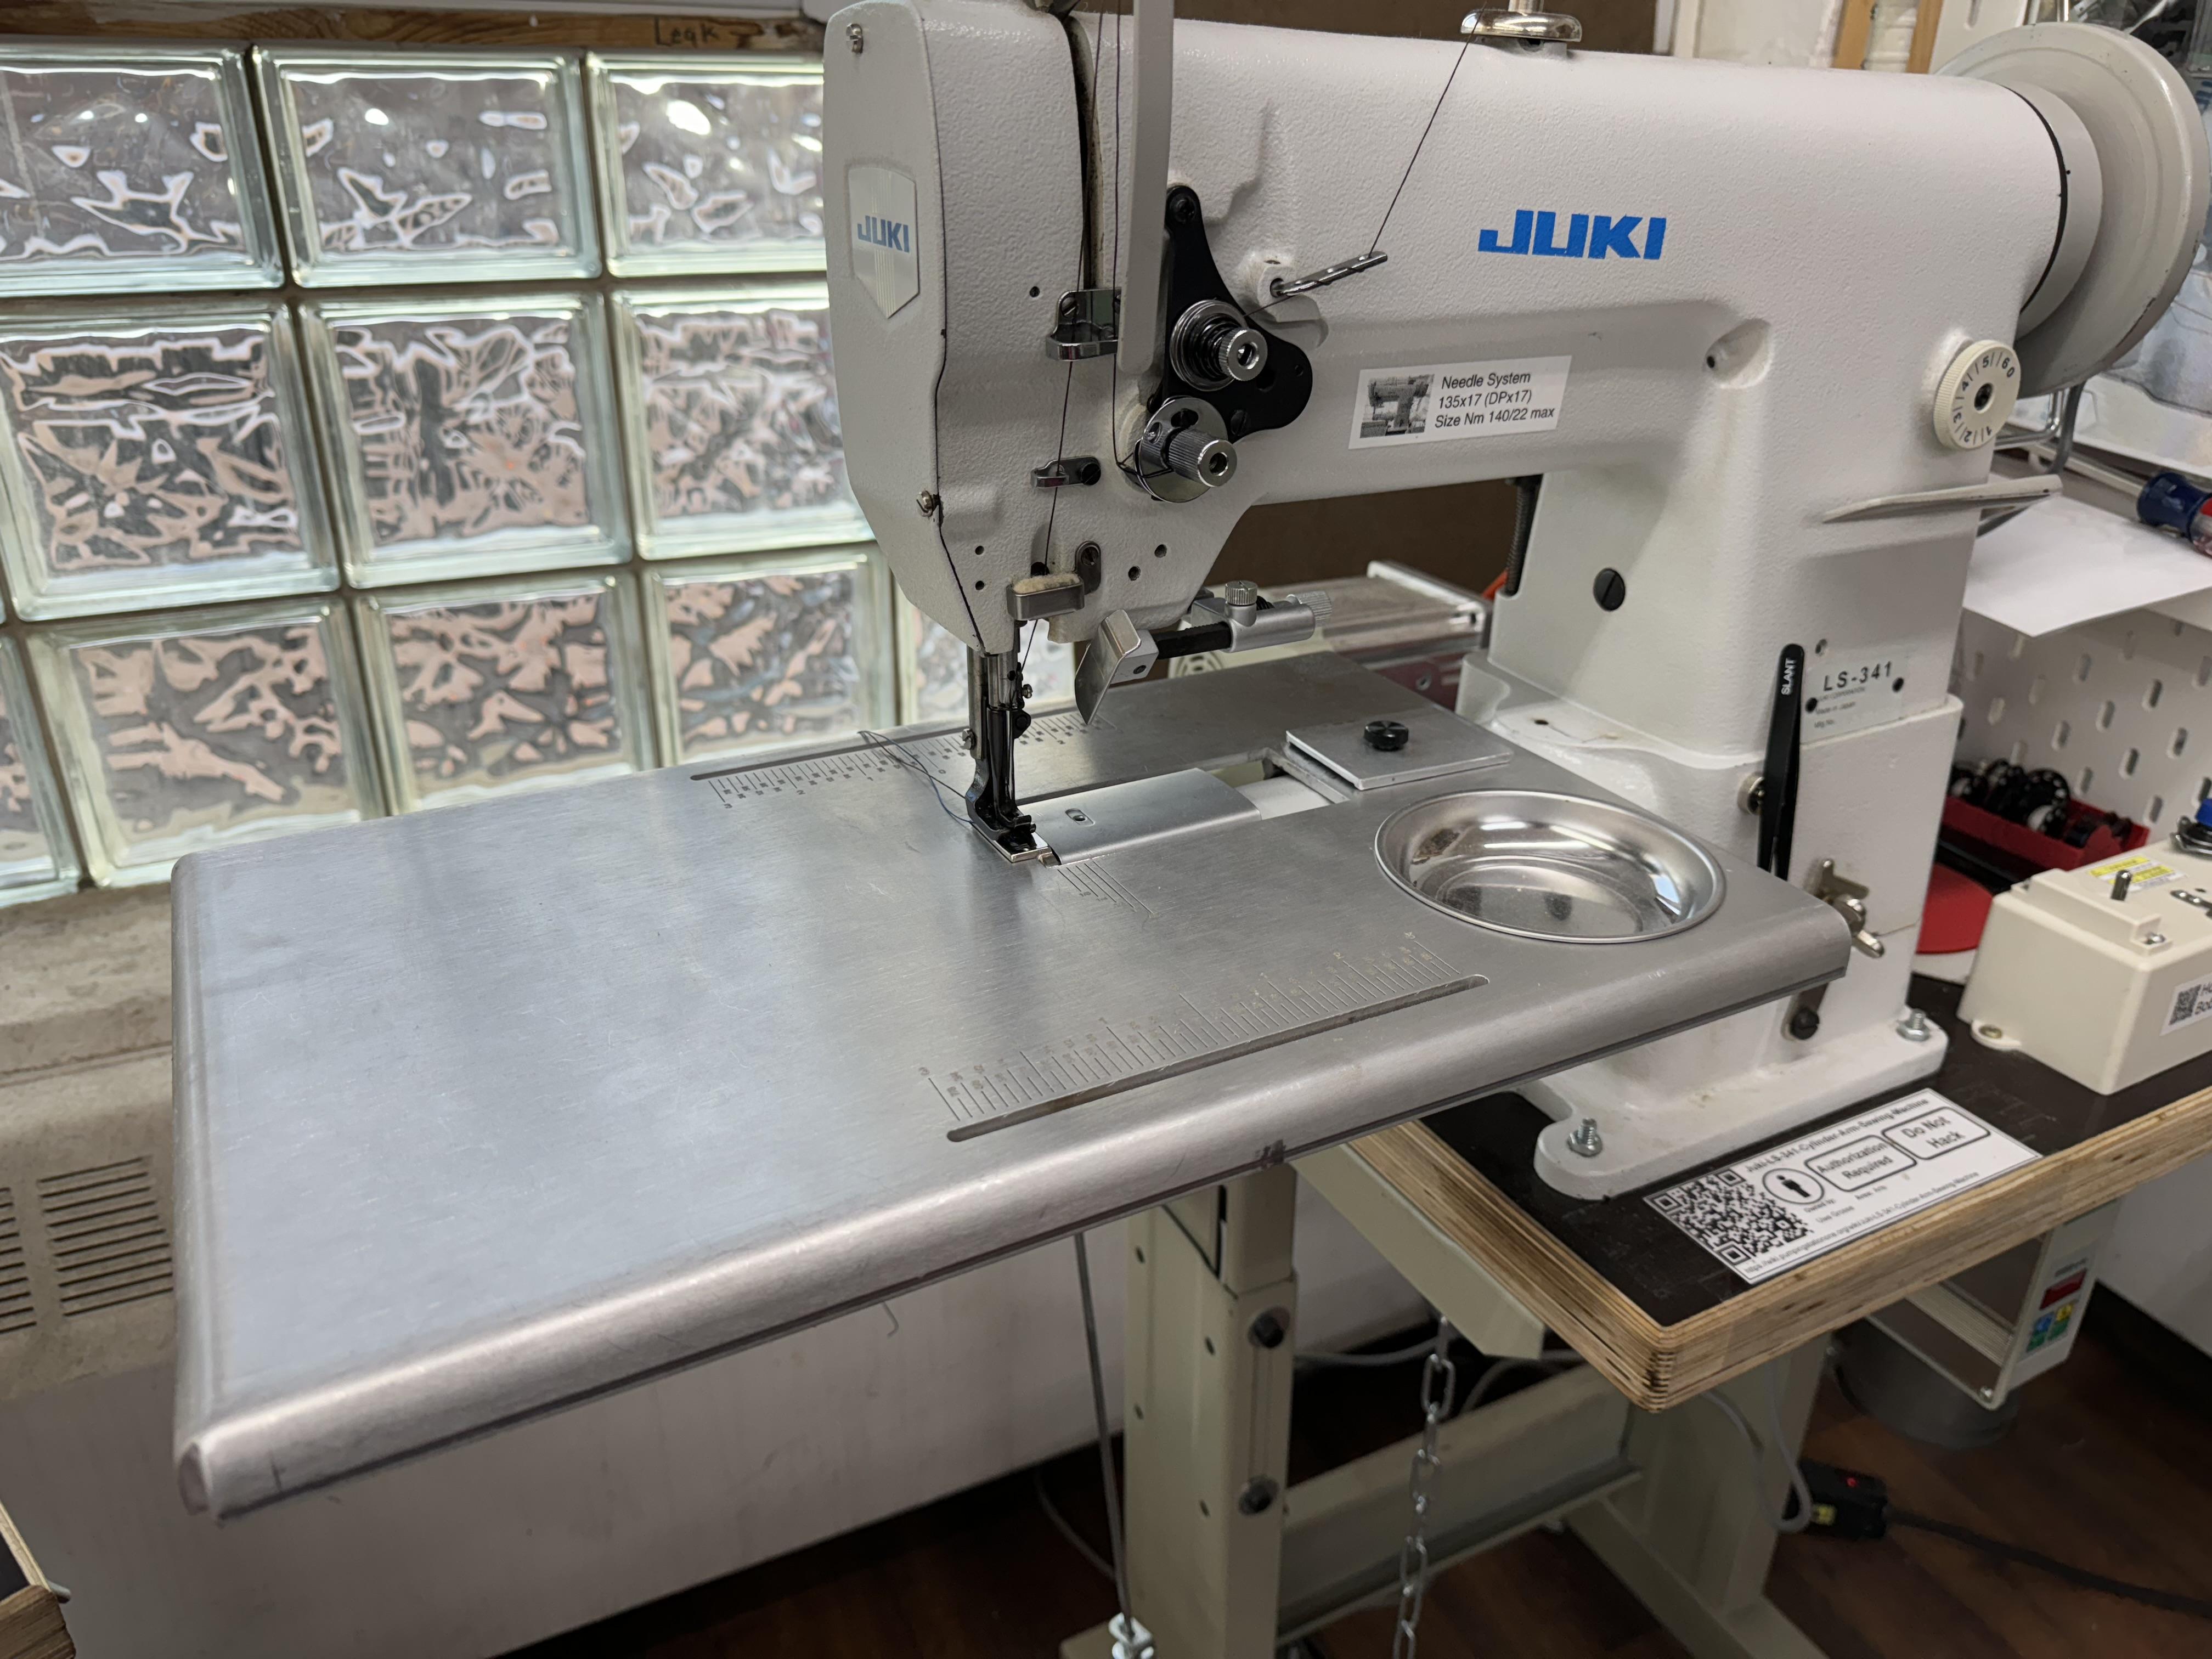
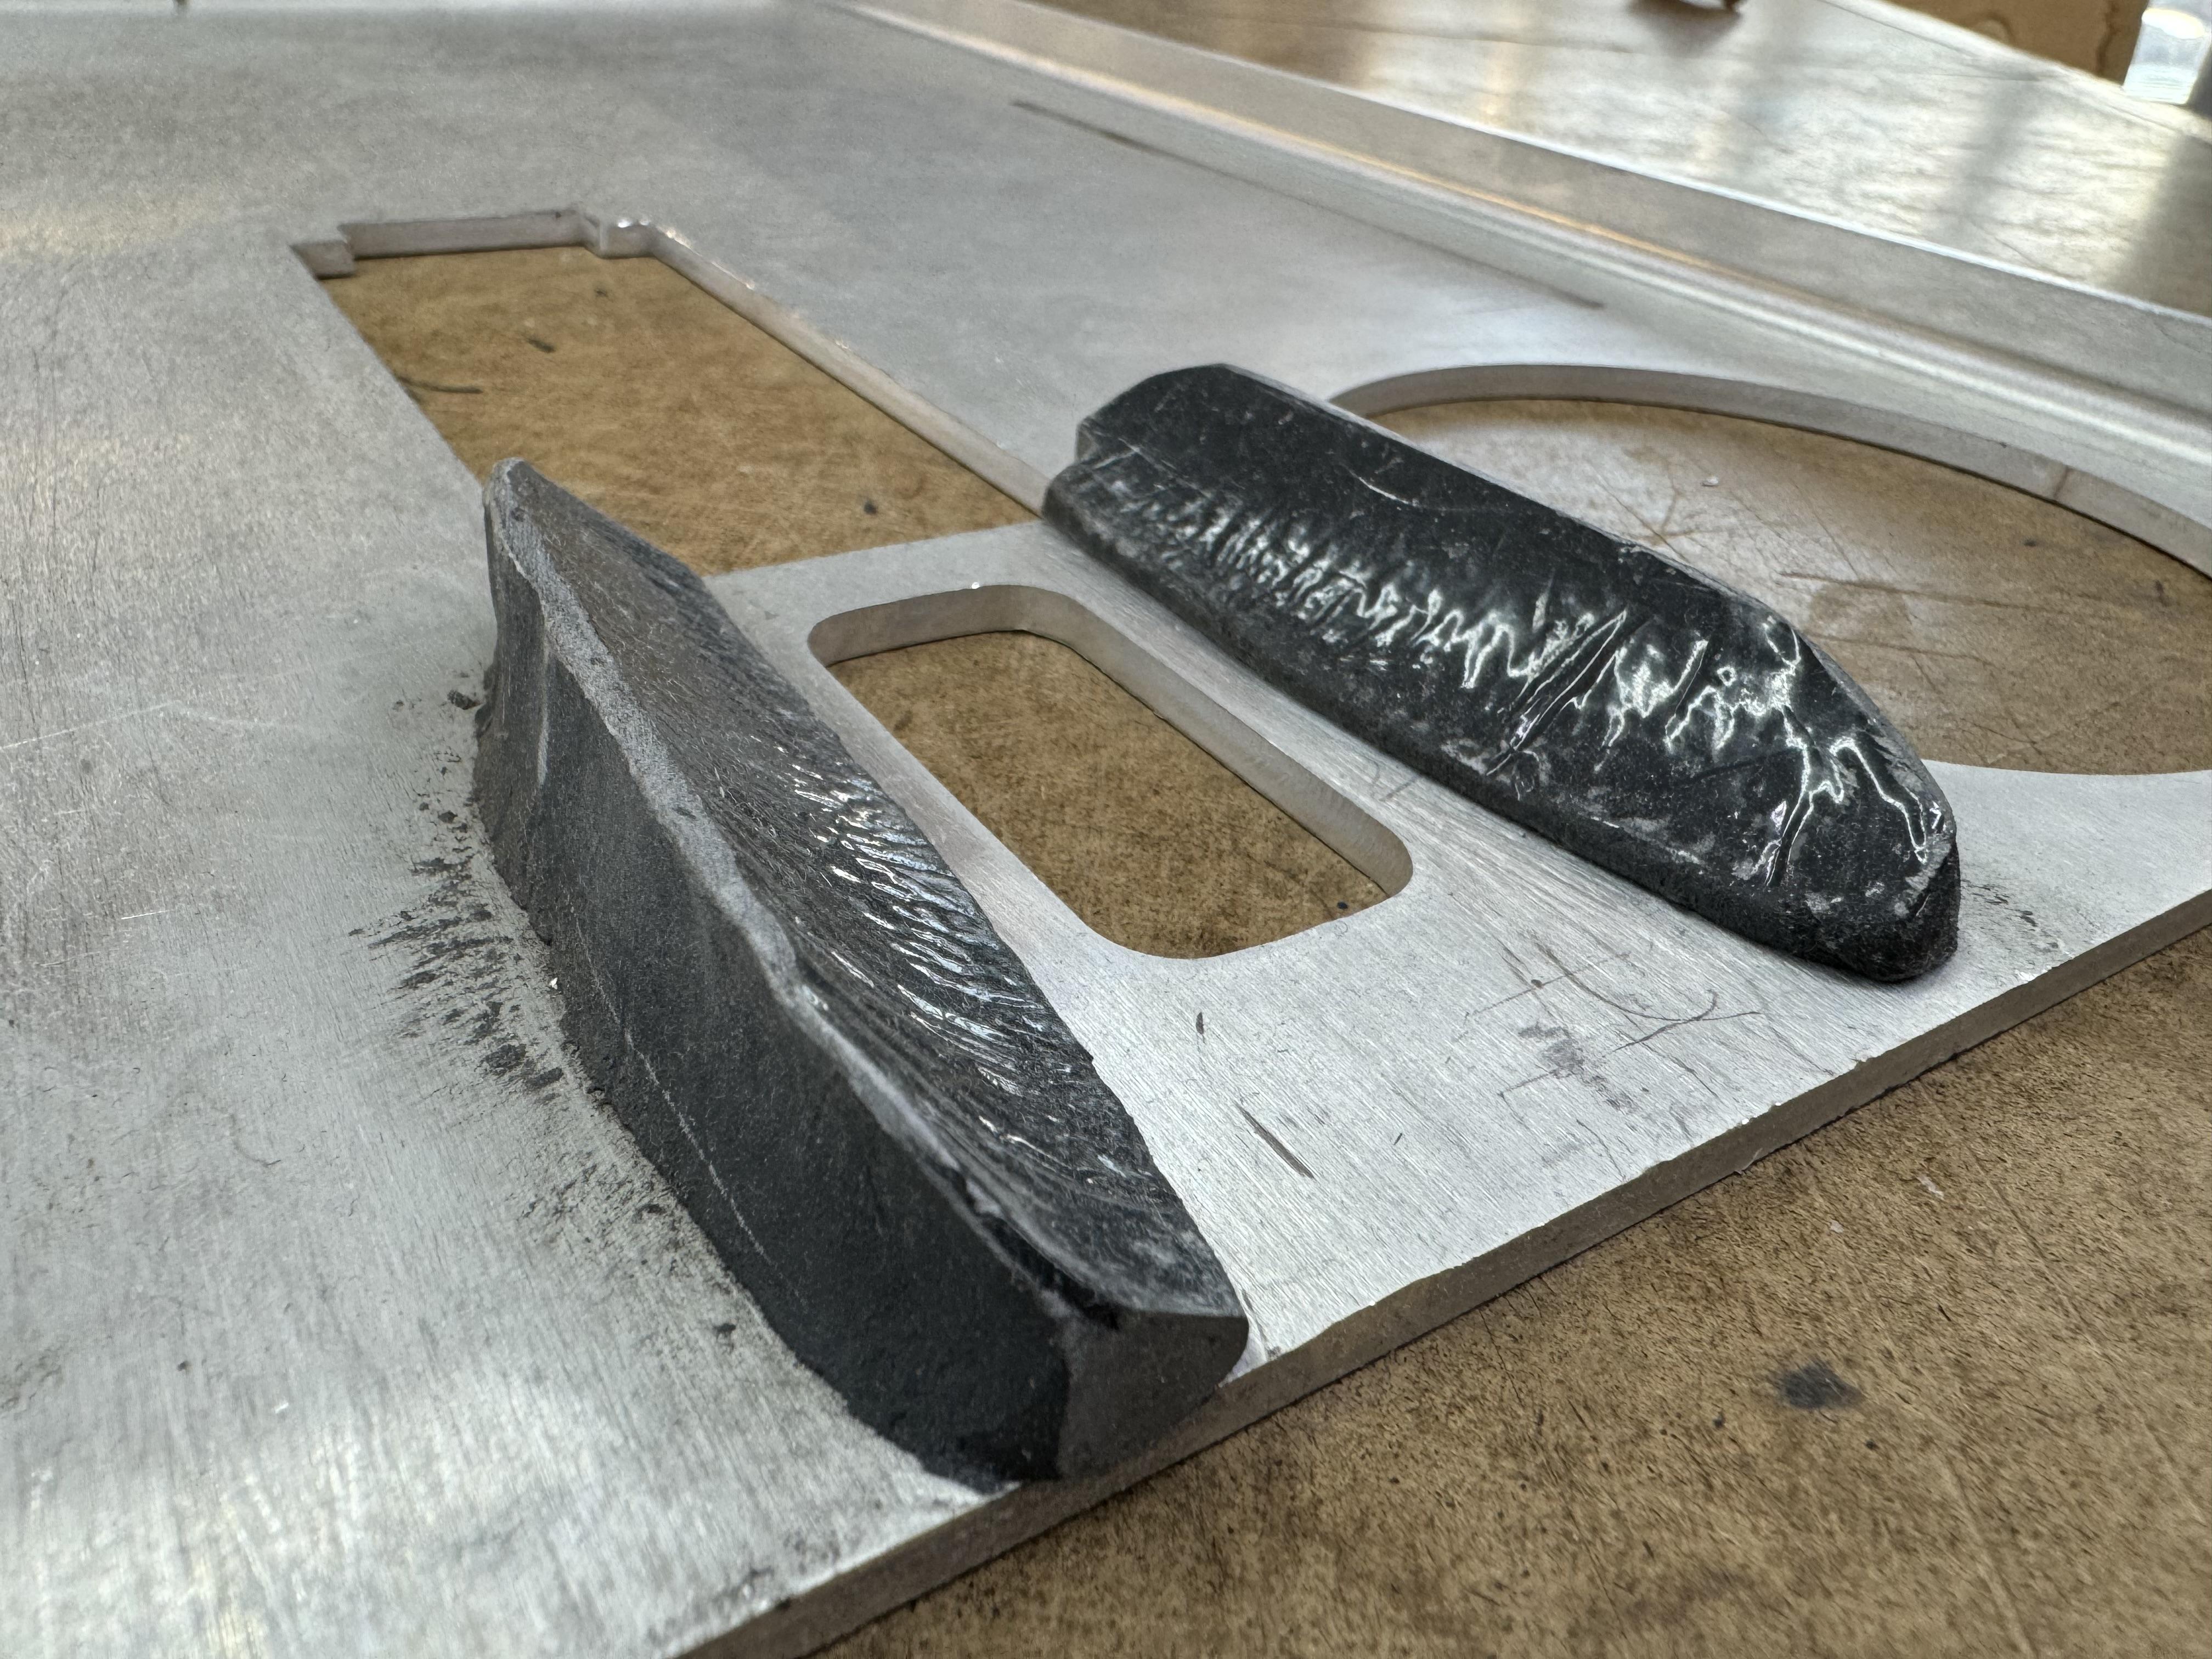
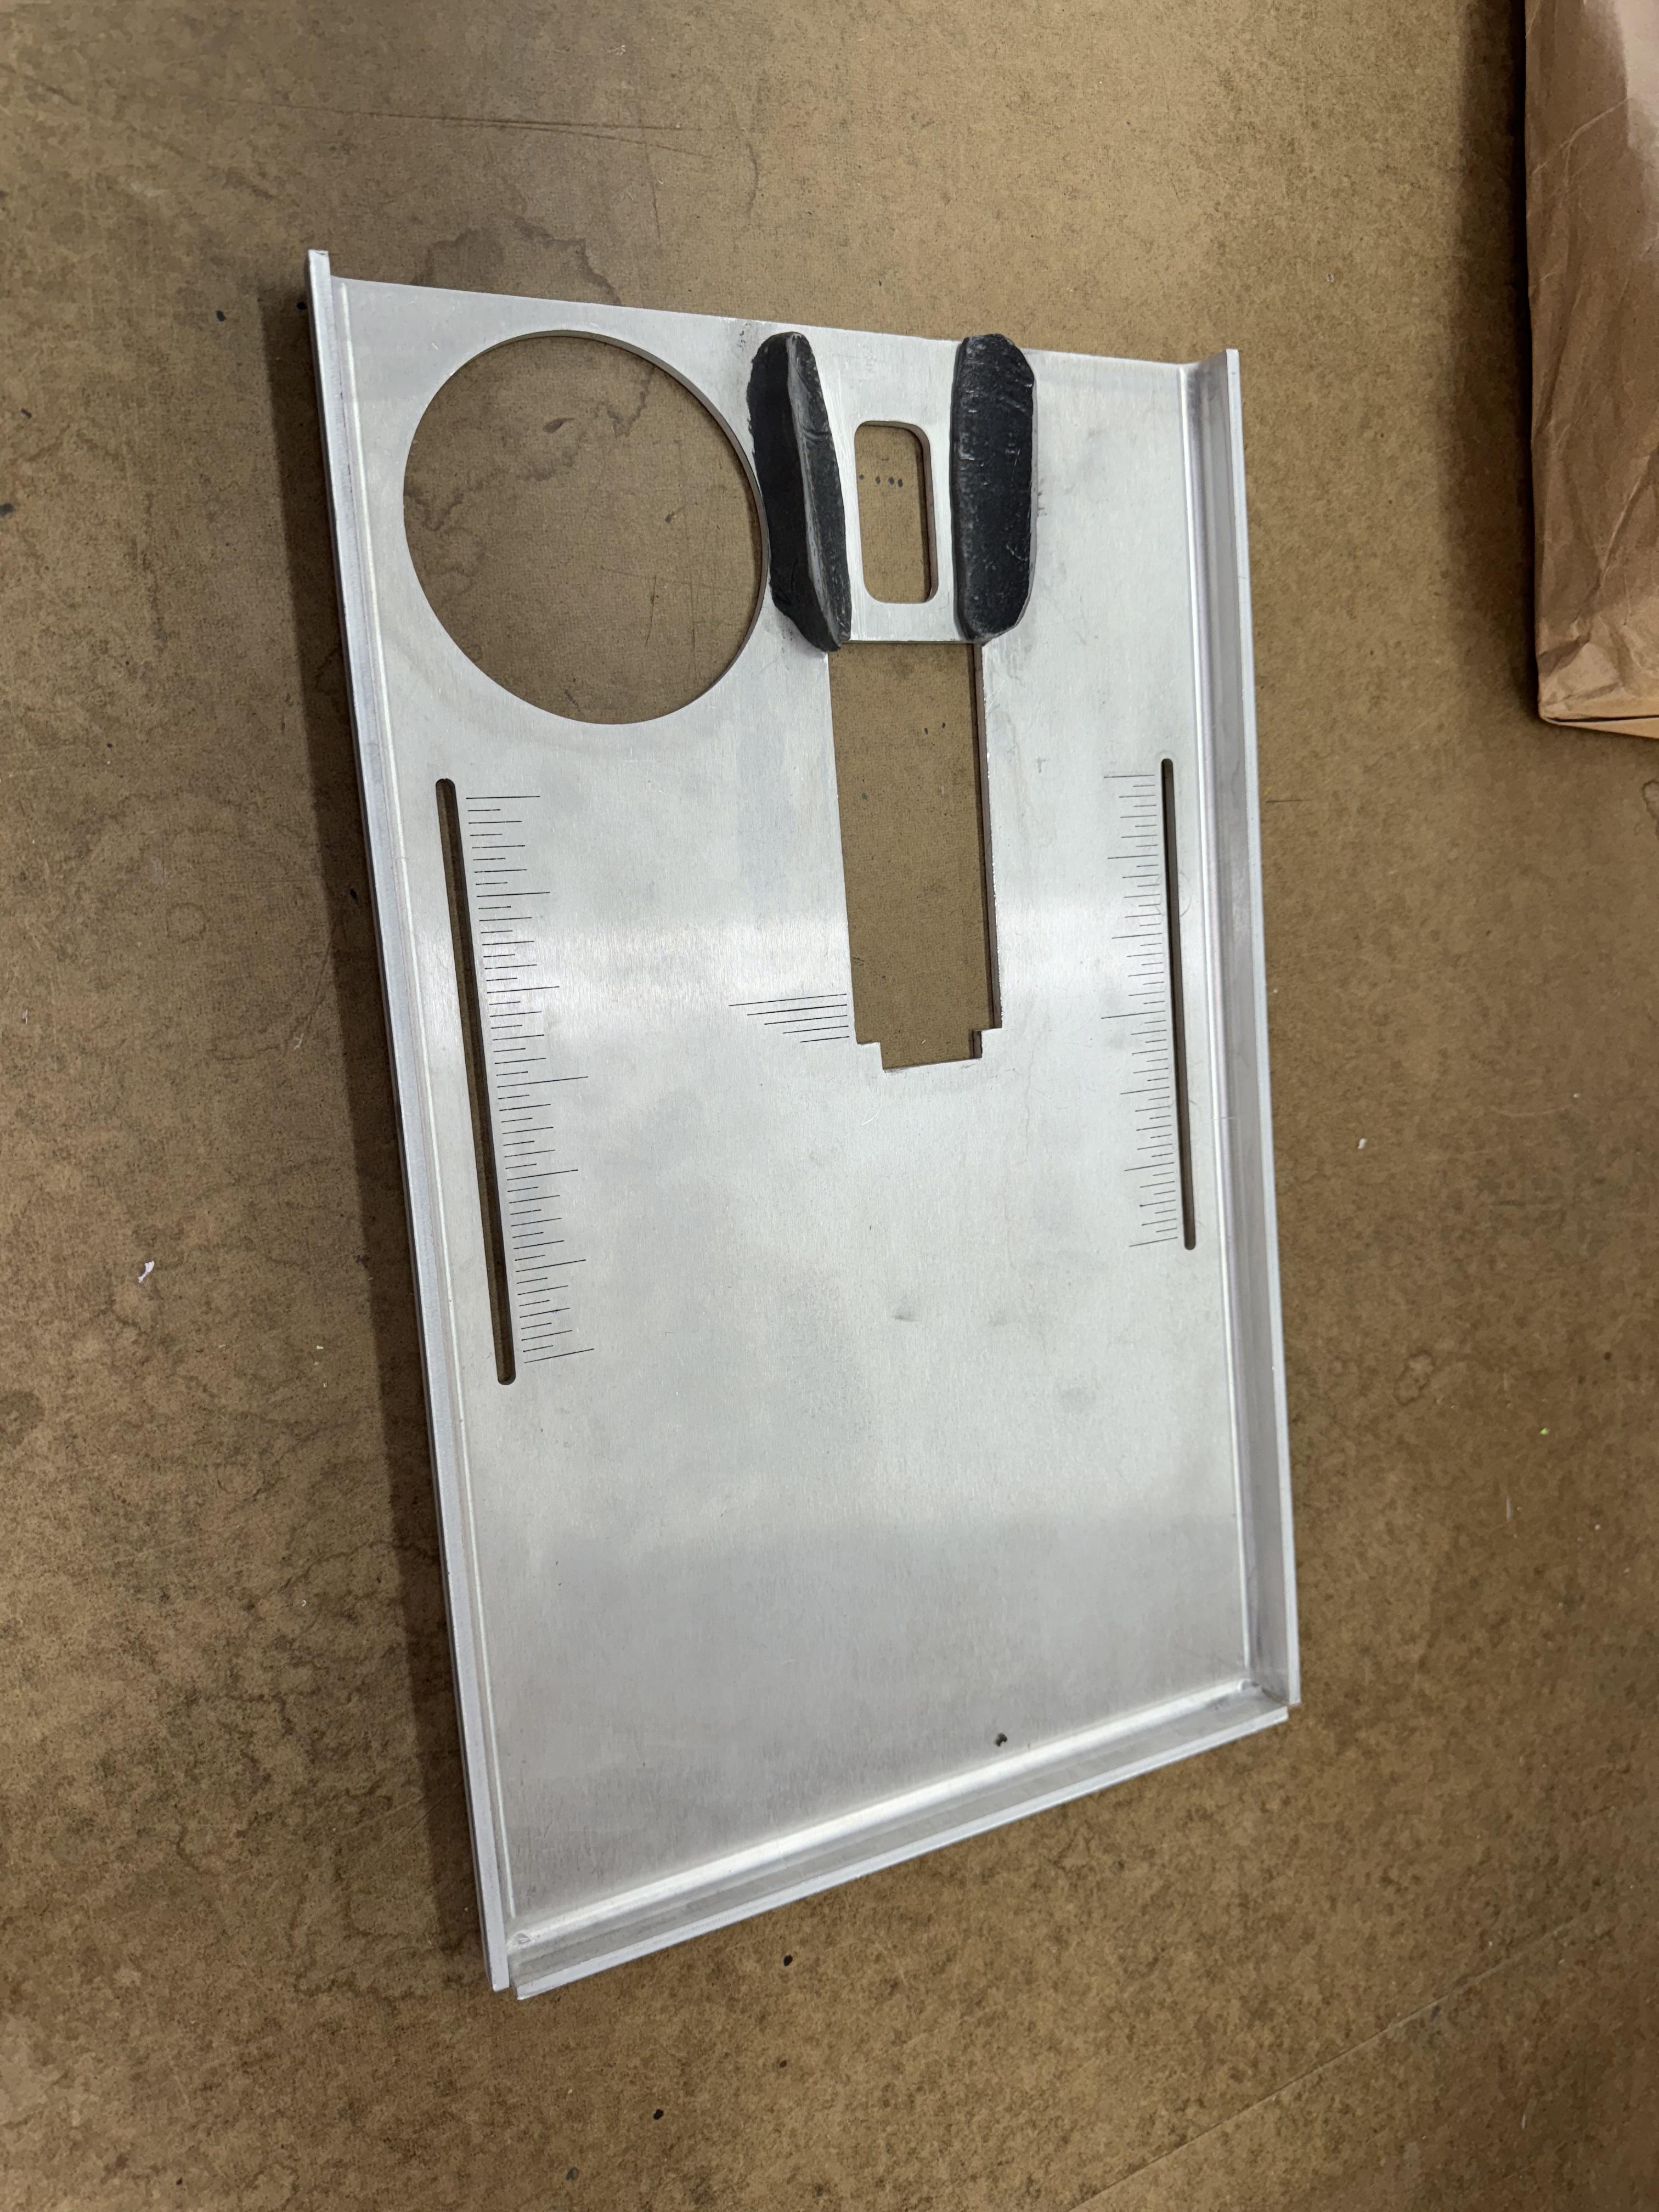
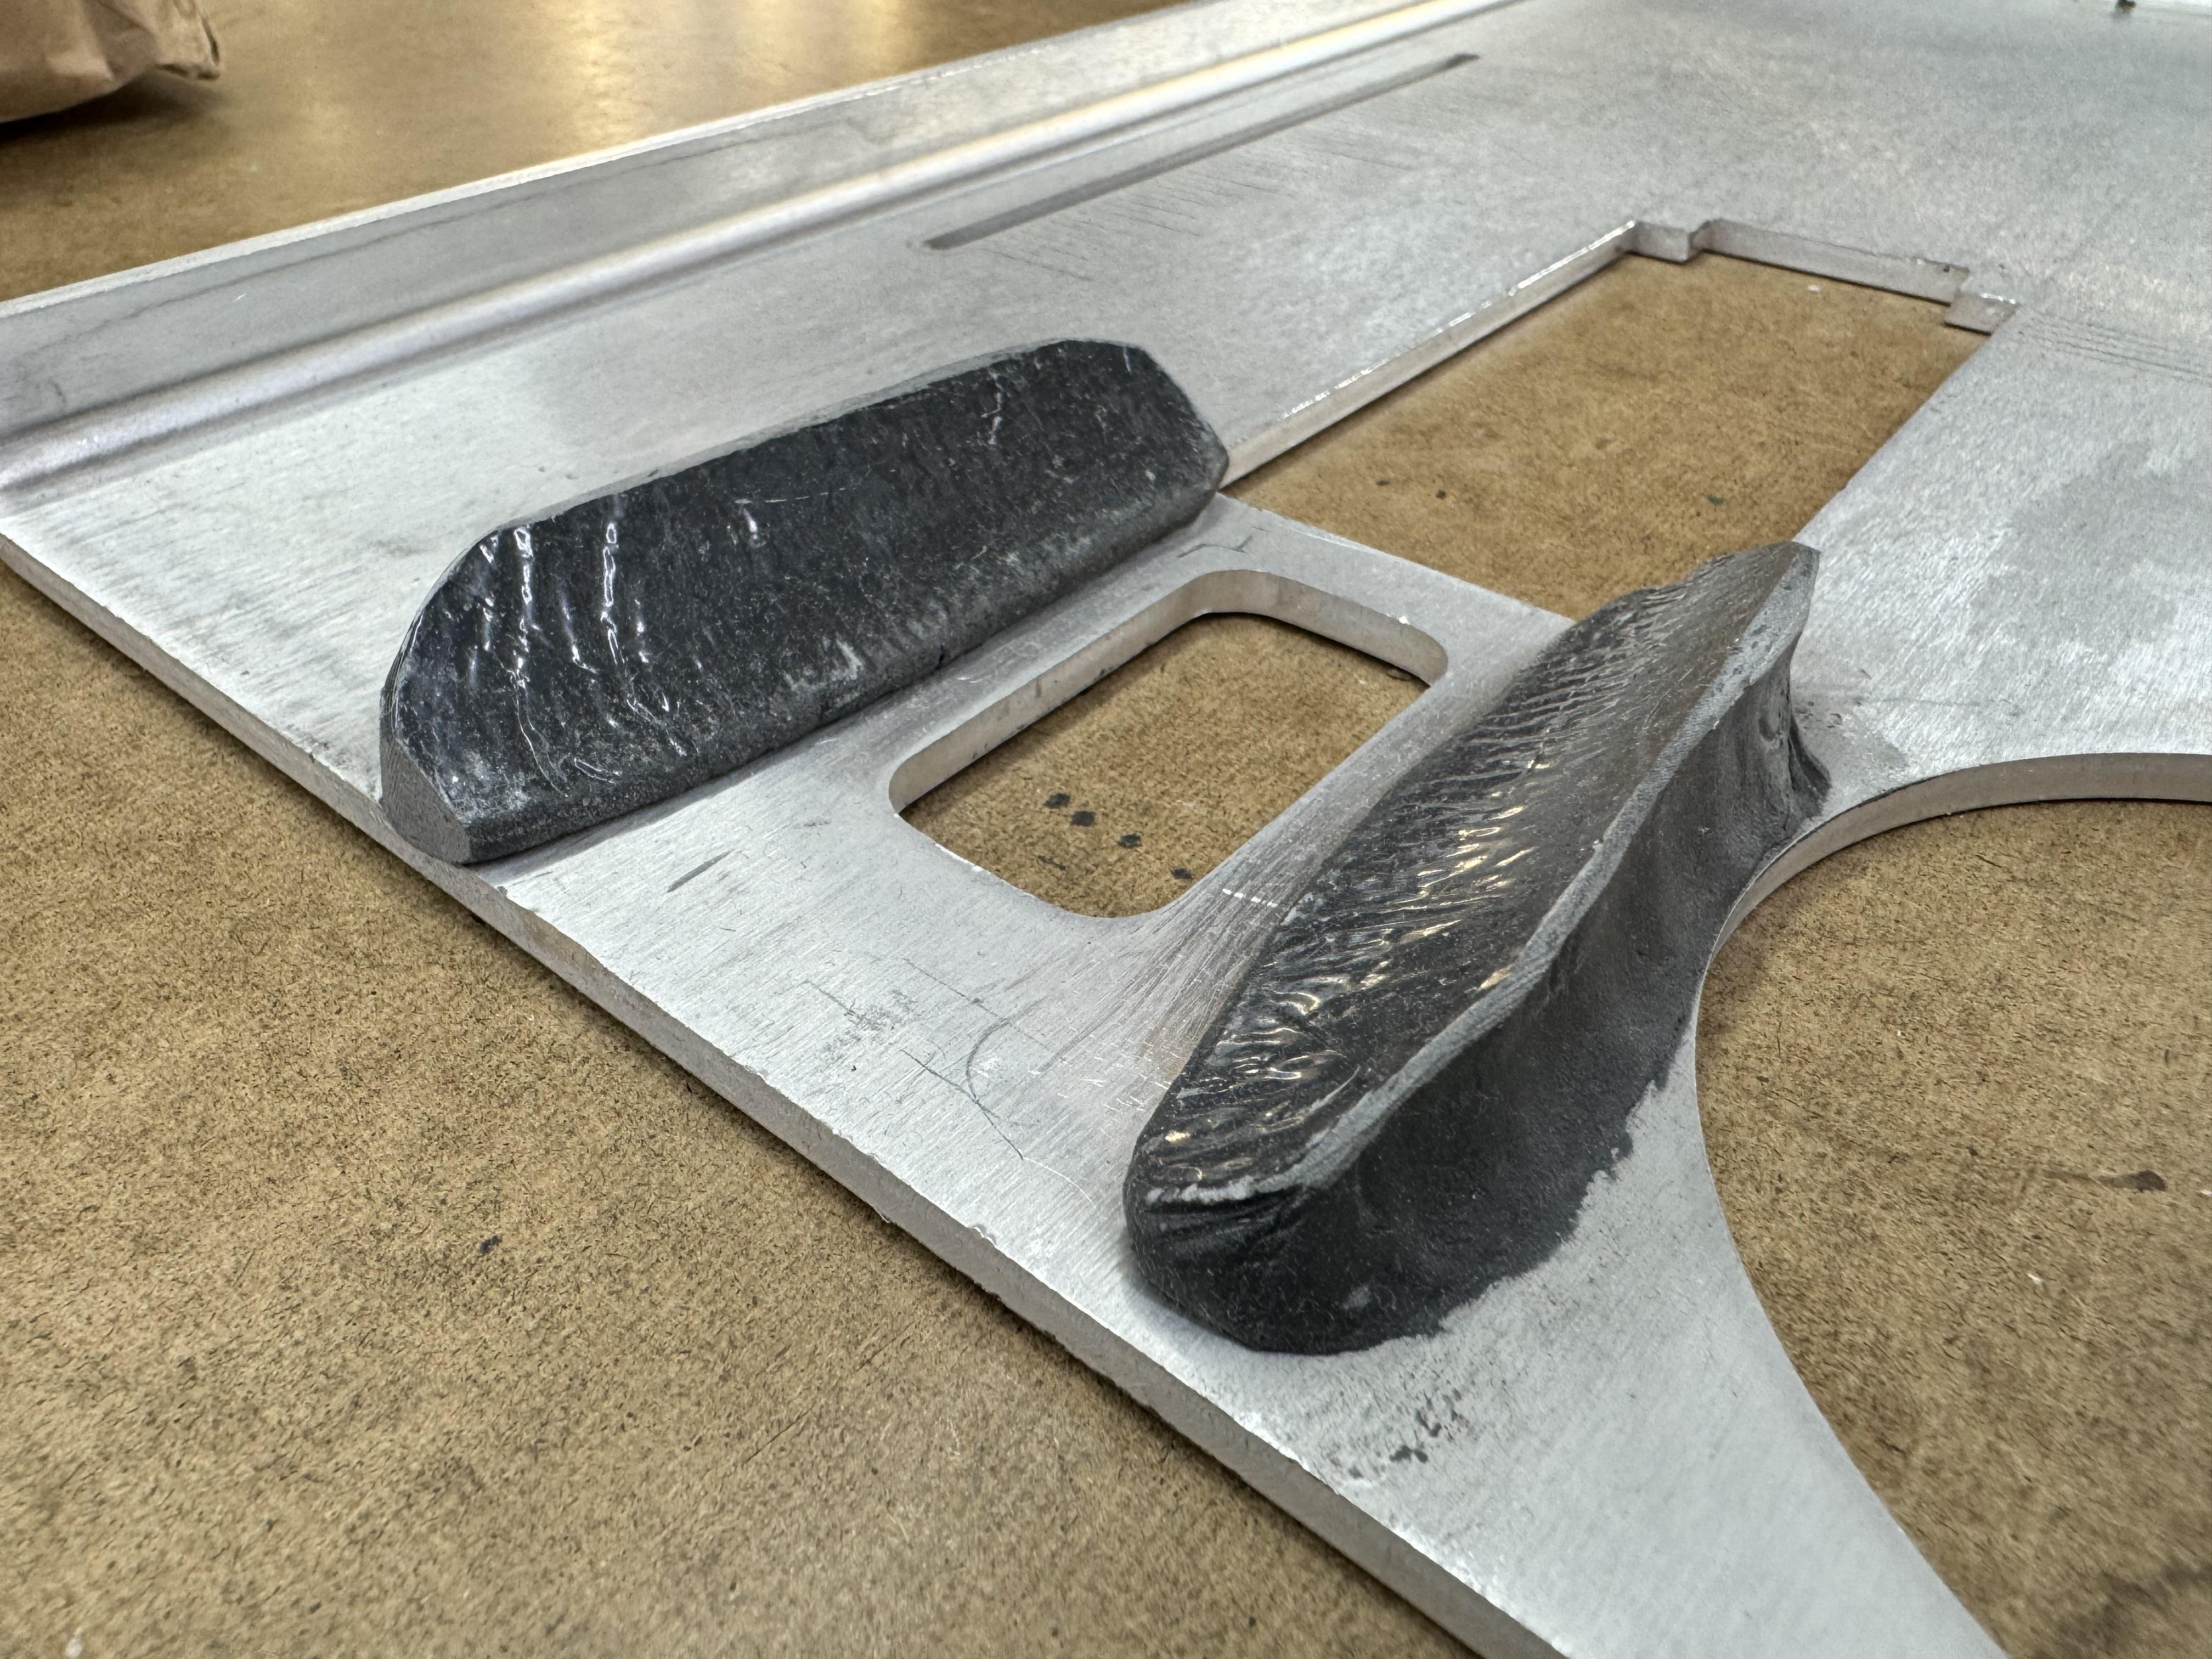
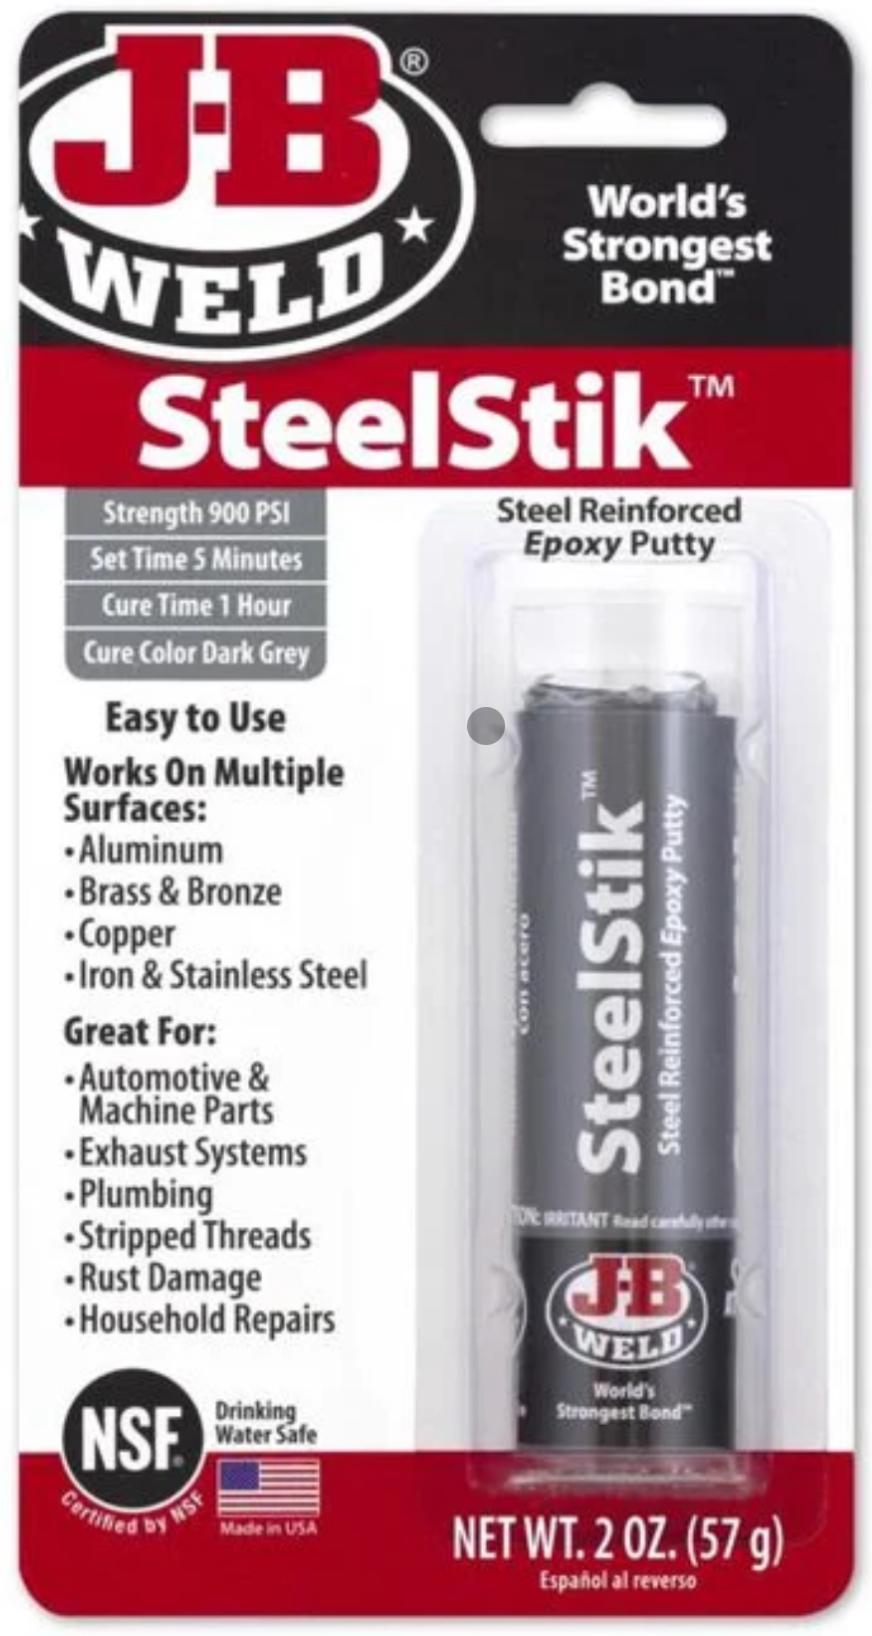
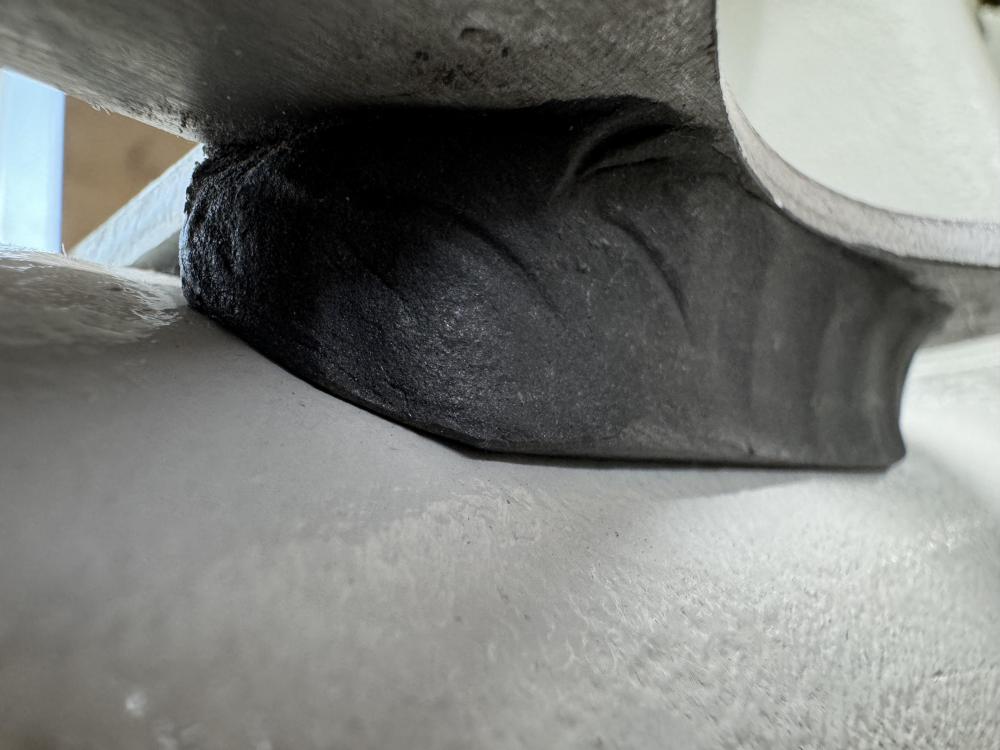
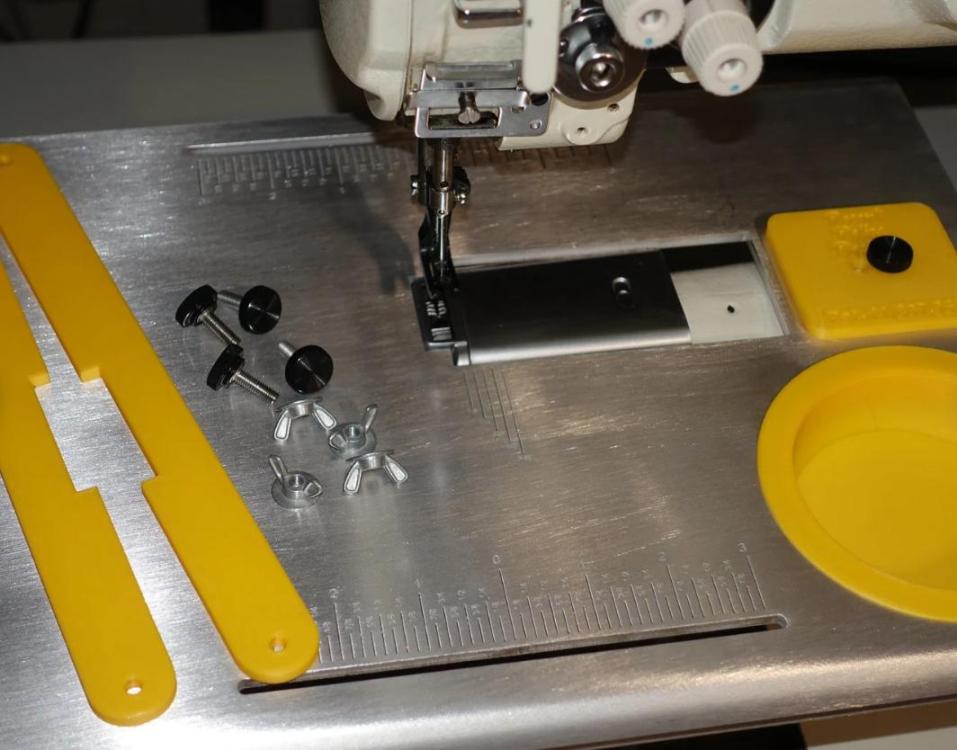
I got an aluminum table for my Juki LS-341 from RecentRelics on Etsy. It’s a very nice table and with some upgrade modifications, it’s rock solid and takes seconds to install or remove with a single thumb screw. I was not a fan of the 3D-printed bits that came with the table attachment, so I replaced the one for the thumb screw with a small aluminum plate, and the arm wedges with a custom-molded J.B. Weld SteelStik saddle. The round magnetic tray insert for needles or clips can be found at most hardware stores. J.B. Weld is a steel reinforced epoxy putty for making repairs to metal parts. It’s a miracle in stick form. You tear off a part of the stick and knead it to activate it. You can file, drill, cut just like metal when it’s hardened. I used half a stick on either side of the arm. Here’s how the table attachment arrived, including the 3D printed parts (You can’t see the arm wedges on the underside of the table.) Here are few pics of my modified table attachment: This is the J.B. Weld SteelStik saddle. I wrapped the arm with kitchen plastic cling wrap, then in stalled the table and pressed half a stick of J.B. Weld in the gap on either side of the arm. It sticks really well to the aluminum table (but not the plastic wrap) and it conforms perfectly to the arm, paint/casting dimples and all. I filed some edges down a bit by hand.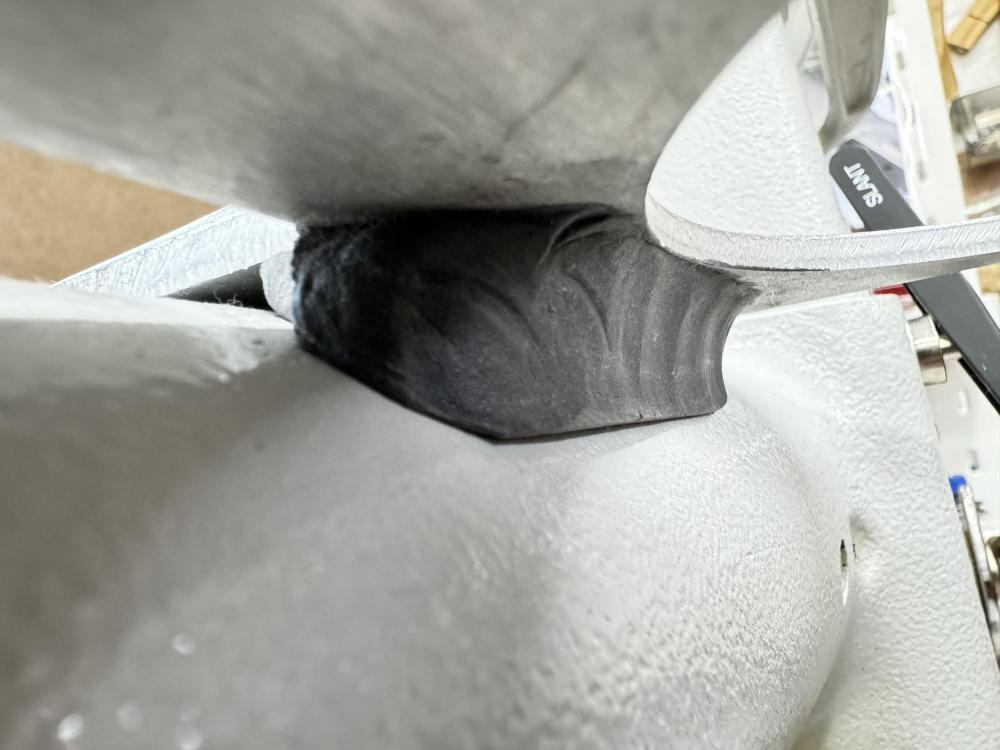


-
And the “S” at the end means that it left the factory with toothed presser feet and feed dog designed for fabric (”Stoff” in German). Presser feet and feed dog are easy to exchange for leather version without teeth.
-
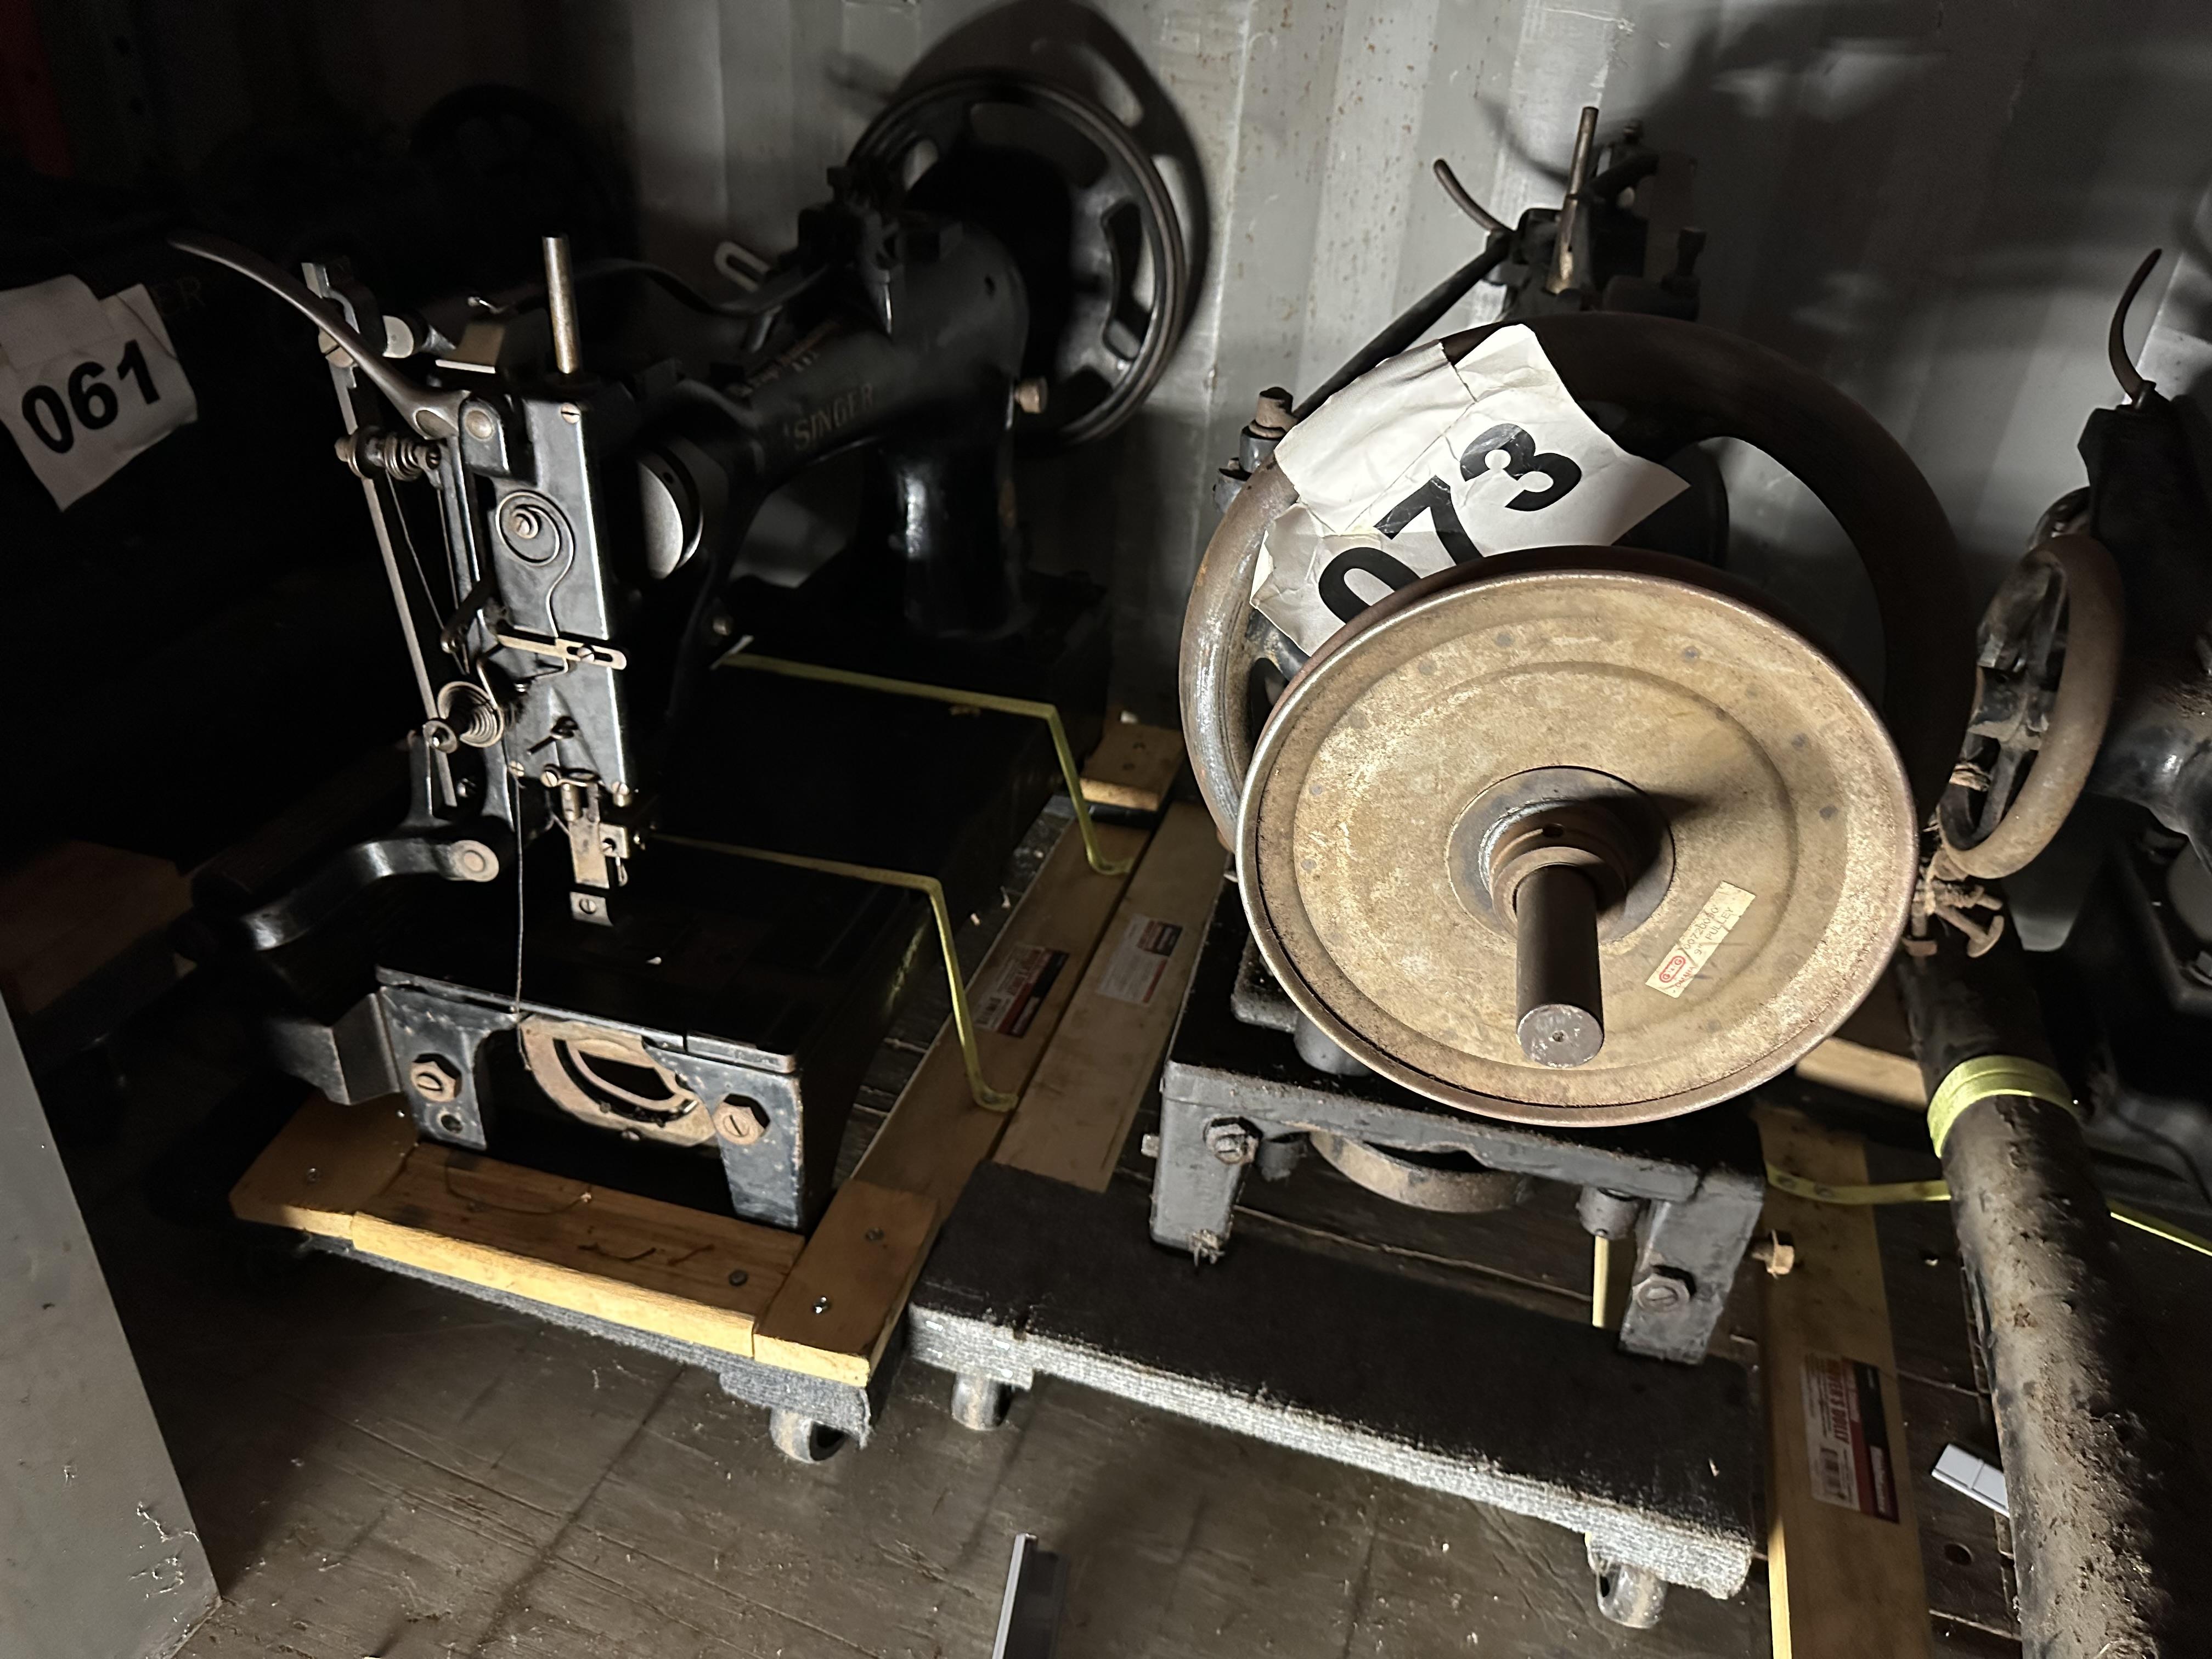
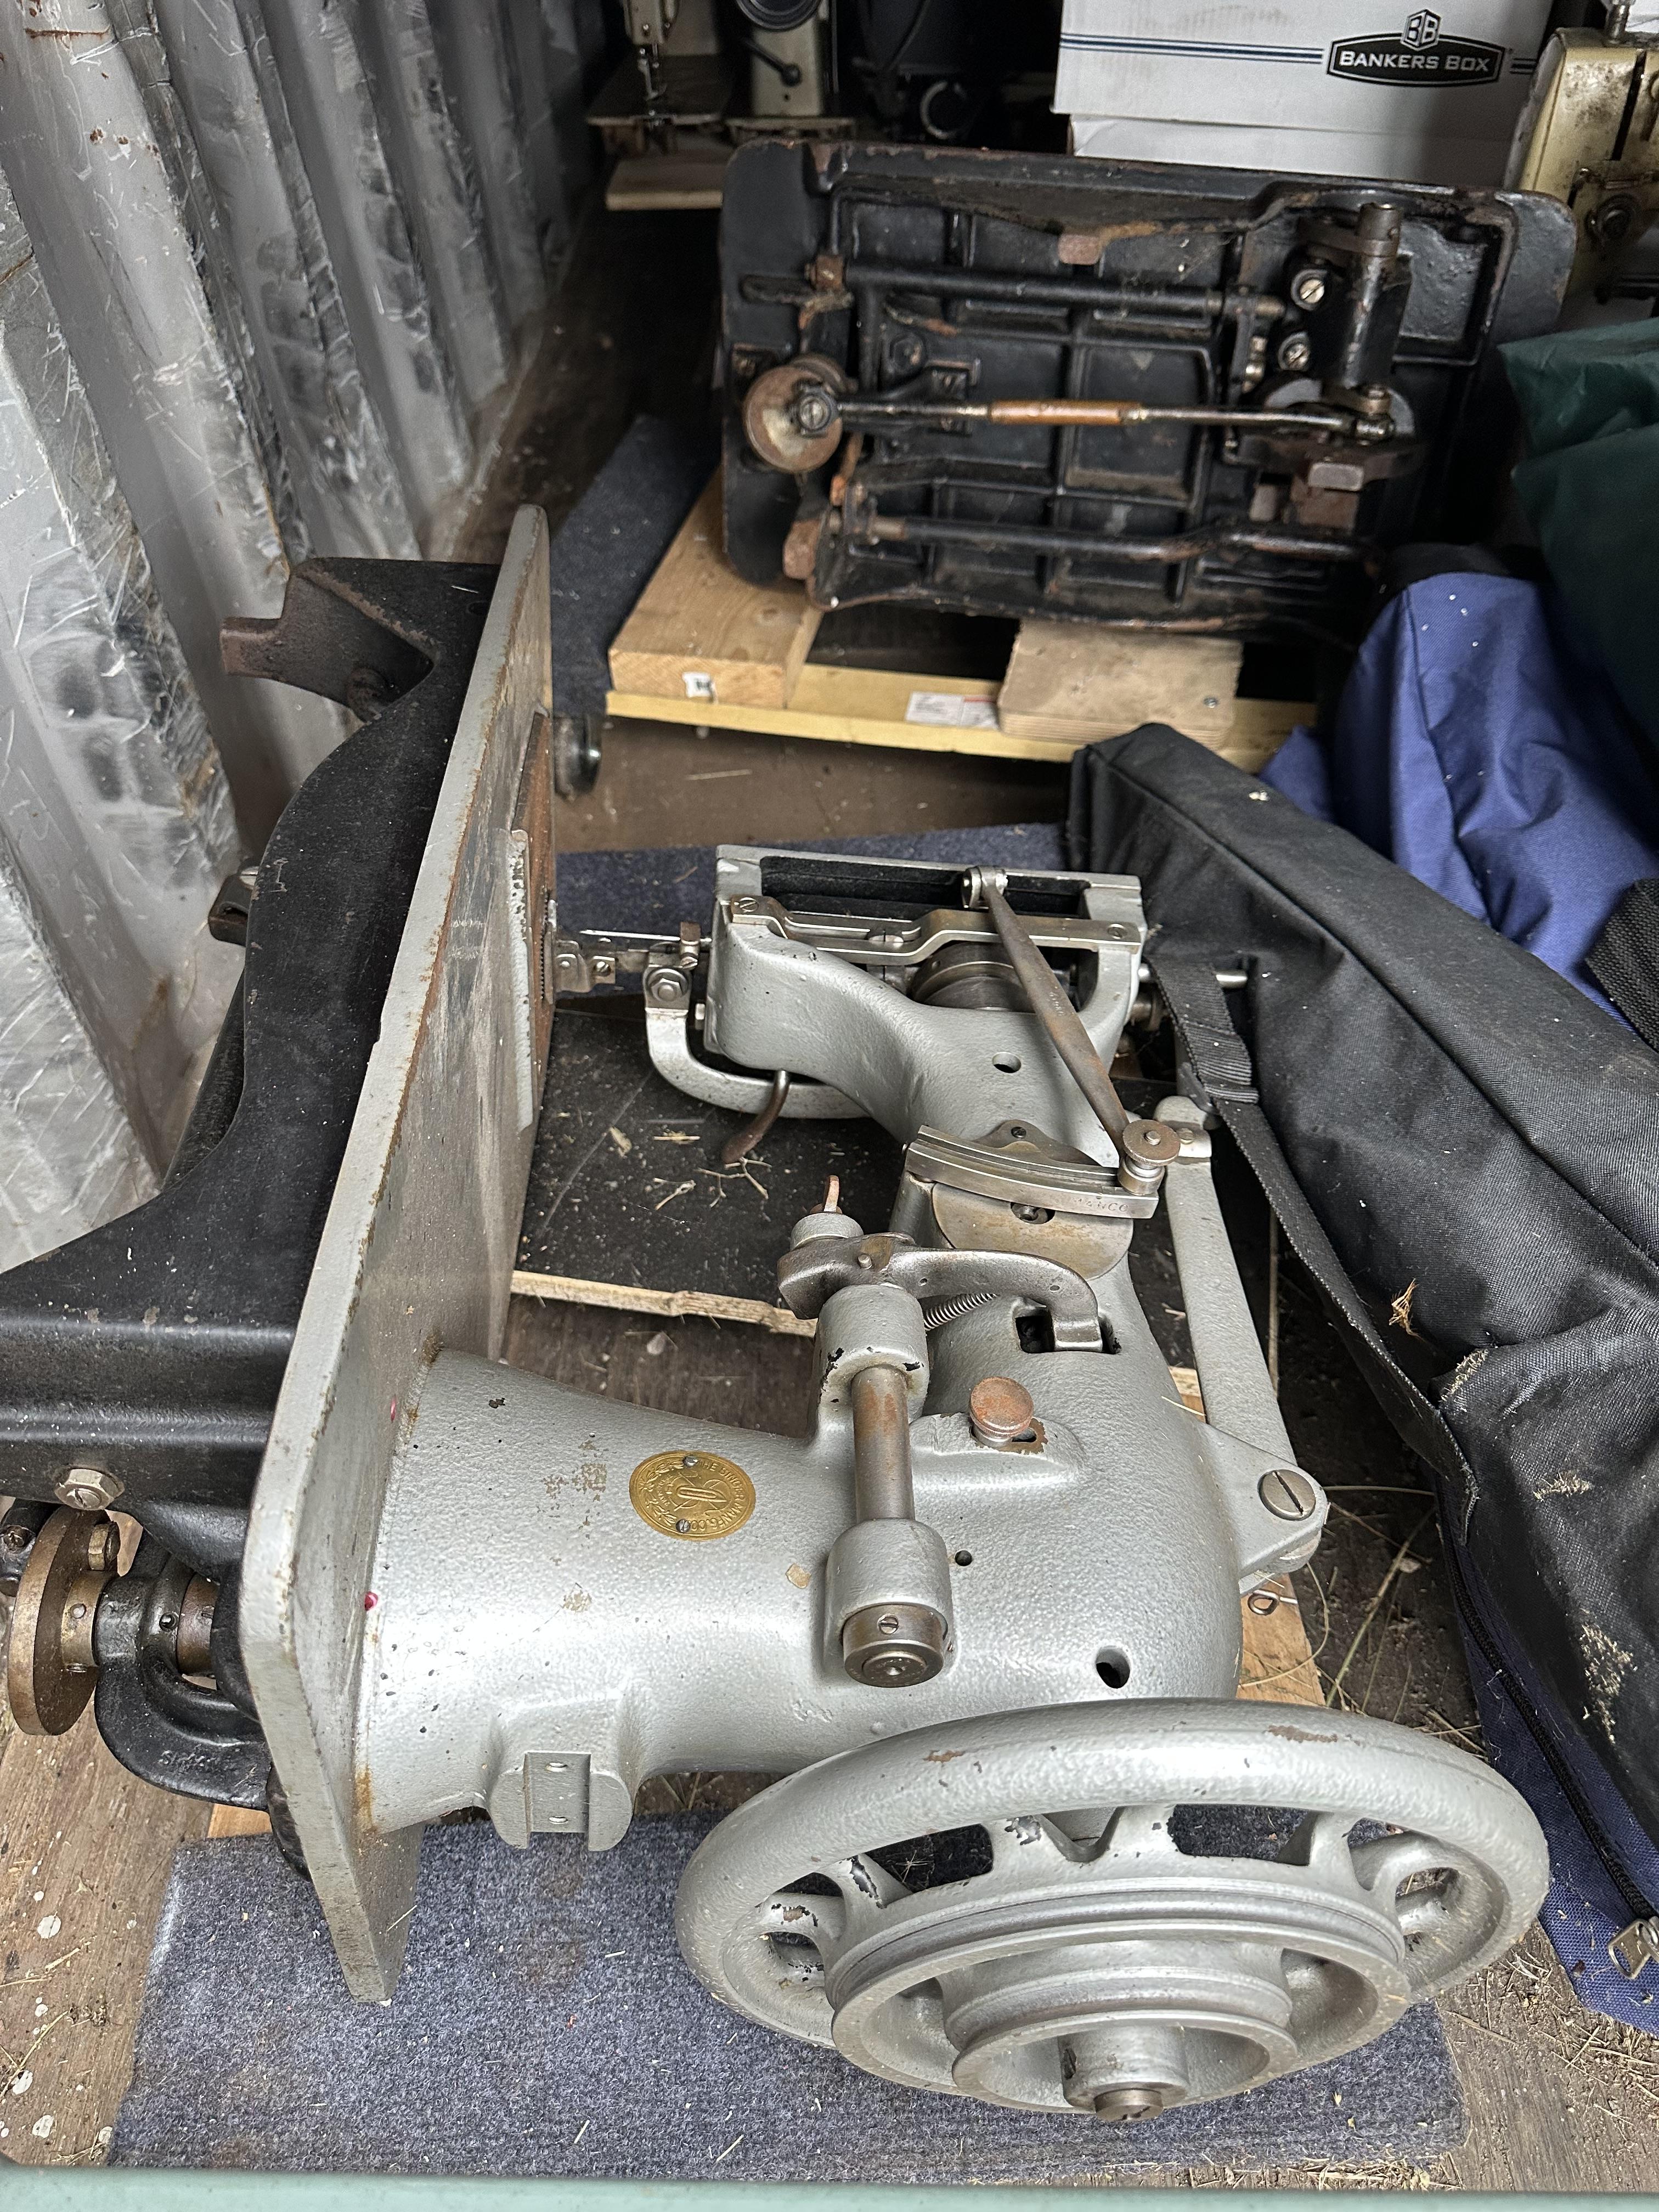
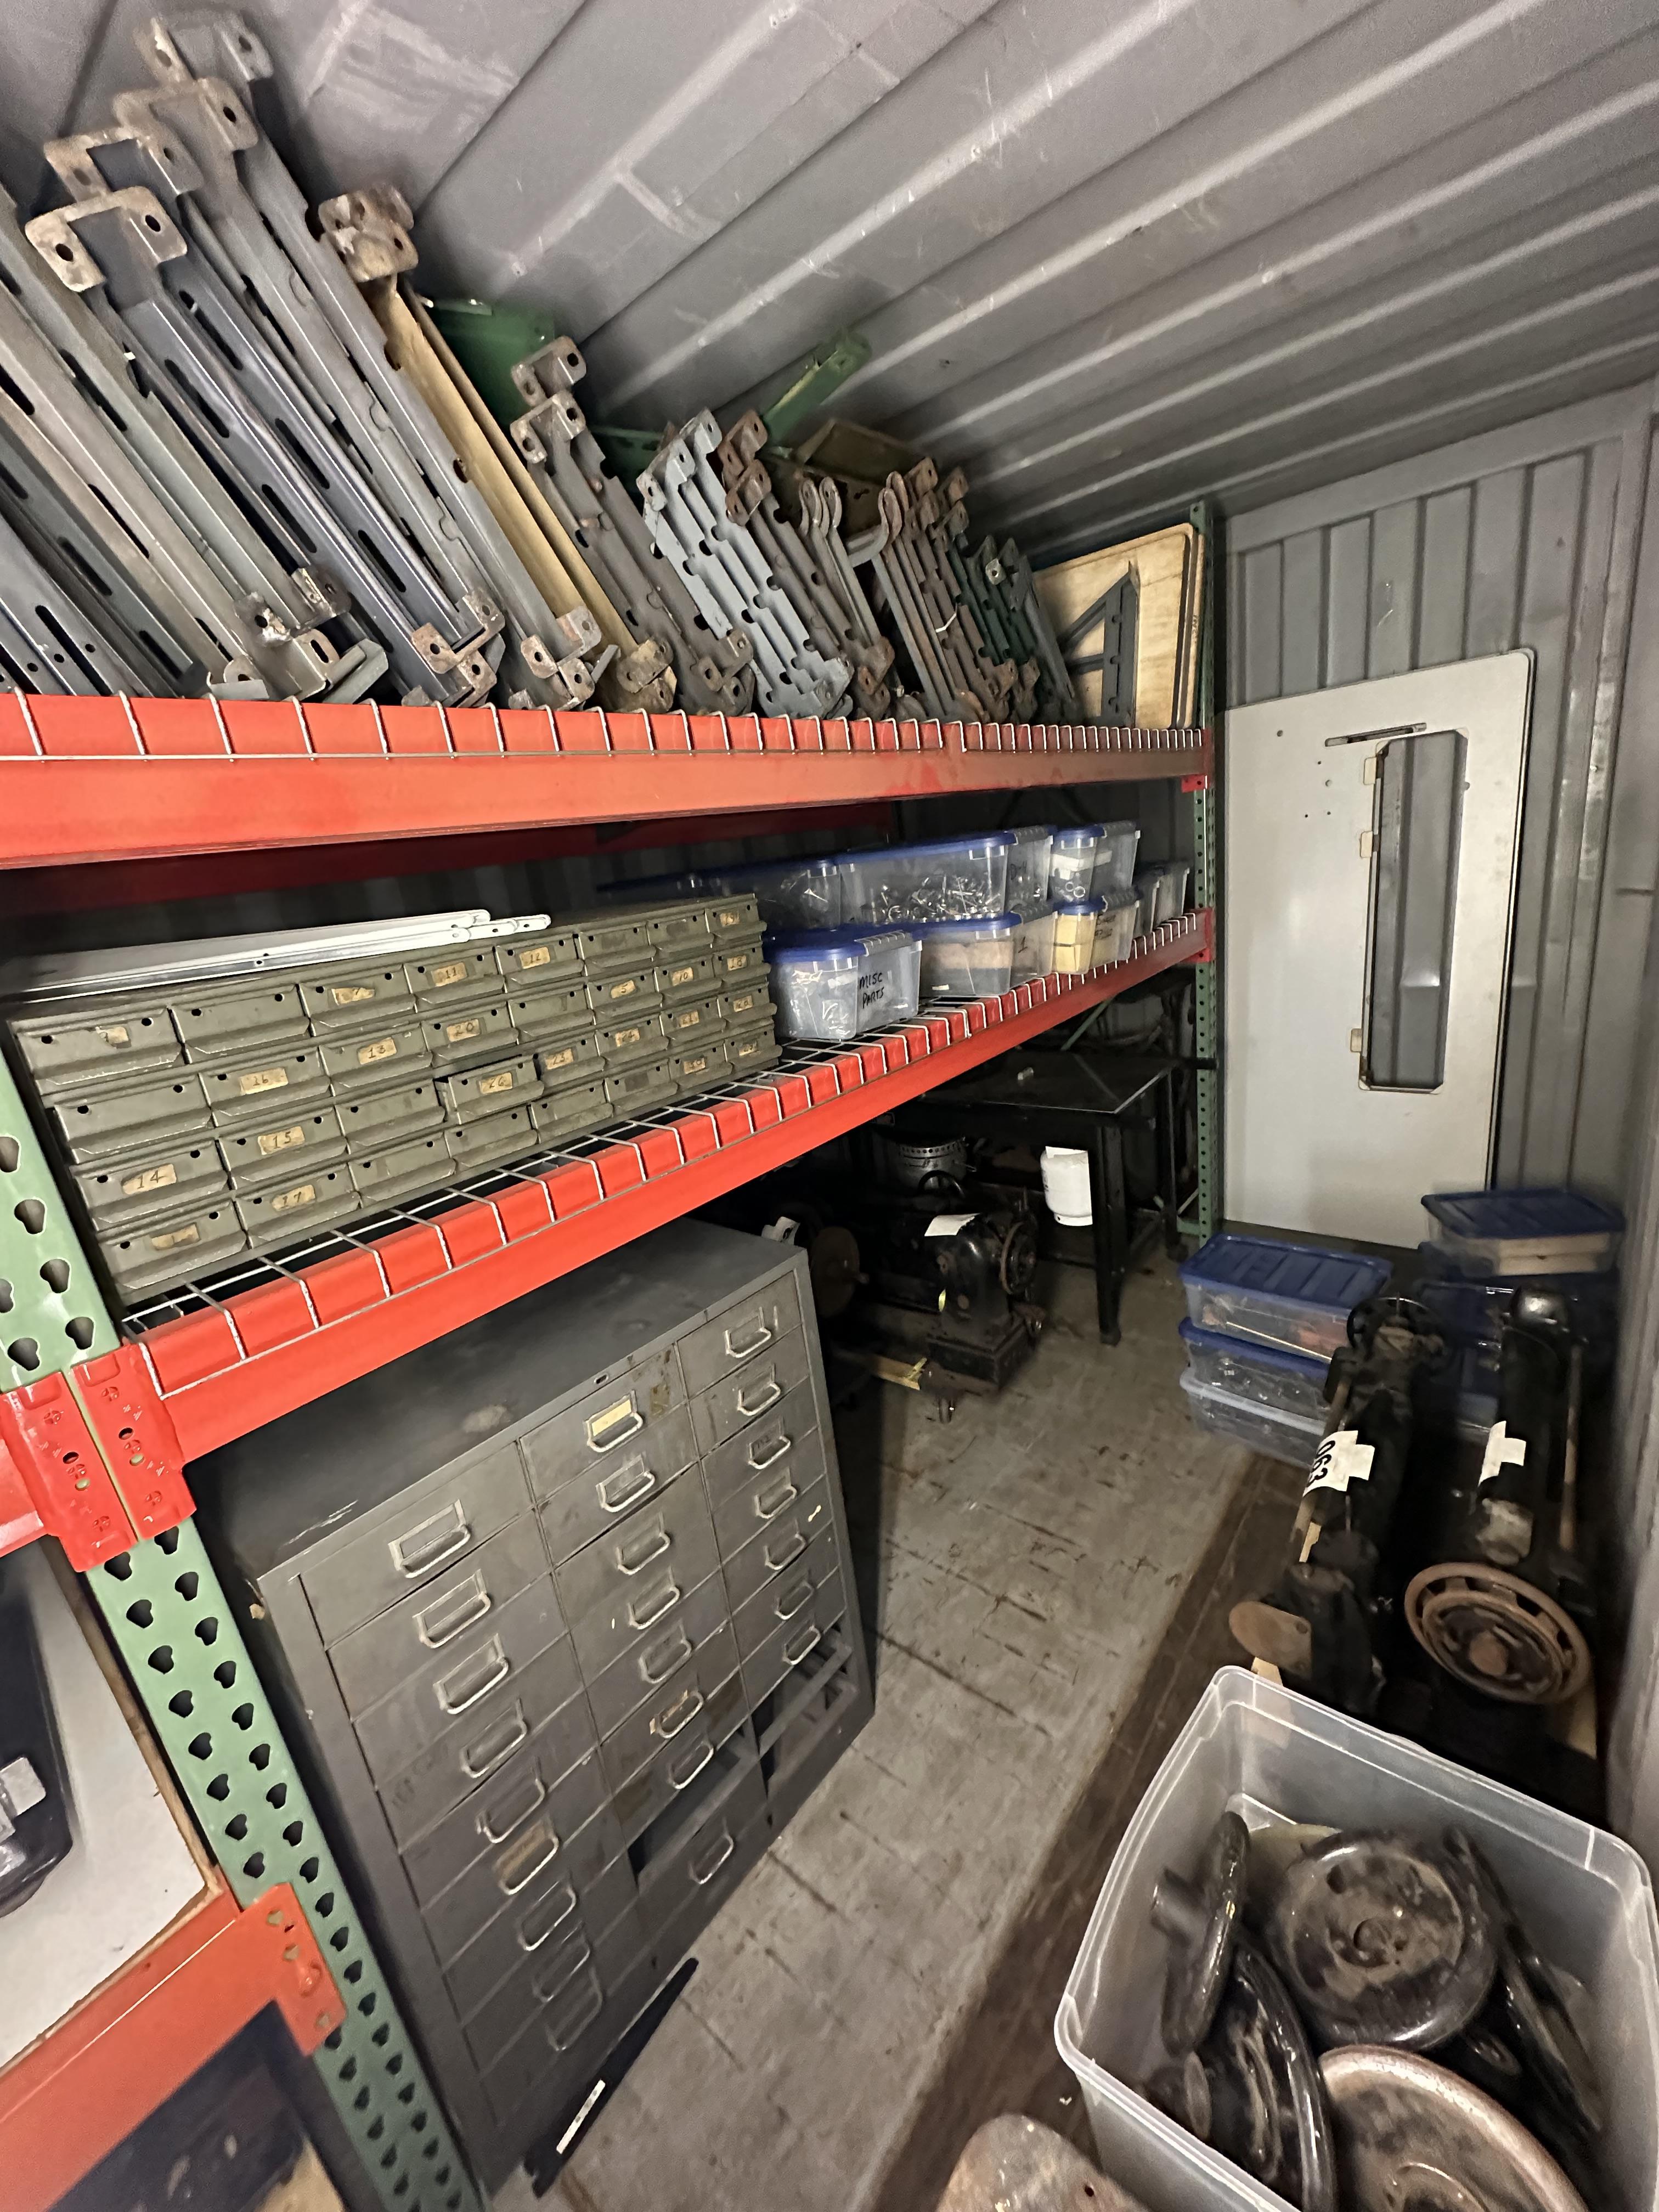
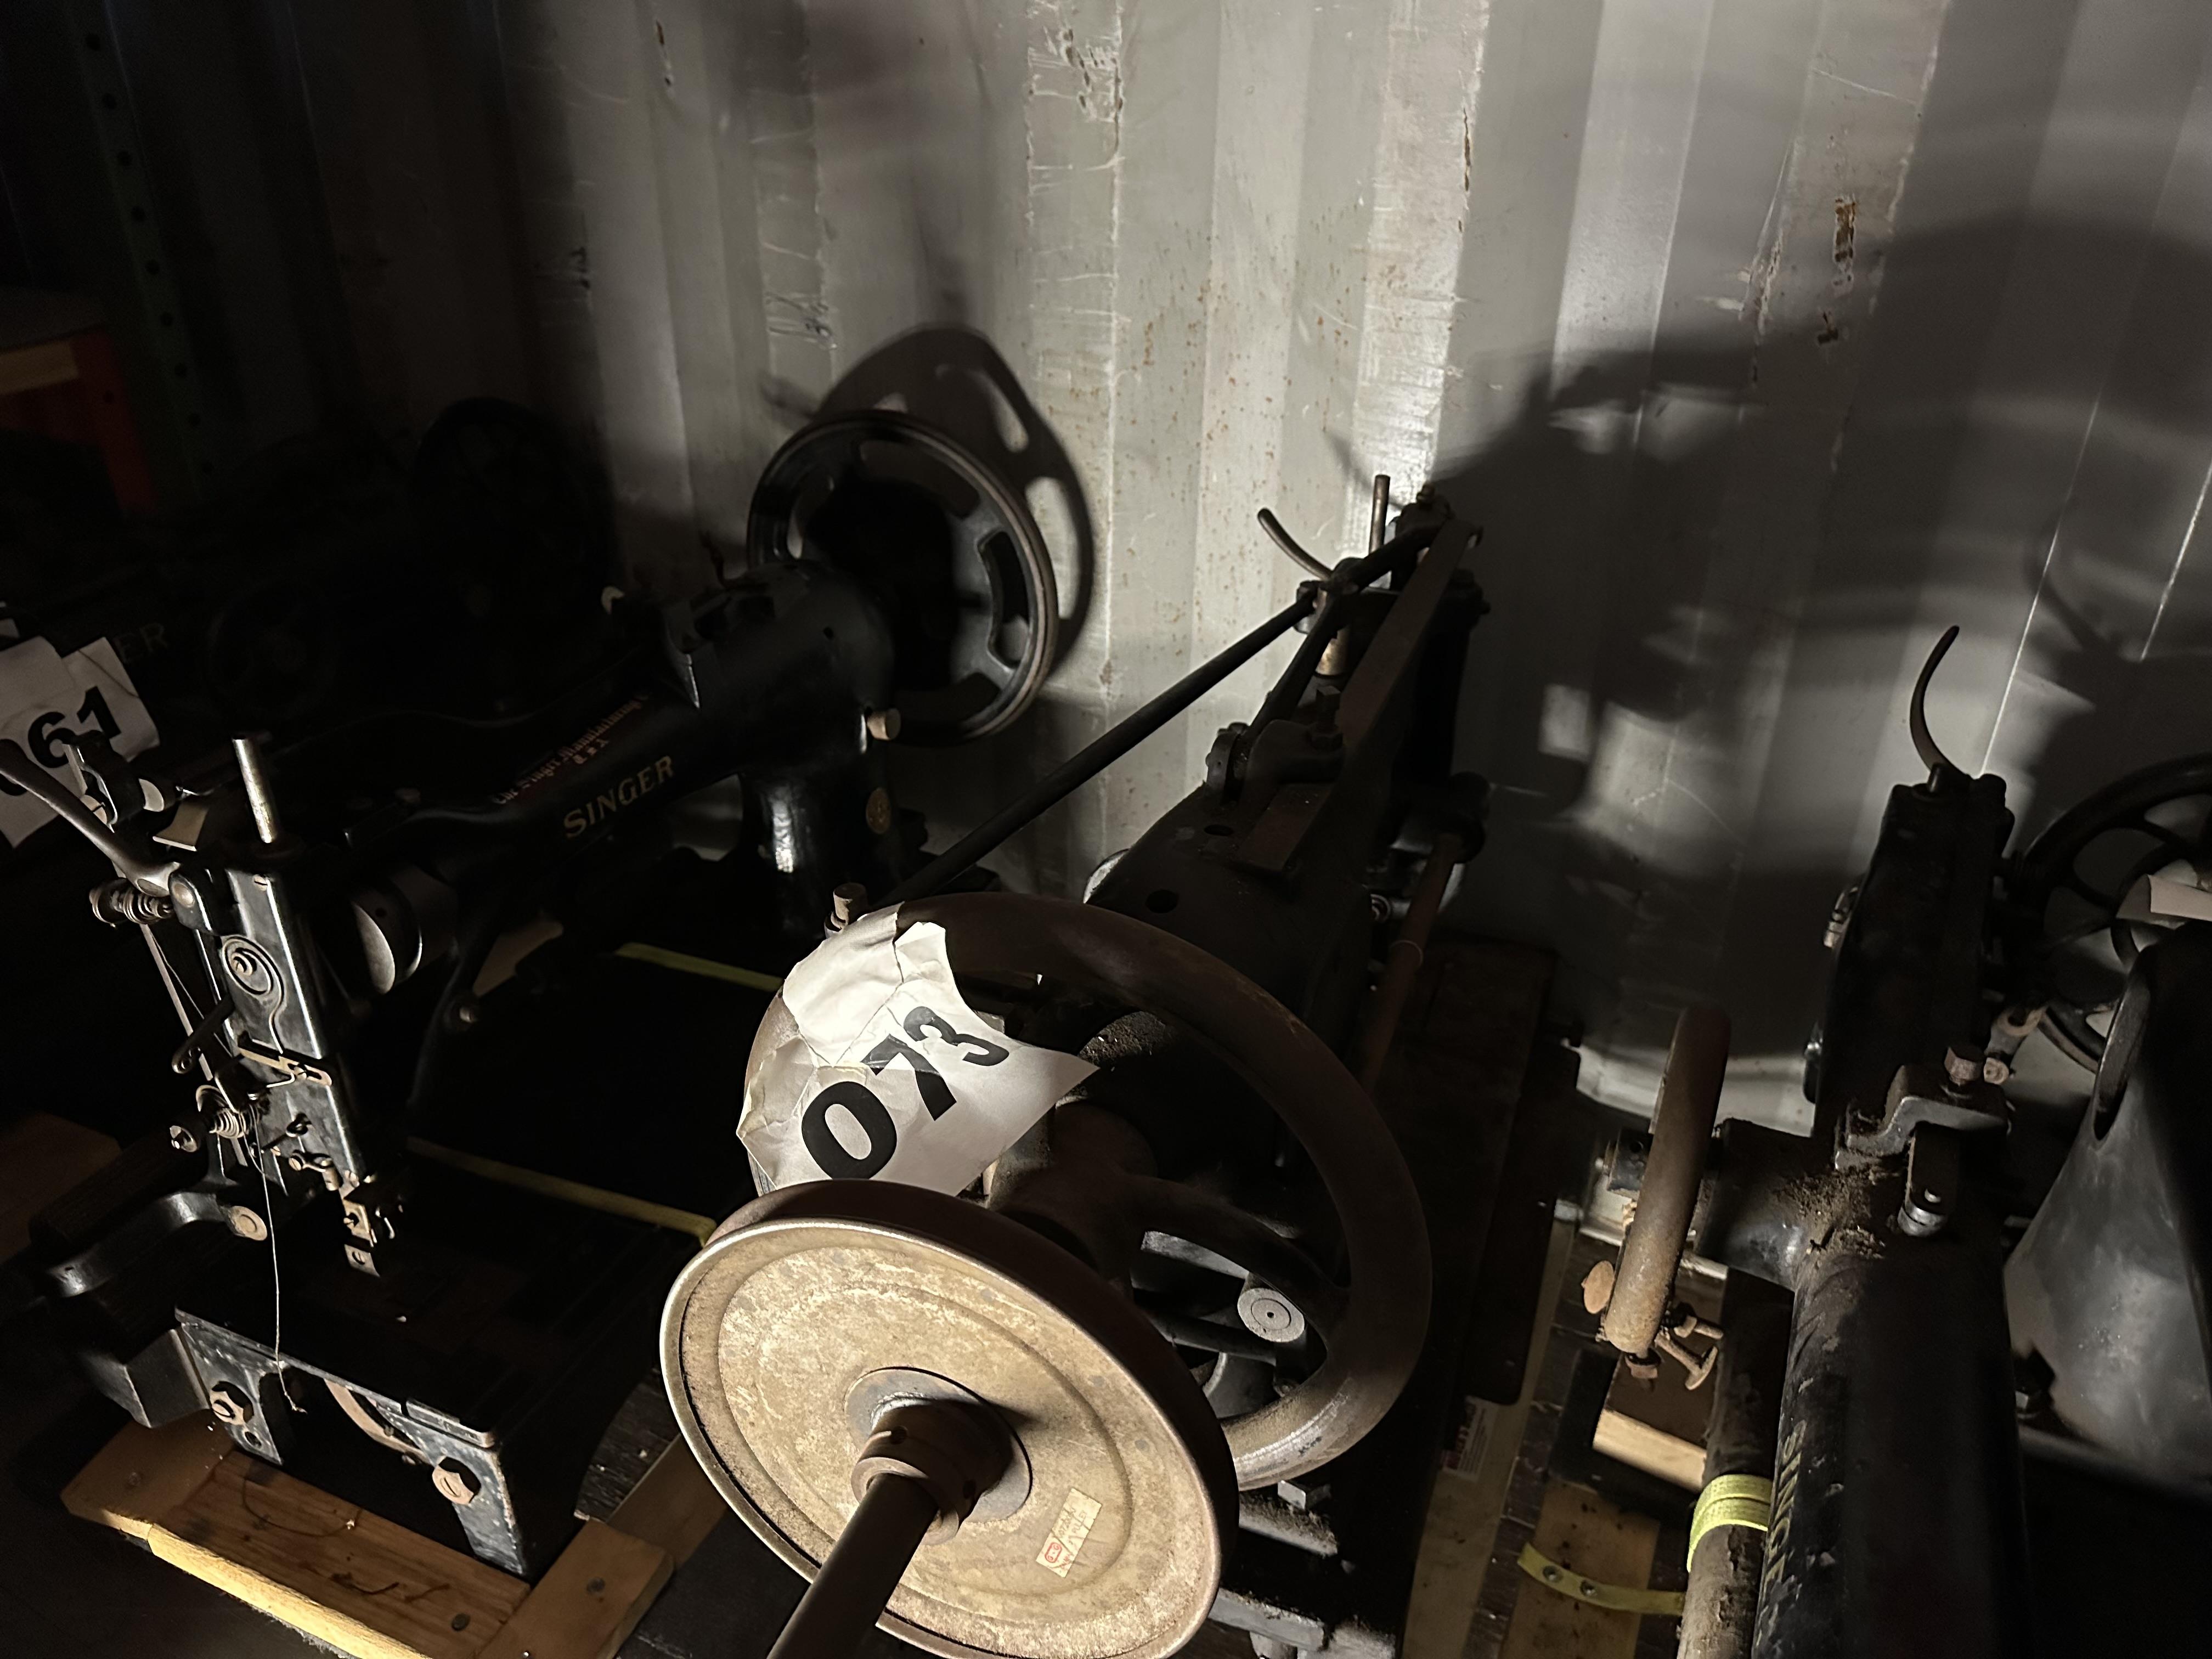
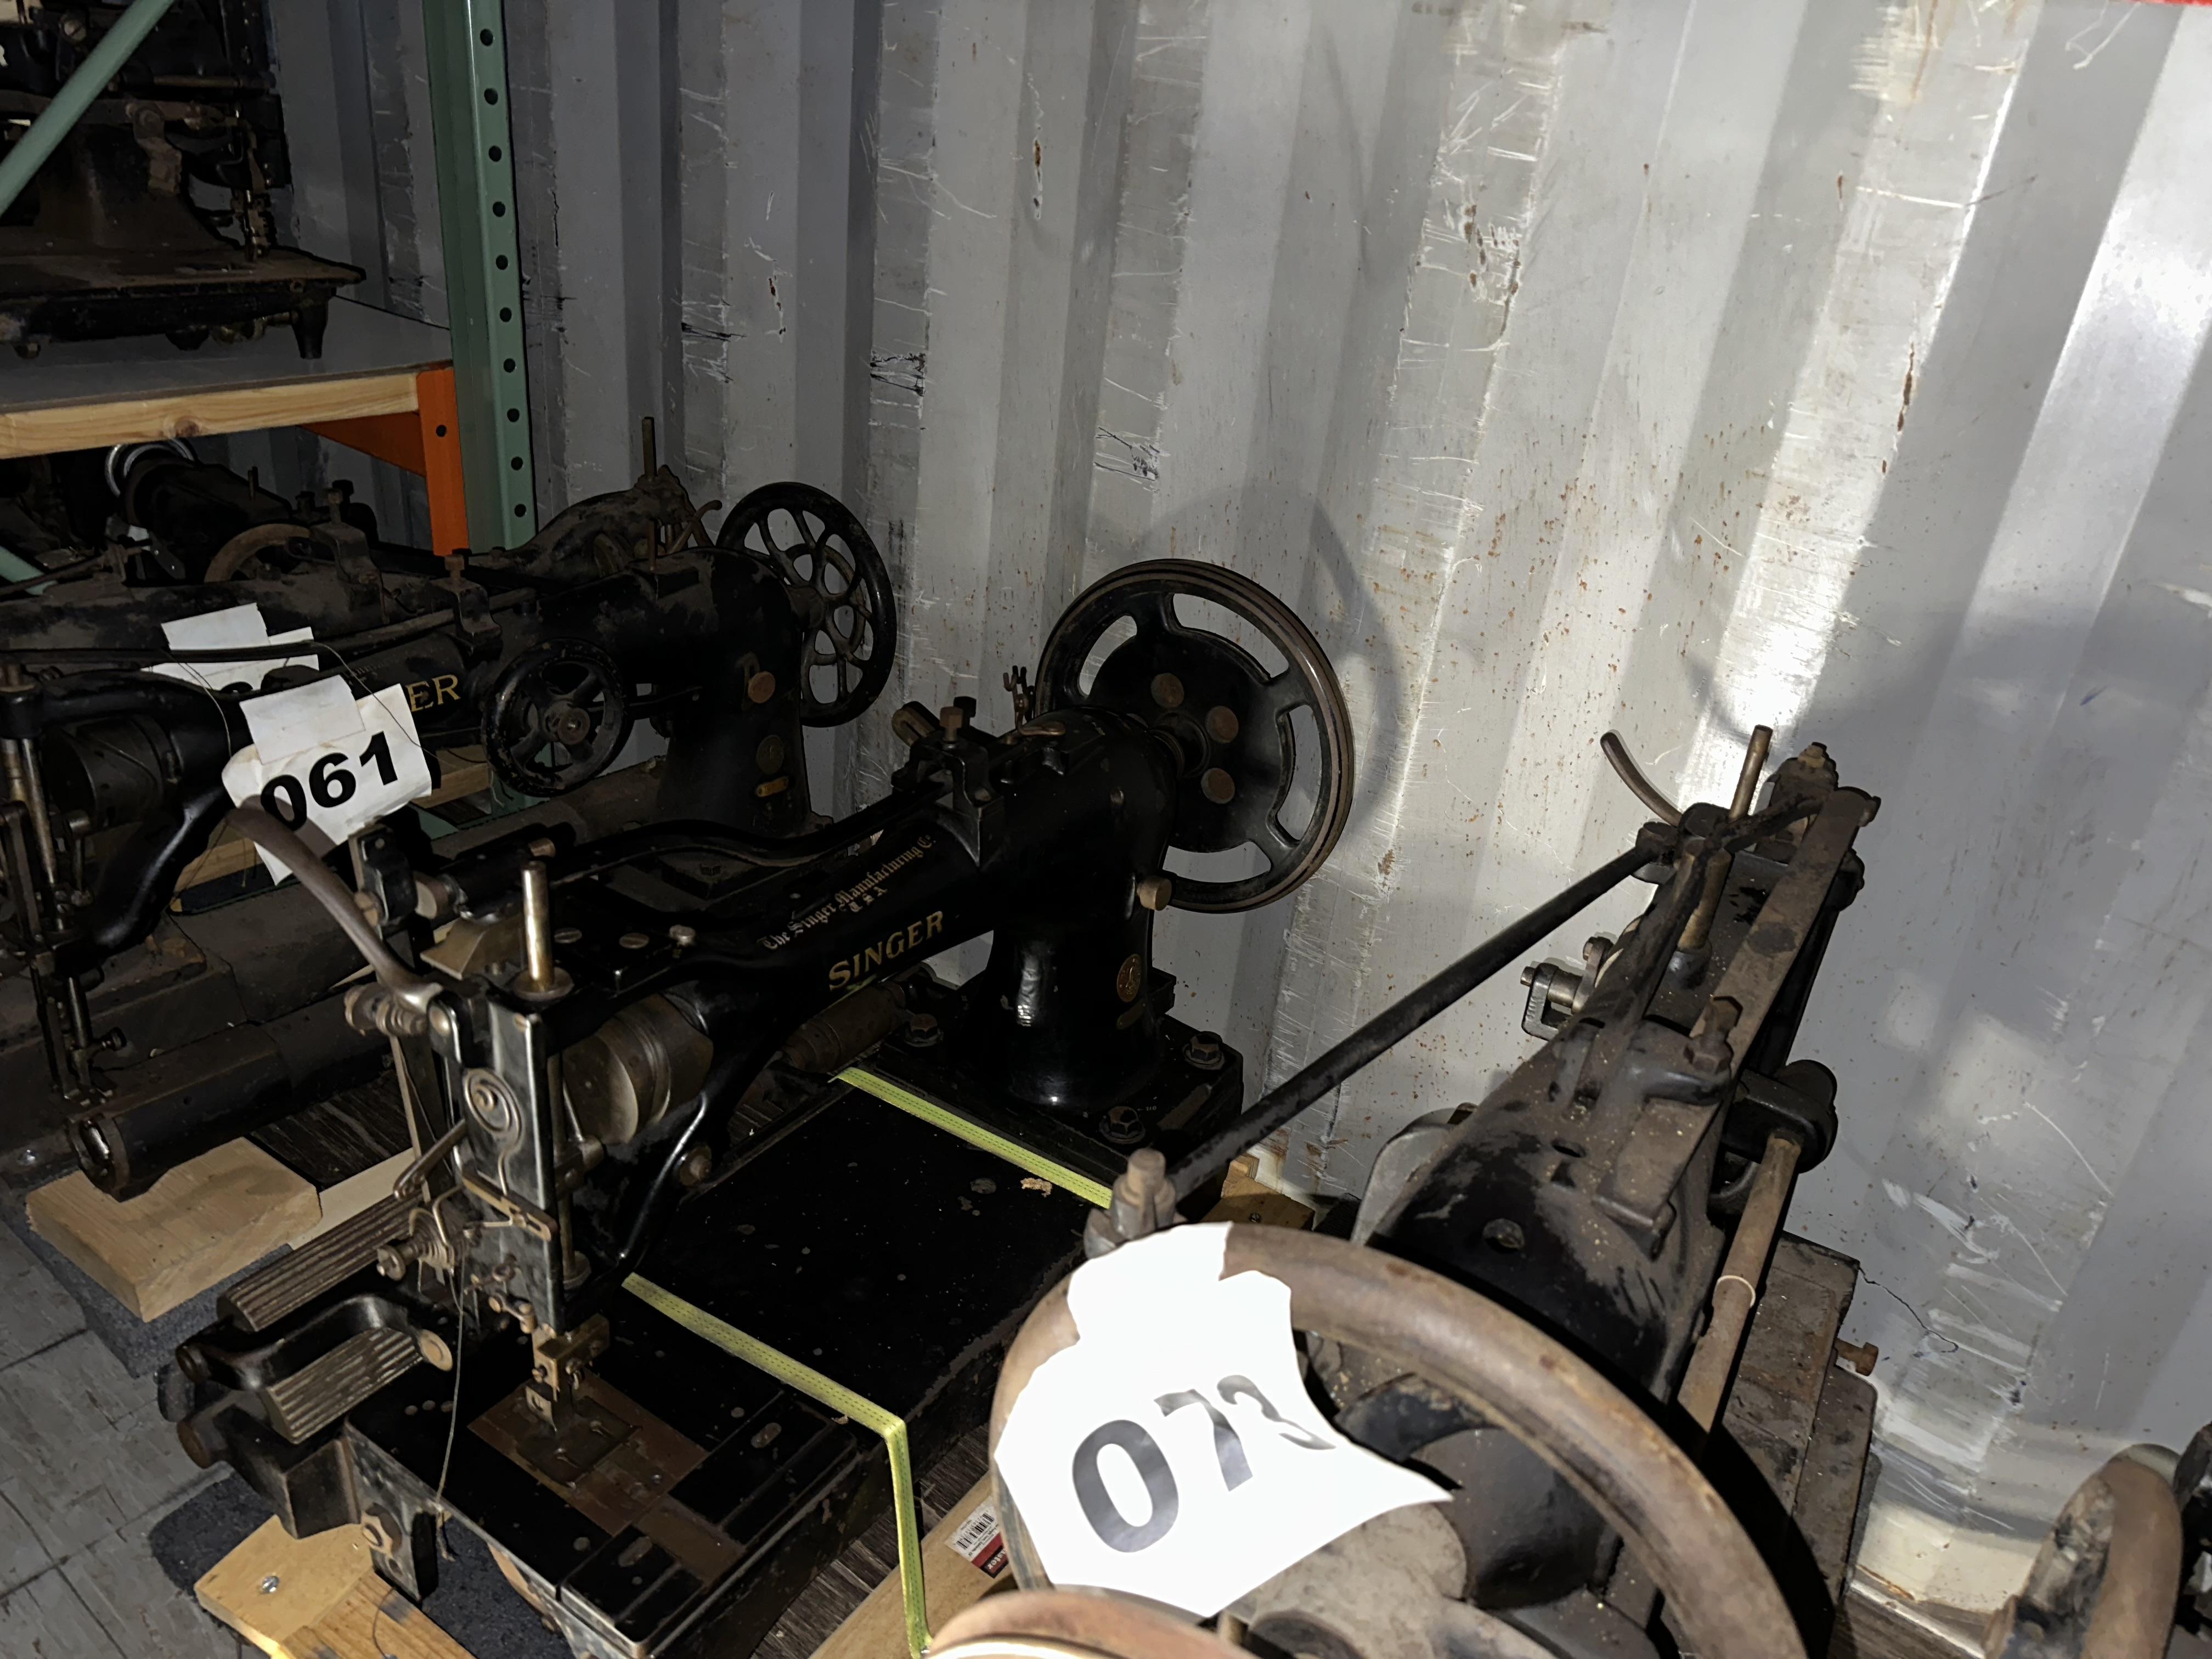
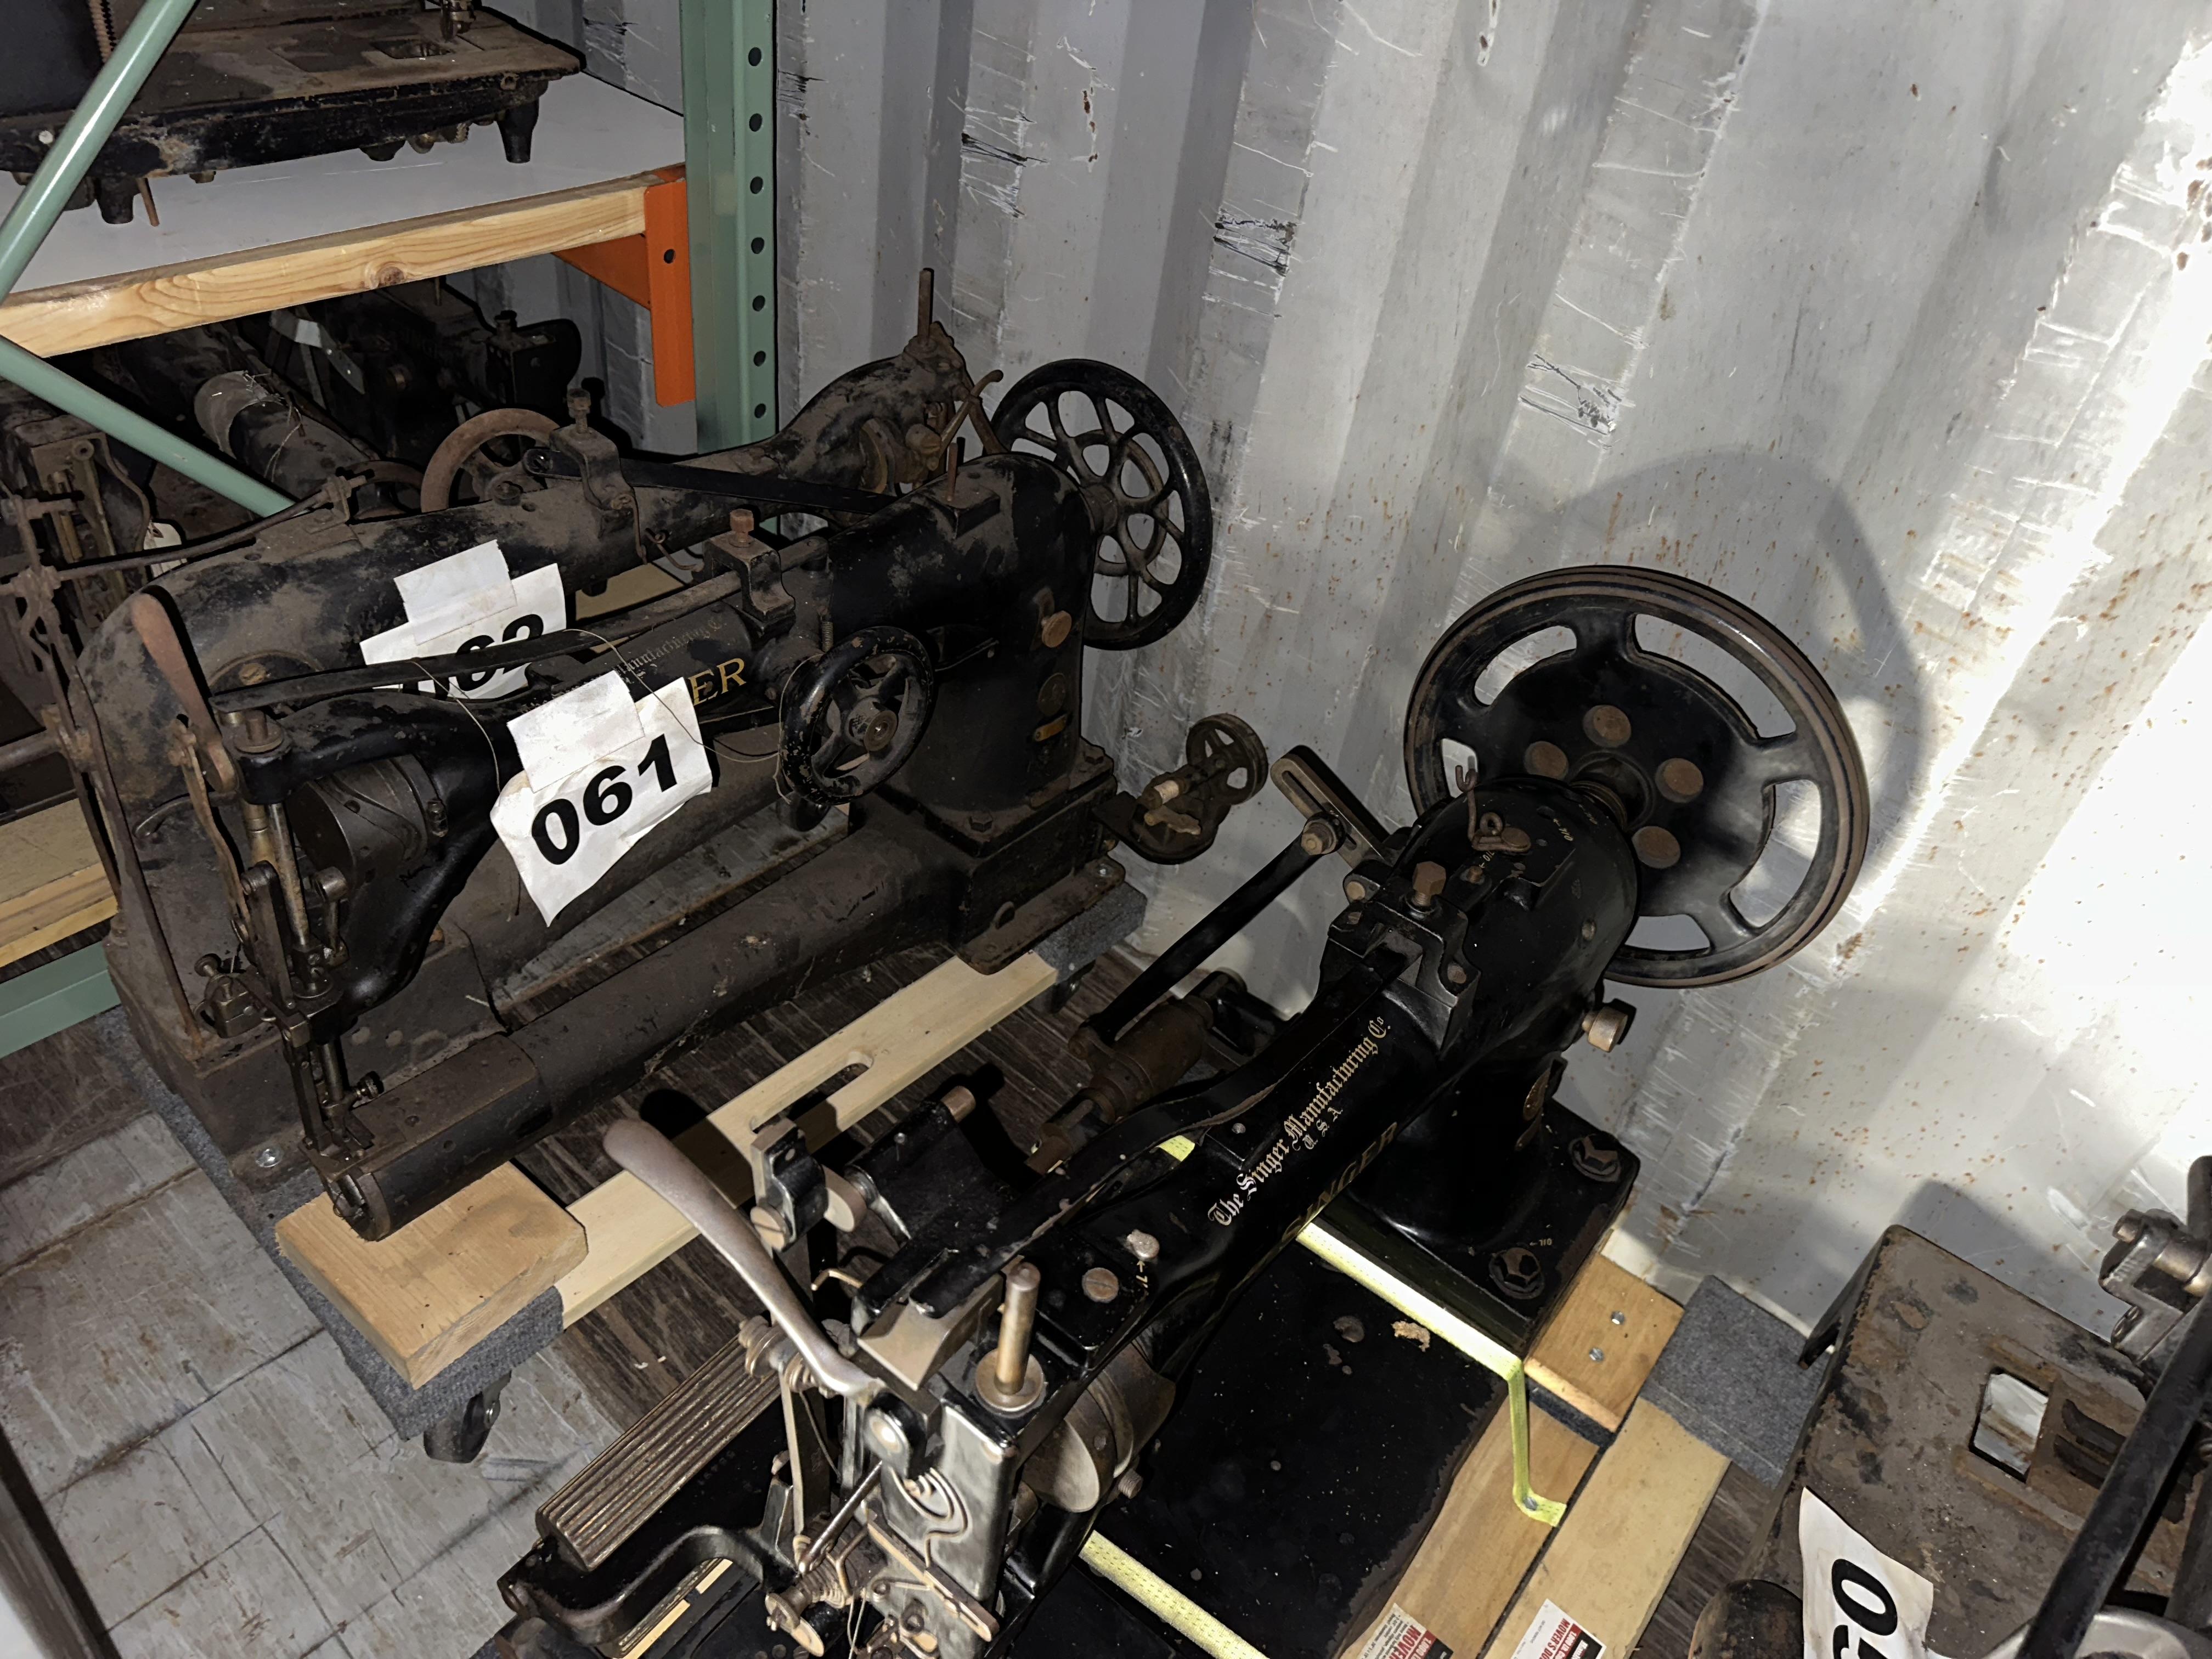
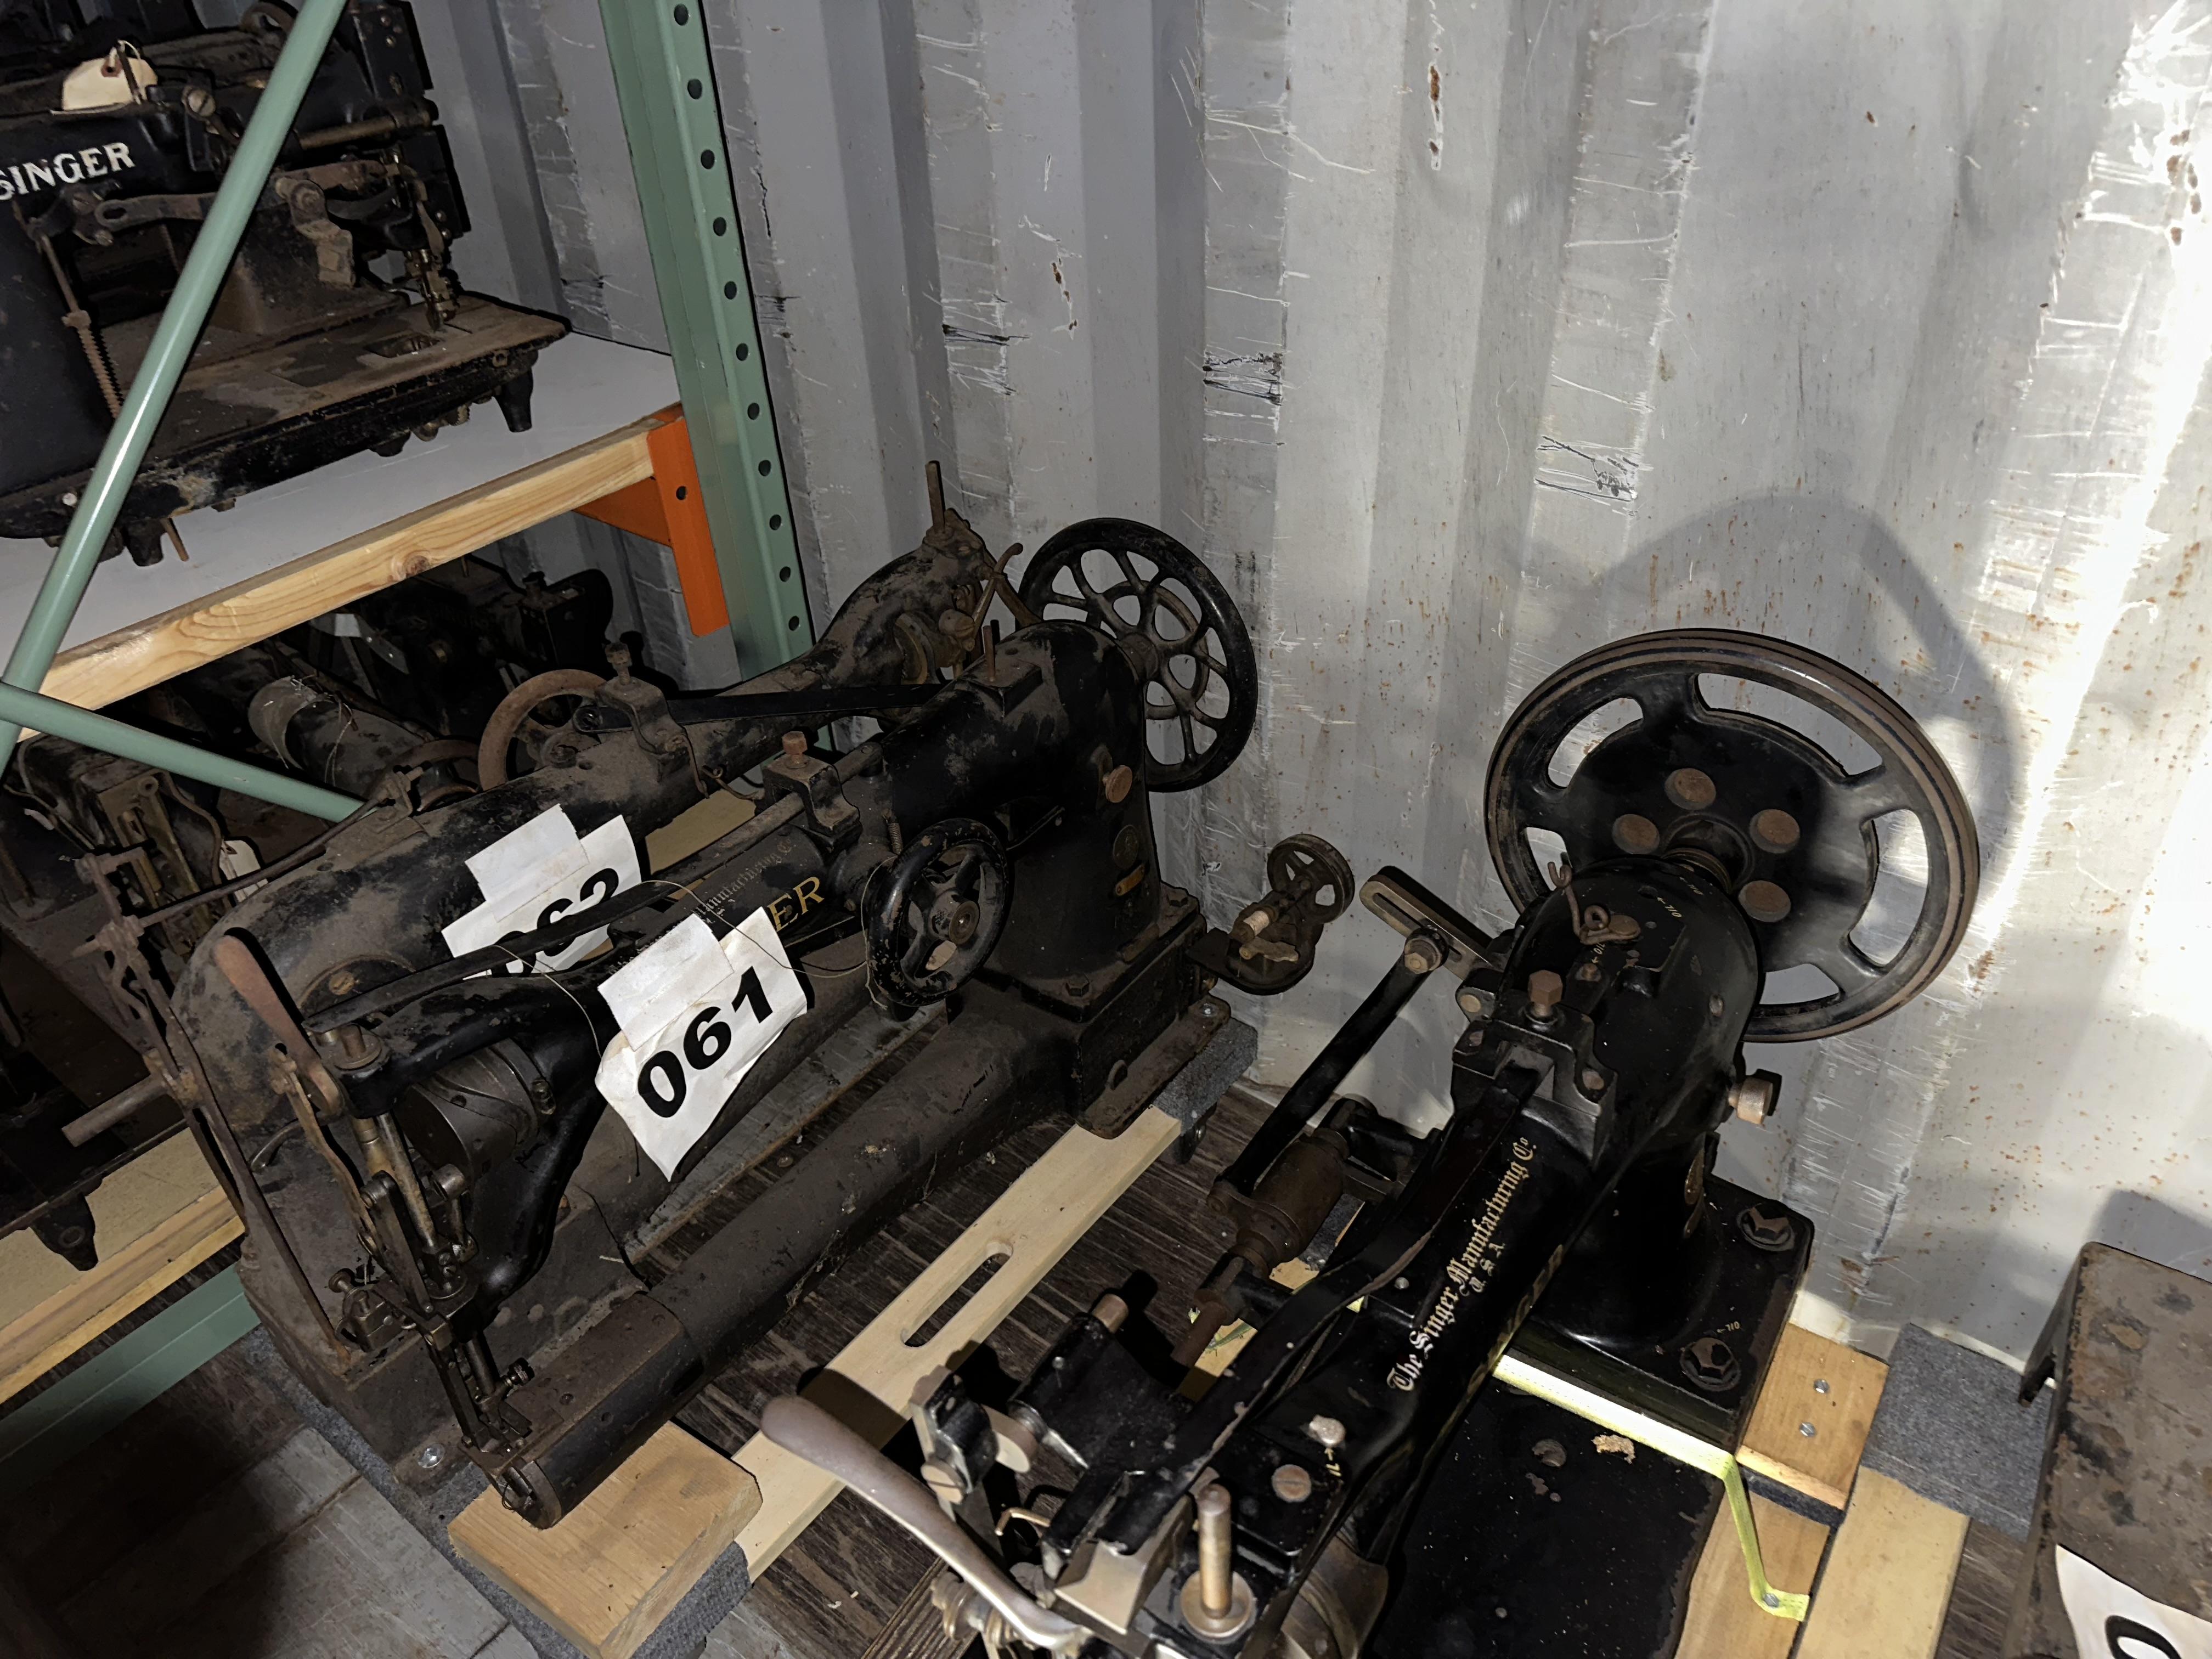
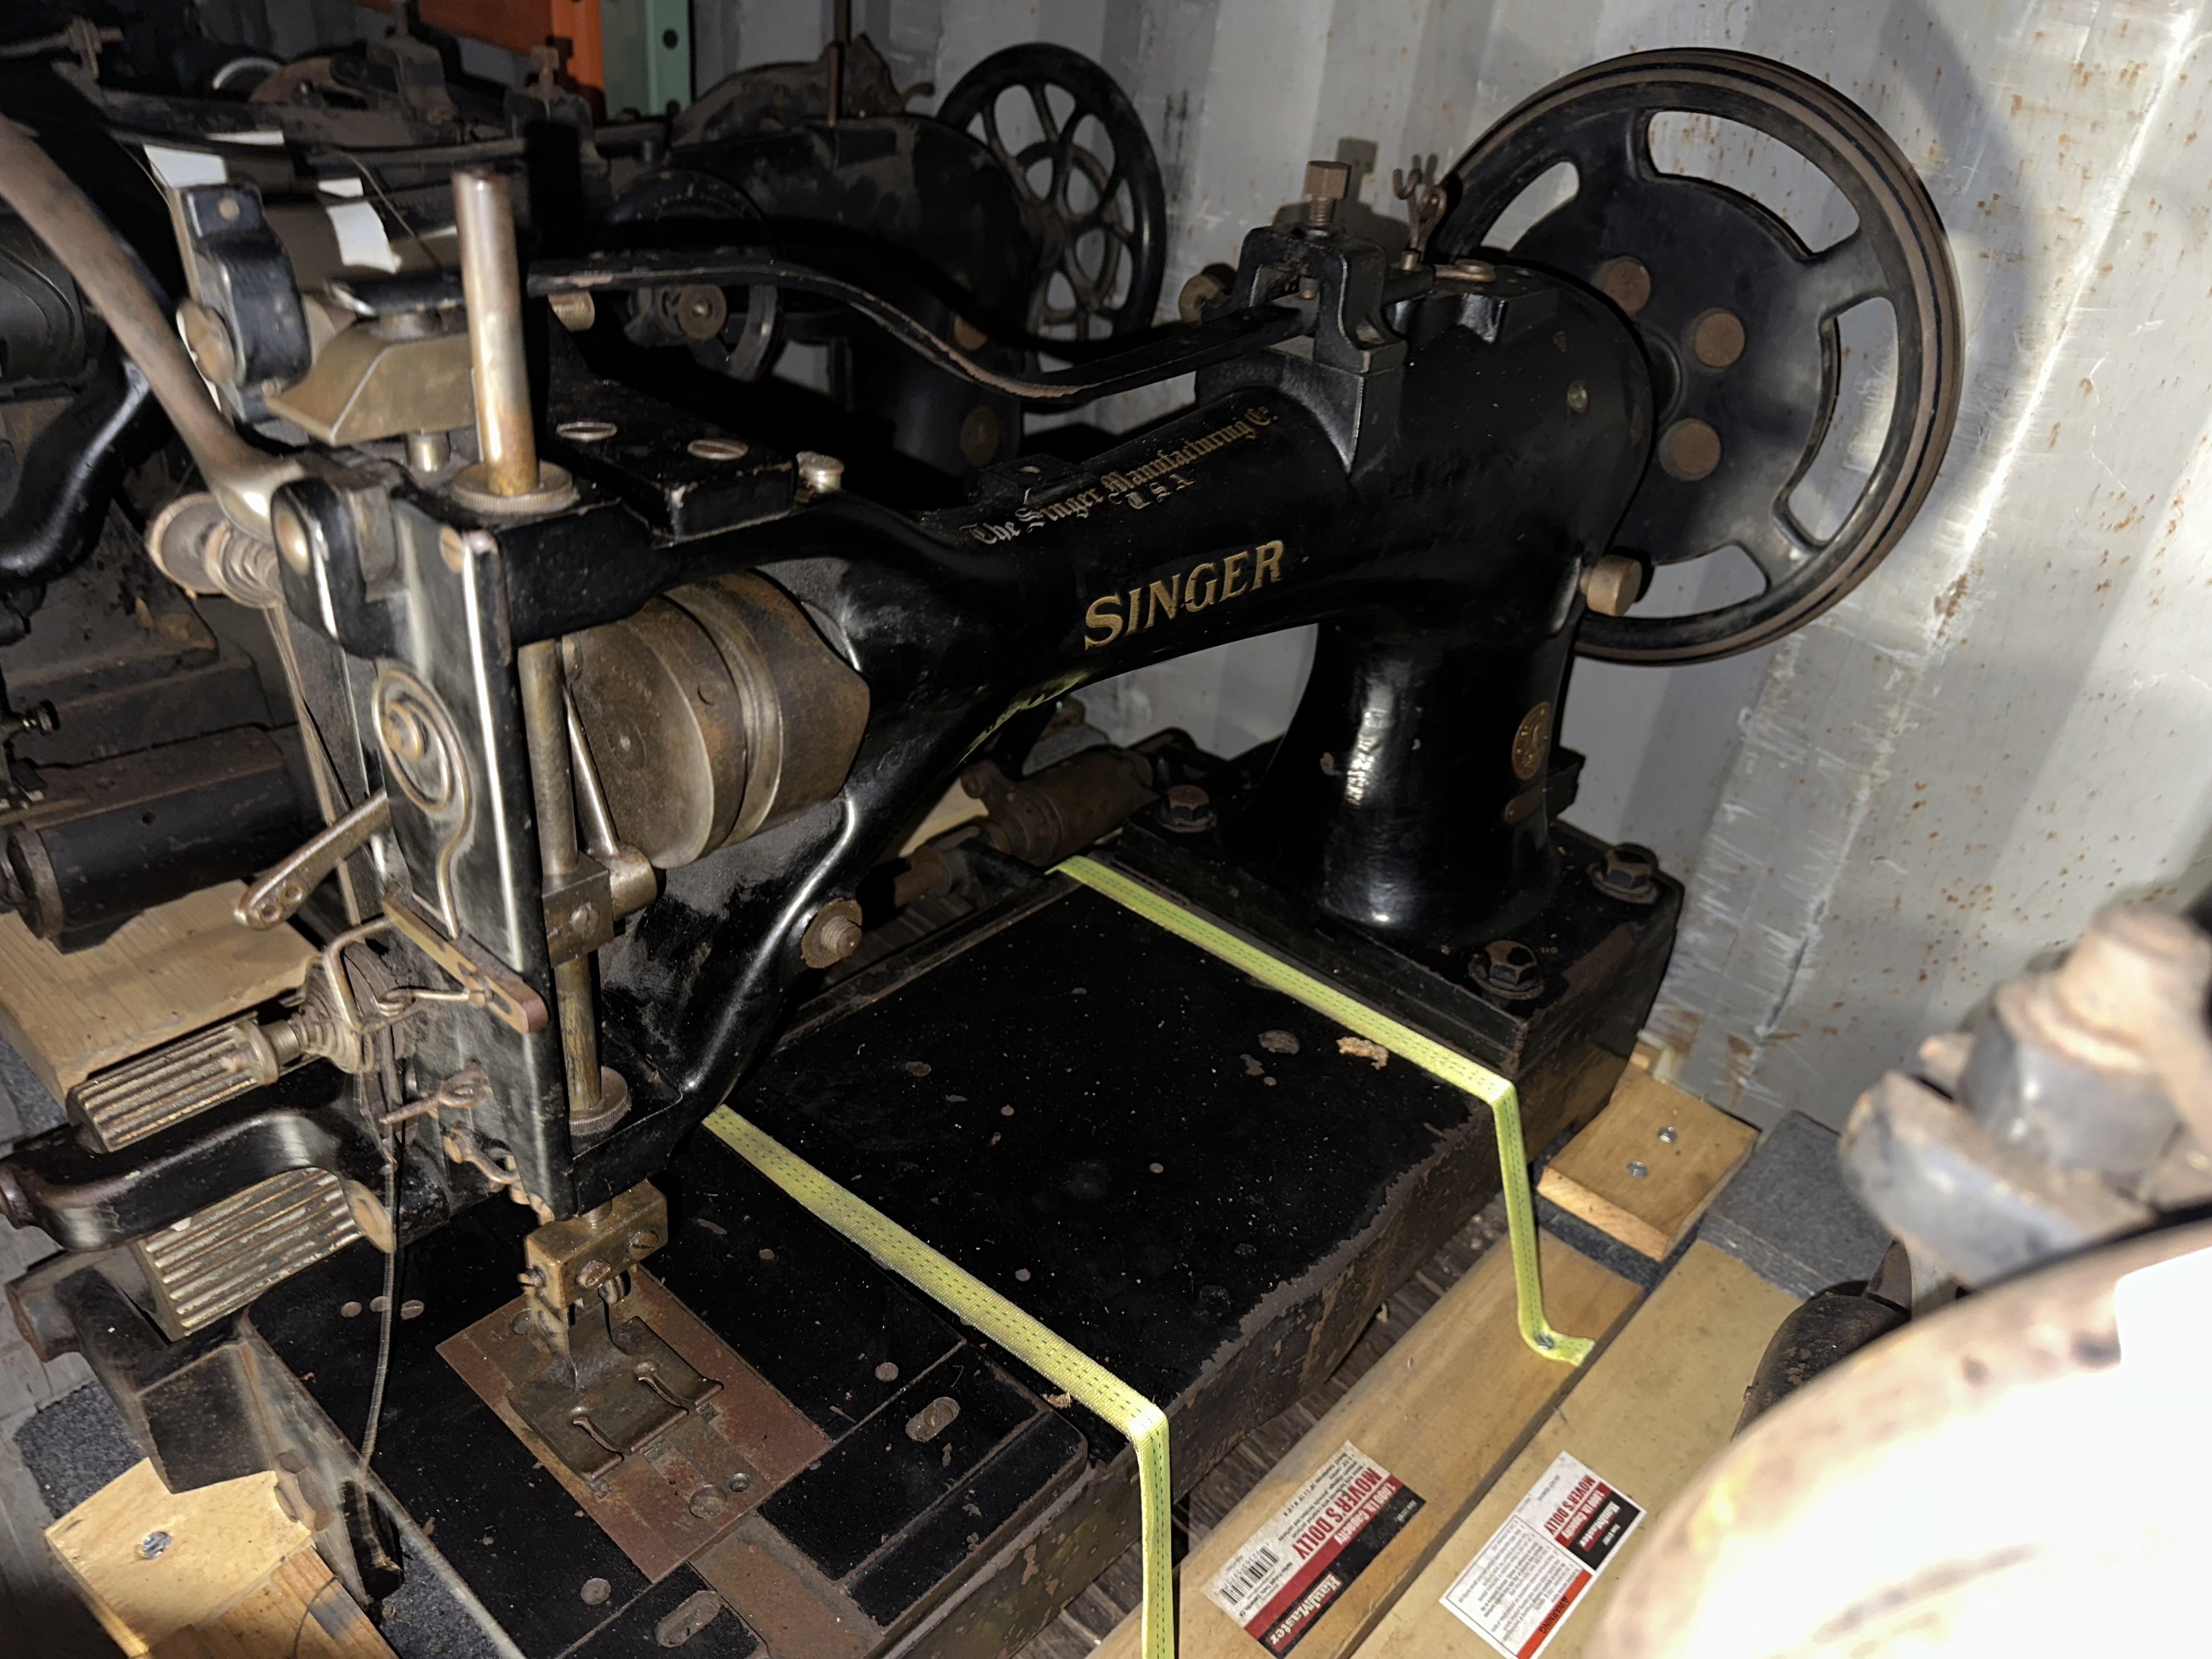
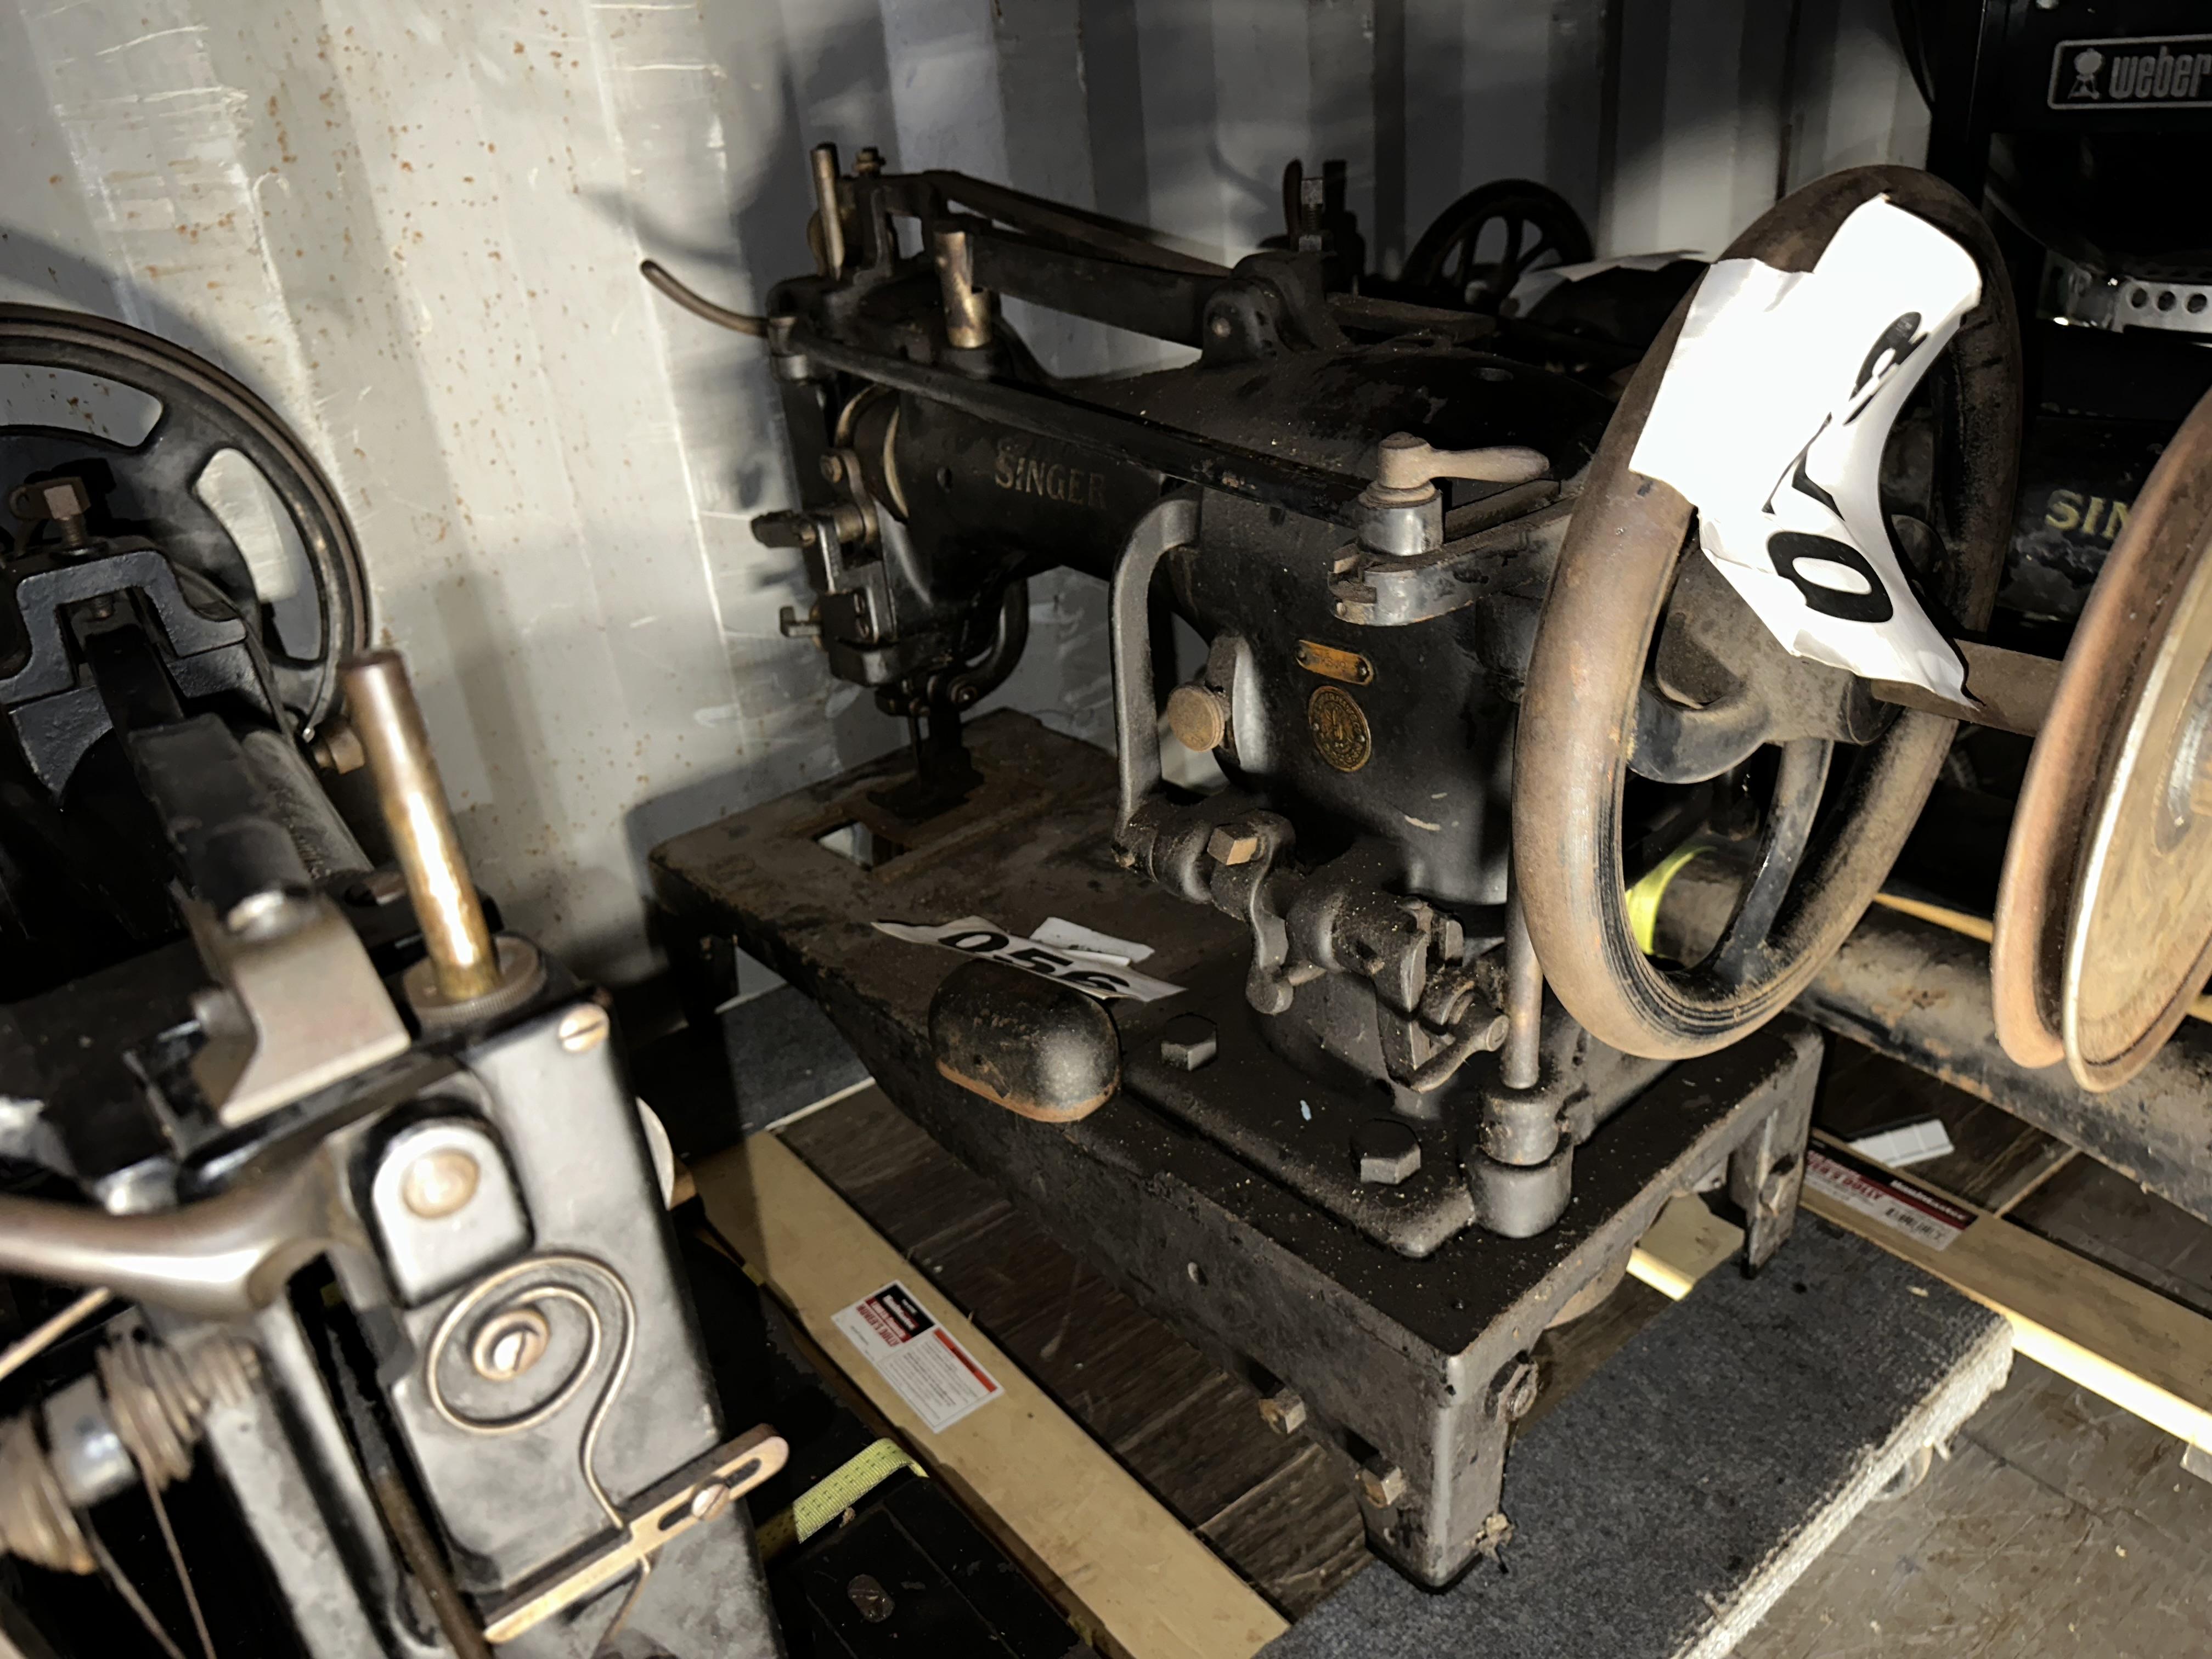
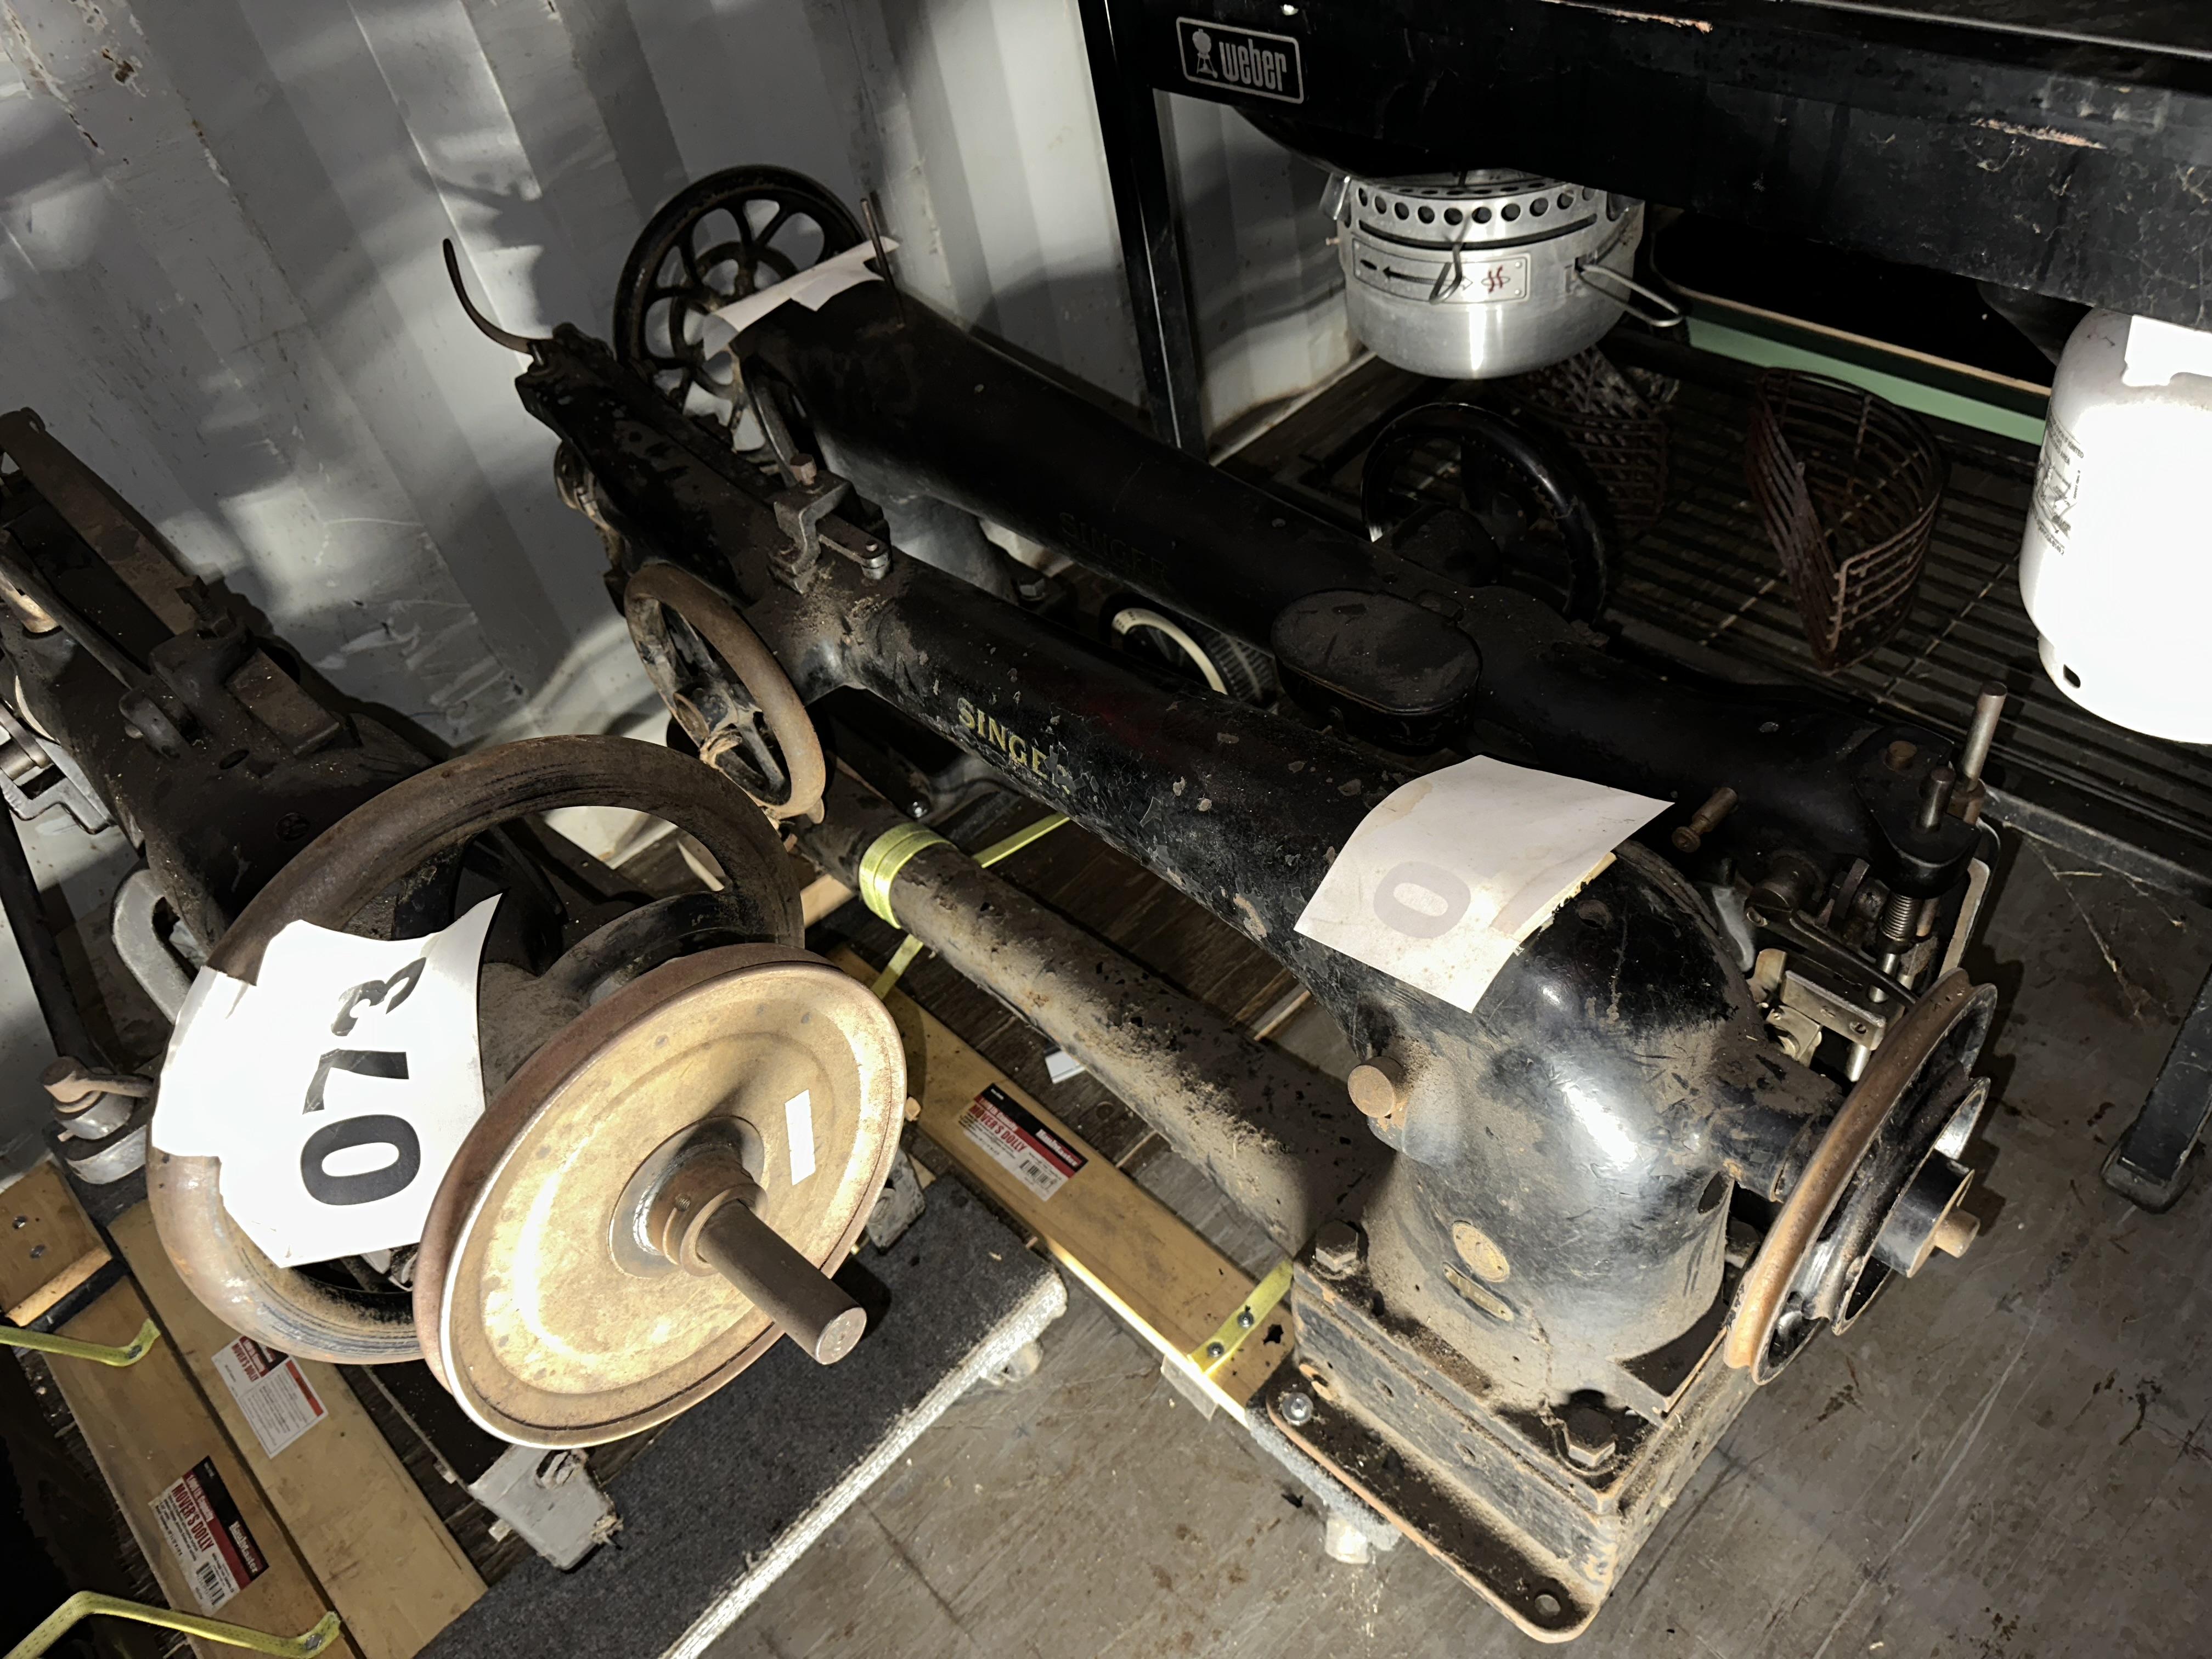
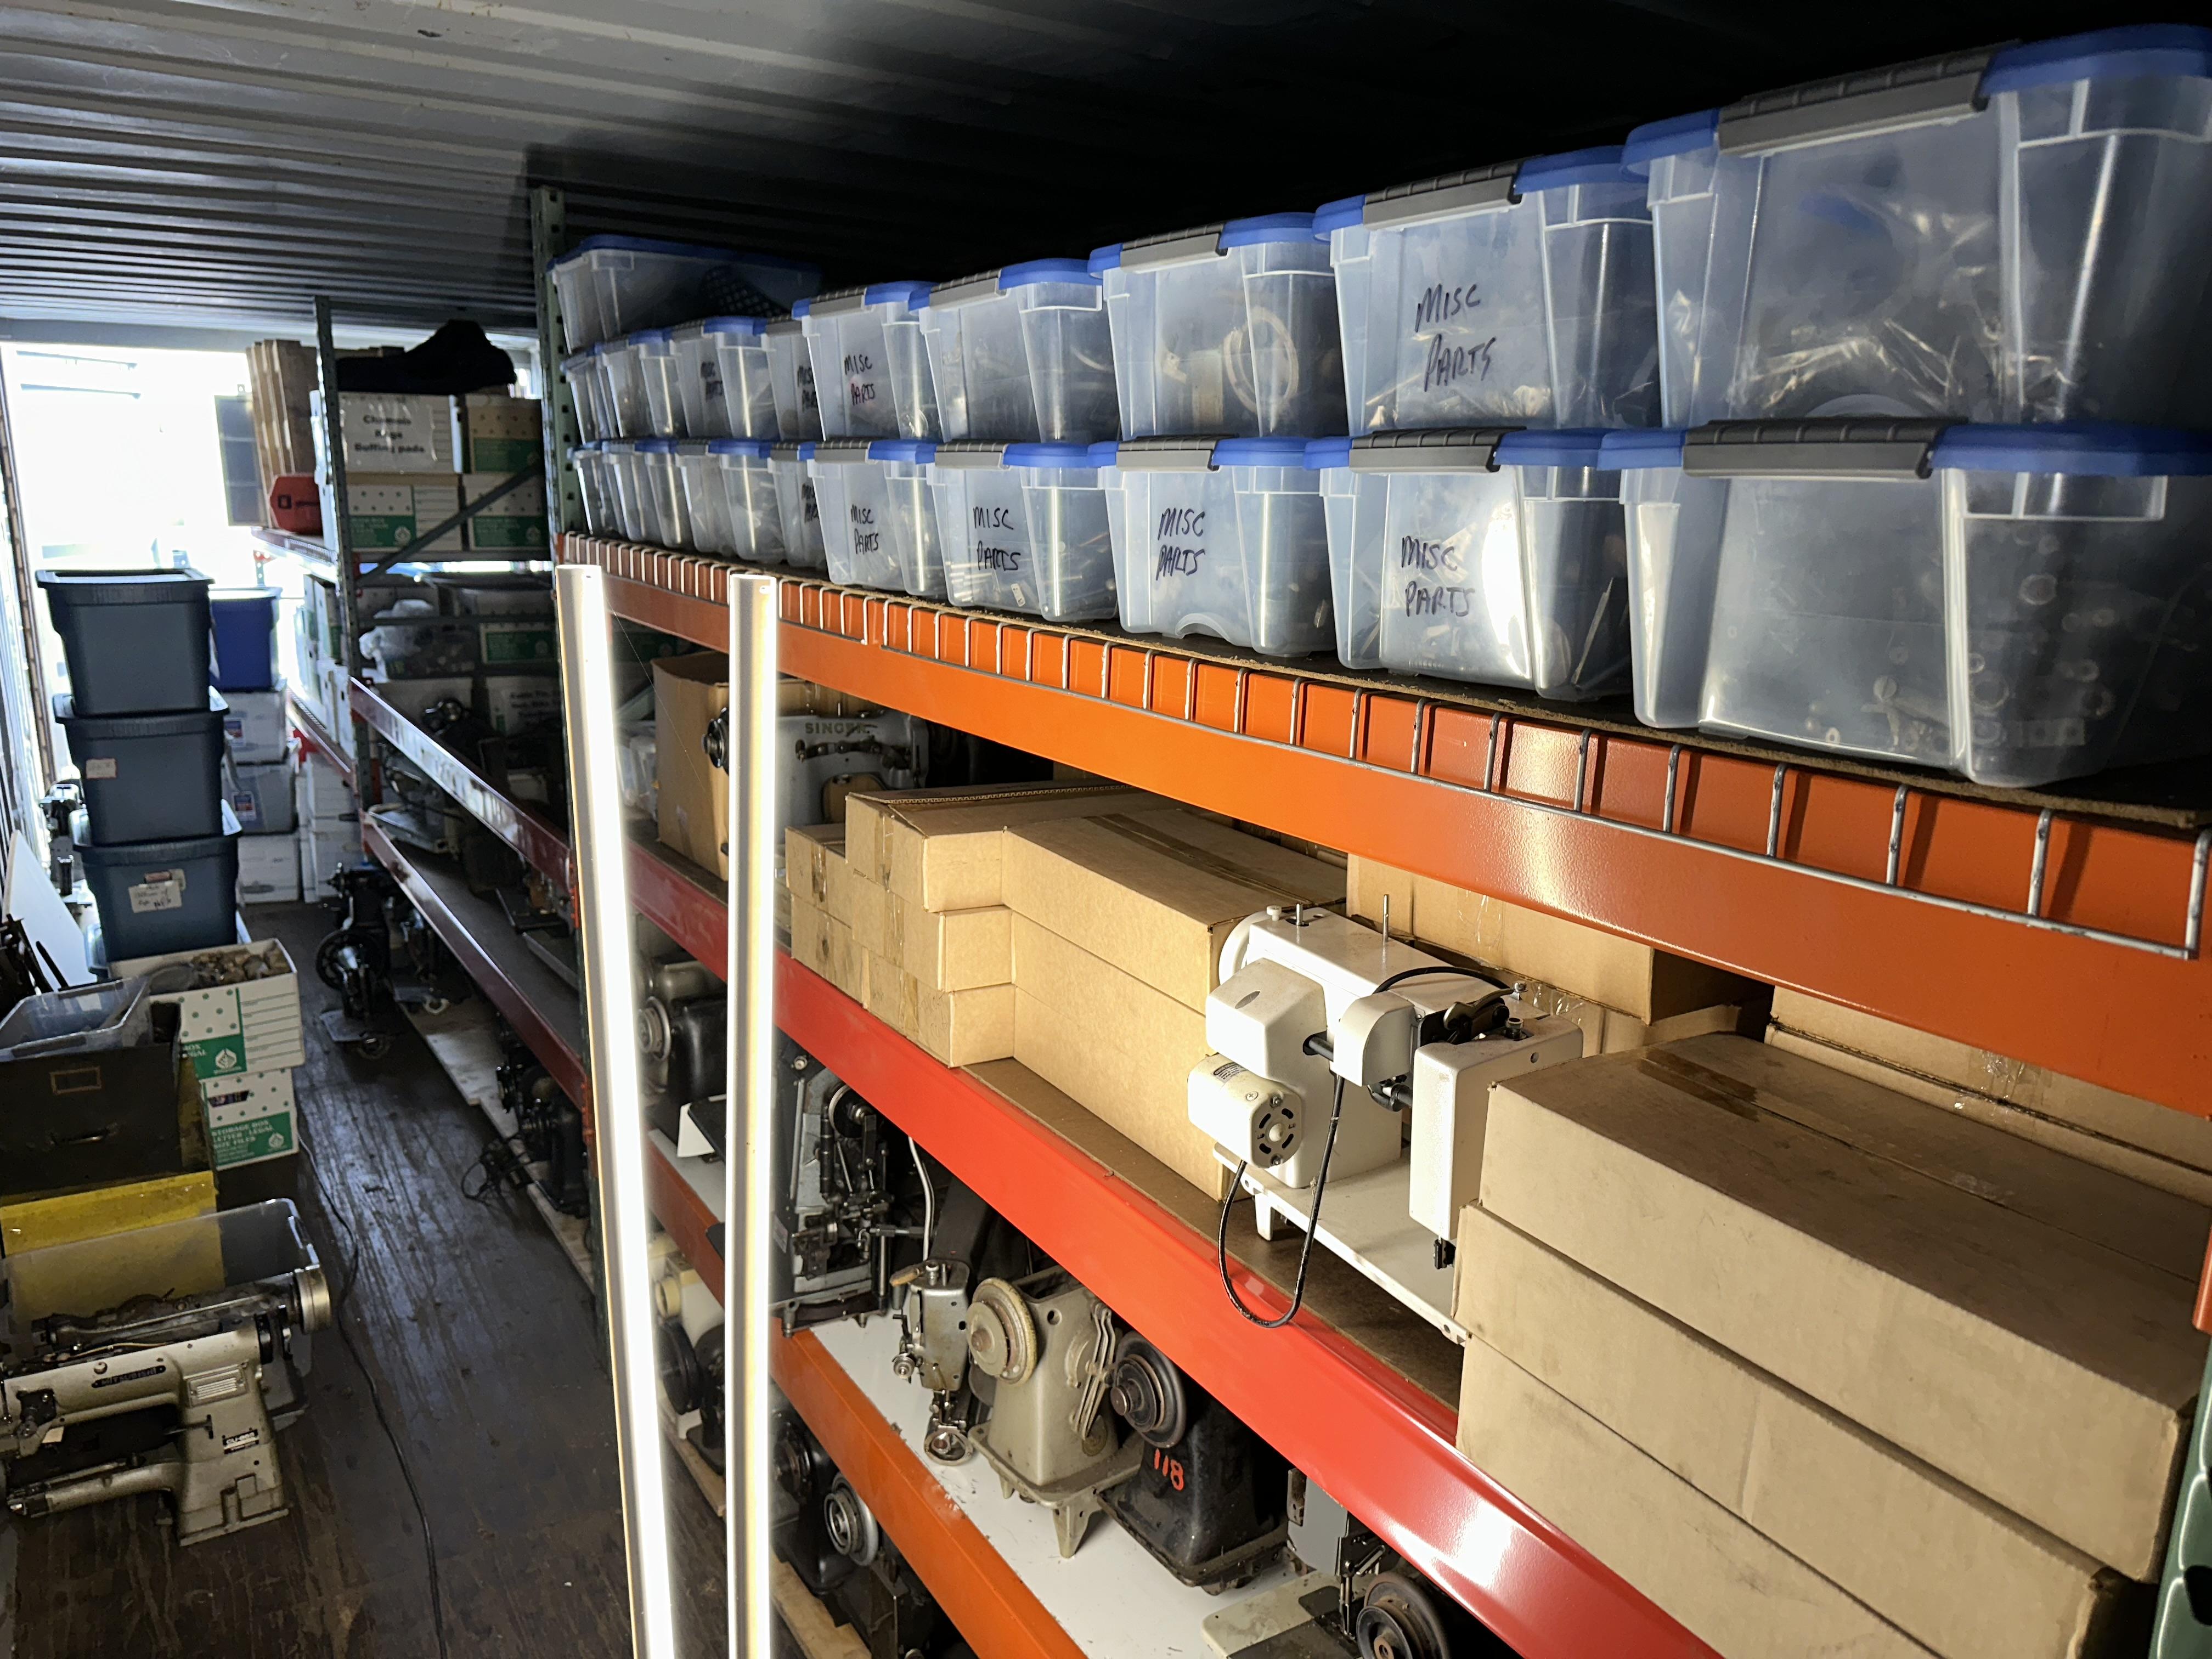
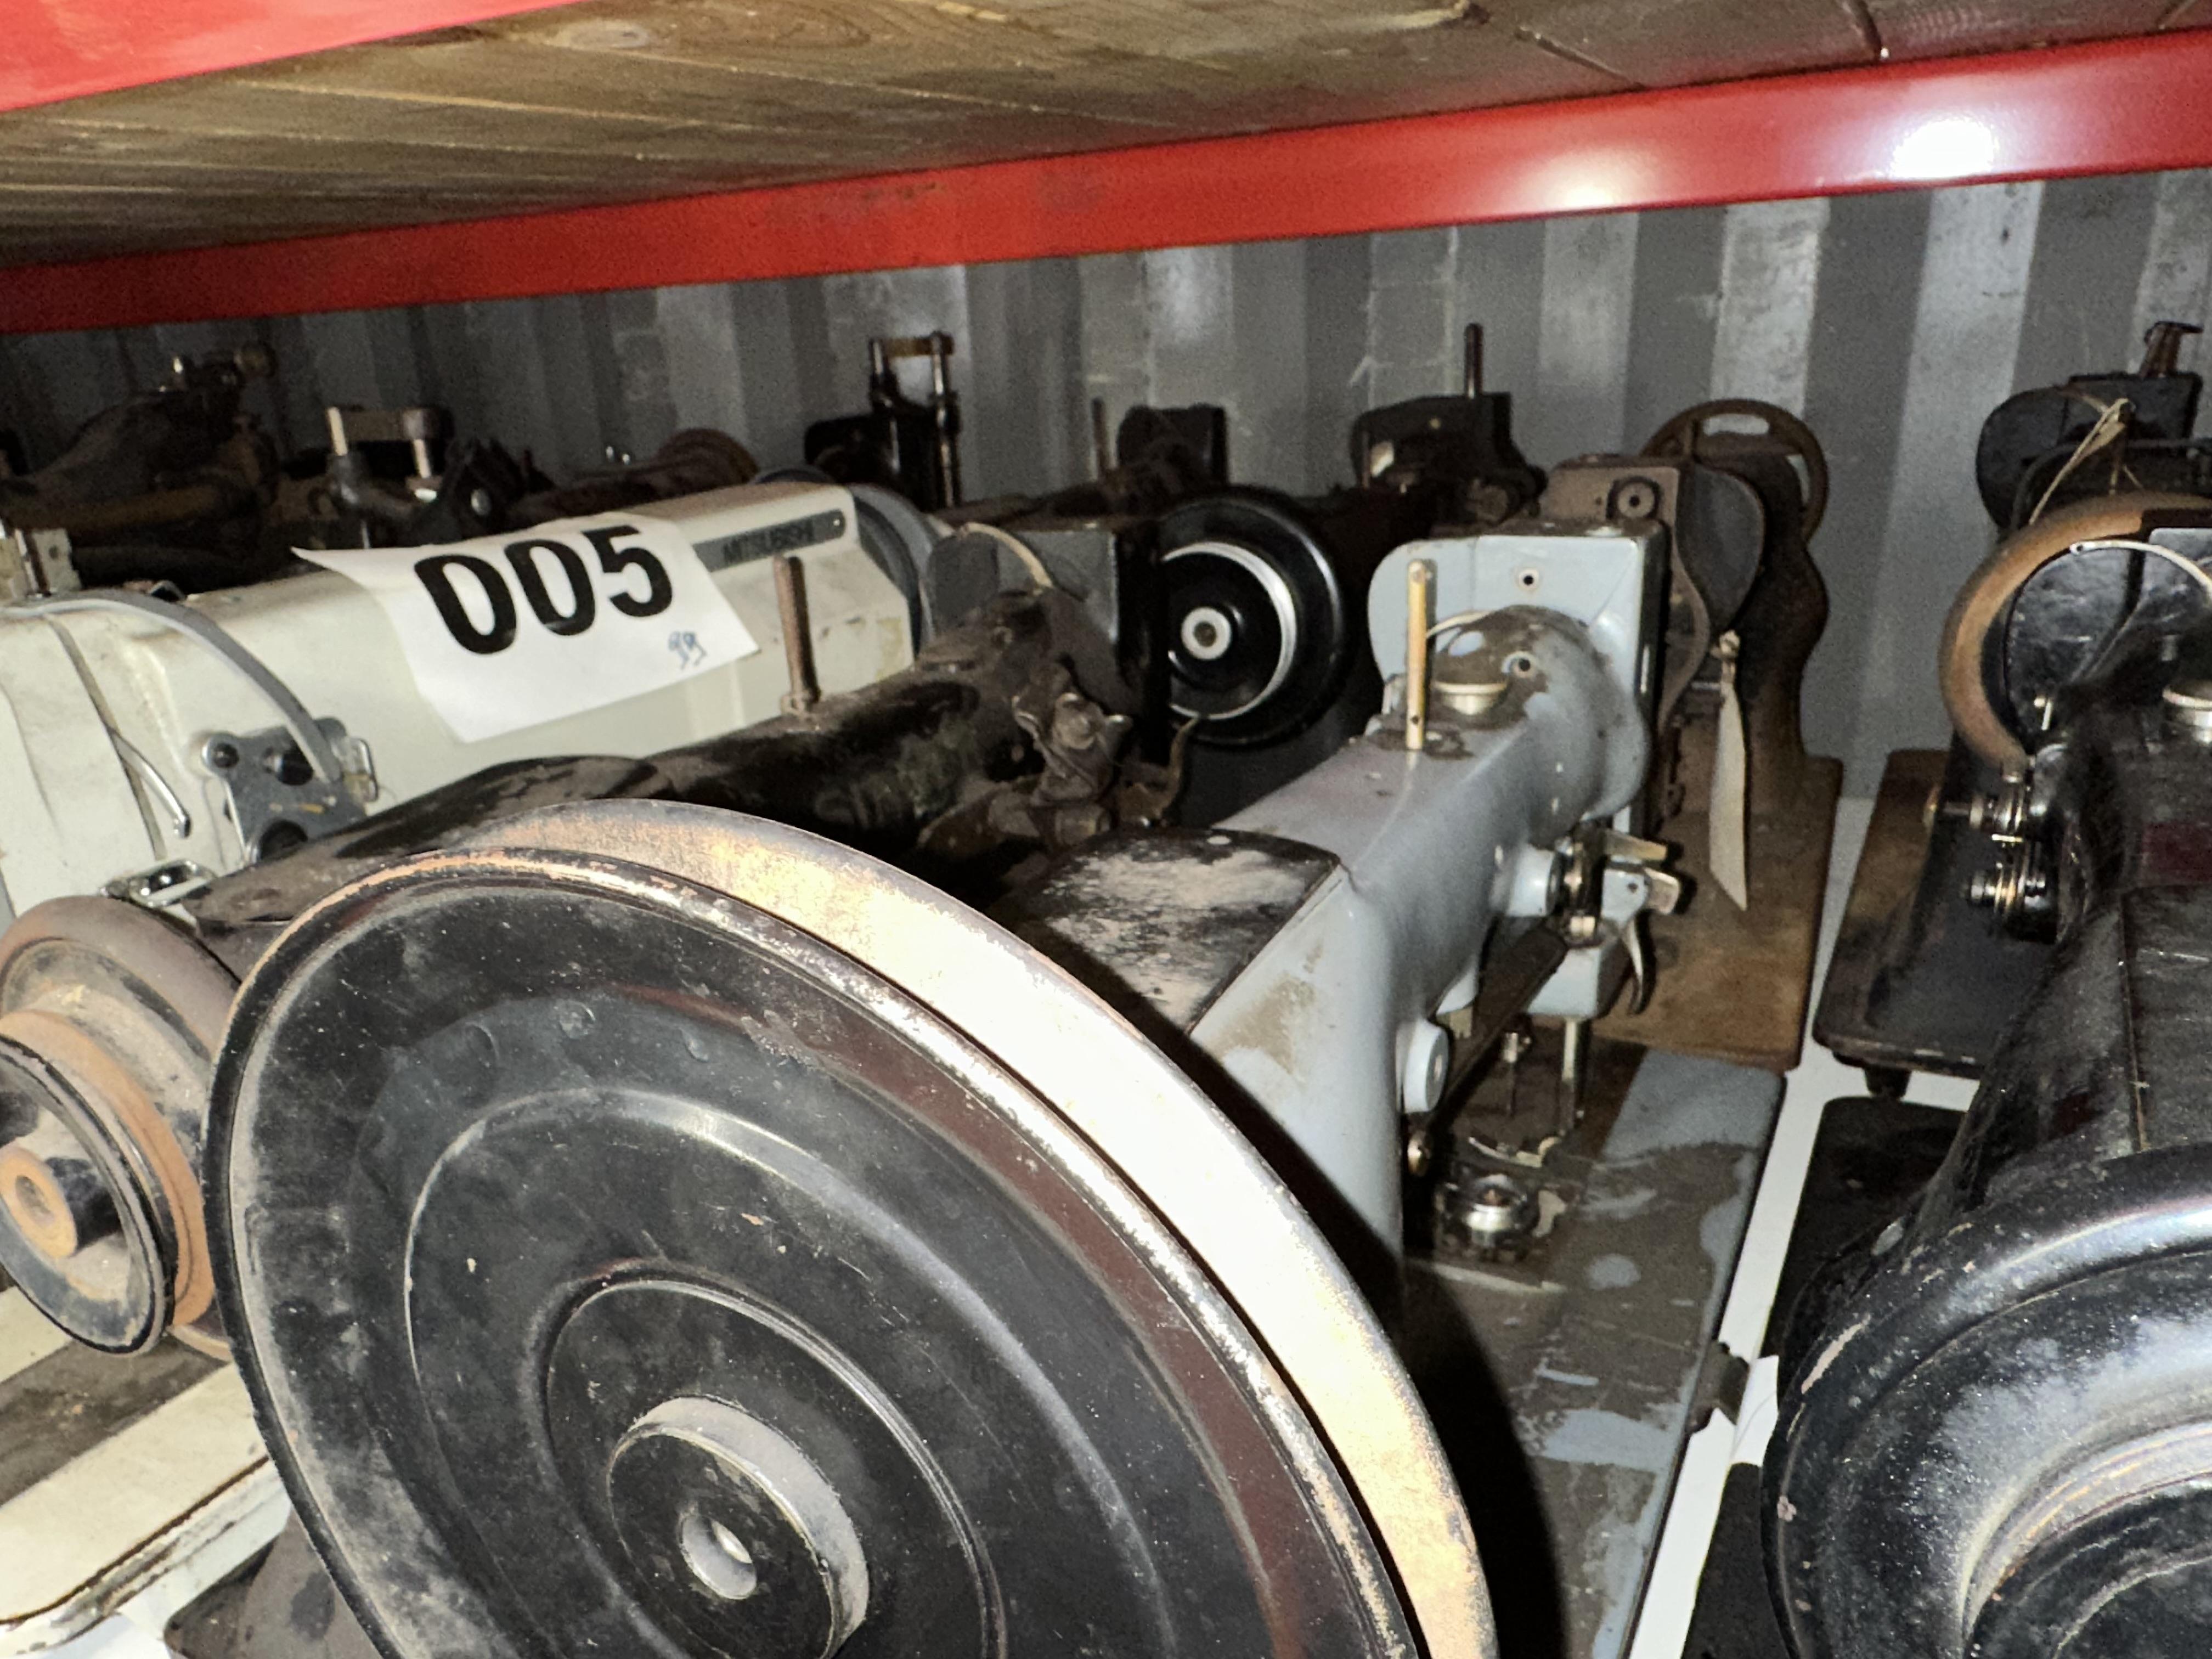
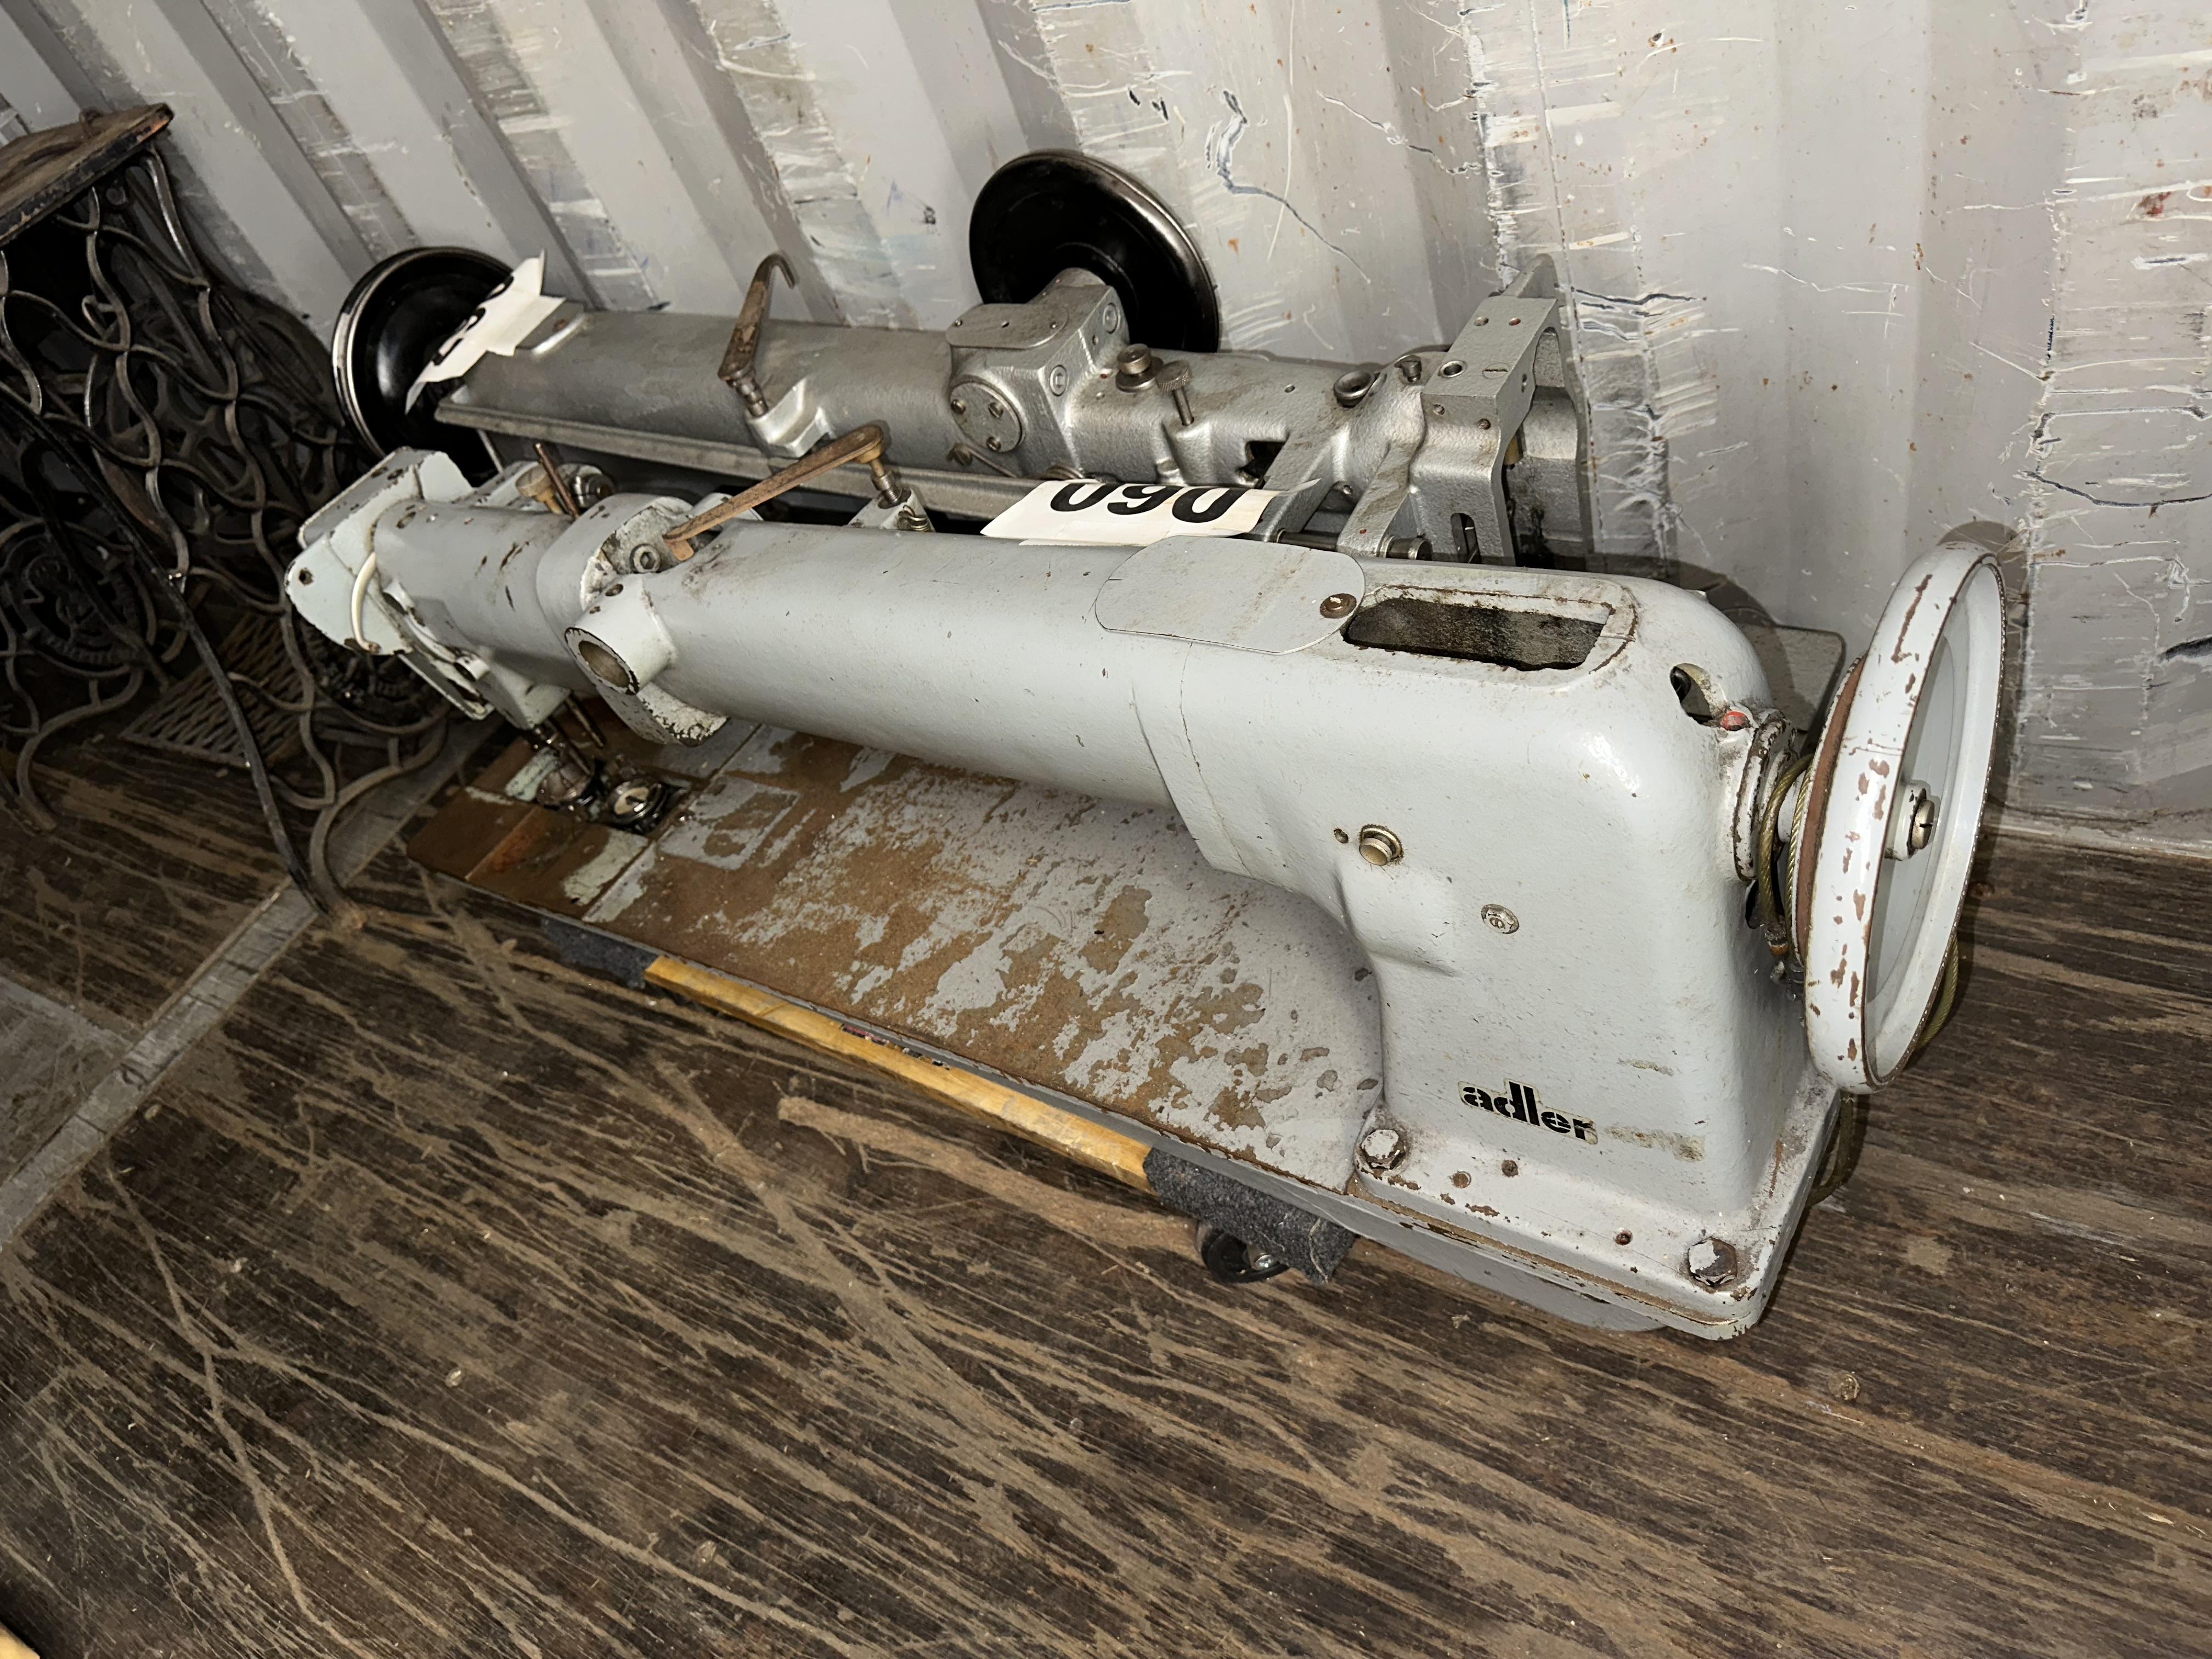
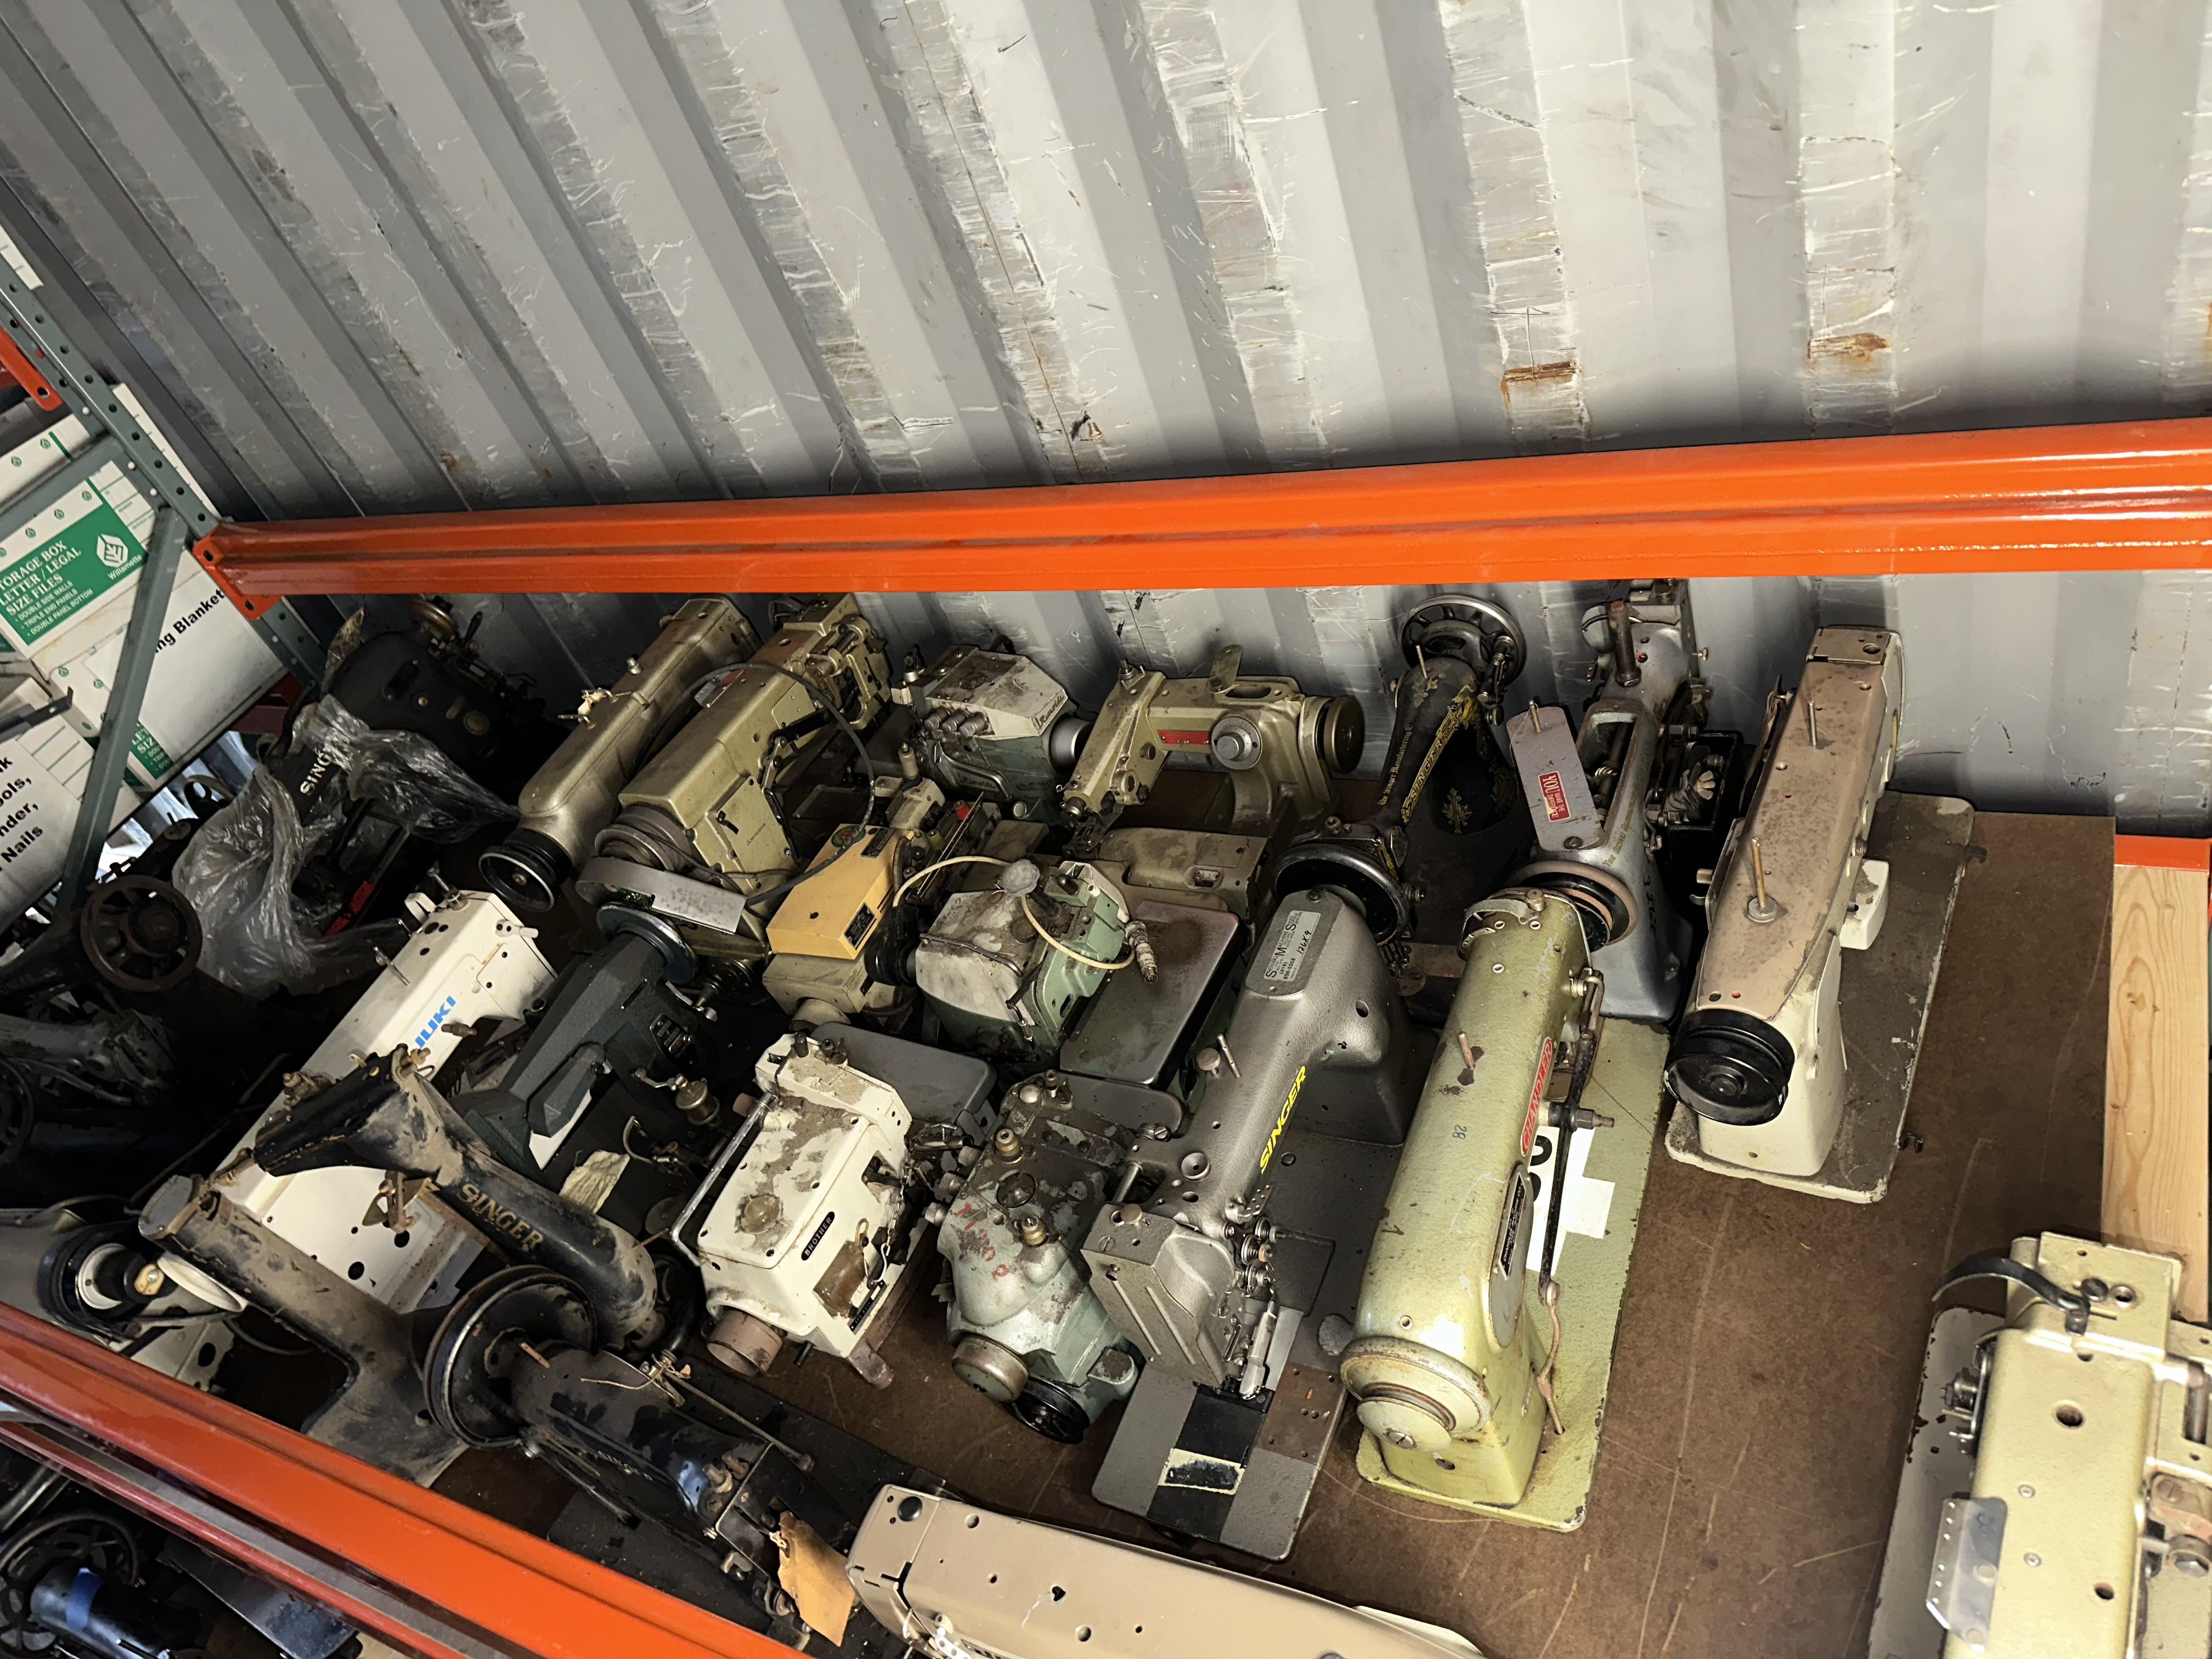
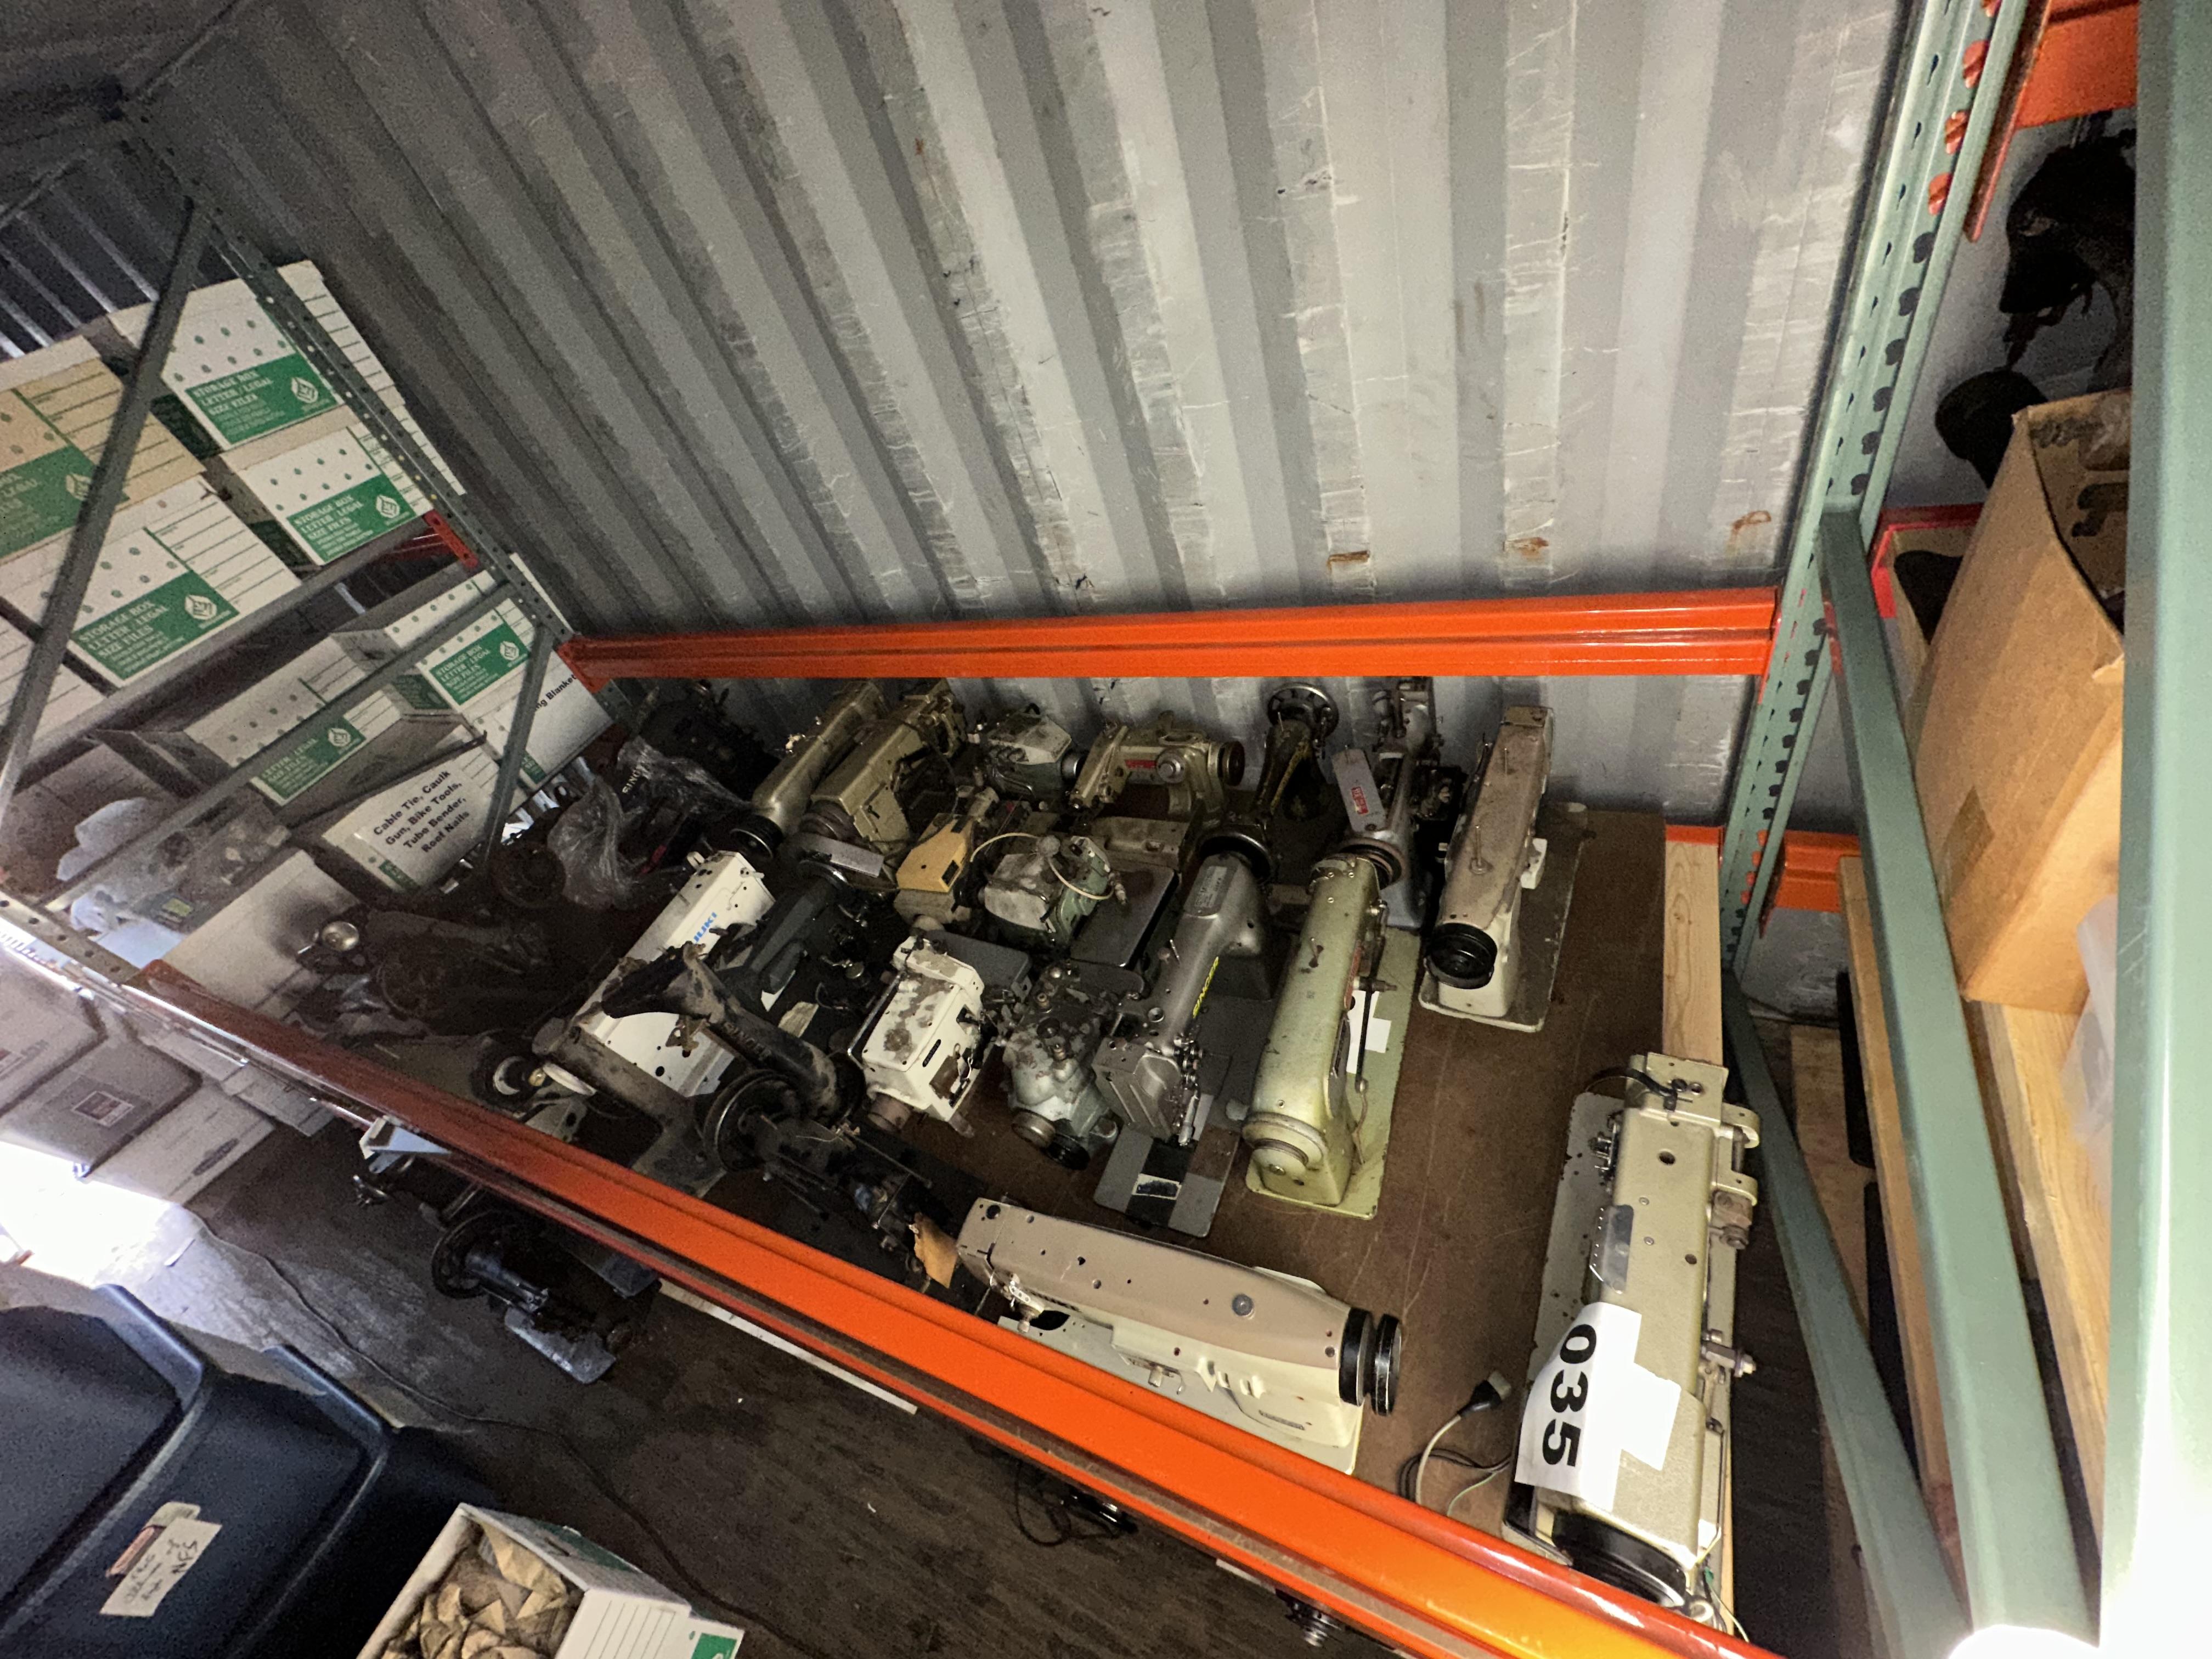
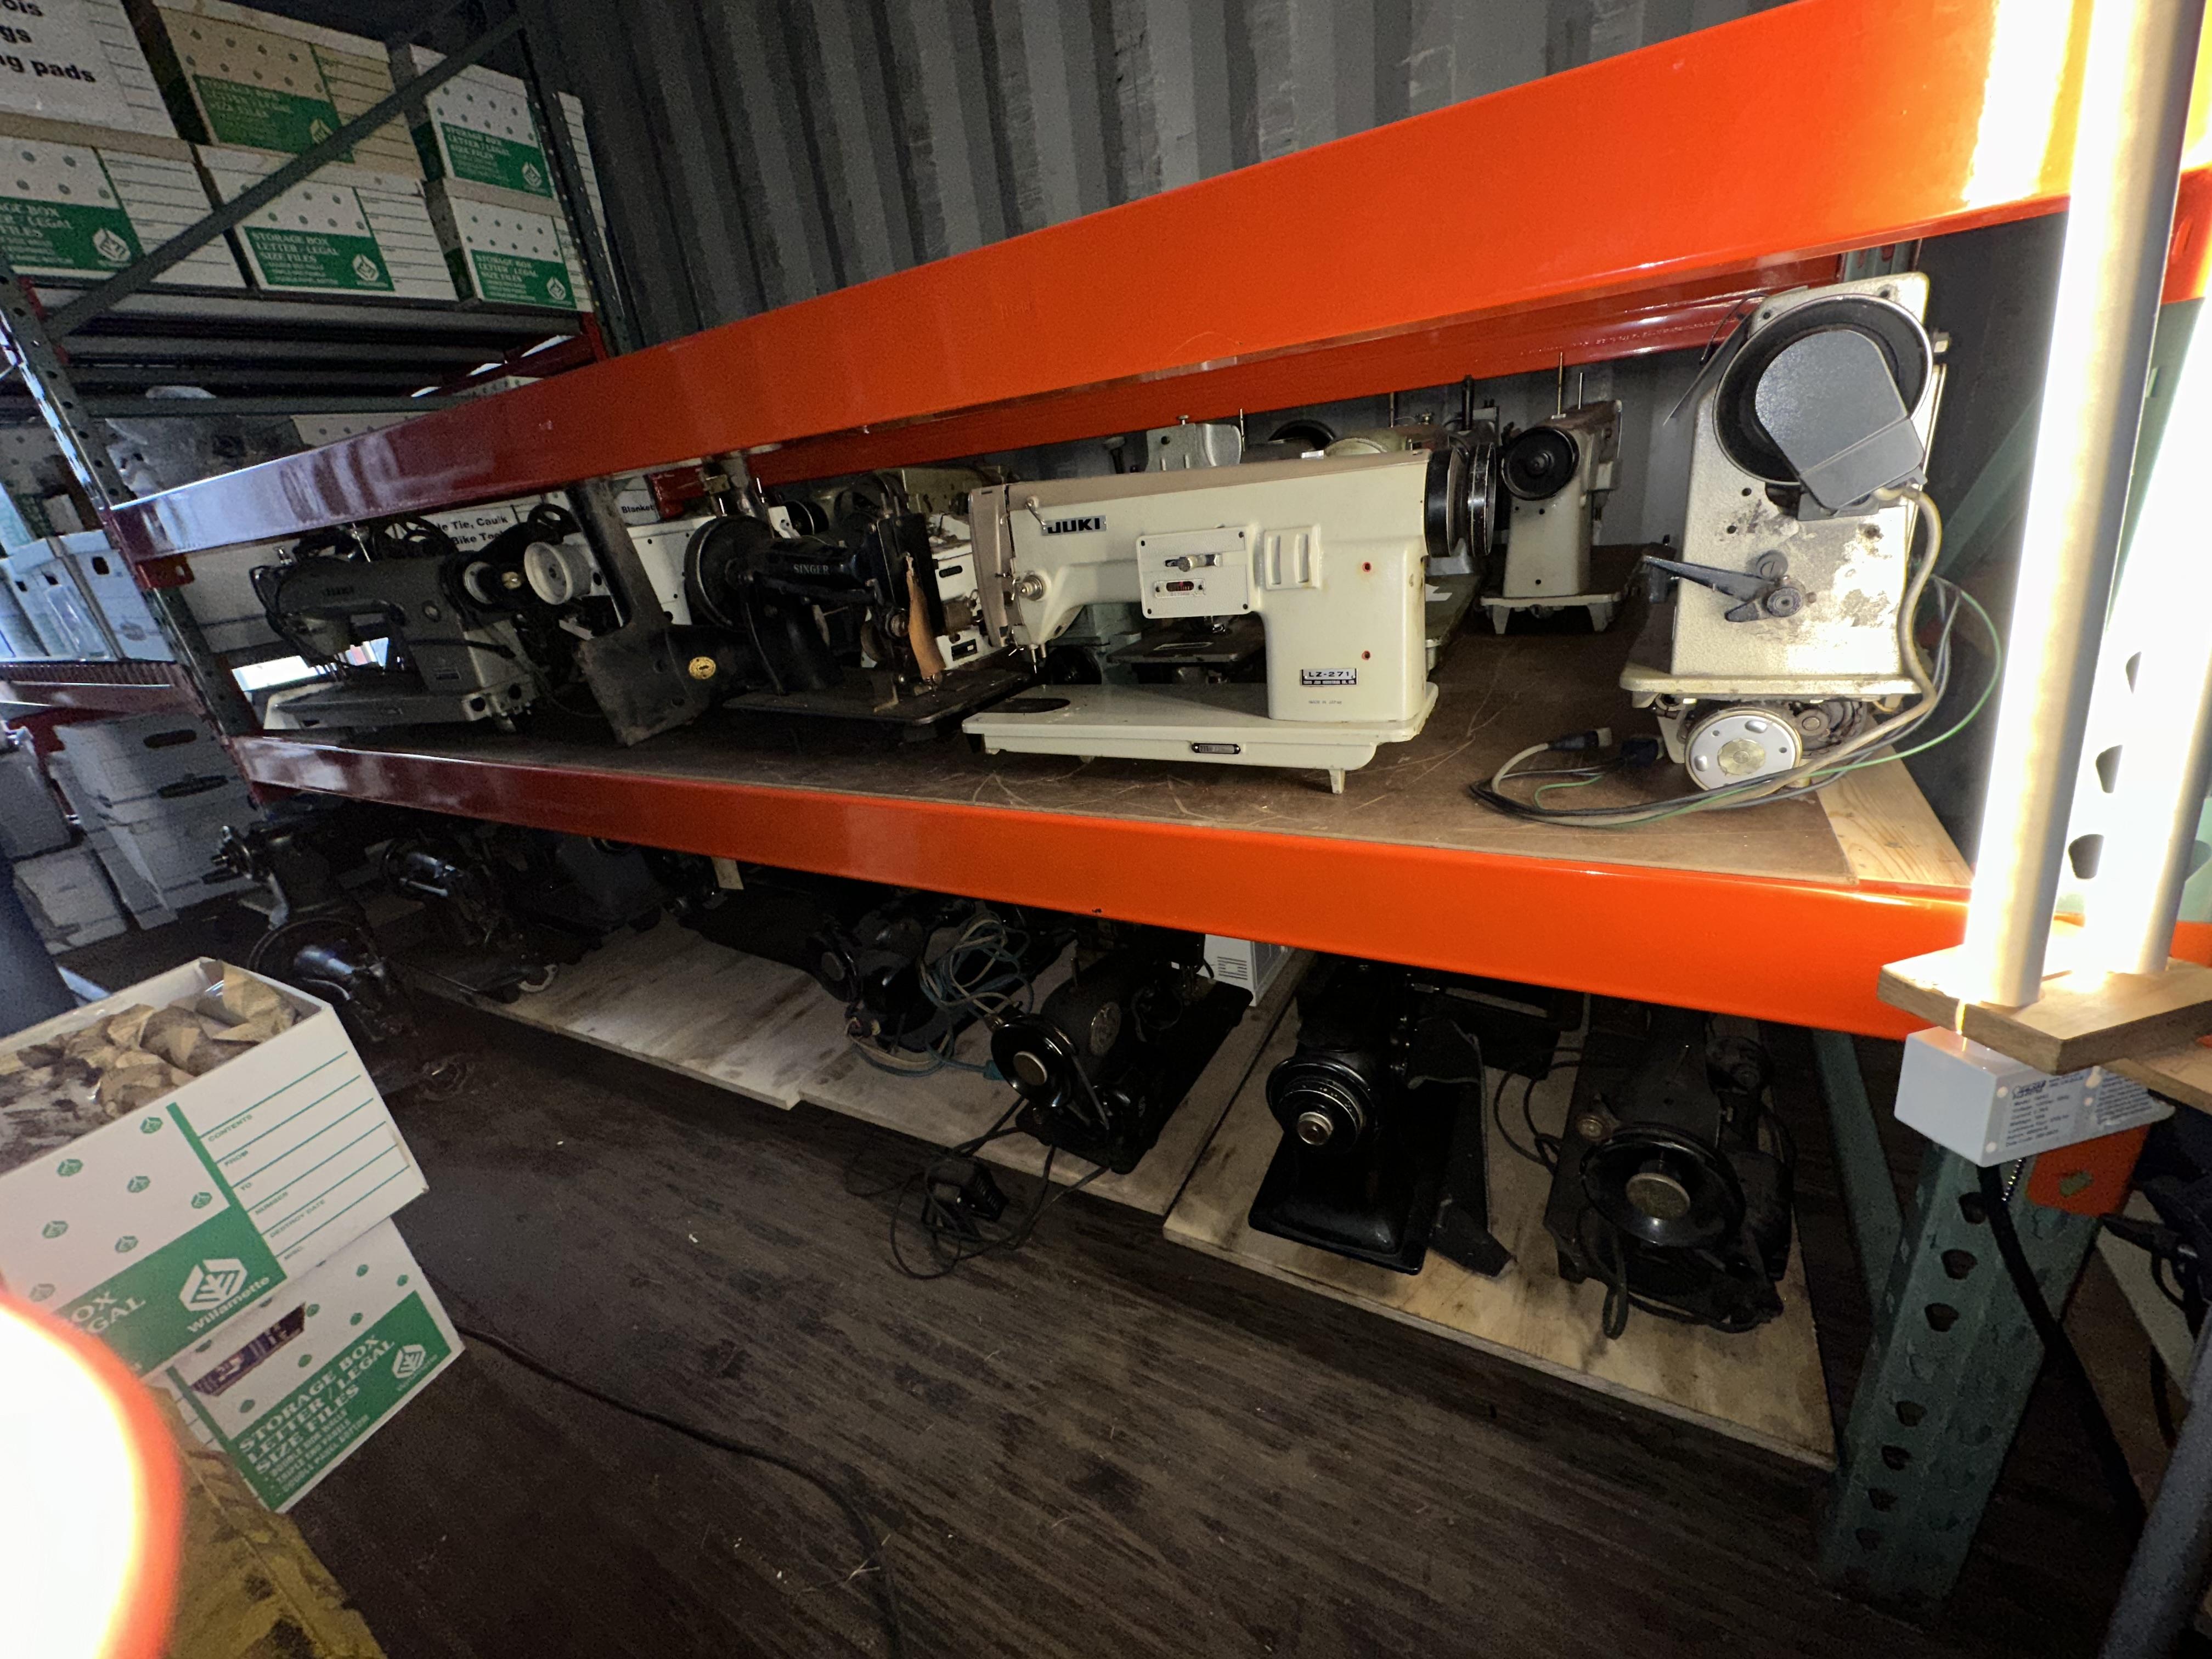
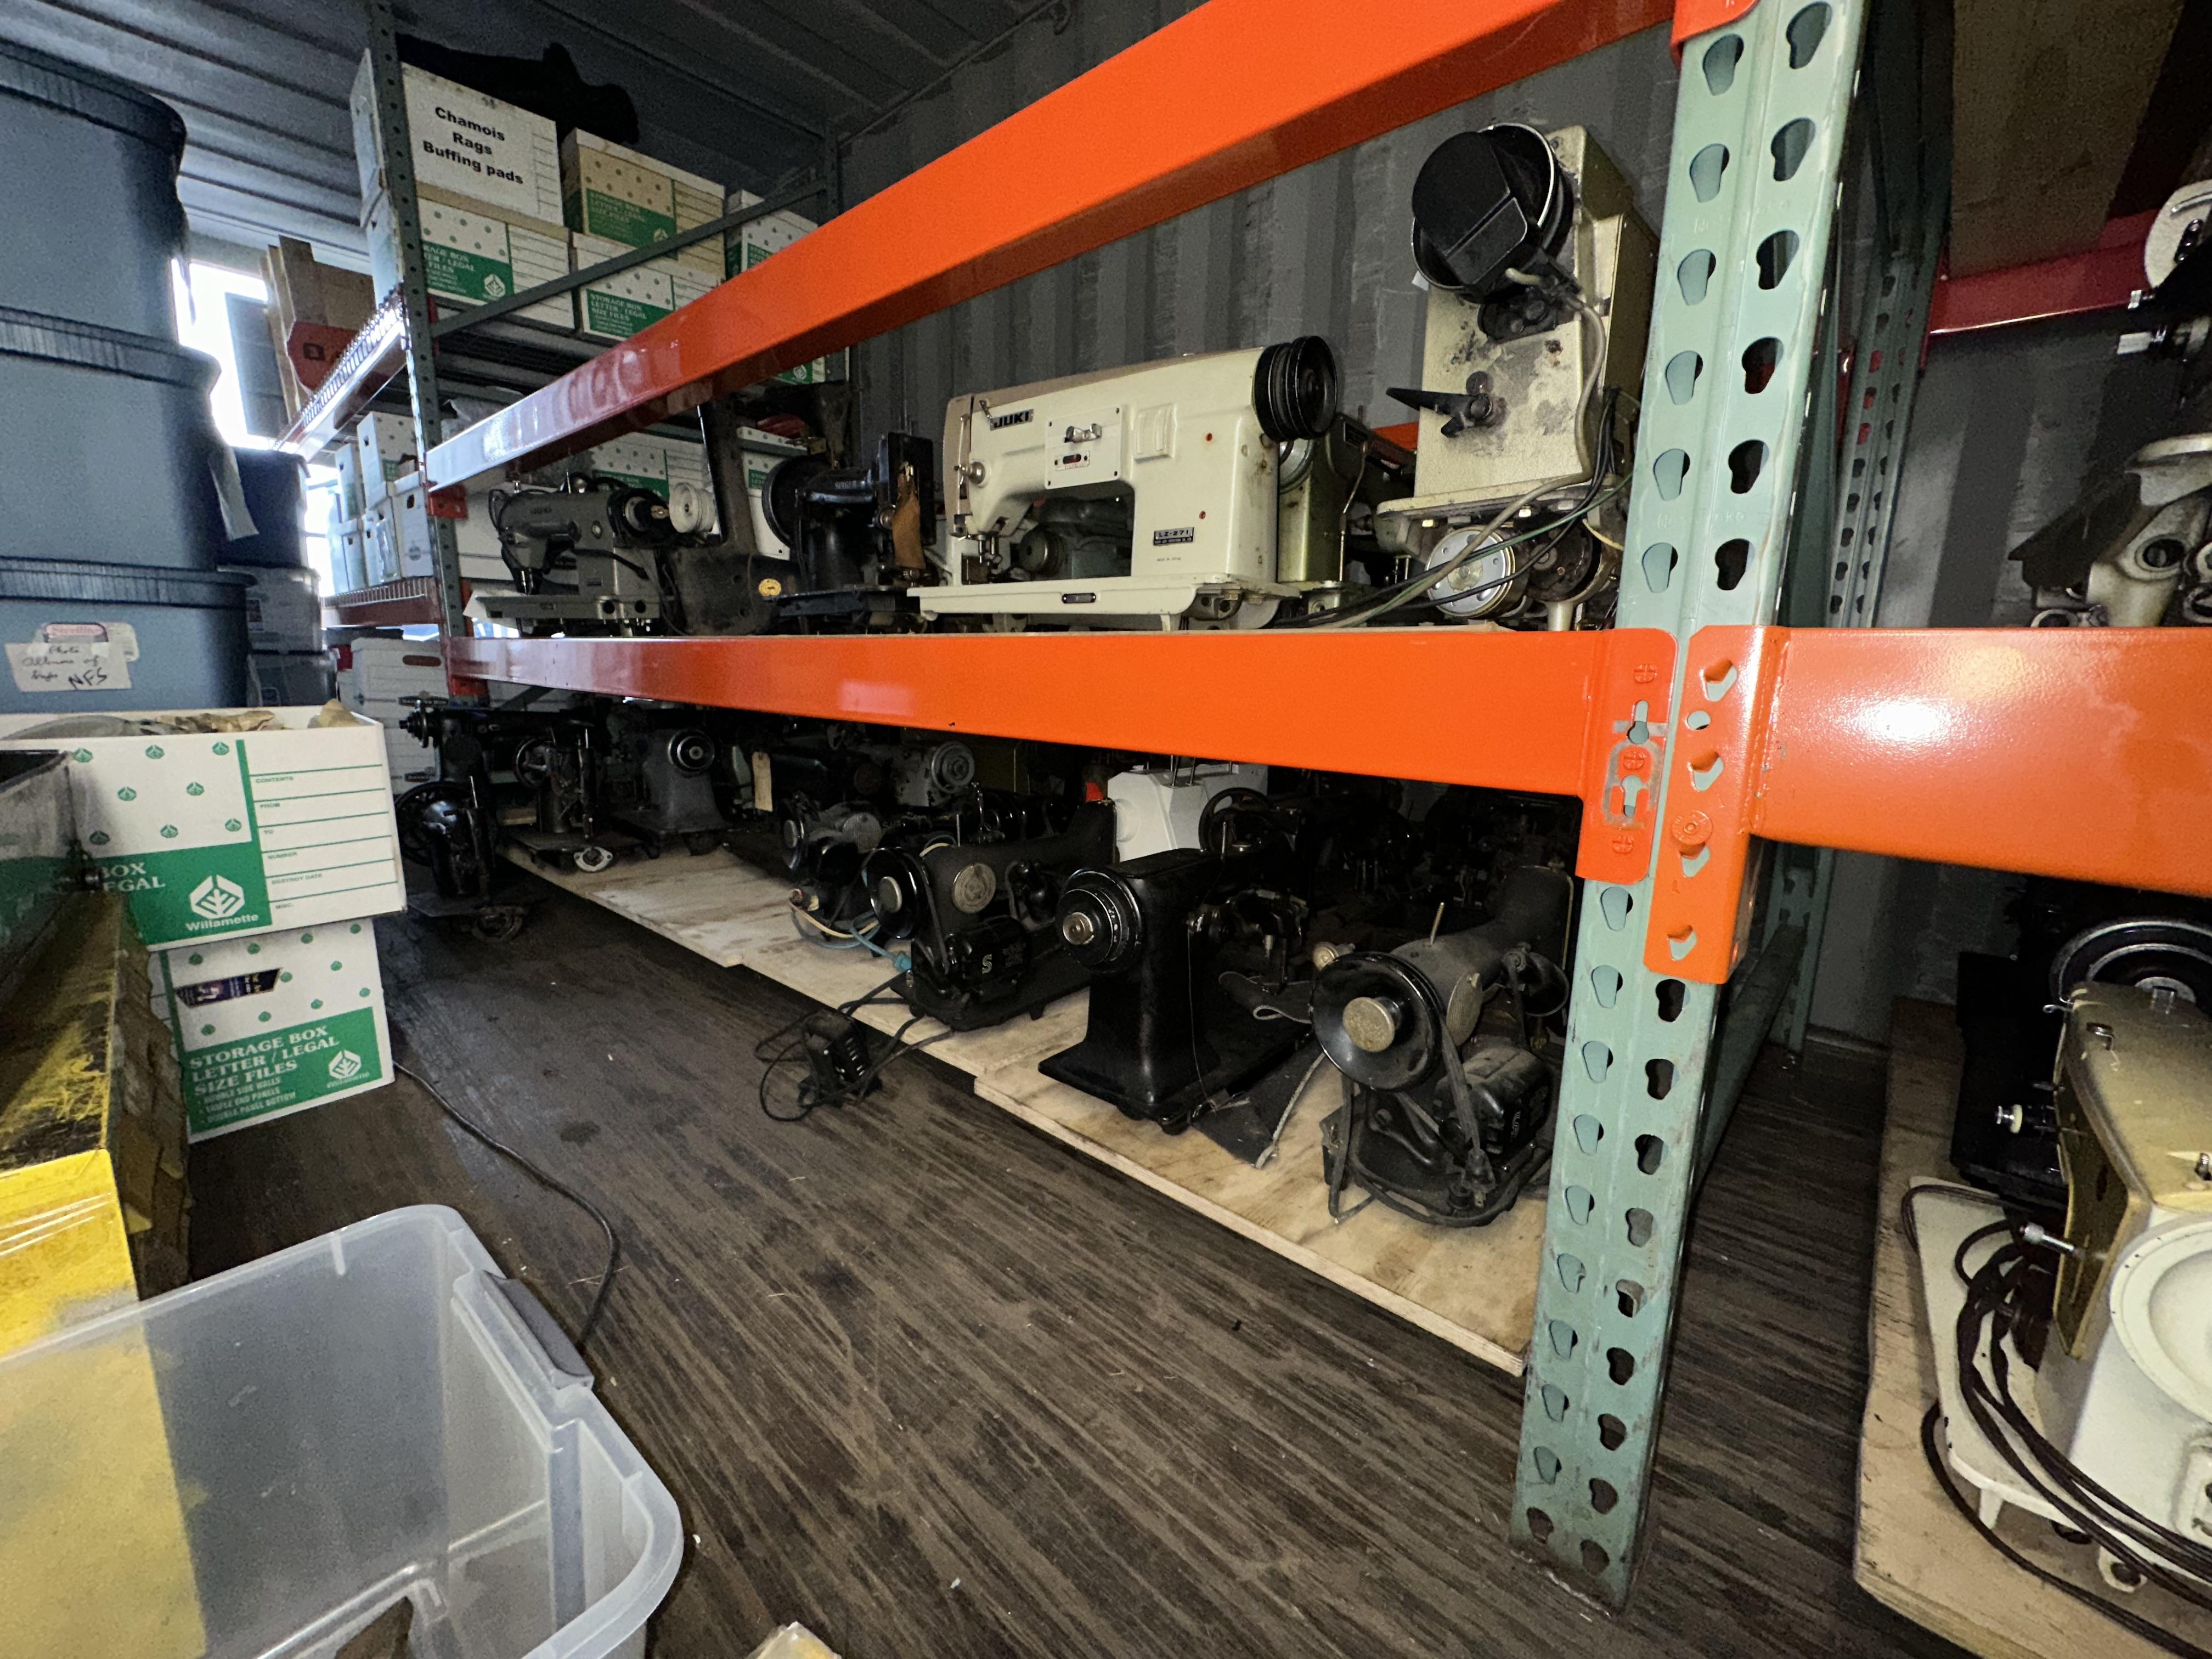
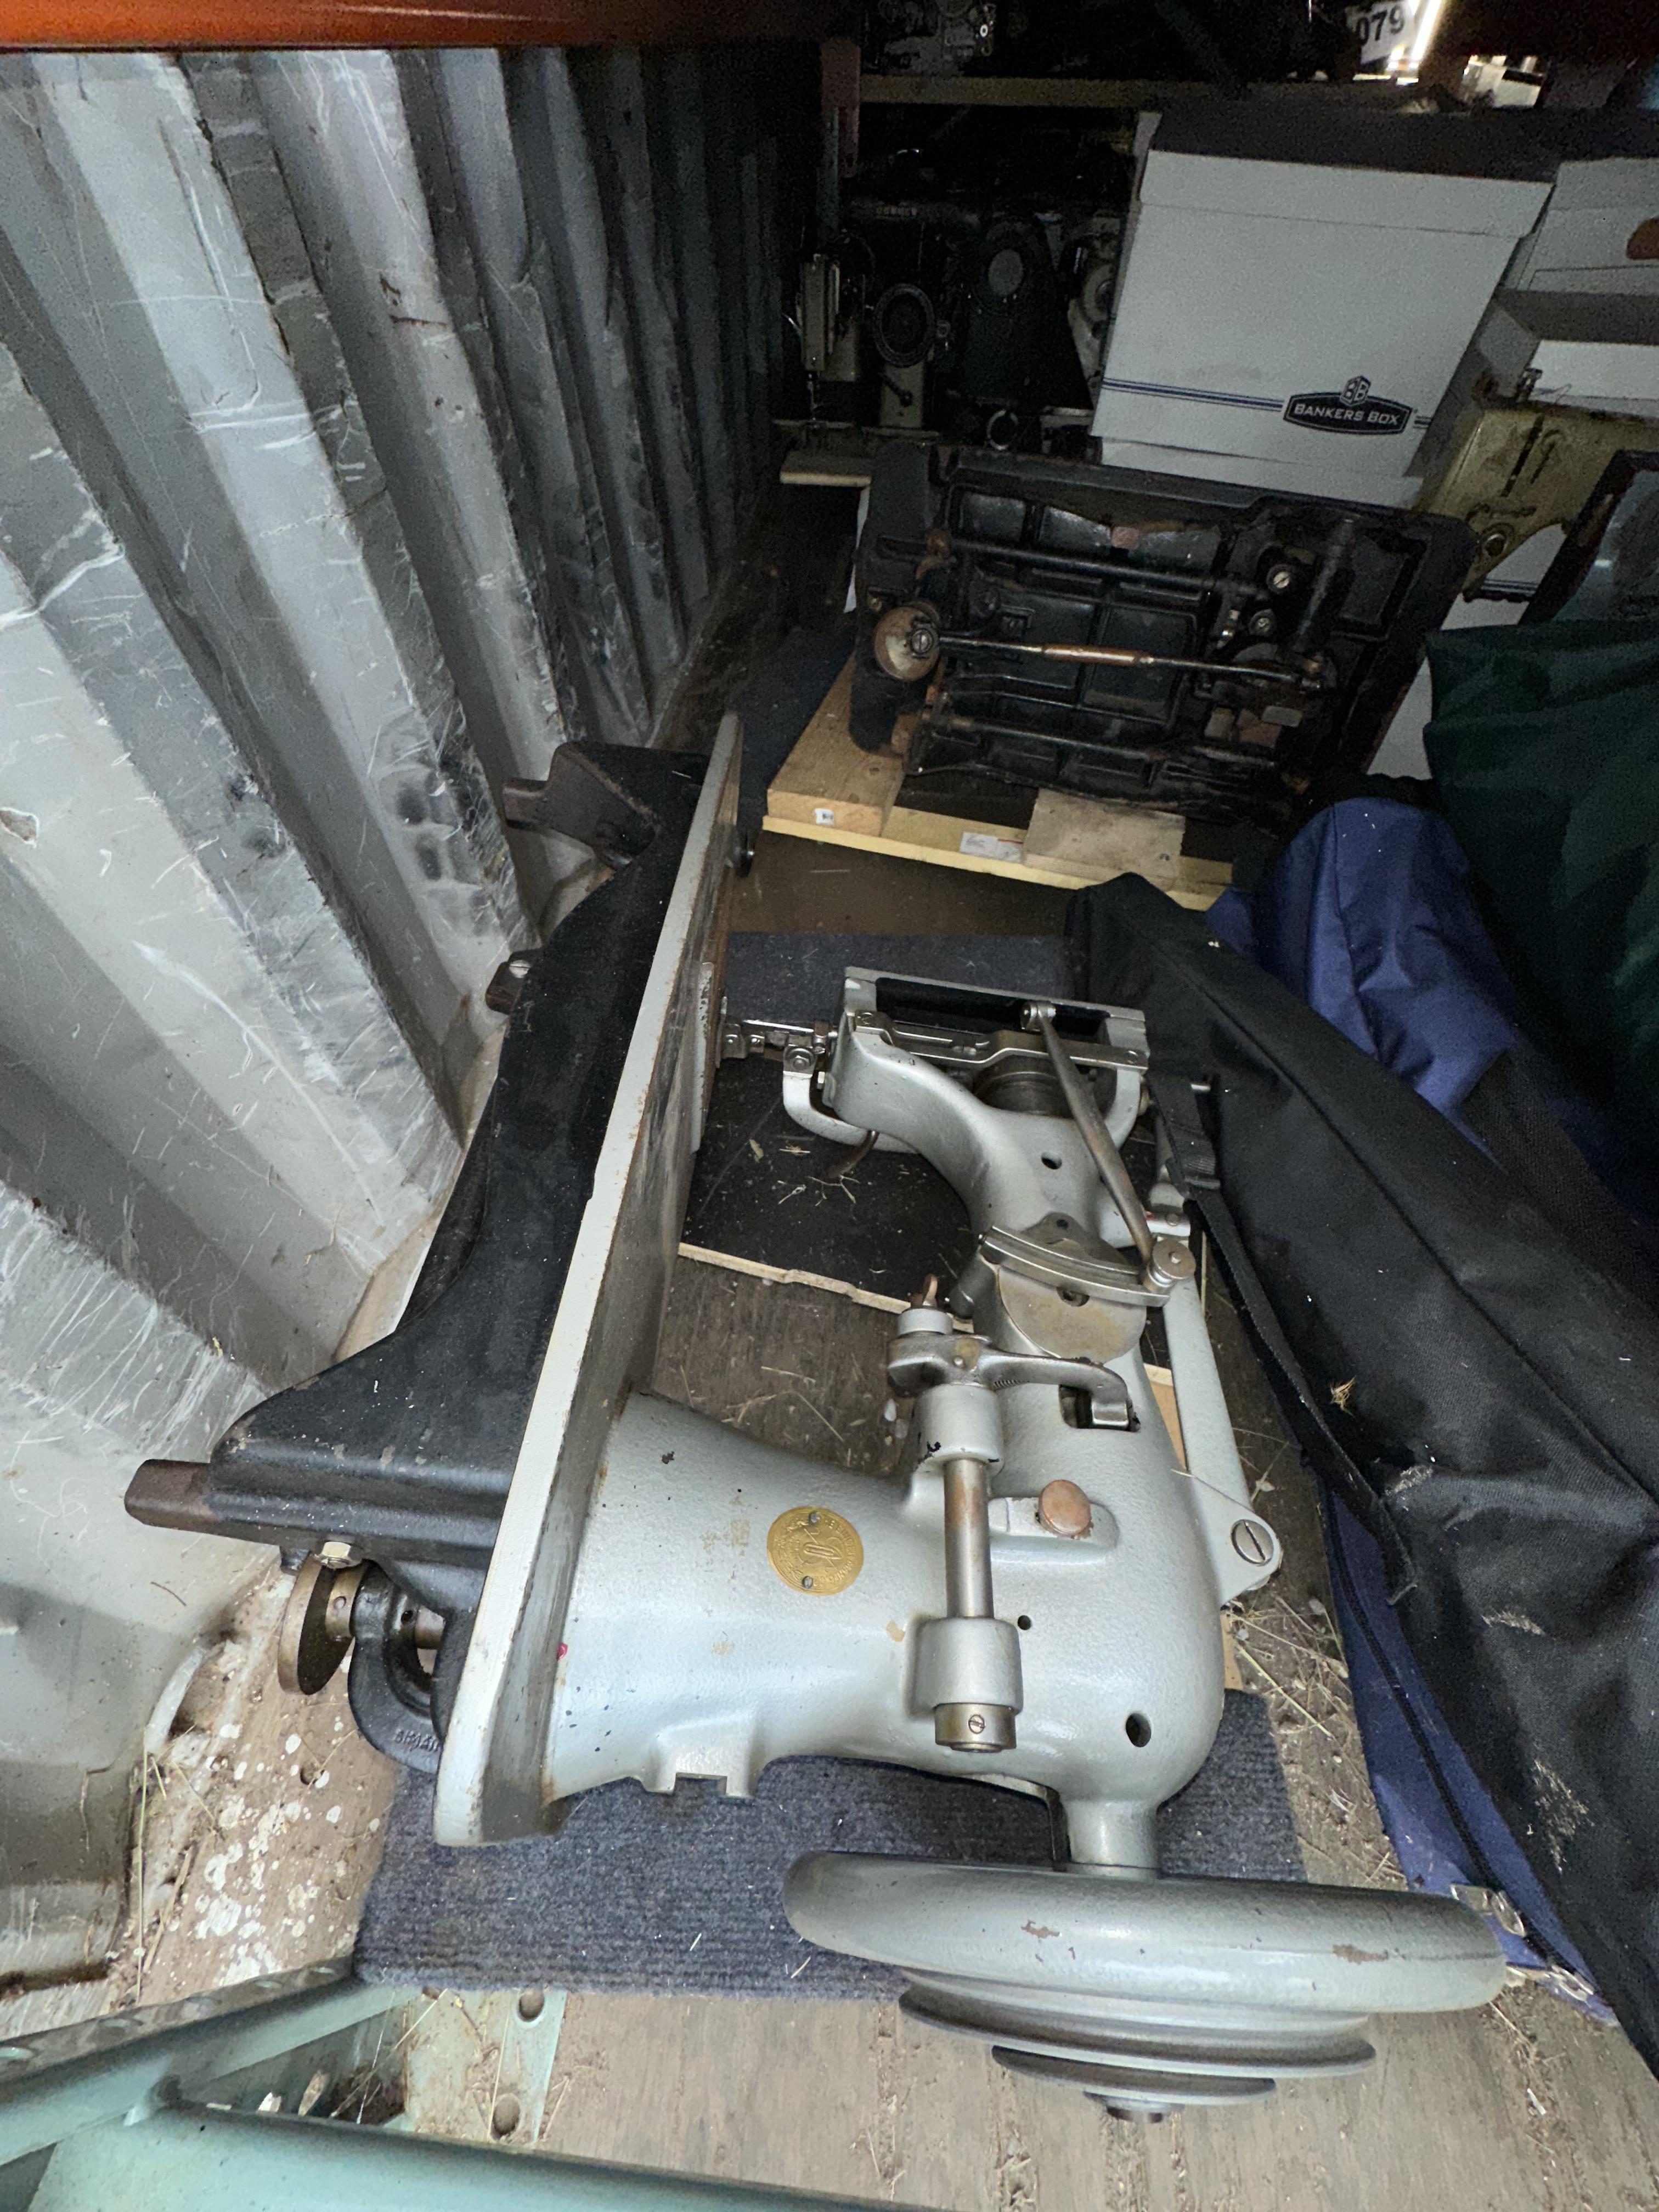
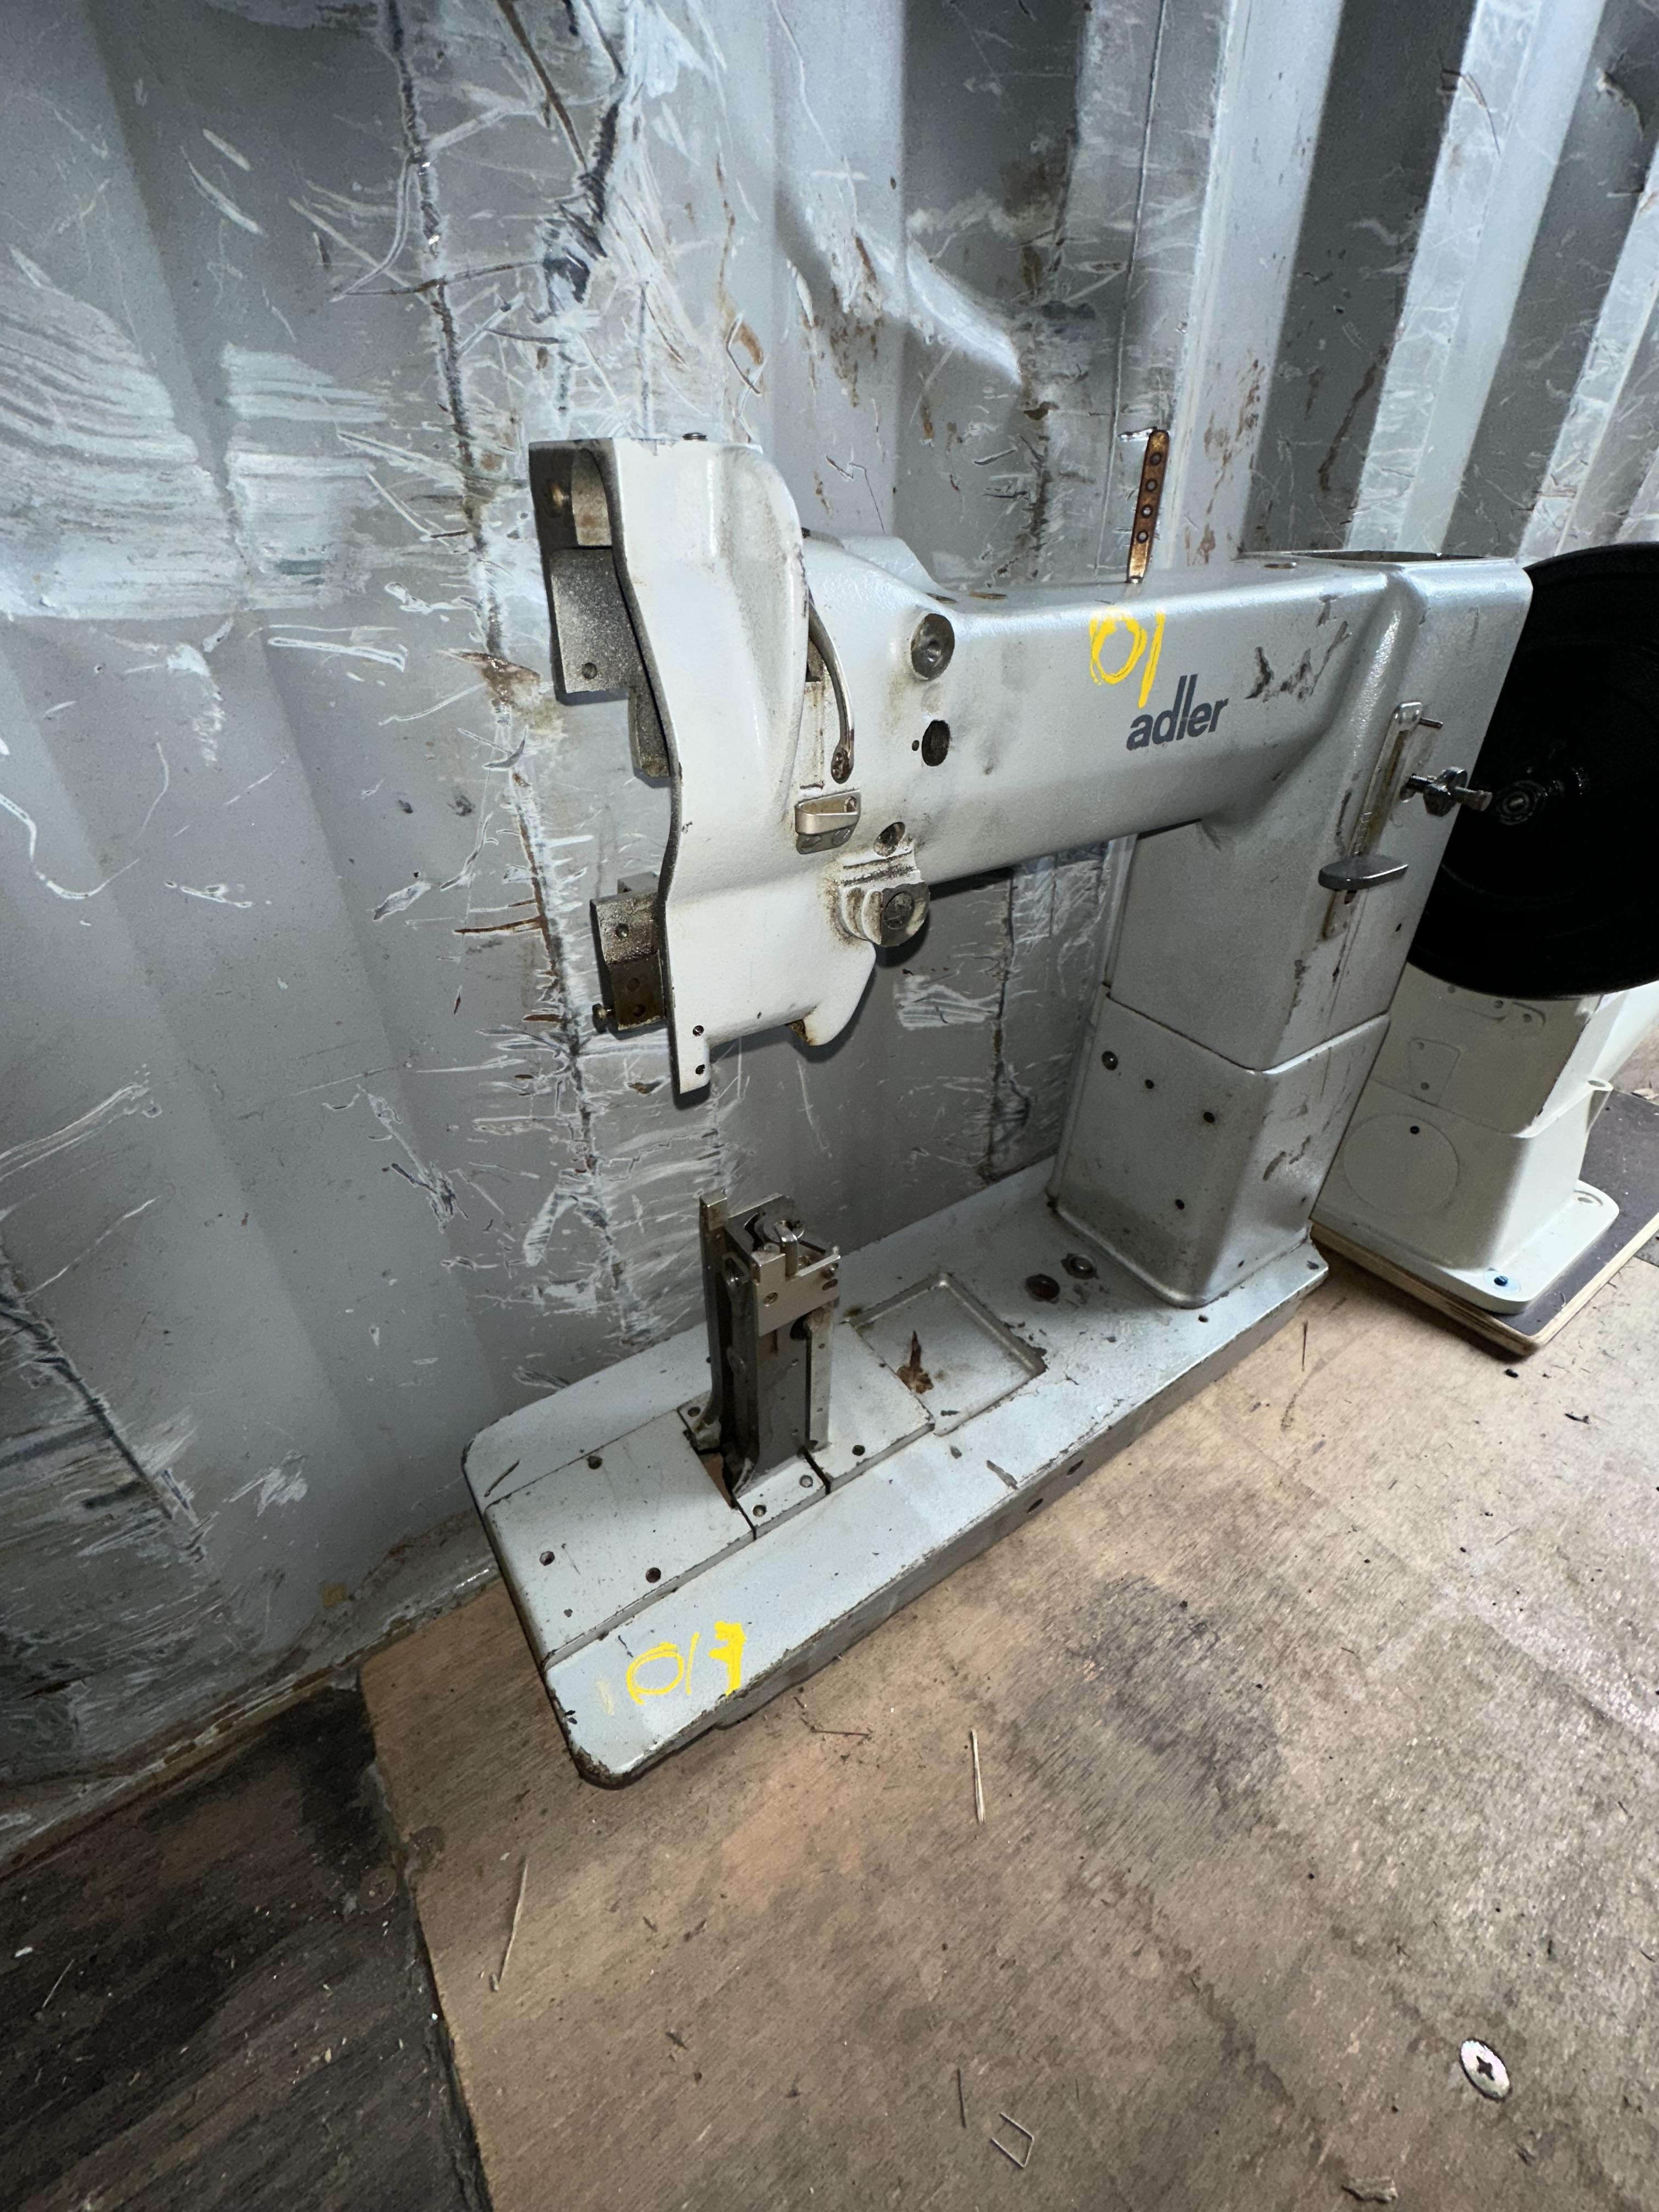
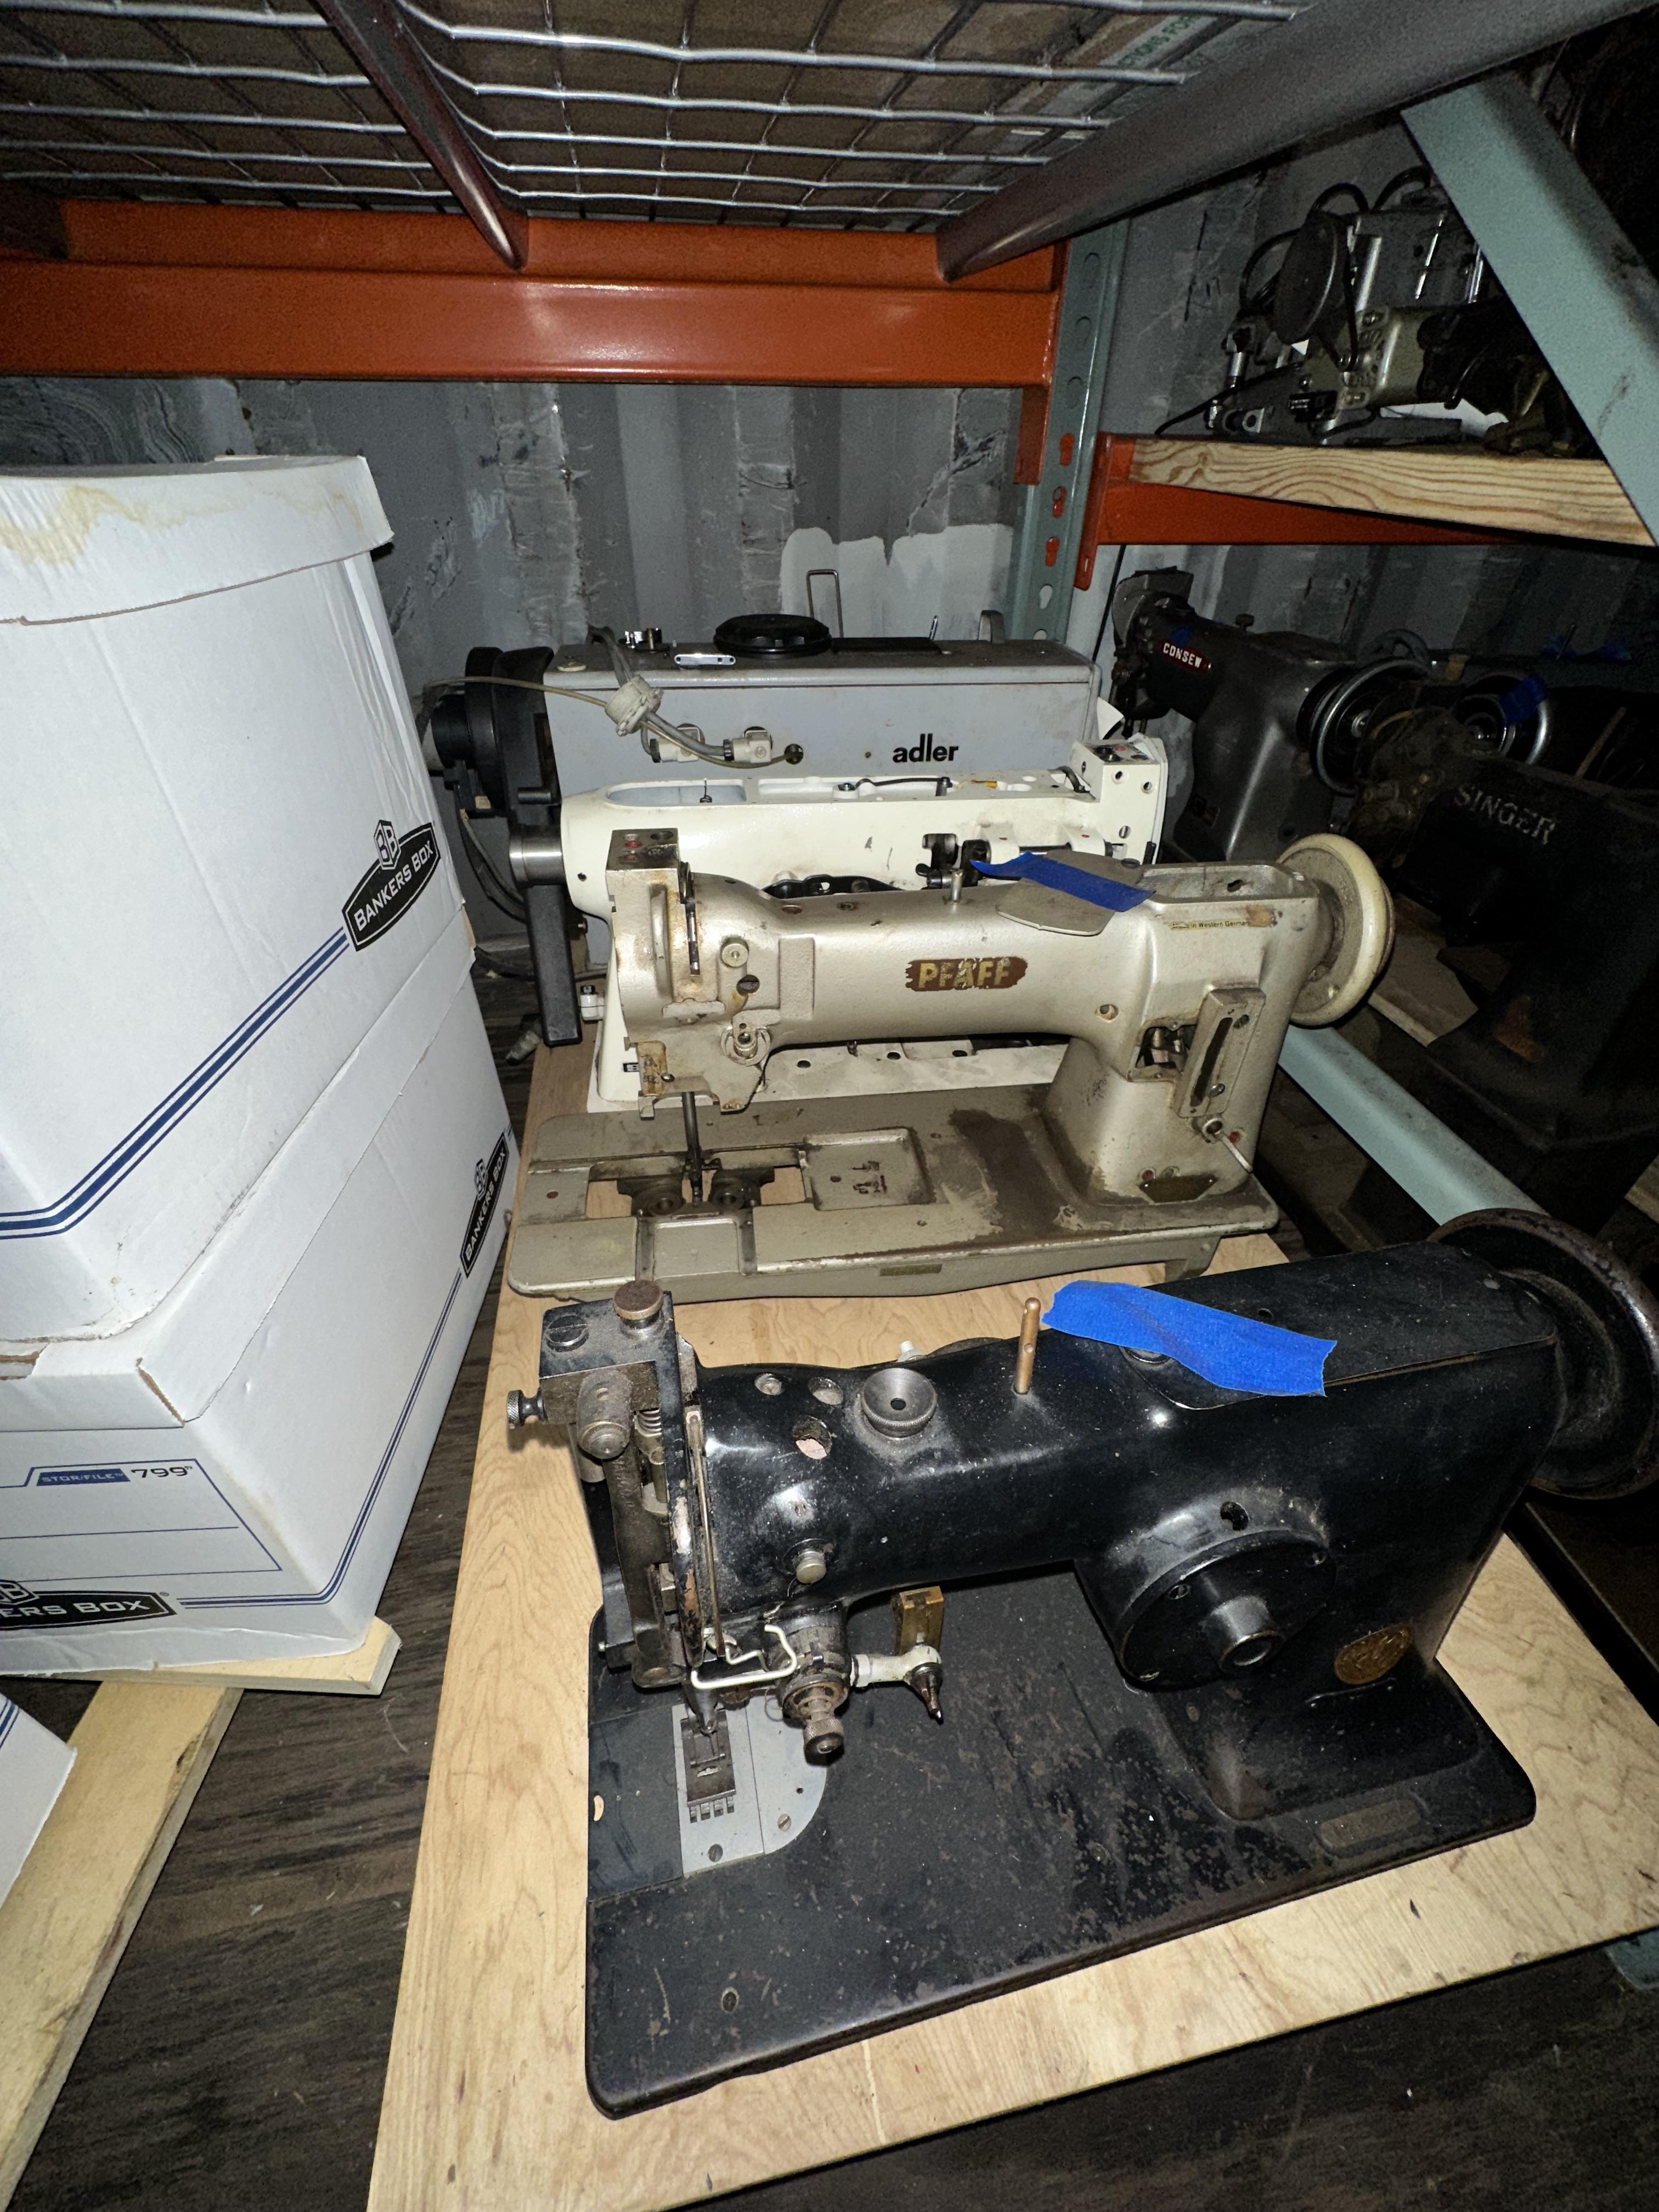
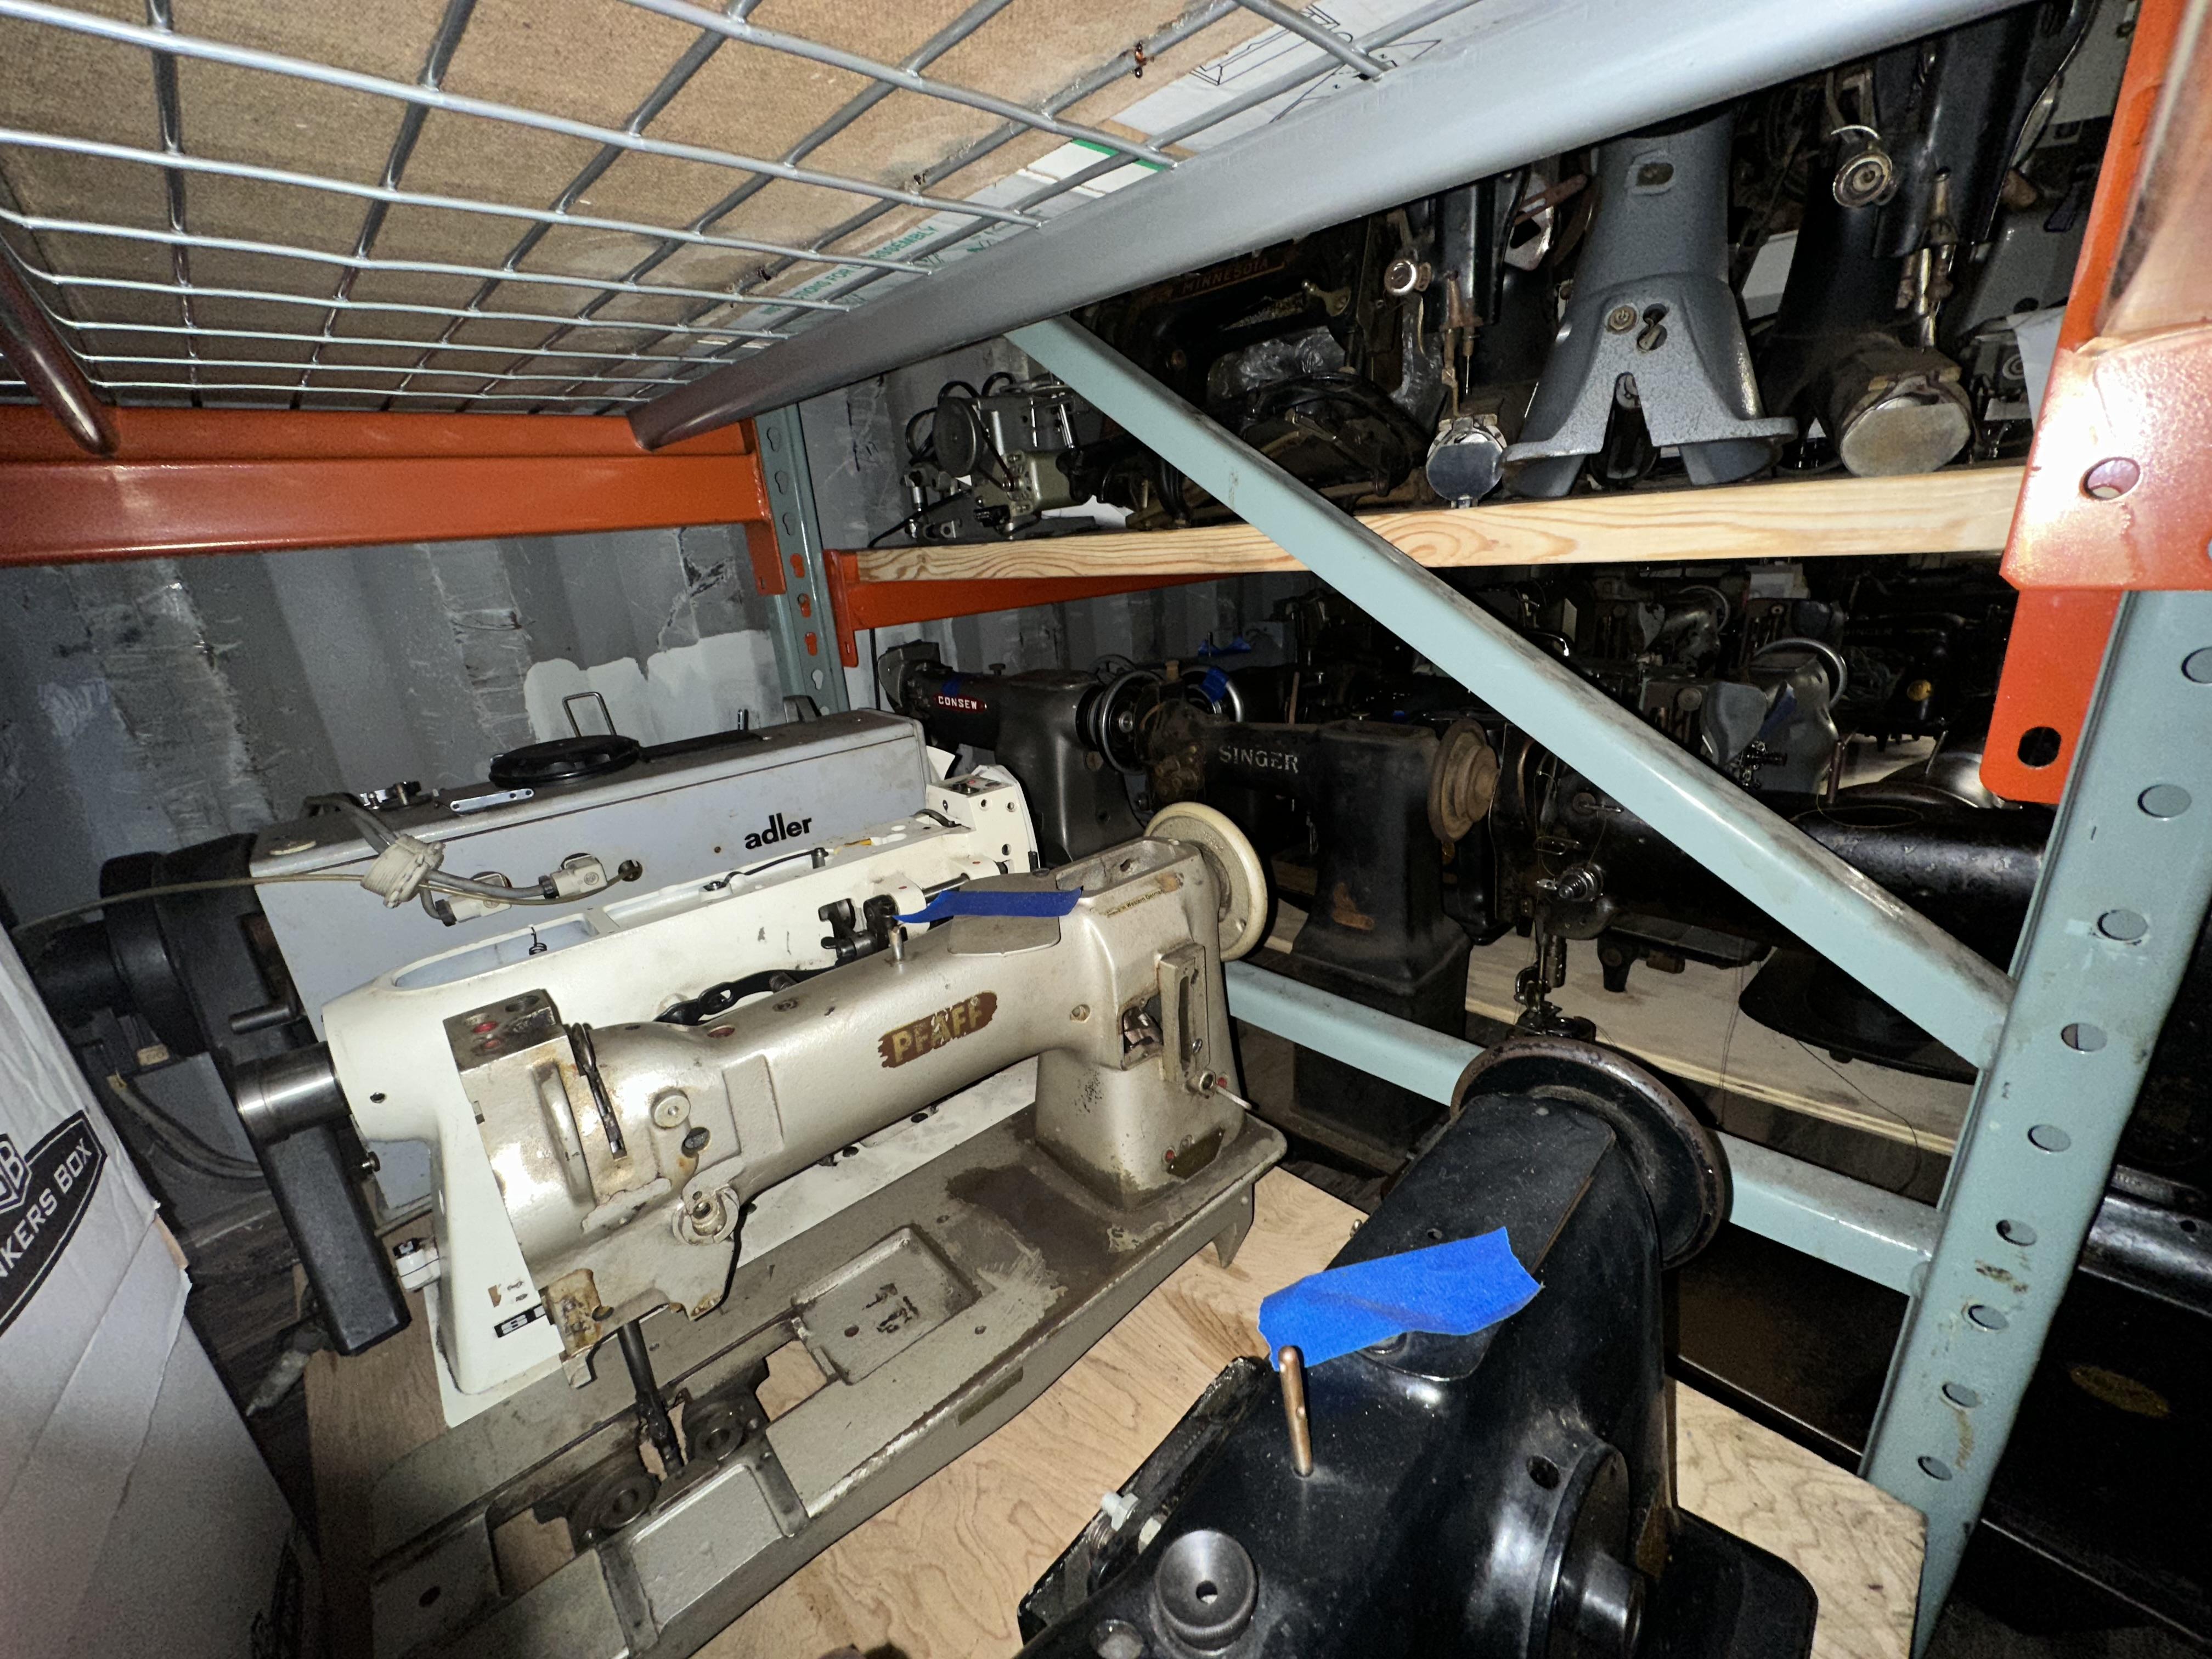
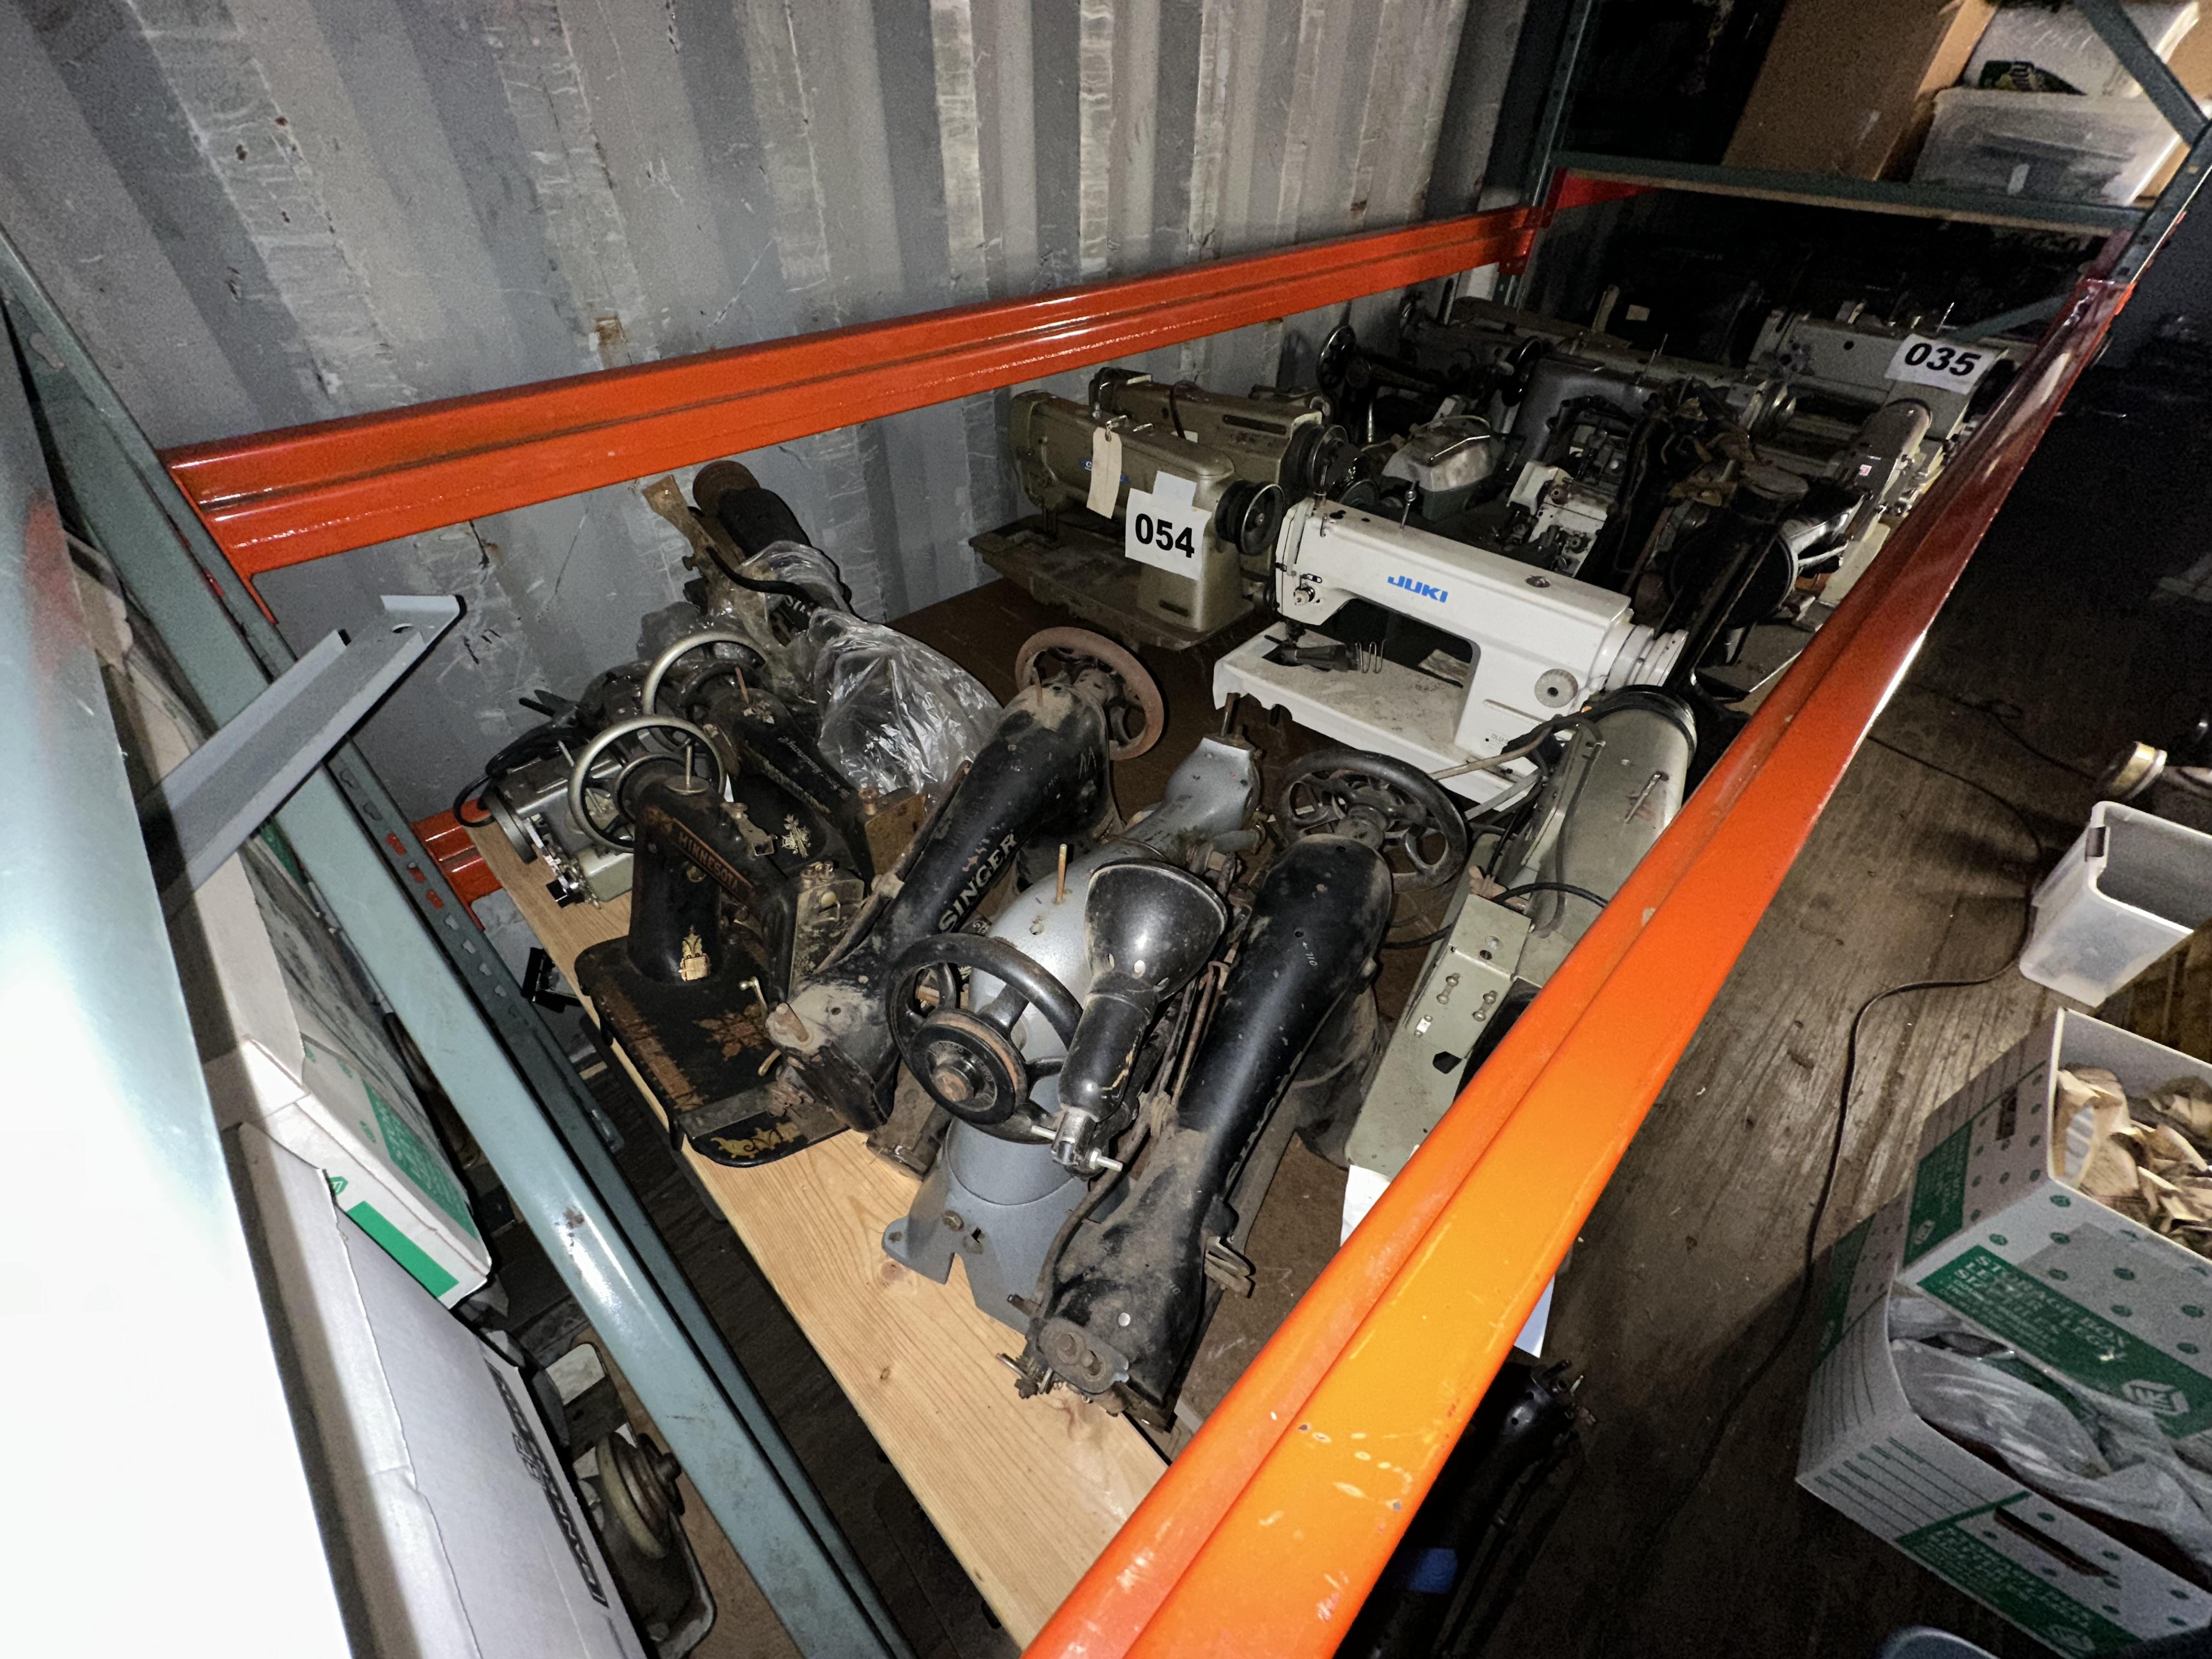
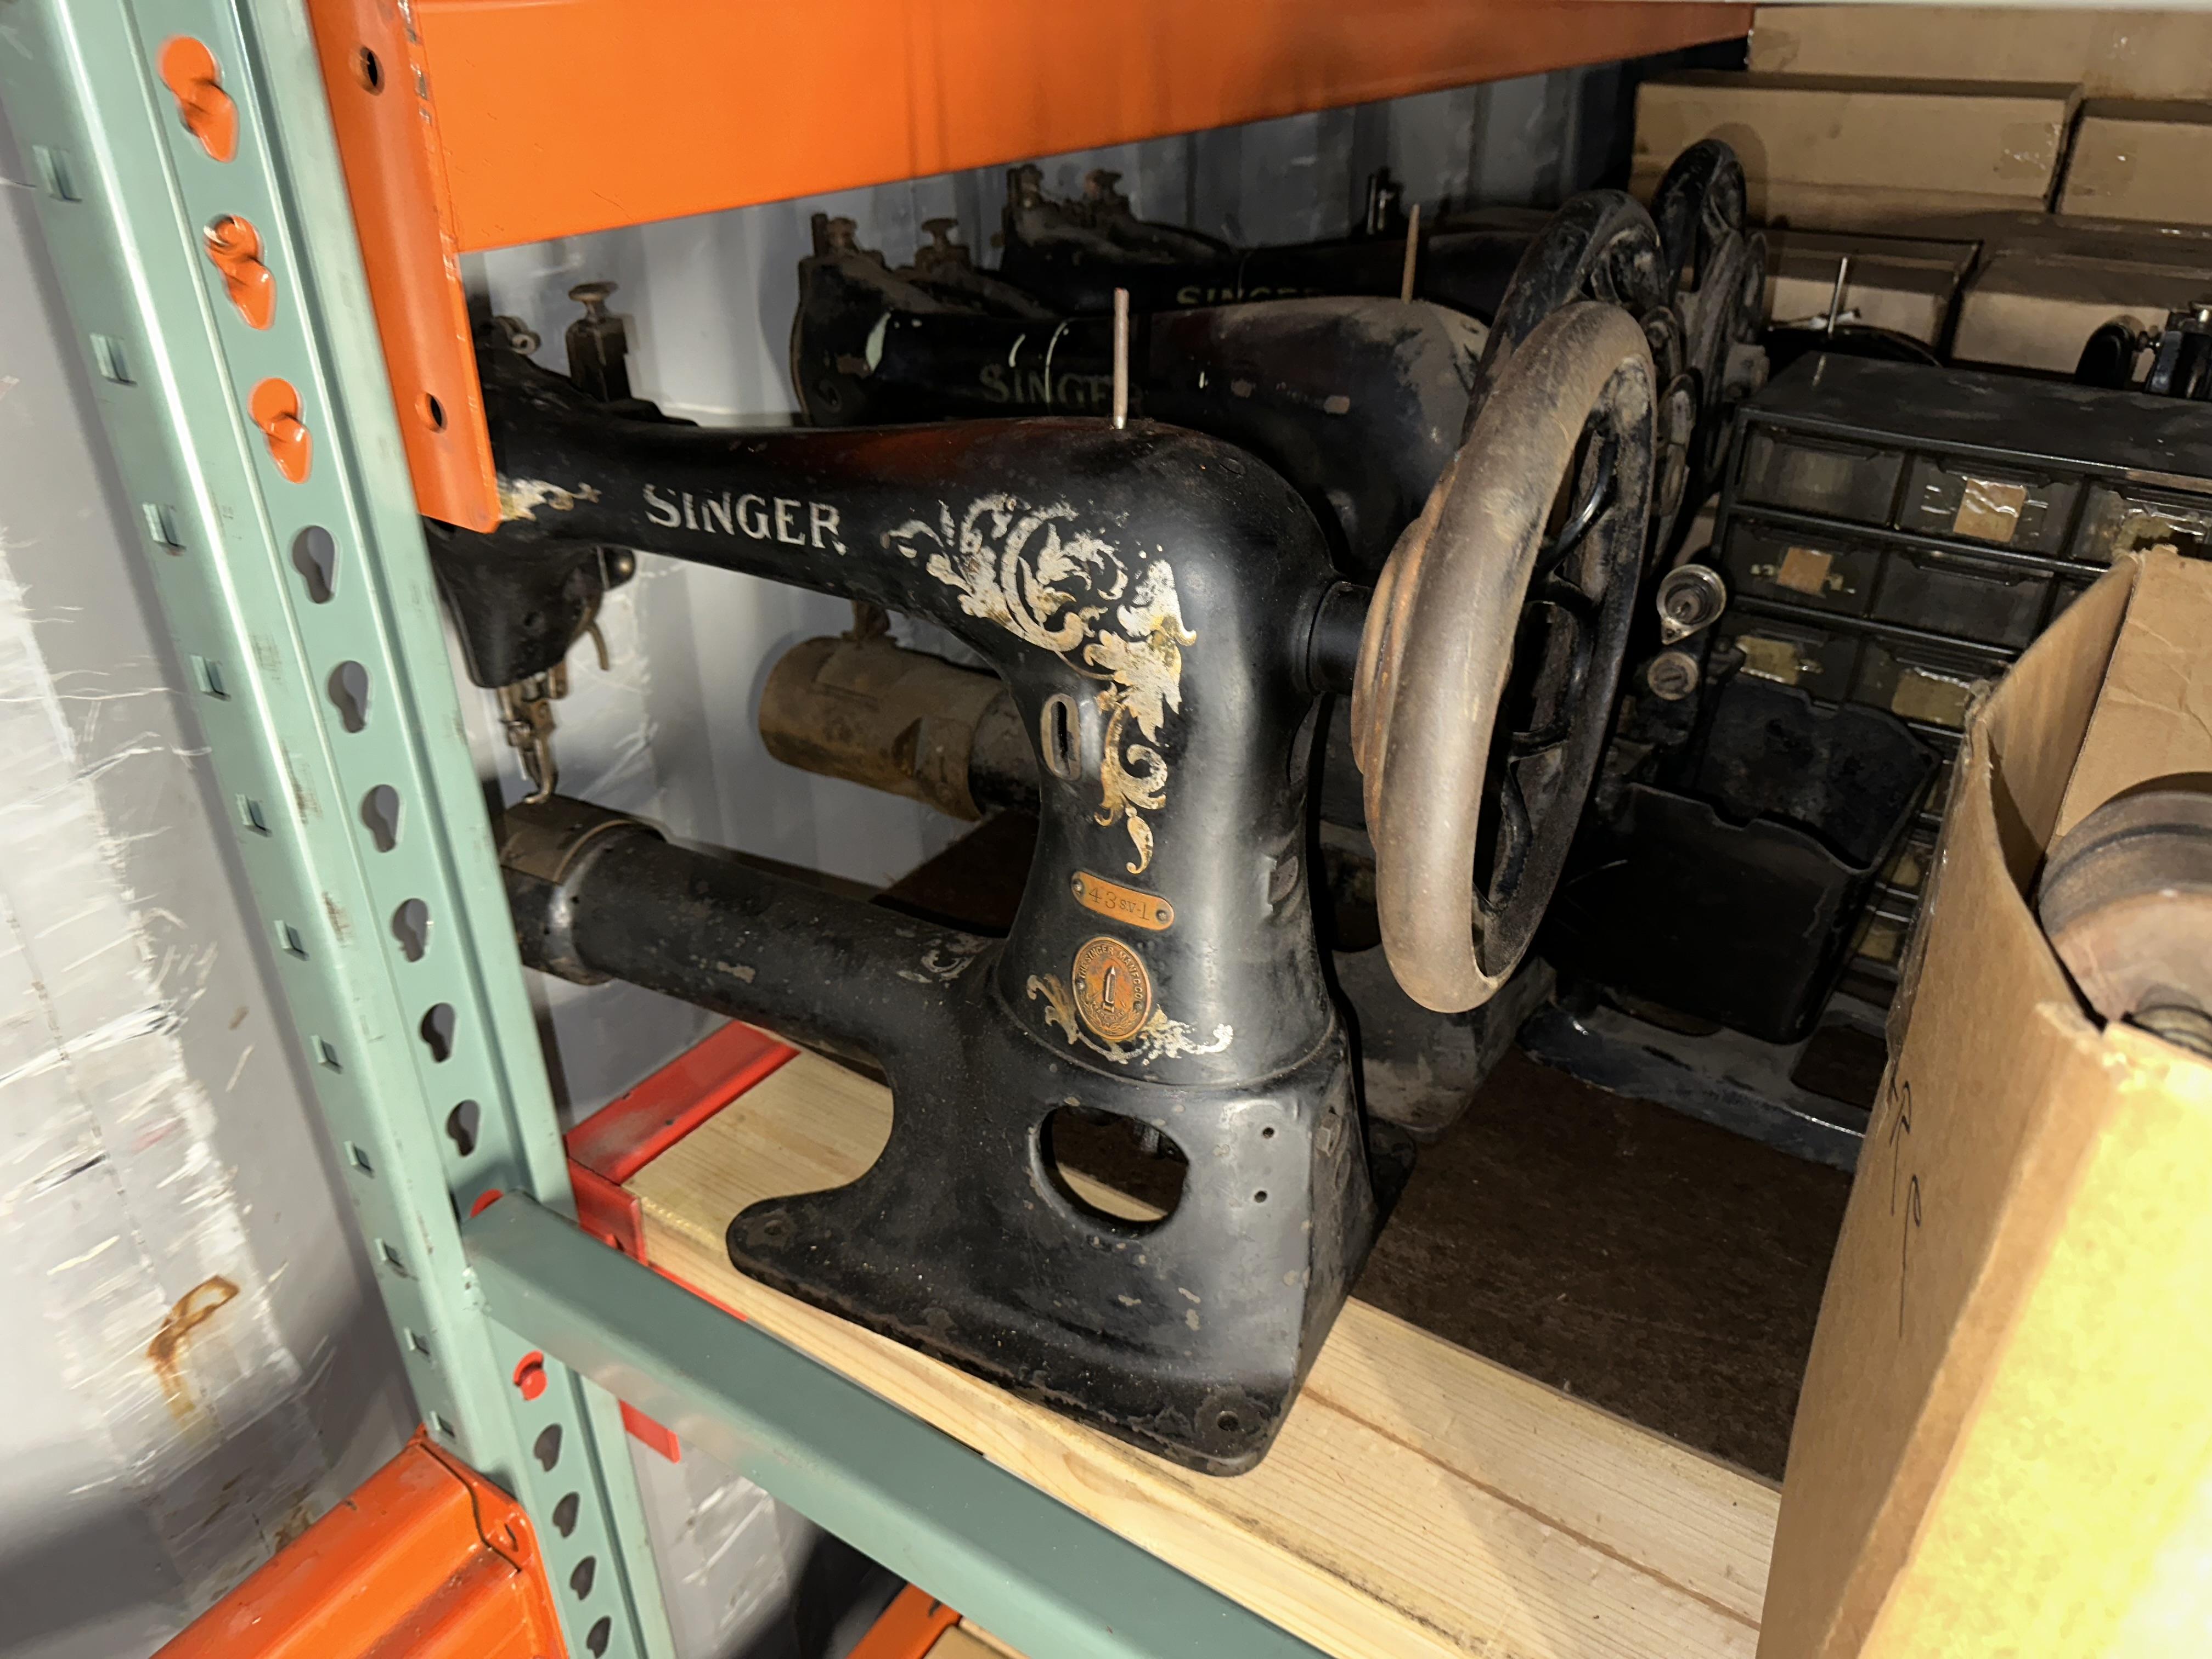
Now accepting applications to take possession of my inventory of industrial sewing machines, all stored in a 40’ shipping container in Taylor, Michigan. Tell me in a DM why I should gift this inventory to you. The pictures give you an idea of what’s in the container. I don’t have an inventory list, sorry! While the sewing machines and parts are FREE, the industrial racking system is $500. If you can’t afford the racking system then you’re not a suitable candidate to take possession of the inventory. I will hand you the key to the container and you have to take over the storage lease for the container ($125/month, prepaid until the end of July.) It’s all or nothing, I’m not trying to get rid of individual machines. I live in Chicago now. I can make the trip to Michigan with a few day’s notice, but only to close the deal and to take over the storage lease, NOT to have a look-see or to browse. If there are no takers by the end of June, I will start calling scrappers, as much as it would pain me to do so. Here are pictures of the inside of the storage container from last summer. (There a few file boxes and plastic tubs with personal estate items, which I will remove.)

-
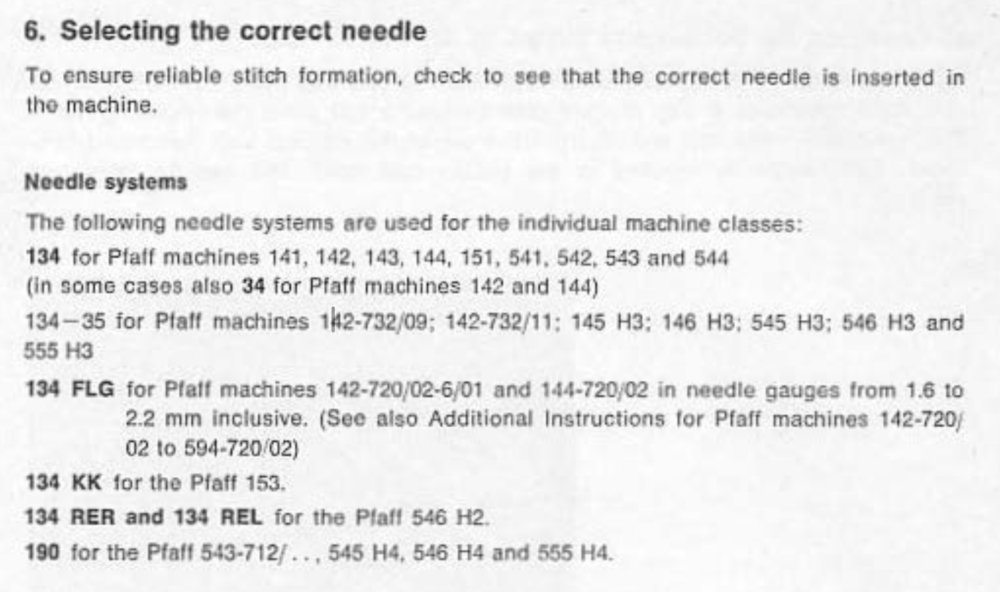
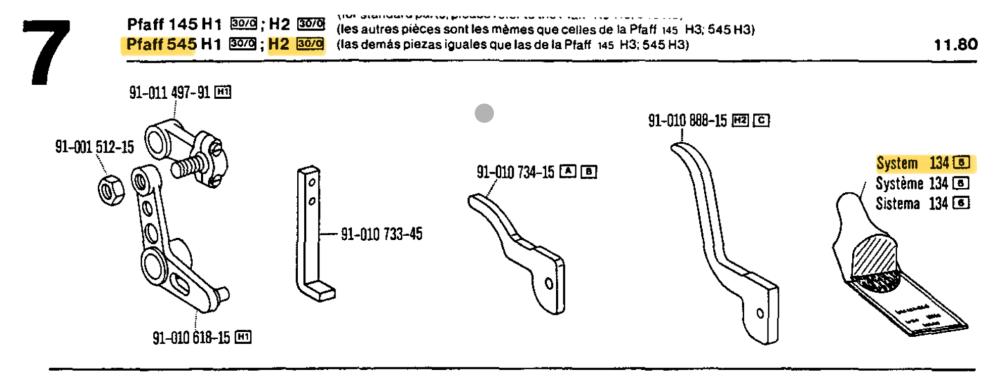
@dakota you may be using the wrong needle system, or you’re using the correct needle system but the previous owner had adjusted the machine for a different needle system. The Pfaff 545 H2 uses needle System 134 by default. (Other subclasses of the Pfaff 545 use different needle systems, e.g H3 uses system 134-35, and H4 uses system 190) Make sure you are using the correct needle system when making adjustments for hook timing, needle bar height, etc.
-
Here are two videos that show how that needle guard is supposed to work. The needle guard is supposed to slightly touch the needle as it goes up. The machines in the video are different, but the needle guards are very similar to your Pfaff.
-
It’s part of the thread tension release mechanism. It looks like your foot lifting bracket sits a little too low on the presser foot bar. The pin inside the machine should not be able to slide out. I made a video once on how to replace the slider assembly. I don’t think you have to replace yours, but you may have to adjust its position on the presser bar a little.
-
troubles with cb3500 threading on upper tension
Uwe replied to TonyGreen3455's topic in Leather Sewing Machines
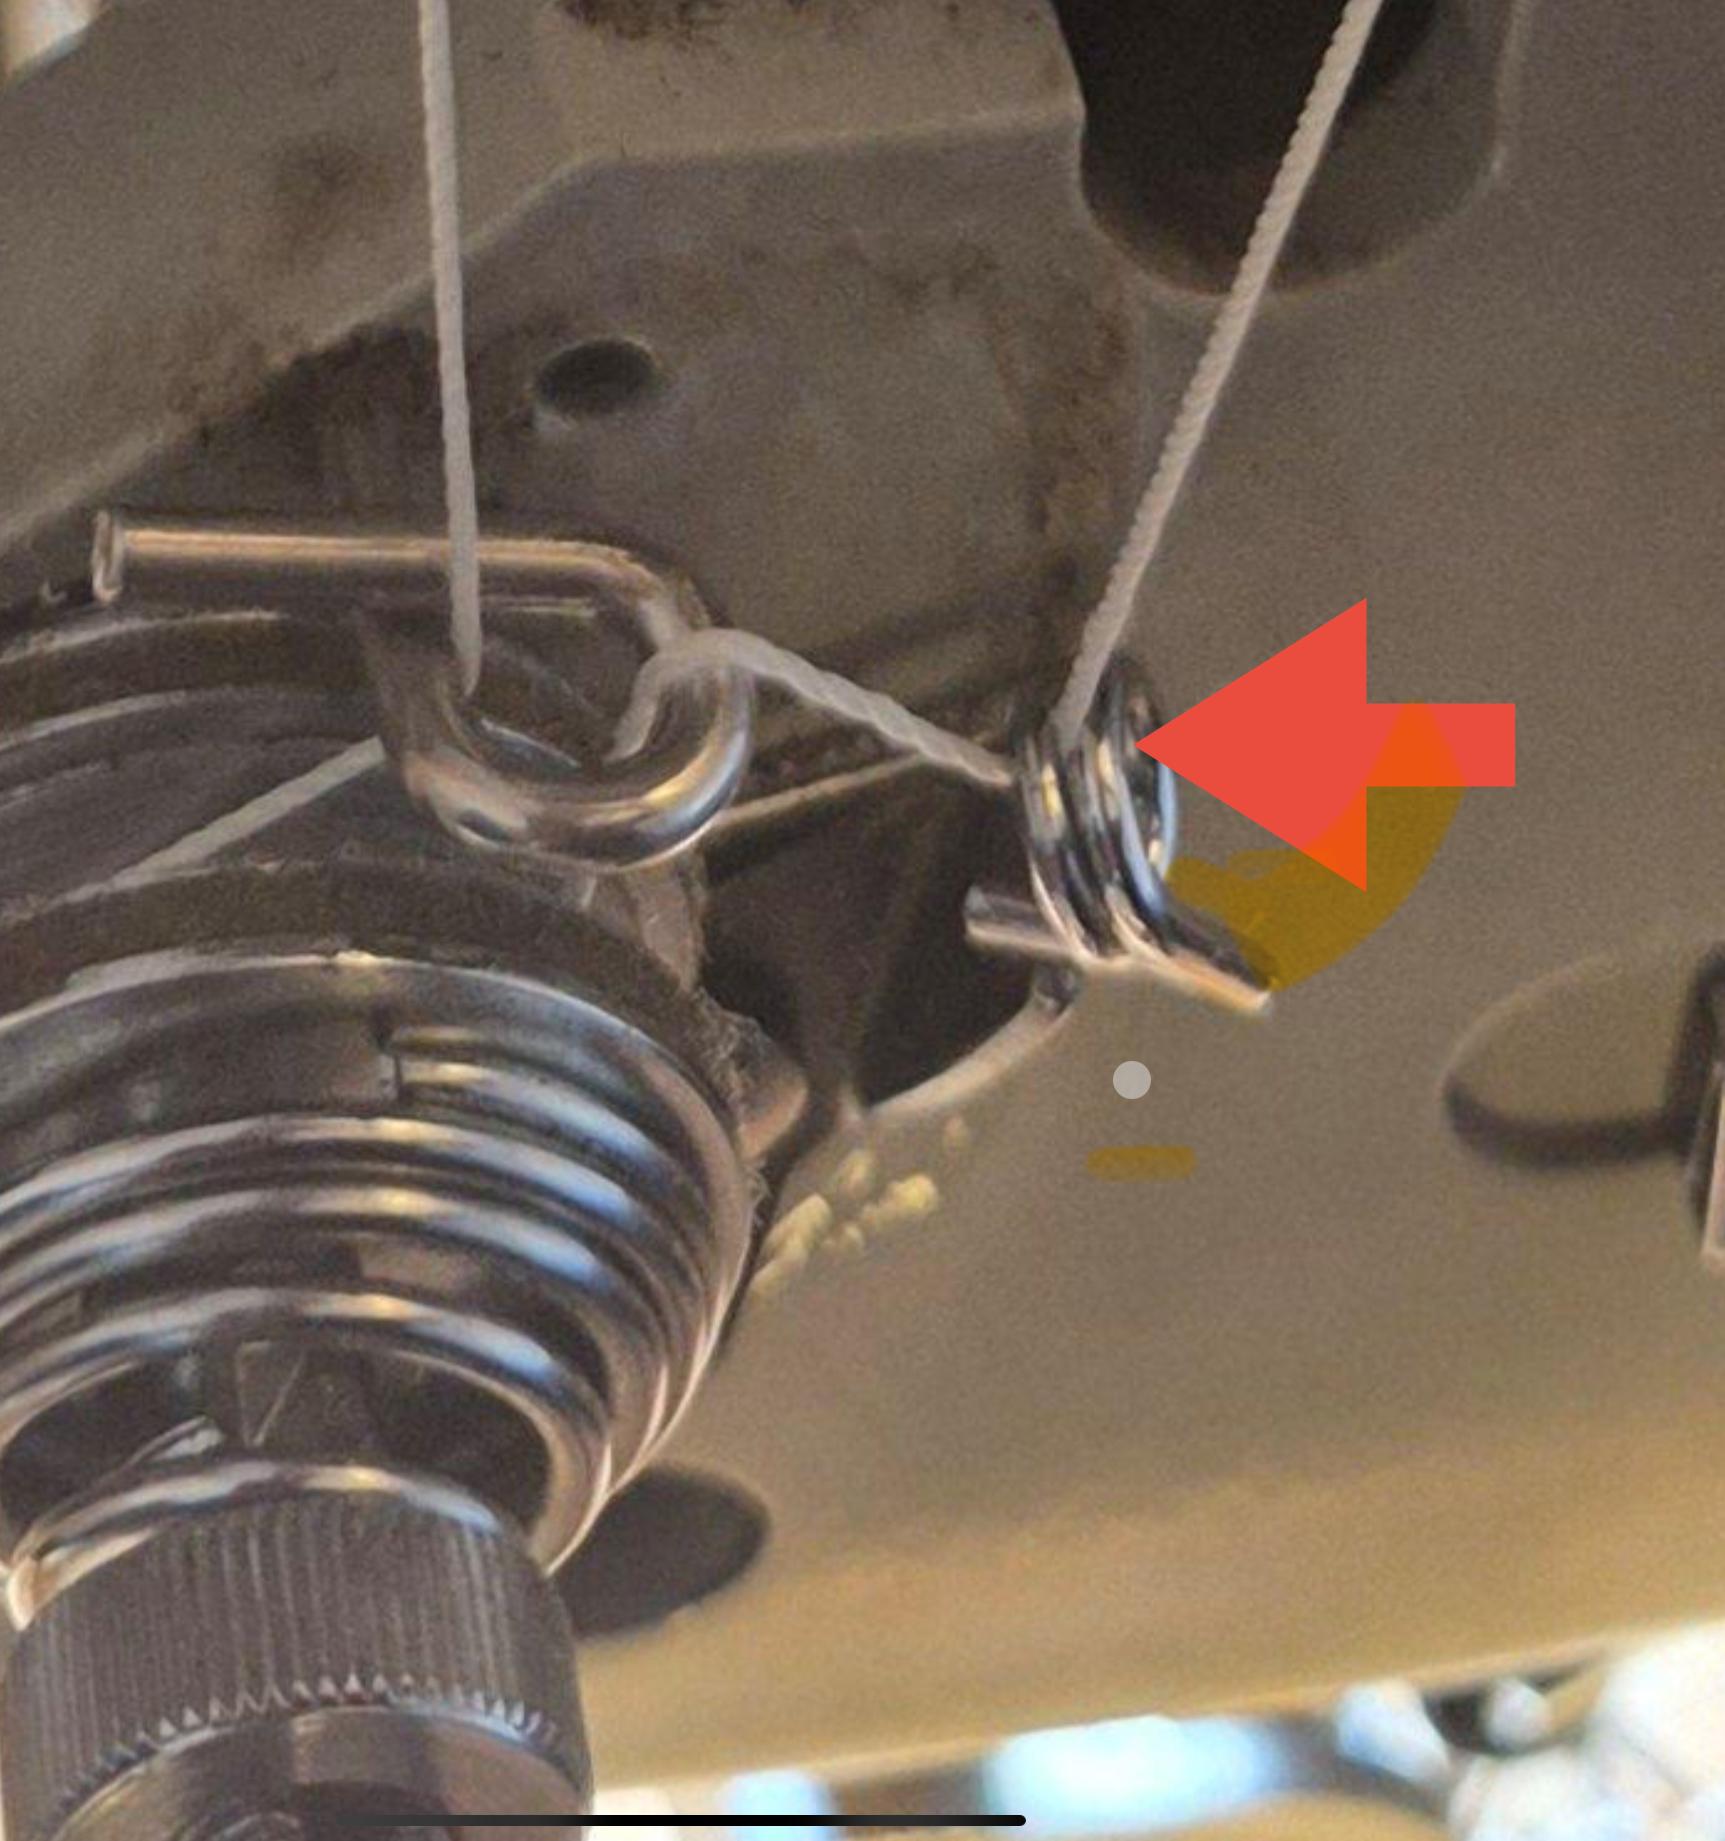
Also this path look suspect. You have the thread caught between the windings of the check spring, which adds tension in a spot where it shouldn’t.