Fonzarellis
Members-
Posts
124 -
Joined
-
Last visited
Content Type
Profiles
Forums
Events
Blogs
Gallery
Store
Everything posted by Fonzarellis
-
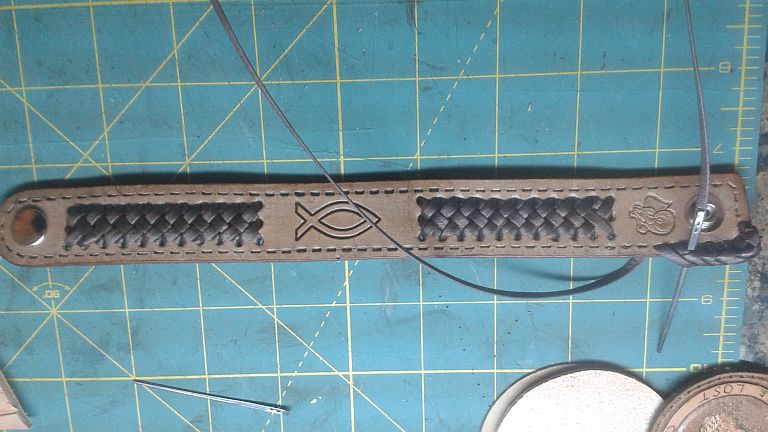
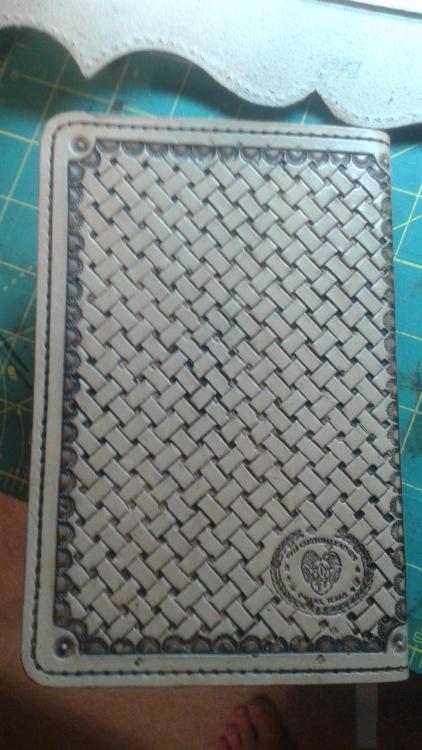
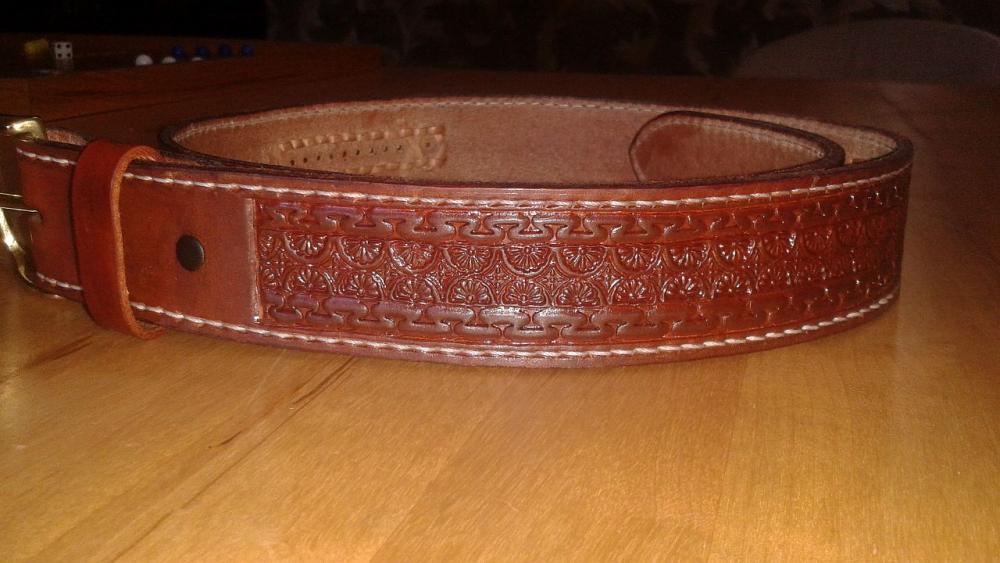
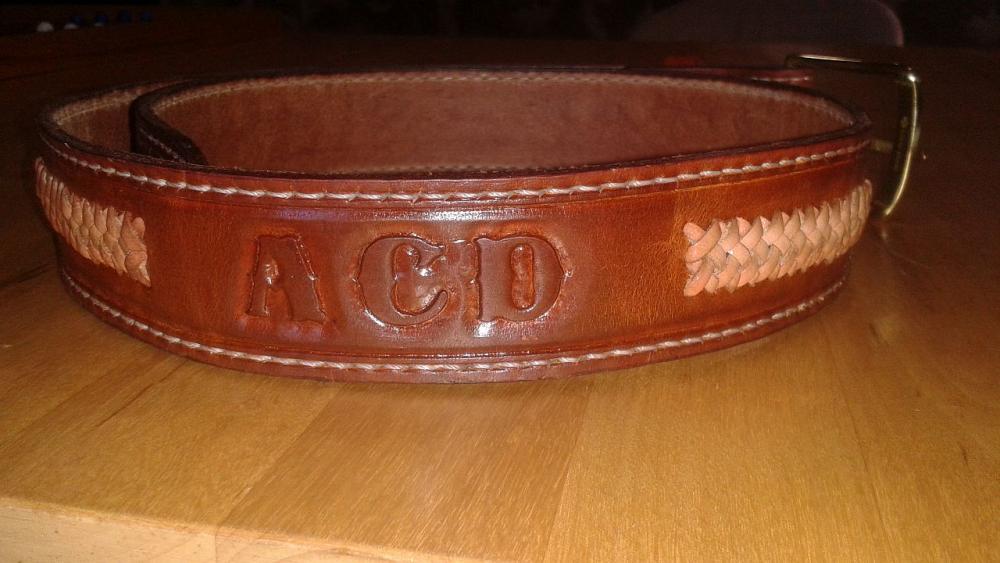
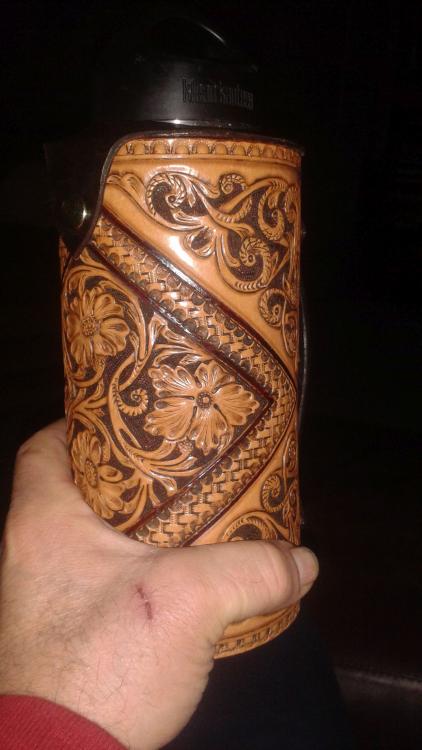
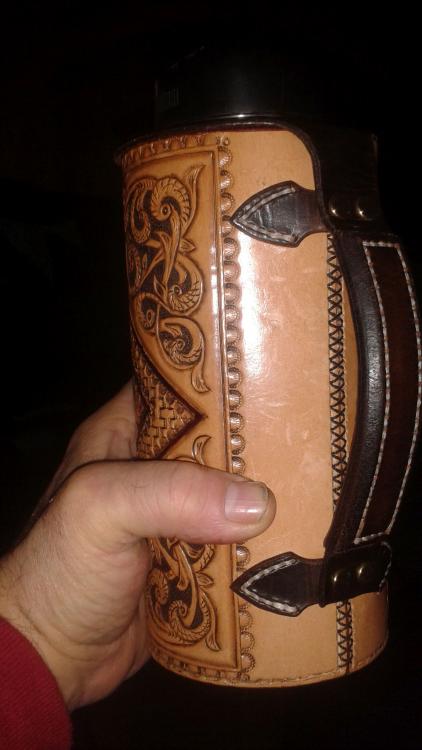
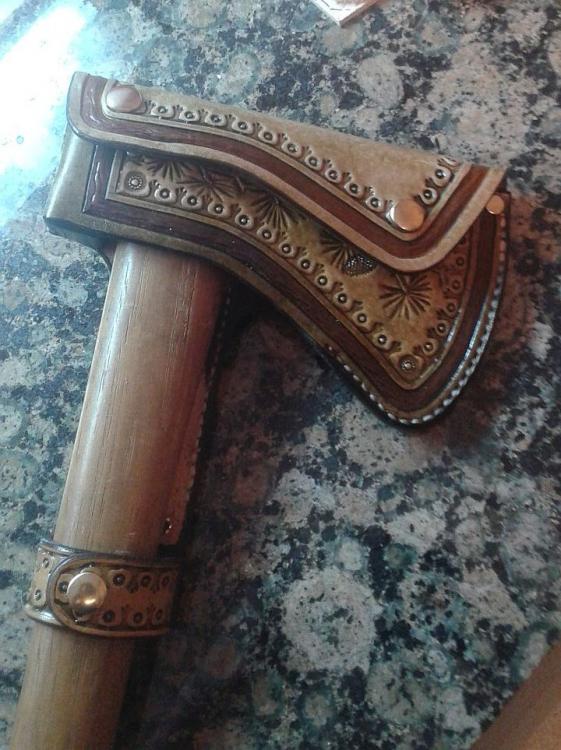
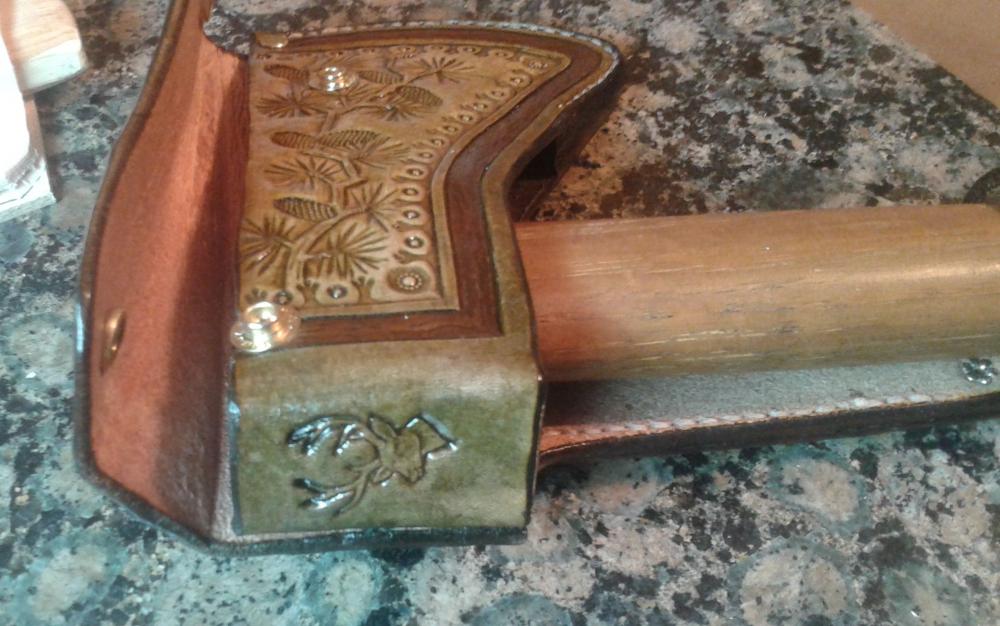
Haven't been real regular of late but here's a few things I've been fooling with. My wife complained long enough about my water bottle wrapped in Reflectix, so I was force to create a custom bottle holder. A friend gave me a wetterlings forest axe so once again I custom fitted it with a new mask. the others are self explanitory. Lotta pics so may hafta bust this up into a couple of posts.
- 3 replies
-
- bottle holder
- belt
-
(and 3 more)
Tagged with:
-
Different Kind Of Knife Sheath
Fonzarellis replied to Fonzarellis's topic in Gun Holsters, Rifle Slings and Knife Sheathes
What's really funny is that those are hair bands. I like the smaller bottles cuz I set them inside a big roll of blue masking tape to make sure I don't accidentally knock it over while working. You can always refill them from the larger bottles an reduce the bench clutter a bit. I'm still at the experimentation stage on different colors of dyes. I recently discovered that the Dark Brown Antique is a perfect compliment to the Saddle Tan Dye and would make a really beautiful two tone project. -
Different Kind Of Knife Sheath
Fonzarellis replied to Fonzarellis's topic in Gun Holsters, Rifle Slings and Knife Sheathes
Thanks folks. Super simple looking sheath and it turned out better than I expected. I'm on several forums and I've never seen anthing like it especially for this knife. -
I was at a Bushcraft gathering recently and everyone was doing the show and tell thing with knives and sheath design. One of the guys mentioned he wanted a side draw belt sheath for his Svord Peasant folder. Since this was such an odd shaped knife, I knew it would have to be a wet-mold project which I had never done but was game to try. He agreed to let me take the knife home and see what I could come up with. Now I am a big fan of tooling my sheaths but I know that tooling and wet-molding don't make great bed partners so here's what I did... First off I had to make a custom mold to shape the leather. I rounded out the bottom edges to make a more appealing transition then cut out the leather to a rough size. I wet the leather in distilled water, blotted with a dry towel, and started the shaping process with my fingers. After the leather began to stretch a little, I put it in the mold and started to apply pressure and eventually clamped it down tight. I was surprised how easy it was and how well it came out on the first try. I gave it a rough trim and cut out the back to match. I gave the molded piece a little shape on top and here's how she looked prior to assembly. He wanted it to match a sheath he already had so I gave it a few coats of Mahogany dye and after allowing it to dry, I buffed off the excess. I made sure I burnished the top edge of the molded piece before assembly. The rest is stitching, final trim, shaping the edges, burnishing and applying some Tan-Kote and Satin Sheen. Just for grins, I put a top coat of Atom Wax and buffed it up a bit. I intend to add a couple of small grommets to the corners to make it convertable to a "necker" but I made it with the belt loop as originally intended. It was fun making this and I can see a few more wet-molded projects in the near future. Thanks for looking.
-
New Pants For My Mora
Fonzarellis replied to Fonzarellis's topic in Gun Holsters, Rifle Slings and Knife Sheathes
I like the dangler because it puts the knife a little lower and somewhat easier to draw. It will swivel out of the way when you squat down if need be. The dangler is attached to the d-ring with a screw post so it can be worn without the dangler and just use the belt loop on the sheath itself. Thanks for all the kind words. Got another one in the works for my Tracker clone. -
Never did like the cheap plastic sheath that came with my Mora so I decided it was time to come up with something a little more traditional. Dat's mo bedder gooder!
-
Please Critique
Fonzarellis replied to Avion's topic in Purses, Wallets, Belts and Miscellaneous Pocket Items
I don't know what the proper term for this is but I call it an "extended" basket weave. I bought a sheath a few years back and this is the way it was done. Very professional job I might add and extremely difficult (for me anyway) to get everything lined up just right. The traditional, overlapping method is much easier although I am partial to the extended pattern. nice work BTW. -
Me three. Exactly where do I find it?
-
I pulled the trigger and bought a 12" piece of 3" rod from McCaster-Carr. The ones on the web from China are pretty cheap but 2" seems small. They seem to get good reviews though. Anyone have any experience with the Chinese ones? I may get one just for grins to see how they compare. I prefer a mallet over a maul as that is what I have used in the past. Seems to me the round side of a maul would tend to strike the tool unevenly. Having never used one I can't really make an accurate judgement.
-
All good ideas guys. Don't think I want to fool with the milk jug thing but the pallet roller seems to fit my requirements better. I wanted something ready made and about 3" to 4" in diameter so the McCaster-Carr route might work for me. The $ 25.00 plus shipping is not too bad so I may check around locally to see if I can find something cheaper and not have to pay shipping. Making and attaching a handle is no big deal. I have access to plenty of tiger maple, red oak and hickory.
-
I want to make my own mallets or mauls and was considering perhaps a cylindrical chunk of nylon like a big bushing is made from. Anyone have any other ideas or a source perhaps. Surely this has been done before. Just can't bring myself to drop the cash for a 'store bought' one.
-
After scoring a semi decent full shoulder, I was looking for my next project. The pics below show the new mask for my old Boy Scout hatchet (Plumb) and the old sheath with the Indian symbol stamping I did when I was a kid. Kinda hard to see but the "bead " border on the new one actually was a result of a slip with the modeling tool that ended up being wood grain. I guess you could call it sort of a "woody vine"
-
New Life For Friend's Knives
Fonzarellis replied to Fonzarellis's topic in Gun Holsters, Rifle Slings and Knife Sheathes
Sorry Stu, just went back and checked and I failed to take an "finished" blade pics. After mouse pad and 2000 grit then honing on my ceramic rods they polished up pretty well on the blade part but I was hesitant to do much other than remove the rust on the rest of the blade. the larger one had a coating on it and I just left it as is. -
Couple Of Knife Holsters
Fonzarellis replied to jlsleatherworks's topic in Gun Holsters, Rifle Slings and Knife Sheathes
Sweet! Really like the "quilted" pattern. -
Belt Knife Sheath W/carving
Fonzarellis replied to Basically Bob's topic in Gun Holsters, Rifle Slings and Knife Sheathes
Nice job! -
Great idea for a "floor" model. I use an office chair where I do most of my work and this would be perfect. I may have to make one myself.
-
New Life For Friend's Knives
Fonzarellis replied to Fonzarellis's topic in Gun Holsters, Rifle Slings and Knife Sheathes
For the smallish areas on this sheath, I have to agree. The "extended weave" looks better on larger areas but is much more difficult to tool and make it look right. I bought a sheath a couple of years ago with the "extended weave" and thought it looked great. In retrospect, it was a larger sheath and the weave covered the whole thing. Just finished up this scabbard for a spear point and used the tiny basket weave for the fill. I like the look a lot better. -
Possibles Pouches
Fonzarellis replied to Marten's topic in Purses, Wallets, Belts and Miscellaneous Pocket Items
Beautiful work! -
New Life For Friend's Knives
Fonzarellis replied to Fonzarellis's topic in Gun Holsters, Rifle Slings and Knife Sheathes
Thanks for all the kind words everyone. Electrathon - I used the rivets help to hold the layers together at the top where the most stretch force is applied when sheathing the knife, and at the very tip where is is subject to a bit more wear and tear. They were installed inside of the welt. I am careful about placement so they make no contact with the blade otherwise I wouldn't use them either. I cringed too when I first saw the knives but on closer inspection I think it was file marks. I could tell they were still hardened when I was in the sharpening process. I had to use a course stone at first to remove the secondary edge on the big one cuz the file just skittered over the metal. I think the temper is still intact. -
When I mentioned I was doing leather work, during a recent visit with a friend,he showed me two knives that belonged to his dad and asked me if I could make him some new sheaths. I told him I was no pro and there were sure to be imperfections. He didn't seem to mind and we struck a deal on the price. The knives were beat up, bad edges and leather starting to rot. These before shots tells the tale a whole lot better. I reprofiled the blades and sharpened them to a surgical edge. Sanded the pommels from 120 grit to 2000 grit and finished up with compound. The leather was sanded down to remove the oils and rot, then coated with Neatsfoot oil, sealed with Tan-Kote and buffed with Atom Wax. The pancake sheath was a lot more challenging and I learned a lot about making holes in three layers of 8-9 oz. leather. also had one rivet bend on me. The 7/16 are flush with the surface and the 9/16 are too long. I ended up carefully drilling out a few and replacing them. If anyone has any advice on this it would be appreciated. He was ecstactic when he saw the reconditioned knives. I was concerned about some of my oops places but he was actually impressed with the sheaths. He said the errors or imperfections gave it character. Go figure. Bottom line, I'm a little richer both monetarily and experience wise and the customer is happy. I couldn't ask for more.
-
"hobo tools", Ha-Ha, I guess that's a pretty accurate description. In the bushcraft community it would be called "field expedient". They seem to work pretty well and possibly a better grade of steel. Haven't made any stamps yet but I have used a snap setter to do some hammered effects. Like they say "necessity is the mother of invention" I guess. Thanks for all the kind words everyone.
-
Really beautiful work!
- 24 replies
-
- biker
- motorcycle
-
(and 1 more)
Tagged with:


