YinTx
-
Posts
3,794 -
Joined
-
Last visited
Content Type
Profiles
Forums
Events
Blogs
Gallery
Store
Everything posted by YinTx
-

98 dummy guns for sale
YinTx replied to Davis's topic in Gun Holsters, Rifle Slings and Knife Sheathes
I have pm'd, emailed, etc since Nov. 5th and have received no response. Either he is sold out, or is no longer reading emails, etc. YinTx -
leather valet tray Valet Tray: Take 2
YinTx replied to YinTx's topic in Purses, Wallets, Belts and Miscellaneous Pocket Items
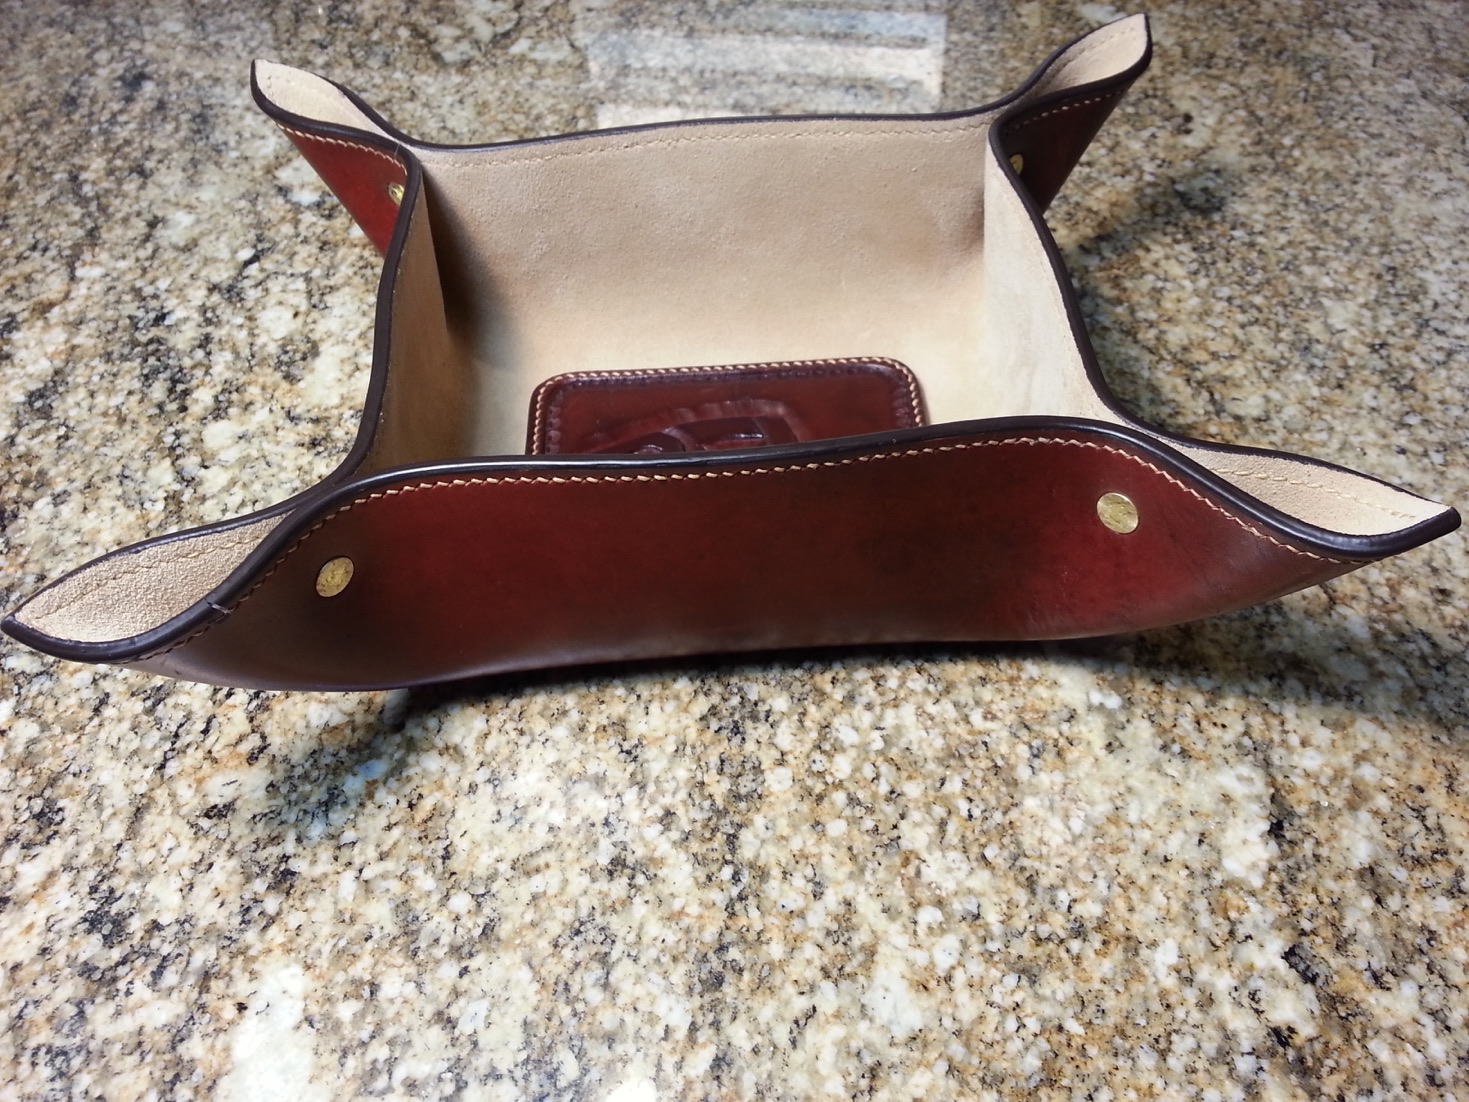
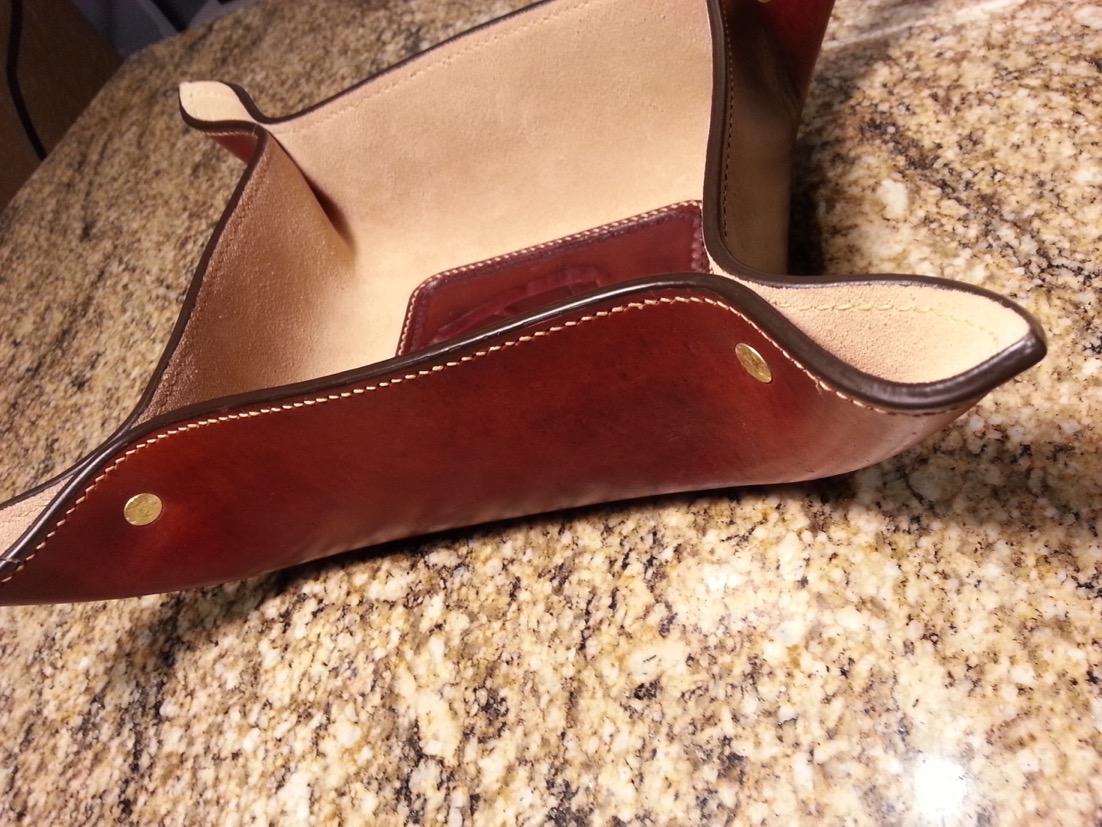
Thank you Brown. Here is the latest version: YinTx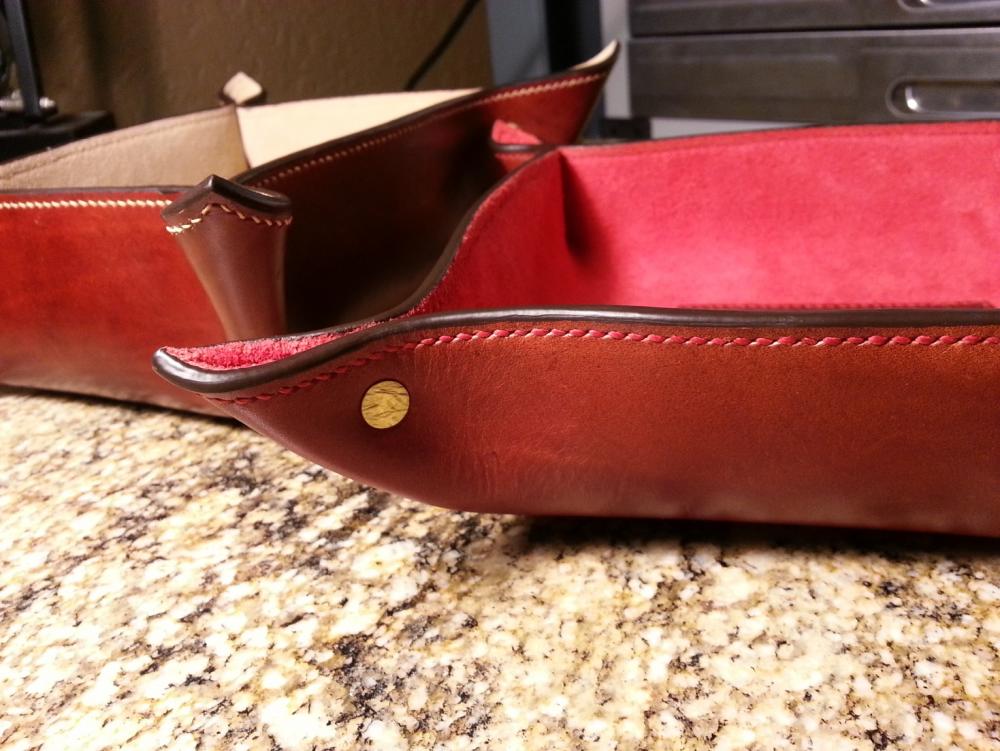


-
leather valet tray Valet Tray: Take 2
YinTx replied to YinTx's topic in Purses, Wallets, Belts and Miscellaneous Pocket Items
I just have a fat old soldering iron, I run it over the first layer only to "melt" the coat a bit on the surface, which seems to smooth things out nicely for the next coat. I think a lot of folks use the side of a fileteuse for that, but I haven't spent the $$ for one yet... so the iron it is. At the 3:43 mark you can see one being used here... YinTx -
leather valet tray Valet Tray: Take 2
YinTx replied to YinTx's topic in Purses, Wallets, Belts and Miscellaneous Pocket Items
Oblivion!! Welcome back, long time no see! and, Thank you! YinTx -
leather valet tray Valet Tray: Take 2
YinTx replied to YinTx's topic in Purses, Wallets, Belts and Miscellaneous Pocket Items
Oldnslow, Thanks for the compliment. I used the Fenice Brown Edge finish marketed by Tandy as Eco-Flo Professional Edge Dressing - Brown. They had a sale here 32 oz for $8.50 or so, so I thought I'd try it out. Suede backed veg tan seemed like a good challenge for it, seems to have done well. 3 coats, first one melted in with a hot iron, second one sanded down, third one left alone. I could have probably slicked it with some paraffin for a better shine, but I decided to leave well enough alone this time around. Hope that helps. YinTx -
leather valet tray Valet Tray: Take 2
YinTx replied to YinTx's topic in Purses, Wallets, Belts and Miscellaneous Pocket Items
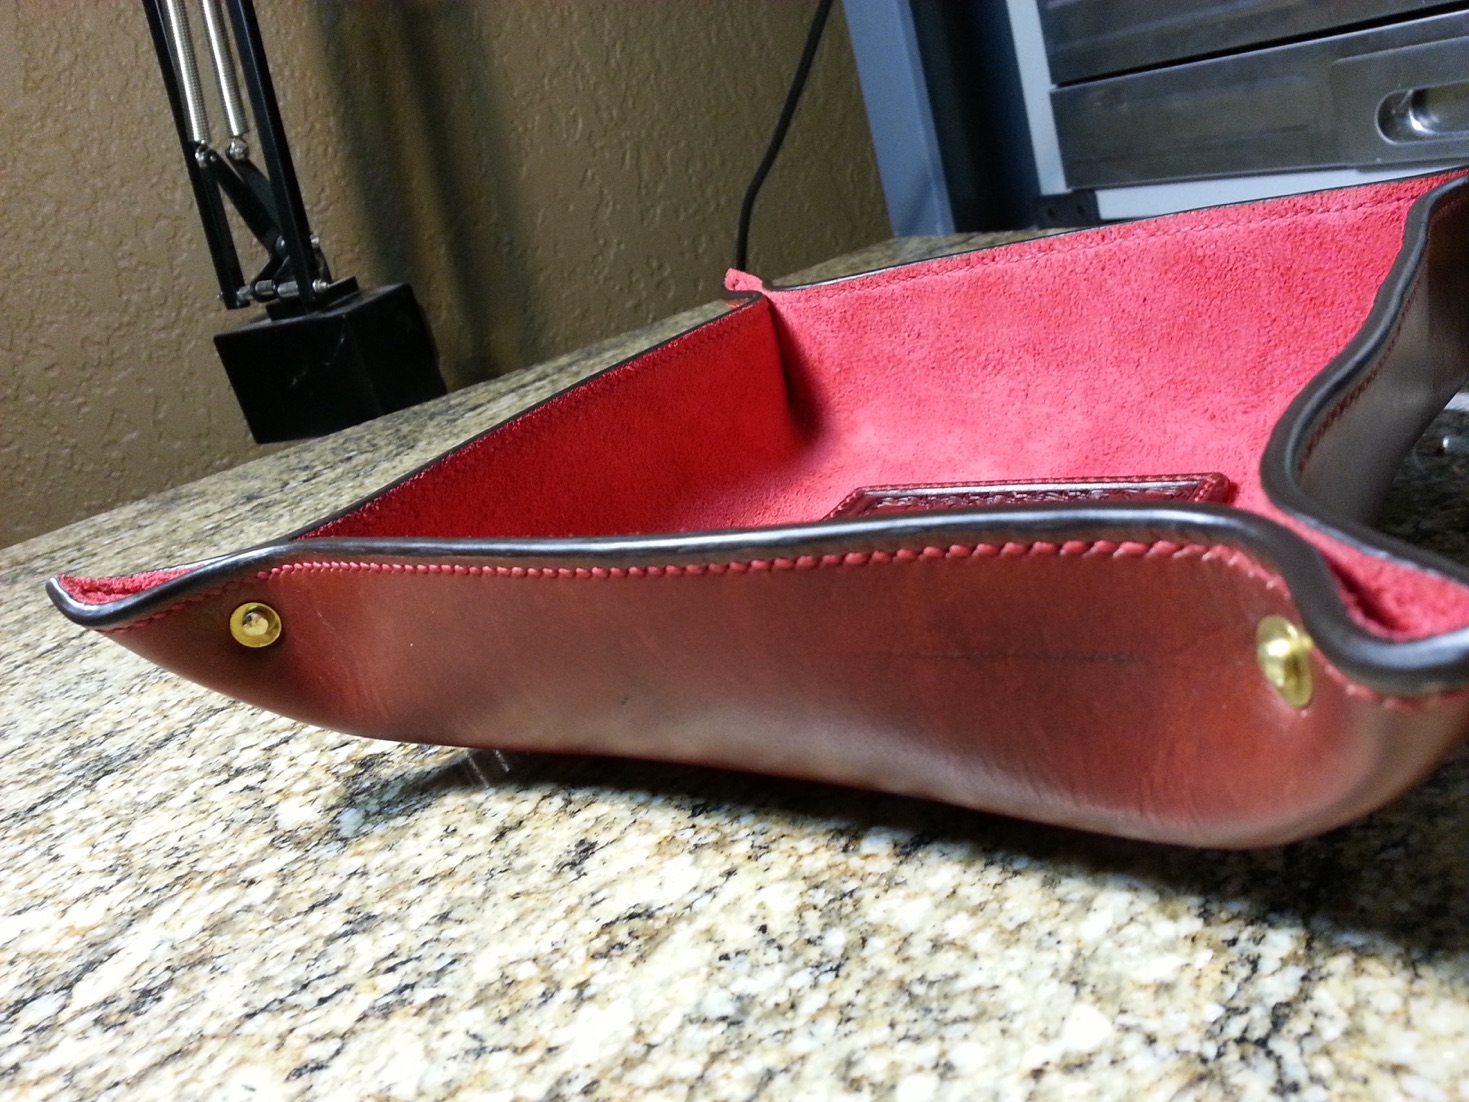
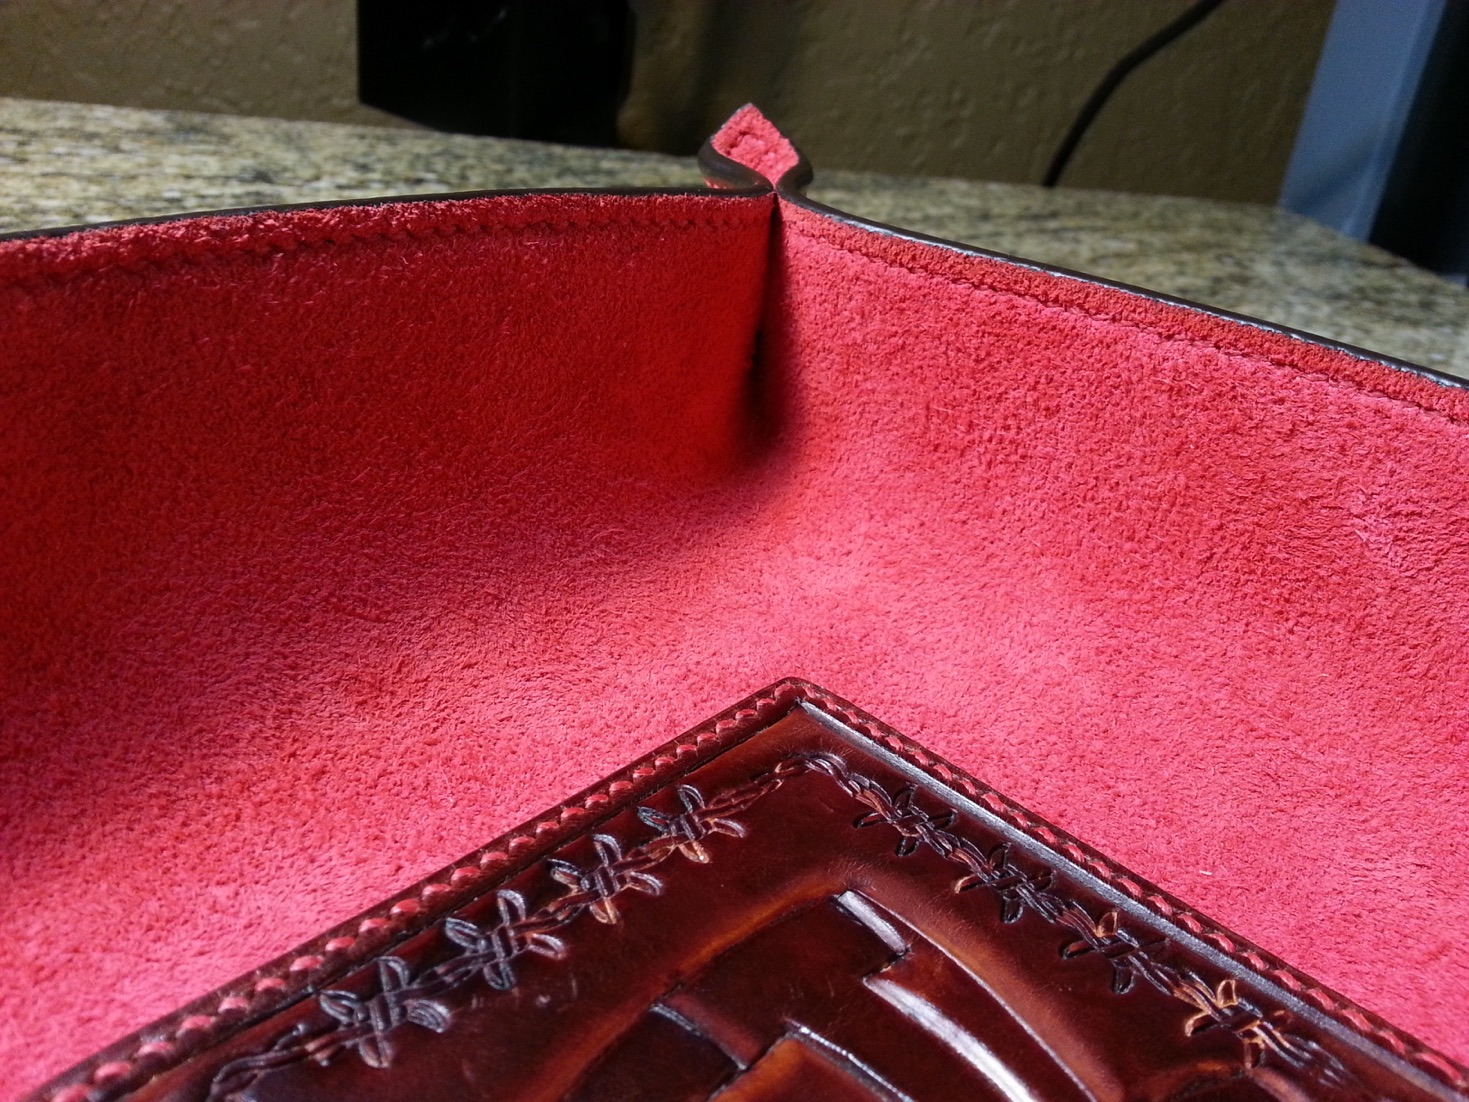
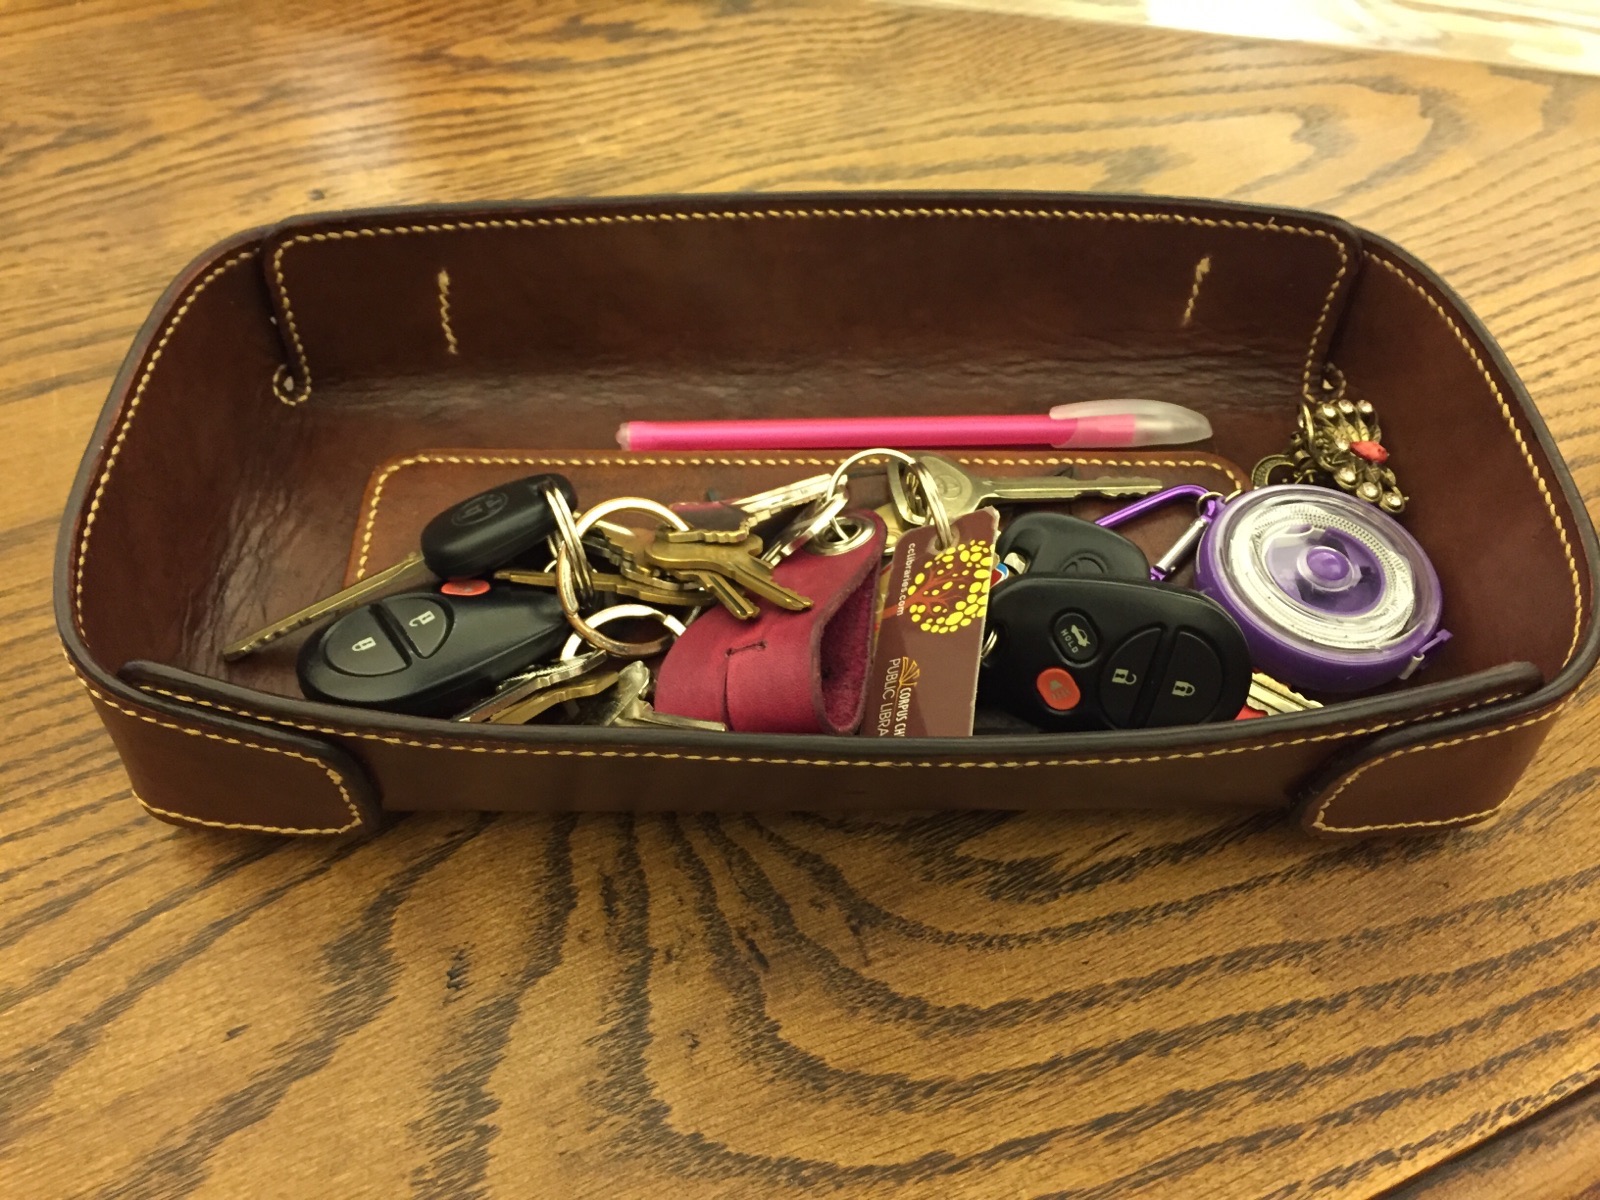
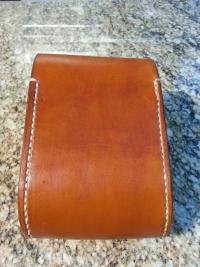
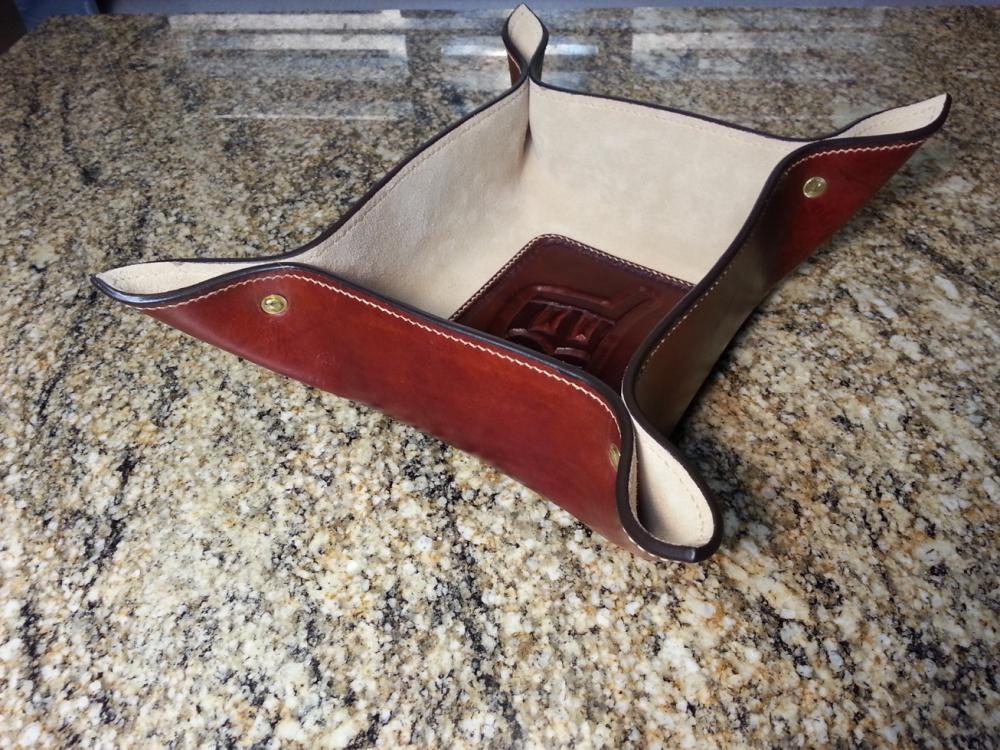
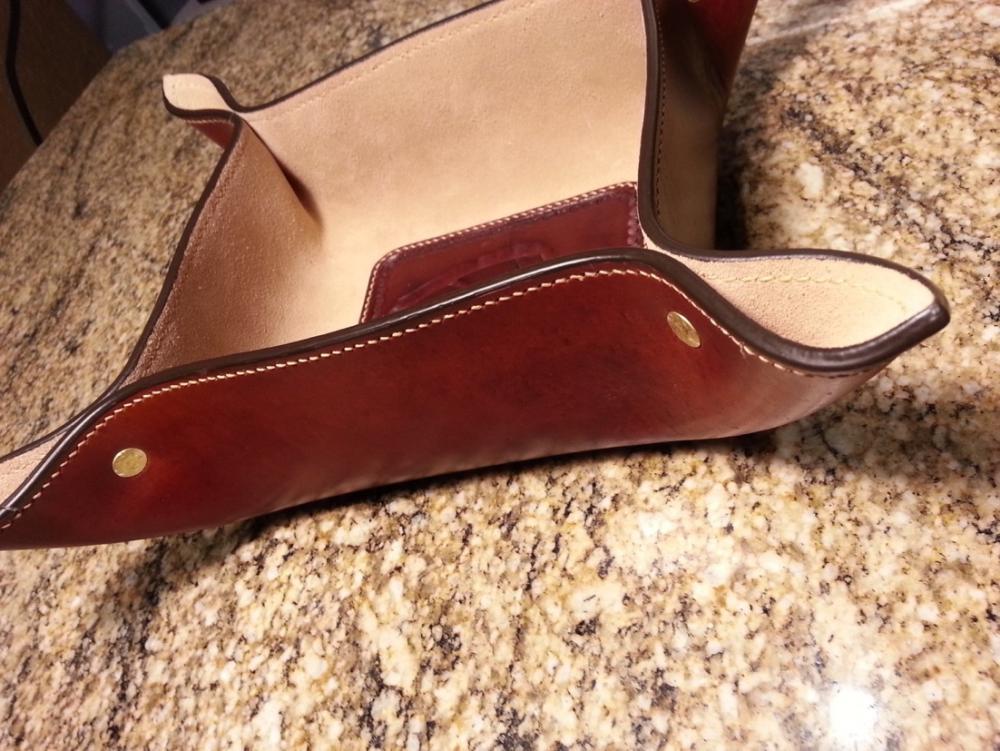
Max, Thanks for the hint, I may have to anneal to see how it works. Just broke my granite since I had to hammer it so hard! BAH. So just spent $20 on an anvil from H.F. I'll see if that does any better. After I finish mashing the last 2 rivets in the second one, I'll put up a couple of photos of it as well. Not such a big fan of the style of tray either, so I had tried a different version, which was the first one I did. The vertical sides didn't appeal to me, so I tried this version with the rivets. I thought maybe these would be simple to make, but turned out not so simple with the tooled inserts and dye, finish, 3 coats of edge paint,etc. They are lined with suede, Venator. Hence the painted edges vs. my usual beeswax burnish. YinTx -
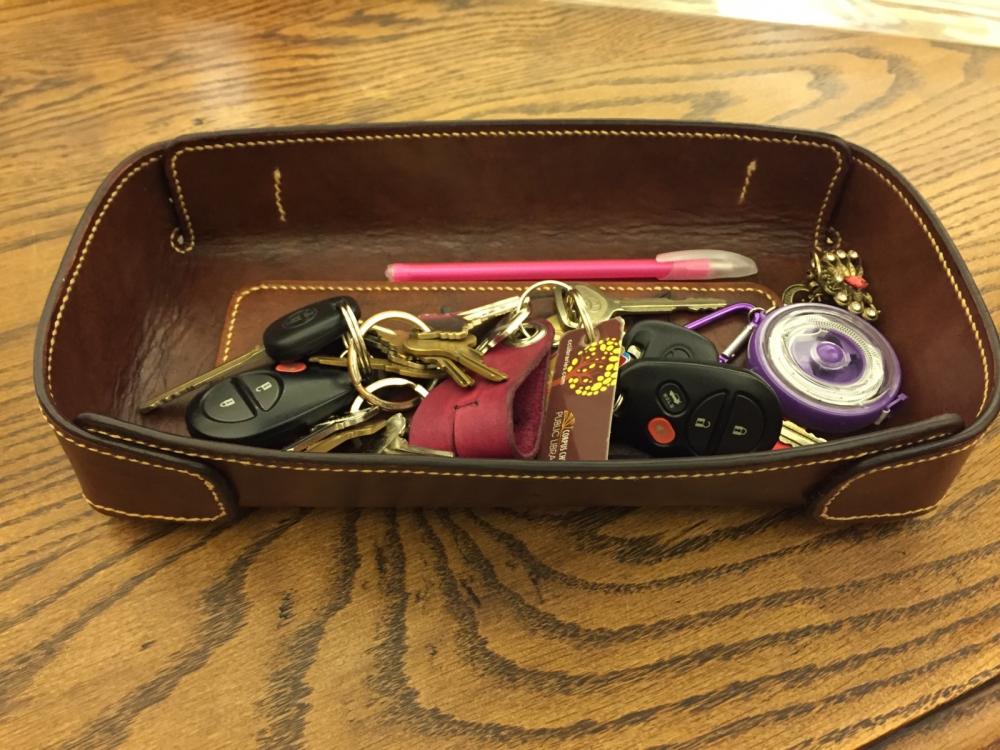
Second go at the leather valet tray. Not entirely happy with it, although it turned out functional enough... working on 2,3 and 4 as we speak... I think the brass rivets are more difficult than copper rivets from what I can see of folks using them in videos... all I can say is I could barely nip the tips off and rounding it with a very large ball peen hammer was a chore. Metal got hot from hammering! Enjoy... YinTx

-
congrats OTS! YinTx
-
WTH? IDK SPF. help?
-
My take on the Valet Tray
YinTx replied to YinTx's topic in Purses, Wallets, Belts and Miscellaneous Pocket Items
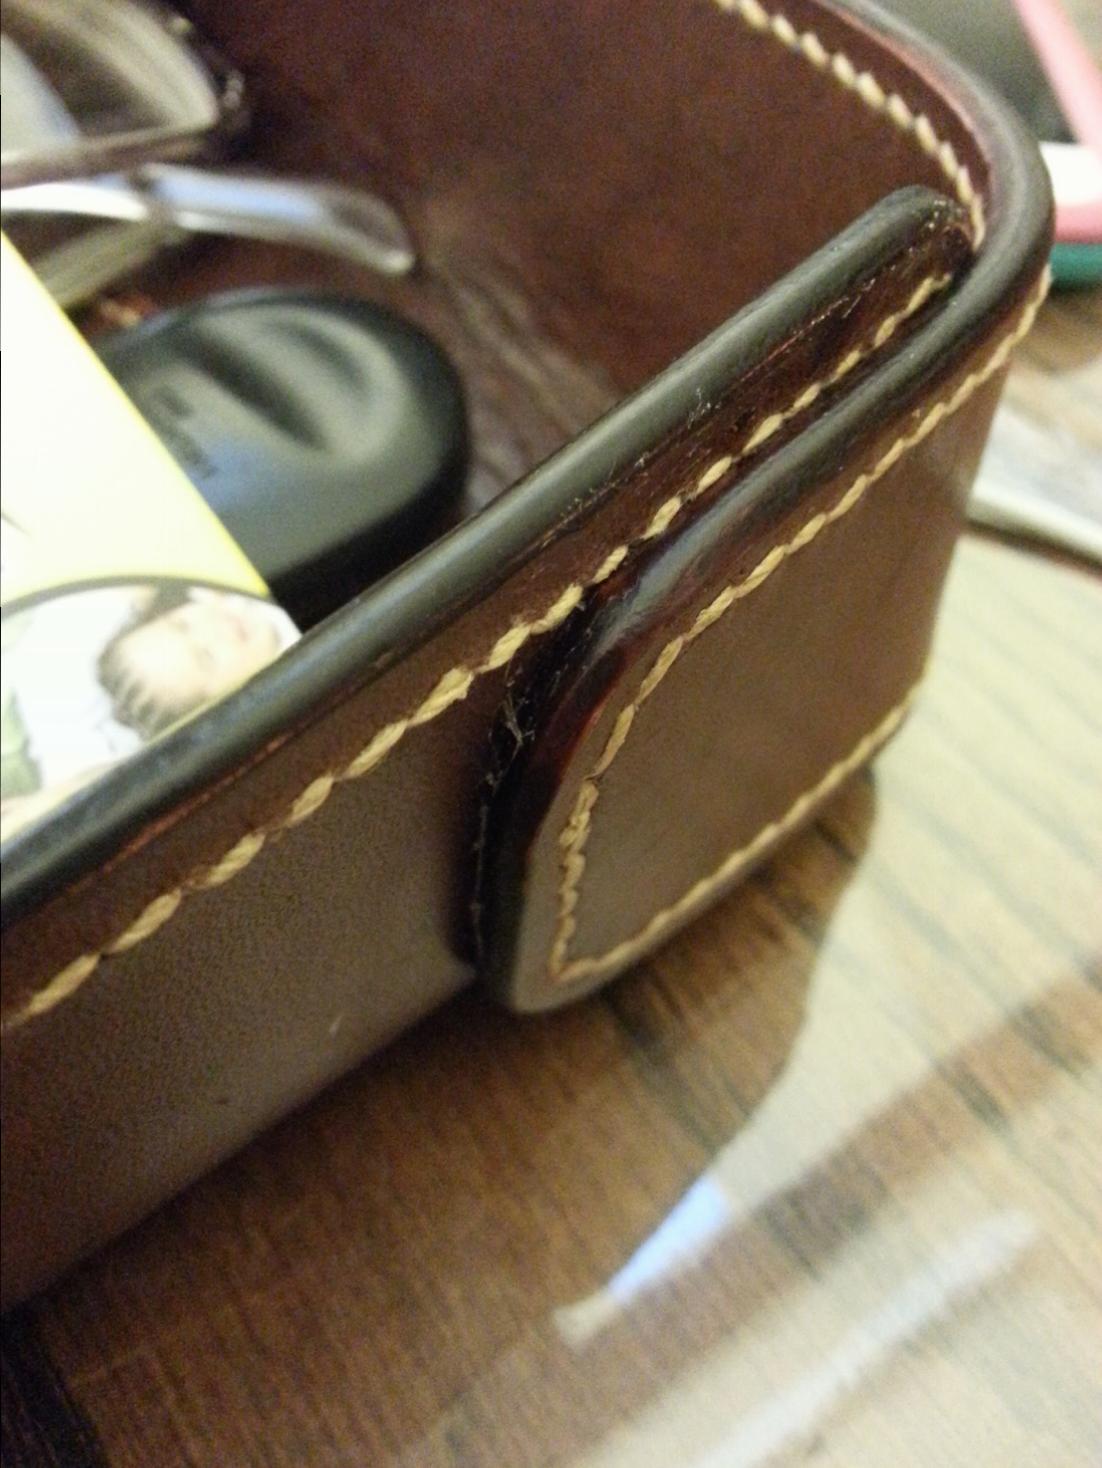
Thor, I truly appreciate your input, there is certainly a lot I do not know about leatherworking so I am all about improving my skills and techniques. I was just really unsure what you saw that needed improvement on the edges. In this case, they really are pretty decent, there is no de-lamination that would need to be hammered or re-glued. One more photo for good measure: you can see the wet look edges, and the awful wrinkles! Tandy leather is I think the culprit here... I'll use suede on the next one. YinTx
-
My take on the Valet Tray
YinTx replied to YinTx's topic in Purses, Wallets, Belts and Miscellaneous Pocket Items
Garry, Ah, thats not a glue line, its the reflection on the edge. Wonder if thats what you are seeing, Thor? I have Tiger thread, and use it, but for this particular project, I wanted the warm look of a beige linen thread, and I used a rather thick 332 thread as well. YinTx -
My take on the Valet Tray
YinTx replied to YinTx's topic in Purses, Wallets, Belts and Miscellaneous Pocket Items
Thor, I'm still missing it. What happens when you wait to long or not long enough? What is it you see wrong with the edges? YinTx -
My take on the Valet Tray
YinTx replied to YinTx's topic in Purses, Wallets, Belts and Miscellaneous Pocket Items
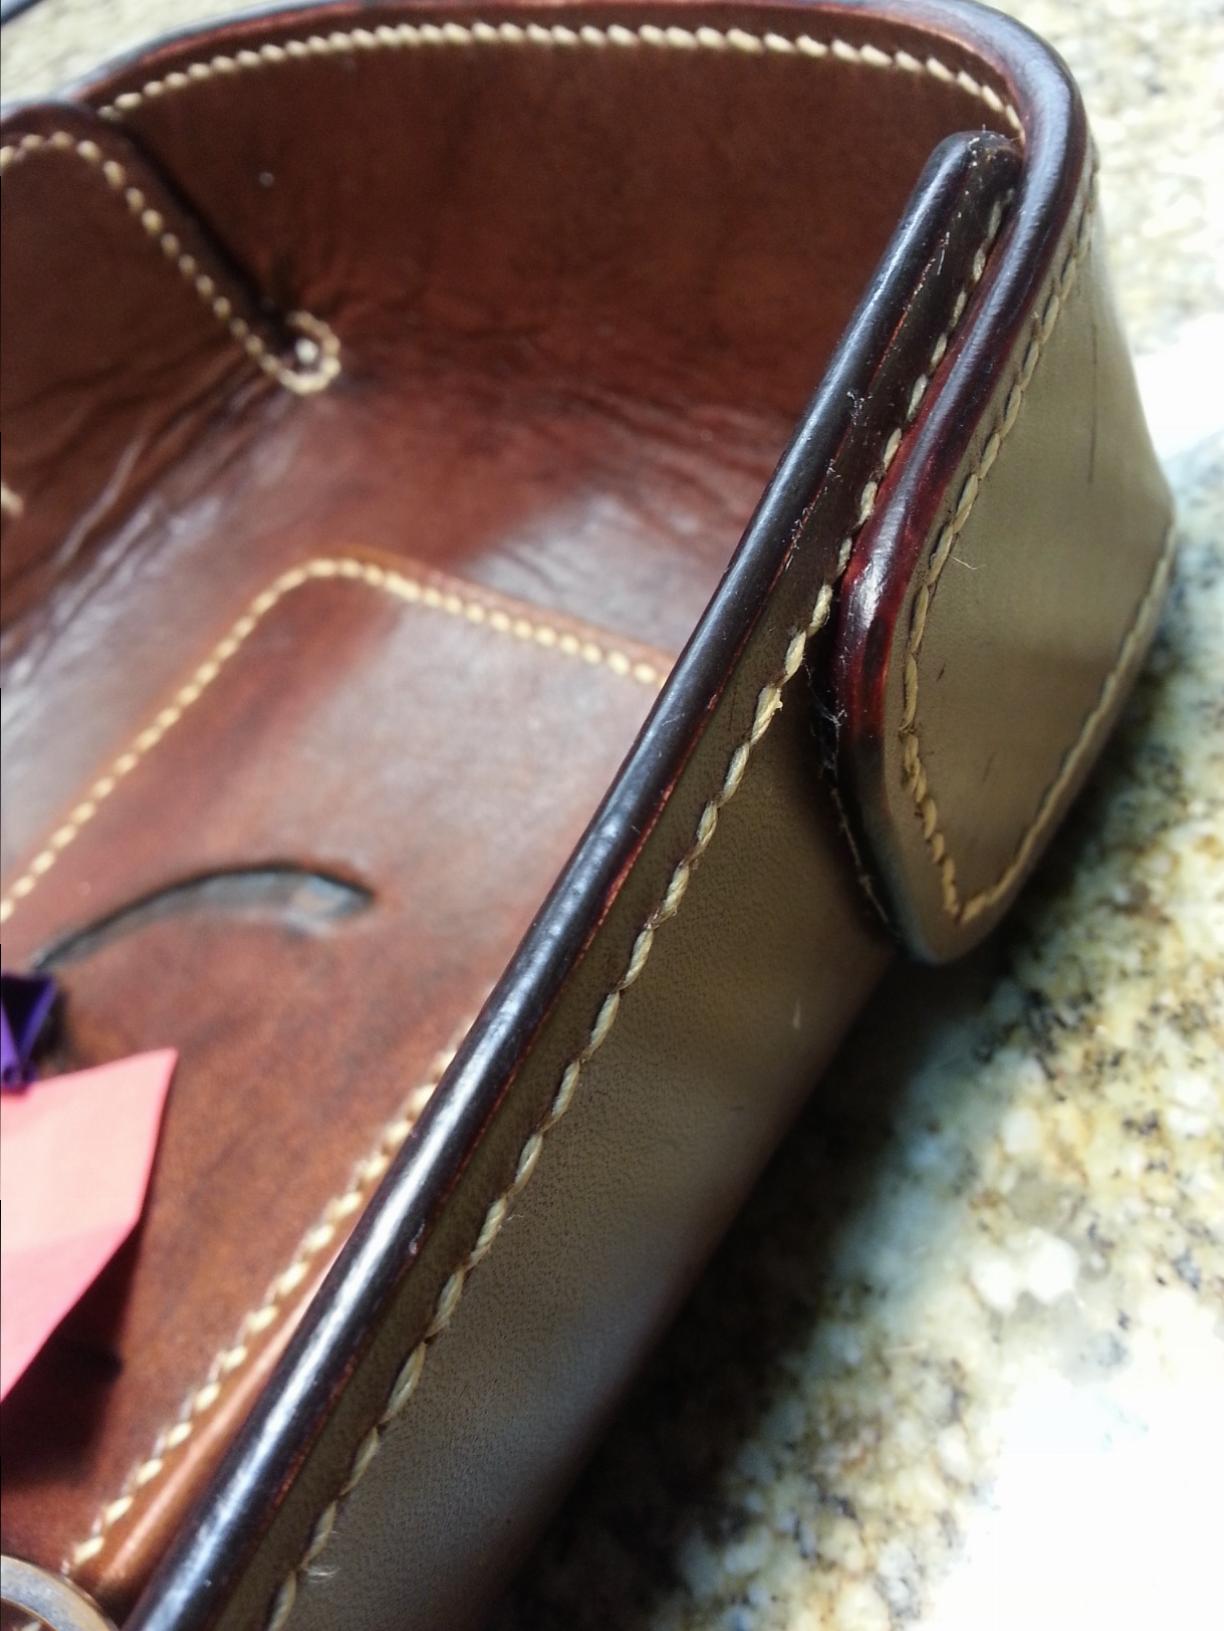
Man, Thor. And I was really proud of those glass like edges. I was more bemoaning the difficult stitching job... Here's a close up, a bit out of focus, but hey, did it with cell phone. I'm all for improving myself.. but...How can I do this better? I'm not sure I see the poor glue job that needs to be hammered down? And should I glue the entire surface of the leather, or just the outline? I did the entire surface on this one... YinTx
-
I think I may do the next one with suede on the inside. Thoughts? I covered the insert with keys, because, well, it's terrible. YinTx
-
Couple of new belts..
YinTx replied to YinTx's topic in Purses, Wallets, Belts and Miscellaneous Pocket Items
I try to match the chisel to the thread. The red belt has Tiger Thread, 0.6mm. I used a Euro style chisel on it, 3.38mm spacing. The black belt I used a chisel that I had someone buy for me from Taiwan, because it was the closest thing I could find to my Kyoshin Elle iron that is apparently discontinued. They seem to have a very similar pattern as a Blanchard iron. It is 8SPI. Both used a medium Vergez Blanchard awl. The thread is #12, (TEX 165). It looks small diameter, but when you tap it out after stitching, it looks like you see on the black belt: a bit wider, but clearly smaller than the 0.6mm Tiger. I hope this helps in some way! If you post a pic of your stitching, I'm sure a dozen others will chime in to try to help out! YinTx -
Couple of new belts..
YinTx replied to YinTx's topic in Purses, Wallets, Belts and Miscellaneous Pocket Items
The red belt is Cream 0.6mm Tiger thread. The black belt I used a waxed linen/poly blend by Henry Campbell, from The Thread exchange, http://www.thethreadexchange.com/miva/merchant.mvc?Screen=CTGY&Category_Code=WAX165BEIN. It was the first time I had used the thread, and it was enjoyable, and the end product looked pretty nice. In general I use Tiger, Fil Au Chinois Lin Cable, and Campbell's Satin Laid Linen threads, with the occasional Coats Barbour thread, depending on what I am making. My favorite by far is the Fil Au Chinois Lin Cable, but the others are all very useable and very good threads as well imho. I sell small lengths of the thread I use, but I am not a wholesaler by any means. If you are interested in trying out thread without having to buy entire rolls at $40-90 each, it is a good way to go. I think most folks will agree the Tandy thread is not the best out there, but it'll stitch...and sometimes break... etc. Thor, the black belt has already been delivered today, and the red belt has already been torn apart to replace the buckle. when I've put it back together, I'll try to take a pic, but I suspect it won't be as pretty as it was before I had to deconstruct it. I have another belt order today, so I'll try to get better pics of the keeper next go round. Thanks for the complement, by the way. I also saw your lion bin lid, incredible work. I may only be able to dream of making something so nice. I'm still trying to learn how to hammer a straight border on something. YinTx -
Couple of new belts..
YinTx replied to YinTx's topic in Purses, Wallets, Belts and Miscellaneous Pocket Items
Thank you CraftyNick. yes they are both saddle stitched. Unfortunately I had to tear the red one apart since the buckle I stitched in turned out to have a sharp inside edge that destroyed the burnished edges of the belt. Now it'll be a freebie gift to someone, and I'll have to make another for the customer. Bah. Live and learn, check your buckles before you buy! Save a lot of heartache down the road. Delivering the black one today, hopefully this customer likes it! YinTx -
Scrap Leather Smart Phone Case
YinTx replied to ozhank's topic in Purses, Wallets, Belts and Miscellaneous Pocket Items
Watch this fun video, and at about 9:09 you will see what they use to fill in some pretty heinous gouges on veg tan leather these days. As an added bonus, they show you how they make the new leather you find peeling off of your leather couches and chairs. YinTx -
Ok, I'm confused about the experiences I've been reading about the Tandy EcoFlo Waterstains (made by Fenice for Tandy). I have just used some the other day, medium brown. I used a cotton ball, and rubbed it in like the instructions said. Went on oily, almost waxy, but after about 1 or 2 minutes of working it in, the leather was plenty dark. Then I wiped it dry, and left it for a day or so. You couldn't rub off a spec of brown if you wanted too with a rag, you'd have to get after it with some sand paper. Which I did so I could glue some pieces together, that was a tough finish. And I've read about it cracking, but I've bent it back and forth several times, no cracking. I kind of like the stuff, it didn't leave the leather all dry and hard like the Pro Oil dyes, but a nice even lustrous finish. Anyone know why such a difference in experiences? YinTx
-
Awesome, thanks for that. I just got some waterstain (Fenice) in black that I'm going to try out... I've heard that you can dye a holster with it and dip it to wet mold, and no bleed. Am hoping to use it for things like belt liners... if anyone has experience with this, it would be nice to know too. Can you get the WaterStains in CA? YinTx
-
The current color is awesome, and has a wonderful patina. The contrast stitching looks great as well. I think if you tried to re-dye them you'd lose that, and might not be happy with the end result. I like the clean em up, seal em and wear em approach, myself! anyhow, my .02, for what its worth. YinTx
-
98 dummy guns for sale
YinTx replied to Davis's topic in Gun Holsters, Rifle Slings and Knife Sheathes
I'd like to buy the sig P220 and P226, the Glock 19 9 and 17 9 please... YinTx -
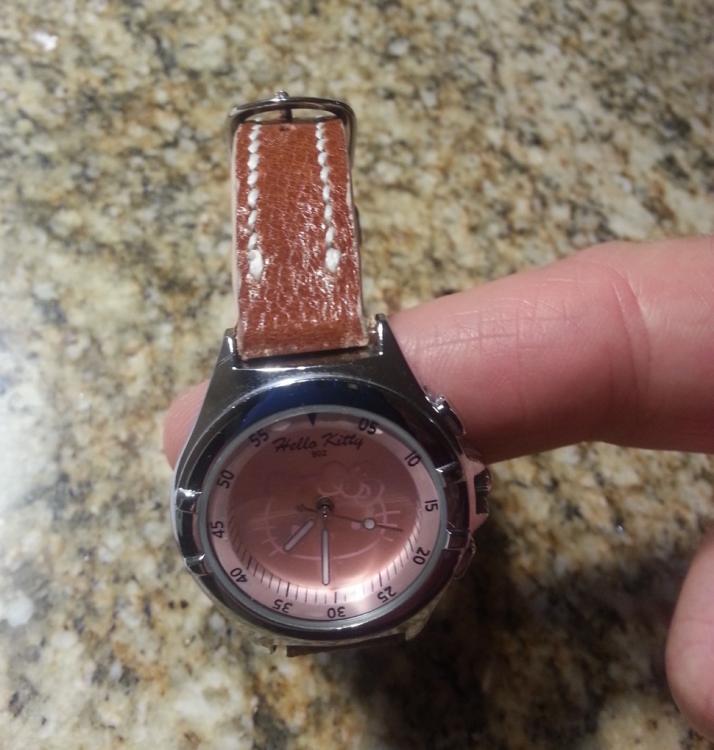
Thanks Rick. I did learn that little errors really show on little things! The point didn't come out quite as well as I wanted, so just means I'll try it again with a different leather. YinTx
-
Watch on my finger, for size comparison... and, I had to reverse the straps.. had em on backwards for the photos! Oh well... live and learn.
-
Thor, 10SPI pricking iron, and small Vergez Blanchard Awl. YinTx