spacedog
-
Posts
235 -
Joined
-
Last visited
Content Type
Profiles
Forums
Events
Blogs
Gallery
Store
Everything posted by spacedog
-
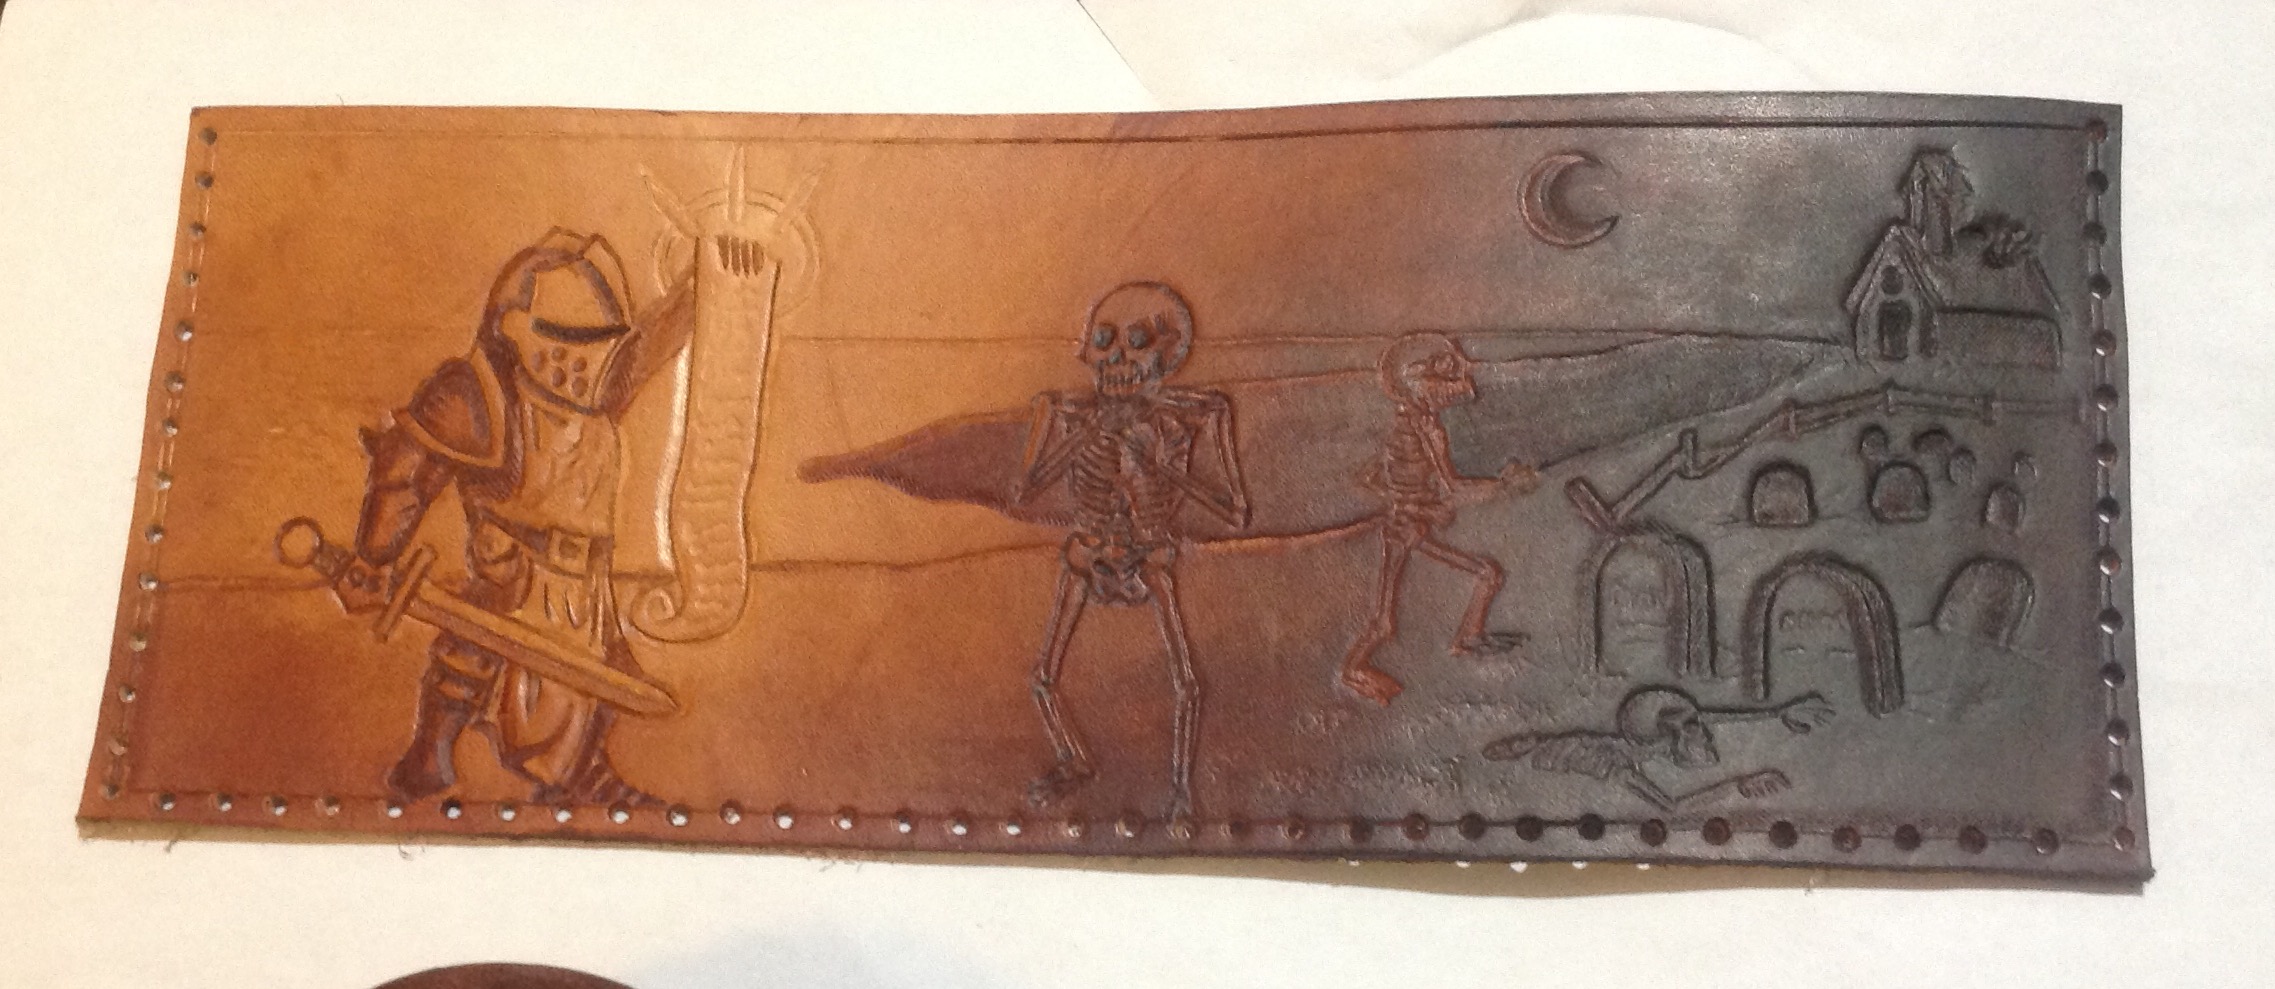
I made this for friend that wanted a pocket notepad. It's meant to be humorous, as he's a real character, and since he is using pen and paper instead of a cellphone to take notes. I used a black antique gel on the un-dyed leather.

-
horse Horse Padfolio
spacedog replied to YinTx's topic in Purses, Wallets, Belts and Miscellaneous Pocket Items
Nicely done. -
Always amazed at how your figures practically jumping off the leather. Very well done.
-
Male Nightingale Armor Skyrim - WIP
spacedog replied to PerniciousDuke's topic in Historical Reenactment
Wow. Nice work PerniciousDuke. That turned out great. -
Thanks. Thank you. I've given them to my sons and friends.
-
Thanks.
-
Thanks. Well, here is the end results. I am pleased with the outcome. If anyone has any critiques or questions, they are welcome.
-
Album cover bag
spacedog replied to gordond's topic in Purses, Wallets, Belts and Miscellaneous Pocket Items
I really like this. Nice work on a very unique item. -
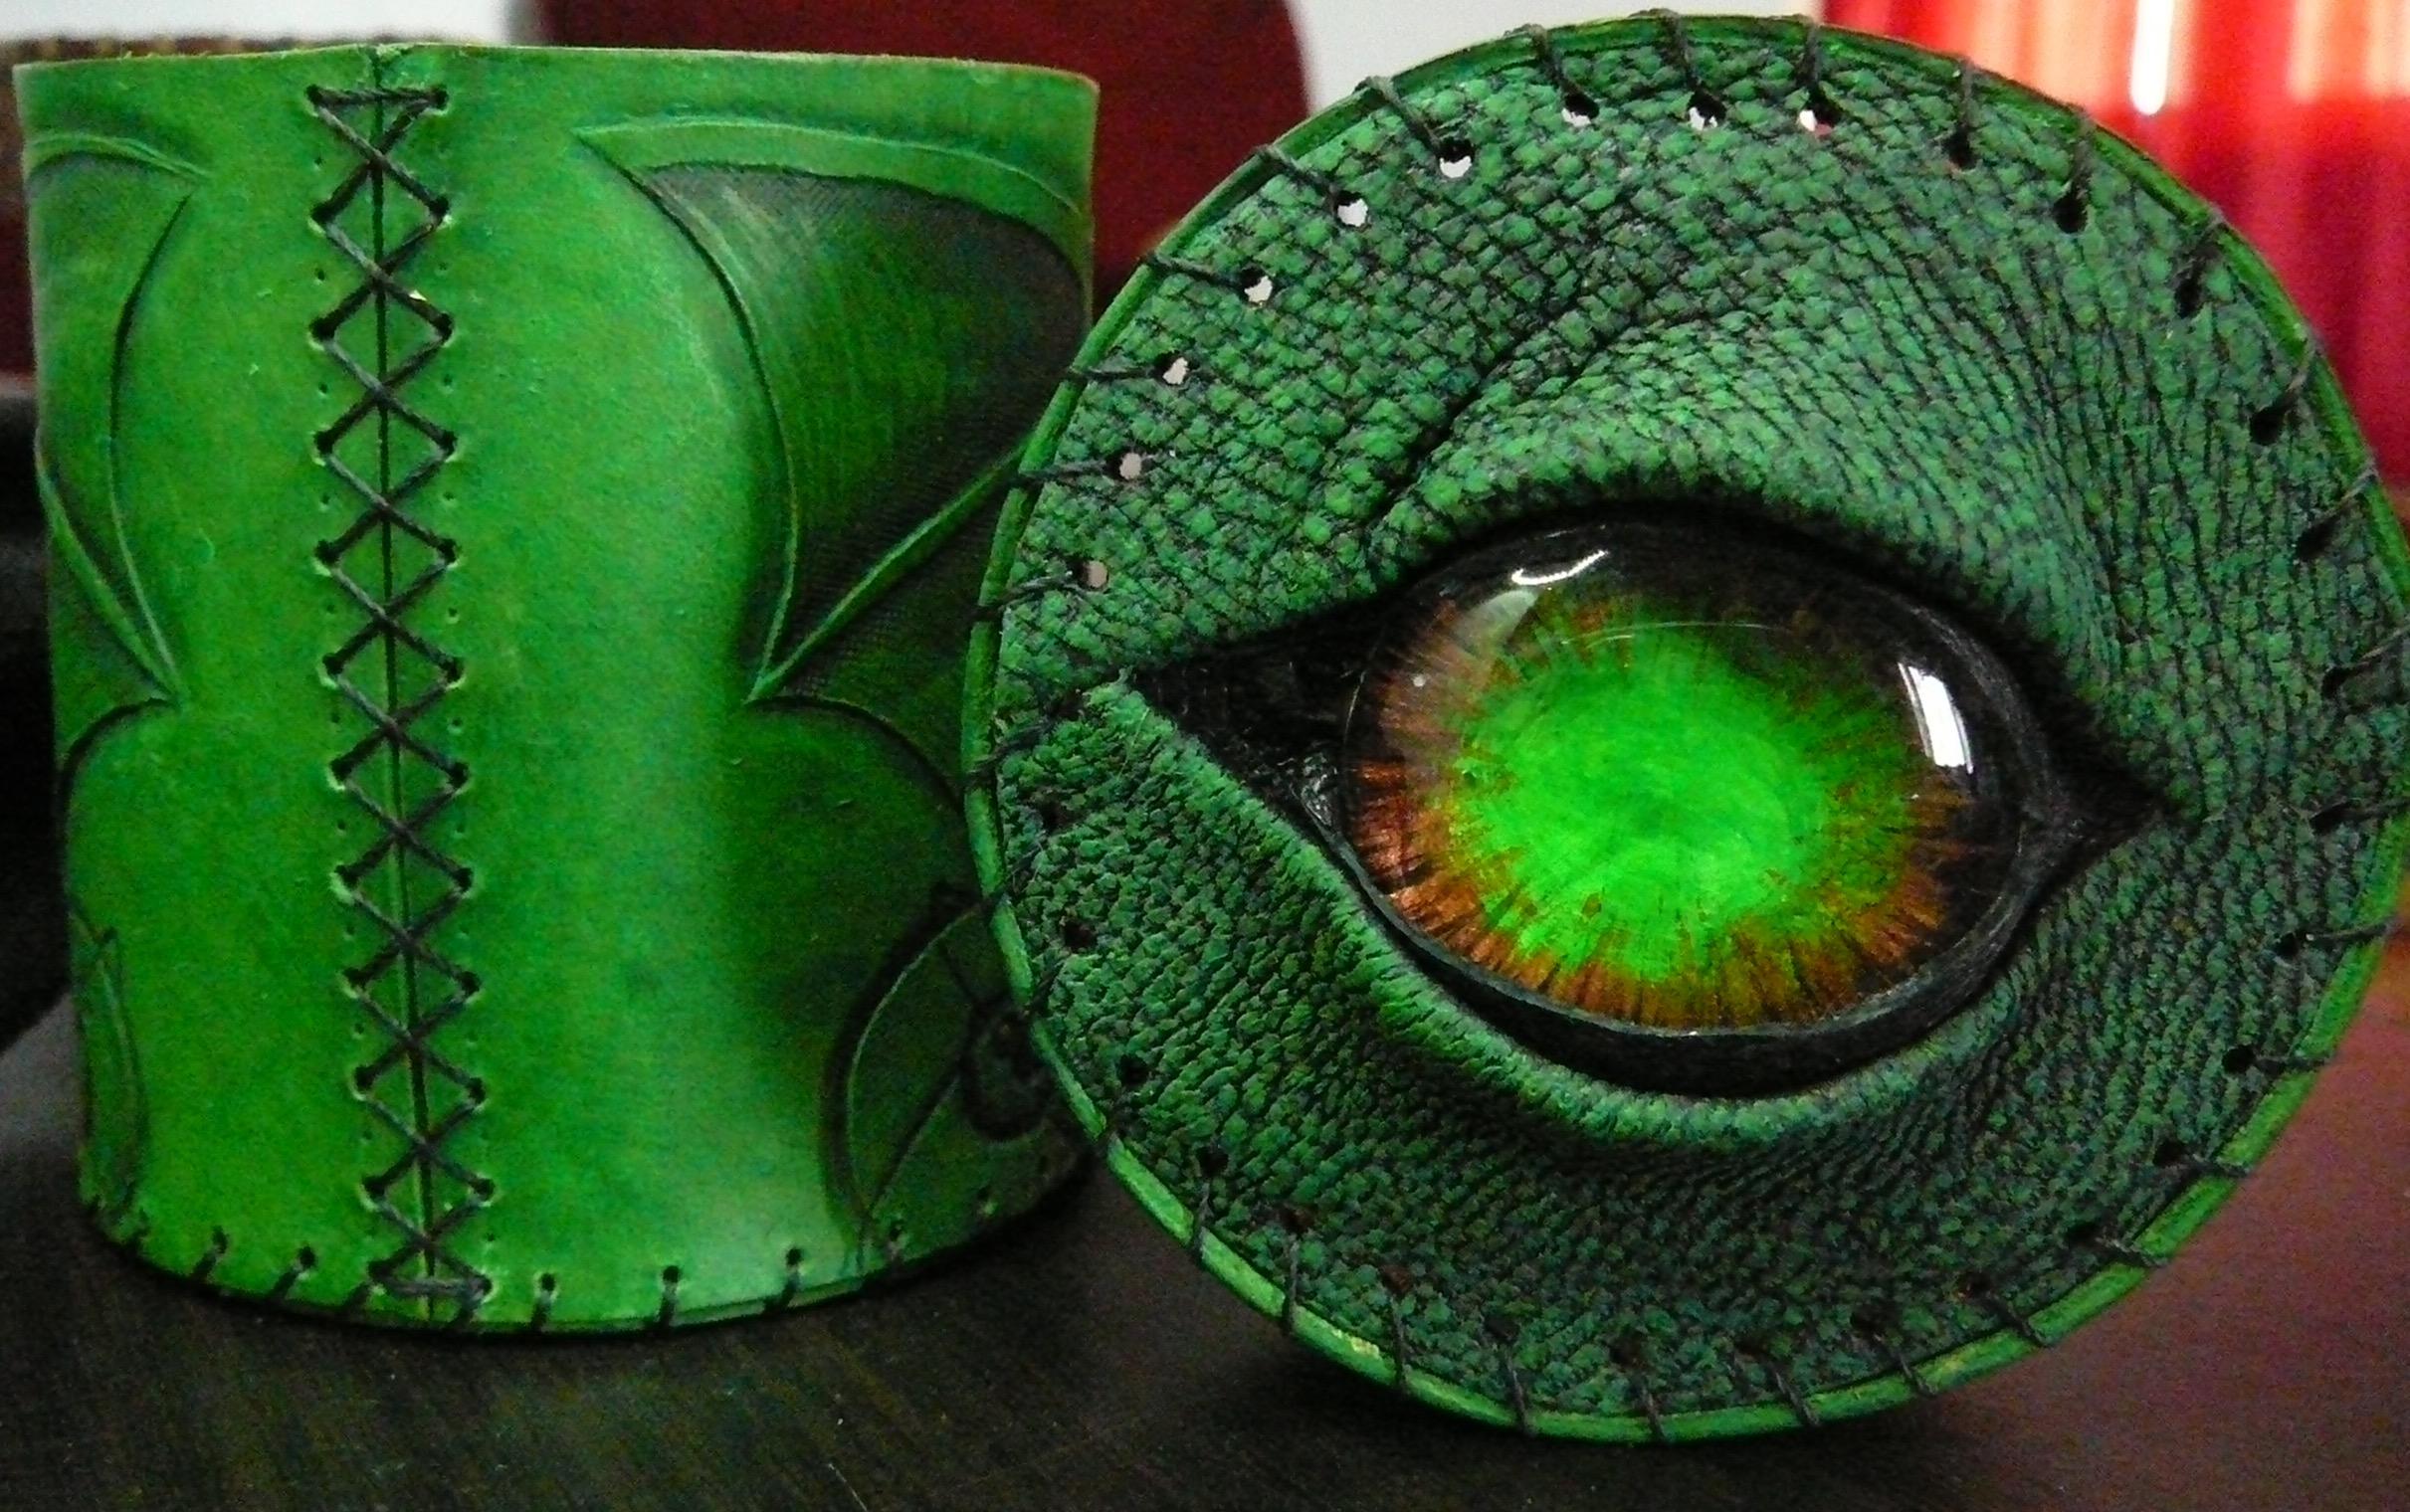
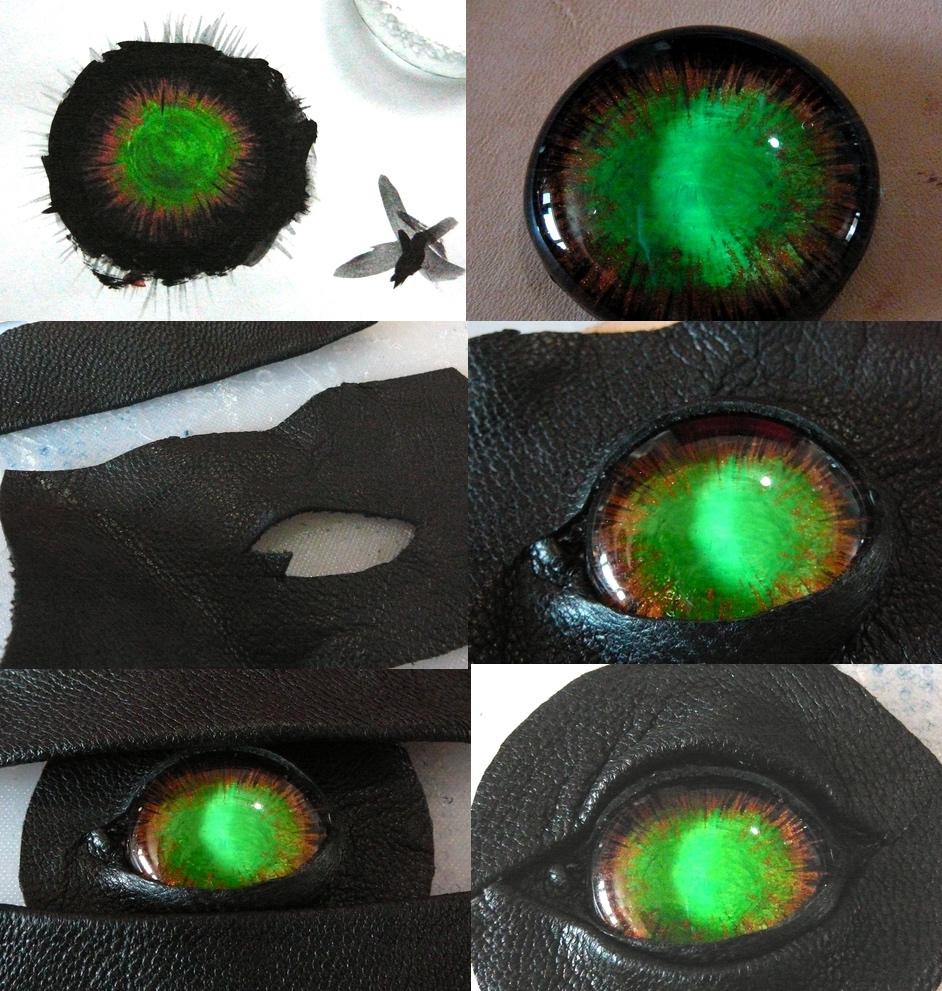
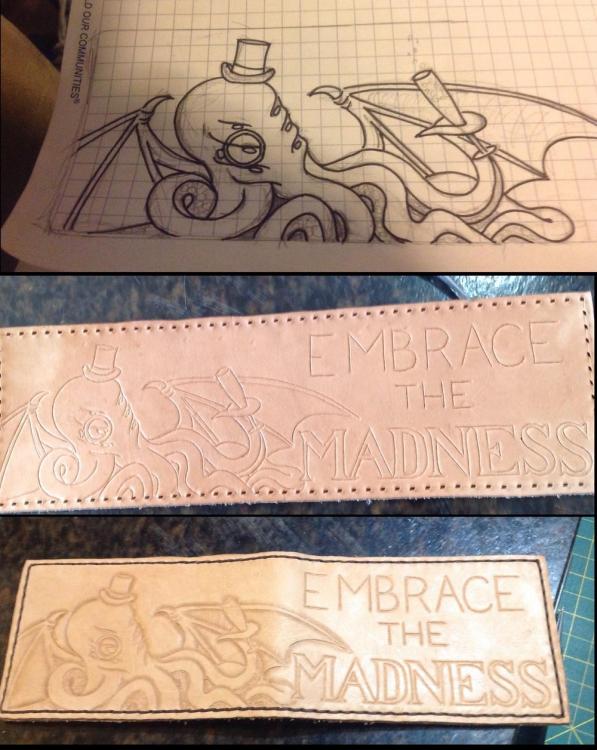
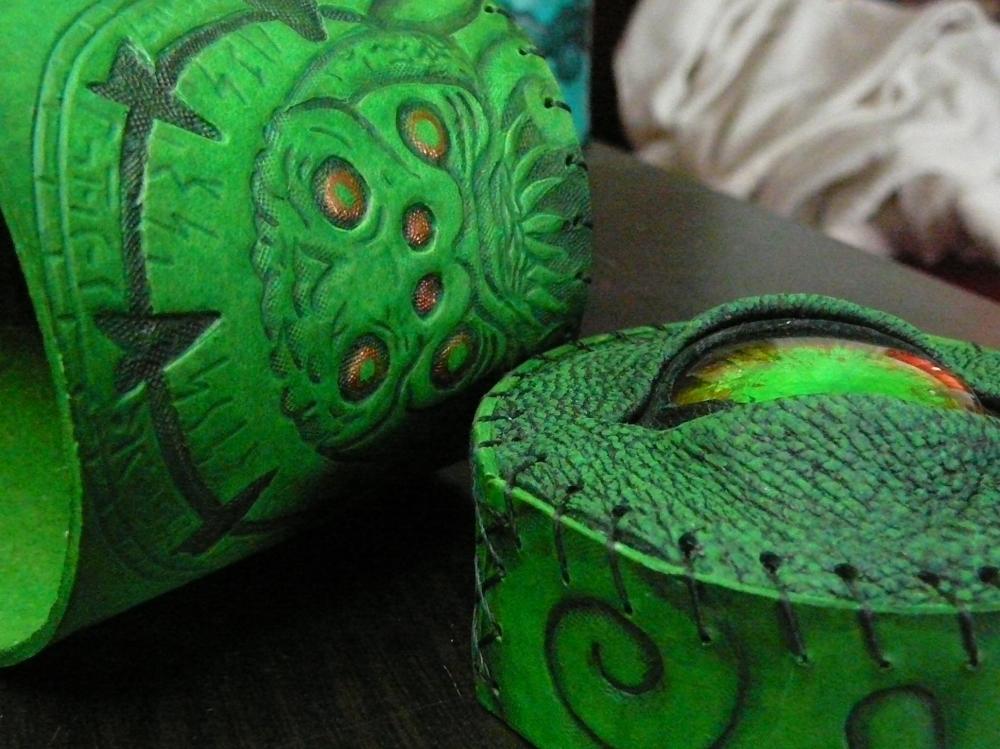
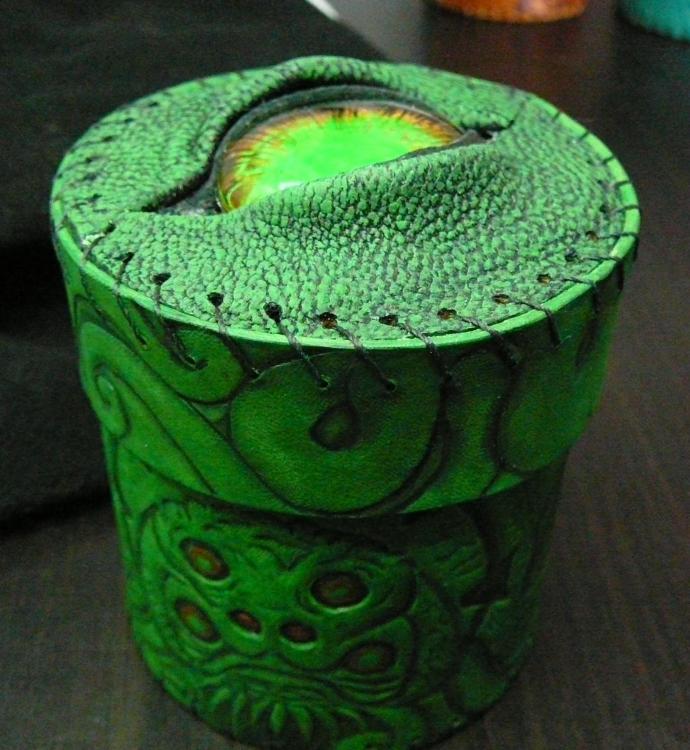
Thanks again for the feedback, @kiwican It is always fun when you can turn an idea into something you can hold. For this dice cup I want to go over the top and make the lid something other than tooled leather, something closer to, well, something creepy or strange. I crunched all the photos into a single image to show how I did it, but first I'll give you a rundown. I painted an "eye" on a piece of paper, glued it to the back of a glass bead, and then glued that to the leather lid. I have some scraps of black pigskin and cut one to fit over the bead and two more as folds to put around it. I glued those in place in stages, meaning I only put glue, contact cement, on small areas of the leather parts at a time. That way I could pull on the leather to stretch it to where I want it. Once the contact cement grabs hold you can't move it, so if I had tried to glue it all in one go, it would take a lot of luck to get it the way I wanted it. Anyway, this lid is a long ways from done, but here is what it looks like for now. I would love to know what you think, and thanks for following along.

-

-
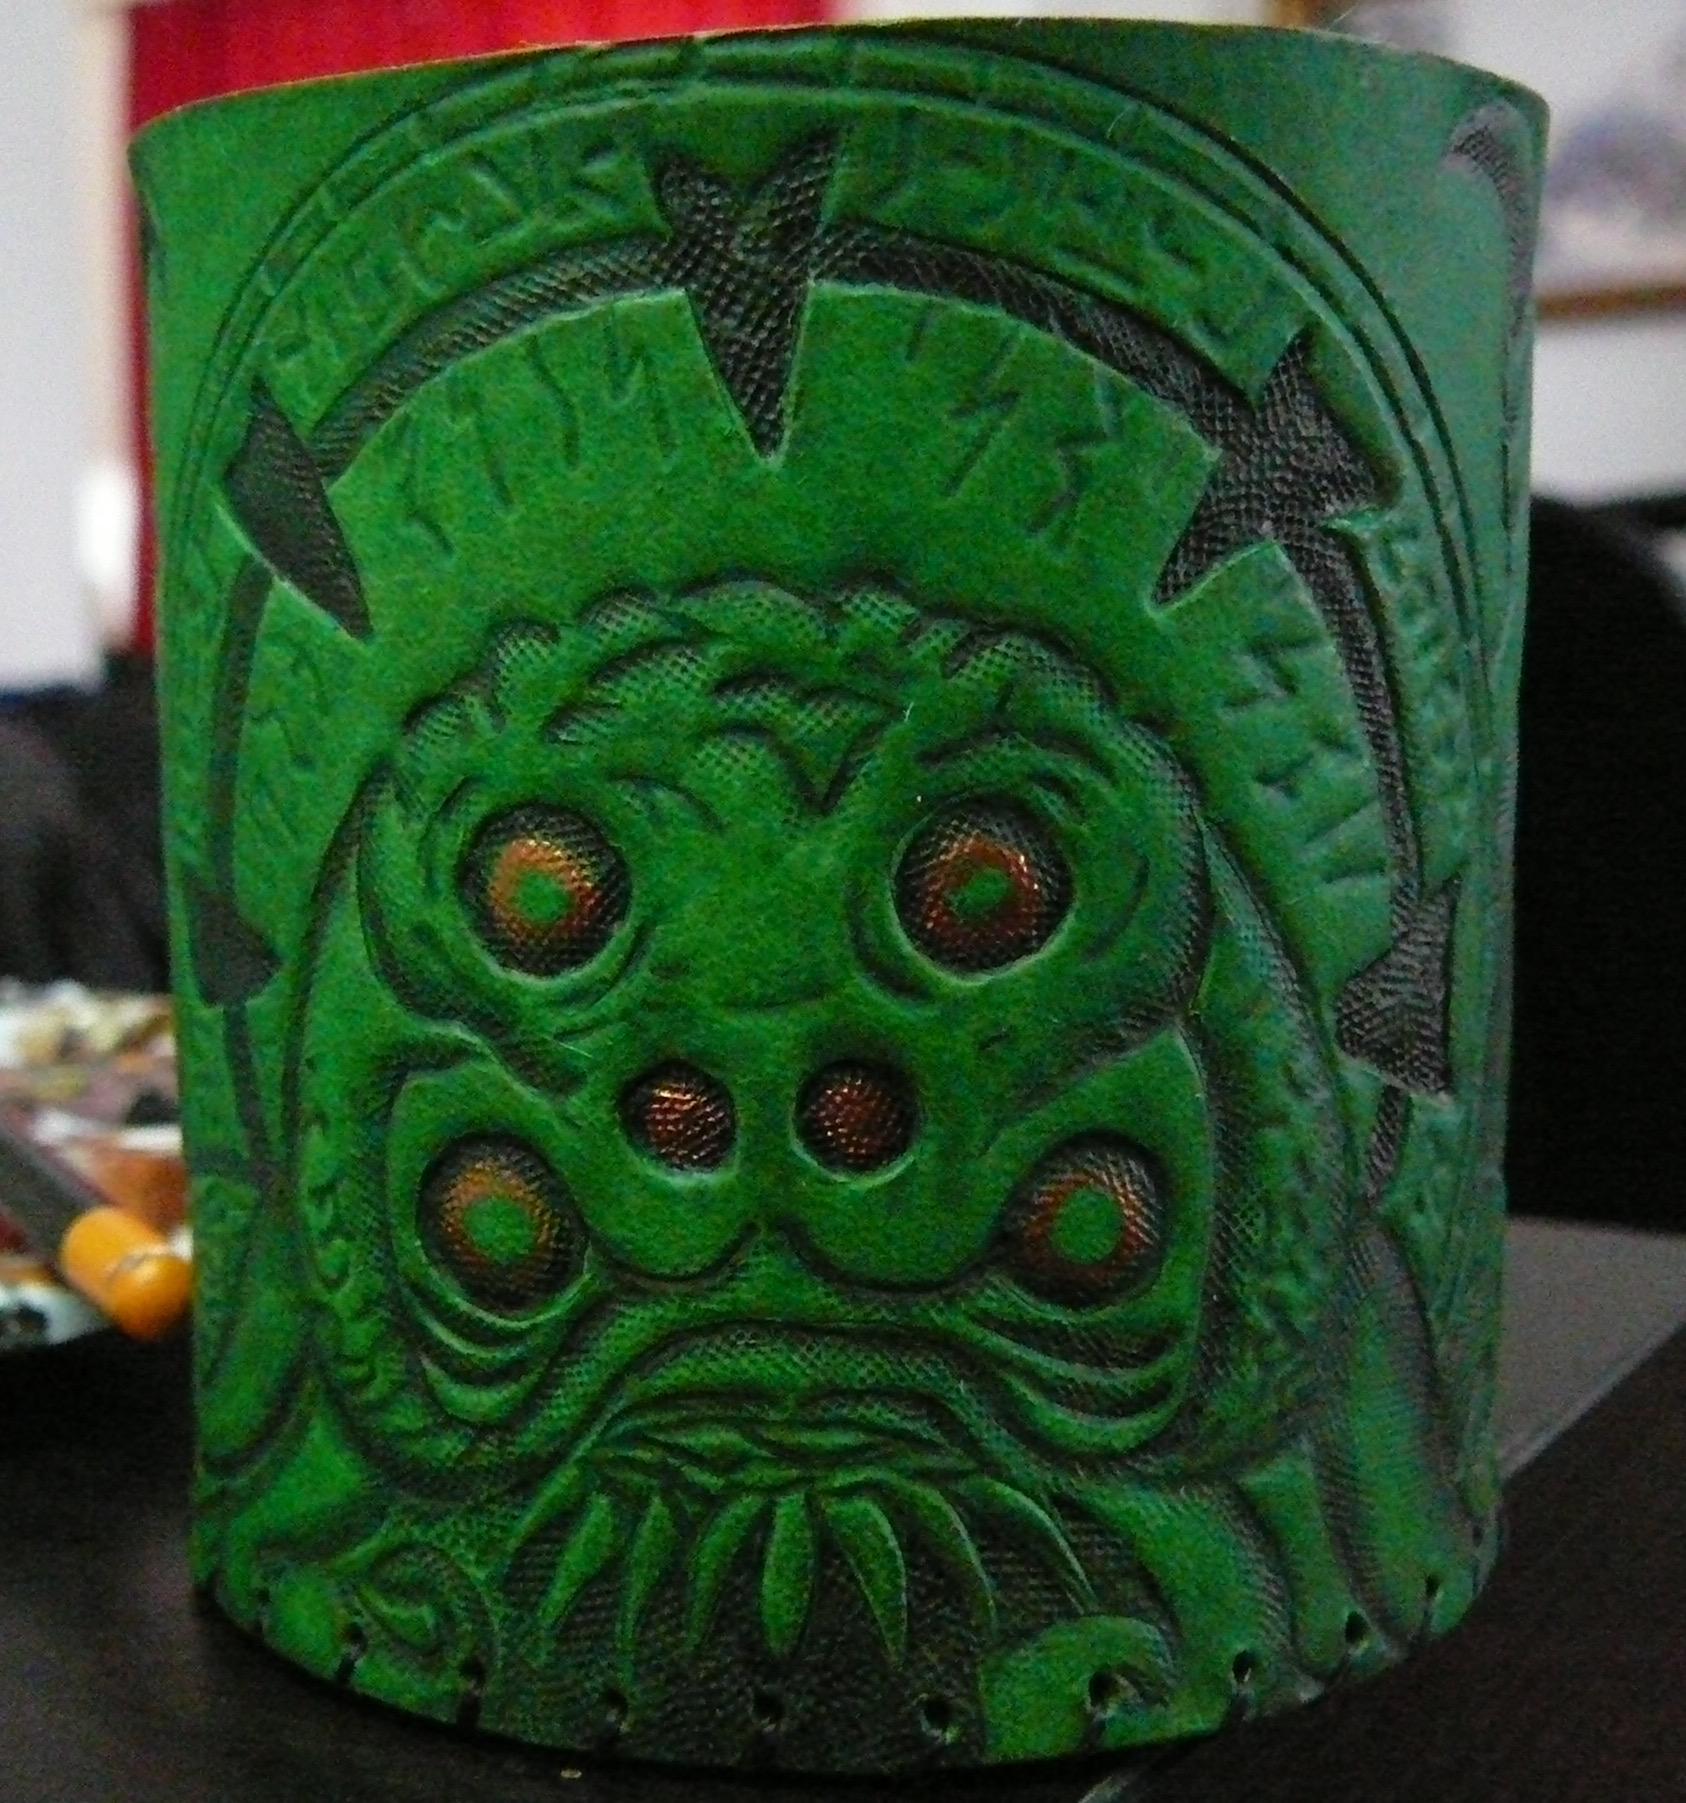
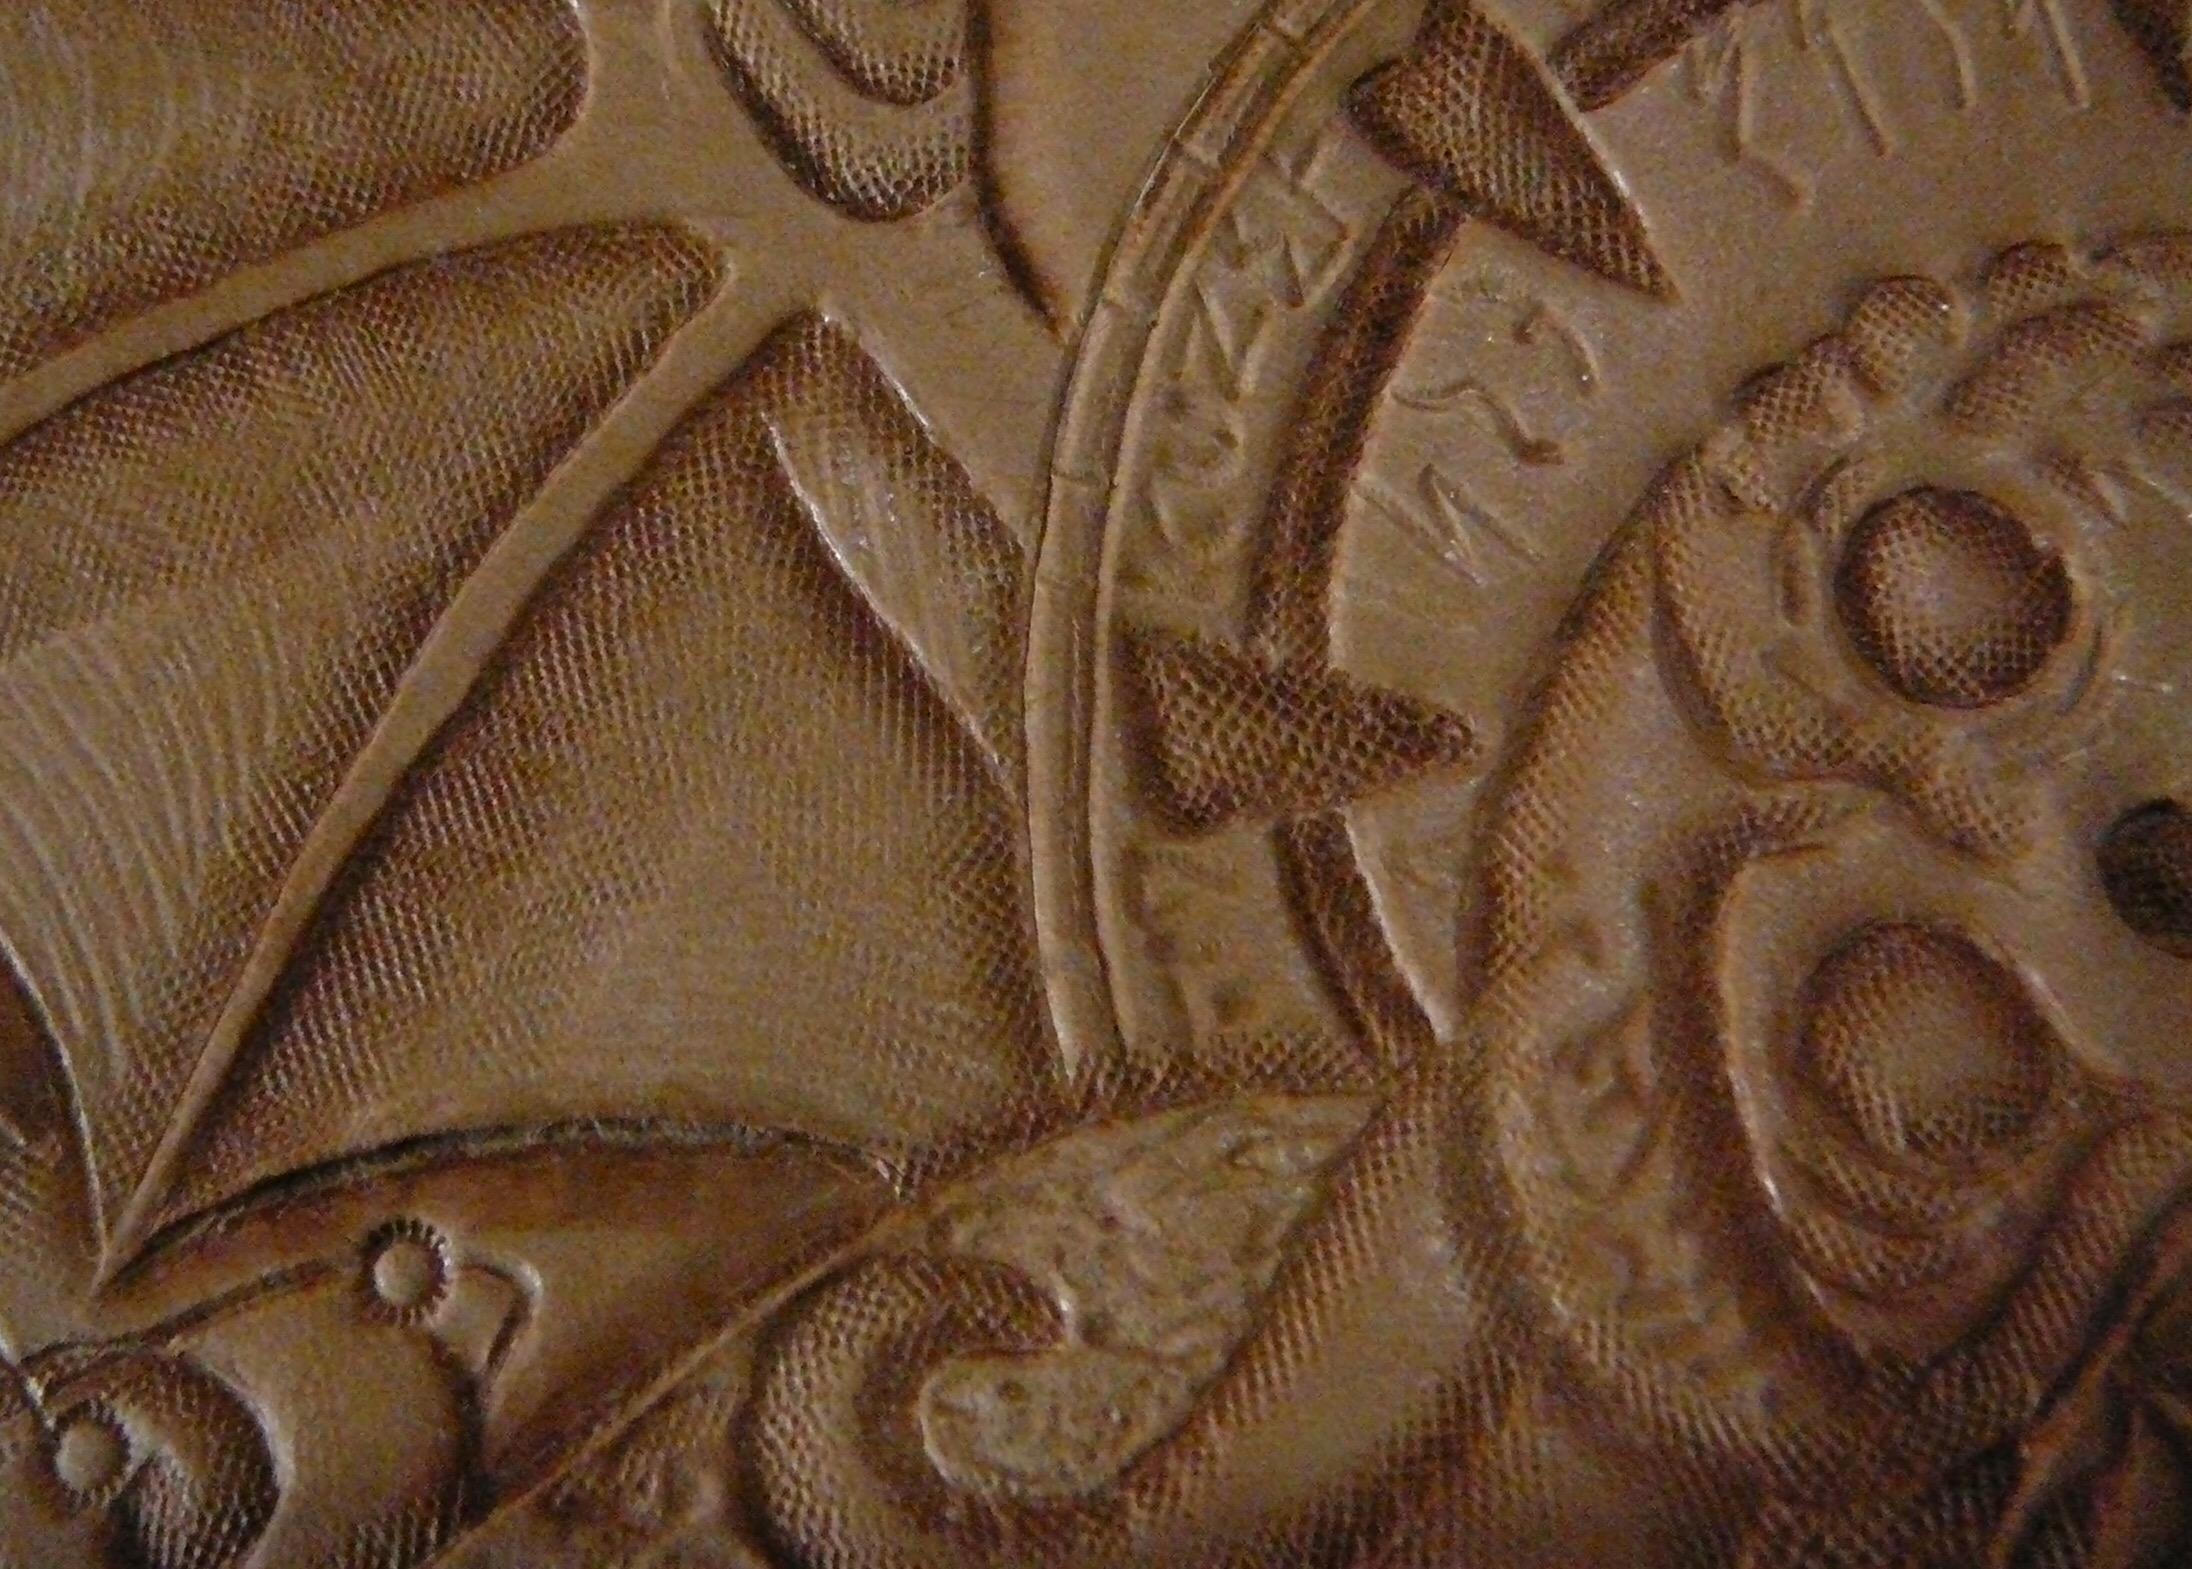
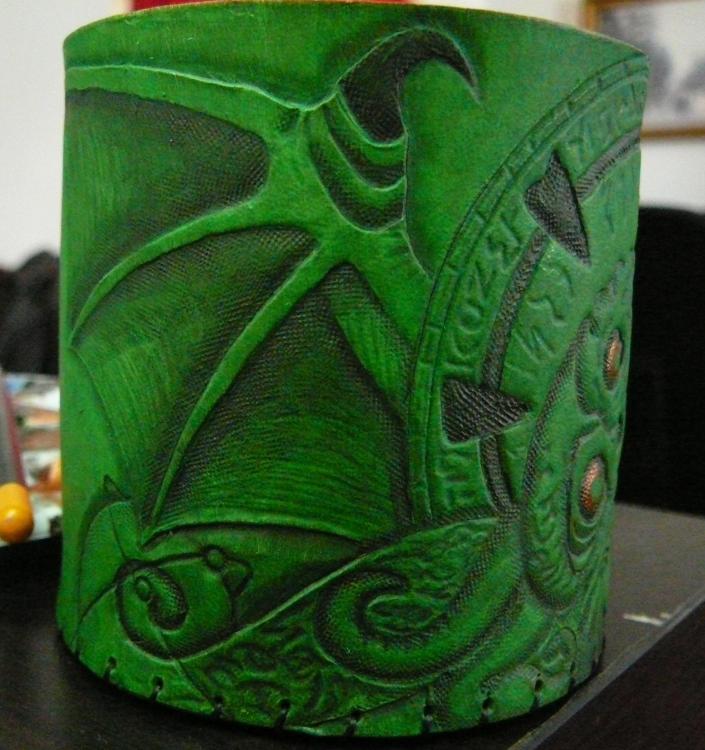
The dye worked out pretty good. I used a fine brush to add the black dye in the details, once the green was dry, and the copper is acrylic paint. Next I have to make the lid.

-
Thanks. Yours is very cool too. It is fun to make these small projects and do some figure carving. I've decided to go with green, which I find a bit difficult, but Cthulhu is watching...
-
Thanks. I've started making another one inspired by some artwork of Cthulhu in the game Darkest Dungeon. I am tempted to dye it red, but green is probably what it will end up.

-
Thanks.
-
That is gorgeous. Awesome color fade, great lettering. Bravo.
-
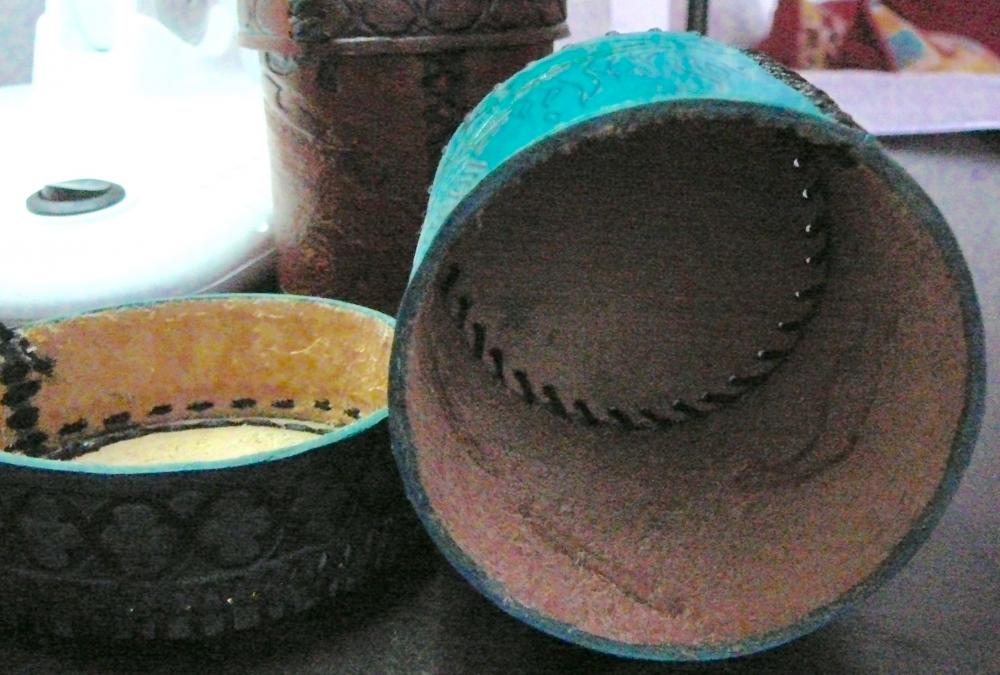
Here is the last dice cup. I messed up the stitching a bit, but on the whole it turned out okay.
-
No problem. Well, except for my lack of photography skills. Here are the outside seams. Here is the inside.

-
I'm working on a third one. The transition from dark to light is making it a bit challenging.

-
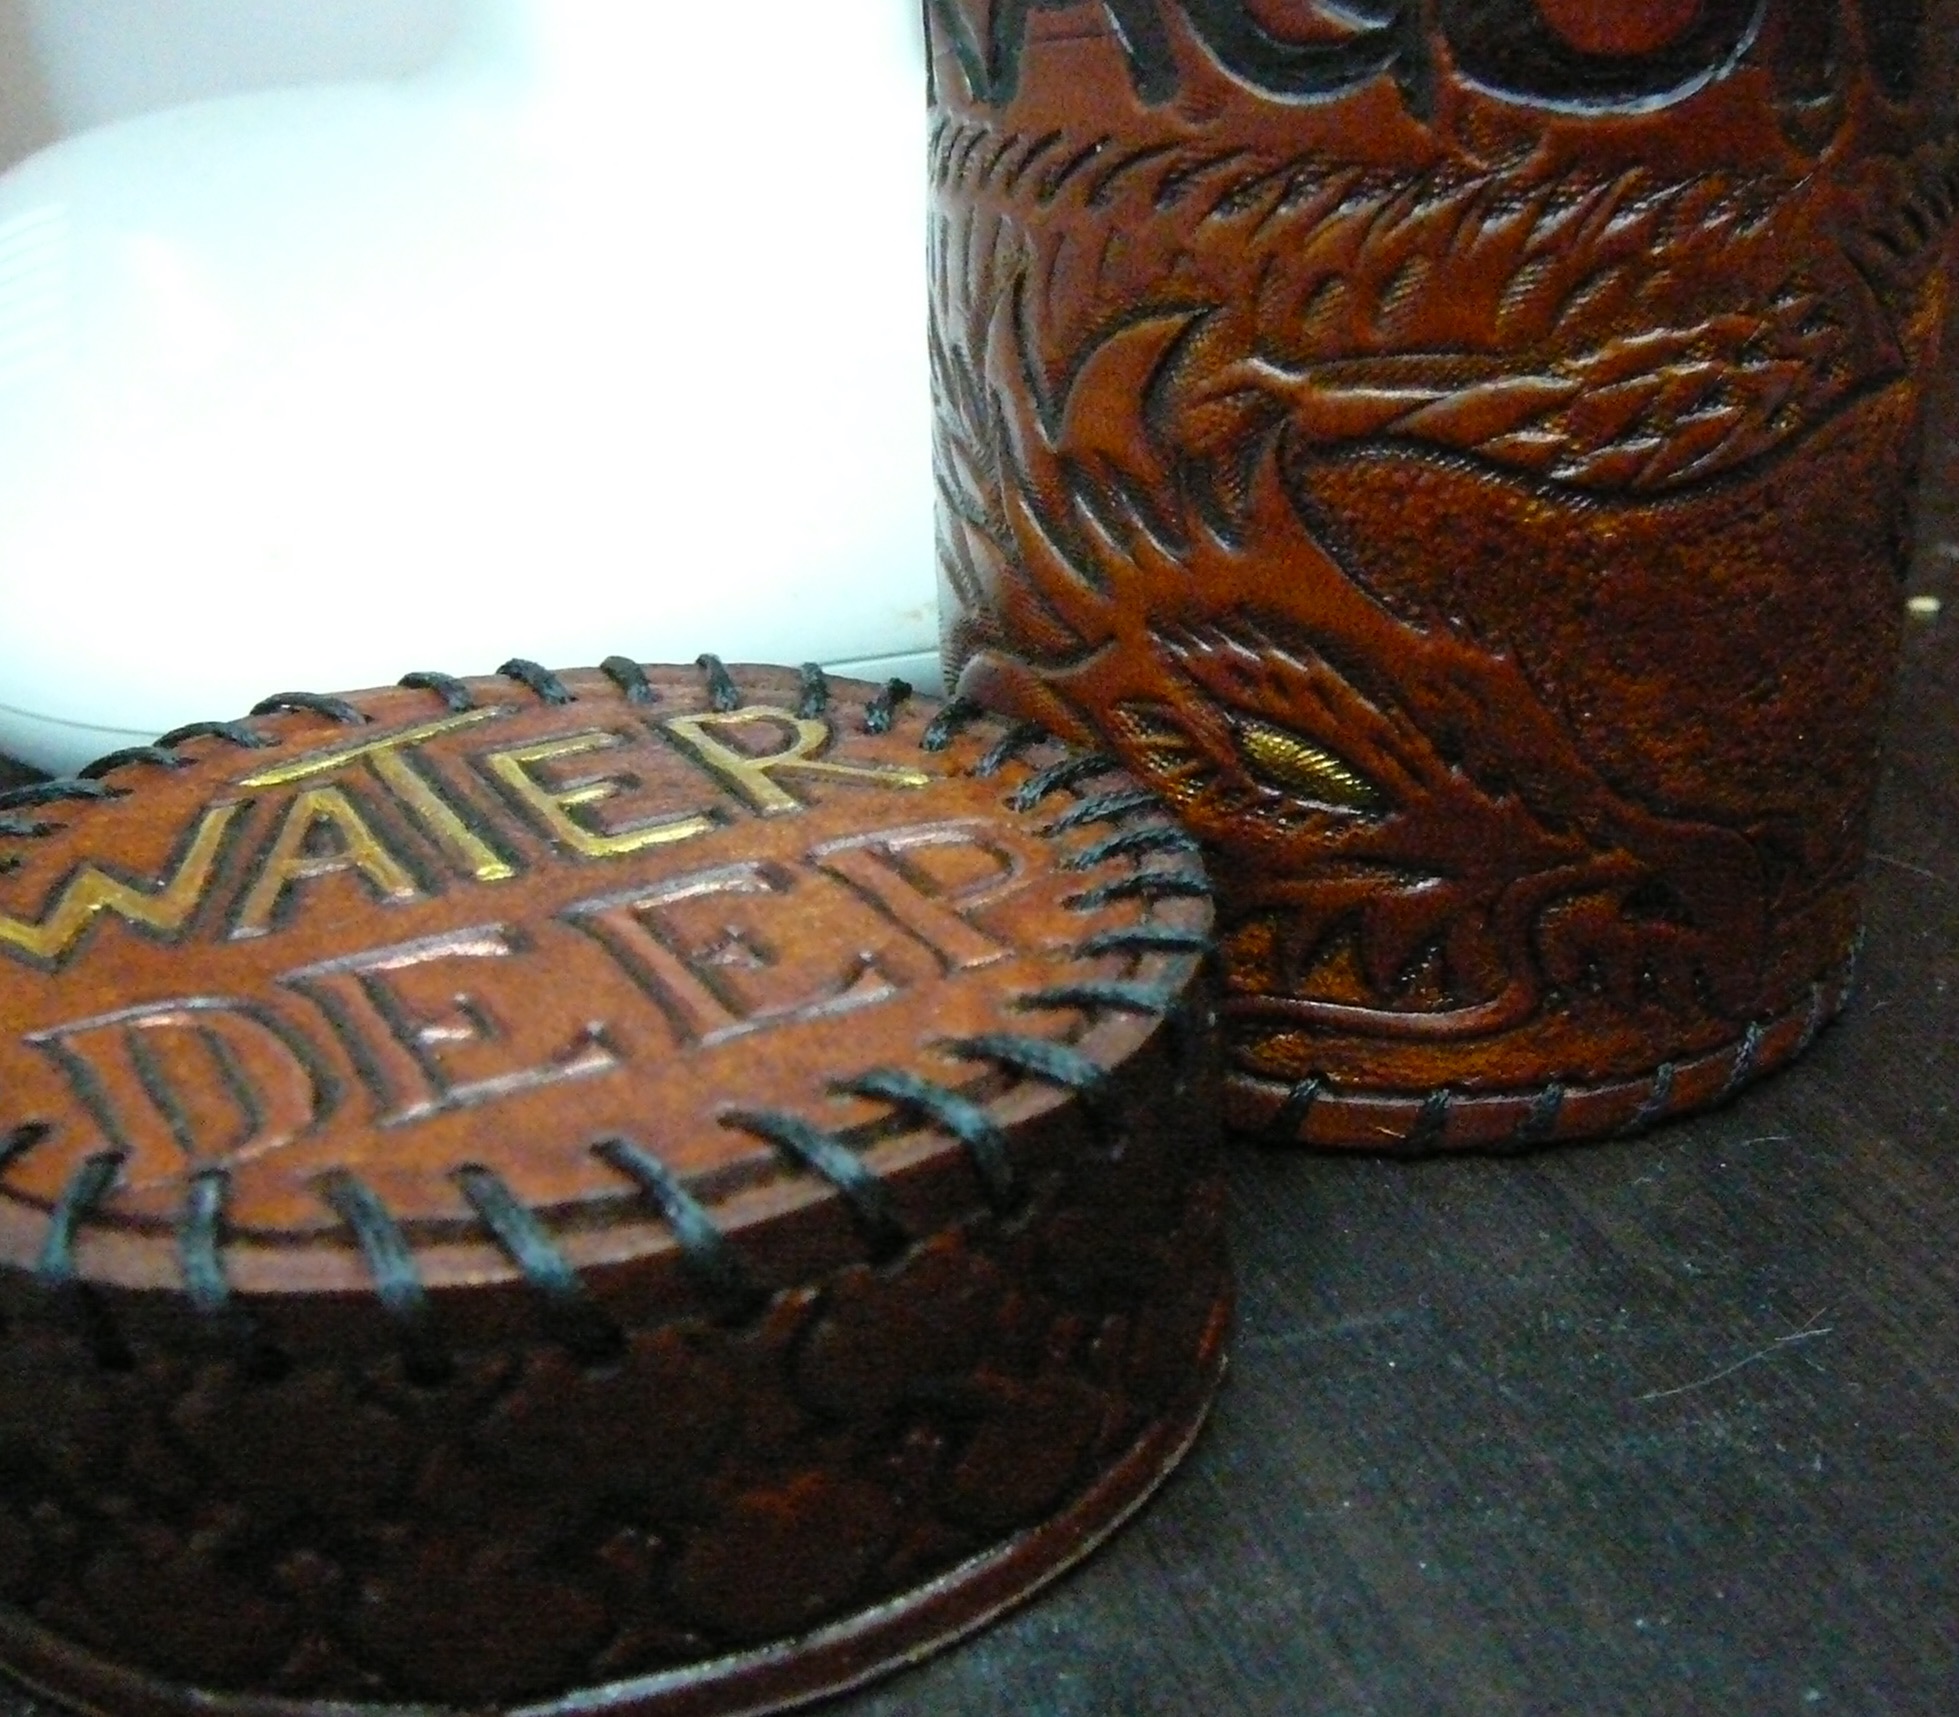
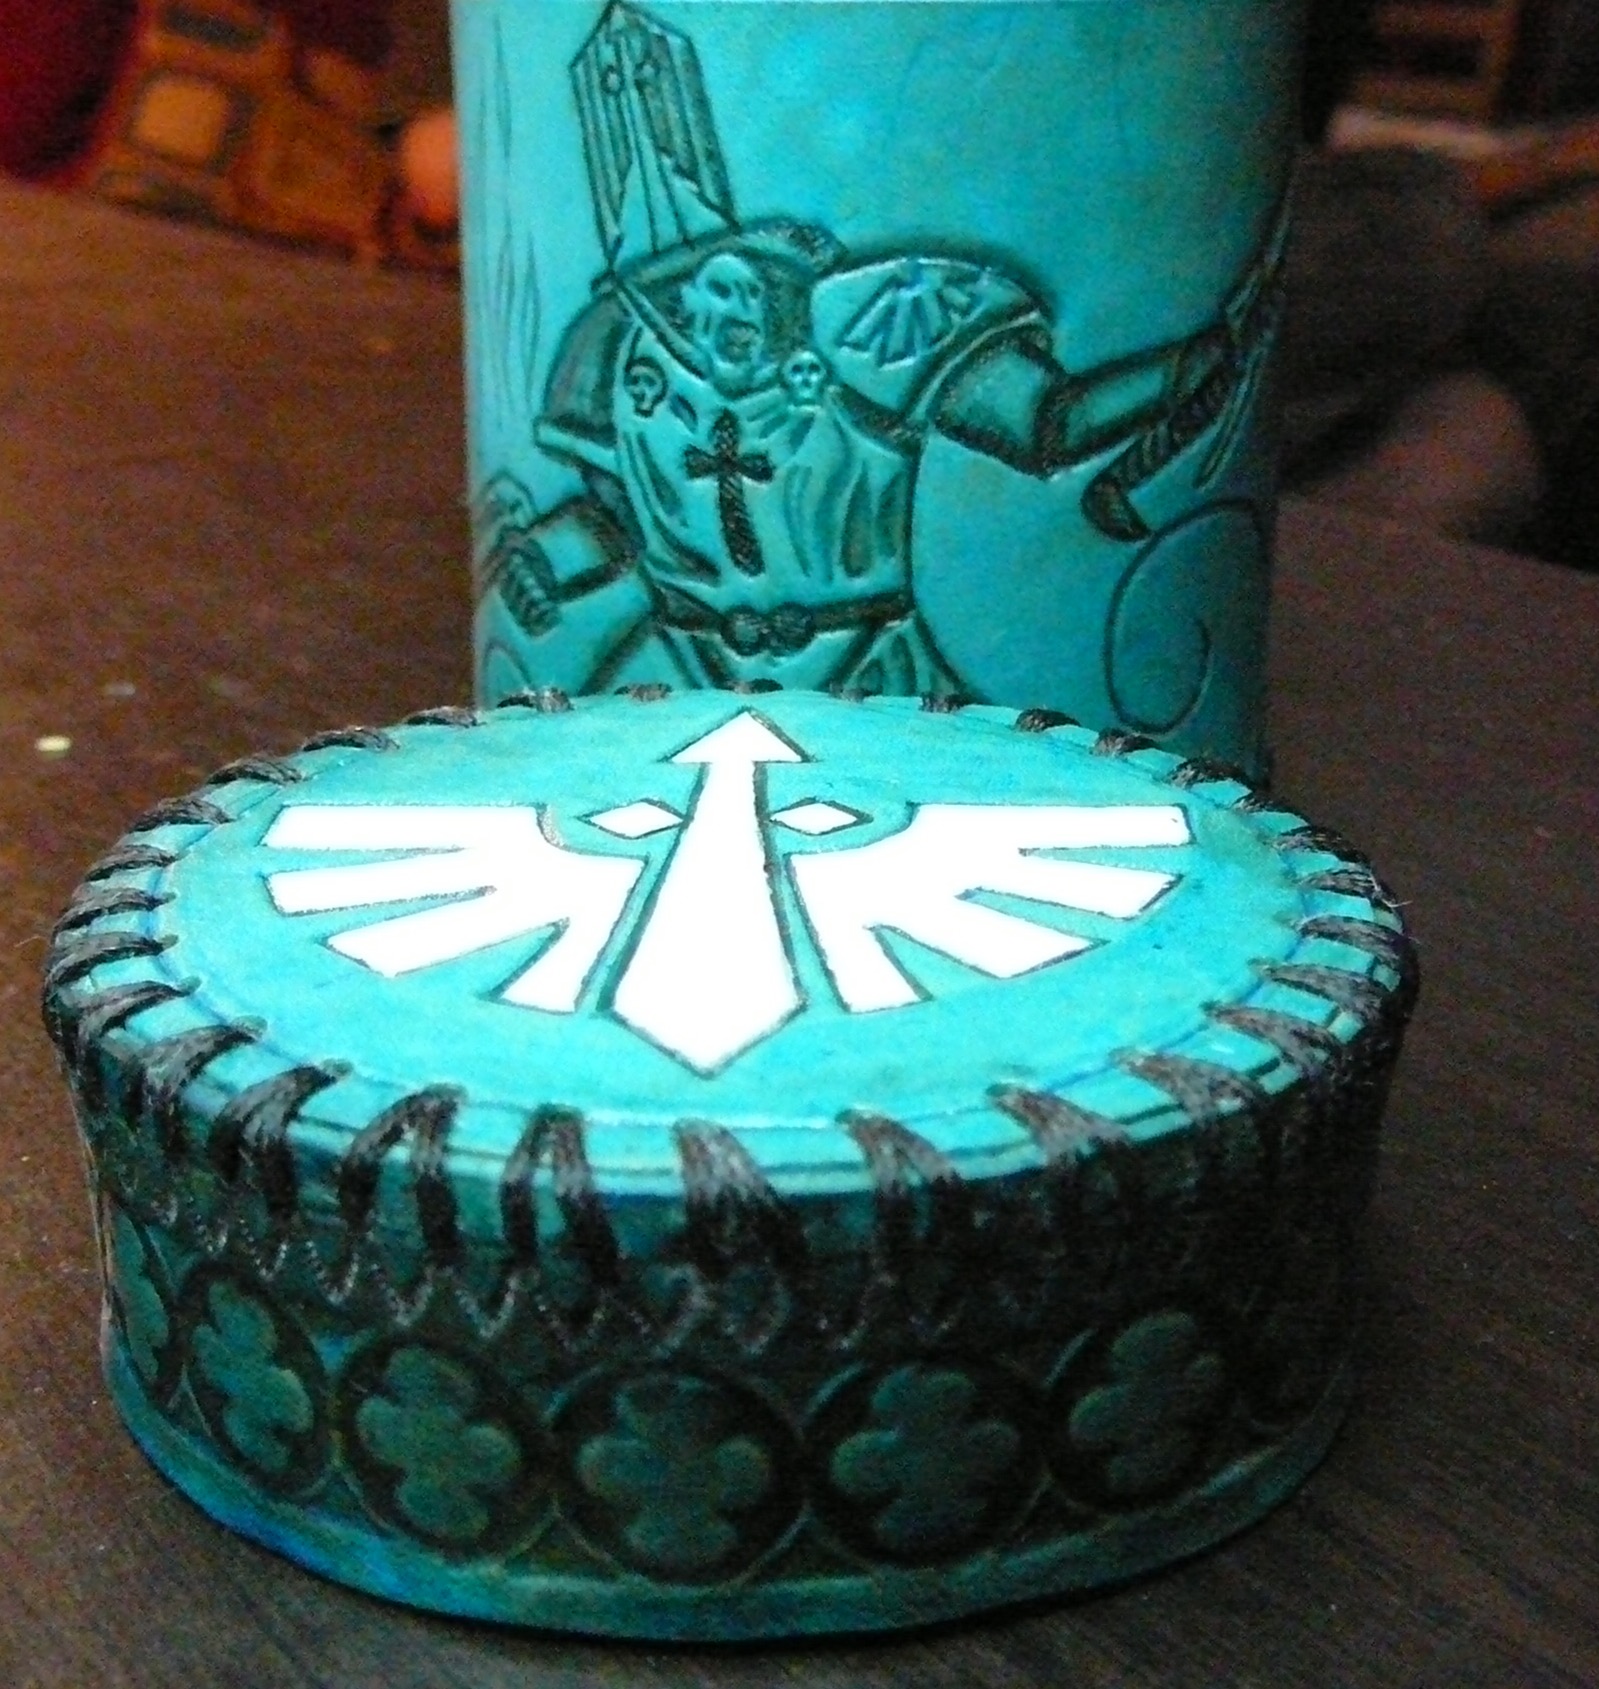
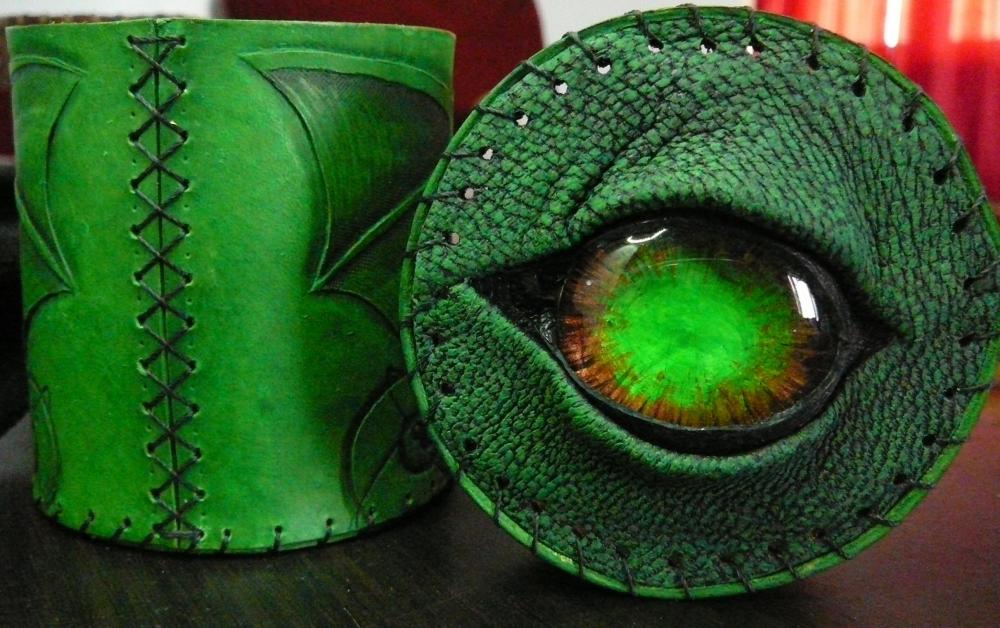
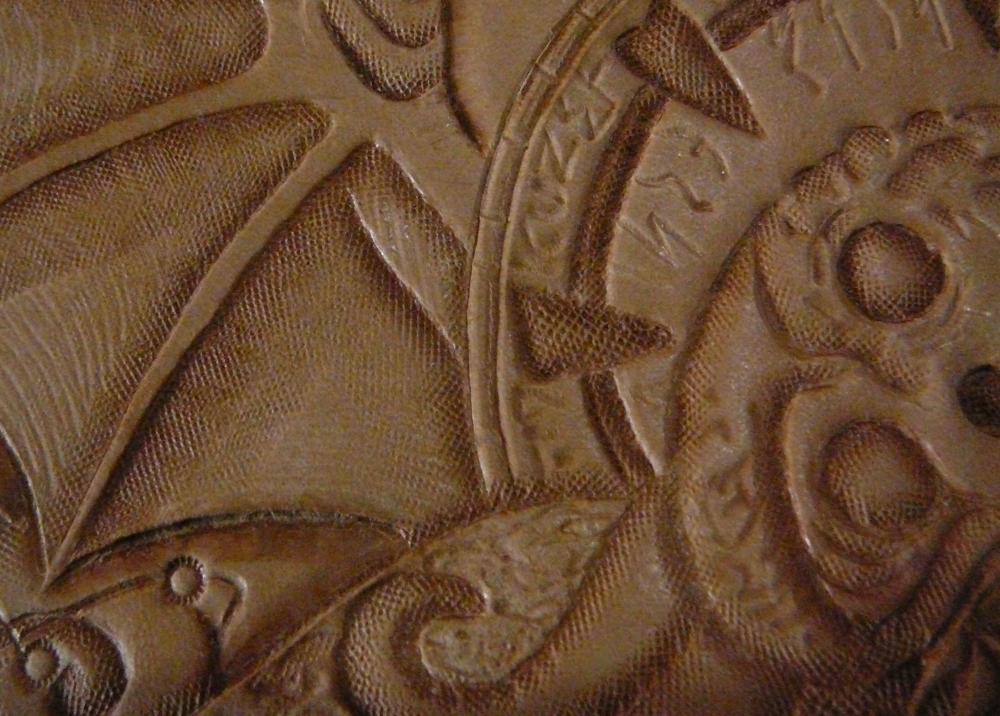
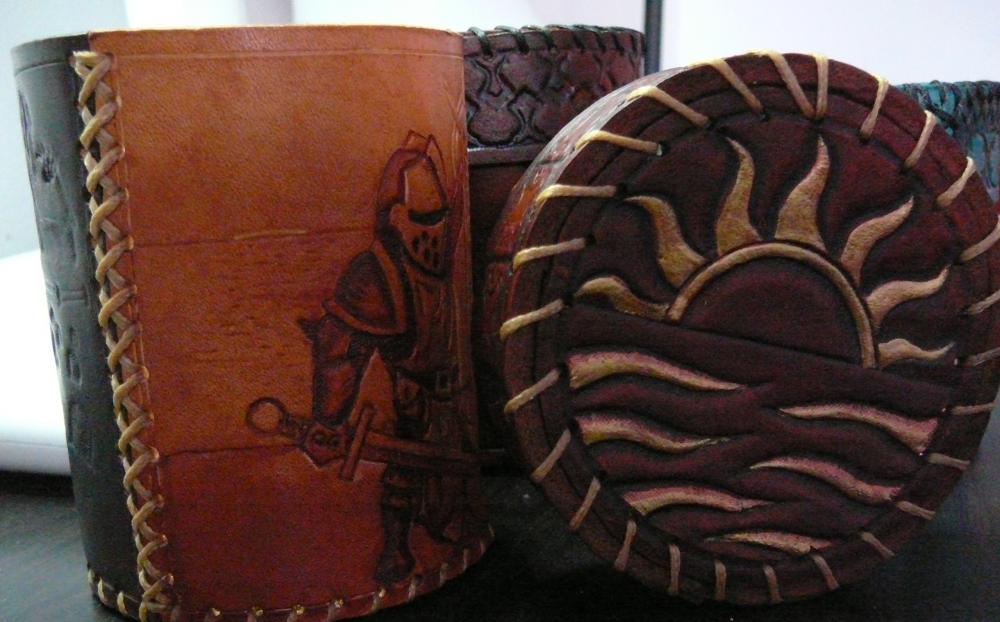
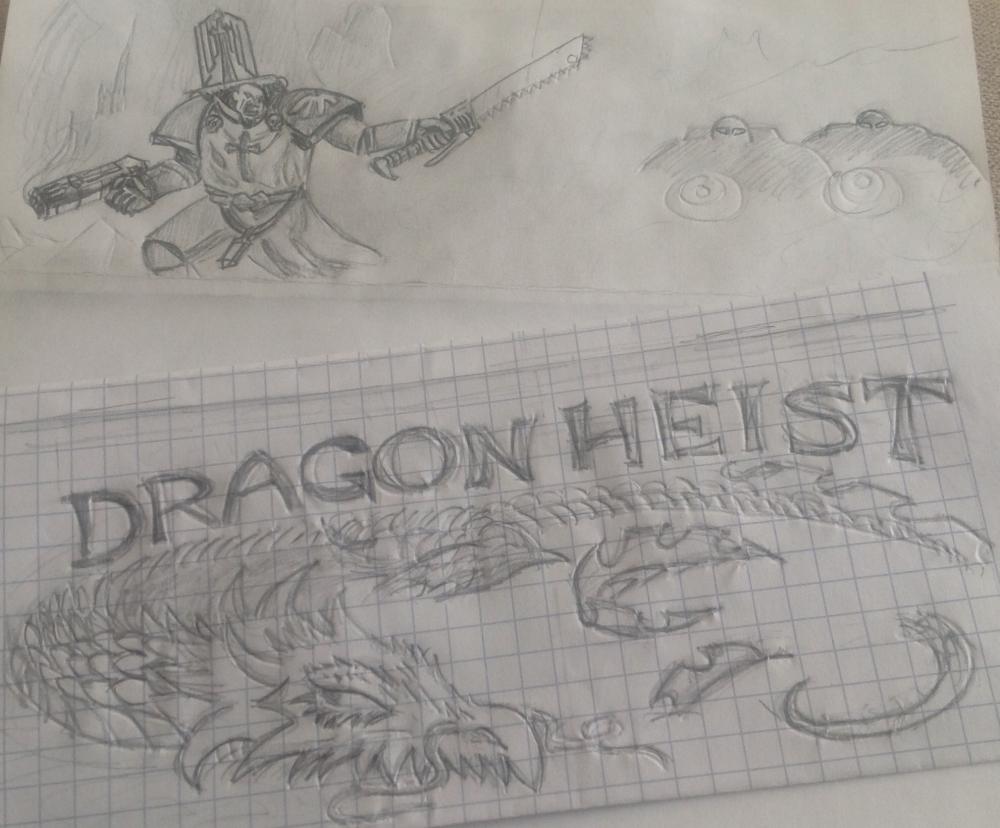
Thanks. Thank you. I kind of did it on the fly. The dragon cup was just over eight inches long by three and a half high, and I put holes along the bottom about a quarter of an inch apart. Then I just counted the holes and put that many in the disc that was the bottom. Ha. It took a try or two to space those out by hand before I punched them. The stitching on the body of the cup took a little planning ahead, something I don't do much of, because the cup is too skinny to fit my hand inside. I ended up loosely threading it all and pulling it tight like a shoe. The 40K cup is shorter and slightly bigger around. The lid has sixty holes around the outside and only thirty on the disc, just to get the stitching to look the way it does. Here are the sketches since I forgot to take pictures of the leather while it was flat.
-
One is a dragon lying on a pile gold, and the other is a chaplain from warhammer 40K. Getting the top and bottom to match in size is important so the fit is tight and it won't fall off. That, and having the right number of holes on the circles to match the sides, so the stitching is even. These were fun and fairly easy to make. The small bits of color were added at the end with acrylic, hobby store paint.


-
Thanks.
-
Male Nightingale Armor Skyrim - WIP
spacedog replied to PerniciousDuke's topic in Historical Reenactment
I was joking about the plastic wrap, but I have spent hours in costume at a convention. You are absolutely correct about footwear. I feared I wouldn't ever walk right again after the first time when I wore borrowed boots. Anyways, I've never seen anything like that "burn" mark before. It's amazing that escaping moisture would do that. -

-
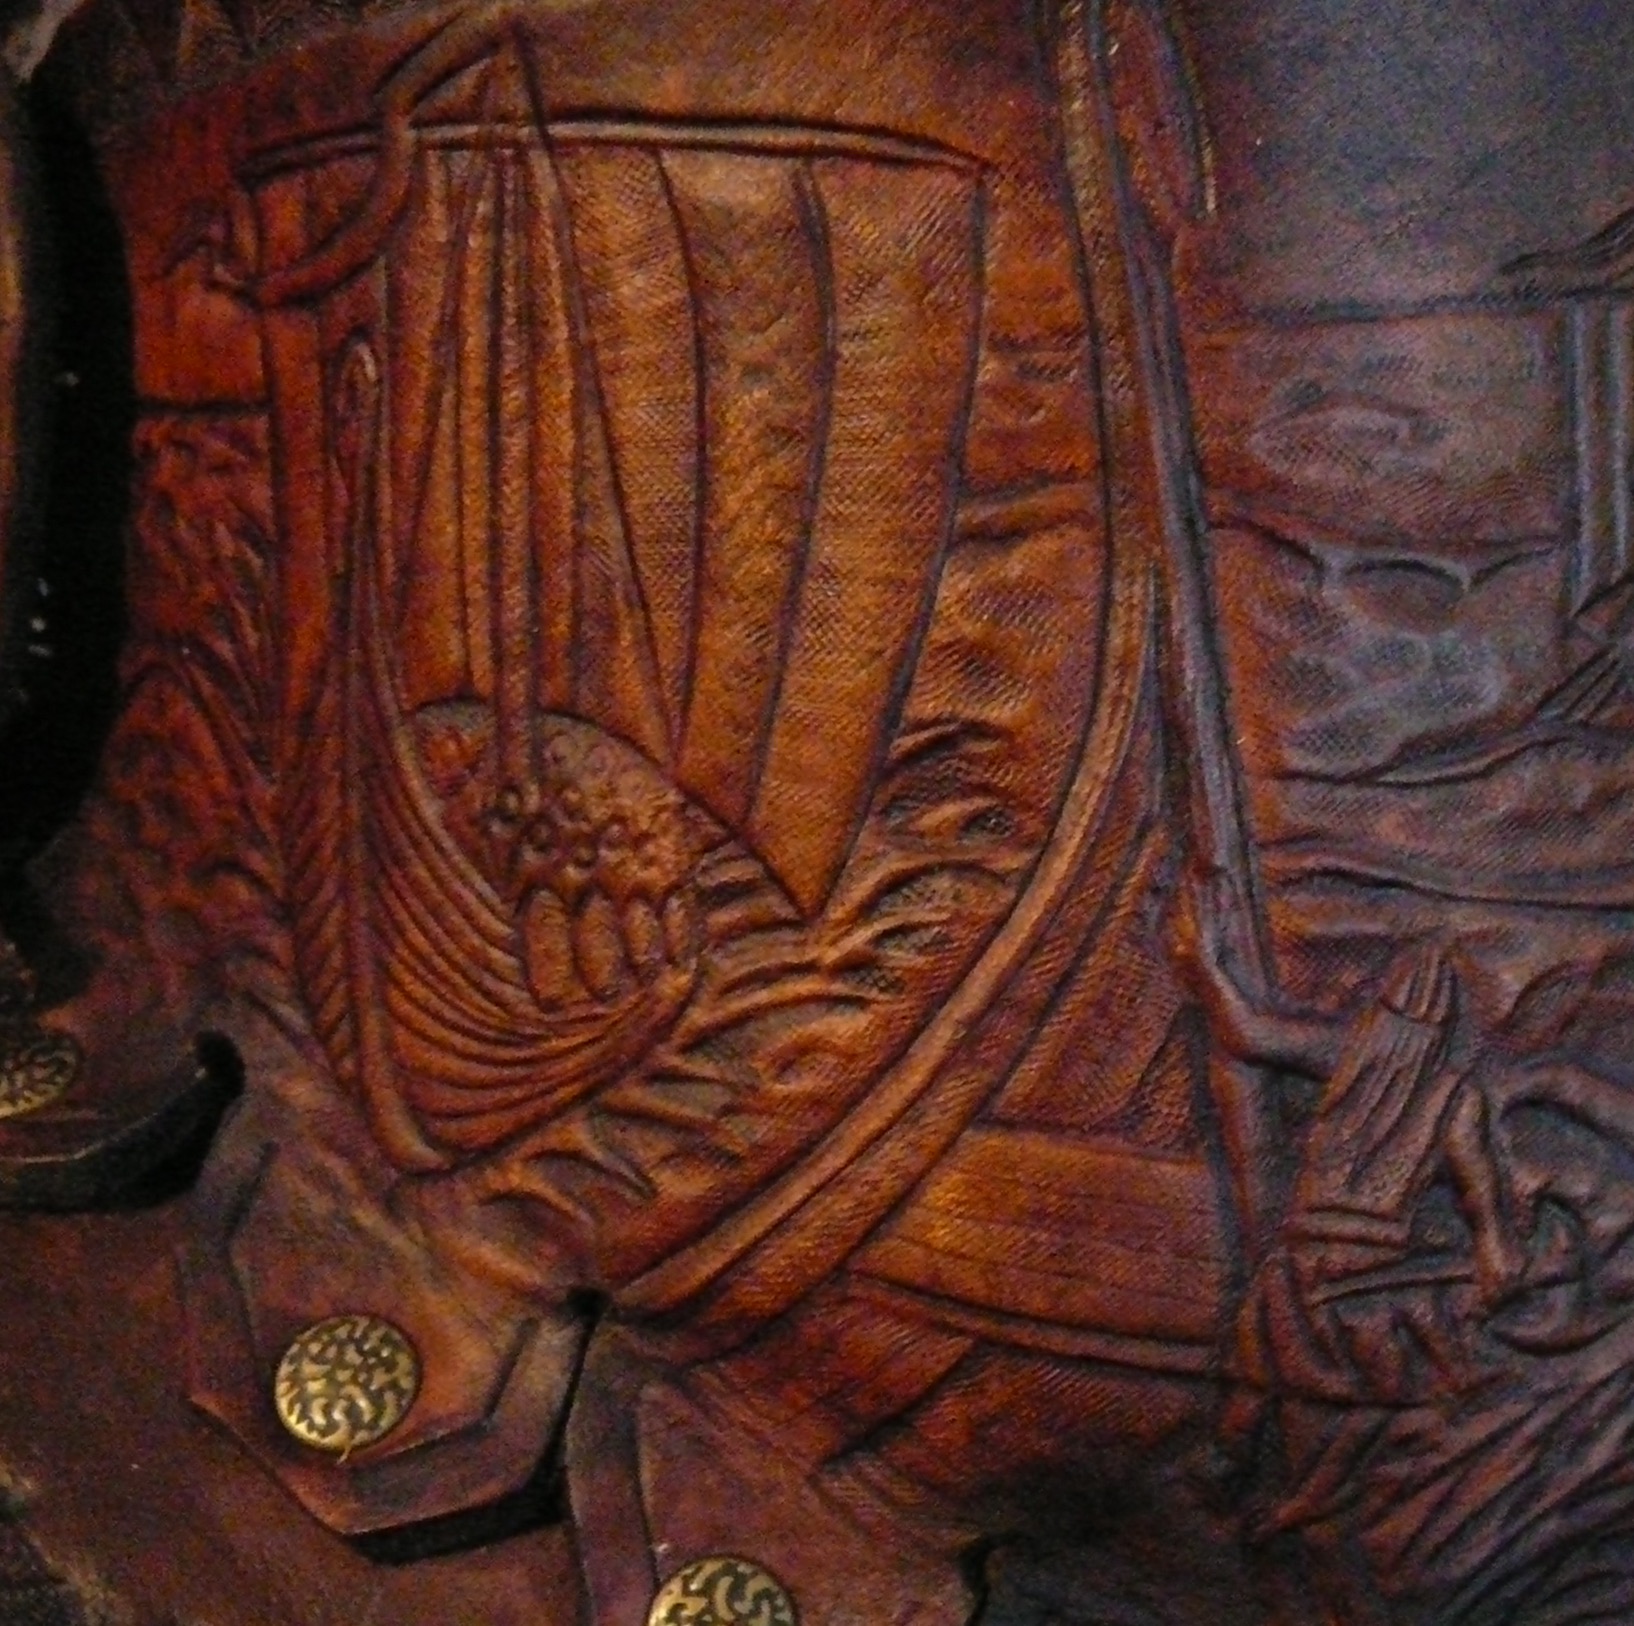
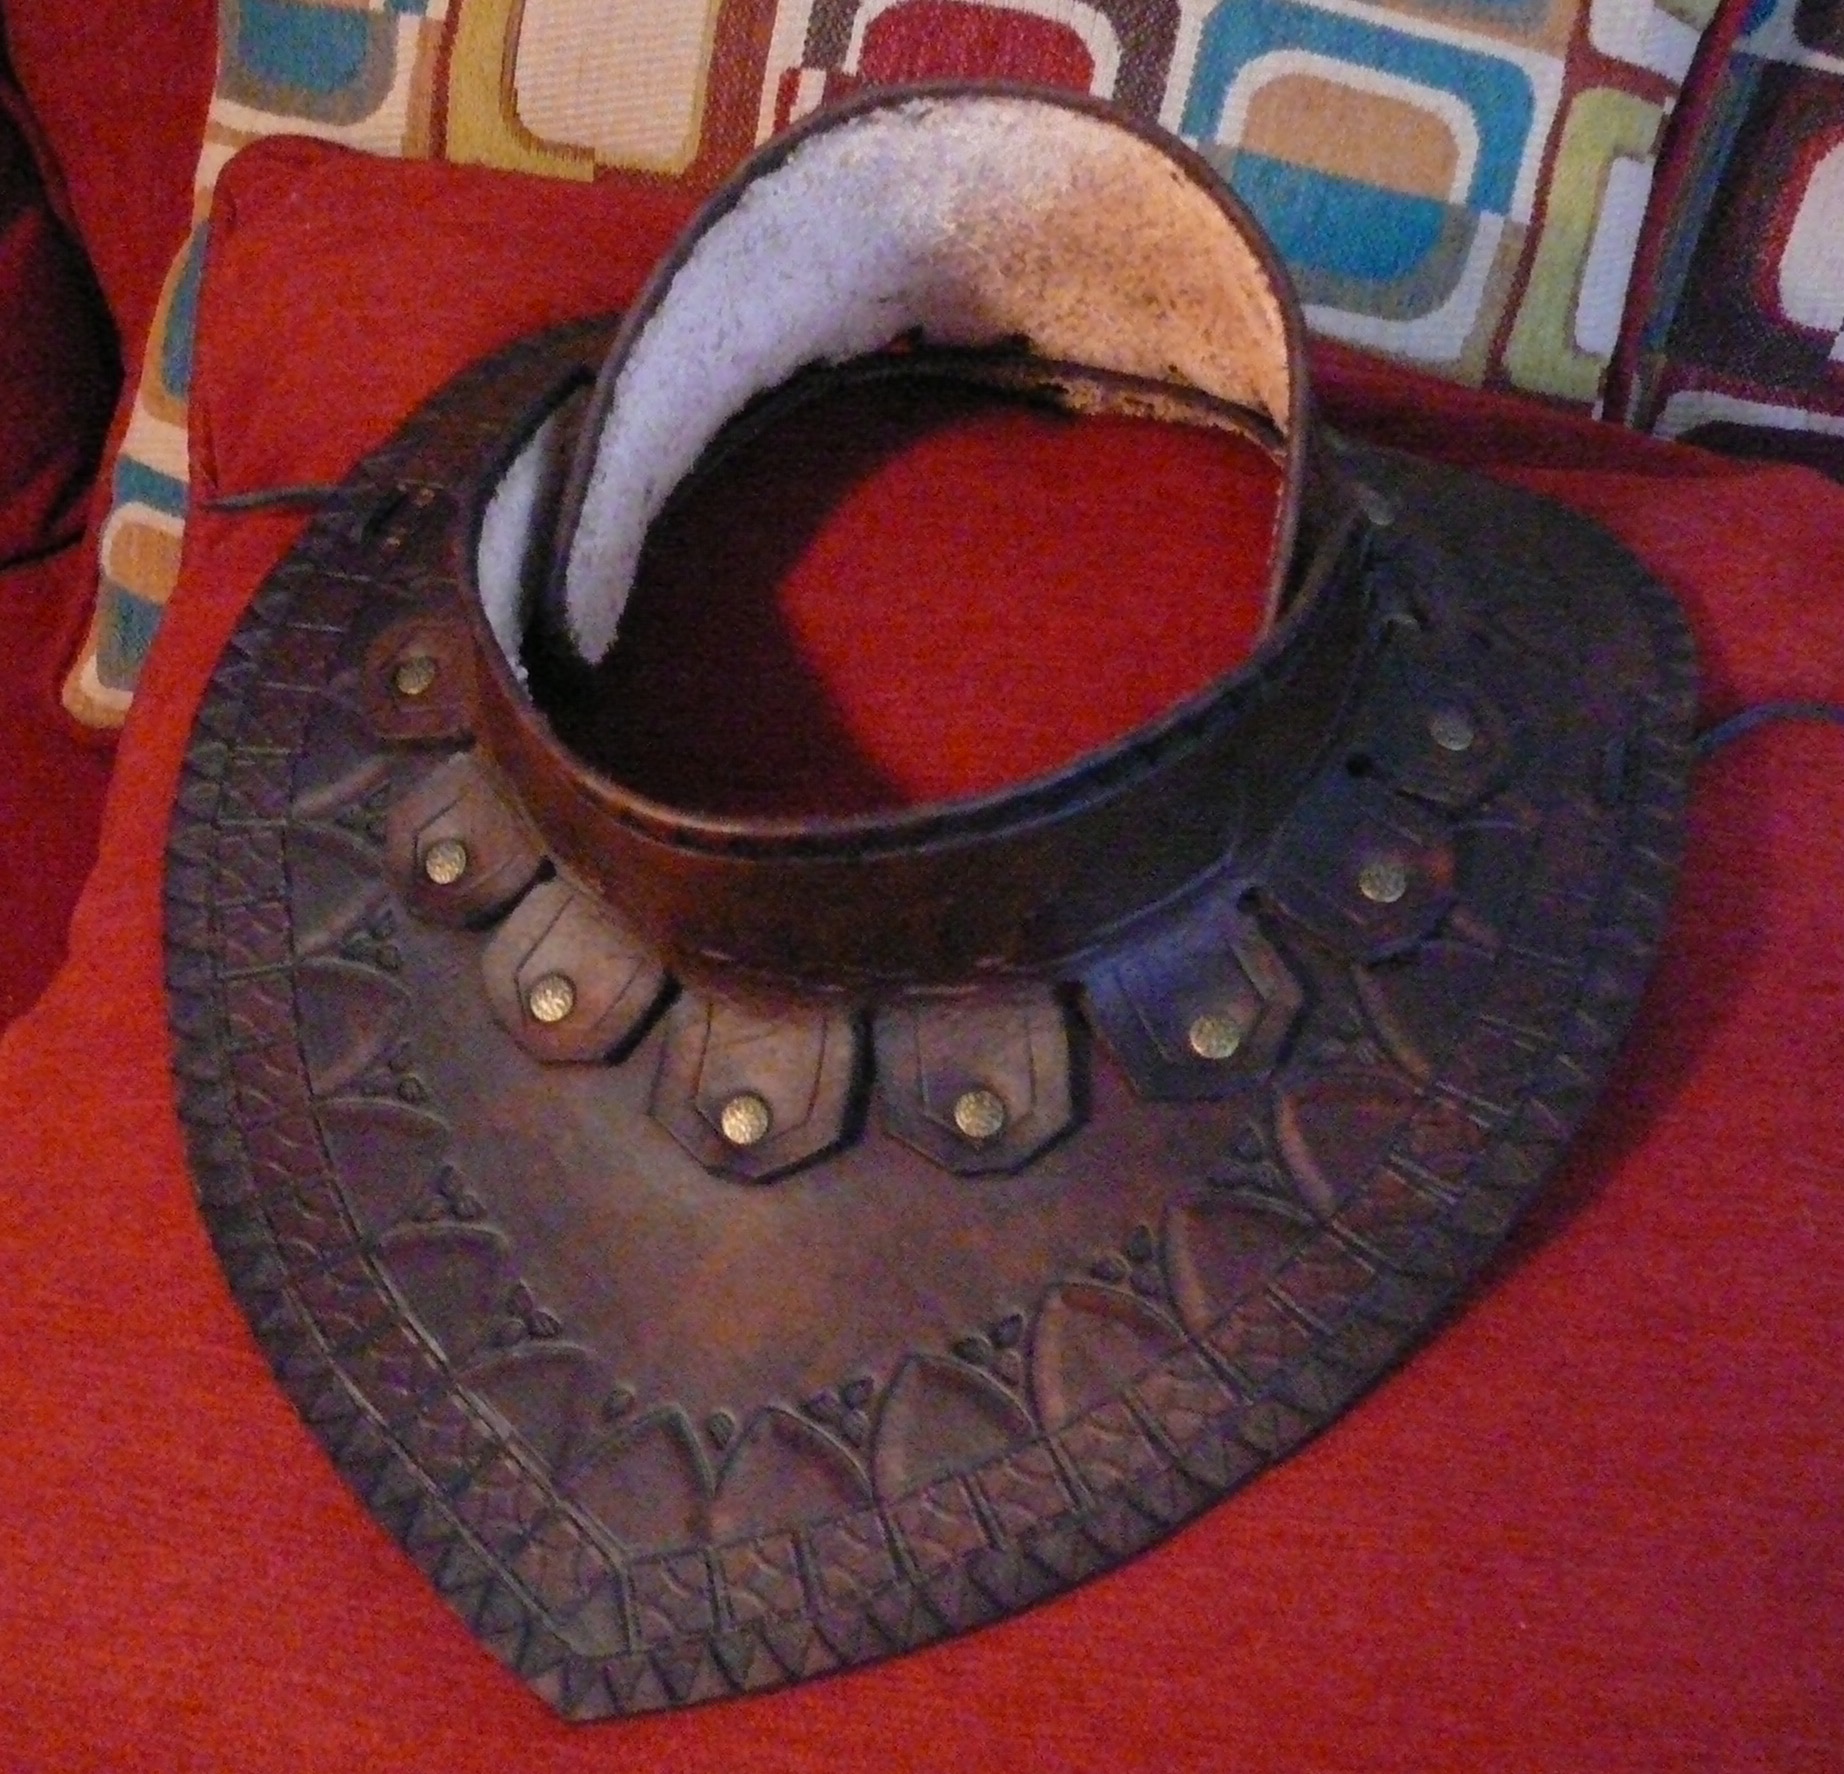
Thanks for the comments everyone. I took an extended break from this project due to frustrations with it. At any rate, I finally pushed on and finished it. I dyed it fairly dark, maybe too dark, but I am happy with the result. It is a costume piece, not intended to be real armor. I hope you like it.

-
Male Nightingale Armor Skyrim - WIP
spacedog replied to PerniciousDuke's topic in Historical Reenactment
Nice looking set up. The finish on your leather is pretty shiny. Kidding. I'm looking forward to more updates.