-
Posts
62 -
Joined
-
Last visited
Content Type
Profiles
Forums
Events
Blogs
Gallery
Store
Everything posted by tclaridge
-
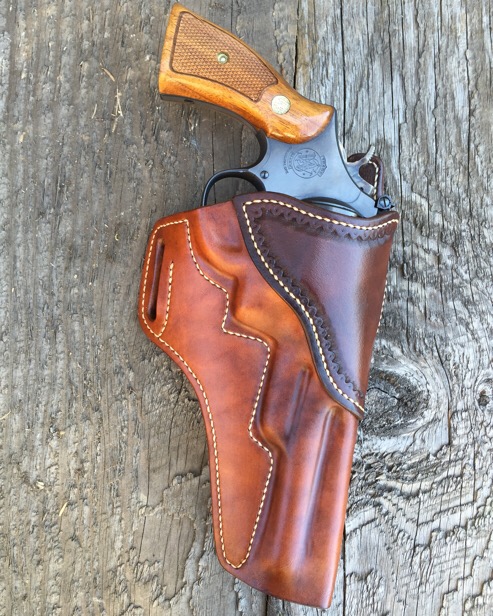
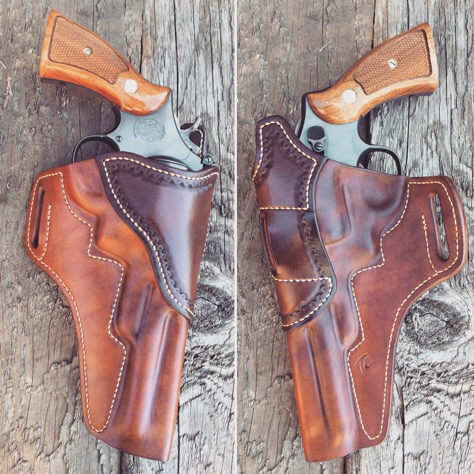
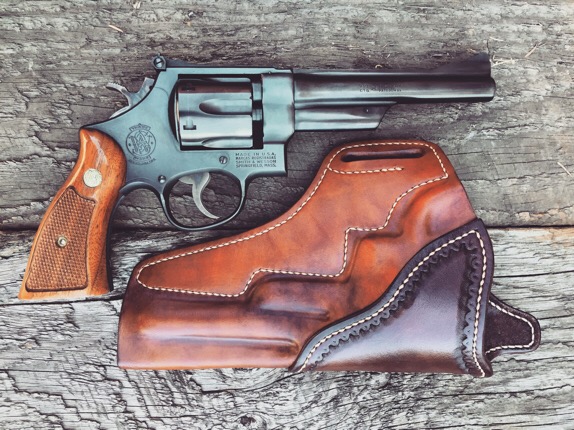
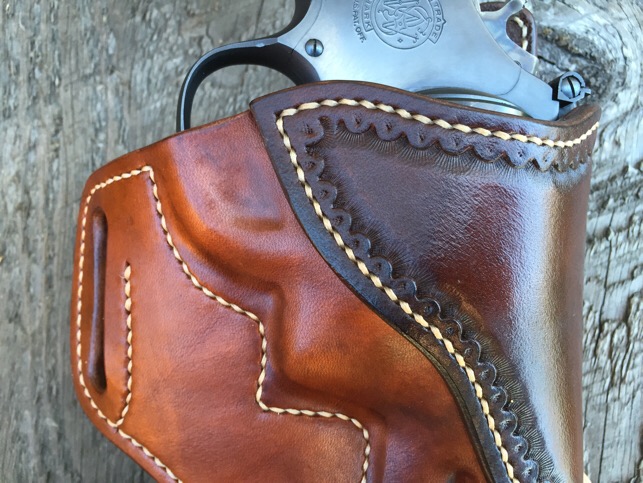
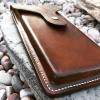
Here's a fun one I just finished up... My first Avenger style for a revolver. I'm pleased with it-- the finish brought some good character out in the leather. Light brown and dark brown Fiebing's pro oil dye, Ritza 25 1.0mm cream thread. 8/9 oz Hermann Oak veg tan on all pieces. Critiques are welcome, thanks for looking! God bless, Tanner Claridge
- 8 replies
-
- avenger style
- .357 magnum
-
(and 4 more)
Tagged with:
-
Glad you like it! I wish I had a CNC mill and lathe in the garage so I could send one down to you! Only leather tools now, though...
-
I also punch two holes and join them with a wood chisel, but if you're using a knife to join them (which I have) I might recommend stopping shy of reaching the second hole, then cutting backward from the second hole to meet the cut from the first (so you don't overshoot it). Then I sometimes tape some sandpaper around a drill bit and run it around in there to smooth it up before burnishing. Just some thoughts! Looks like a great sheath-- probably rides really tight. Keep it up!
-
I think there must have been some website re-vamping-- It looks like they disappeared for a while but are now up again. Let me know if you can't see them!
-
- 2 comments
-
- hand stitched leather
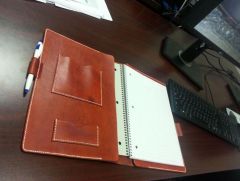
- leather padfolio
-
(and 1 more)
Tagged with:
-
Thanks a lot! Here are a couple pics of the board-- unfortunately those are "out of print", as I am not a machinist anymore! Made a few for friends one Christmas... Cheers!
-
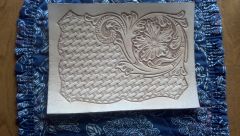
Once again, thanks to JLS Leather for the initial inspiration to get into this. You can see that this pattern is an extrapolation of his "look," which I find hard to top. Also, I didn't mention that the final finishes are Sno-Seal beeswax water-proofer, then another coat of carnauba cream to polish (I don't prefer Resolene, etc.).
-
Here's a new holster with a lizard inlay (from the Springfield Leather scrap bag). It's Fiebing's mahogany oil dye, Ritza 1.0mm cream thread. I was especially trying to keep clean edges and stitching on this one. Always something to improve! All the best, Tanner @claridge_leather (Instagram)
-
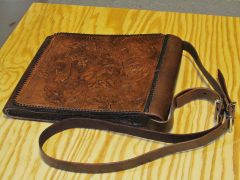
I made an aluminum cribbage board for a friend back in machinist days. Now, in my "leatherworker" days he asked for a case Fun project! All 8/9 oz veg tan with briar brown EcoFlo antique gel, cream Ritza 1.0mm thread, carnauba cream finish. All the best, Tanner @claridge_leather (Instagram)
-

IMG 20160318 100930 560
tclaridge commented on tnleatherart's gallery image in Gallery- Our Leatherwork
-

Leatherman Wave Pancake Sheath
tclaridge replied to tclaridge's topic in Gun Holsters, Rifle Slings and Knife Sheathes
Thanks! Post one when you make it! I have seen some cool cross-draw pancake sheaths for fixed blades, which would be neat to try. This one just has a mild forward cant. Have fun! Tanner -

Oblong Holster Holes
tclaridge replied to tardis86's topic in Gun Holsters, Rifle Slings and Knife Sheathes
I do this as well, punching two round holes (5/16" diameter) 1.5" apart on center. Then a 1.5" sharp wood chisel connects the two holes, hitting each hole tangent to the edge. Done carefully, this can make a pretty smooth, almost-finished slot. I then wrap a pen in fine grit sandpaper and give it a couple laps around the inside of the slot to smooth it up before burnishing. Like Fredo said, this is what I had laying around, so I skipped buying an oval slot punch. Good luck! -

Buck Knife Sheath
tclaridge replied to tclaridge's topic in Gun Holsters, Rifle Slings and Knife Sheathes
You are correct-- it is sandwiched between those layers. It was skived down quite thin, glued in the proper spot, then fastened with one rivet through the back layer (pretty much in line with where the snap is on the front piece). Have a good one! -

Screenshot 2015 11 18 17.03.51
tclaridge commented on Reegesc's gallery image in Gallery- Our Leatherwork
-
I used the same paste recently on a project-- In my case, it was the first thing I applied, directly to the leather on which I had done some tooling. I found the green color to appear where the paste was heavy in the stamping, and wasn't buffed out fully. However, since it was just a collar for my dog I let it go and hadn't thought about it till now... I will try what you mentioned, based on your conversation w/ Springfield Leather. Thanks!
-

Carved Long Wallet; Theme "birds"
tclaridge replied to Zapee's topic in Purses, Wallets, Belts and Miscellaneous Pocket Items
Funny that you feel you've "ruined everything"... I was just thinking "everything looks great." I know how frustrating it can be to see a result that wasn't what I was after (or a little slip of a knife or a crooked stitch line), but the finished project seems to come out fine. Anyway, I think yours looks great-- nice work, and it's cool to see birds on leather. Not something you see everyday! Tanner- 11 replies
-
- long wallet
- wallet
- (and 4 more)
-
-
I appreciate it! I don't know if you are aware, but you're the one I can thank for getting me into this whole mess! I bought a Glock 19, needed a holster, found your pattern, bought some leather... now I'm hooked. I since bought your G43 pattern and made one for a friend. This one is my 5th holster, and I really appreciate you providing some "tracks to run on" for a guy like me getting started. Thanks for your feedback regarding belt loop and slot-- I'll take your advice on the next one. I really didn't get too aggressive on the rail, though I did want to accent it a little. I'm typically not a fan on very heavily/distinctly boned holsters (personally prefer a little softer/smoother look), but I do like to highlight a unique feature on a gun. I see what you mean though-- the gun seems to slide in and out easily, but blocking the rail is a good idea. Thanks again! Tanner
-

1911 Shoulder Holster Made From Scraps
tclaridge replied to Dan28's topic in Gun Holsters, Rifle Slings and Knife Sheathes
That's cool, man! I like it. Can I ask which dyes/finishes you used? I like the look, especially on the mag carrier. Looks like a comfy rig! Tanner -
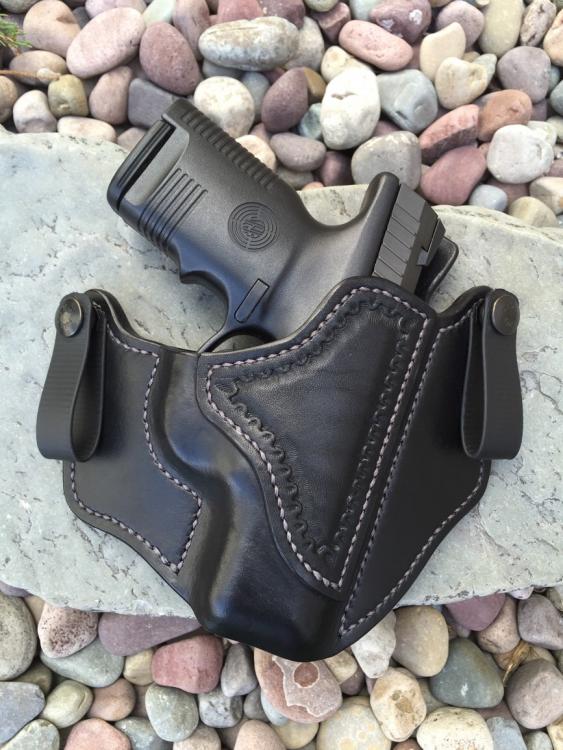
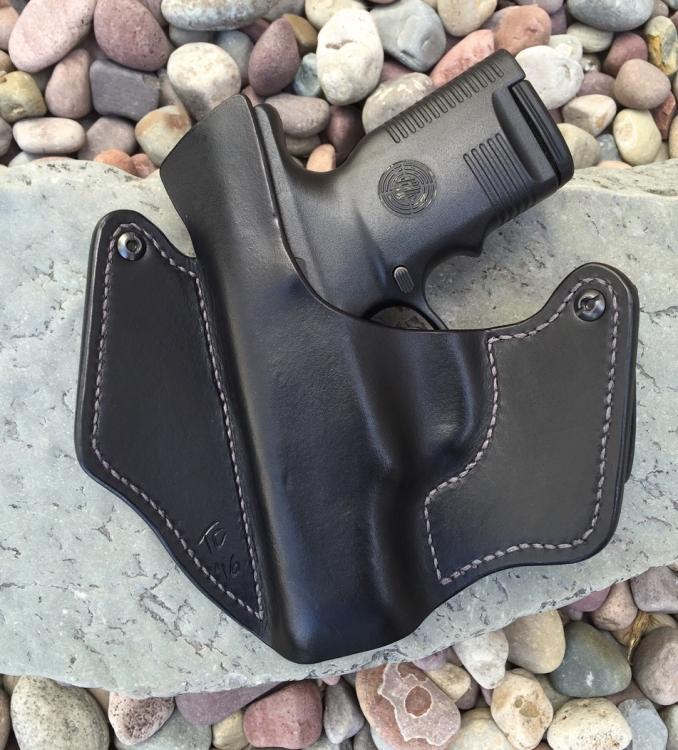
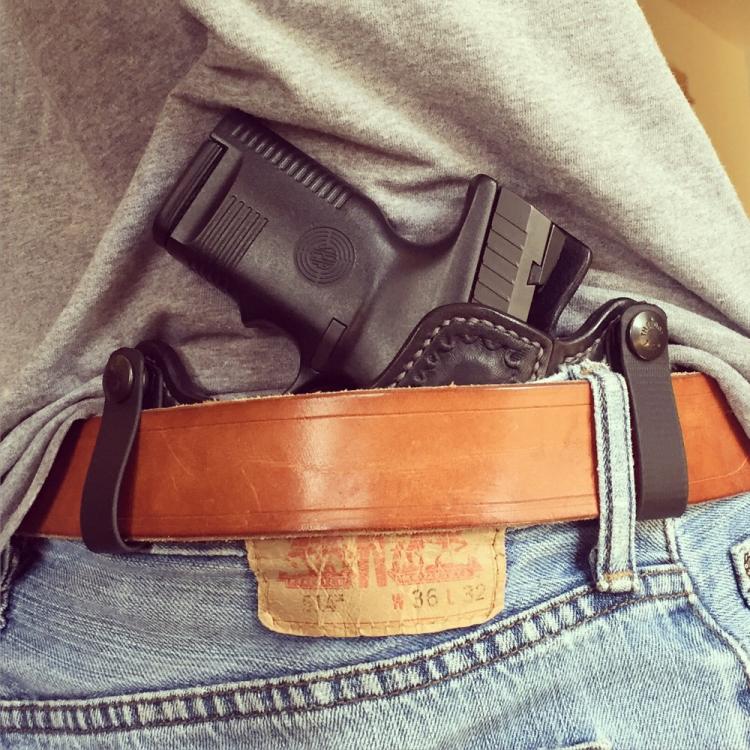
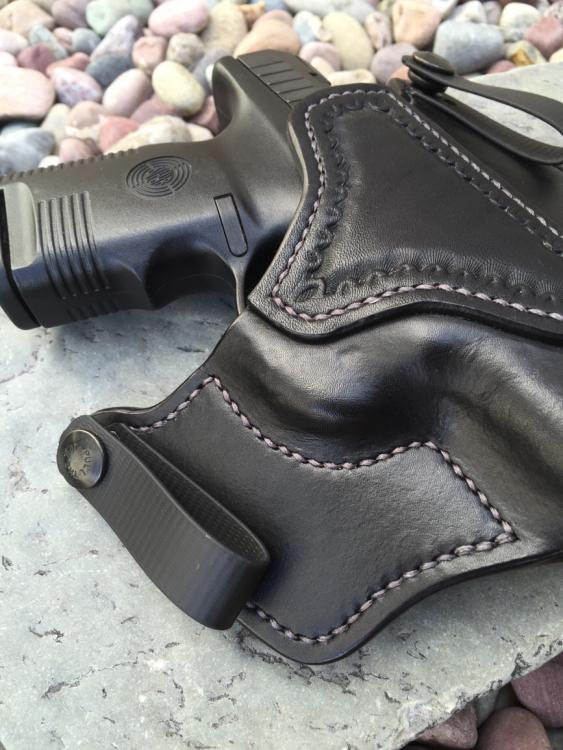
My first crack at an Avenger style holster (thanks JLS Leather for the 1911 pattern which gave me a place to start), and first try with an exotic inlay. The gun is kind of a unique pistol (hard to find a good holster) belonging to my uncle, who asked for a left handed holster. Had a lot of fun trying something besides a traditional pancake design. Thanks to you who have posted about adding inlays-- it was fun to give that a go too (using lizard from the Springfield Leather "grab bag" of scraps). Thanks for looking. Always open to critiques! Tanner


