longun45
Members-
Posts
13 -
Joined
-
Last visited
Profile Information
-
Location
Las Vegas, NV
LW Info
-
How did you find leatherworker.net?
internet search
Recent Profile Visitors
1,612 profile views
longun45's Achievements

Member (2/4)
-
done deal See you next weekend bikermutt07 Tony Wright
- 6 replies
-
- knives and stamps.
- cowboycb 3200 sewing machine
-
(and 3 more)
Tagged with:
-
I need to move this machine and the leather stuff pronto. $1000 takes it all. Still a local pickup. The belt count was off and is now at around 100-125, all finished and with buckles.
- 6 replies
-
- knives and stamps.
- cowboycb 3200 sewing machine
-
(and 3 more)
Tagged with:
-
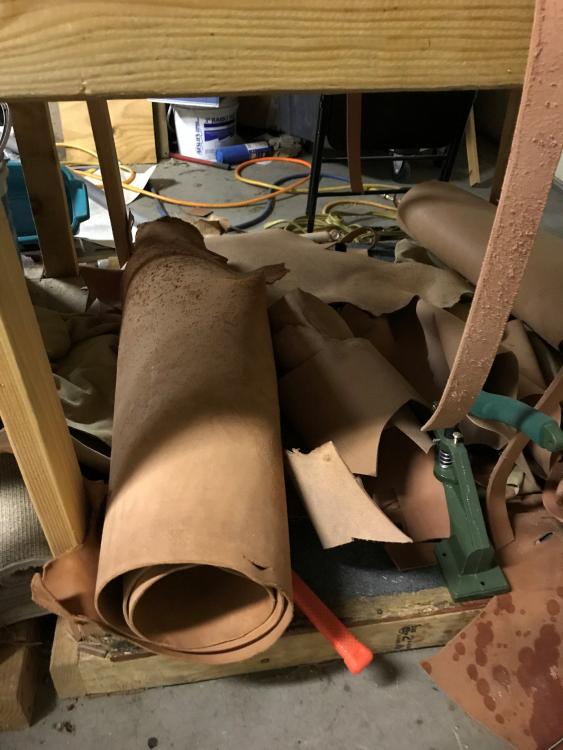
Cowboy CB3200 Heavy Leather Sewing Machine and leather fasteners, oils, stamps, and lots of leather 8-12 oz. I am not doing leather working any more and I am leaving Las Vegas, NV. I am selling everything off in one lot and I will not ship the machine. And really do not want to throw away the consumables, so it goes in one lot. The machine has seen light use and has been well oiled. 5 spools of thread both white and brown, extra needles, bobbins, edge guide, sewing machine tools. and flatbed table. Included leather hides (various weights), leather straps, finished belts ( chrome tan leather) about 2-300 belts 1 1/2 in wide various sizes. A lot of different fasteners, edging paint, edgers, various knives, leather stamping tools, hand tools, belt sander, drill press with wood edge finisher And a lot of holsters if you want them, blue guns, colt 45 acp 4in, other smaller popular hand guns, glock17 & 19. Snap setter with loads of snaps. Heck you can even have the tables. Heavy 2x4 tables made into an 4'x8'table with plywood top( it can be unscrewed for putting on your truck. ) with straight edges for cutting full hides. Let me make this extremely clear - I AM NOT SHIPPING THIS. THIS IS FOR YOU TO PICK UP. I am in Las Vegas Nevada. One price for EVERYTHING. $2000 If you need more information please email at longun45@gmail.com
- 6 replies
-
- knives and stamps.
- cowboycb 3200 sewing machine
-
(and 3 more)
Tagged with:
-
nubbies on the bottom when turning and other headaches
longun45 replied to longun45's topic in Leather Sewing Machines
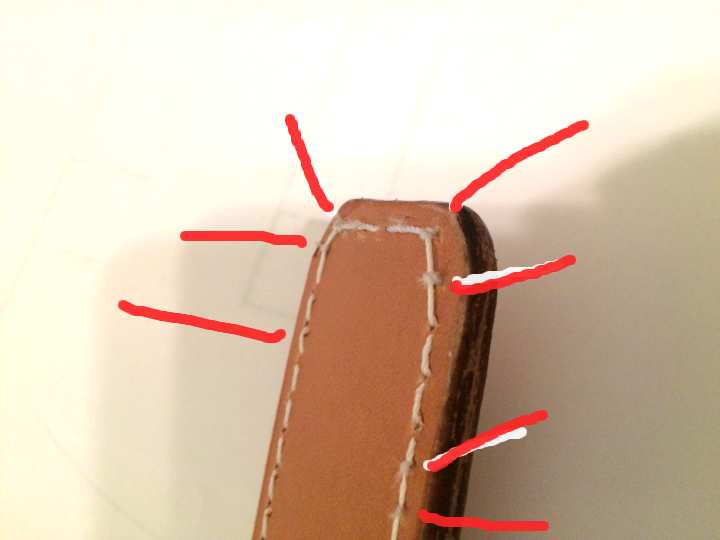
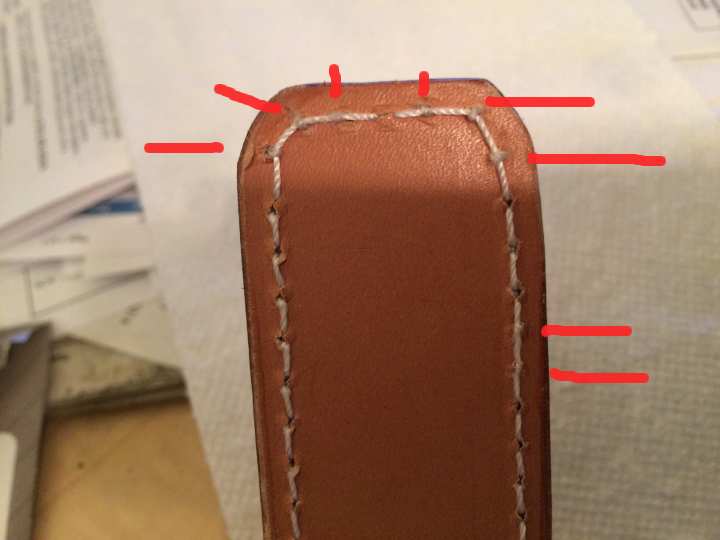
This should cover it. As you can see the bottom thread is not pulled into the project = nubbie This leaves the top thread causing a nub by not pulling up the bottom thread, subjecting it to extra wear and it really does not look good. The problem is that even when tension did recover it did not stay as the nubbies on the straight part shows. Even before getting to the turn the tension was not consistent. This was a 277 thread with a #24 needle - not a good combination. I will have new supplies next week and that should fix the problem. -
I want to say thanks to the members of this board it has proven to be invaluable. All I want to do is make belts and holsters. Simple. Or so I thought. I have been sewing at leather now for a couple of months and I have had some problems - go figure a newbie with problems. LOL I never realized there was so many different sewing variables. The thickness of the leather, the tension of the thread, the type of needle, the slot where the needle meets the shuttle. So far I have found about 4 types of leather needles. This does not mention stitch lines that need to be adjusted for lining leather on some patterns. Thanks for the patterns JLS. The biggest problem was nubbies on the bottom. At first it was not a problem but then I decided to change the needle. The needle had been in there for a while and it appeared to not be as sharp. Then the problems started. The biggest headache was nubbies on the bottom of the seam. I have adjusted the tension and adjusted the tension and adjusted the tension, rethreaded the machine numerous times and still when I go to turn a corner - nubbies. sometimes large and sometimes small but still nubbies. I even changed the needle. Frustrating. I watched youtube and all the videos I could find and went through this forum with a fine tooth comb. I think if there was a post that had nubbies in it I read it. Then I stumbled onto a post that had thread size, leather thickness, needle size and stitches per in. The problem as far as I can tell was that the thread did not have enough room in the channel on the left hand side of the needle for a turn and the thread was dragging on the leather causing the nubbies. So I checked the needle pack I got with the machine Organ needles 180/24 and I checked the room in the channel and the 277 thread fit just nicely with no room for wiggle. Easy Fix. Get some #25 needles ( for the 277) and some 207 thread. Hopefully that should solve the problem and the work will look like something I can sell. Again thanks to the members of this board for the information that helped to solve this little hiccup.
-
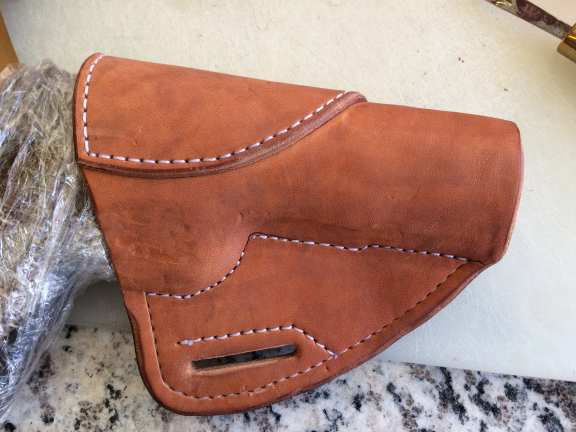
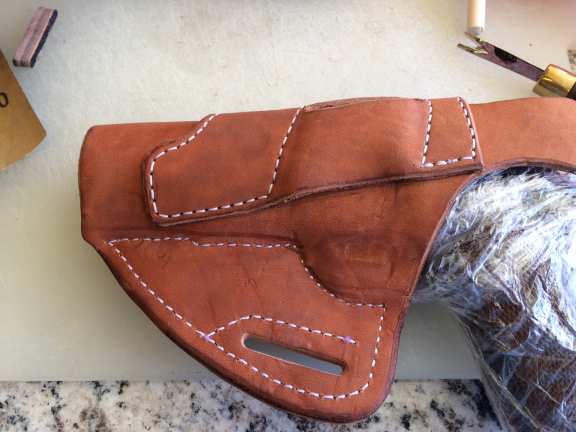
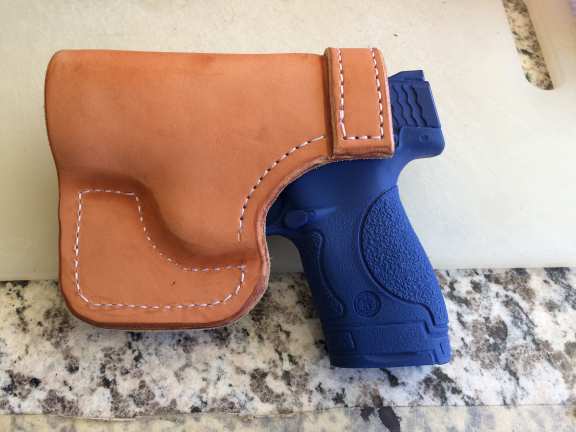
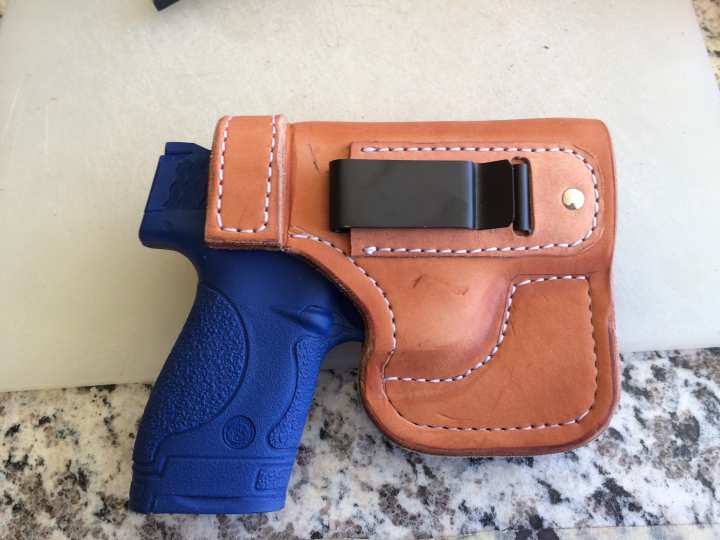
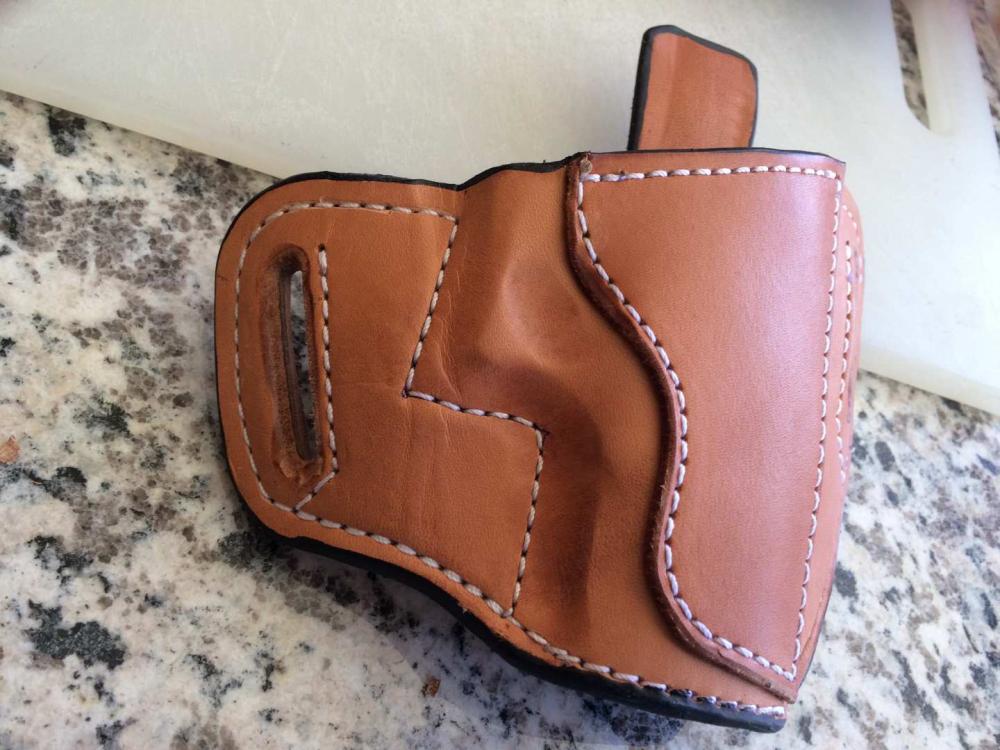
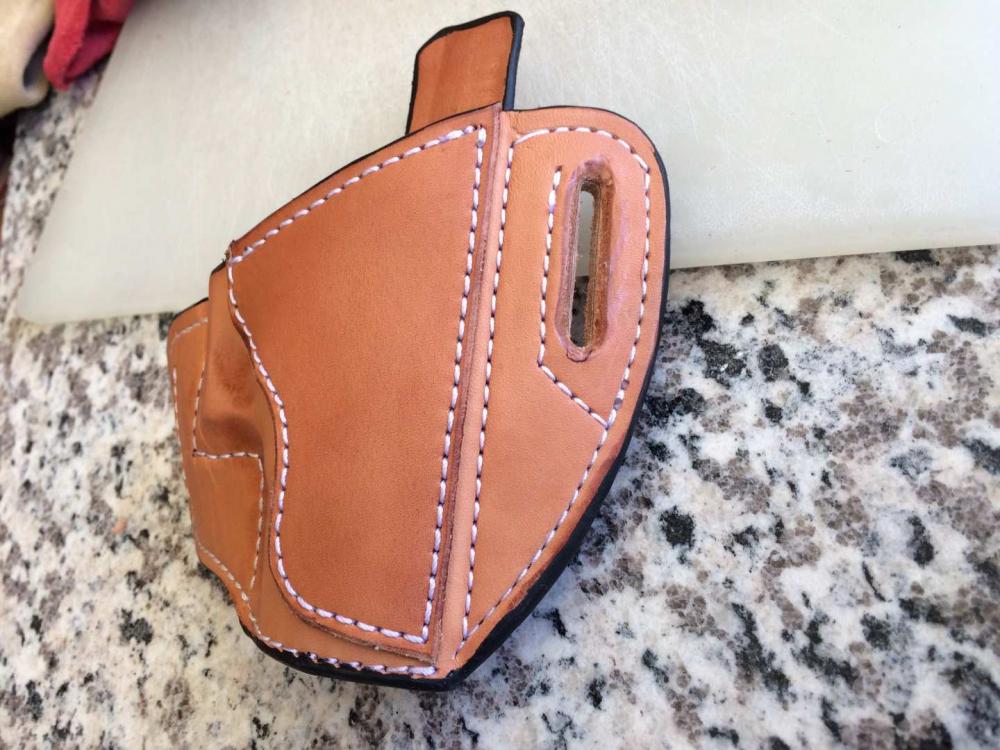
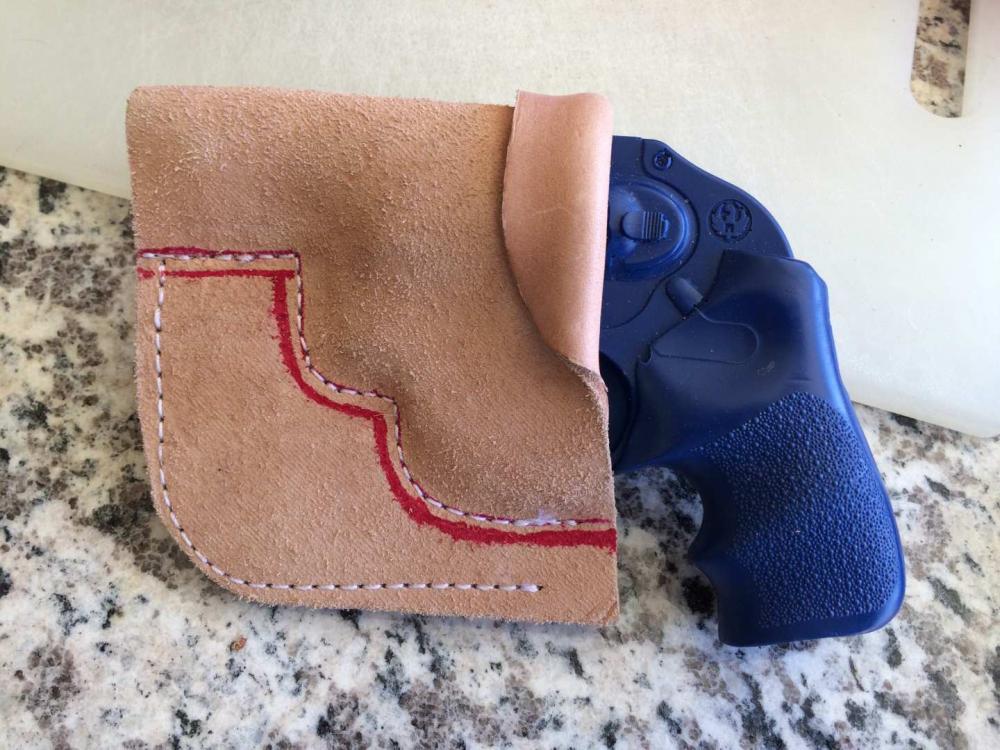
Some of what I have been doing. Learning a bunch along the way. I know some of this stuff is not a pretty as I would like, but I have only been doing this for a short while. This is the colt auto pattern I made this pattern off another and kind of bent it a bit, this is the first of and I think it came out ok. Still learning about the sewing machine and what it will and won't do and figuring workarounds. This came out alright except for the one dropped stitch When wet molding it that reinforcement panel is a bugger to bend. I am working on those molding skills. I got a wild hair on this one and wondered what would happen IF. SO I wet rolled the upper edge and formed it around the gun. No great works of art here yet, but they are coming. Many thanks to JLS for the patterns and the inspiration.
-
Wondering About The Fit
longun45 replied to cleanview's topic in Gun Holsters, Rifle Slings and Knife Sheathes
I have seen this problem solved on youtube and the Gentleman's name is Sam Andrews from Florida. In building the Pancake, which he calls a saddle style holster. The outside leather is longer than the inside layer, not a lot only maybe 1 - 1 1/2 inches or so. This gives the desired curve and the sight channel is boned in. He also uses a tensioner in the holster so the retention can be dialed in. His videos have taught me lots about leatherworking. Sam has been working in leather for about 40 years and does excellent work. I have been working to figure out how much extra to add and have the patterns made but not built one yet. After the next show I may get to. -
Wondering About The Fit
longun45 replied to cleanview's topic in Gun Holsters, Rifle Slings and Knife Sheathes
With a reinforcement panel most of the molding takes place in the back. A dowel rod to open the sight channel, and with a good arc built into the molding process, would you be able to mitigate that? I ask as I am starting to build these and want to get it right. -
Wondering About The Fit
longun45 replied to cleanview's topic in Gun Holsters, Rifle Slings and Knife Sheathes
This would be a recurring problem with any pancake holster. I can see 2 fixes. Sew in a sight channel or mold it in. So with the sight channel molded in it should be ok? I have noticed at gun shows there are very few really skinny people out there. I post some pick of my results later in the week. Some good - Some not so great. And thank you again for the pattern. -
Took longer than I thought
longun45 replied to cradom's topic in Gun Holsters, Rifle Slings and Knife Sheathes
That is great work. -
Wondering About The Fit
longun45 replied to cleanview's topic in Gun Holsters, Rifle Slings and Knife Sheathes
Too bad the video is down. -
If you make an Item, you are following a basic pattern. Function determines the form and the forms can vary wildly. ( skuls anyone?) The patterns were written to be copied, hence the book ( you paid for the pattern with the book.) Otherwise why write the book? It is a starting point and then you work from there. The basic pattern is an Idea that is shared through the book. The author received his royalty fromthe book You cannot copy the book EXACTLY, but you can give your own style to it and while Stohlmans work is a big influence, I doubt he can claim credit for your work.
-
Thanks for the patterns. It should be fun. Well maybe not that fun.


