Danne
Members-
Posts
772 -
Joined
-
Last visited
Content Type
Profiles
Forums
Events
Blogs
Gallery
Store
Everything posted by Danne
-
Someone on reddit asked for a template of a TomFord design card case, and I made one. I thought I share it here also. Use 1-1.2mm leather. If you use veg tan and you can choose weights. You can make the front and back panel in 1-1.2mm and card pockets in 0.8-0.9mm tomford1.pdf - Overview with dimensions tomford2.pdf - template to print Both of them are A4 (Will you US guys be able to print this in letter size? if not ask me and I will solve a letter size version.) tomford1.pdf tomford2.pdf
-
-
Thank you, Xiange Twist #35. When using Xiange I usually go with #35 for watch straps, and #30 for wallets/card holders. I prick with my irons as usual, but I start so I have a "flat" line. I do this so I get the correct distance. Then I punch all the holes except the one at the point. Where I instead use a round awl.
-
Yes, I think it will be nice. almost finished here, just need some more work on the edges, and keepers. Yes, three straps with black, white and red would be a good idea. I do like leather watch straps, but practically I don't, with metal bracelet I never take my watch off, I sleep with it, shower, bath. And easy to clean without removing anything, just a tooth brush and some dish soap in water (Yes it might be a bad choice for a fancy watch since I would guess that tooth brush would leave small "hairline scratches" but I don't have any fancy really expensive watches. Color matching will probably not be a problem. Most of my shirts and t-shirts are white or black or grey. The difference will be the quality, if I craft that t-shirt will be a cheaper one, if I "dress up" a little bit, it will be a t-shirt with higher quality. Yes velodon is used on this strap. Btw you have a lot of knowledge, for some thick straps, think like a really thick strap for a Panerai, velodon might not always be the best solution, because depending on the type of leather for top and lining, it might require more layers of leather, in those situations unless the top layer would be like cordovan I want to avoid stretching at the lugs, and looking for a good choice of calf to reinforce the top layer that will go around the folds. A calf that have a good balance between being soft and pliable, but doesn't stretch too much. I think a chrome/mineral tanned crust calf, but not sure which one would suit this best. And salpa Salamander have good options, the problem is that there are few resellers, and usually they don't disclose what version of salamander they use, and when they do it's not the one I look for lol.
-
Yes, I already made that decision, and I obviously did agree with you. (Not creased or finished edges yet)
-
A slim strap in black alpine calf (Haas Derby) with natural color Zermatt calf as lining. Can't decide if I go with white or red thread, linen or poly (now the poly thread is Meisi Xiange so look very similar. My first thought was 2.45/11spi, but I think with this watch that 9spi will look better, but will still go with a relatively thin thread.
-
Yes also a good solution. Not really sure what non-slip tape is, do you have a link? Also, one solution is to glue the back side with water based contact cements, most (All) of them leave a "rubber like" surface when dried.
-
Yes, I know. He is funny
-
Just joking.
-
So I was trying to figure out a solution to keep my templates in place, this is of course especially important when cutting watch straps to size. A tapered strap 20-18mm, need to be somewhere between +-0.2 (+ 0.2 and there will be a lot more sanding, -0.2mm and it will be perfect with room for edge paint) but still if the template slide around it can ruin the whole project. (These dimensions are of course for the edge paint and technique I use, so different kinds of edge paint will build different thickness. This works good for me with Fenice (Low medium viscosity, I think it's AR 64XX/T, but I'm not certain. 250ml bottles doesn't have that information, 1l bottles have though) And also Uniters EP2000 (the standard viscocity version of EP2000) And yes, laser cut templates would be a better solution, but a lot of my straps are prototypes so the template constantly change. (Ps this solution might not be a good idea for full aniline leathers, because it might be visible "stains" from the tape. I use only full grain leather, but either finished or semi-aniline, so for me it works good.) A thin double sided tape, and after attached to the template, stick it to some leather and pull it off a couple of times until the strength becomes lower. I didn't have a suitable thin double sided tape, so I used Jaeger 3516 reinforcement material. (One side is self adhesive, and one side have a glue primer, so I glued it to my template, and it works so good. Some photos. The material
-
It has it's good and bad sides. Sometimes when I see someone sharing someone as a beginner, and they are really happy with their project, even though it has a lot of flaws (And they know this also) I have never been able to feel like that for more than a short while after I did succeed with a new construction method or managed to get the finish I was looking for, after this I start to see other things that could be improved. Don't get me wrong here, like if I look at a wallet made by Sima, it's not like I become jelaous because I'm not on that level, and don't have all the skills for how to construct certain things, I do take inspiration and learn from analyzing photos from good crafters. It's more that I judge my own work, and when I figure out constructions, make templates and such, I put a lot of pressure on myself to come closer to perfection. I don't craft a lot right now, but I do have some saved photos and such, so I can share more here. I will actually share a tip here in a thread now.
-
Thank you for your kind words. Now I have no idea how much shaking you have in your hands, but maybe it could be an inspiration that it doesn't stop Bedos leatherworks, he have a Youtube channel, he repair shoes and handbags mainly. He have had shakings in his hands all of his life, and his work is really clean. Of course I understand that it can make it harder (Self having health issues that stop me from pursuing this craft to the level I want too) Merry christmas to you also Joel.
-
A couple of questions. Is your knife REALLY sharp? how do you skive, if you push, try more of a sawing motion. Do you skive with the bevel up or down? I have both of these from Kyoshin Elle. https://www.amblardleatheratelier.com/products/skiving-knife?variant=28925287891021 I'm right handed but I use the left handed version so I skive with the bevel down. It give me a "fulcrum point" So let's say I want to skive a piece of 1mm leather. 3mm from the edge and down to a feather edge. I can sneak up on it, if I use the other knife, I tend to "overshoot" and angle the knife too much. And to answer why I have two knives. I also had problem with skiving, and it was both because I thought my knife was sharp but it wasn't sharp enough, and the left handed version did suit me better. But I also use the right handed knife, it's perfect to trim lining leather along an edge, like "stabbing" my way around along the edge.
-
Ohh, really nice of you. Sorry I will try to think of this in the future. It's quick and easy to batch resize in photoshop when I do my best to correct light and such.
-
Thank you, It's quite time consuming, I can't remember if I used Fenice or Uniters on this strap, I think it was Fenice. But the method is the same. I wrote a tutorial a couple of years ago, and it's basically how I still do it.
-
Thank you
-
Thank you, I use an electric creaser from Regad, the iron I used in this case is Dupin G1.0 though. (Ps, I see you live in US, I have seen resellers of Dupin machines in US, but they have their own brand name on the machine, like Summit from Rocky Mountain leather supply.) I bought my G1.0 iron from https://crimsonhides.com/products/heat-creaser-tips
-
Just a simple light box would be perfect, Thank you. Yes, it's true. Often when I look at some older posts on a forum, links to photos are broken.
-
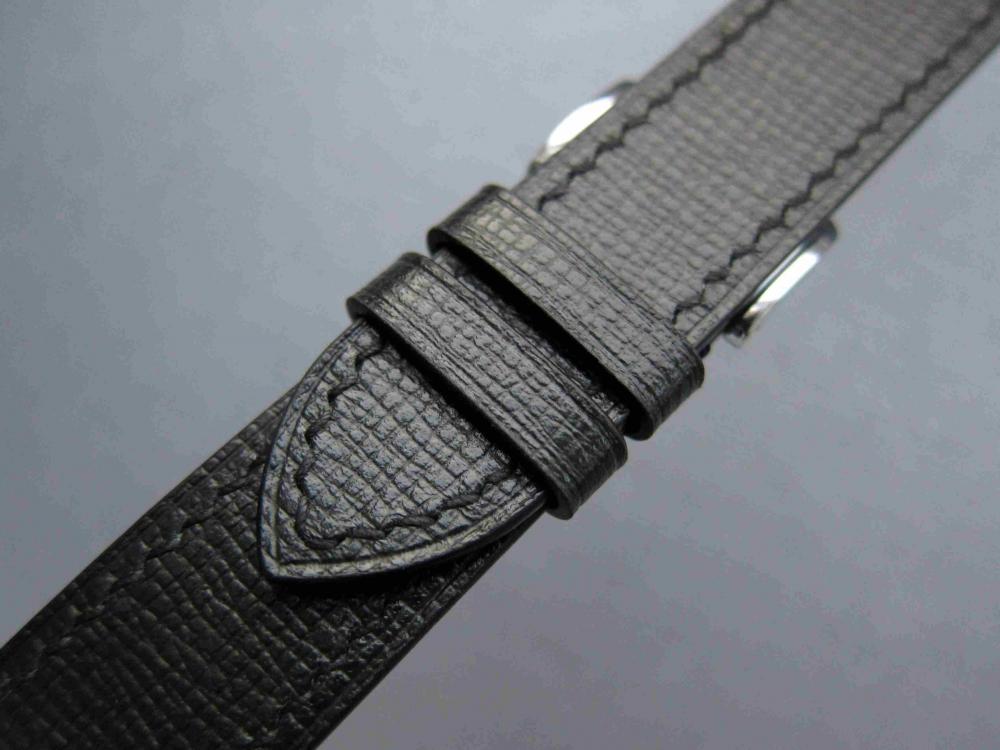
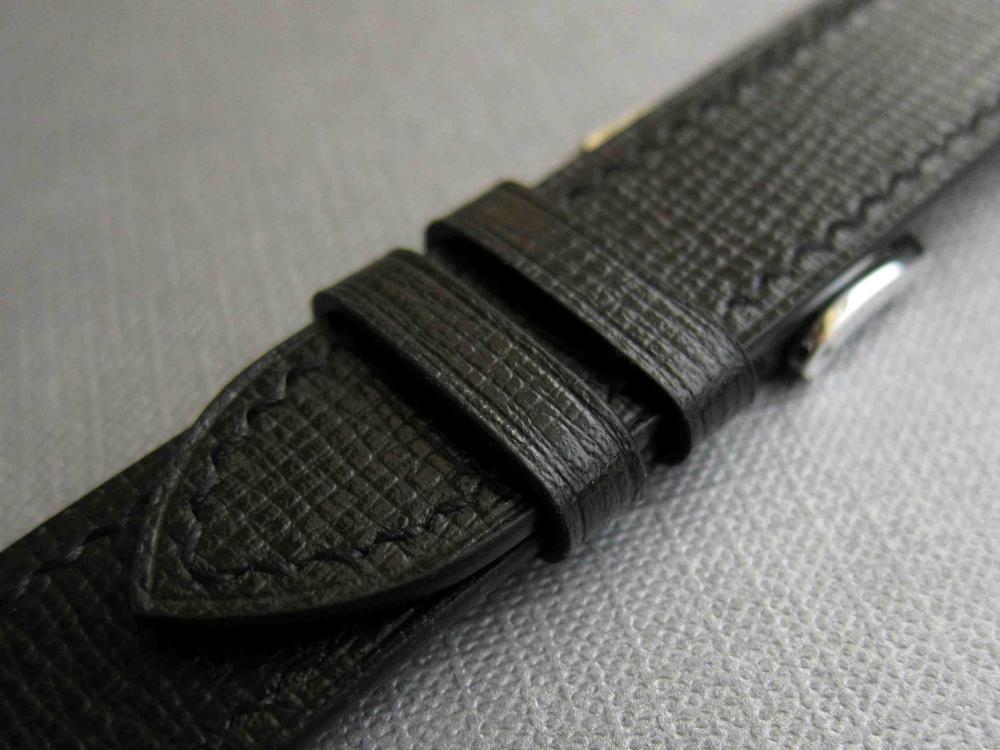
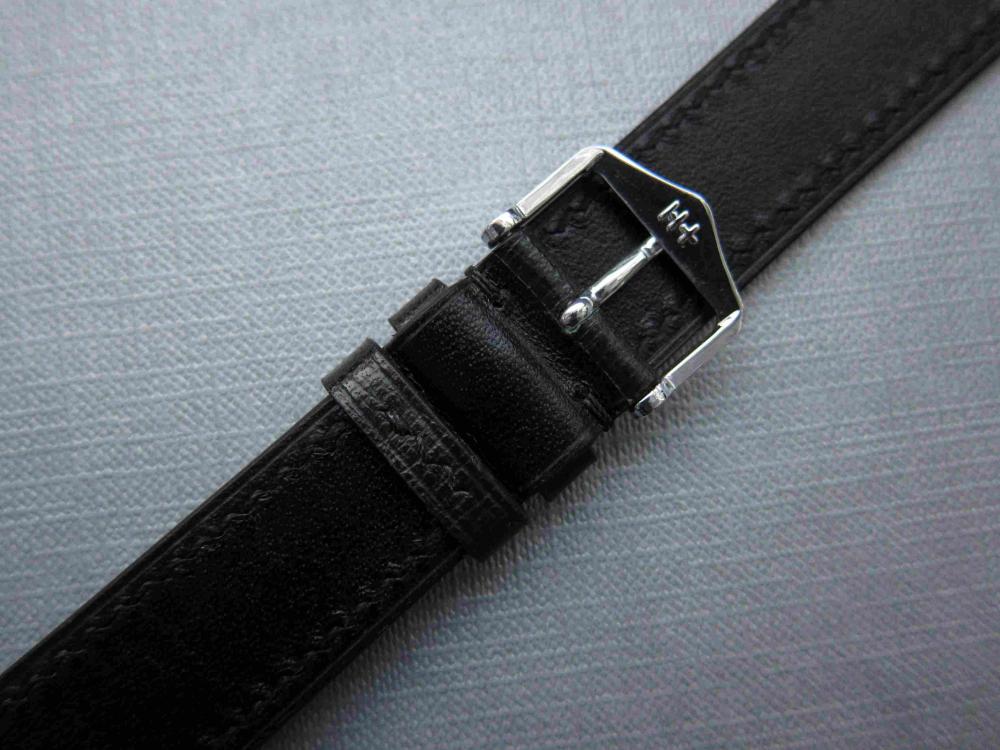
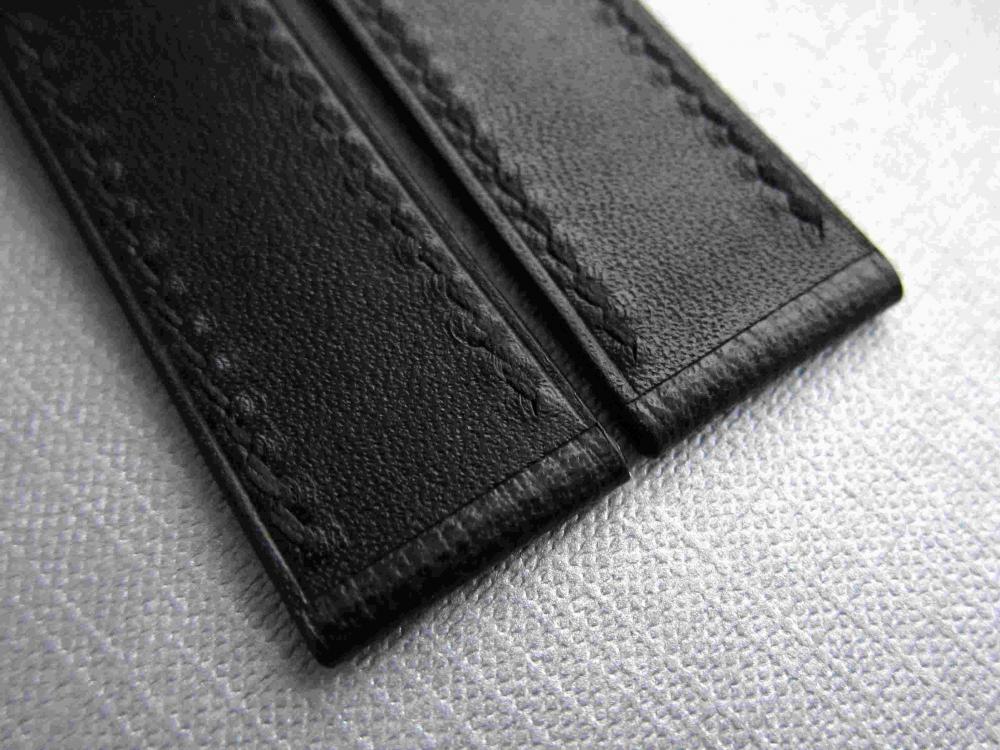
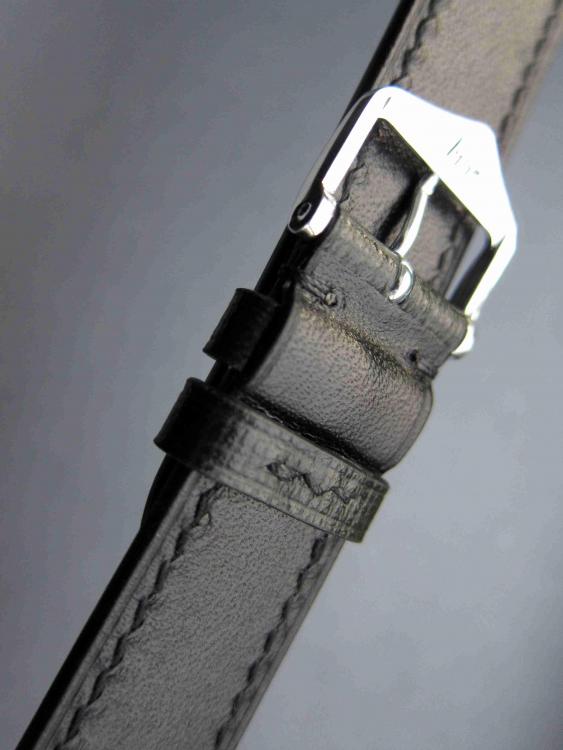
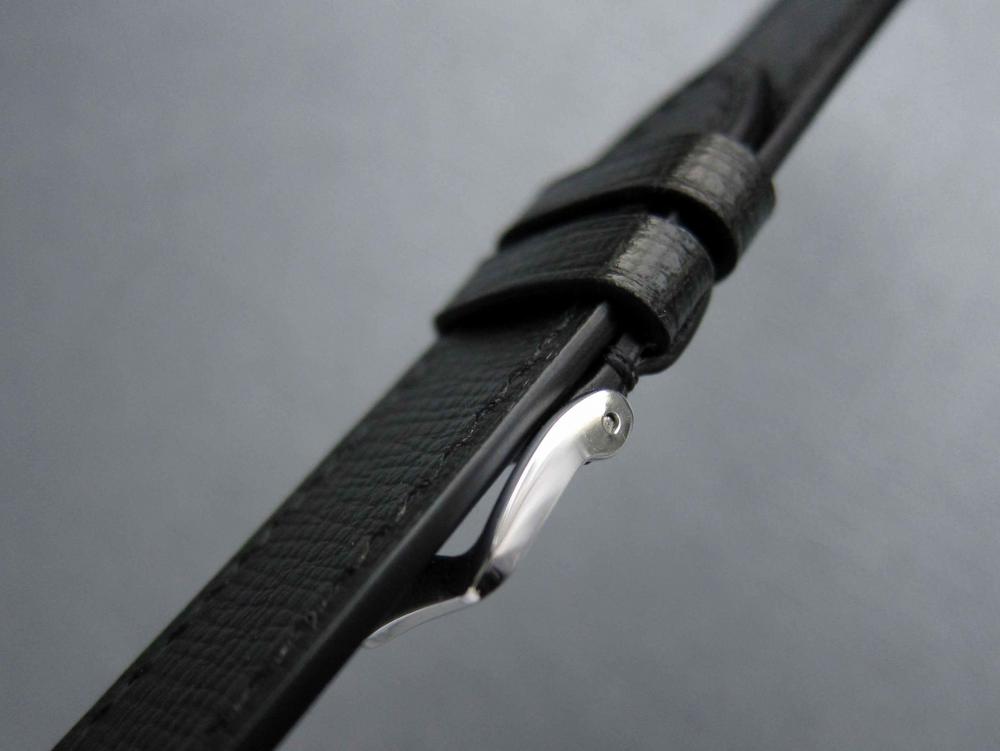
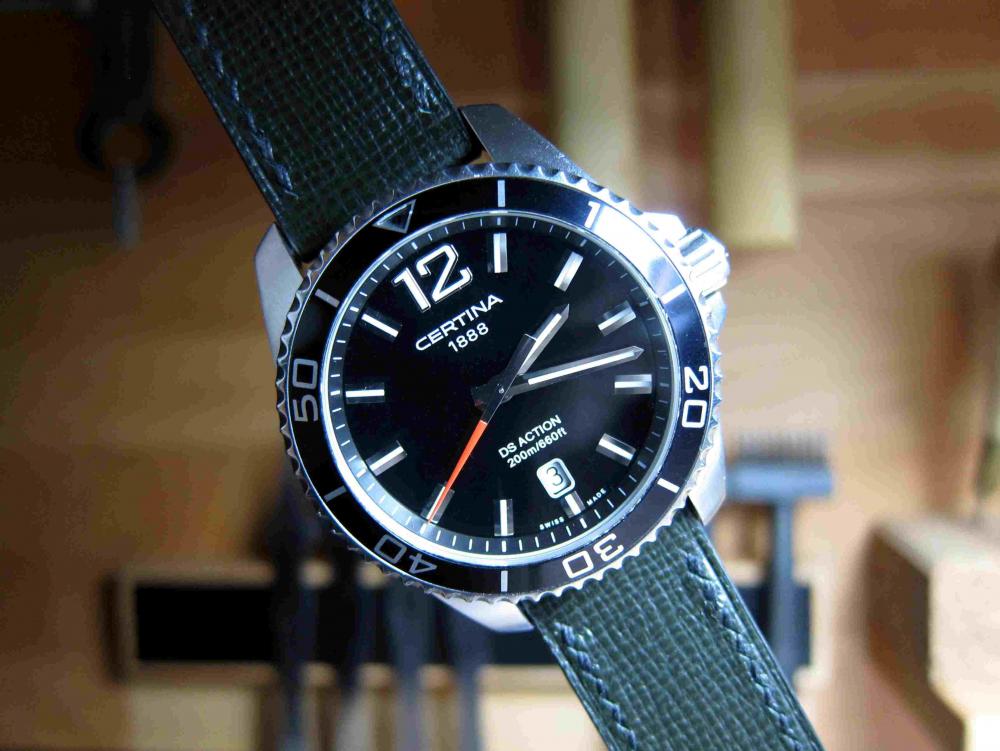
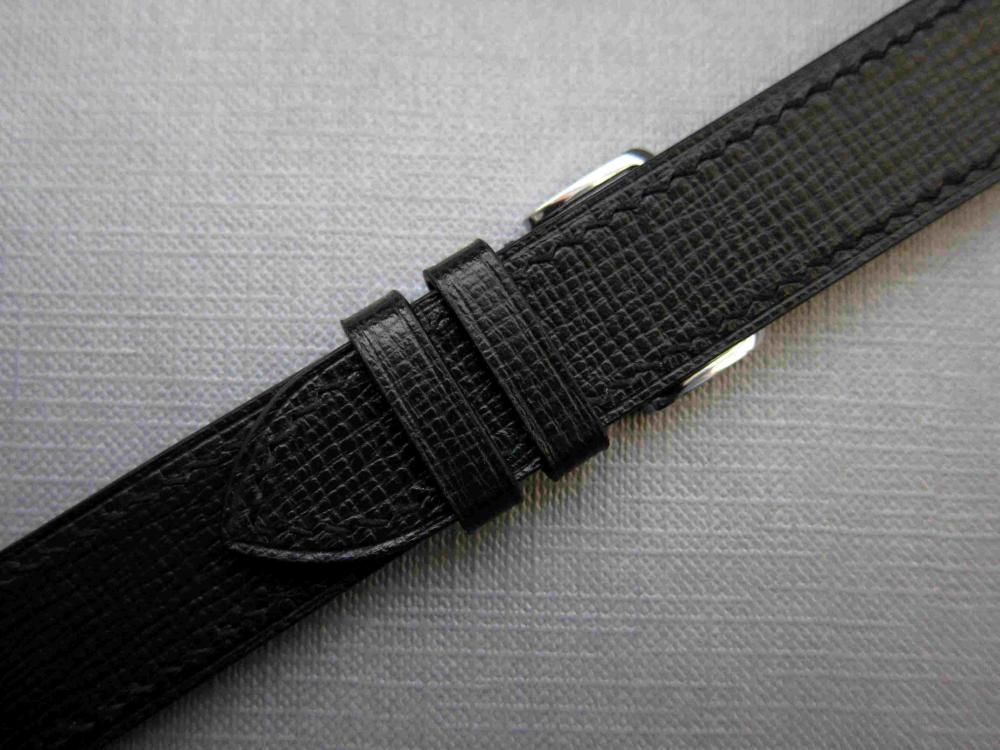
Sorry for bad photos, I don't have appropriate light. I tried to show the color on the last photo (where it's attached to a watch) Exterior leather: Italian chrome/mineral tanned, textured calf Lining leather: Semi-aniline vegetable tanned calf.
-
Wow, you would think a punch for 80usd would be sharp enough to be possible to use. I'm sure the steel is good and all, but tbh I would send it back if it looked like that. But there are other famous old brands that do the same, and lose customers to new tool producers.
-
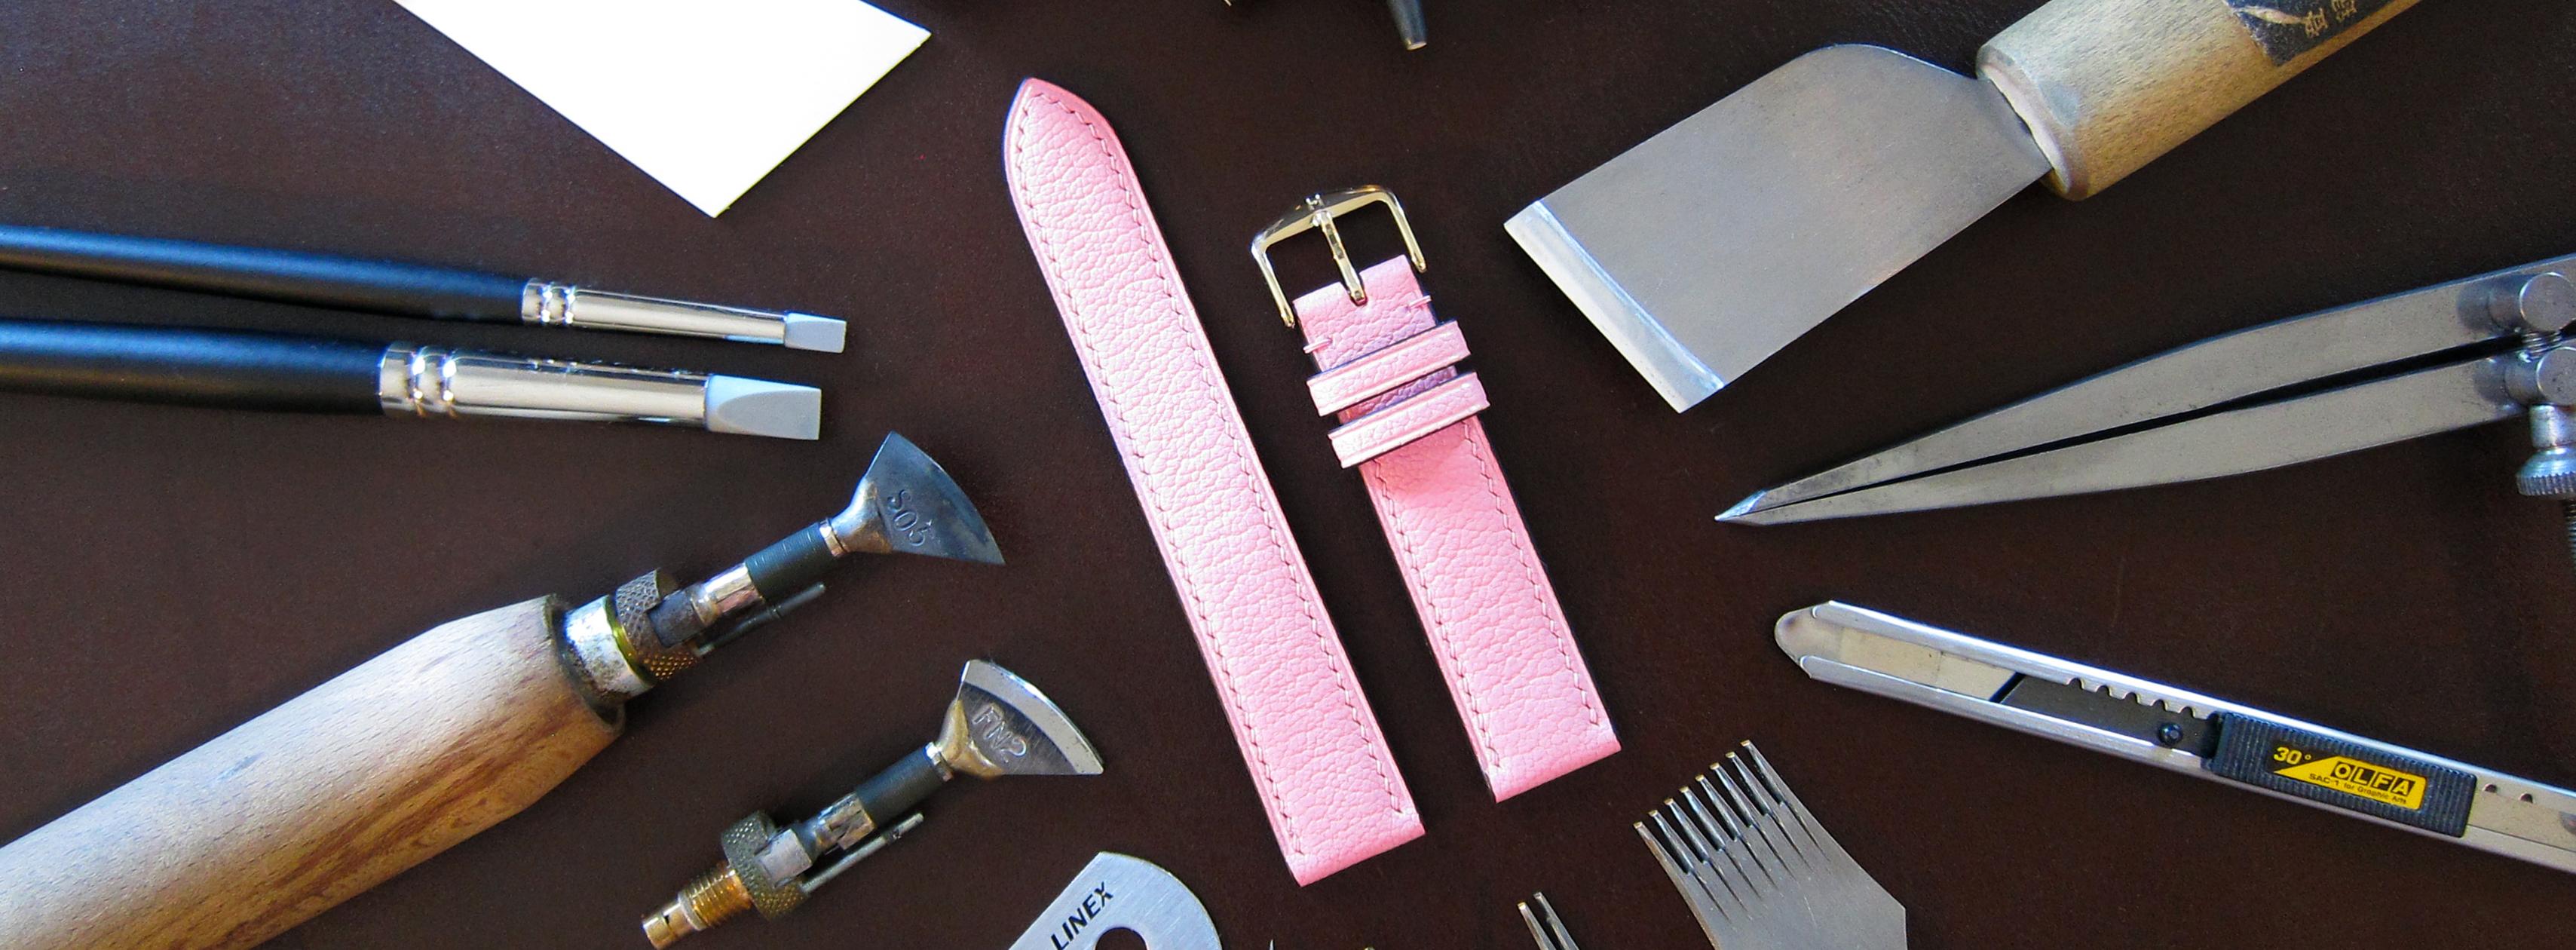
One awl is used as a scratch awl, the other one is really sharp and polished for making round holes, like for the stitching at the point of the long strap. The block of wood is a ”slicker plate” If I glue two thin pieces of leather together and use a ”rubber roller” to press them together it will distort the leather, If I instead use a slicker plate and a piece of paper between that doesn’t happen. For this strap it’s used to press down reinforcement when glued to the top layer. When I glue the reinforcement I fold it slightly at the lug and buckle end (otherwise it wrinkles when fully folded) so not enough space to use a roller. (Sorry if I explained bad)
-
It's goat leather Alran Sully, color is rose. rmleathersupply is the US distributor. Really nice leather, good tear strength, and combination tanned and have a good feel to it.
-
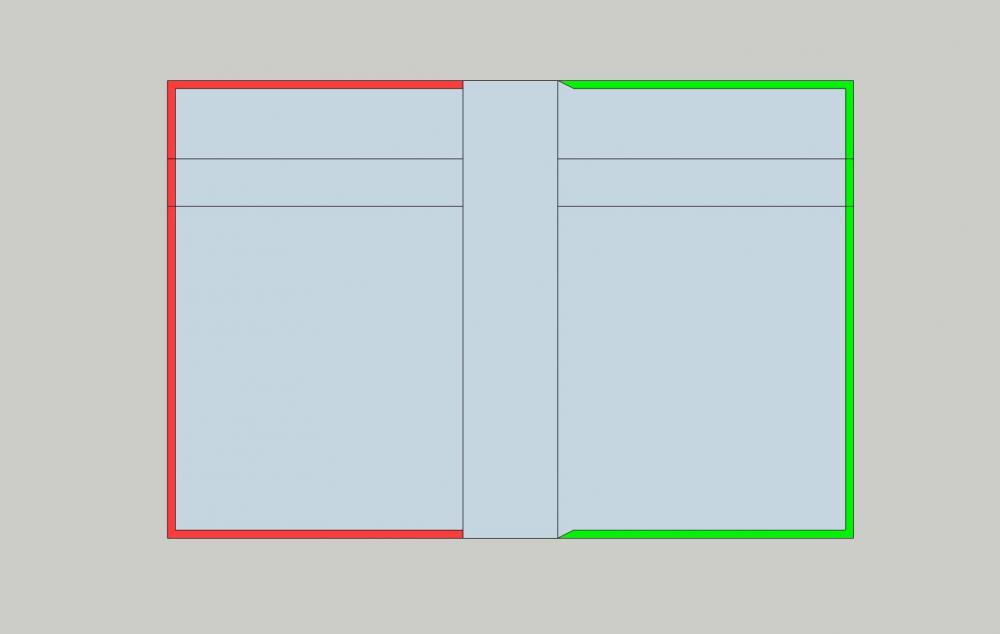
It doesn't have to look "perfect" since it's hidden, even a safety beveler would probably do a good job in veg tan. Where to skive can sometimes be tricky, when you skive, you want to do it where it doesn't have a huge impact on durability, but it also depends on the type of leather and construction, and how you skive, Let's take a bi-fold with two pockets on each side. And you want to skive under pocket sections. And this skive is 2mm from the edge, and you stitch 3mm from the edge. The red solution will create a stress point at the edge of the pocket, the green one will have it's last stitch through the full thickness of leather, and a lot less stress on that location. (Ps, I'm no expert, these are just my thoughts and experience from prototypes and such)
-
Here is an example where I overlap t-pockets. Now this is a fully lined construction (so it's 0.45-0.5mm leather that are skived for the pocket before it's glued together, but I do it in the same way, just more finicky to skive thinner leather) 0.5mm leather for card pocket
-
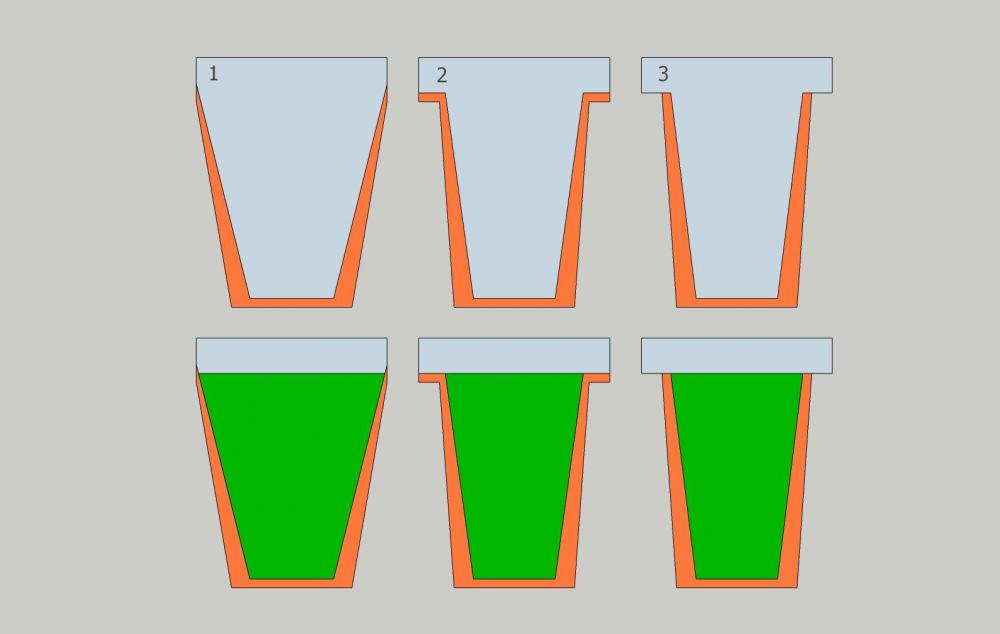
When it comes to pockets (without lining, and not folded edges) These are the three most common solutions. 1. V-shape, skived edges and a little bit of overlap for the next pocket (Overlap have the benefit that you don't see a gap between pockets, but can be tricky to skive so it looks good) 2. T-shape with overlap. 3. T-shape without overlap. Orange = Where you need to skive, how much you skive depend on the leather weight and your skill with the skiving knife/french edge/skiving machine Green = A good solution, let's say the thickness of the leather you use are 1mm (2.5oz) you skive down this part to around half of the thickness. If you use stiffer veg tan this is relatively easy to do with a sharp french edger. Or if you have a bell knife skiving machine it makes it easier for softer leather. Ps. burnish the back side of the leather with Tokonole or similar, it makes the surface a little stiffer and makes the shape of the pocket under less visible, works good for veg tan and a lot of combination tanned leathers. (Do this before you cut of the shape of the pocket, or you might distort it)


