Jump to content

Frodo

CFM
  • Content Count

    2,653
  • Joined

  • Last visited

Everything posted by Frodo

  1. I like that, And see it as useful, I usually wind up looking under the seat while hoping I find it FAST
  2. Laser etched plexiglass The makers mark is glued the a steel plate I have stamps that are 6” x 6”. As long as you use a steel plate and press in multiple places it is good to go
  3. I was fooling around last night with shoe polish because of this thread I stamped a piece of leather then used dried polish as a rub. Applied with my finger and rubbed the buffed then I used tan kote to seal this is just a fool around scrap I find the outcome to be an interesting look polish is kiwi black
  4. Because of the ability to break it down it gives you the option to switch out holsters and carry different calibers of pew pews nice
  5. I do not not use. Wood block I just use a tape measure. Next one I make I am going to try a block
  6. Interesting video My take on it is I 100% disagree with his method of installing the ribbon on card pockets I did learn from his zipper portion of the video Thank you for sharing
  7. I assume you have what you need no replys if not, give me dimensions of Bible And I will send you a complete paper pattern
  8. True, my friend. I appreciate your experience and thoughts the mixture I use of mahogany and light brown have different shades or hues ( if that is the correct word) depending on the thickness being applied single light coat is a tan, heavy coat is mahogany my issue with the air brush is simply I need more practice using the air brush i have used it up to this point only fading in edges and a monkey can pull that off with out problems Aven, I have not had a chance to look at those links yet. I will some time today as time provides, thank you for posting them purplewtf ever, I hold no animosity
  9. I use a very thing silky smooth black fabric I buy at the big orange store. Very inexpensive for a liner material it does require a learning curve to deal with. It is so thin cutting it is a pita so, I use 1” wide yellow paper packing tape , I put the tape on the lines where I am going to cut then over cut by 1/2”. Fold the material to hide the edge. And sew
  10. That same thought has run through my head more than once
  11. Yes, this weekend I will make a tank for this thing it has done very well on edge work and fading in but the first time Inused it non a large area it ruined the look I ordered some more dye looks like I will fix it by dunking it
  12. Gusset if the Bible is 1 1/2” thick add 1/2” then add another 1/2” for 2 stitch lines 2 1/2” wide gusset. Add another 1/2” for zipper stitch line 3”. Cut in half. And sew the zipper. Leave the zipper open on both ends so you have 2 separate pieces.
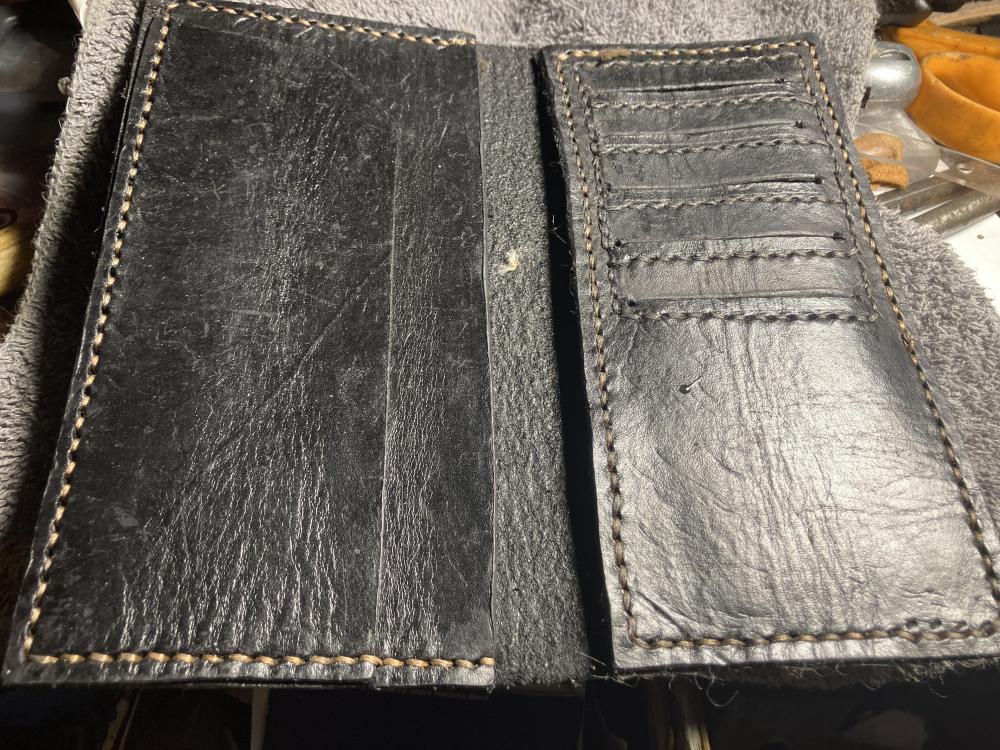
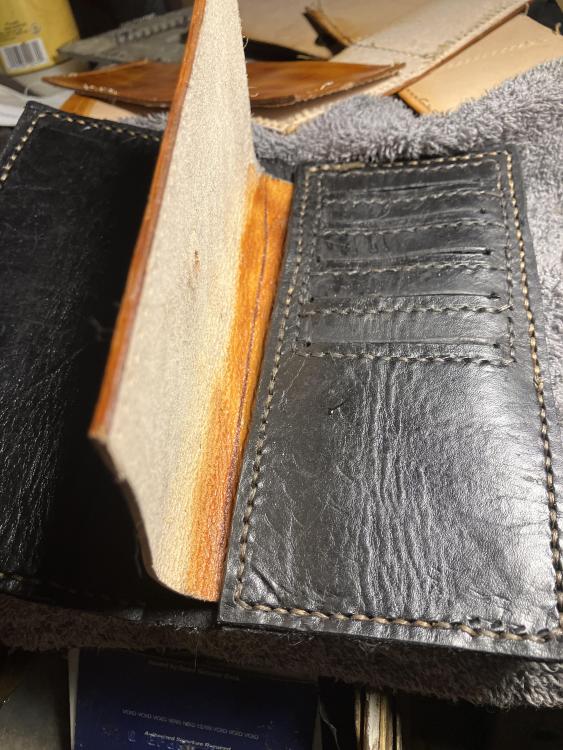
  13. On the corners If. your bible is 6” x 8” With a 1 1/2” thick Bible 6 +6+ 1/1/2. 13 1/2 plus 3. =16 1/ 2 8” plus 3”=11” 16”1/2”. X 11” is your leather cut add 1 1/2” to each side. And 1/2” to the width. zipoer is 4” longer 6+6+8+4=24” zipper buy a 30” and cut the end when complete liner? Tip on cutting the thin silky fabric use yellow shipping tape along the stitch line then cut along the tape fold the fabric in on itself leave the tape inside The tape will stop that stuff from bunching up under the foot of your machine
  14. Dwight o do not have a templet but I have made a few couple of things to know if you are going to round the corners Then you must increase the the size of the jacket or the book will bind up iifbyou are using a zipper Make the zipper 2” longer on each end Total of 4” sew the zipper onto the gusset end the stitching 1” from the end this is so the Bible can open lay flat, with out binding the teeth on the zippee tuck the excess into the bible or you can do away with the zipper all together and use a strap like the Monks used way back in the day I personally love that look more than a zipper When my wife’s gets home I will get a few close ups of the zipper for you you can do this, you do not need a pattern just a square and a pencil
  15. race? Oh!! I see you are history ignorant. Common core education? I am sorry. Well, maybe I can help your ignorance out just a little Sir James Douglas was know as “Good Sir James". He was now one of the king's greatest supporter and a model of chivalry. But James had black hair and a reputation so feared by the English they named him "the Black Douglas." They said his evil success against them was because he was a demon himself. I am a direct descendant of Sir James I am proudly a Black Douglas. there ya go, you have been properly ss hooked and if your ish to know more google it Now let’s address your disrespect of this forum take your negative bullshat and go somewhere else. Your kind is not welcome here. Here is some more education for you your moms should have home trained you but since she lacked the skill I will not do it for her if you do not have anything good to say then keep your pie hole shut
  16. A Black Douglas Never “gives it up” Jamais arriere
  17. I think I will add a tank
  18. Lol. Yep, use the old hard pieces I hsve been trying to come up with a recipe for diy shoe polish, so far not found it yet
  19. I am a fan of M&G try this black shoe polish on your edge ( burnish) and M&G as a sealer
  20. Here is a simple ladies wallet or a wallet for the confused material 4 oz vegtan 1- 8” x 8” 2- 3 1/2” x 8” 2- 3” x 8” 1- 2 1/4” x 8” 1-1” x 8” strap execution Credit card pockets place the 2 1/4 onto the 3” and sew a line center place the 3” with the 2 1/4 onto the 8x8 measure from edge toward center 2 3/4” sew the 3” onto the 8x8 Do this on both ends of the 3” piece d o not sew the edges yet this is your credit card pockets outter pocket and credit card edge take your strap measure 2” Fold over at that mark punch hole insert make end of a line 24 snap on the other end of the strap install another half of a snap Set aside sew the long side of the credit card pieces to the 8x8. As you sew, install the strap sew 1” from end place the 8x8 with credit card face down on table ( you are looking at the outside /finished side of the 8x8) place the 3 1/2 on the 8x8 locate the snap on the strap and punch a hole in the 3 1/2 set snsp sew the bottom stitch line and sides This side is done turn the 8x8 And stack the .3” on the 3 1/2” onto the 8” sew the edges Measure from edge to center strap 1 1/2” set snap when the wallet is closed you should have a gap of 1” this is going to look funny and you are going to want to make the gap less do not do that, when the wallet is loaded with what ever it will carry, it will become “fat”
×
×
  • Create New...